Ronbrink
-
Posts
1,181 -
Joined
-
Last visited
-
Days Won
36
Everything posted by Ronbrink
-
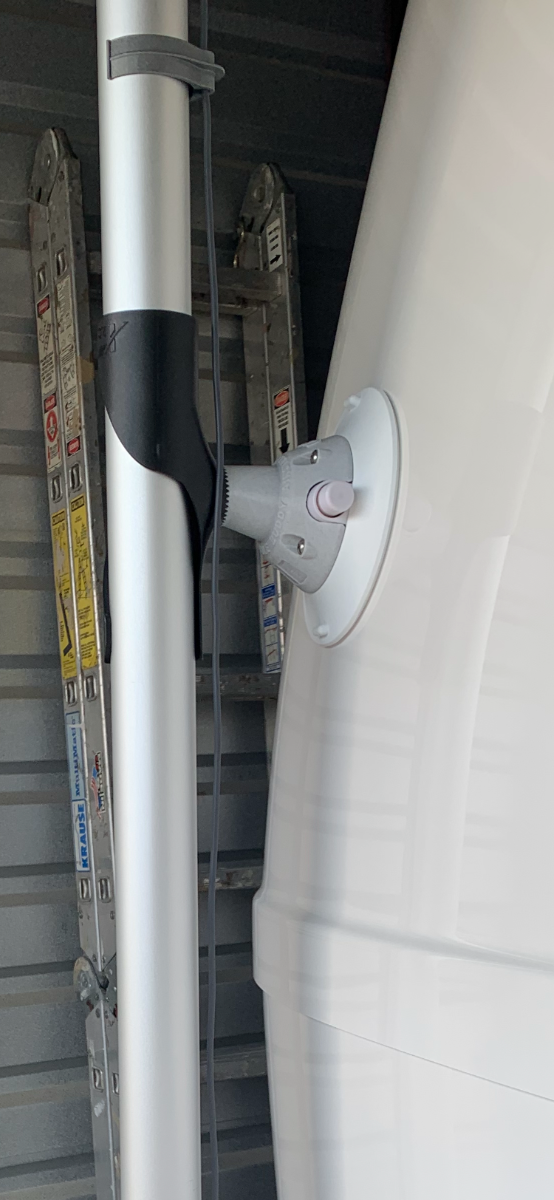
I have two sets of Flag Pole Buddy suction cup mounts; one with black cups for the flagpole, one with white cups for the SLM pole. Neither leave a lasting mark on the Oliver’s gelcoat once removed and surface wiped clean. Could be that they use synthetic rubber compounds specially formulated for a non-marring grip on RV fiberglass surfaces; unlike the typical natural rubber that does leave a mark (think black streak issues we all battle)! Been using 303 Aerospace Protectant for years on a skiff and many suggest this conditioner be applied to keep rubber cups soft and pliable for a better seal and UV protection.

-
Did this yesterday on a dual tank regulator used for a commercial grade griddle, which I modeled after the setup on the Oliver. I tapped several times gently with the handle of a crescent wrench in a few locations and viola, the fuel level indicator started working! It’s also important to open propane tank valves very slowly to keep from tripping the internal safety device that could shut off gas flow.
-
My take, this Casita measures 24’ 3” tongue to bumper, an Oliver 23’ 6”; starting prices $44,999 and $85,000, respectively! The Casita can sleep up to six and thus, better suited for families whereas the Oliver is more of a couples unit. Thanks for sharing!
-
I experienced the same issue with that swing arm circuit breaker you mentioned; loose of DC power for no apparent reason. Researched and learned the cheap breaker was notorious for tripping so replaced with a quality Blue Sea Systems circuit breaker, problem solved!
-
That’s our preference, as well. However, I choose to replace the four 6v Trojan T-105 225Ah batteries with LFPs three years ago for the specific purpose of being able to run the air conditioner off the house batteries. In doing so, lost half the weight and gained double the usable Ahs. When in transit to and from a destination and making stops along the way to rest, eat meals, shop, and do unplanned repairs and maintenance; I find comfort in a ‘cool retreat’ at these times. I can even pre-cool the Oliver prior to a planned stop, as deemed necessary. As @jd1923 emphasized, the DC-DC charger will quickly bring the house batteries to a respectable SOC upon arrival at a destination. This is how we roll and very pleased with the LFP upgrade.
-
On my 2020 OLEll the microwave is plugged directing into the GFCI outlet located on the Xantrex inverter/charger. It trips occasionally for unknown reason(s) and the first place I go when power is lost. Upon reset an operable microwave indicates AC throughout the unit.
-

Cleaning the gap around the linoleum floor
Ronbrink replied to Ken Root's topic in Mechanical & Technical Tips
I first vacuum then simply crawl around on my knees and use Clorox disinfecting wipes along these dirty edges. Sometimes it takes pressure with the wadded up wipes, but with persistence they become clean. While down I also use the wipes to ‘mop’ the floor, which is generally done with a Swifter mop. But the Swifter alone will leave debris and grunge along the edges and thus, periodic deep clean with said wipes is needed. That said, I’m lucky to only have a couple spots of the adhesive visible below the shower door, which is only slightly yellowish in appearance and not a worry. I like @topgun2’s acetone idea, but only for the adhesive removal if it eventually becomes too unsightly. -
Many have secured the Norcold AC plug to duplex outlet under the sink with a tie-wrap and perhaps same could be done with the charger plug, as well. However, that may not be as easy due to the ‘snap in’ feature of that inlet, as described. Perhaps the “10-12” unsupported run of power cord” could be secured with a tie-wrap in such a manner as to better secure that connection. In looking at my 2020 OLEll, it appears to be hardwired into the AC panel box with a typical clamp style strain relief fastener and likely hardwired to a main breaker.
-
Check the connections going into the back of the DC panel under the rear dinette seat. I had a similar problem and found a spade connector loose. A little crimp for a tighter fit of the red power wire was the solution.
-
Seeking New Air Conditioner for Hull # 145
Ronbrink replied to ScottyGS's topic in Ollie Modifications
Having the condensate collect in pans in the DPll and drain via the inner hull tube Oliver installs is not without issue. Many have experienced, self included, condensate water dripping inside the cabin either from drain line blockage, improper leveling on setup or excessive humidity conditions. I have no regrets abandoning the tube drain with my chosen a/c replacement and no further worry of internal leakage. Just say’n! -
Seeking New Air Conditioner for Hull # 145
Ronbrink replied to ScottyGS's topic in Ollie Modifications
In humid climates there will be more than just a little drip, but being slightly off level as you suggest will divert any runoff to a rear corner. Even though condensate is like distilled water, be assured there will be some staining from contaminants it picks up as it leaves the condenser and drains outward. Maintaining adequate wax on the gelcoat will help reduce said staining and further cleanup of any resulting streaks. -
Most U-Haul trailers have a 4-pin cable since they have surge brakes rather than electric brakes. Will that matter in the pull test you are suggesting?
-
Understood, valid concern; much the same forces from dragging the frame on the pavement, but perhaps with less resistance. I would suggest the OP contact Oliver for their take on the matter. Another solution may be to lower the hitch ball and thus, raise the rear a bit for better clearance prior to backing up or driving down a steep drive. Just a thought.
-
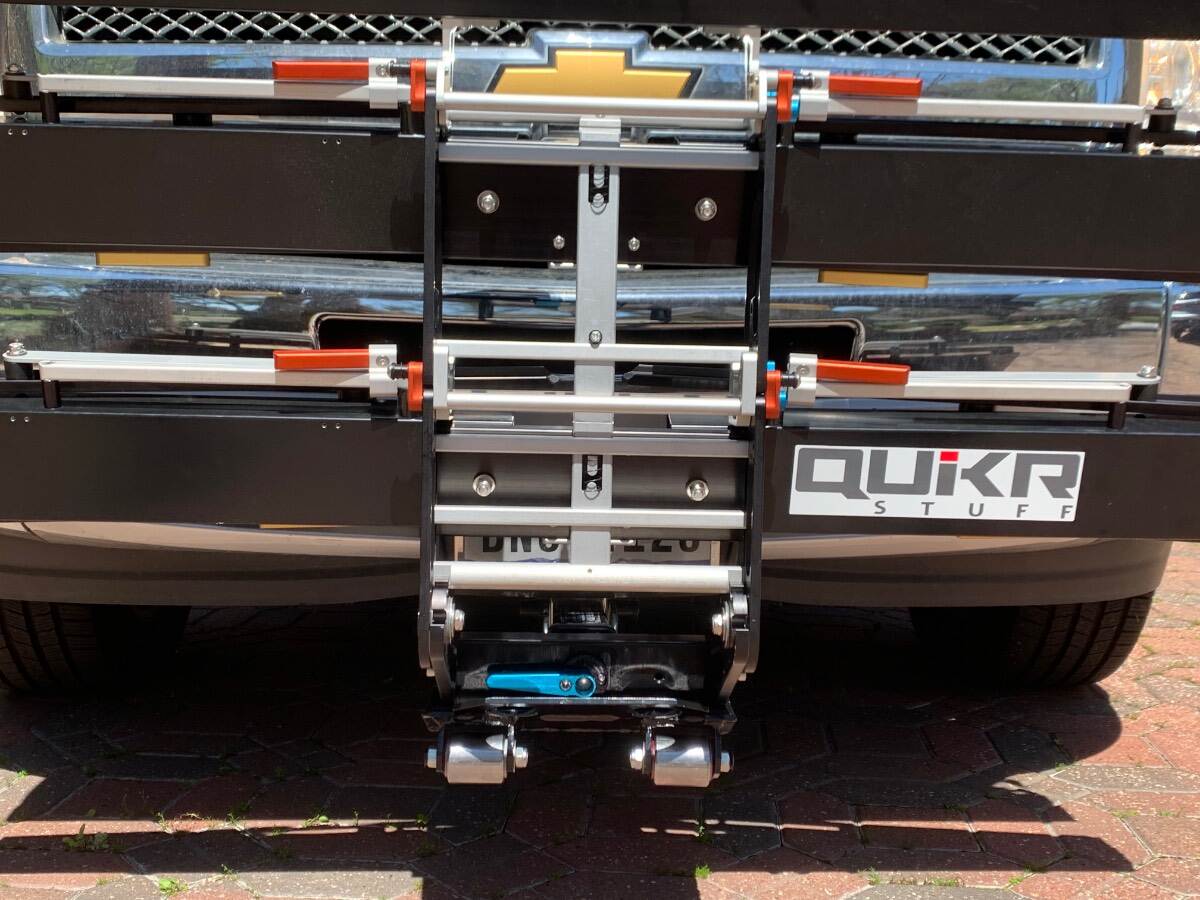
I have seen videos where skid rollers are mounted at the rear of a travel trailer to keep the bumper/under carriage from scraping on steep driveways or road grades; check out etrailer.com for such products. I welded some on a skid plate that’s mounted on the front of my TV to protect the expensive ebike rack, works great!
-
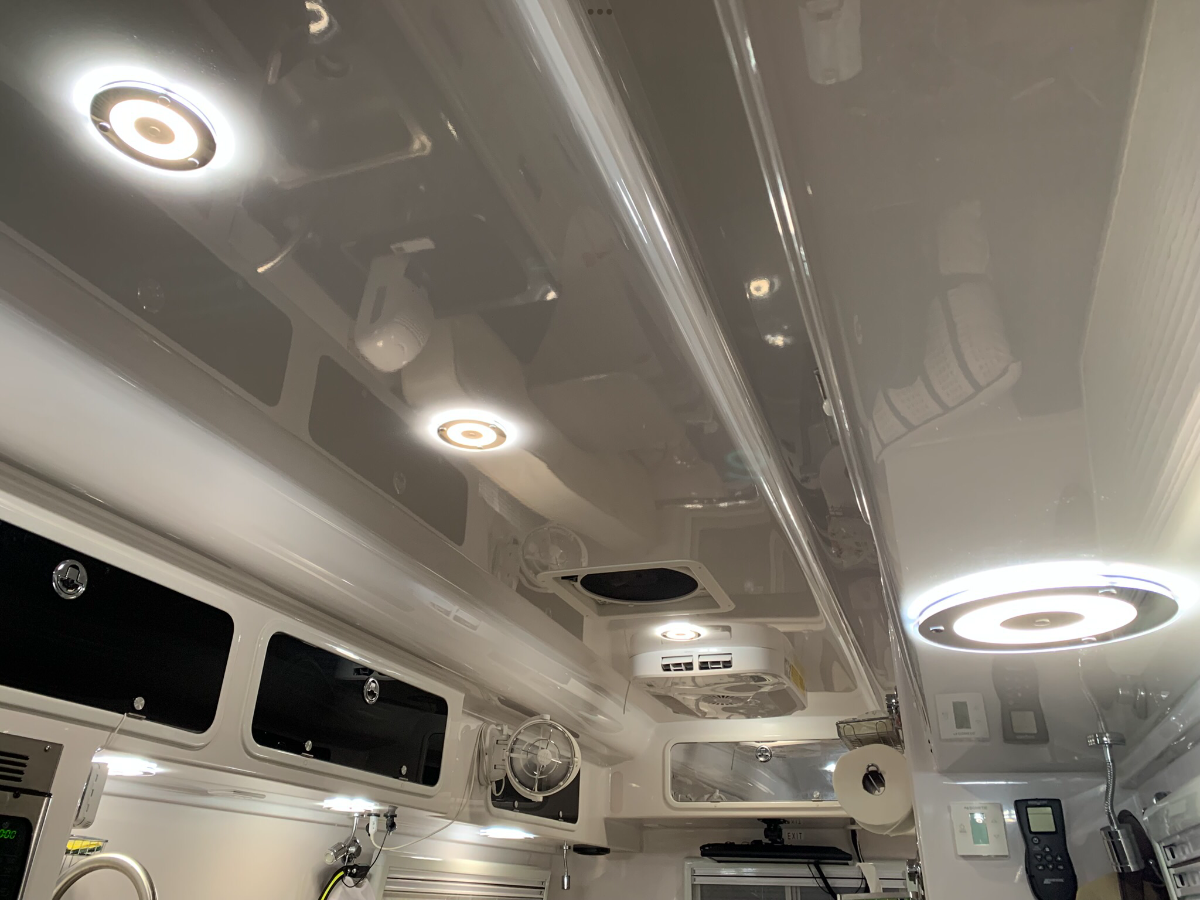
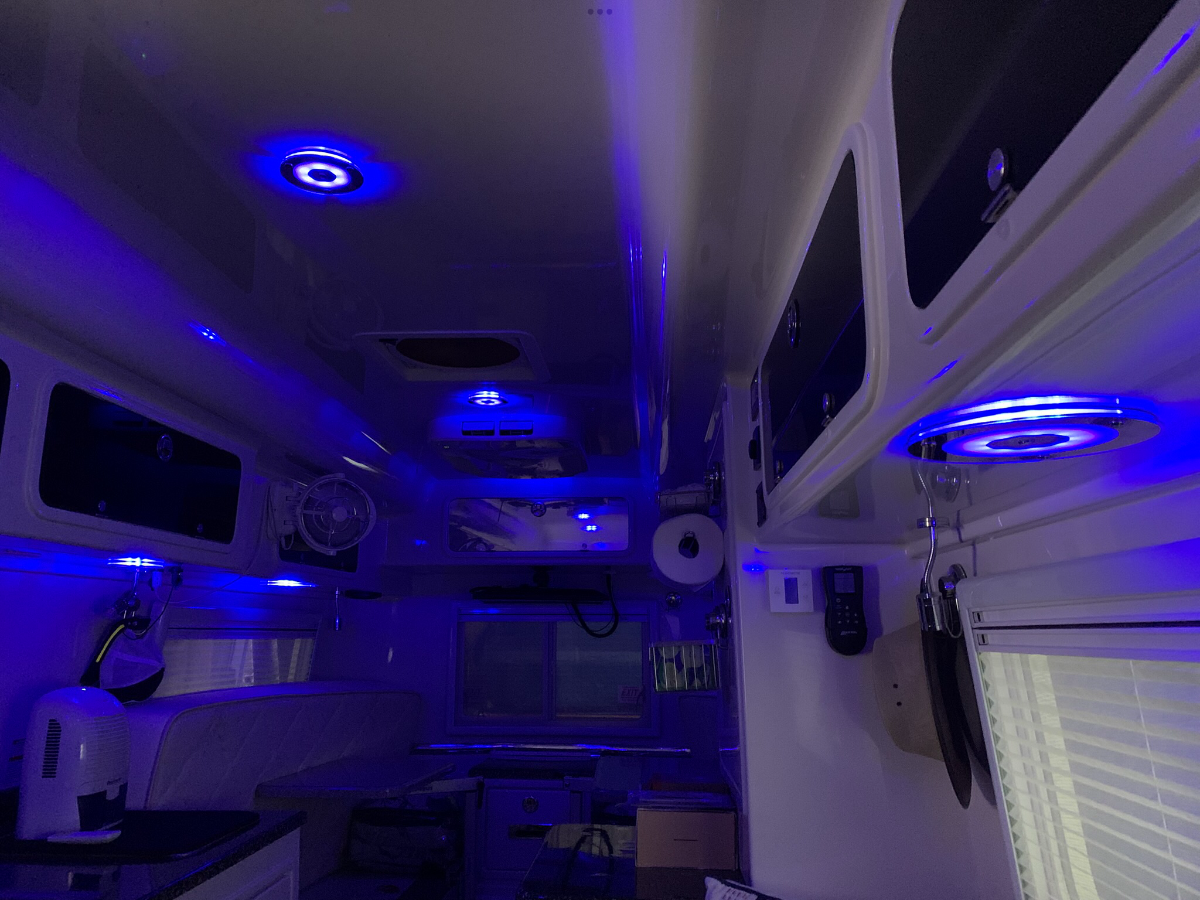
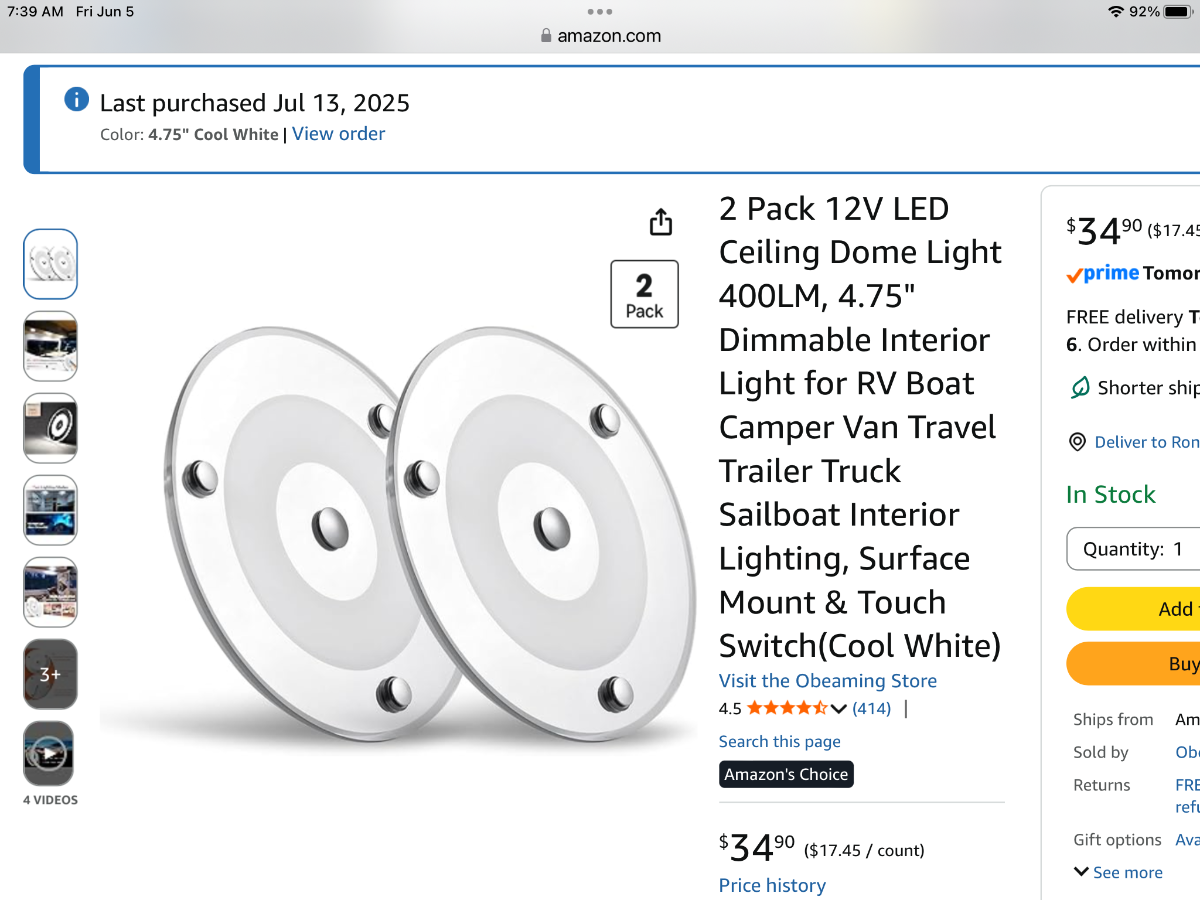
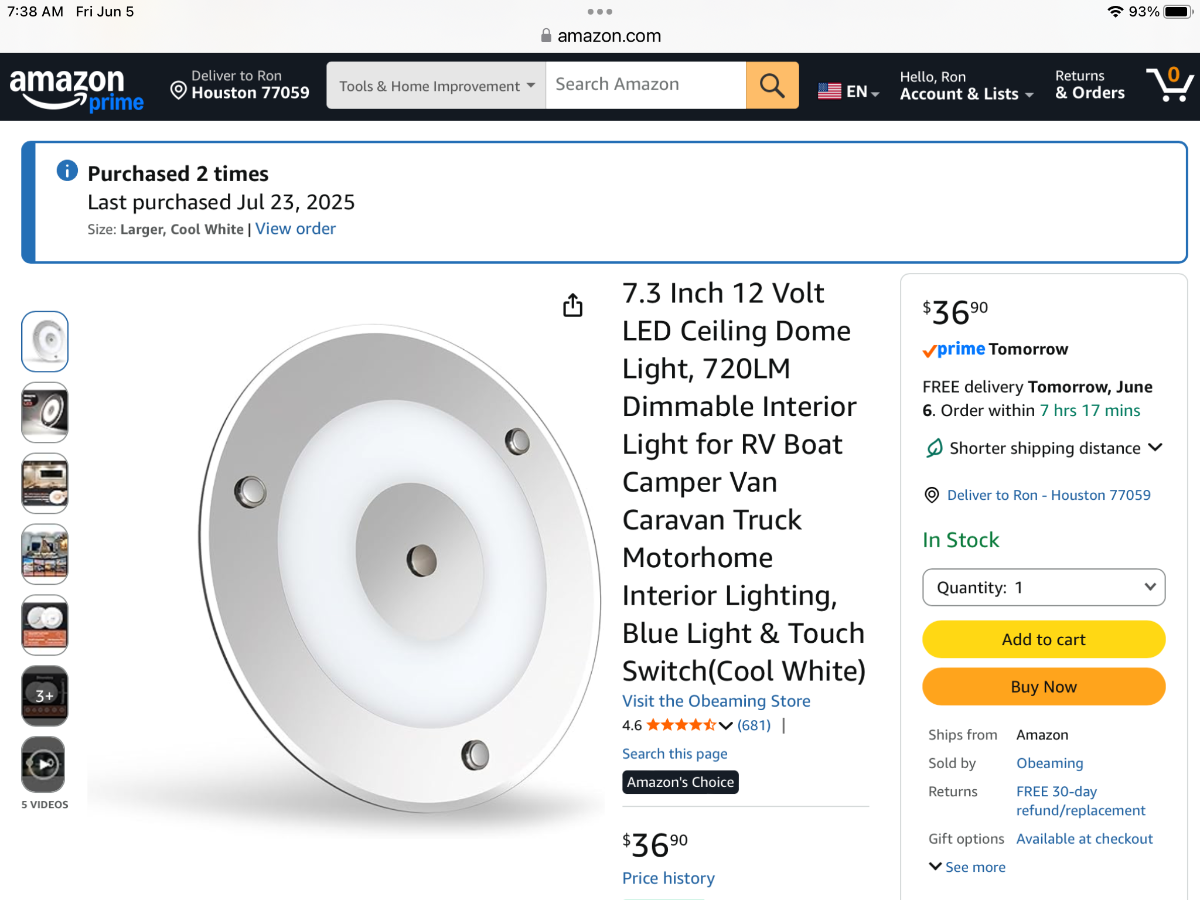
I installed Obeaming touch lights and been very pleased, they are dimmable to your desired level of eye comfort and ambiance. I posted the install on this forum. Here’s a few pics:
-
I had this happen and found that one of the spade connections at the pump had come loose. I crimped the spade connection for a tighter fit, reinstalled, all good. A few others have experienced this, as well; simple fix!
-
I have been using the Cielo Breez Max smart thermostat for almost a year with no apparent issues, nor have I read any negative reports from other users (Oliver, as well as SOB owners) regarding potential harm to their RV air conditioners. Some have expressed concern with the power ON/OFF attribute of the Cielo and inherent longterm harm to electrical control and mechanical components. Proper configuration of settings to prevent ‘short cycling’ is paramount in avoiding said harm, whereby the compressor is allowed time to equalize refrigerant pressures and thus, significantly lessen subsequent strain on sensitive equipment. I’m of the opinion 1) that Cielo has built in scheduling features by default to provide for necessary delays between compressor cycles, as do most RV thermostats, and 2) the soft start device pairs well with the Cielo to further lessen any longterm concerns I may have. I can honestly say that the Cielo has completely resolved the ‘humidity spike’ issues once experienced and exceeds my expectations as a replacement thermostat in our Oliver.
-
Adding a Matching Rear Porch Light and some Front Lighting
Ronbrink replied to jd1923's topic in Ollie Modifications
Alternatively, I bought three solar motion lights for camp security and general outdoor lighting. Once camp is setup, they are staged forward facing on the propane tank housing, rearward facing on the spare tire cover, and usually on a picnic table or other strategic location. I instantly have light when and where I need it, and a deterrent to unwanted visitors! -
"Best" low profile AC replacemet
Ronbrink replied to Gliddenwoods's topic in Mechanical & Technical Tips
I read they resorted to the Dometic FreshJet, but not certain of the series model. That said, in viewing the recently released ‘2027 Oliver Legacy Elite ll Platinum Model Walkthrough’ video, a Dometic is perched atop! AI states the Dometic FreshJet sits slightly lower on the roof than the Penguin ll. Dometic FreshJet (Series 5): Measures exactly 10.5 inches in height. Dometic Penguin ll: Measures 11.25 inches in height. When AI is asked if the FreshJet is quieter than the Penguin ll: Yes, the Dometic FreshJet is significantly quieter than the Penguin ll. I’m only presenting facts, not a personal recommendation. -
Plug under drawers under sink; what is it for?
Ronbrink replied to Gliddenwoods's topic in Mechanical & Technical Tips
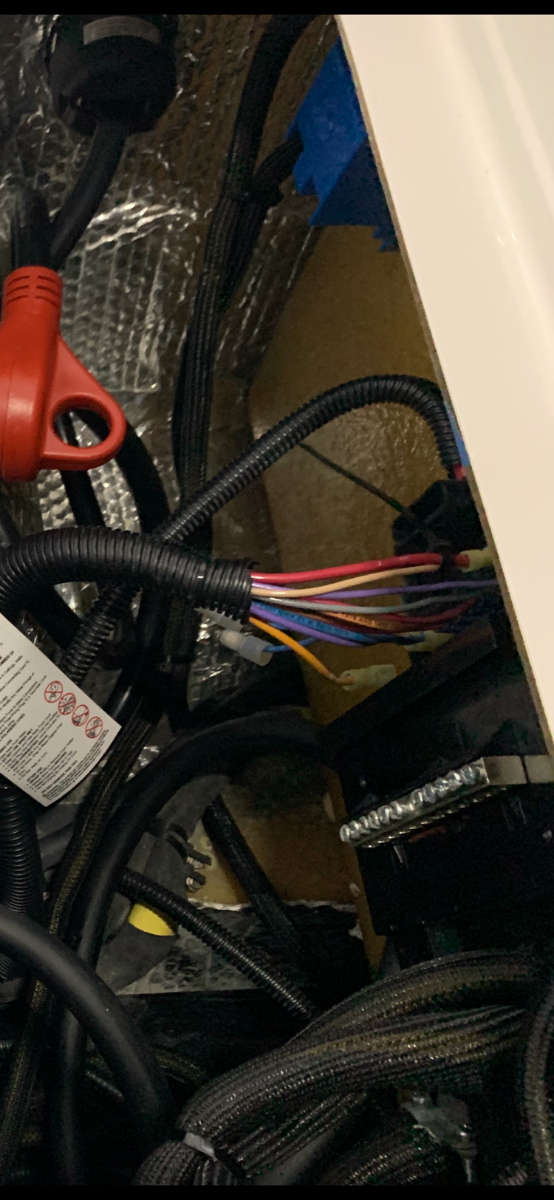
You are being well advised, refrigerator power supply. Many have experienced the fridge cord coming unplugged and thus, a simple fix is to secure it with a zip tie as illustrated in your pic. -
I see where many have viewed this thread and thus, wondering if anyone else, other than a few others, have tried using a Cielo with their unit and what the results were. It would be good to know of any success with other unit brands, especially Truma, Houghton and Dometic; or even the newer inverter style units.
-
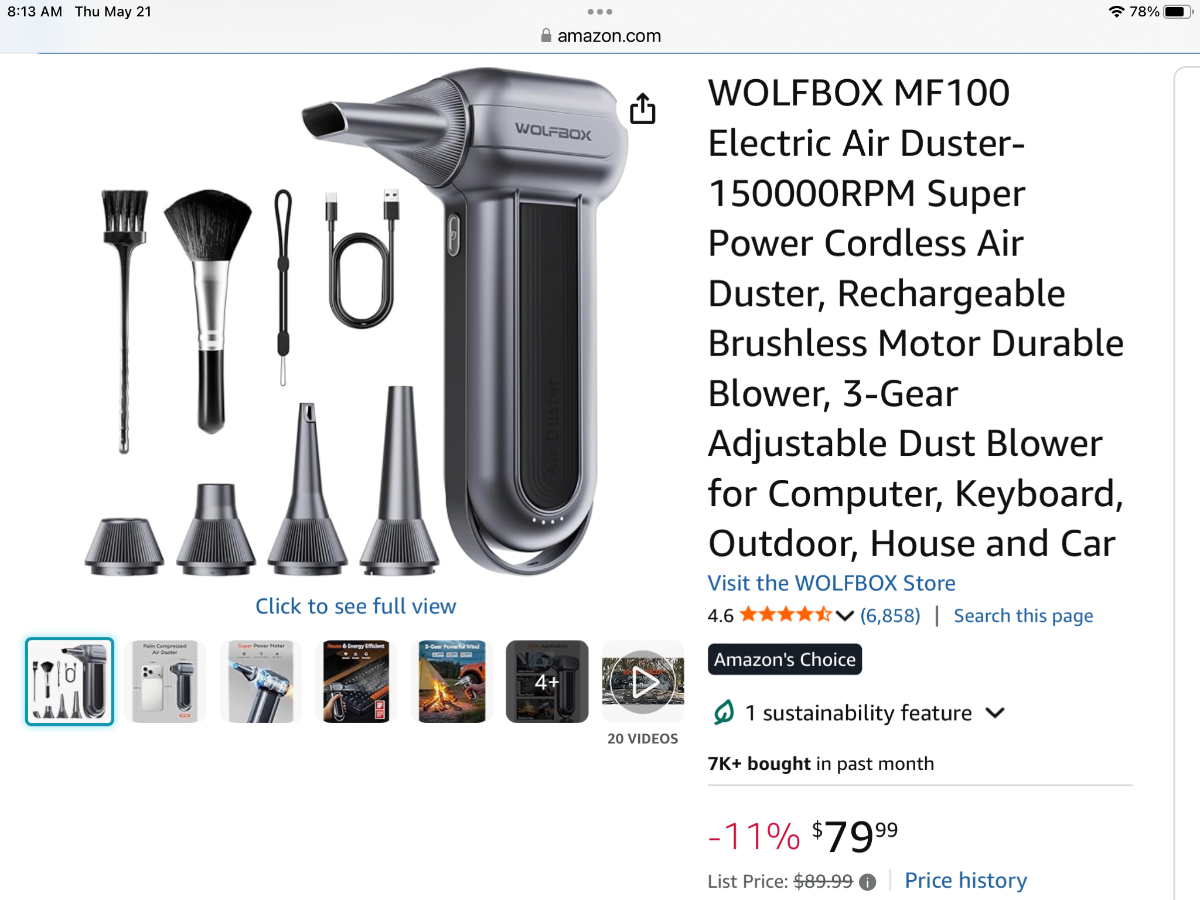
Right that, I paid 62.99 plus tax last April. Didn’t notice the price jump, CRAZY! Actually watched a video of someone using it to blow dust and grass debris off their zero turn mower prior to maintenance procedures. Its worked great for that purpose and general cleanup after a mow. Have since found a multitude of uses and now carry it in my van in close reach. I can blow that dust off the dash a couple times a week, as well as other points of accumulation within the van. I have yet to move my air compressor setup to our new residence, so this powerful handy device is filling that void and more! I also like that it is small and trim enough to fit in my pocket in readiness, as needed.
-
My recent acquisition, more useful than the air compressor blow nozzle!
-
Alcan Springs Quote for Jan-2026
Ronbrink replied to Wayfinder's topic in Mechanical & Technical Tips
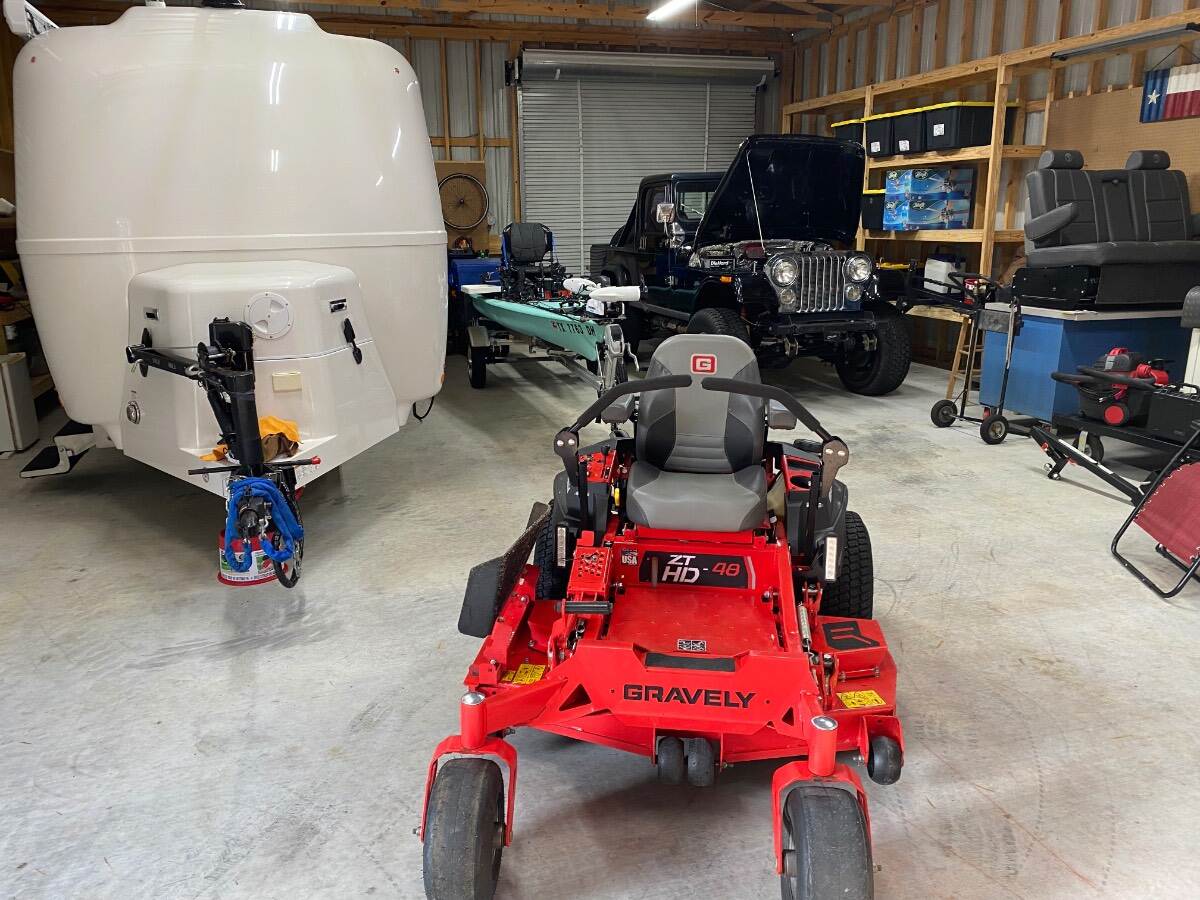
The wife refers to it as the “man barn” for my “man toys”!
-
Alcan Springs Quote for Jan-2026
Ronbrink replied to Wayfinder's topic in Mechanical & Technical Tips
Yes, other than a slight recess at the bottom of the door to prevent water intrusion.