Ronbrink
-
Posts
1,164 -
Joined
-
Last visited
-
Days Won
36
Everything posted by Ronbrink
-
Although you likely have an electrical-related issue, the stabilizers jacks can also be manually operated.
-
 You will pay a premium for any Starlink accessory, Amazon offers a lot of quality aftermarket products. At minimum: The SLM comes with a 15 meter cable, a shorter 5 meter will come in handy. The supplied power box is a 110 to 12V converter, you will likely want a setup to utilize 12V type outlets.
 -
Did you check the fuse, there’s one for each stabilizer jack; for the two rear jacks, located under the street side bed area.
-
I have noticed that some sensors (both temp and humidity) are more sensitive than others, so despite the calibration I still see a slight variation in readings between devices.
-
You might want to check the actual wire connection, I had one of the spade connectors come loose and resolved a similar electrical problem by simply squeezing the connector with pliers for a tighter fit.
-
I took a look at the SoftStartUSA.com website and saw several YouTube reviews posted therein. Also, Mike Sokol strongly backs this product on the site. I did read that it is incompatible with units equipped with an automatic transfer switch and it’s a more costly option than the wire installed version, but said to have surge protection as well.
-
The Cielo mimics the unit’s remote utilizing IR to extend control of the air conditioner as a ‘smart’ device. It has built-in temperature and humidity sensors, and provides advanced features via WiFi and the Cielo Home app. Both temperature and humidity parameters can be calibrated to more closely align readings if disparities occur.
-
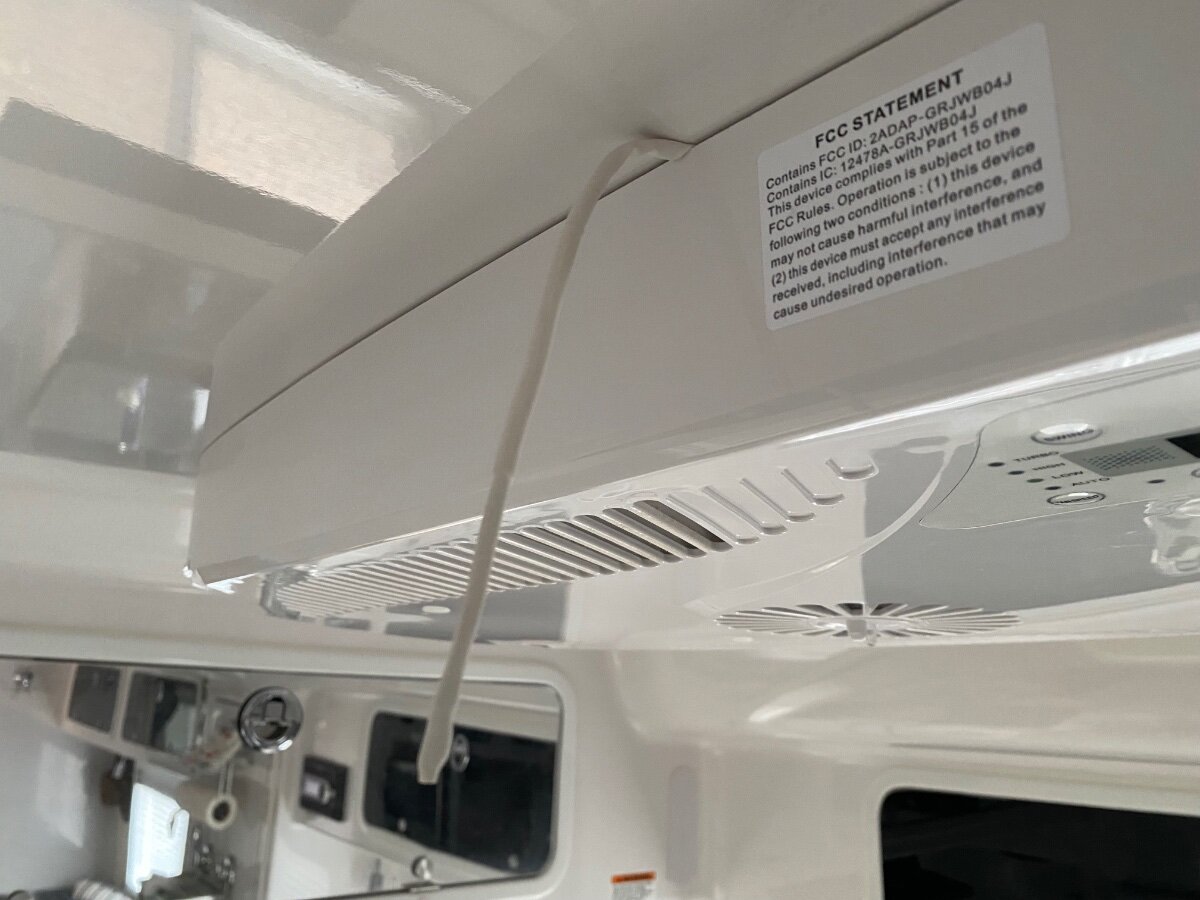
The Atmos is the same, being inside at one of the intake filter locations. From reading one of your past posts, I decided to move mine out to open cabin and left it like that for no particular reason other than things are working great. Now that I have some experience and know what to expect, I may move it back to see if there is any difference.

-
A point was made in the vid not to run the generator on eco mode.
-
The Cielo doesn’t override a unit’s fan control, but rather turns supply power completely off or on with each cycle of the compressor when programmed in Comfy Mode. When a set temperature is reached a total shutdown occurs; there is no power to run anything, compressor or fan. Subsequently when a programmed setpoint limit is reached, the Cielo restores power and the compressor and fan startup in sync.
-
I saw advertised this morning and thought it may be of interest to some, plug and play SoftStart! A demo vid featured use of a 15A to 30A dogbone adapter with a 2000W generator to run an RV a/c w/o such device. Impressive!
-
The Ceilo Breez Max smart thermostat claims to be compatible with a/c units having IR remote capability and thus, Houghton models with said remote should adapt; the Truma Aventa comes with an IR remote and should adapt, as well. Conversely the Dometic Penguin ll does not come with a remote, nor is one available as a separate option, but rather hardwired to a wall thermostat thereby rendering it incompatible with the Cielo. Still waiting for a Houghton and Truma owner to up their game and give the Cielo a go! The setup is so simple; download the Cielo phone app, plug into a USB port to power the Cielo, follow instructions to pair the IR remote, operate the a/c via the Cielo’s touchscreen or phone app. If found to be incompatible, do an Amazon return! ‘Nuff said.
-
I’m going to do a 180° on the above statement and explain why. Granted the Atmos 4.4 is really quite even in fan Turbo Mode, which is generally only used to initially cool down a very hot interior. Once a temperature comfort level is reached, fan Low Mode is all needed. Regardless of the selected fan speed or a/c demand, this unit operates at such a low dB in all modes and the soft start-assisted compressor is hardly detected when running and thus, “the continuous fan run when in Cool Mode” is not bothersome, unlike the former DPll noise maker! Although Dry Mode is very efficient in regulating humidity for short runtime durations, it is not a panacea for control of the dreaded humidity spikes that can occur under high RH or ‘other conditions’. For example, while sleeping at night with the a/c in fan Low Mode, I would often awake to high cabin humidity levels simply due to respiration and thus, my statement that “high cabin humidity is a rare occurrence” is not true as once thought! Why the turnaround then? After eight months post Atmos 4.4 install and thinking ‘it doesn’t get any better than this’, I came across the Cielo Breez Max smart thermostat and set a new norm! Now six months in and no regrets, I’m thinking ‘this is the best ever’; no continuous fan, no humidity spikes, no ‘noisy’ dehumidifier taking up counter space and Comfy Mode is only a switch flip away! If you are reading this you likely have also read my praise of and experiences with said Cielo, or that of others. The installation is simple, operation intuitive and easily programmed to most a/c units with IR remotes.
-
That would be the TOSOT! See this recent post: Going to update the AC unit with a Tosot By ChristianD October 9 in Ollie Modifications
-
Seems the control boards would be good stock, given that several owners have replaced them. Anyone know if Oliver installed more than one Norcold model and the part number(s) to share? Also, thoughts on any other parts to consider. I would like to keep my ‘dinosaur’ from extinction!
-
Going to update the AC unit with a Tosot
Ronbrink replied to ChristianD's topic in Ollie Modifications
Good job on the TOSOT install and workaround on the Suburban furnace operation. Being able to retain the Dometic CT thermostat and utilize the original Dometic control board in said manner is a great accomplishment! Do you plan to replace the control board removed from the DPll in order to sell and recoup replacement costs? One can easily get $500+ for these used units, mine sold very quickly on FB Marketplace for $600. -
True that, but a pole may reach near top or above a tree canopy which has proved very beneficial on many occasions. True that, but for extended stays I don’t want to tend to a battery with limited run time and thus, find use of the cord connected to a continuous power source more to my liking. Never on a window, but an occasional ‘hickey’ on the fiberglass brings back very fond memories!
-
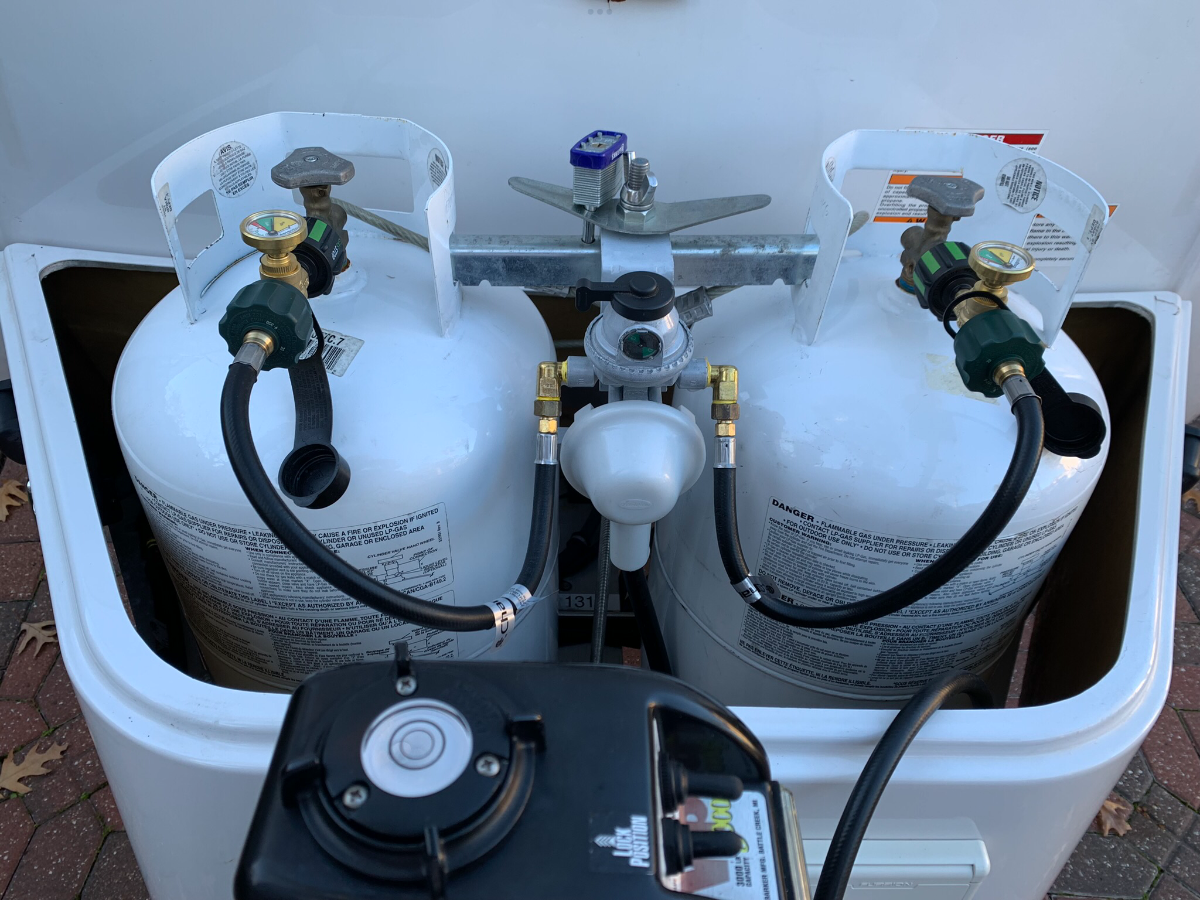
AND have a purge feature when first opening the tank valve. No more trips inside to check for gas flow at the cooktop!
-
Sea Biscuit Rear Basket and Storage Boxes
Ronbrink replied to Steve and MA's topic in Ollie Modifications
Good combination, Flap Jack and Snap Pad! Do you have the same setup for the rear stabilizers? I bought the Andersen Blocks for the rear and use a Rapid Jack on edge at the front. These were my top choices upon Oliver acquisition, but this new Flap Jack has my attention due to the space saving measure! That said, the Andersen Blocks have magnets for optimum positioning and a lipped edge to prevent the stabilizer from slipping off. Both product lines are probably equal in their intended use and solid, given their varied construction. -
The auto changeover (dual) regulators do have issues and many choose not to rely on them and thus, would rather resort to turning only one tank on at a time. Adding a ‘T’ would suffice for the ‘one tank on at a time’ users, but would still require a (single) regulator. Regardless and to your point, carrying a spare could ‘save the day’ (think camping trip!) in the event of a regulator failure due to wear or a malfunction. Your mention to use a 90° street elbow is golden, better fitment with less bends in the hoses!
-
Many have put a manual valve between the dump outlet and the sewer hose as a precaution in the event of a much dreaded black tank leak by the factory installed valve(s). I had one for a while prior to installing the Drain Master, at which point it was then unnecessary being that system has a builtin valve at its terminus. Others, like yourself, go with the electric valves for convenience and much the same reason.
-
How can one possibly enjoy the experience in only 10 minutes max?
-
Sea Biscuit Rear Basket and Storage Boxes
Ronbrink replied to Steve and MA's topic in Ollie Modifications
@rich.dev, are those cinder blocks concrete or a lighter-weight composite you’re hauling around? -
You can buy an end cap with a garden hose connection, but it is centered. As a cost savings measure and better drainage, I drilled a hole at the bottom of the one that came with the DM system and fitted it with brass adapters. I can use this smaller silicone hose to drain gray water as needed, and it serves as a ‘sight tube’ to indicate a valve (black or gray) leak; the tube has a terminal valve.