-
Posts
1,075 -
Joined
-
Last visited
-
Days Won
31
Everything posted by Ronbrink
-
My original Dometic thermostat only serves the furnace now. I was able to utilize the former stock control electronics and DC wiring, which were housed in the Atmos 4.4 and thus, no need to route additional wires.
-
Just checked, we have the Model EFD 330 rather than the recalled EFD 310. Thanks for posting this!
-
Correct, the air distribution panel controls are on the front right when looking forward from the rear of cabin. I was able to retain the Dometic thermostat for continued use in operating my Dometic furnace, as discussed in my home install of the similar Deiha Atmos 4.4 that SDG was selling before switching to the Tosot due to supply cost issues. The only issue I’ve experienced in regards to roof runoff, whether from the a/c unit or rainfall, is stained streaks from leaf tannins and thus, try to avoid campsites with tree cover to the extent possible. Although the condensate is slightly more acidic than rainwater, there is no real harm caused to a properly maintained fiberglass gelcoat (think waxed or ceramic coated). I carry a spray bottle of water/Dawn/vinegar solution to quickly remove said streaks as they develop in camp, as well as any tannin brown stains found on the roof when washing the Oliver after each trip prior to storage. For these targeted areas, a Mr.Clean Magic Eraser is a very effective, nonabrasive tool for spot treatments.
-
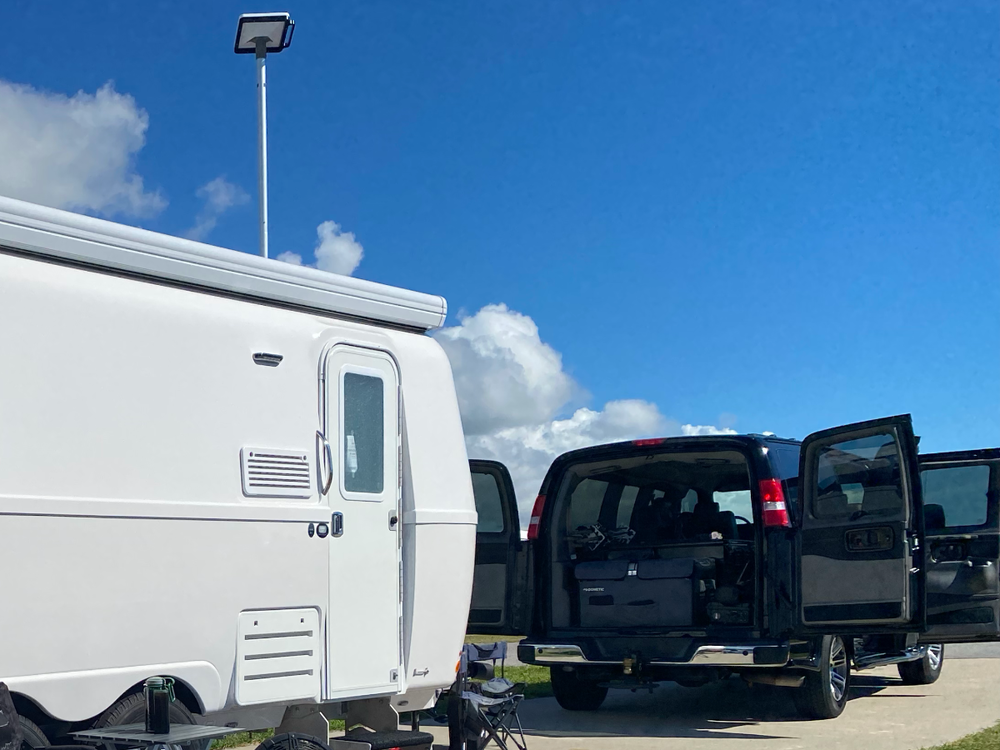
Recent trip to Galveston Island SP, still love’n the Savana’s rear and side doors for easy access to the cargo bay!
-
I used to carry the smaller version, but got the larger model that holds more condensate to keep from having to go to the COW Barn so often to empty when in storage; high RH is a thing in Clear Lake (Houston) being near the GOA coast! Several owners have these and are pleased with performance. Although still carried with when traveling, I no longer rely on it to control cabin humidity; my Cielo Breez Max a/c controller efficiently maintains a comfortable 40-50% average level in the Oliver at all times, whether in the Oliver for extended periods or away.
-
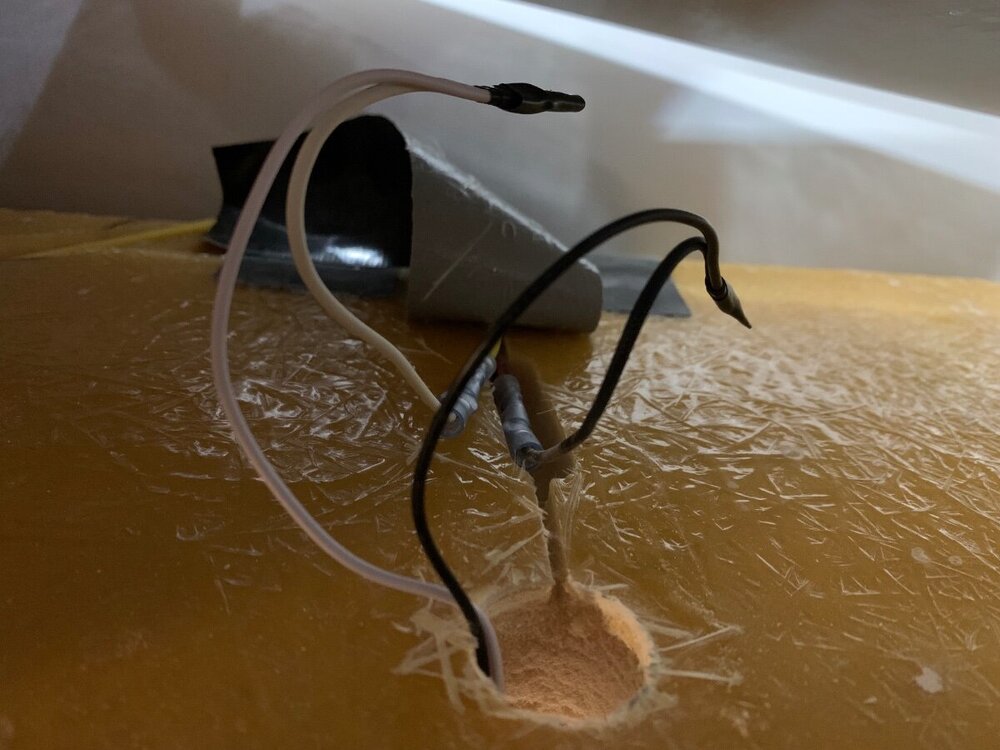
All of my lead wires were black/white, ceiling and under cabinet. In your situation, probably black to the red and white to the yellow; in my trailer yellow designates ground/neutral. These are quality lights and thus, expected to hold up well; no issues to date and so much easier to operate. The former lights were indeed frustrating, which lead me to do the total light replacement, no regrets!
-

Starlink Mini Installation- 2022 LEII- Alternate Approach
Ronbrink replied to dhaig's topic in Ollie Modifications
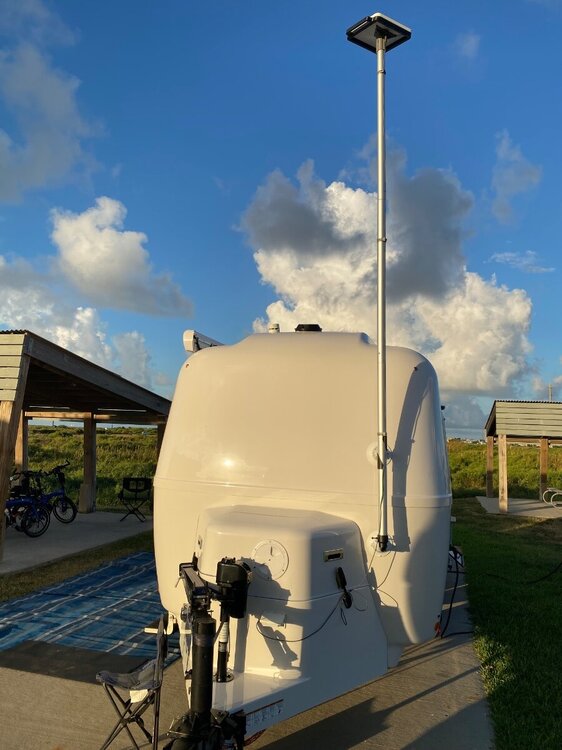
To be clear all, I’m talking Starlink Mini due to it’s size and fact that is what I have experience with. I think it’s good to have a variety of mounting options and locations given the vast diversity of situations one will encounter. I have found when traveling that simply placing the SLM on the TV dash provides adequate service regardless of the direction driving. With magnetic mounts the SLM is securely affixed atop the TV whether underway or stationary, and when in camp the TV can be parked in clear view some distance away and still have strong Wi-Fi connection in the Oliver. I think the best of options is to simply position the SLM on a nearby table, ground/tripod or any workable surface for a ‘quick and easy’. And then there’s the mast, it takes all of five minutes to setup and no way, nohow cumbersome! Currently shown here at our Galveston Island SP campsite at full height to test use in high wind gusts, no problem! -
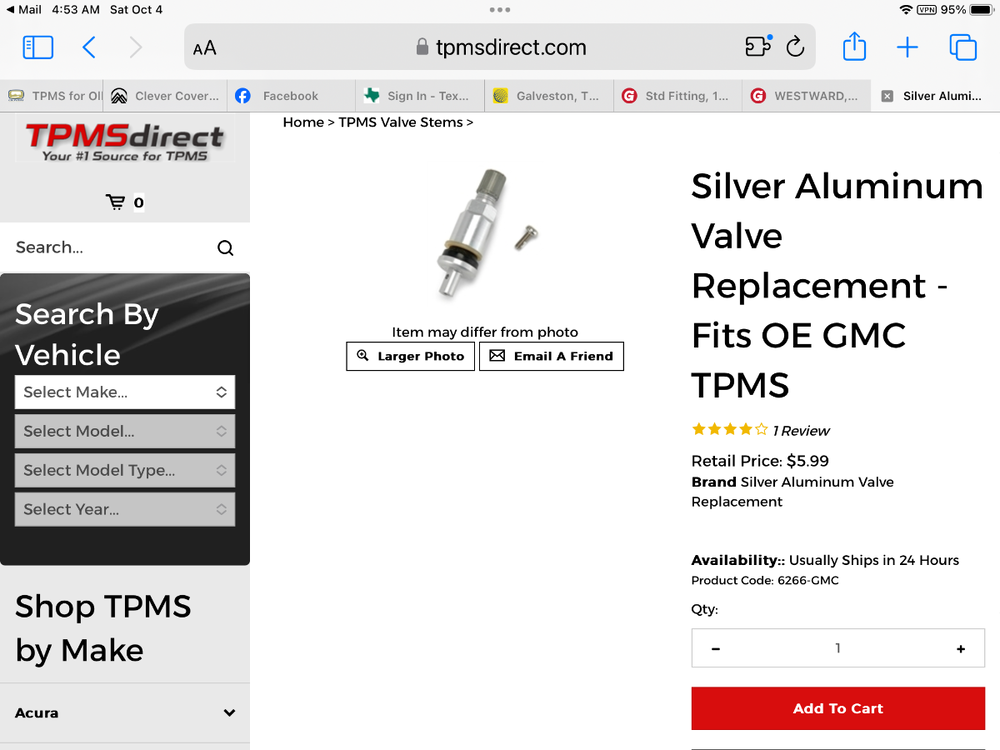
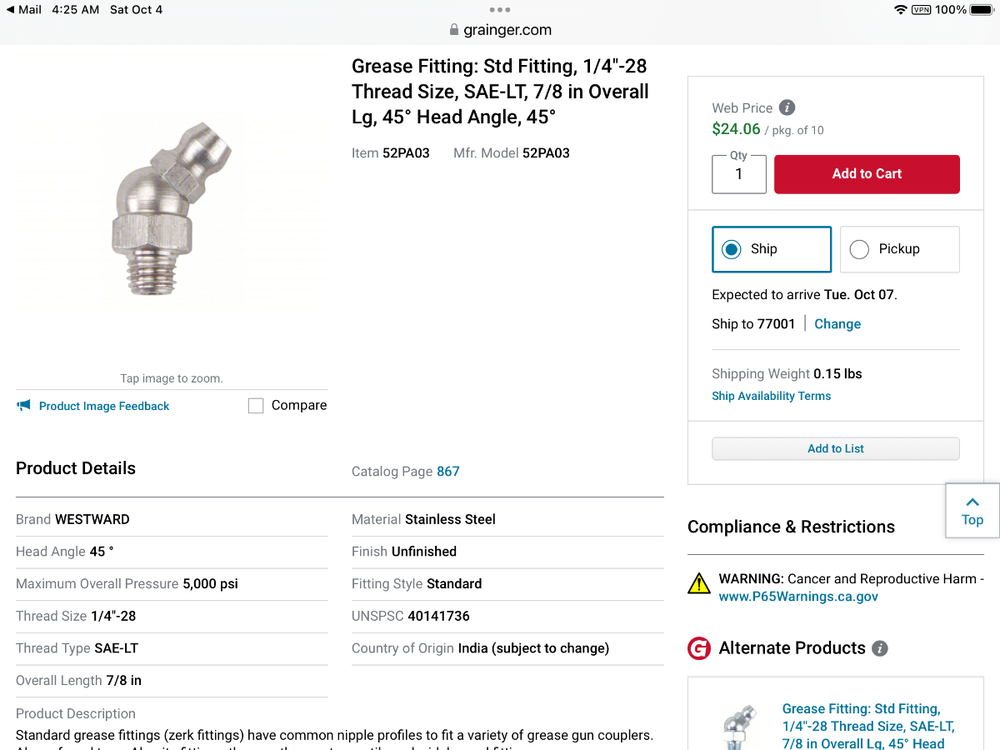
My Savana van has built in tire pressure sensors and dash display monitor, but that TPMS system will not alert me if there is an on-going issue indicating a tire going flat or wheel overheating. If upgrading to metal valve stems to accommodate a secondary TPMS system, it is important to know that replacements are vehicle specific to ensure proper fitment to the stock wheel sensors. I acquired a set for the van, as shown below, and had them installed at Discount Tire for a nominal fee.
-

Full Suspension Replacement - Alcan Spring and Dexter D52 Axles
Ronbrink replied to jd1923's topic in Ollie Modifications
-
Good question, I have yet to encounter that situation since acquiring the Starlink Mini. I utilize the $5/mo Standby Mode plan for low-speed data to simply operate the Cielo, as necessary, and some Victron components. I know that once Cielo Comfy Mode is initiated using Wi-Fi to turn on the a/c via the phone app, it will continue to operate in that mode without a Wi-Fi connection. The a/c can then be turned off via the Cielo touchscreen if Wi-Fi is unavailable. I will have to further test for potential limitations in regard to your question.
-
No, but here is an AI response to your question: If you turn on the RV's water pump while connected to city water, and assuming your city water pressure is sufficient, the pump will not operate because the city water's pressure will prevent it from turning on, and you will draw only from the city supply. However, if city water pressure is too low, the pump will kick on to supplement it by drawing water from the fresh water tank. A check valve in the system prevents the city water from flowing back into the tank or pump.
-
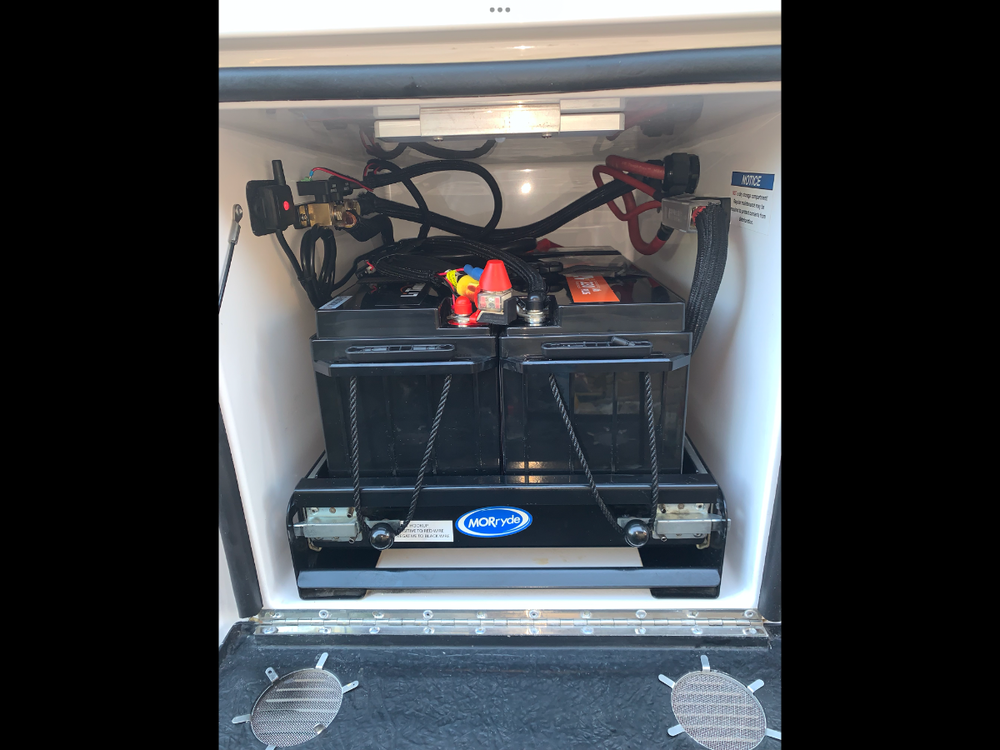
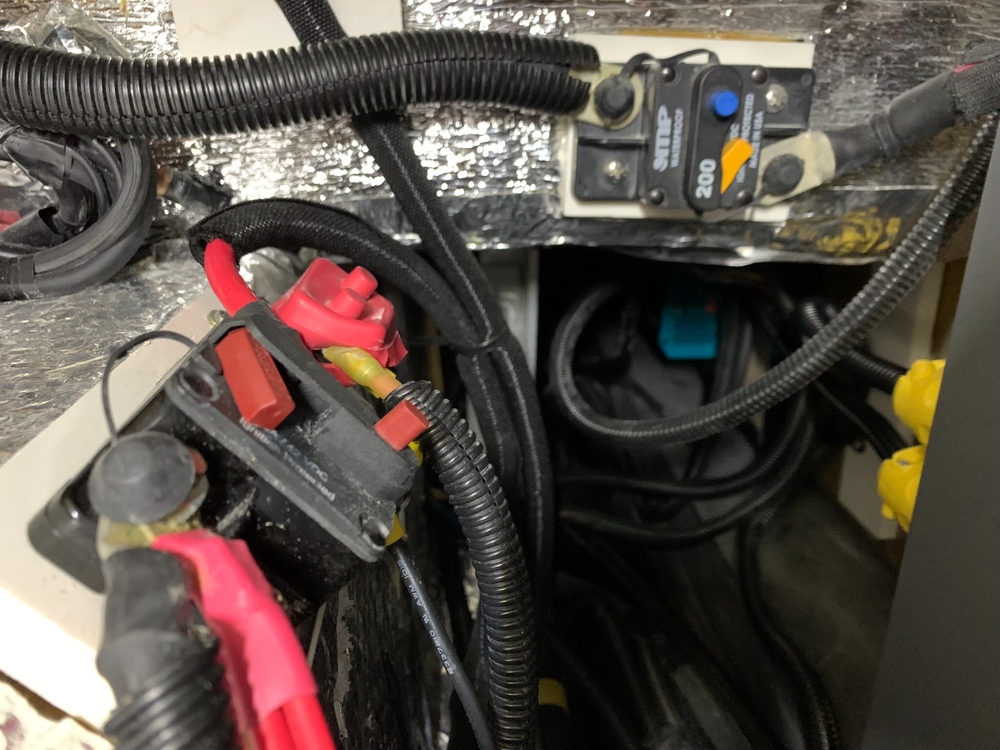
I used both the MRBF and ANL (250A each) with my LFP upgrade, as well as a Victron SmartShunt. I didn’t add a monitor for the SmartShunt, just use the Victron Connect app. I considered adding a battery cut-off switch, but just use the stock 200A blade breaker between the batts and inverter in like manner. I have the Xantrex 2000W in my 2020 OLEll.
-
To be clear, Wi-Fi is required to initially setup the Cielo to configure use with the Home app on a smartphone. However once desired settings are programmed and Wi-Fi is discontinued, the air conditioner can still be operated manually via the touchscreen on the device to change the temperature, mode (Cool, Heat), fan speed and swing position. AND contrary to the above quoted statement, in the absence of Wi-Fi the Cielo can still be turned off. More on this later.
-

Starlink Mini Installation- 2022 LEII- Alternate Approach
Ronbrink replied to dhaig's topic in Ollie Modifications
And this is mine for a quick and easy setup when needed. Works great for stationary use with clear view of sky above. The rubber-coated magnets serve to prevent the incased SLM from sliding on the slightly sloped front housing; power via the duplex receptacle. -
I’m aware of this void from viewing other owner pics, but not sure how supportive the bottom would be to utilize as additional storage; however care would need given to protect existing plumbing and electrical components. I’ve never had reason to remove the basement floor for access to do repair/maintenance/modifications, but would certainly further evaluate your thought of this potential added storage space.
-
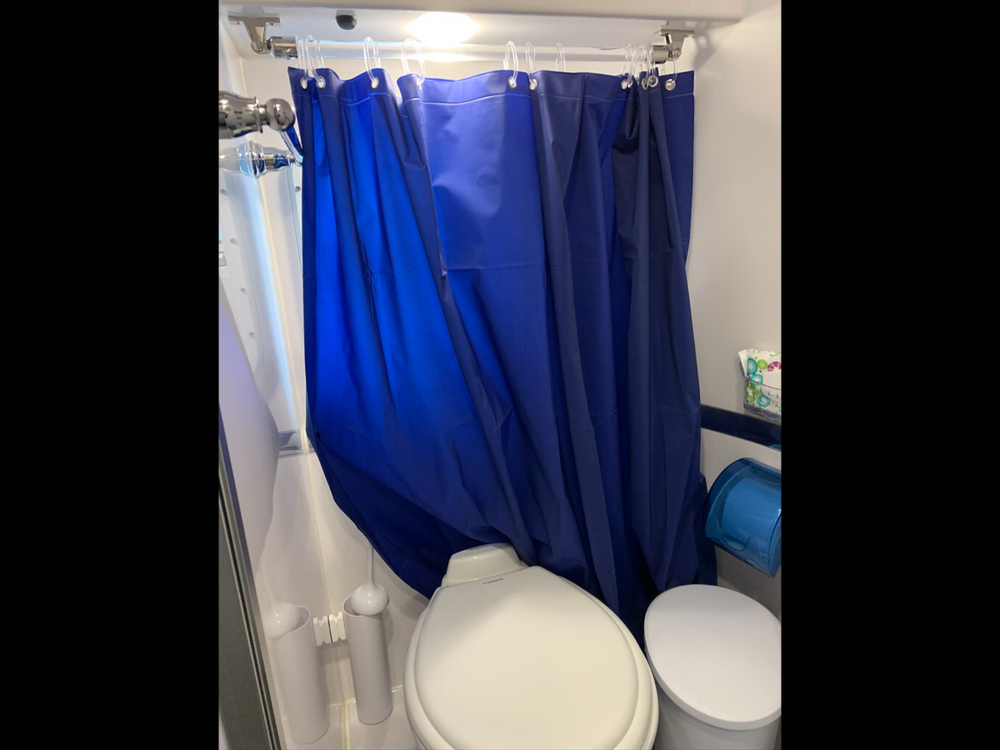
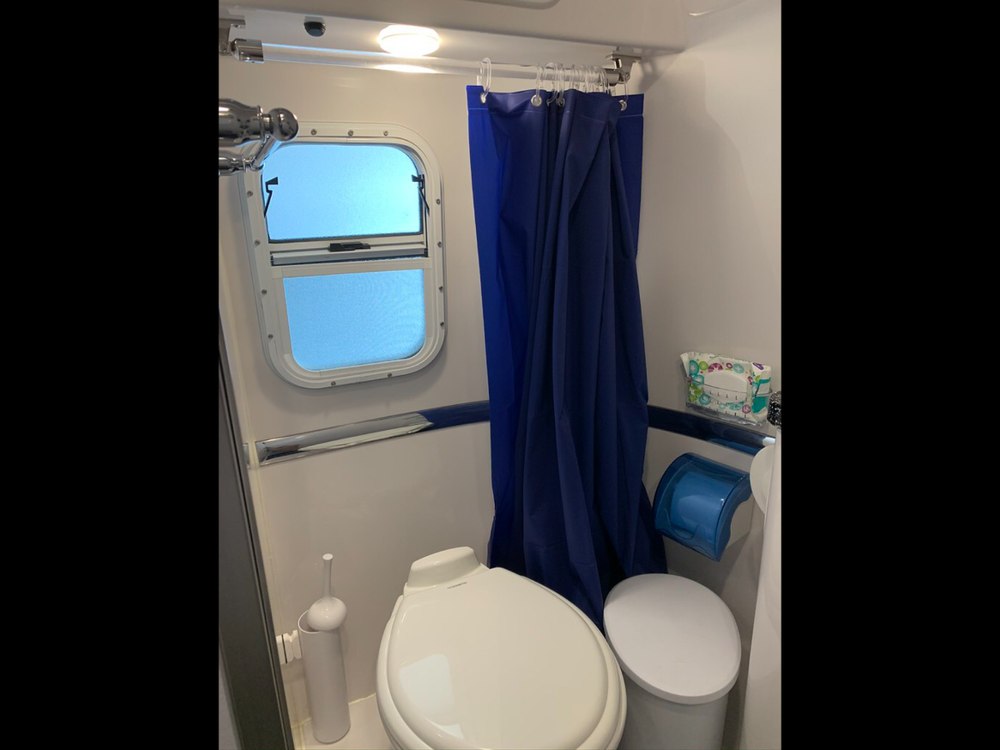
I installed a shower curtain from underneath the cubby for privacy and shower protection. It generally hangs in the corner of the wet bath when not in use, and either pulled in front of the window or then draped over the toilet as needed. Any typical shower curtain trimmed to length will suffice. The stripped one didn’t provide privacy when the window was cracked open for ventilation and thus, the solid blue which better matched our decor.
-

Suburban furnace not turning on, only Dometic AC fan
Ronbrink replied to ChristianD's topic in Mechanical & Technical Tips
I installed GasStop RV Propane Emergency Shut-Off Valve Gauges on both propane cylinders, which are also useful in testing for minor leaks and purging lines when cylinders are first opened. -
When traveling, our COW is turned out to pasture!
-

Changing tires in the wild - lessons learned
Ronbrink replied to John and Jodi's topic in General Discussion
This somehow got posted twice. Perhaps admin can delete one. Thanks -

Changing tires in the wild - lessons learned
Ronbrink replied to John and Jodi's topic in General Discussion
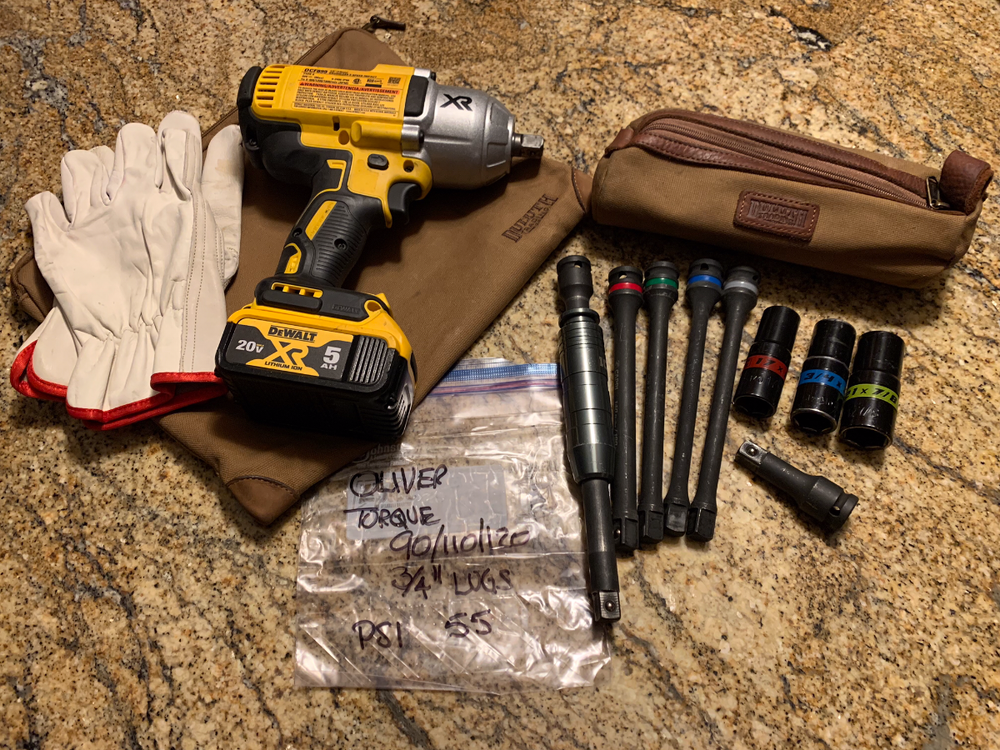
Great advice! I will add, if a spare tire is needed one should swap the sensors so the tire on the ground continues to be monitored as positioned on the TPMS display. To your point, the TST brand monitors spares, as well. This plus a battery charger and torque wrench. I find the torque limiting extension bars more convenient and accurate enough for wheel lugs, but the standard ‘click’ torque wrench offers better piece of mind in some instances, like axle suspension components. -

Changing tires in the wild - lessons learned
Ronbrink replied to John and Jodi's topic in General Discussion
Great advice! I will add, if a spare tire is needed one should swap the sensors so the tire on the ground continues to be monitored as positioned on the TPMS display. To your point, the TST brand monitors spares, as well. -
No name, but often referred to as My COW (Condo-on-Wheels) and storage facility the COW Barn.
-
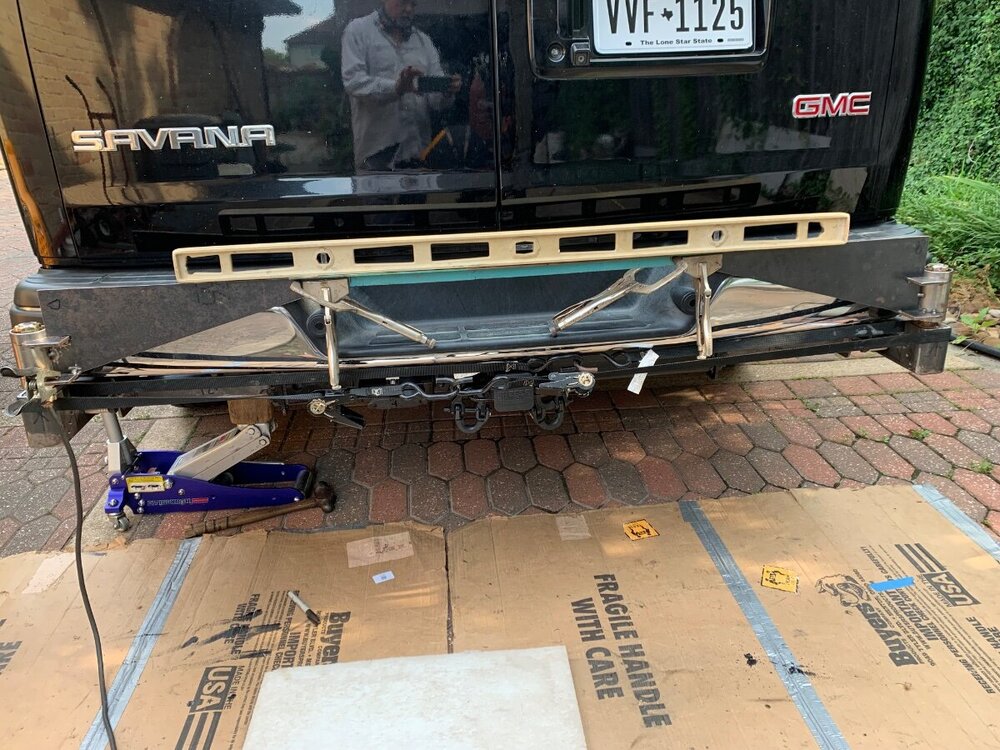
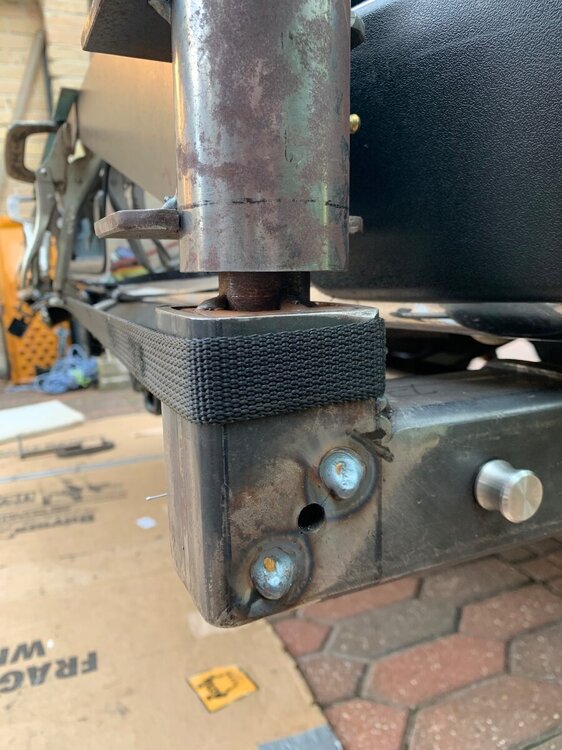
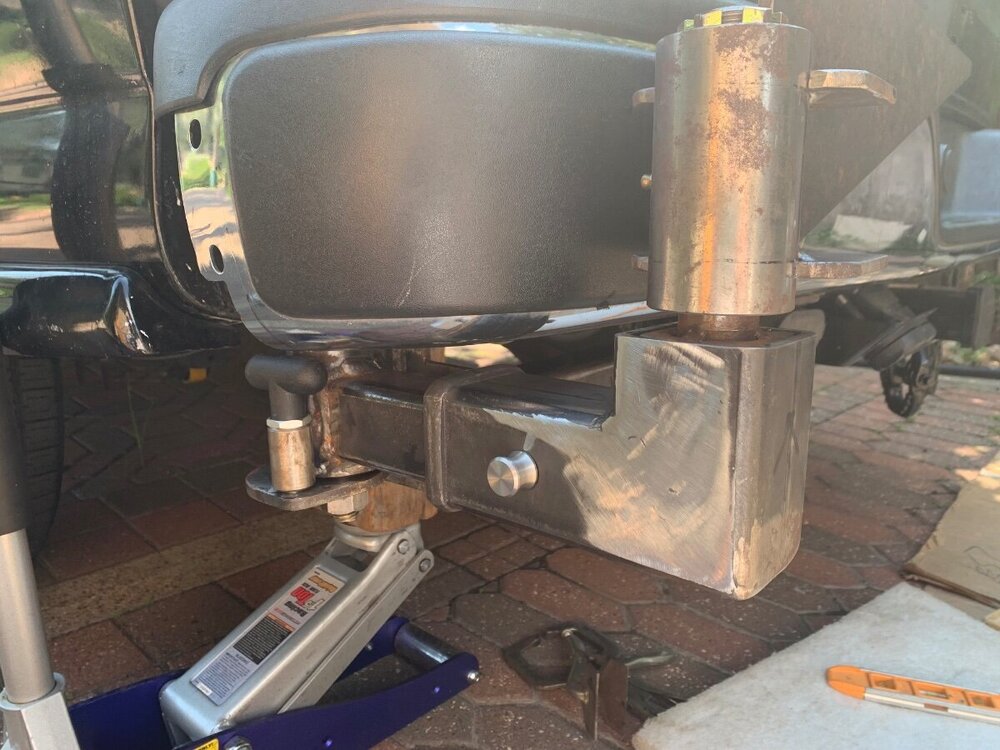
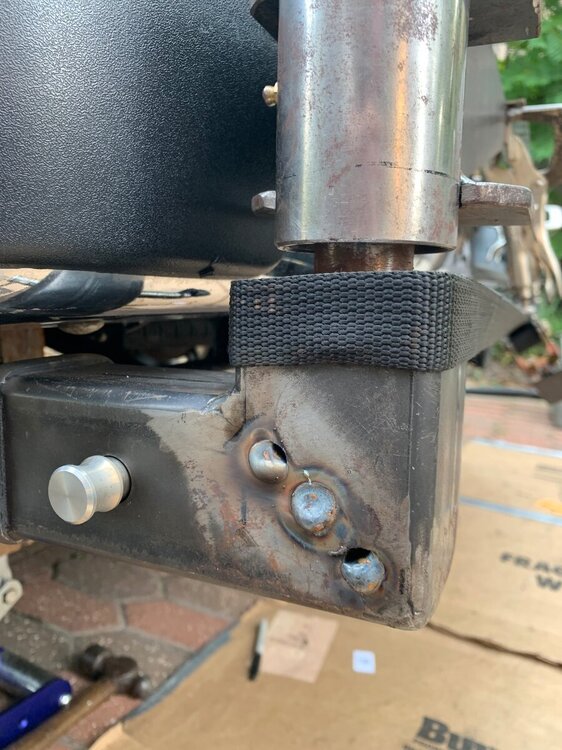
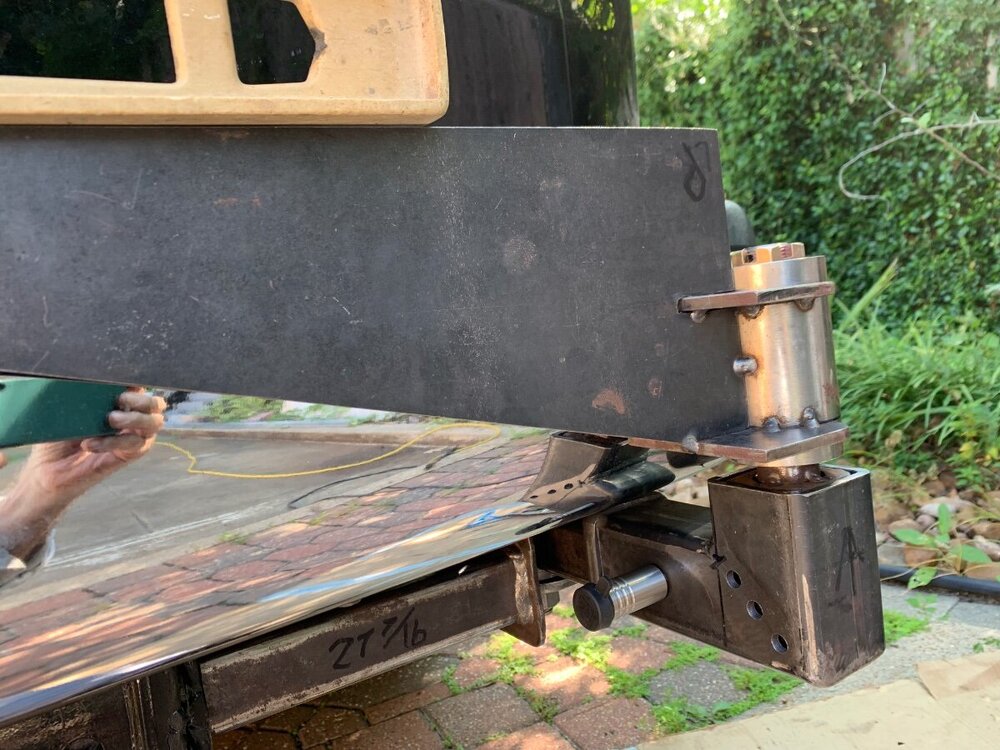
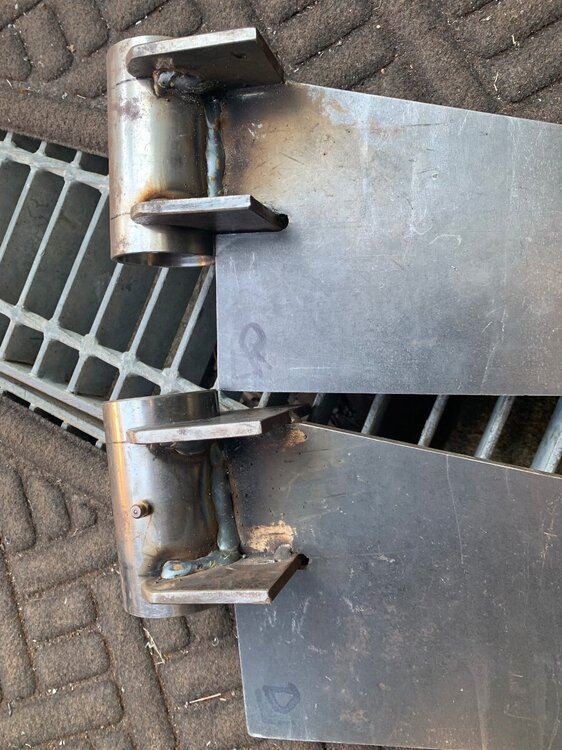
More progress, dual swing arm alignment. And yes, I was very nervous about welding on the Savana; one precautionary measure was a total battery disconnect under hood. Once aligned, spot welds were made at predrilled holes on each of the secondary receiver hitch/spindle bearing hinge assemblies. Finishing welds were then completed in the shop.
-
Thanks for the flashback; bottom line, upgraded TV good, stock TV bad!


