Ronbrink
-
Posts
1,152 -
Joined
-
Last visited
-
Days Won
35
Everything posted by Ronbrink
-
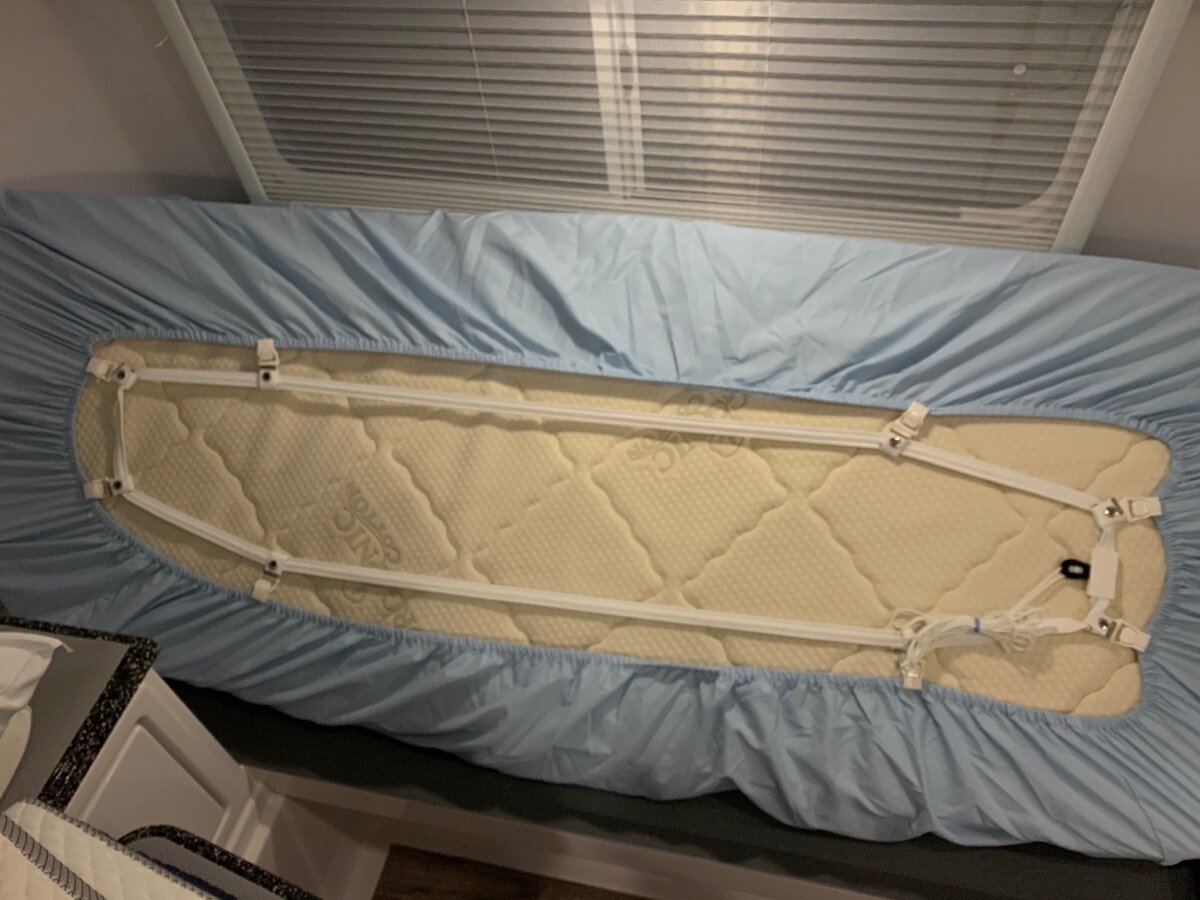
I too have the KTT twin bed mattresses; and yes heavy, but manageable. I simply stand them on edge when securing the fitted sheets with Bed Scrunchies or to access the hatch areas, I use the hatch doors to prop them up. I also place them on edge when in storage to prevent mildew.

-

Run 12v System w/out Batteries in Oliver 1
Ronbrink replied to GeoffChapman's topic in Mechanical & Technical Tips
If that 12v circuit breaker with manual reset trips again, plan on replacing it! I replaced the cheap, low quality stock breaker in my OLEll with a high quality Blue Sea Systems breaker. Problem solved! -
I’m not aware of any Oliver owners applying the Cielo to an inverter a/c install, but reference was made in the below post that those units do not have variable speed air supply fans and the Cielo may provide benefit. I do know that the Cielo thermostats are primarily marketed for mini-split units, many of which use inverter technology. As for your questions, TBD! Installing Pioneer Inverter AC By Treasure Coast Vault June 3 in Ollie Modifications
-
When ‘inquiring minds want to know’, ask AI! My question: Will the Starlink Mini support use of two laptops streaming TV content? AI response: Yes, the Starlink Mini can support two laptops streaming TV content simultaneously, and often even more devices. The built-in Wi-Fi router is designed to handle up to 128 devices, and real-world tests show it works well for multiple streaming sessions. The main factor influencing performance will be the available bandwidth at your specific location and time of use, as speeds can vary. Performance and Considerations Speed: The Starlink Mini typically delivers download speeds over 100 Mbps, and users have reported speeds over 200 Mbps in optimal conditions. This is more than enough bandwidth for two simultaneous high-definition streams. Reliability: While generally reliable, speeds may temporarily decrease during peak network times or due to minor obstructions, which could cause a brief glitch in a stream. However, in most scenarios, users report no issues with multiple concurrent streams. Data Usage: Be mindful of your data plan. The Roam 50GB plan has a data cap, and streaming TV content consumes a significant amount of data. The Unlimited plan may be more suitable for frequent, heavy streaming use. Built-in Router: The Mini has an integrated Wi-Fi 5 router, which is sufficient for a campsite or small area. If you plan to be further away or want maximum performance, some users suggest adding an external hardwired router.
-
Brilliant!
-
Following installation of the Atmos 4.4 last year, some may recall I replaced the stock Dreiha remote with a Gree aftermarket remote; primarily due to its backlight feature. Here is the pic posted October of last year: Upon installation of the Cielo Breez Max, I immediately resorted back to using the Dreiha remote thinking it to be the only one compatible with the Atmos and said device. However, I was experiencing a programming issue regarding that remote’s timer, which was turning the air conditioner on unexpectedly. In toggling through the remote buttons I was inadvertently setting the timer, which became a hassle and very frustrating. Hence, I resorted back to the Gree remote and turns out it too is a listed compatible remote for the Cielo. I’m posting this for other owners with Gree branded air conditioners that may be experiencing a timer issue and affirm the Gree remote’s adequacy and compatibility regarding the Cielo.
-
Gonna keep the Jensen TV for those few times when need be, but agree the SLM and iPad (in our case) are a better and more convenient alternative for viewing pleasures!
-
Changing tires in the wild - lessons learned
Ronbrink replied to John and Jodi's topic in General Discussion
Good point, and it’s even harder pushing the plug in as far as recommended. I ended up using liquid dish soap to lubricate, did the trick! Some kits come with either a lubricant or a sealant, which serves as the lubricant. -
Changing tires in the wild - lessons learned
Ronbrink replied to John and Jodi's topic in General Discussion
So true. The former are solid plastic and better suited for the passenger tires on the SUV. The new tools are solid aluminum and a much better fit for the intended purpose. Definitely shy away from the cheap plastic ones that can’t withstand the excessive forces needed for our trailer tires! -
Changing tires in the wild - lessons learned
Ronbrink replied to John and Jodi's topic in General Discussion
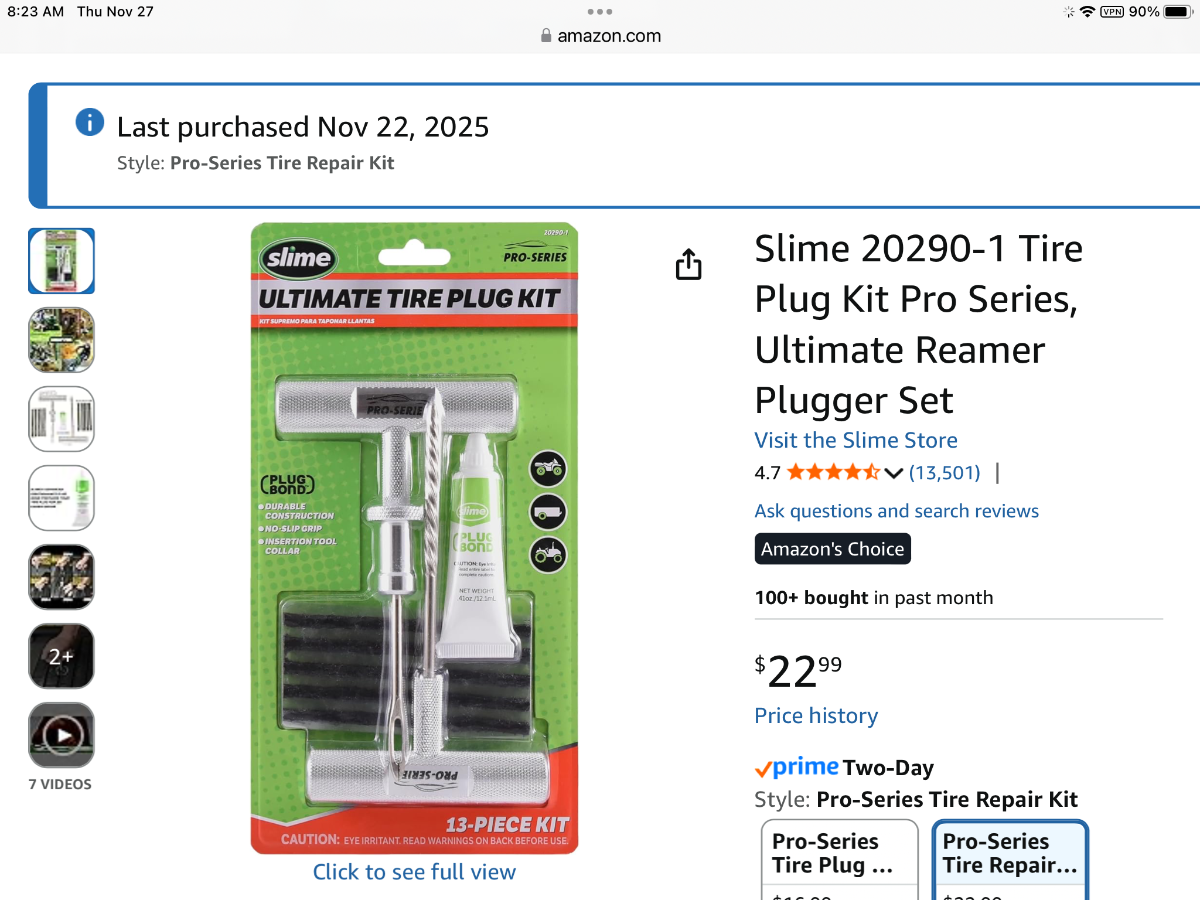
Last week at Galveston Island SP, used my tire plug kit to repair where a screw was causing a slow leak. Tried doing it with the tire still mounted, but those Load Range E tires are really stout and ended up having to remove to get more leverage. The Bottle Jack/Jack Stand, VIAIR, DeWalt impact wrench, assorted lug nut sockets and torque limiting impact extension bars all came into play! Upon return home I ordered a heftier tire plug kit and will put the former in the wife’s SUV. Bottom line, BE PREPARED!
-
Alcan spring kit sprung stiffer or is it bad roads?
Ronbrink replied to taylor.coyote's topic in Ollie Modifications
No Alcan upgrade, but kinda recall owners saying there is a reduction in the initial spring stiffness over time as they wear-in. I did however, recently install new Bulldog shocks and first go had things shift more than the prior; like hangers off the rail and propane housing dislodged from the center hanger mount. Luckily, all mellowed out in short order as the shocks quickly broke-in. -
Valid concern, gonna research the issue for my own personal understanding.
-
One can easily find out if the Cielo is comparable with their a/c by way of its remote. I did see that the Truma Aventa remote is compatible and there was one Houghton remote, as well. The following is from the Cielo website: Device works with more than 175+ AC brands covering 1800+ remote controls. To check your air conditioner’s compatibility with the device, go to the following link: http://remotes.cielowigle.com/and choose your brand and remote model number.
-
Although you likely have an electrical-related issue, the stabilizers jacks can also be manually operated.
-
You will pay a premium for any Starlink accessory, Amazon offers a lot of quality aftermarket products. At minimum: The SLM comes with a 15 meter cable, a shorter 5 meter will come in handy. The supplied power box is a 110 to 12V converter, you will likely want a setup to utilize 12V type outlets.
-
Did you check the fuse, there’s one for each stabilizer jack; for the two rear jacks, located under the street side bed area.
-
I have noticed that some sensors (both temp and humidity) are more sensitive than others, so despite the calibration I still see a slight variation in readings between devices.
-
You might want to check the actual wire connection, I had one of the spade connectors come loose and resolved a similar electrical problem by simply squeezing the connector with pliers for a tighter fit.
-
I took a look at the SoftStartUSA.com website and saw several YouTube reviews posted therein. Also, Mike Sokol strongly backs this product on the site. I did read that it is incompatible with units equipped with an automatic transfer switch and it’s a more costly option than the wire installed version, but said to have surge protection as well.
-
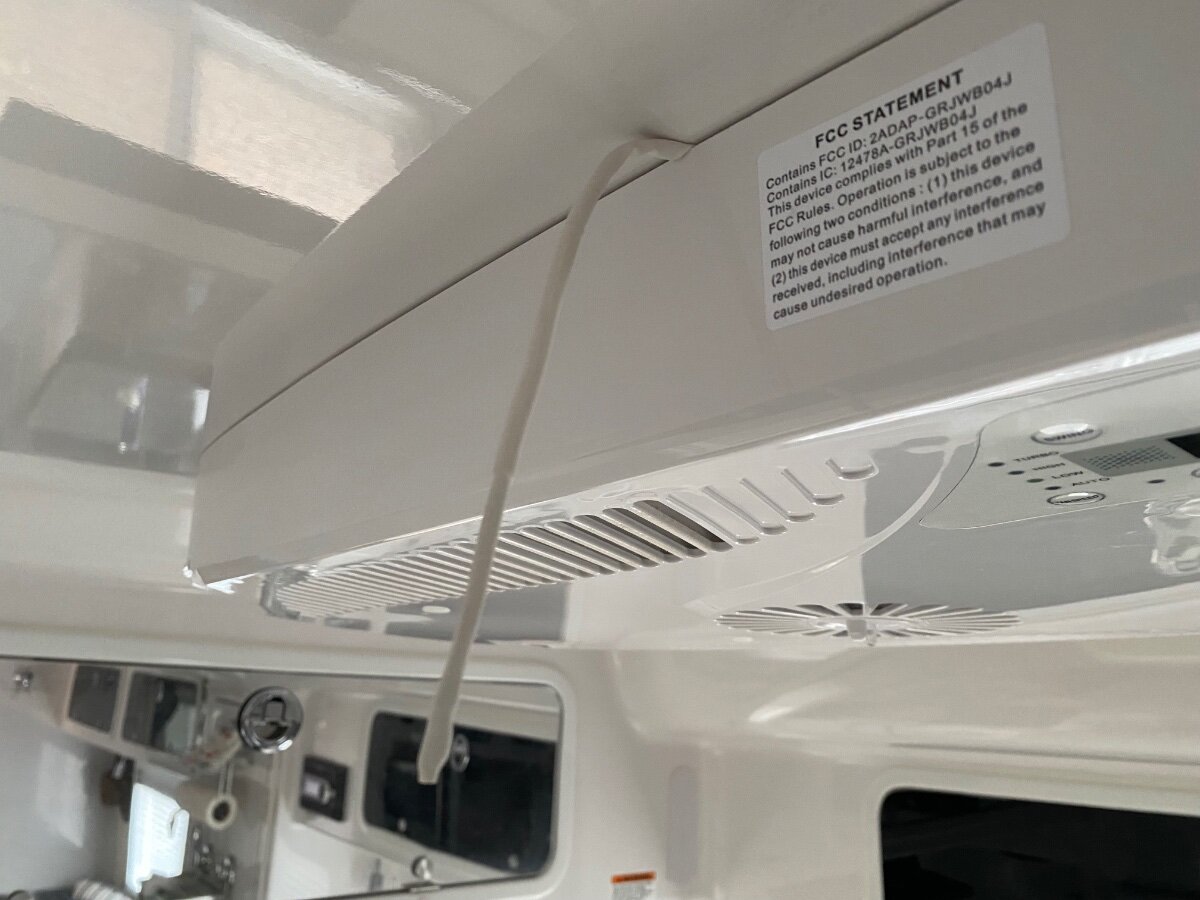
The Cielo mimics the unit’s remote utilizing IR to extend control of the air conditioner as a ‘smart’ device. It has built-in temperature and humidity sensors, and provides advanced features via WiFi and the Cielo Home app. Both temperature and humidity parameters can be calibrated to more closely align readings if disparities occur.
-
The Atmos is the same, being inside at one of the intake filter locations. From reading one of your past posts, I decided to move mine out to open cabin and left it like that for no particular reason other than things are working great. Now that I have some experience and know what to expect, I may move it back to see if there is any difference.
-
A point was made in the vid not to run the generator on eco mode.
-
The Cielo doesn’t override a unit’s fan control, but rather turns supply power completely off or on with each cycle of the compressor when programmed in Comfy Mode. When a set temperature is reached a total shutdown occurs; there is no power to run anything, compressor or fan. Subsequently when a programmed setpoint limit is reached, the Cielo restores power and the compressor and fan startup in sync.
-
I saw advertised this morning and thought it may be of interest to some, plug and play SoftStart! A demo vid featured use of a 15A to 30A dogbone adapter with a 2000W generator to run an RV a/c w/o such device. Impressive!
-
The Ceilo Breez Max smart thermostat claims to be compatible with a/c units having IR remote capability and thus, Houghton models with said remote should adapt; the Truma Aventa comes with an IR remote and should adapt, as well. Conversely the Dometic Penguin ll does not come with a remote, nor is one available as a separate option, but rather hardwired to a wall thermostat thereby rendering it incompatible with the Cielo. Still waiting for a Houghton and Truma owner to up their game and give the Cielo a go! The setup is so simple; download the Cielo phone app, plug into a USB port to power the Cielo, follow instructions to pair the IR remote, operate the a/c via the Cielo’s touchscreen or phone app. If found to be incompatible, do an Amazon return! ‘Nuff said.