

MAX Burner
-
Posts
1,668 -
Joined
-
Last visited
-
Days Won
68
Posts posted by MAX Burner
-
-
Always love a clean engine bay!!! Nice looking compartment, @jd1923! Well done, brother!
-
 1
1
-
-
Good discussions and points of view regarding this "OTT Spring Issue". What a great group!!!
Speaking with Mike, I asked about ALCAN's track record, and can confirm @Patriot's comment that indicated they've never had a set of springs returned. Don't think Dexter can make that claim. But that's not the only reason why we're upgrading our suspension with ALCAN 5-packs.
OBSERVATION: There may be a couple "OTT owner" camps here - there are those owners that purchased their rigs new from Oliver and those, like us, that bought used. Those buying new know exactly where their rigs have traveled, they know the level of maintenance performed over the years, and they know what's been broken, replaced, and upgraded.
OTOH, those owning 2nd/3rd-hand Olivers have absolutely no clue how their treasured rigs were treated by previous owners, at least we sure don't. That said, especially concerning running gear, we don't take any chances and err to the side of safety. Short of taking our springs to an NDA lab for analysis (not a cheap date, either) - we've decided to go with the ALCAN 5-pack upgrade for peace of mind.
For those that choose not to have their springs NDA-inspected, having a spare in the bottom of the tool box might be a prudent action, IMO.
Totally agree with @hobo's assessment - $'s well spent. 'Nuf said here....
Cheers!
-
 6
6
-
-
OBTW: Our new USA-made steel 5-pack springs should arrive from ALCAN Springs (Grand Junction, CO) around MAR26-ish. $671 (incl. new U-bolts), no tax, plus shipping to NM from CO.
FYI: Owners interested in this mod should note that according to Mike from ALCAN, U-bolts are a one-time use item. Once they're mounted and torqued to specification and re-torqued after 50 miles, they form a "stretch fit" and cannot be reused once originally fixed to an axle.

-
3
-
7
-
-
28 minutes ago, Ronbrink said:
I tend to agree, the key word is ‘classic’! This is my ‘82 CJ-8 Scrambler, less than 70,000 made in the 1980-1985 model years.
Agree with @Ronbrink and @jd1923: "Old" is not necessarily a bad thing (sometimes). Here's my '84 R90, just north of 35k miles (my son and I literally took it to bare metal and brought it back to life in '06):
-
4
-
 2
2
-
-
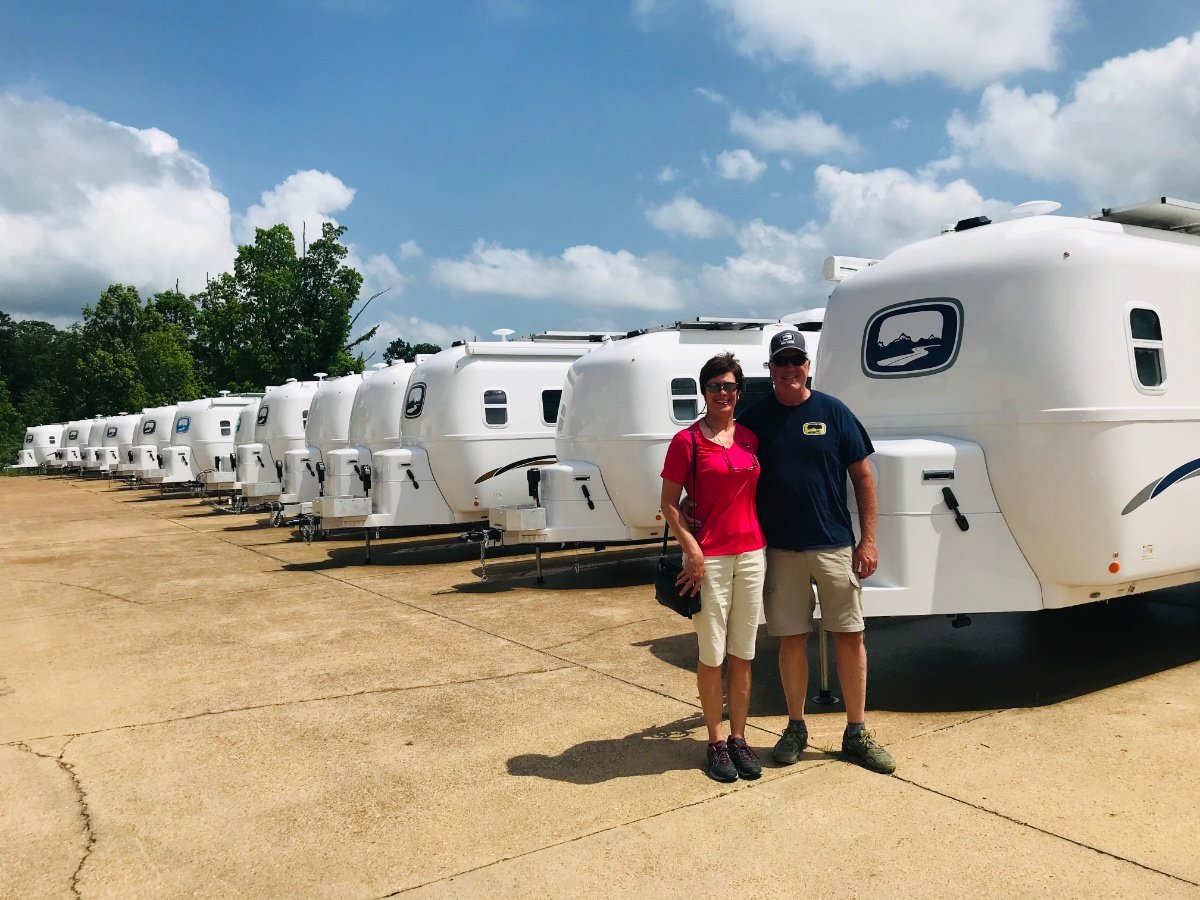
2 minutes ago, Patriot said:
We spotted 13 Olivers in one day. 😄
Hey, @Patriot: How can I get a pair of those Oliver Cargo Shorts? HA!
-
14 hours ago, topgun2 said:
For me, it is one of the best parts of the Oliver experience.
Concur, 100%! It's like our "Fortress of Solitude"....
-
1
-
-
6 hours ago, Mountainman198 said:
Could not find a better shock as nothing cross-references with it. Anyone have a better shock please provide make and part number
Dexter may have a suggestion for a better shock for the OTT running gear. I'll check with Mike at ALCON Springs tomorrow - he may have a suggestion as they do a lot of rock crawler suspension mods....
-
2
-
1
-
-
On 3/8/2024 at 4:54 PM, dewdev said:
Now you can install a hatch into the cellar.
Hummm.... not a bad idea! HA!
-
On 3/8/2024 at 4:54 PM, dewdev said:
You must have filled the holes.
Correct! The 4 mounting holes filled w/white silicone....
-
@Stevon - We replaced our's last year. The shocks were most likely OEM from when Oliver built it - if memory serves, 3 of the 4 were bad. We went with the same shock from Monroe - only difference was they're no longer yellow, they're black now. We'll be checking these new shocks when we replace the leaf springs in a couple weeks. They've got just north of 11k miles on them...FYI
PS: It would be nice if you could add your OTT hull number and year to your signature block so other owners can better help answer any future questions you may have.
-
Thanks, @hobo - we just placed our order for five 5-spring pack leaf springs with Mike at ALCAN Springs in Grand Junction (we'll carry a spare).
-
1
-
-
Nicely done, Brother!
-
1
-
-
36 minutes ago, Wandering Sagebrush said:
The table resides in the closet (inboard side) when not in use.
Same here - belted to the bulkhead with footman loops and 1" tubular nylon strap.
-
4 minutes ago, Wandering Sagebrush said:
That is exactly where the previous owner of our Ollie mounted our Lagun.
Thanks, @Wandering Sagebrush!!!
Seems to really be the correct mount - almost seems silly to mount it below the nightstand drawer now...
What's nice is that we can still drop the table onto the bed rails which fills the gap making a "dog bed" for the 2 Knuckleheads.
-
7 hours ago, jd1923 said:
Will fix the ducts at some point, so the bathroom and closet aren't 15 degrees colder than the open cabin
Exactly right on, Brother! @DavePhelps's approach solves this issue very well, IMO. We've experienced a 15 degree air temp differential between the closet and cabin this winter! Redirecting the bathroom supply from the furnace like some owners have done should help a lot. These two adjustments are on the top of our "next to do" list. Time to warm up that 4" hole saw!
Cheers!
-
11 hours ago, jd1923 said:
Have a garage sale on your shop equipment...
Learned a long time ago - we don't sell guns, ammo, and TOOLS!
-
2
-
 1
1
-
-
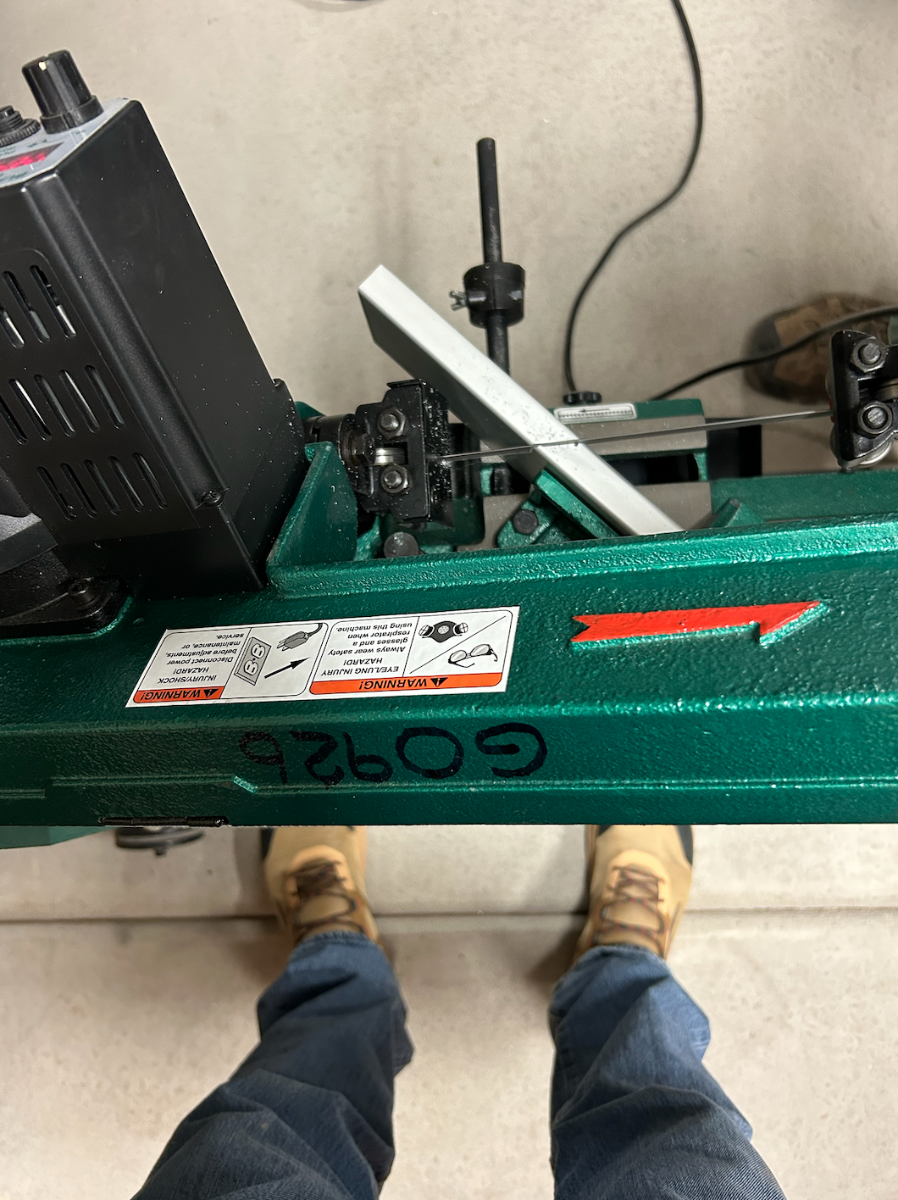
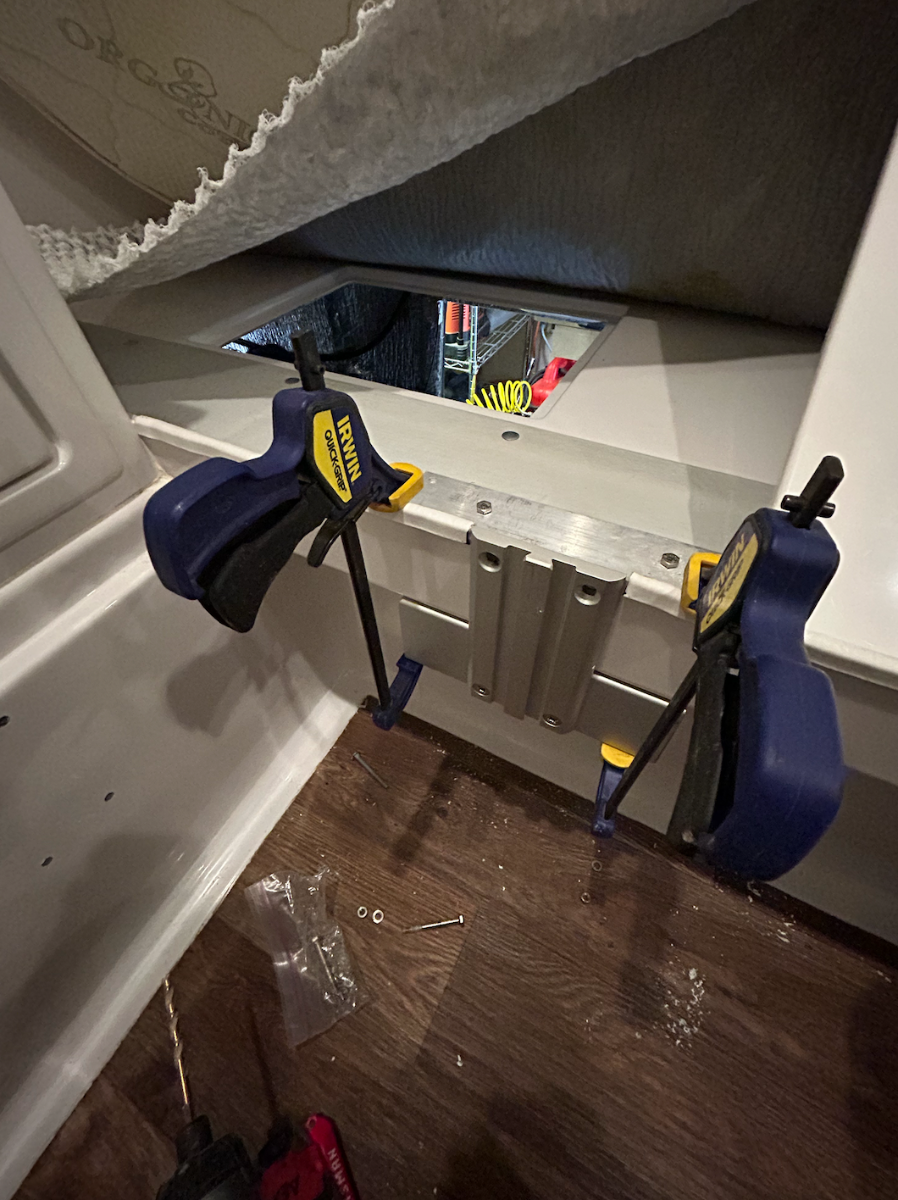
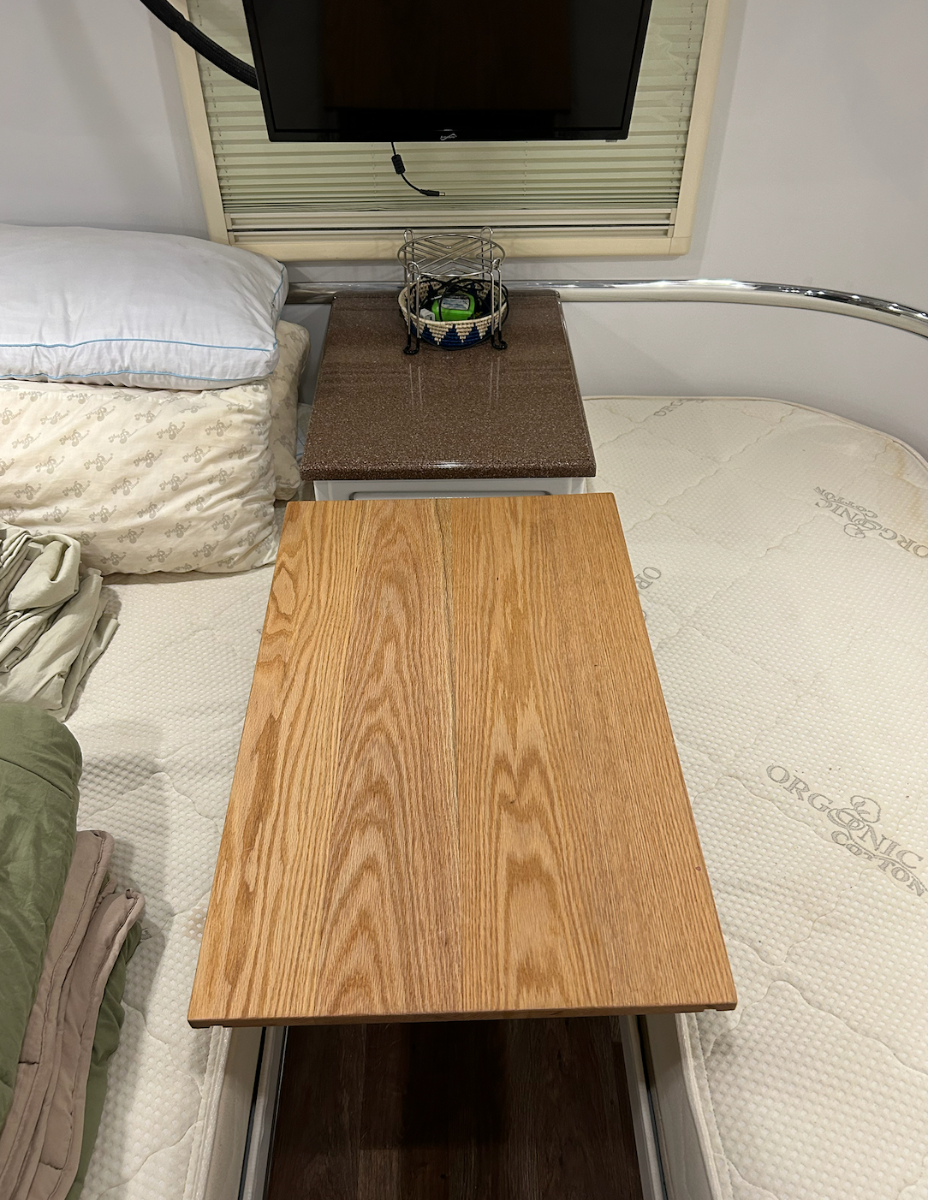
Lagun Table Project Update: Moved the table mount from night stand to street side bed rail using @Overland's detailed instructions:
Been wanting to finish this up since building the Lagun Table top last spring!!!
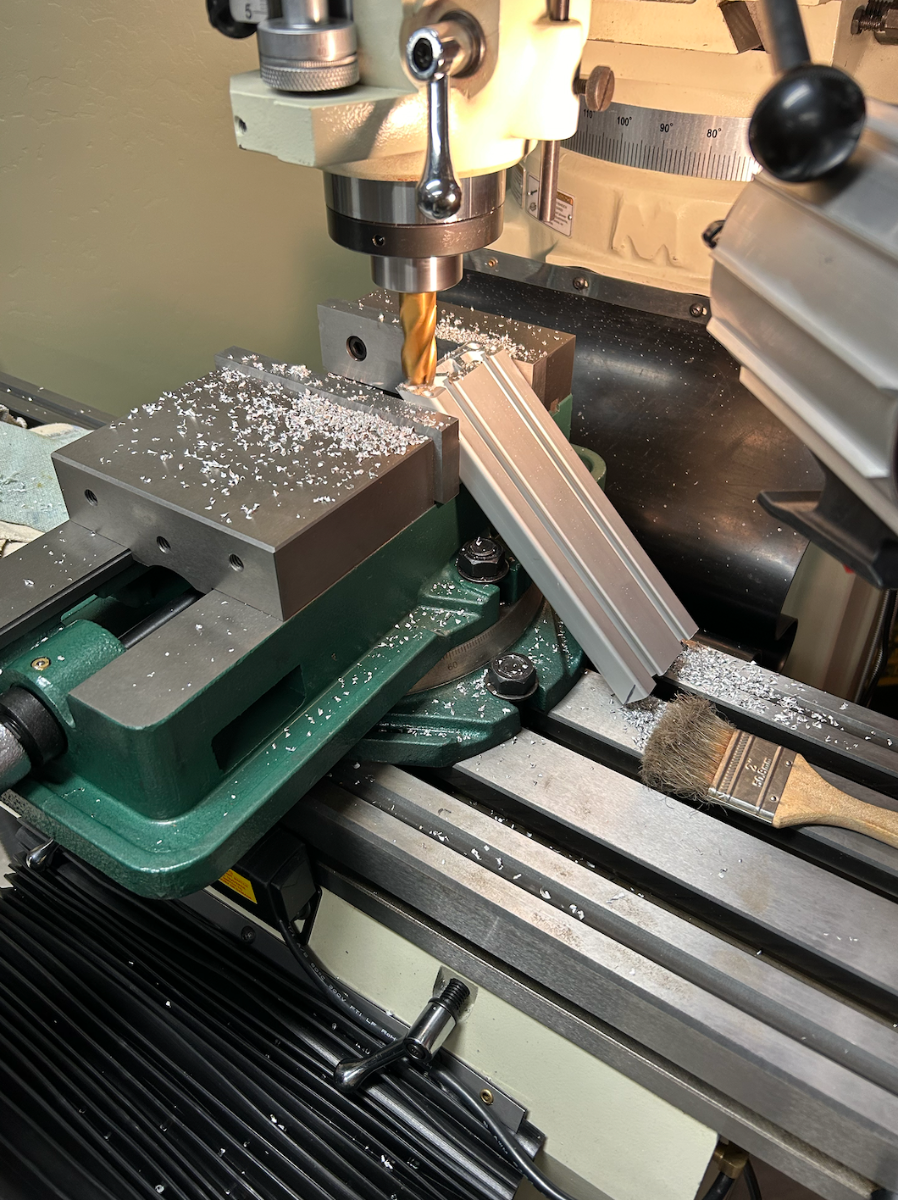
Used a bandsaw to rough cut the four 45-degree ends - then finished them with an end cut bit on the mill:
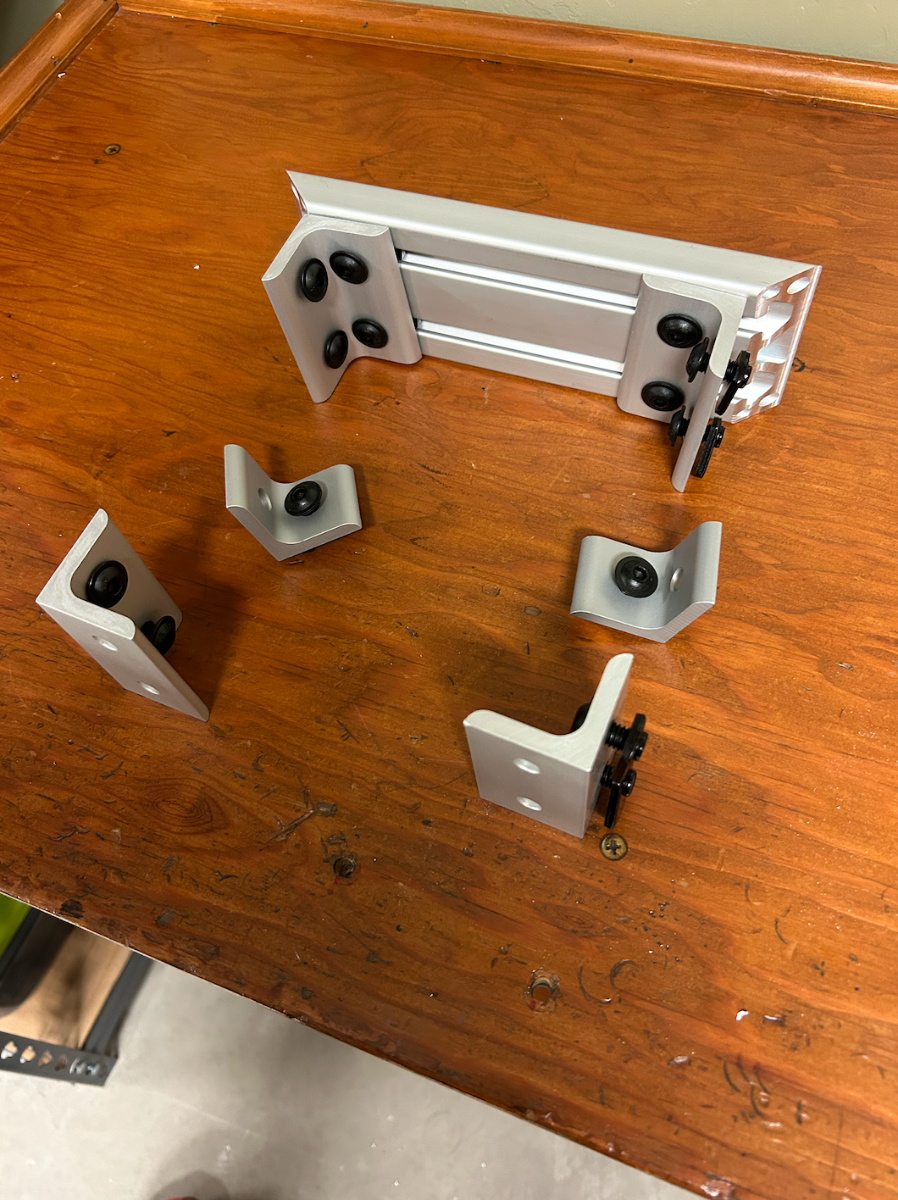
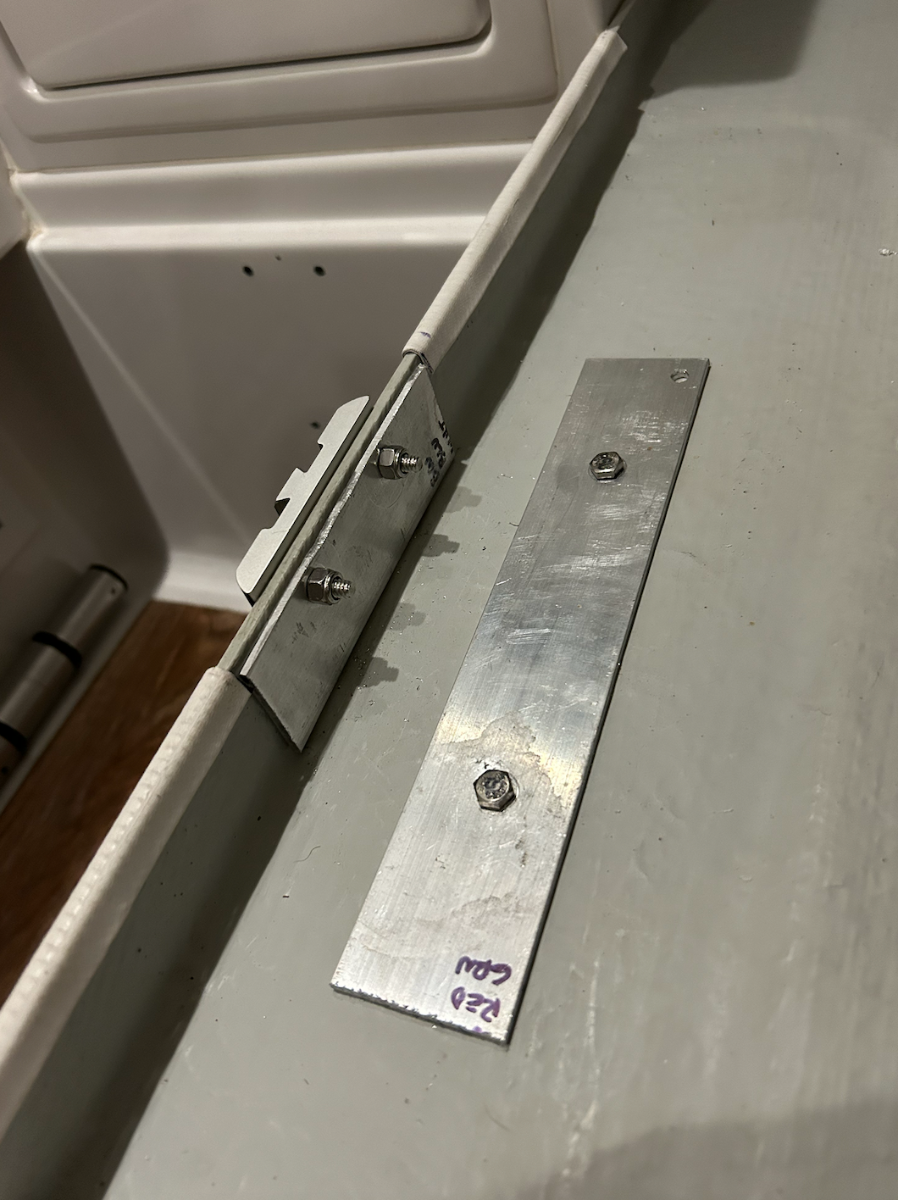
Assembled finished parts and checked fitment on PORT side bed rail:
Used three 1/8" aluminum backing plates behind each of the mounting points:
View from underneath:
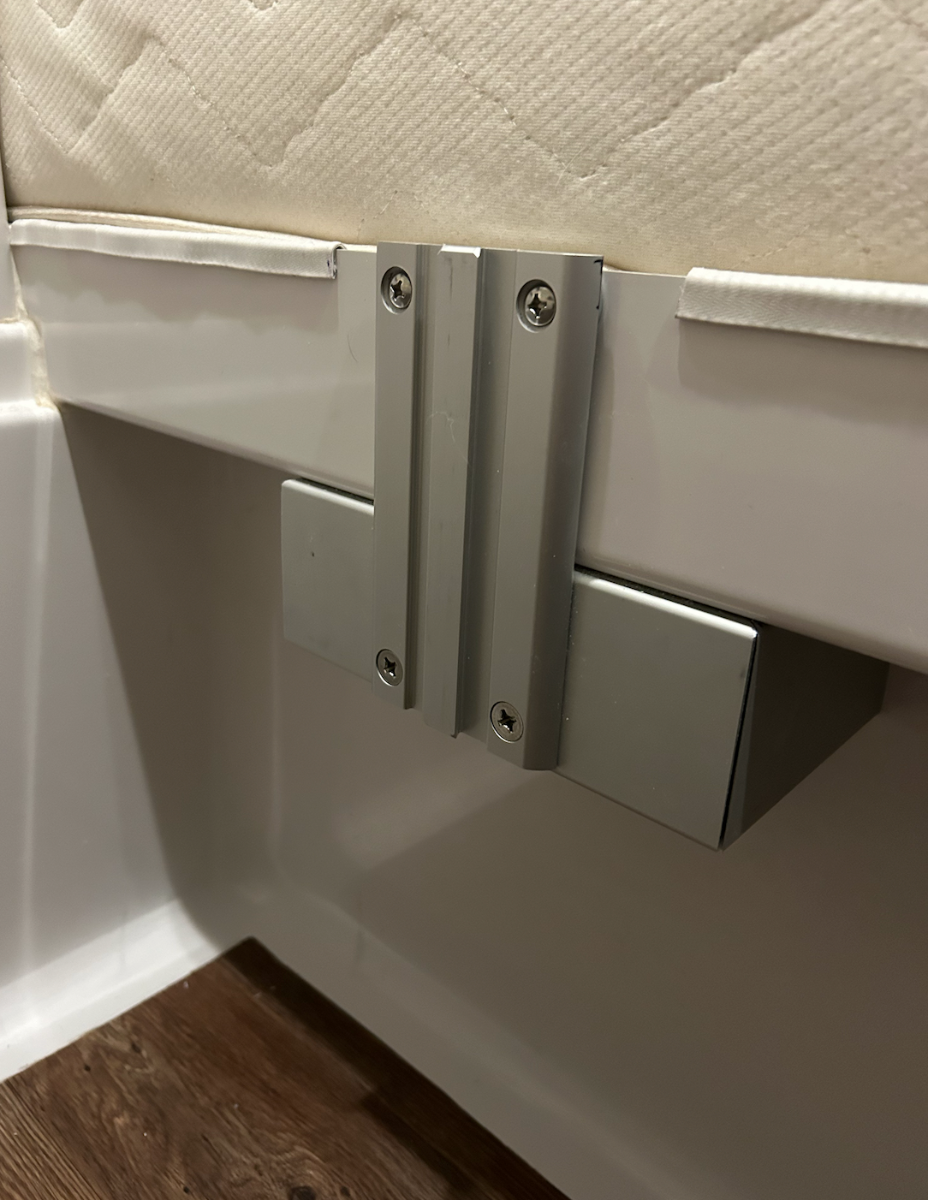
Completed new mounting area:
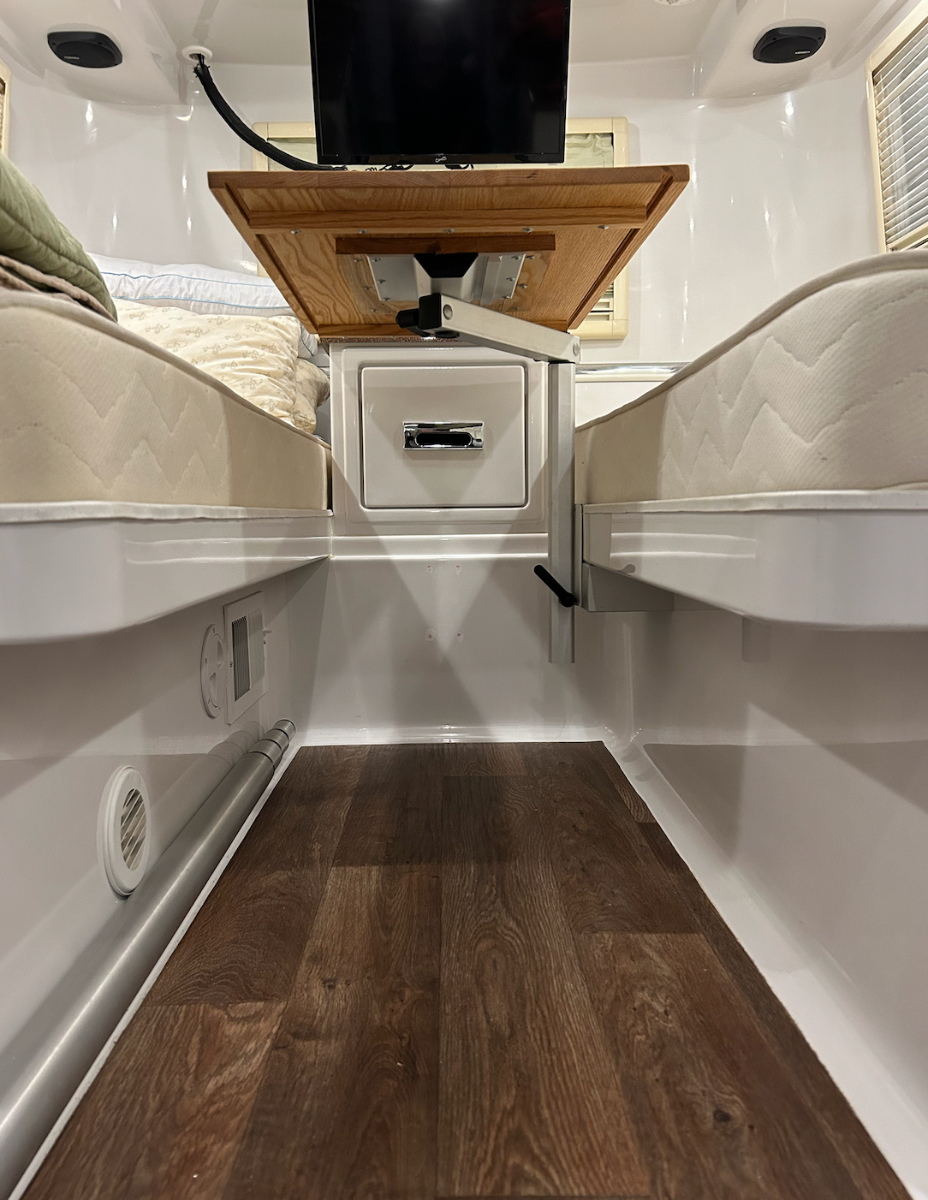
Now we've got nightstand drawer access with table in place - whereas before, the mount was just below the drawer making it impossible to gain access to the drawer with the table mounted there:
One and done - D approves and is happy, mission success!
Many thanks to @Overland for developing the initial design for this great mod!
Cheers, All!
-
3
-
5
-
-
Our daily OTT spotting record is 2. One was @Mike and Carol on I-10 westbound near AZ/NM border in JAN.
We also had a unique OTT spotting experience last MAY in CO - while northbound on I-25 in the right lane near Trinidad, we had silver 2022-ish Tundra (same as ours) pass us in the left lane towing an Oliver of unknown pedigree... I immediately woke up D and said, "Hey baby, that's what we look like when we're passing another Oliver!"....
-
3
-
-
@Ollie-Haus - agree with your assessment. The tradeoffs would need to be thoroughly evaluated for a particular owner's camping needs, for sure. Just thinking that a world-class travel trailer like the OTT would be better served with a world class suspension such as earlier discussed and presented in the Peregrine video. We haven't done an analysis at the PRO/CON level - but we would definitely be interested in examining a suspension such as the ATX (designed for the Aussie Outback) for our rig.
Price Point? The Lippert air suspension starts north of $2,100, for example.
-
1
-
-
- Popular Post
- Popular Post
4 hours ago, Geronimo John said:They would make height adjustments to gain more spring travel a lot easier!
How about an individually adjustable pneumatic airbag type suspension for Ollie?
No axles - lighter, smoother ride - less damage to OTT and components, no more broken leaf springs, more ground clearance by adjusting air pressure, enhanced braking, and "drum roll" please.... no more zerks!
...screenshot taken from an earlier thread on "Aussie Quality RVs":
....just say'n
-
14
-
2
-
44 minutes ago, jd1923 said:
Was merely mentioning, to do a full SmartPlug conversion you would need to replace both receptacles and the cord to do it right. For $158, we will have a brand-new twist-lock receptacle, everything OEM like new!
Got it! Makes sense... I'd be doing the same drill in your situation. We like OEM - a lot.
-
1
-
-
JFWIW: Regarding solar - surely we've all read many similar threads regarding the "output" of solar modules.
However, for those who are new to this RV topic and are on their "front-end" of learning about solar modules, it's important to remember that a given module's output rating is under optimum conditions and in some cases purely theoretical.
For example, the Oliver-factory flat-mounted modules on our Hull #226 are rated to 170w output each - 340w total. On a good summer day at noon with high sun angle, no obstructions, we might measure 290w. If we added the ability to tilt the flat modules (an easy mod/just haven't got around to it yet), we suspect that they'd yield an additional 20-25w. For another example, at noon today (2MAR) we're experiencing a fairly low sun angle with no obstructions and the flat mounted modules were generating 236w, this was the highest yield during the day:
So, when you find yourself asking how much solar do I need for my style of camping - consideration should be given to the storage capacity (AH's) of one's battery bank, background DC power consumption during solar charging times, solar panel tilt, efficiency/type of solar controller, time of year most camping is done (sun angle factor), and even latitude above equator (another sun angle factor) most camping is done. These considerations will guide you to correct balance of solar output and battery bank storage capacity for a given style of camping. A given system will behave totally differently while boon docking during an Alaskan summer as compared to the same time of year in the Rockies.
There's many YouTube presentations regarding this calculation that can be found to help solve anyone's particular solar/battery size needs. The below video could be a good start for a someone new to solar:
-
2
-
-
@jd1923 - Hey, John; just curious, will you need to replace your front Furrion 30amp receptacle as well? If so, why?
We’ve got the same one as yours and wondering if it may fail also…
-
That's good to know, Steve - thanks for posting!
-
2
-


Heading to Hohenwald!
in Introduce Yourself
Posted
Congrats @Doug S!
Welcome to the OTT Family - you'll be love'n your new Oliver before you know it!!! Safe travels and hope to meet y'all "down the road" at some point....
Cheers, Doug and Jill!