topgun2
-
Posts
7,752 -
Joined
-
Last visited
-
Days Won
464
Everything posted by topgun2
-
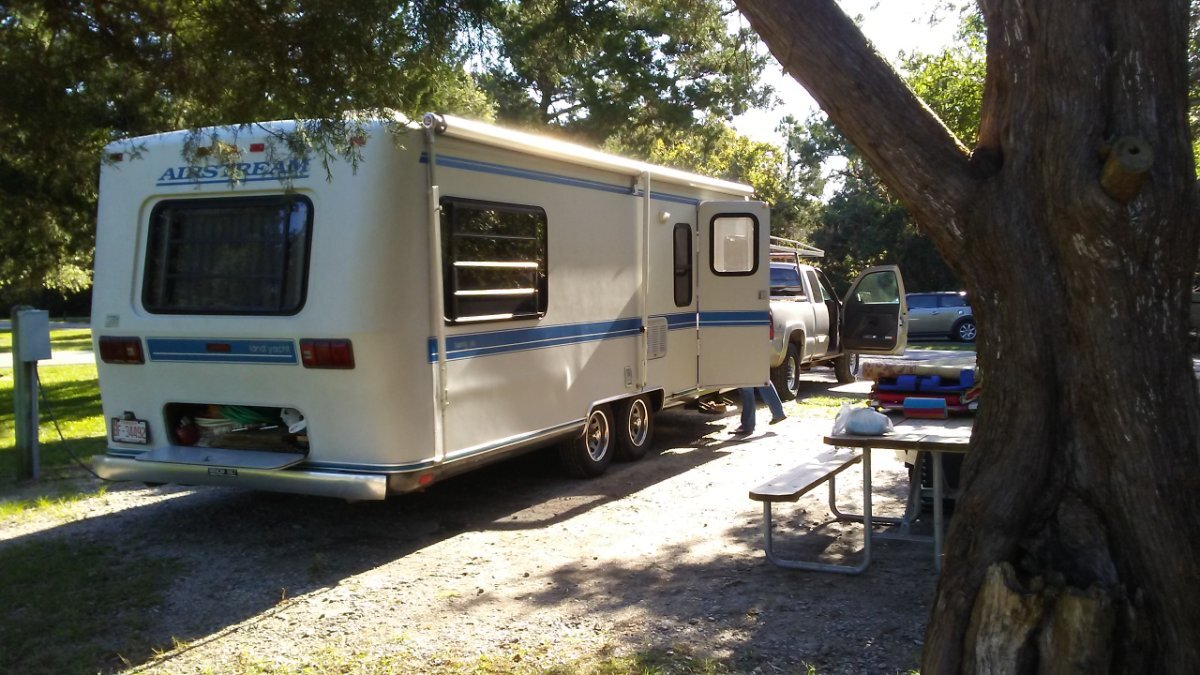
Or, maybe even something like this one? This is a 1992 Airstream Land Yacht

-
I believe that the the "Airstream" question is a result of the general look/shape of the Ollie vs the Airstream. My normal response to the "Airstream" question is, "No, it doesn't leak like an Airstream".😁 Bill
-

Third-Party Maintenance Facilities
topgun2 replied to MDuncan's topic in Mechanical & Technical Tips
Just for the sake of clarity - are you talking about Bretz RV? Bill -
THAT was quick! Mr. Lomax says: Oliver will be set up at: Staples 710 W Chocolate Ave. Hershey, PA 17033 Additional details can be found at: https://olivertraveltrailers.com/events/hershey-rv-show/ Take pics if ya go! Bill
-
I've sent an email to Rodney Lomax asking this question for you. He is out of town at the moment but I'll let you know as soon as I hear back from him. Bill
-
If anyone is in need of new rubber wheel/tire chocks - Harbor Freight has these on sale now for $4.99 each (versus $7.99 regular price. The coupon code is 11893027. They are only at this price through 9/15/2024 and there is a limit of 4 per customer.
-
- 7
-

-

-
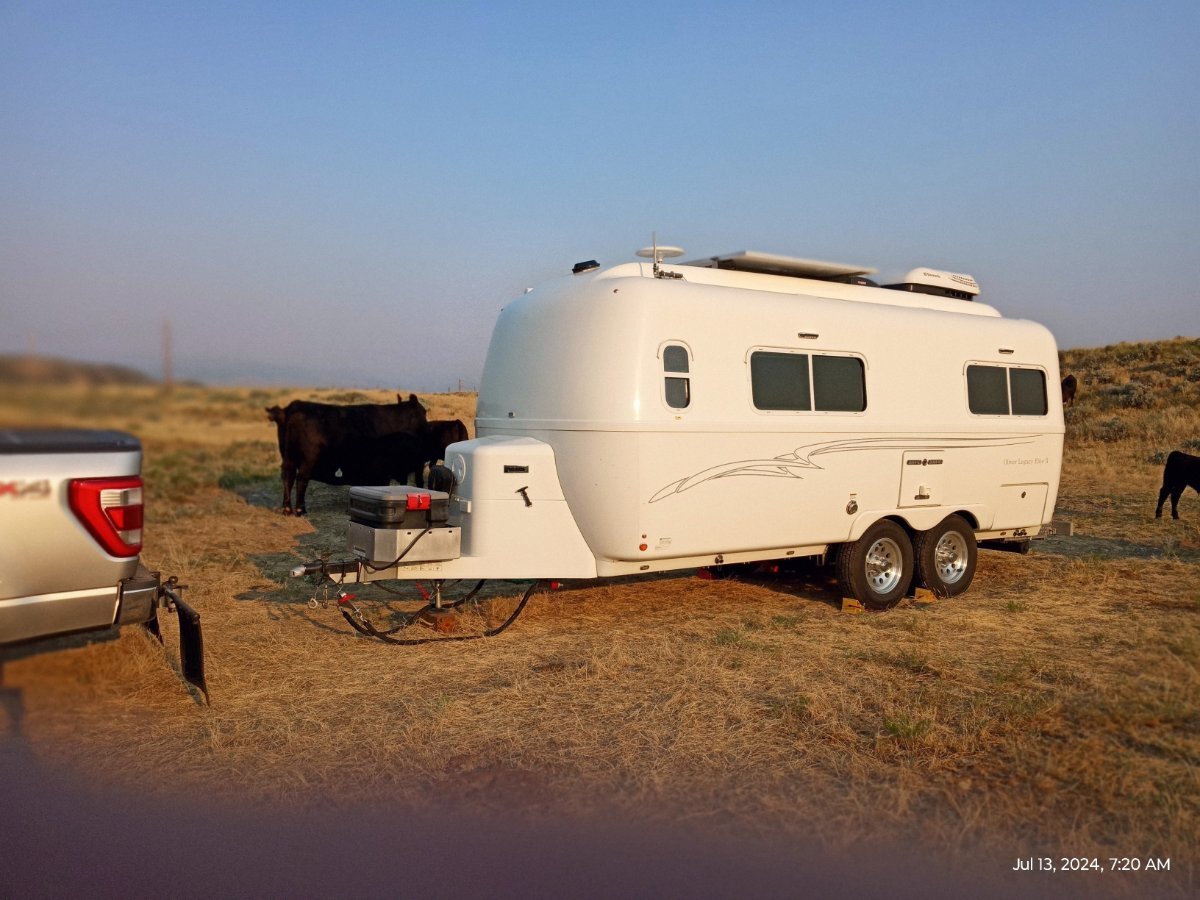
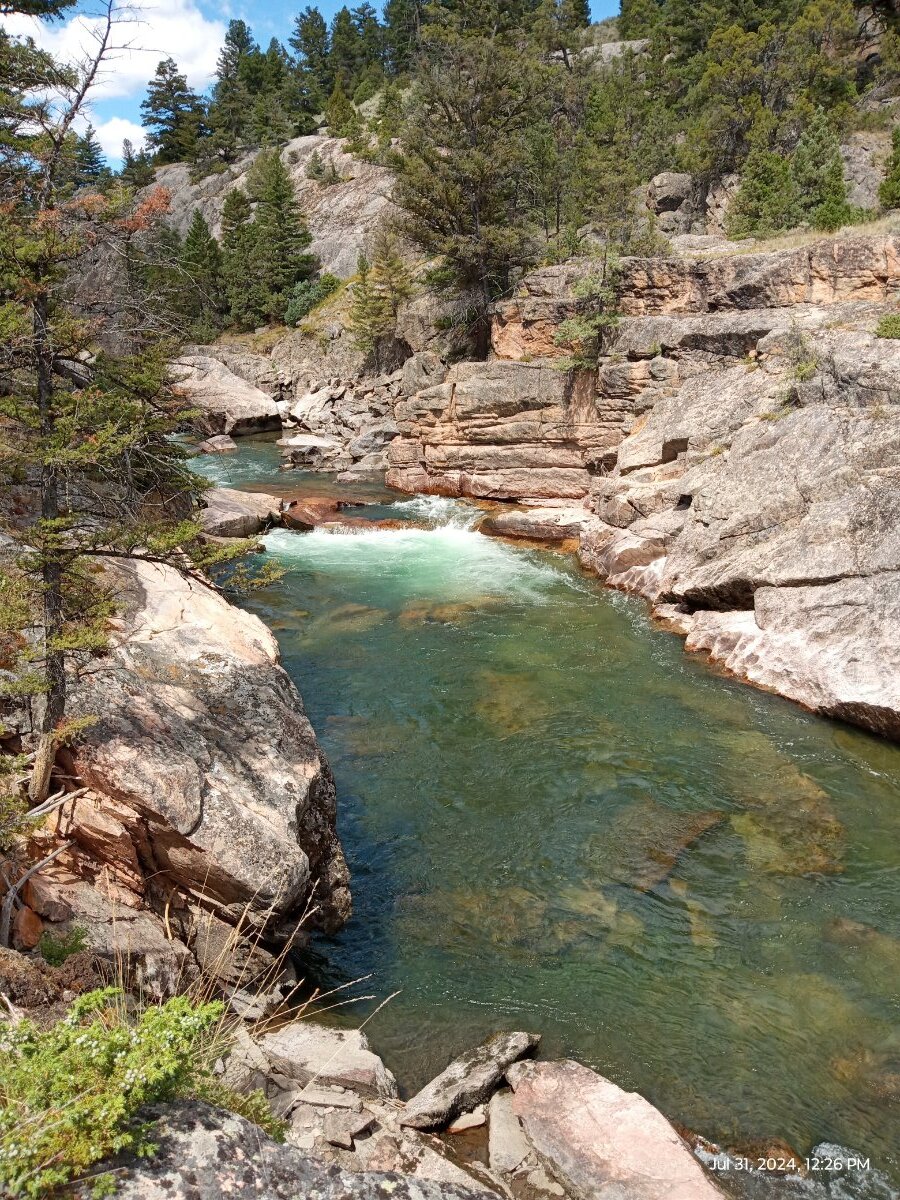
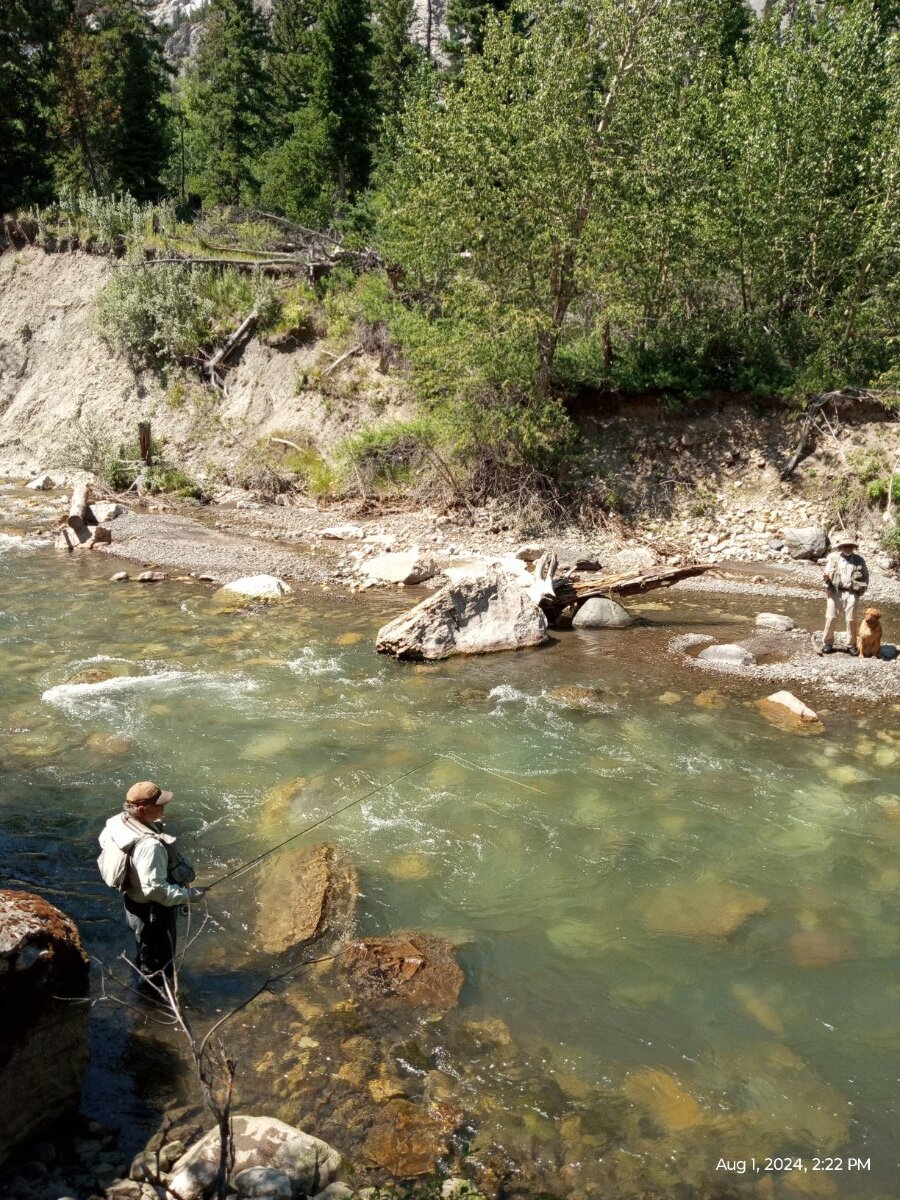
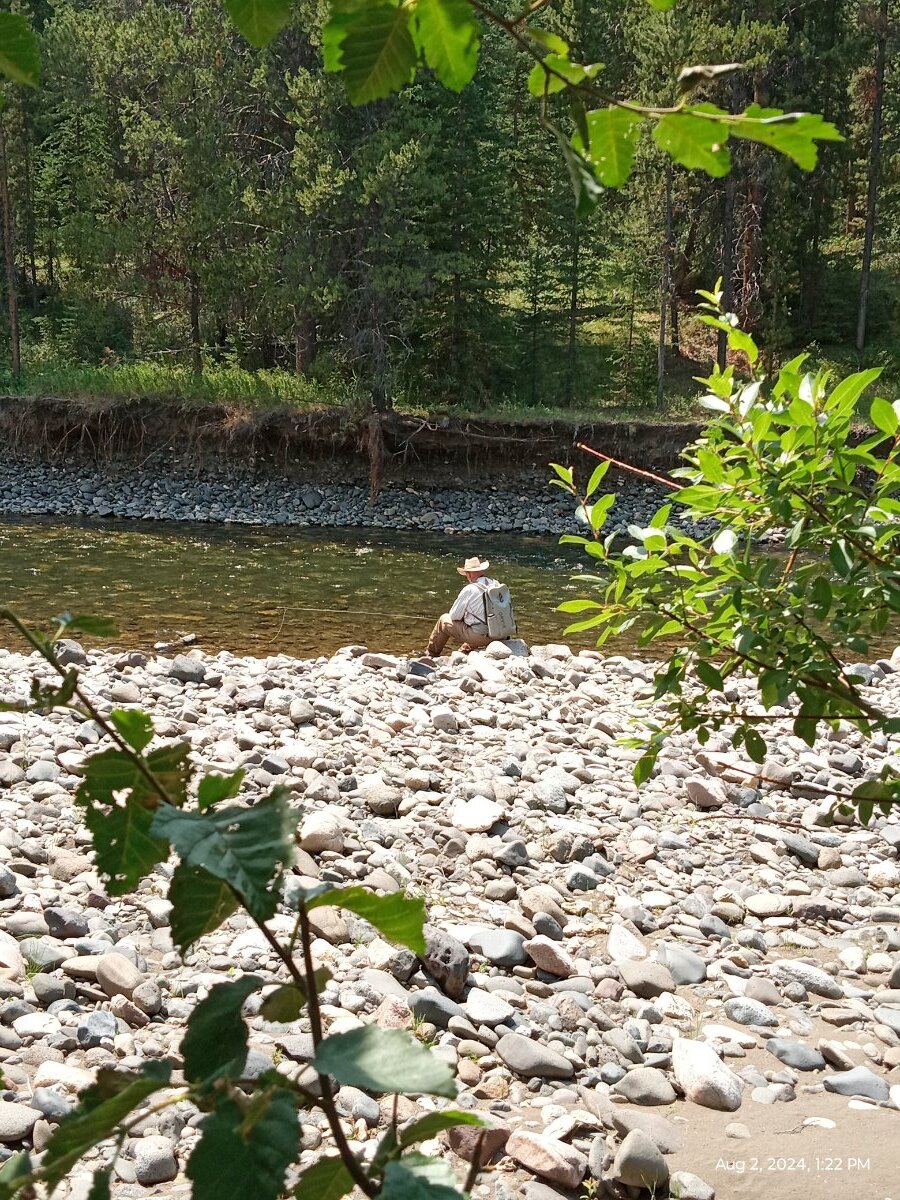
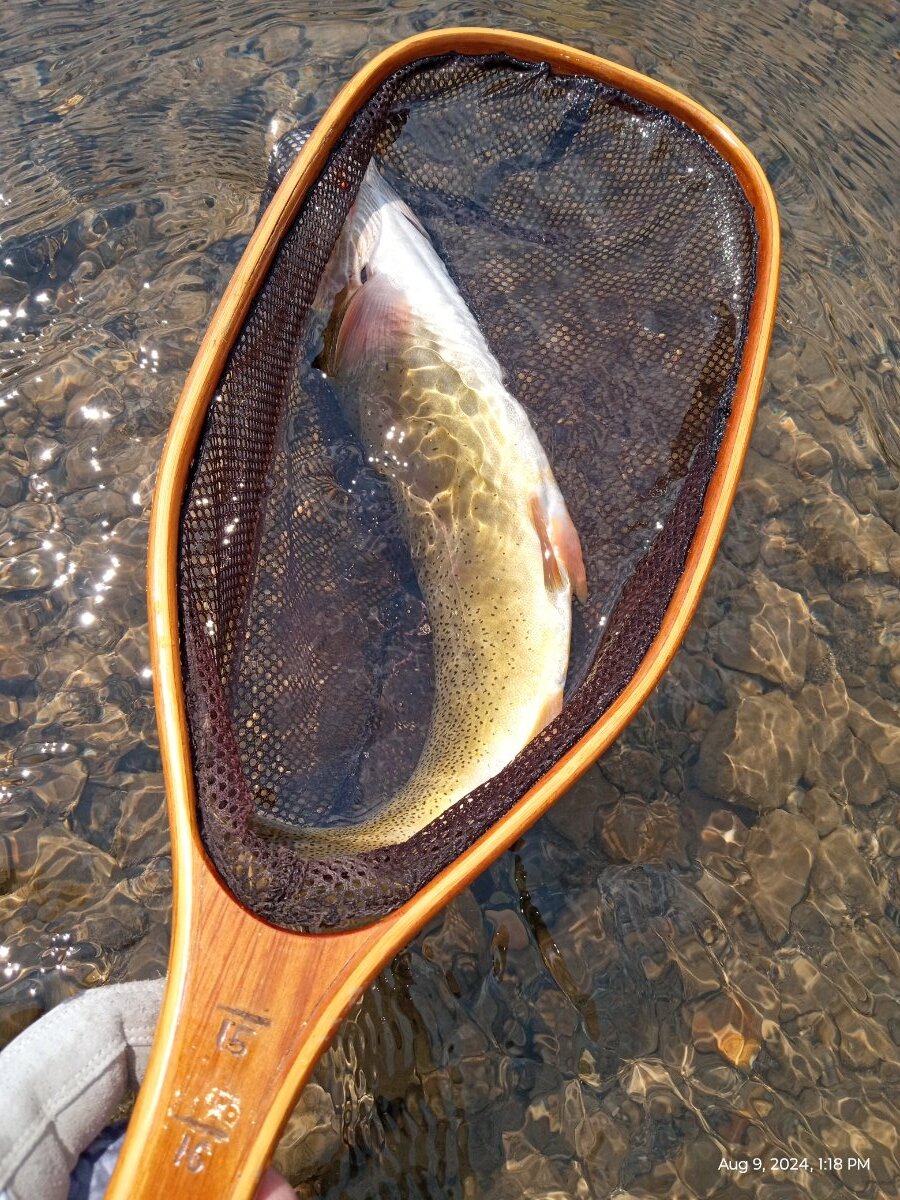
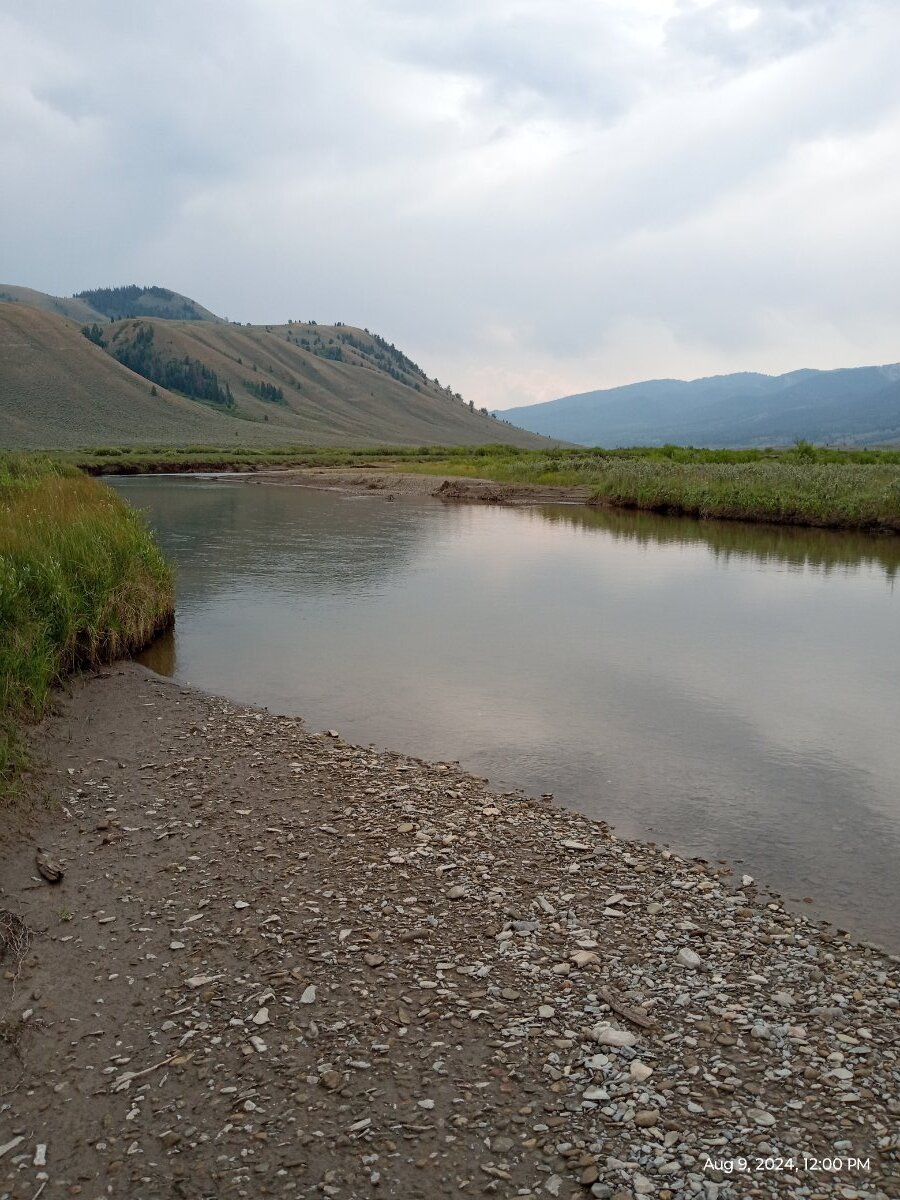
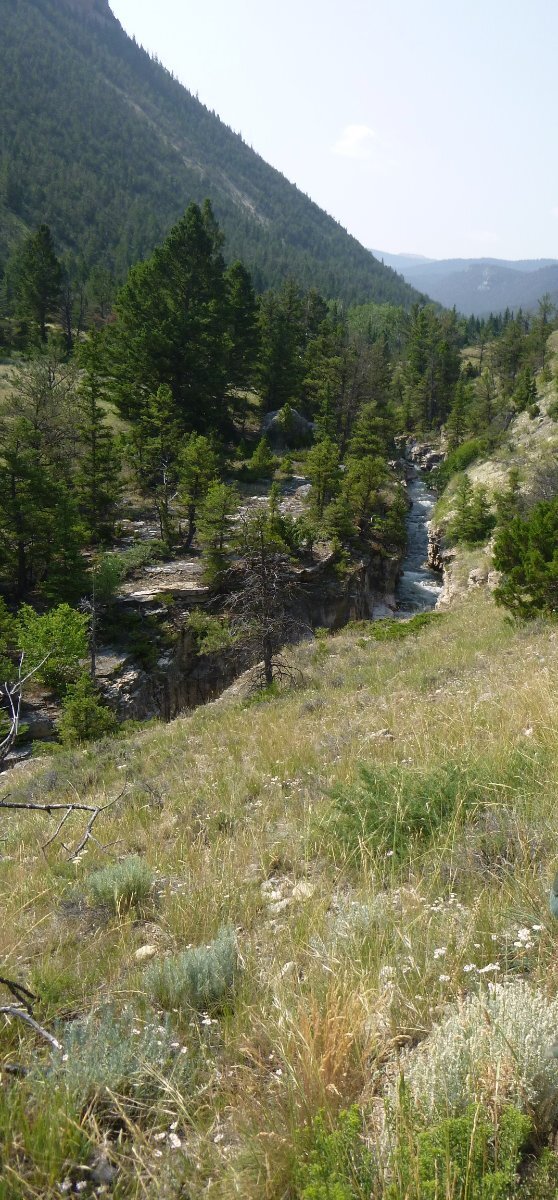
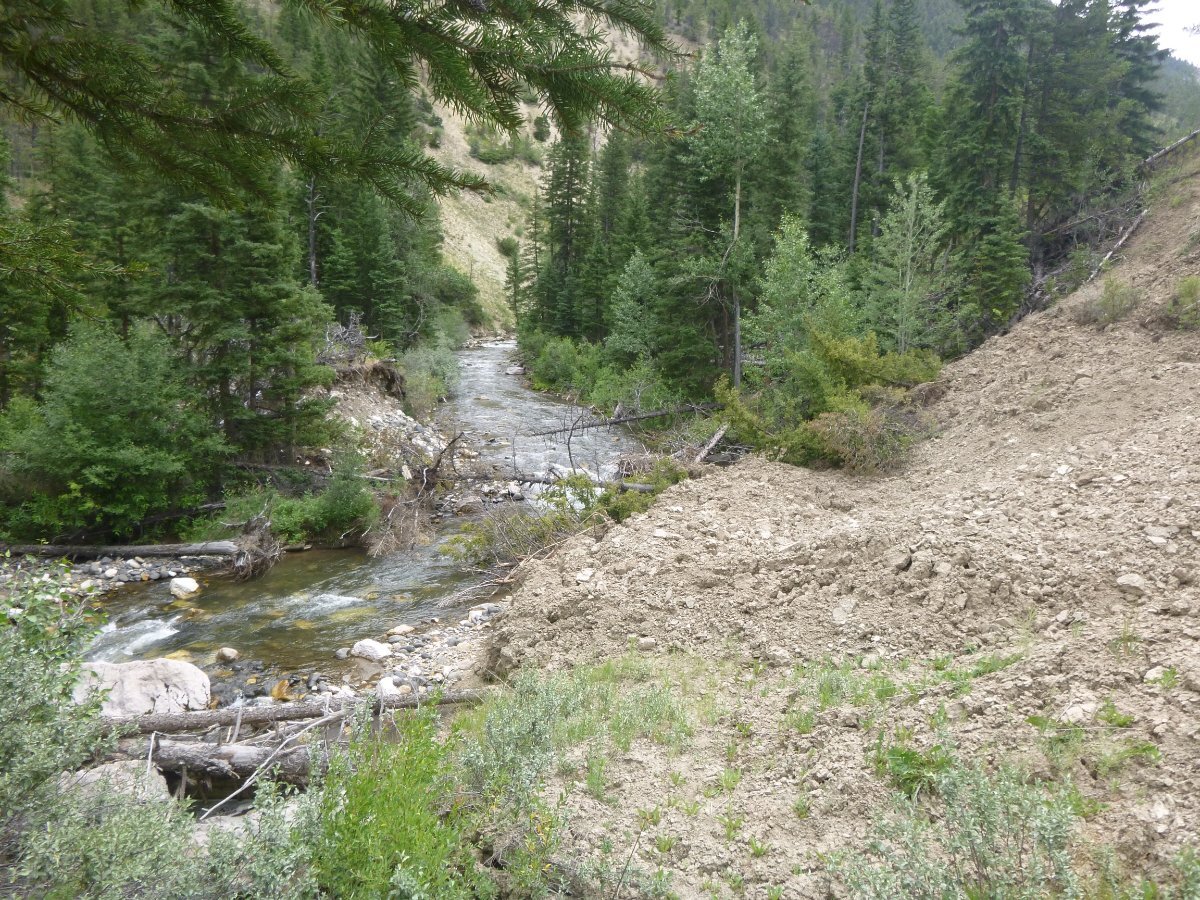
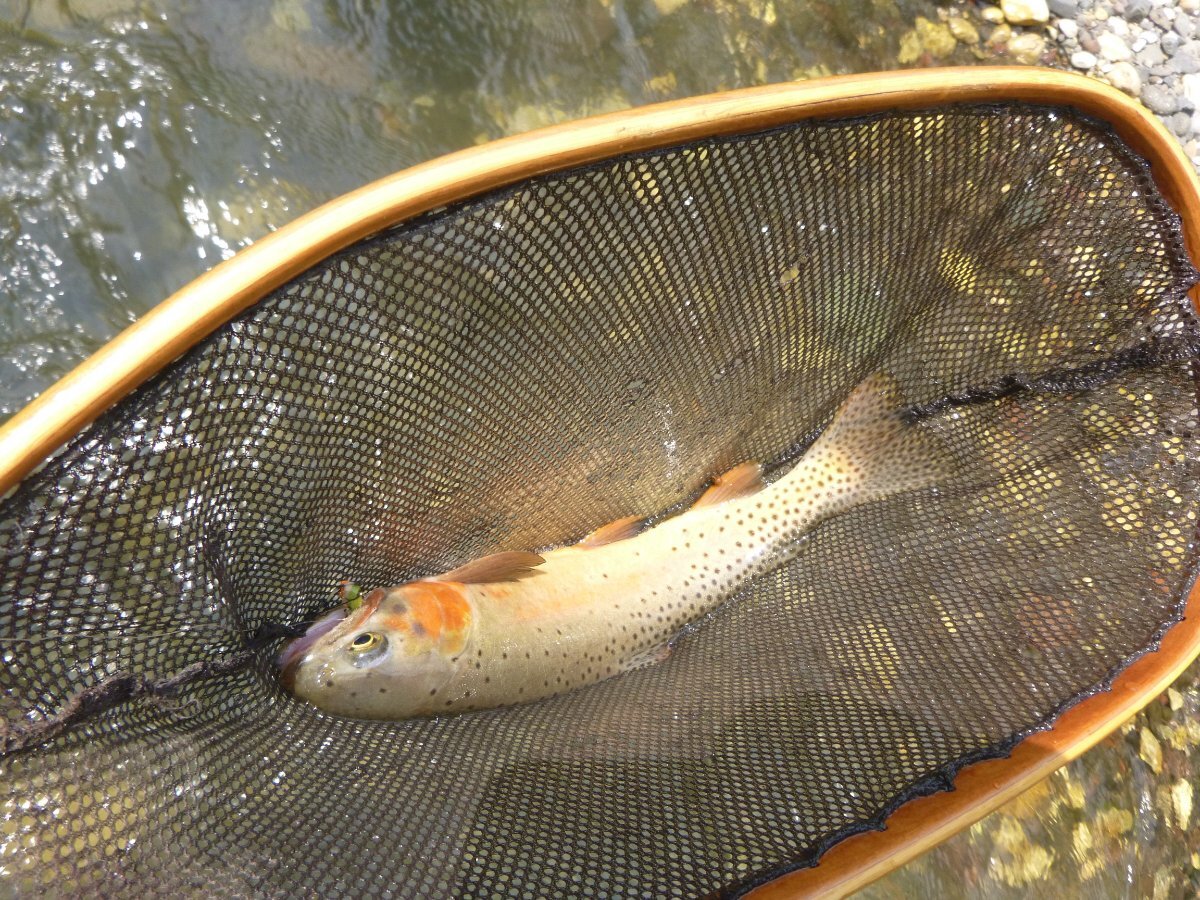
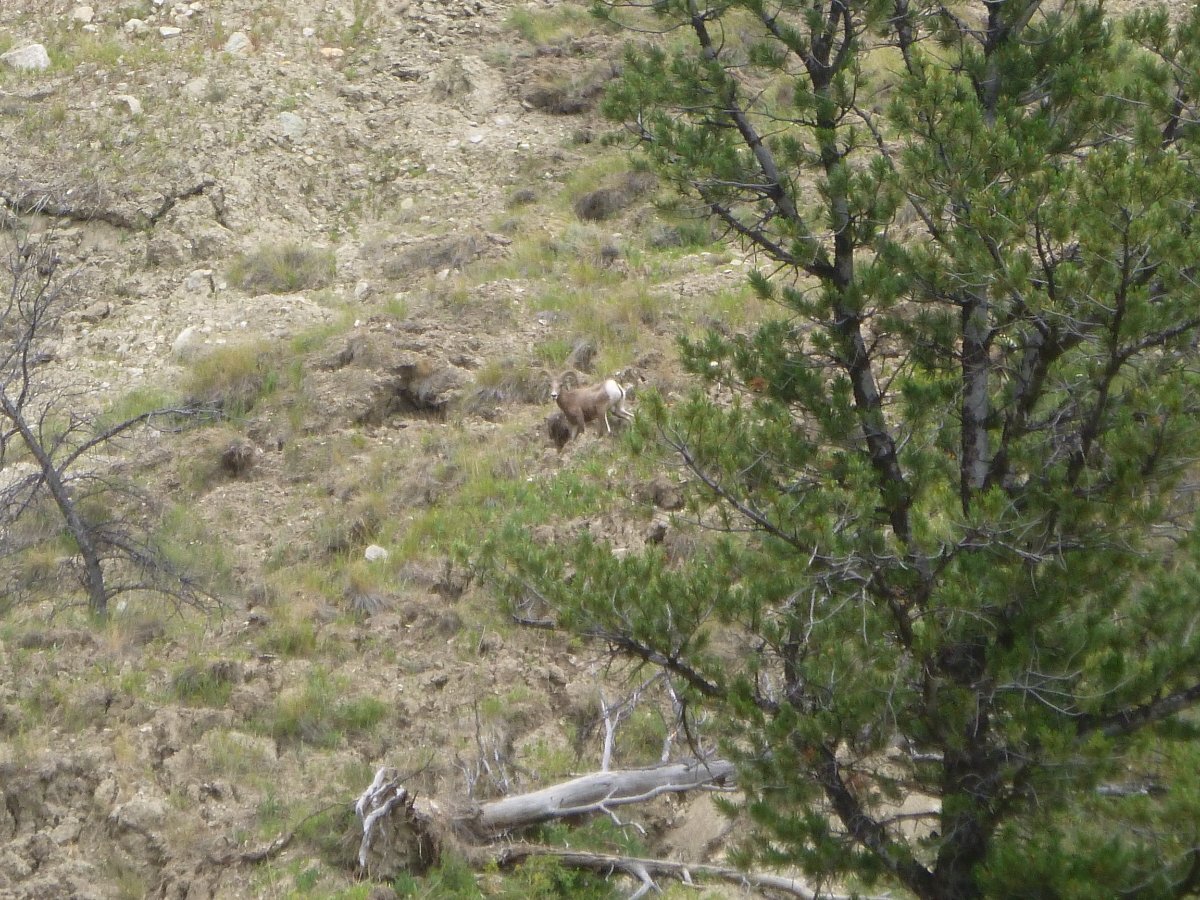
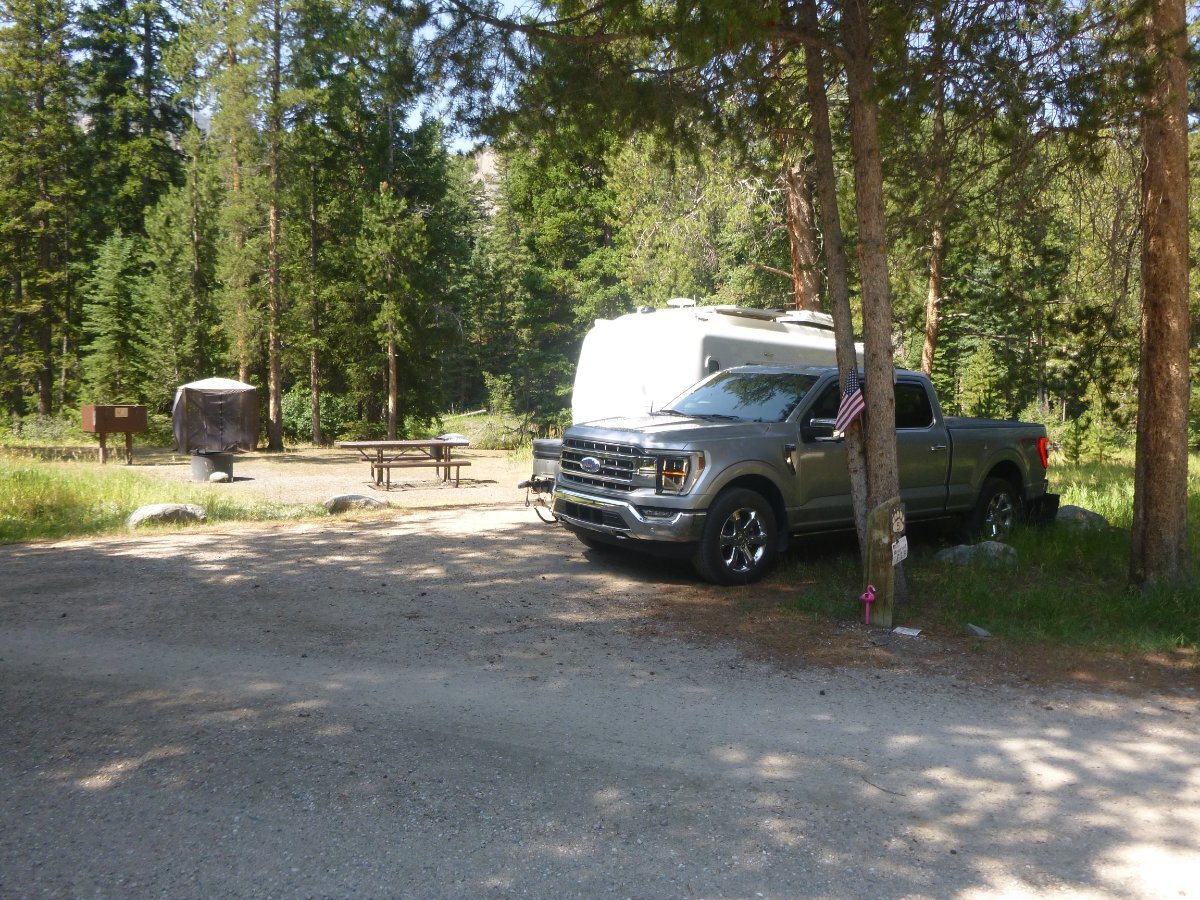
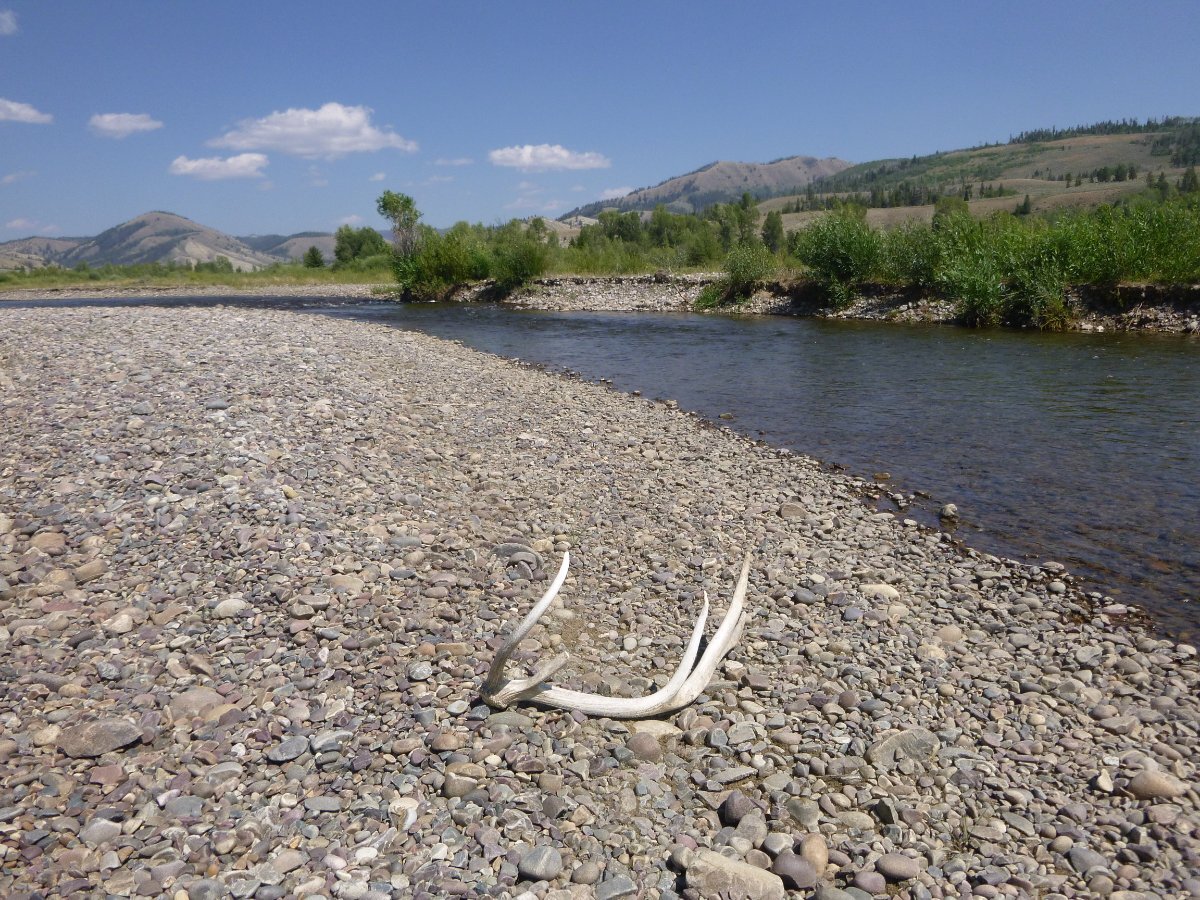
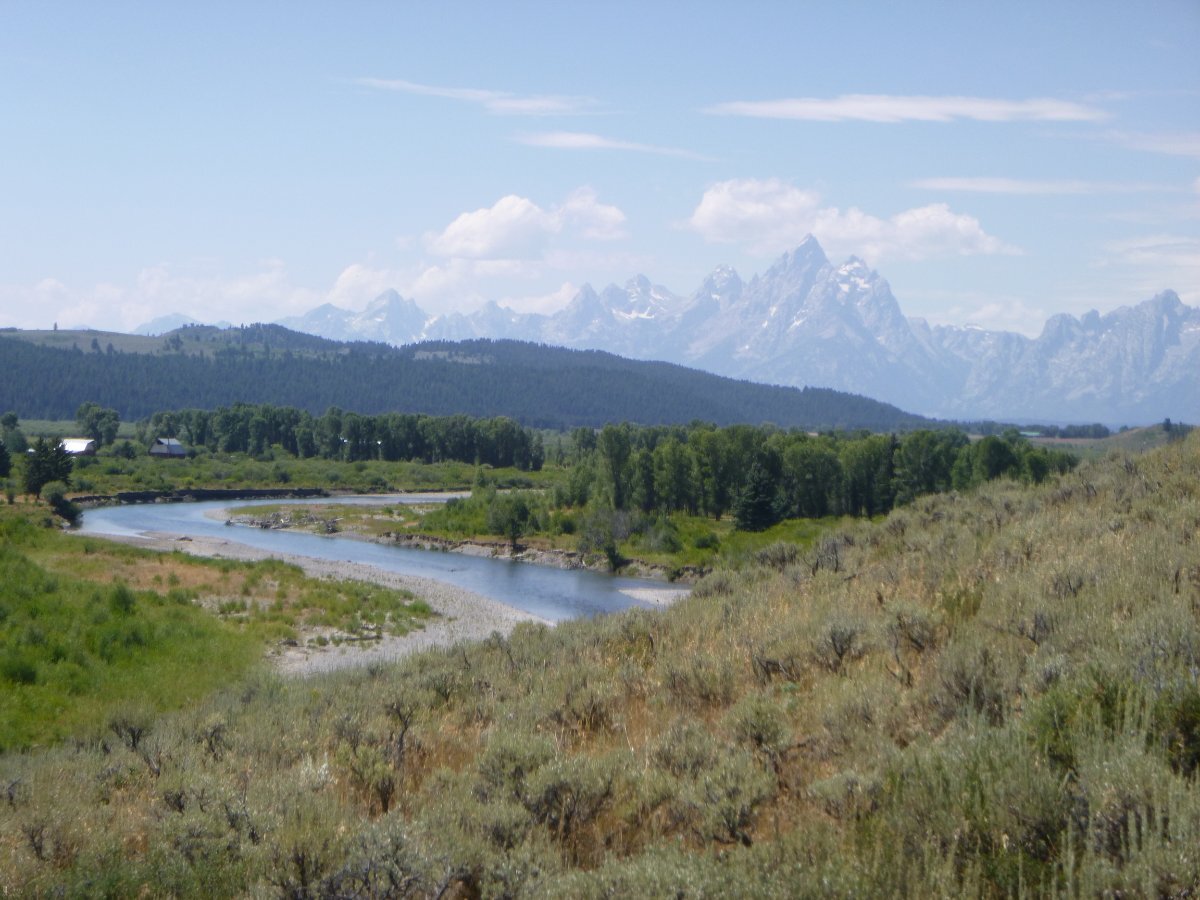
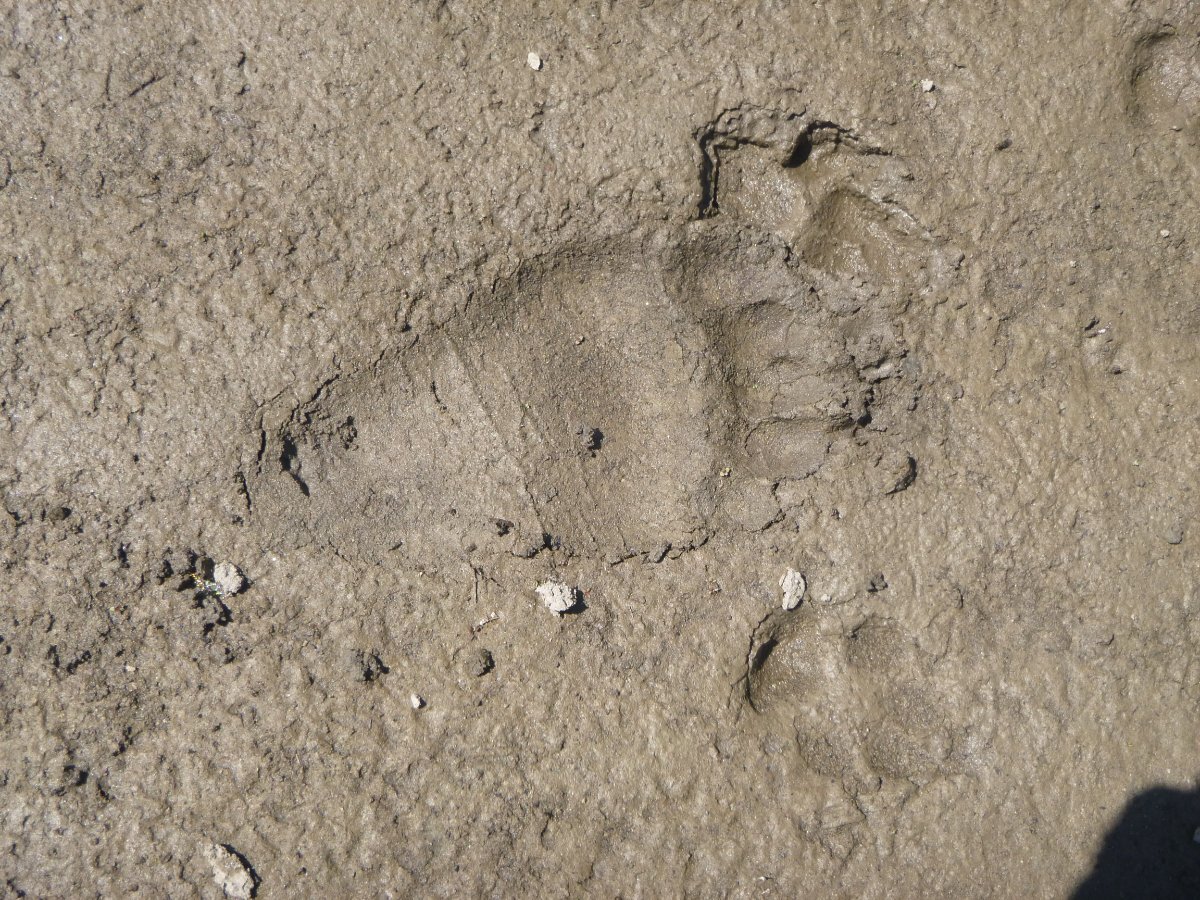
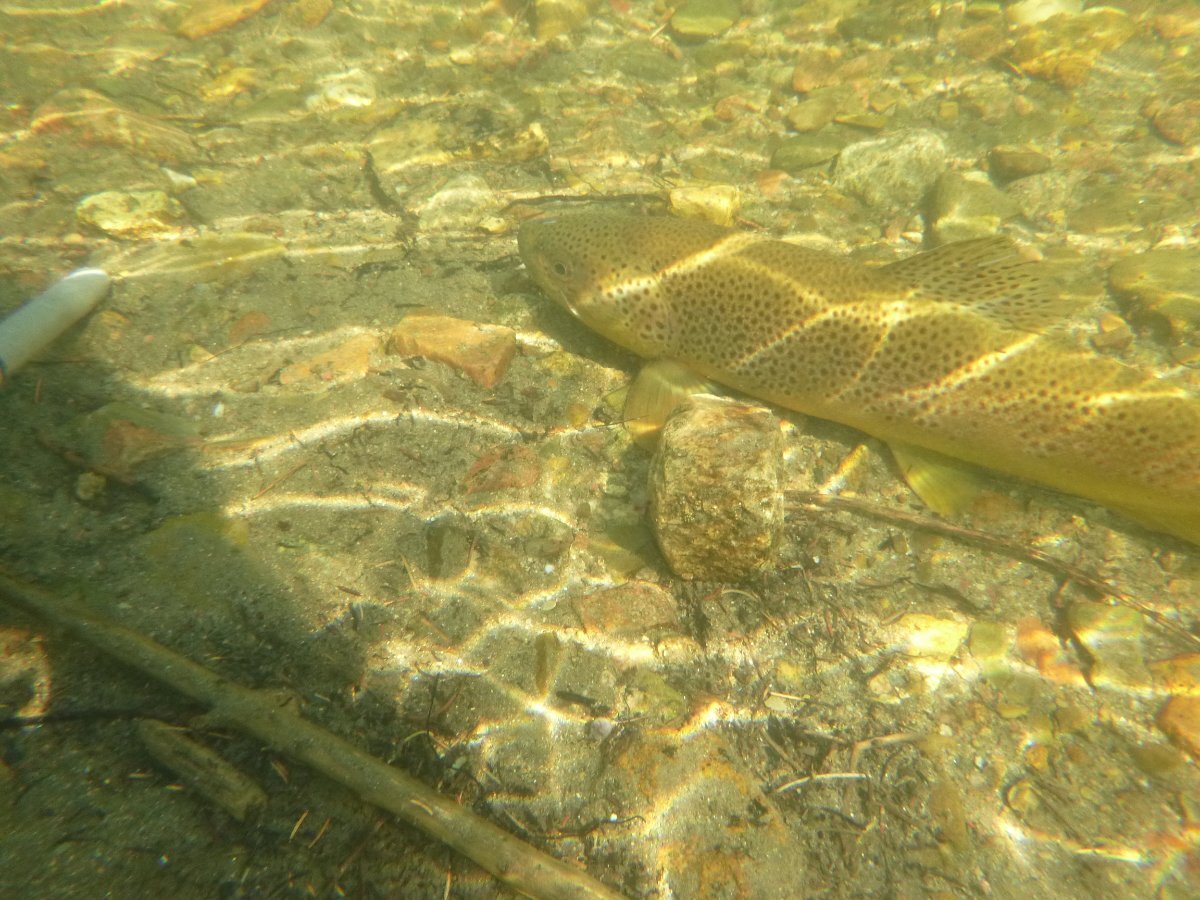
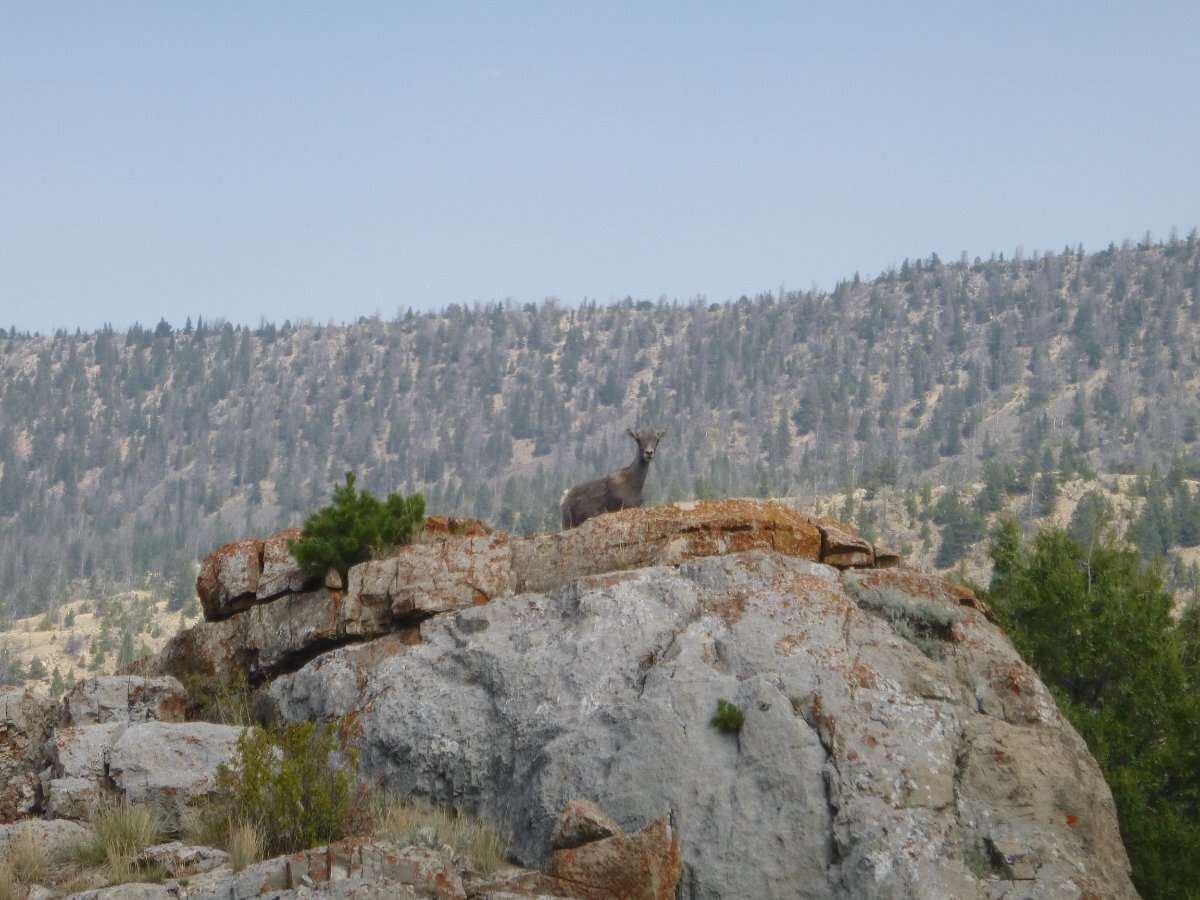
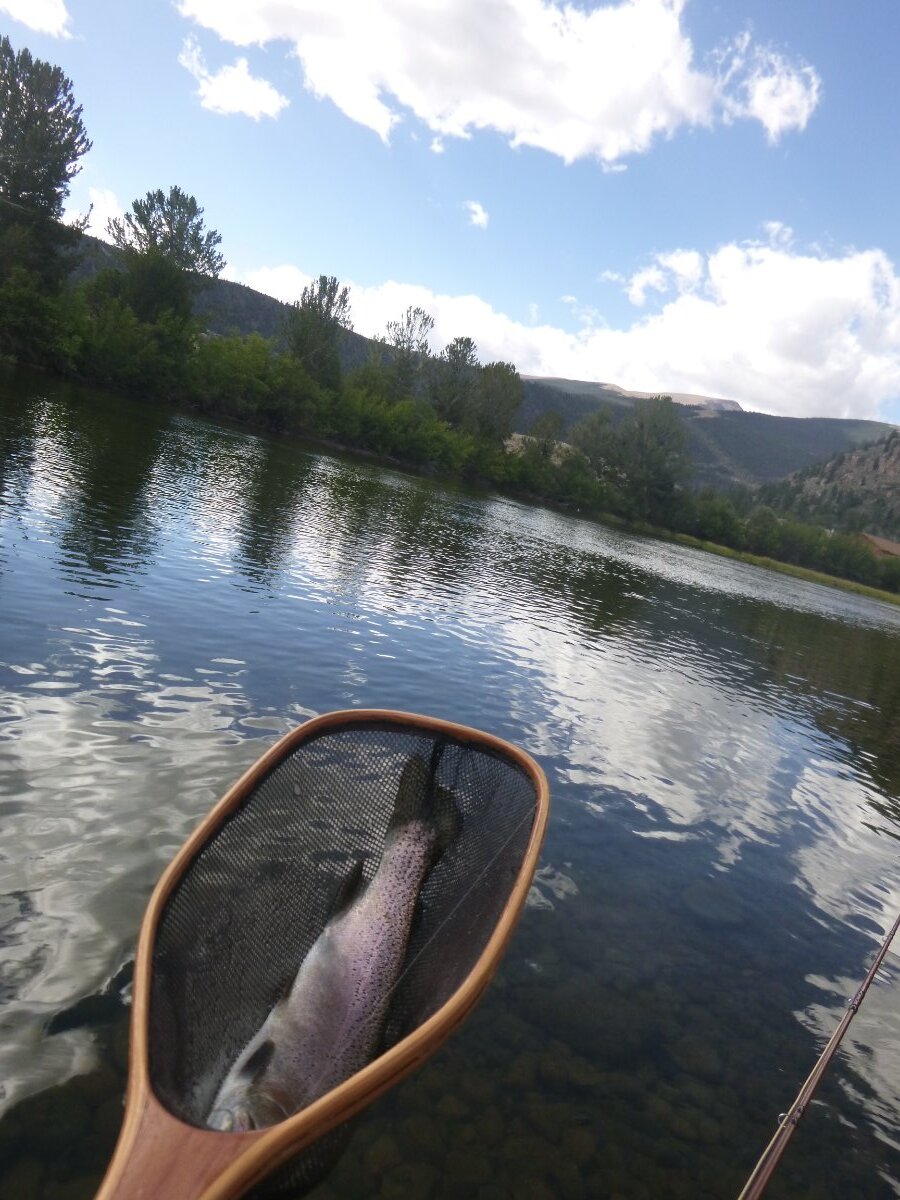
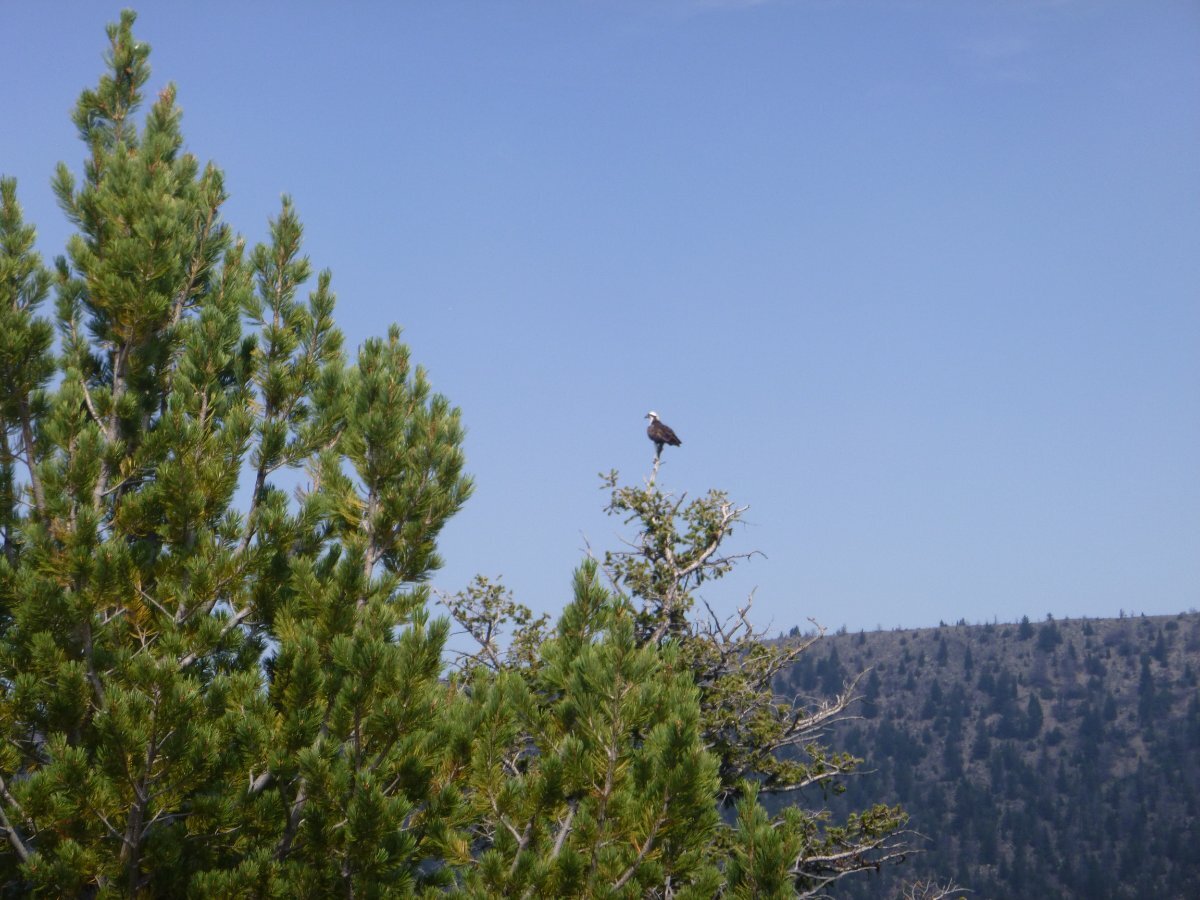
As usual (19th year in a row), Twist spent two months in the western states enjoying the scenery while I enjoyed the fishing. This year I basically did a repeat of the past few years by starting the fishing west of Buffalo, Wyoming and exiting via Dubois, Wyoming. Stops (in towns) on the way included Ten Sleep, Worland, Meeteetse, Cody, Cooke City, Moran Junction, and Dubois. Rivers and Creeks included Ten Sleep Creek, Wood River, Greybull River, North Fork of Shoshone River, Elk Creek, Clear Creek, Clark's Fork of the Yellowstone, Beartooth Creek, Hoodoo Creek, Dead Indian Creek, Cantrell Creek, Gros Ventre River, Fish Creek, Torrey Creek, Horse Creek, Frontier Creek, etc. Trout landed ranged from 8 inches to 18 inches and were brooks, rainbows, brown, cut-bows and cut throat. Early in the trip at about 5:20am the Ollie started rocking! Checking to make sure I was alone I peeked outside thinking I might see a grizzly bear. Yes, the fur was black but it was only a couple of cows scratching their faces on the bumper. Here are a few pics from the trip. Bill
- 949 replies
-
- 11
-
-
-

-
Actually, Patriot saw an Ollie! And, it was me! On Monday (August 26) I was headed east on Interstate 70 (just east of Jefferson City, Missouri) when I got a rather excited call from David and Kathy. They were headed west on Interstate 70 and spotted me going the other way! Unfortunately, at the moment we passed each other I was getting a message on my dashboard that the Ollie had become disconnected. Thankfully this message was only due to a small pebble causing the electrical connection between the truck and Ollie to become unstable. Thanks to both of them for making my day! Bill
-
Now summer is
-
Before you rip the vanity apart - it is worth the shot to tap on that under the kitchen sink valve. Just sayin'. Bill
-
I've got 1 1/2 suggestions: 1 - have you checked the valve under the kitchen sink? you will need to remove 1 or 2 drawers on the left side as you face the sink. Then look at the plumbing and you are looking for a vertical pipe. There are times when the valve in the vertical pipe will become "stuck". Tap on that pipe with a small hammer, piece of wood, crescent wrench, etc. and see if that "reset" the valve from open to closed. 1/2 - after having a similar problem for the past couple of years - as with your case my problem would come and go - I got serious about sticking my nose very close to all of the places from which these kinds of odors emanate. Not being able to locate the source, I too was about to give up and bring in the troops. But, early in this year's 2 month western fly fishing trip my Mr. Buddy propane heater ran out of propane. So, as per usual I picked it up (its normal location while I'm camping at altitude is either just outside the bath door or just inside the bath door on the shower pan) but before I was able to unscrew the used propane bottle I noticed a fairly strong scent of gas. Of course I then screwed in a new bottle but later that day I again picked up the heater and again noticed the same smell. Long story short - this was the source of my problem all along. Good luck with the valve "reset". Bill
-
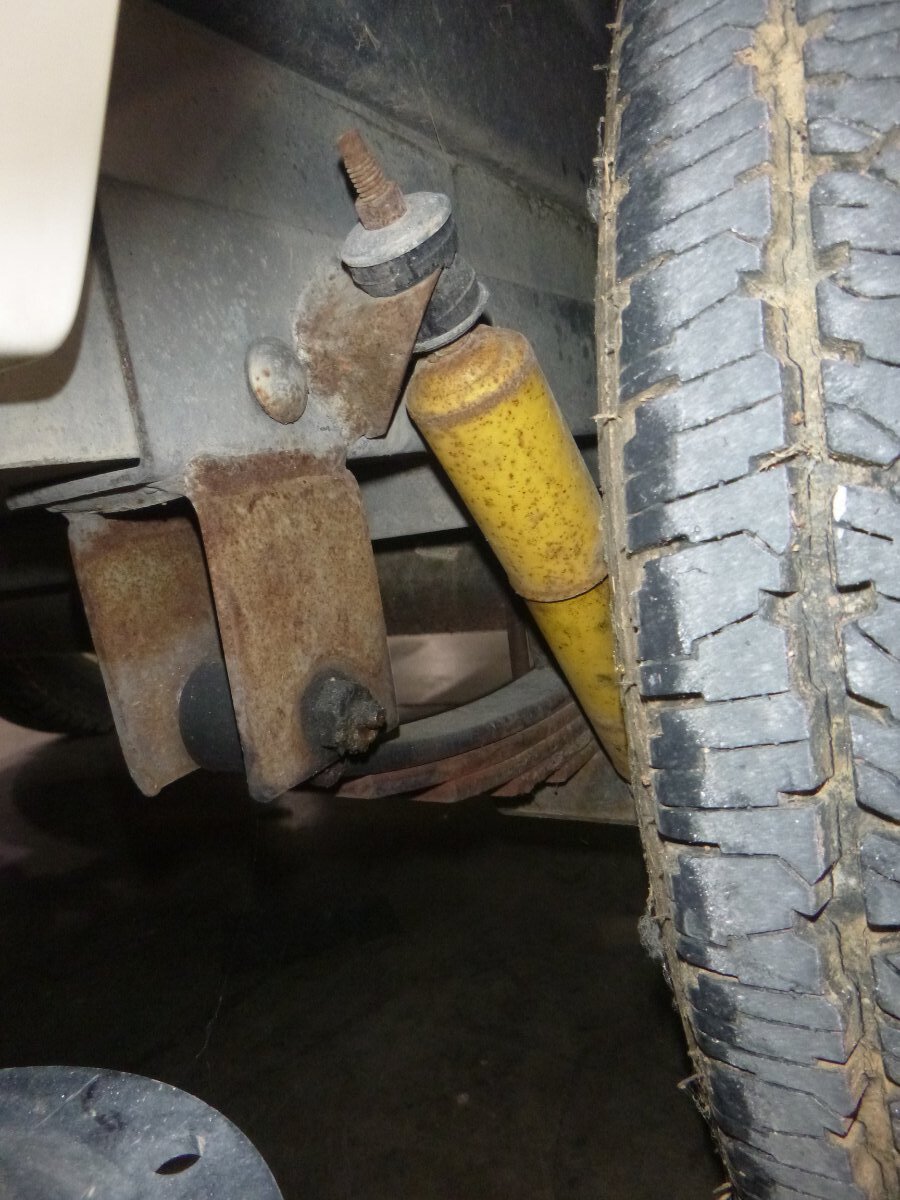
Yep - Looks like 5 to me too. Bill p.s. I suspect that somewhere alone the line Mr. Oliver decided that given the weight he was adding to the Beast, he should upgrade to 5 leaves from the original 4 leaves. However, the pictures I recently posted are valid for the Beast as recently as 3 weeks ago.
-
Perhaps a little dab of E6000 on those tabs and then a couple of strips of painters tape to hole everything in place for 24 hours while the E6000 dries would take care to the issue while still allowing for removal if necessary? Bill
-
For anyone that has an Oliver Service appointment during the first three weeks of September, the "Beast" should still be located in the Service Department area. After that, Scott Oliver will probably take the "Beast" to his home. Bill
-
Turning on the rear camera automatically
topgun2 replied to Snackchaser's topic in Ollie Modifications
That'll work. -
Holy mackerel - did anyone else see that "mountain lion" in the pics above!
-
Turning on the rear camera automatically
topgun2 replied to Snackchaser's topic in Ollie Modifications
Which runway?😗 -
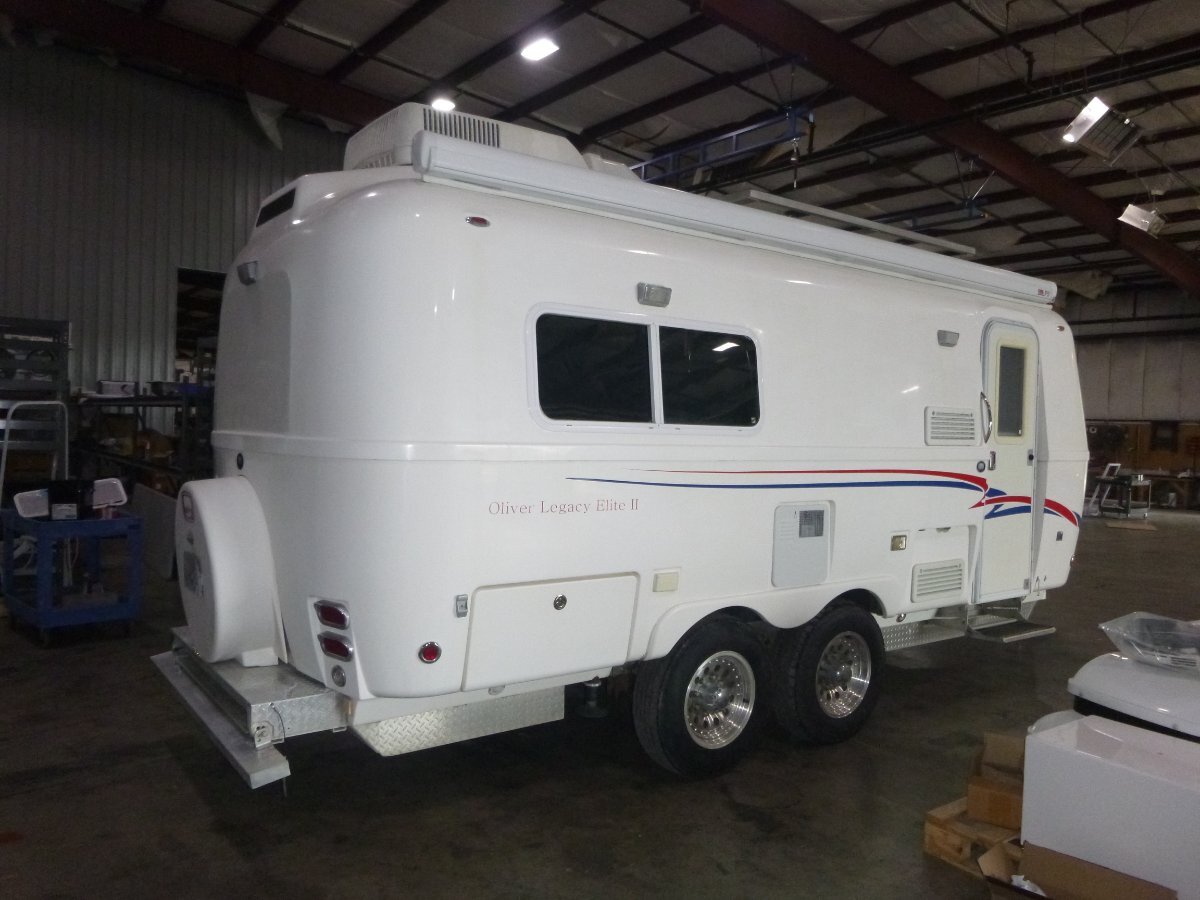
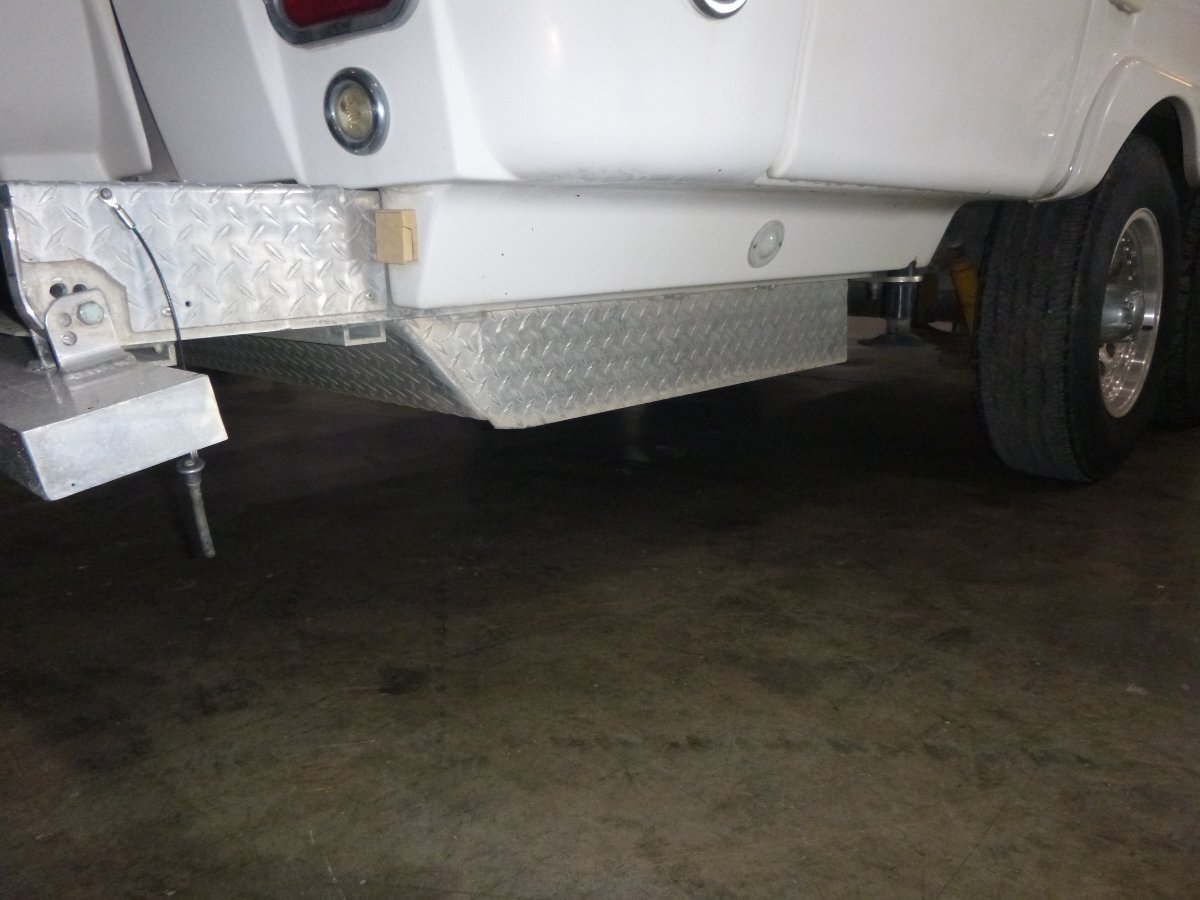
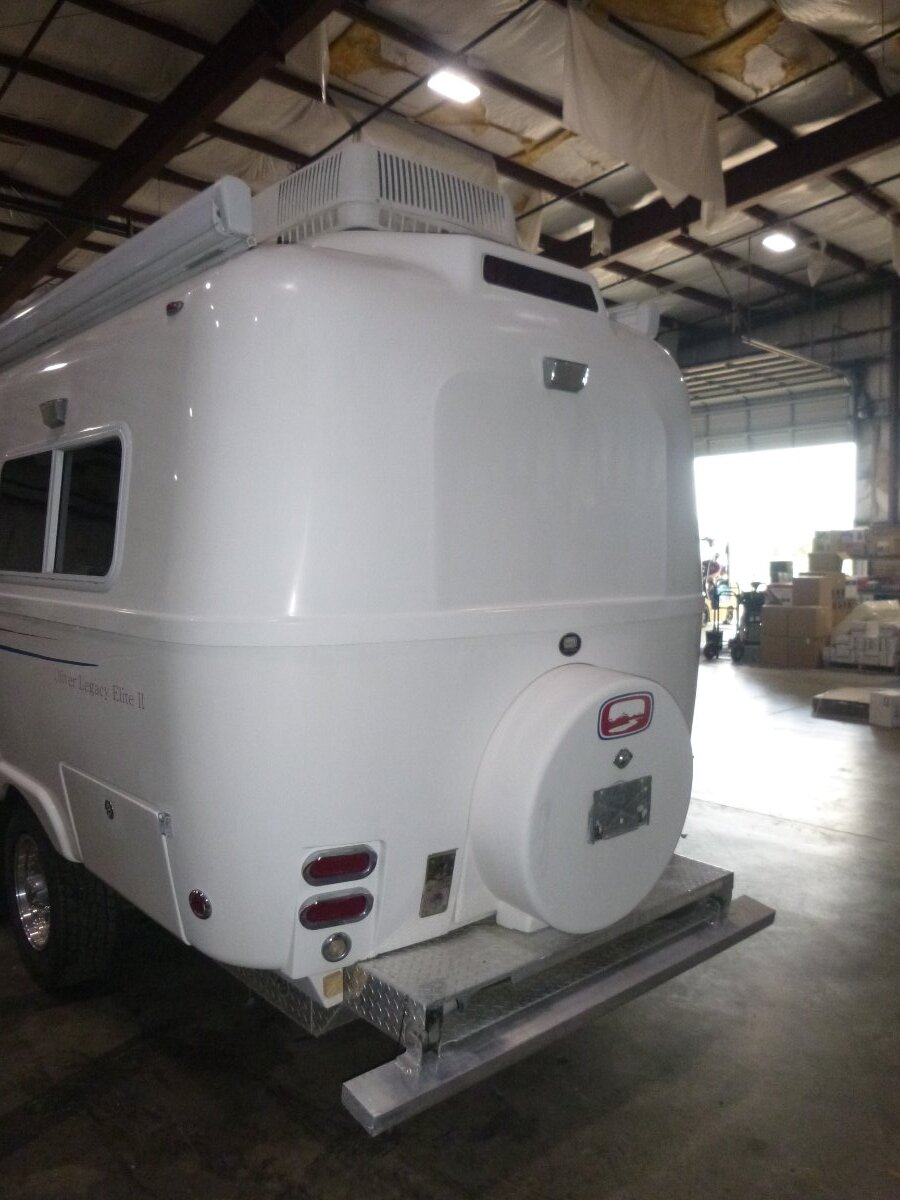
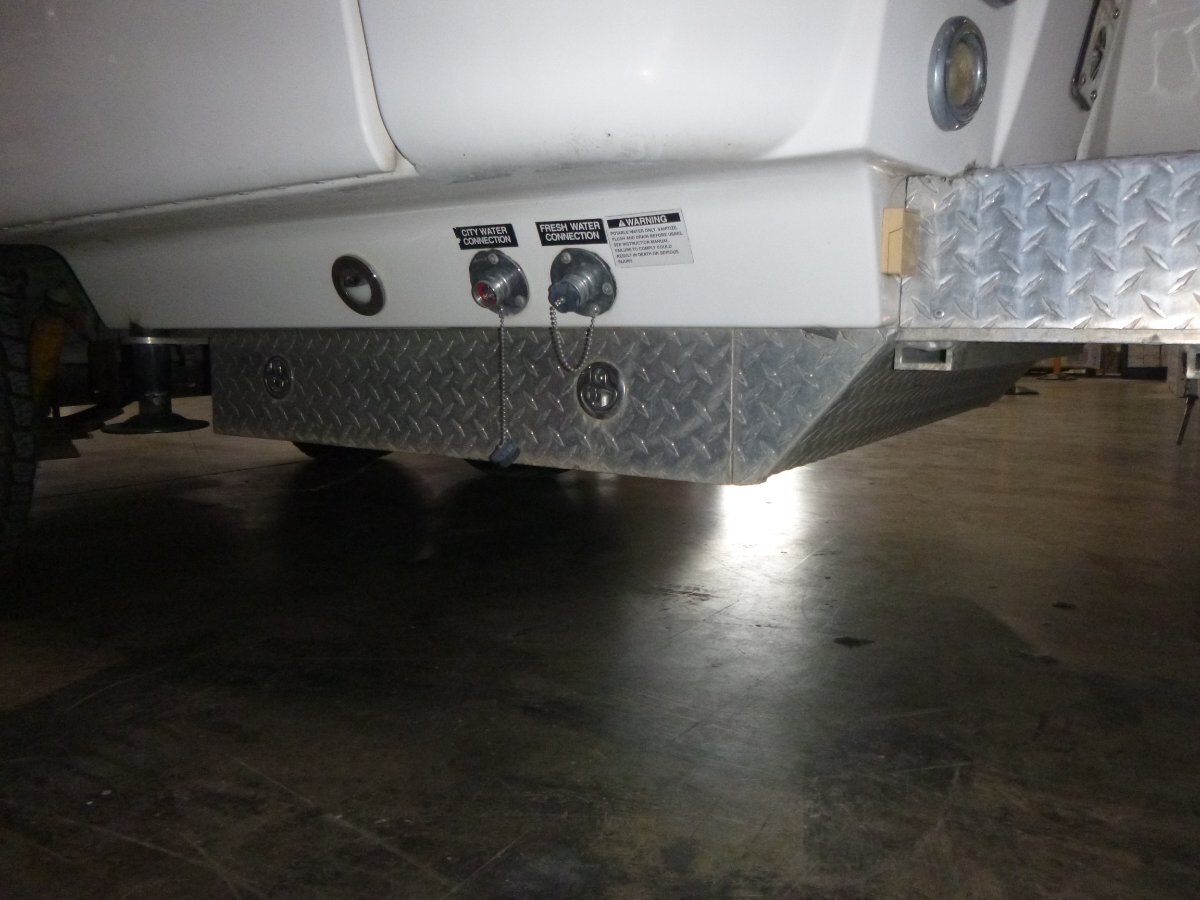
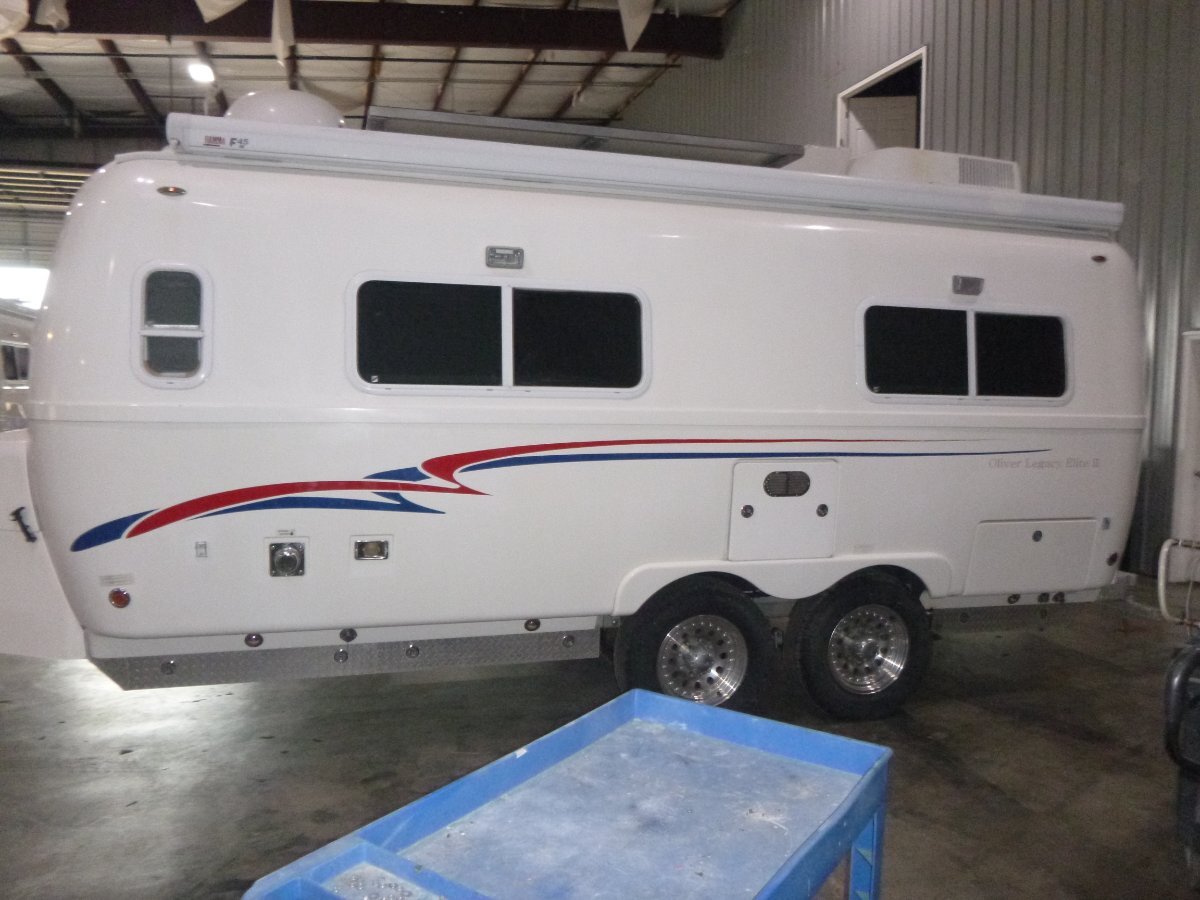
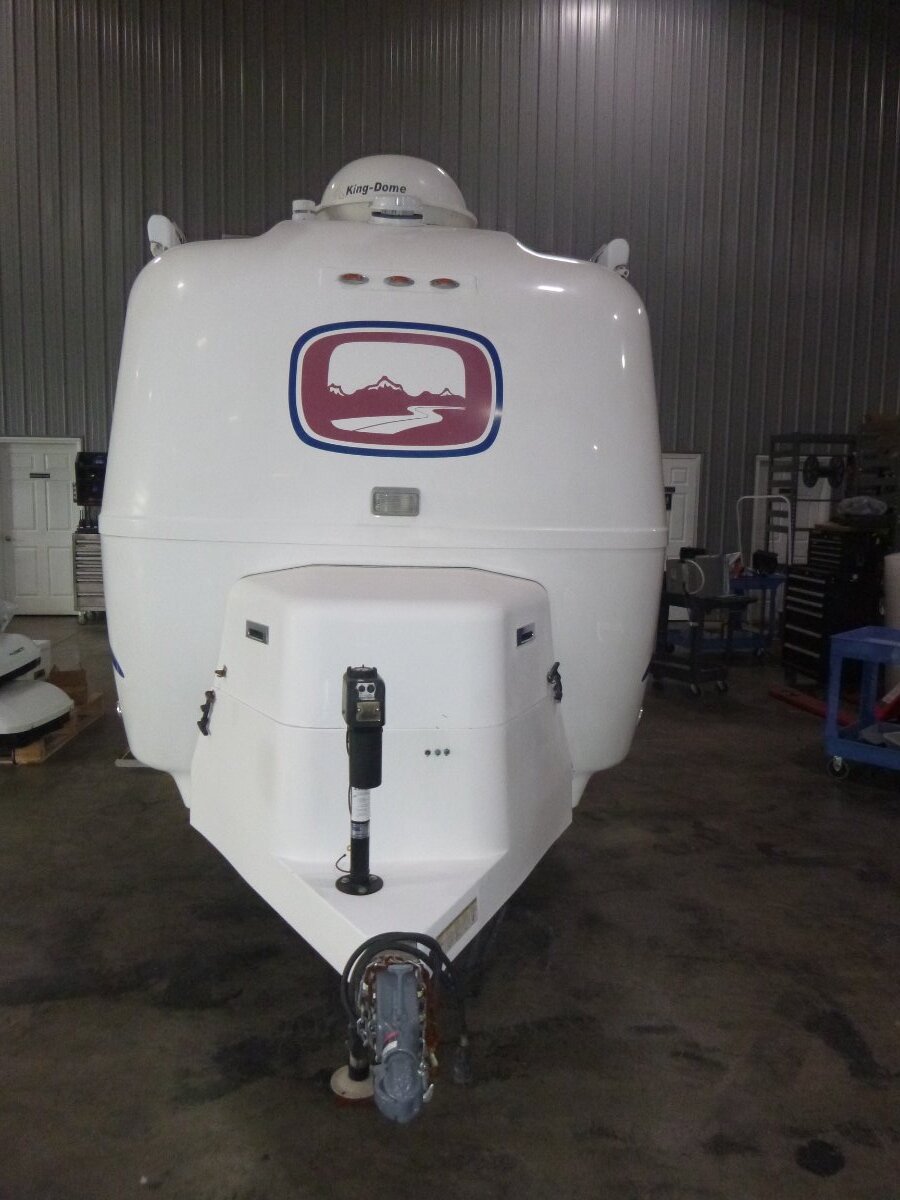
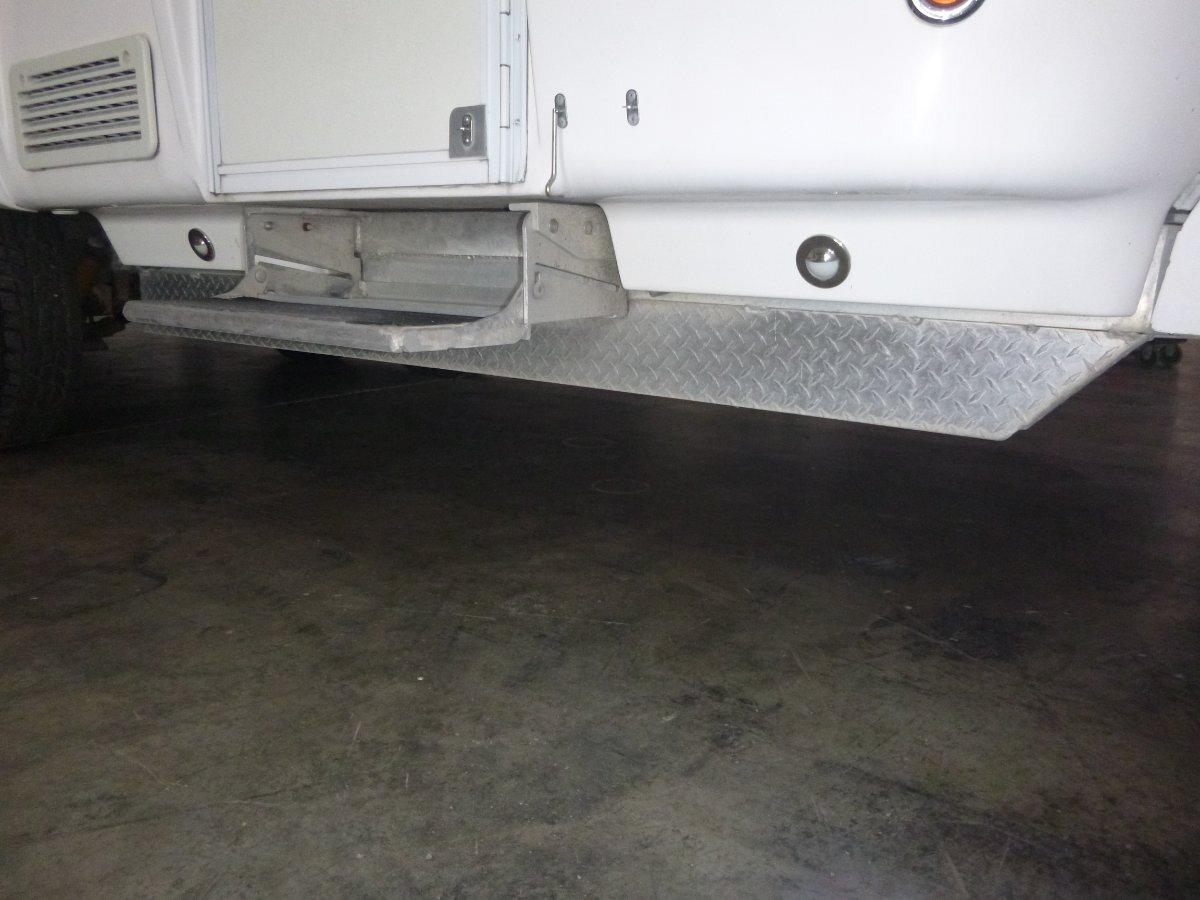
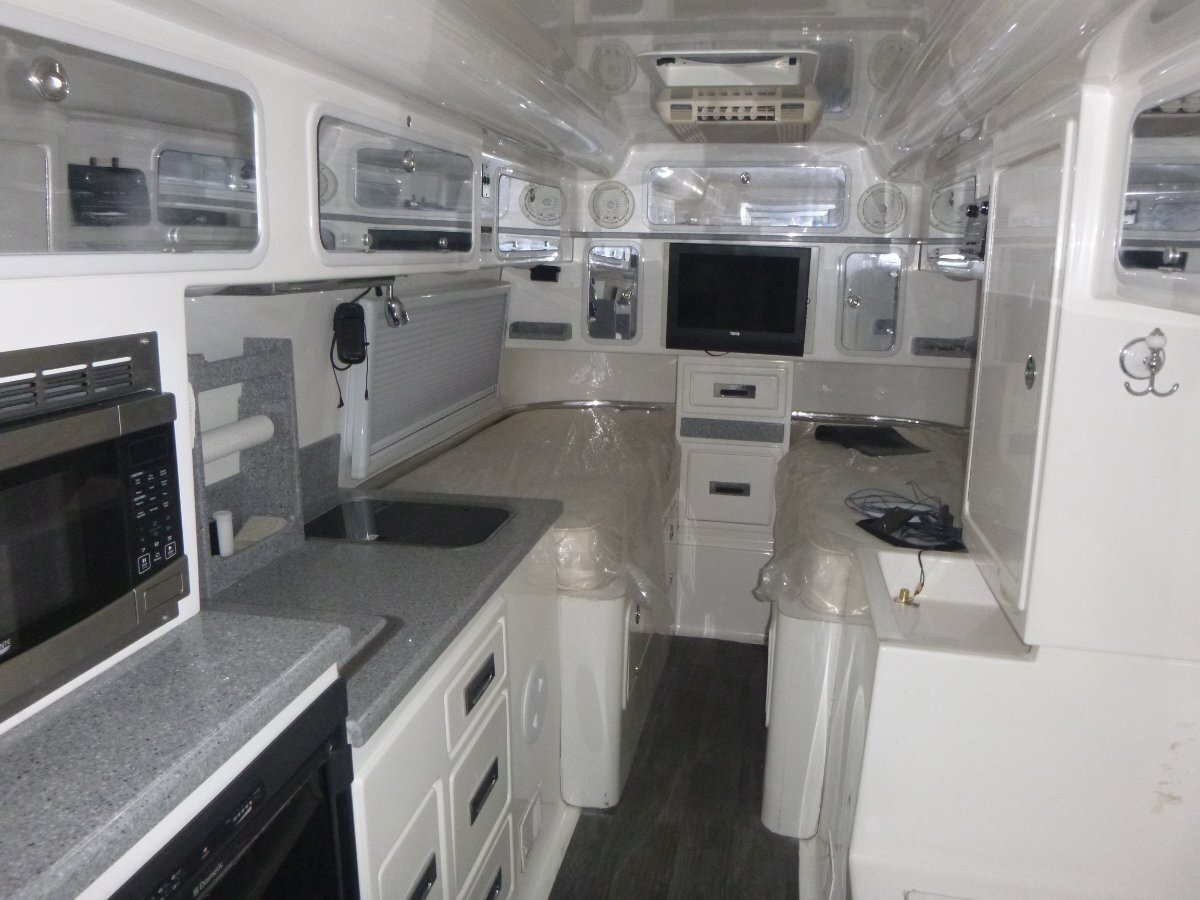
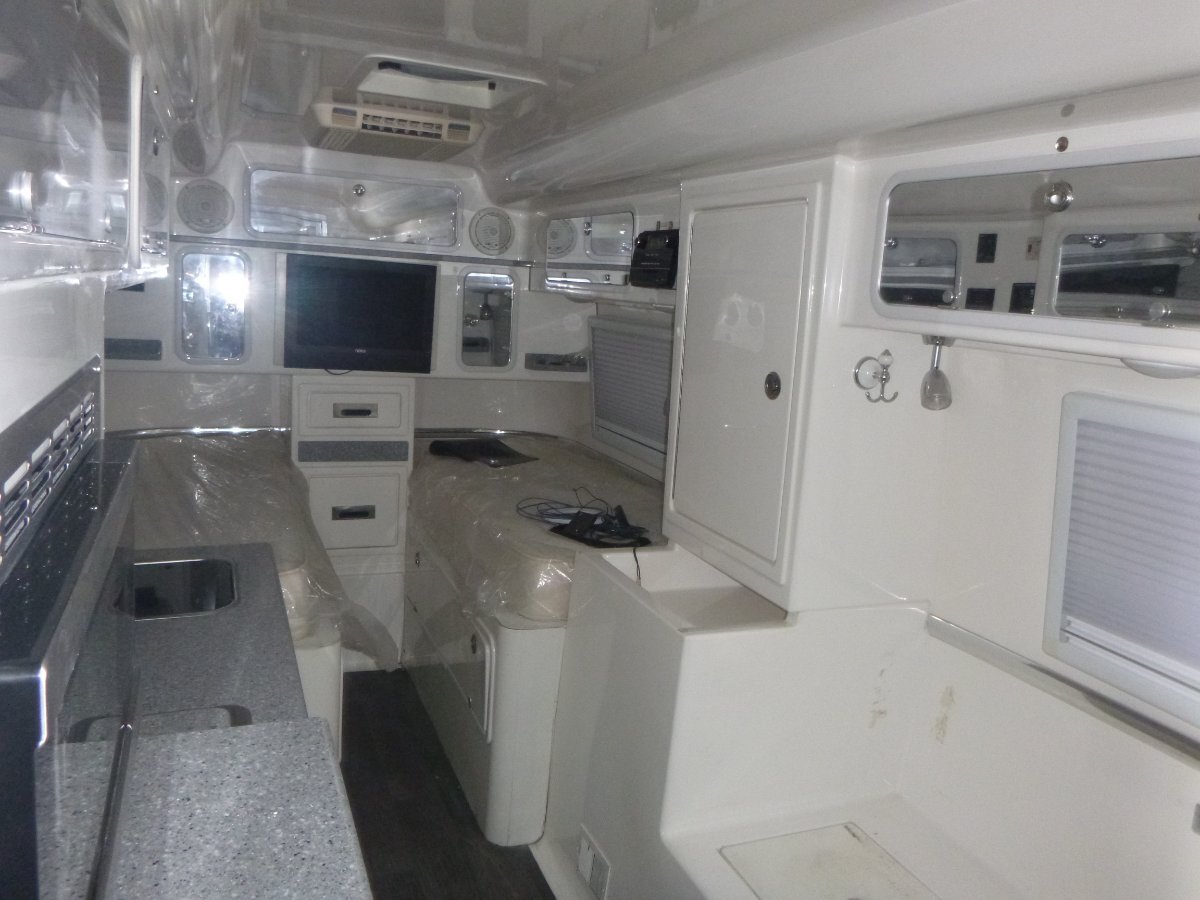
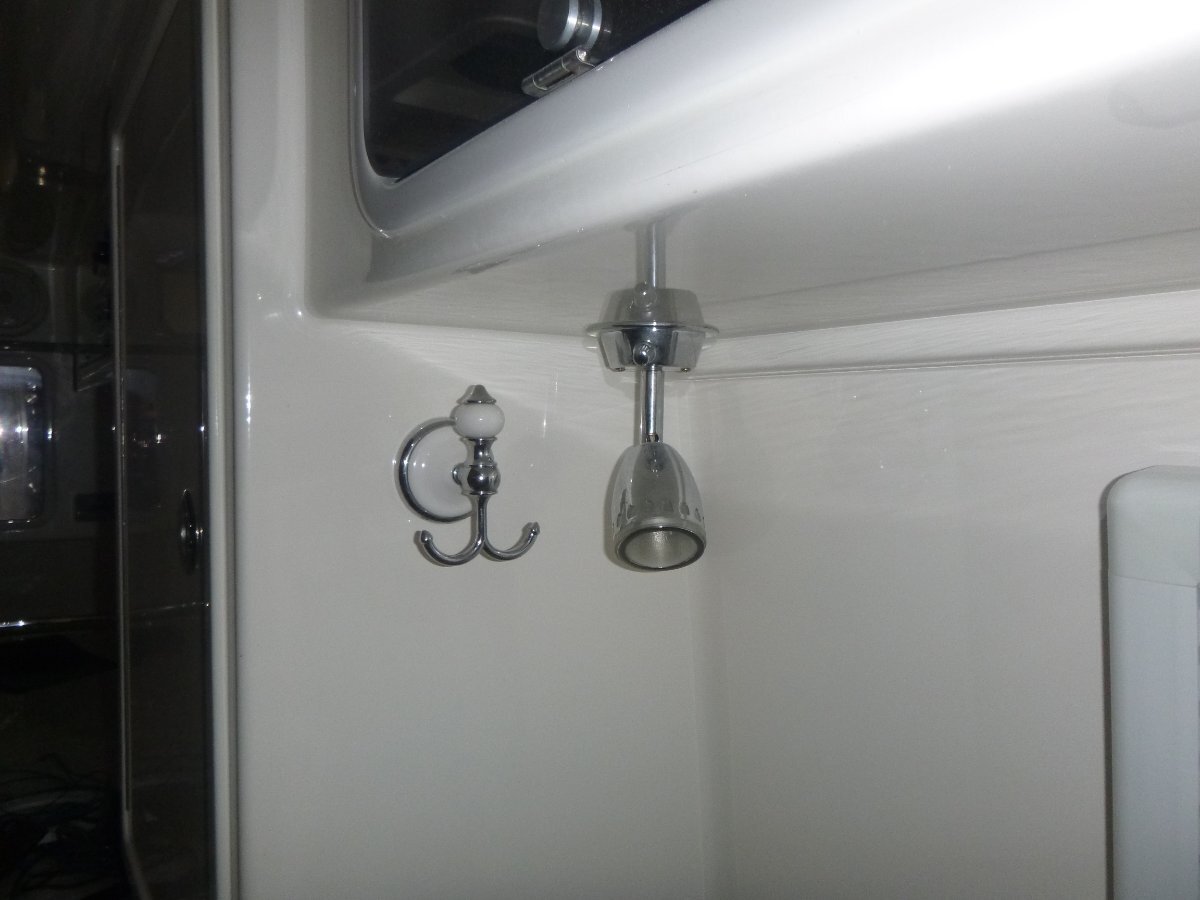
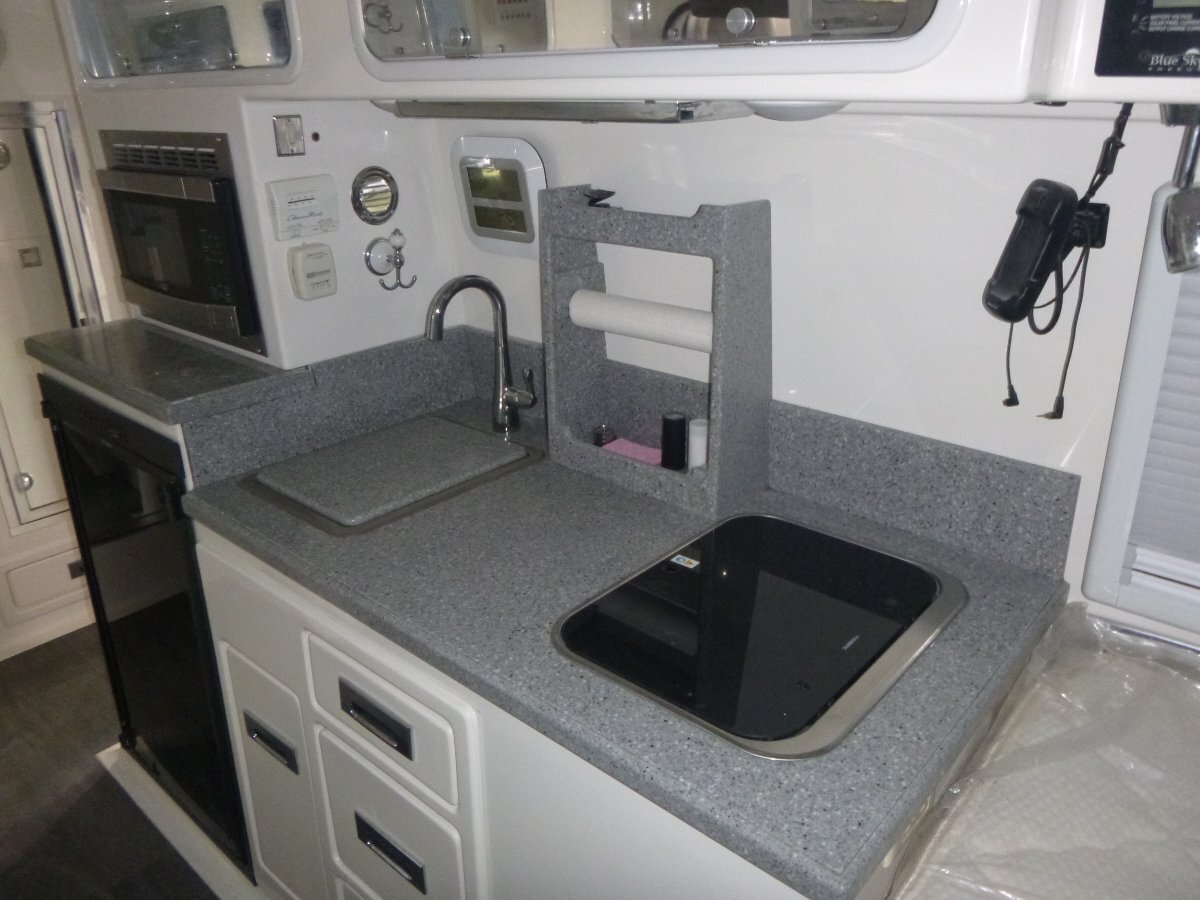
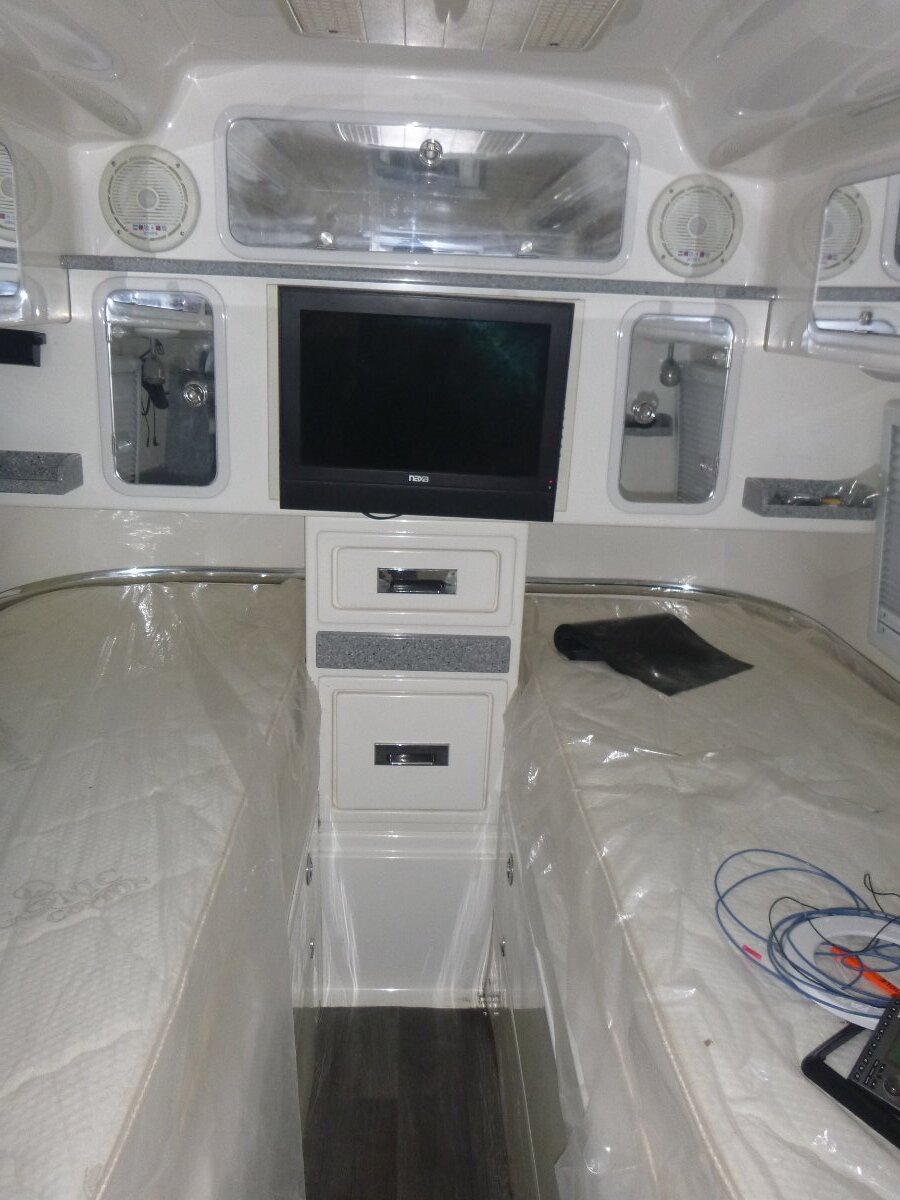
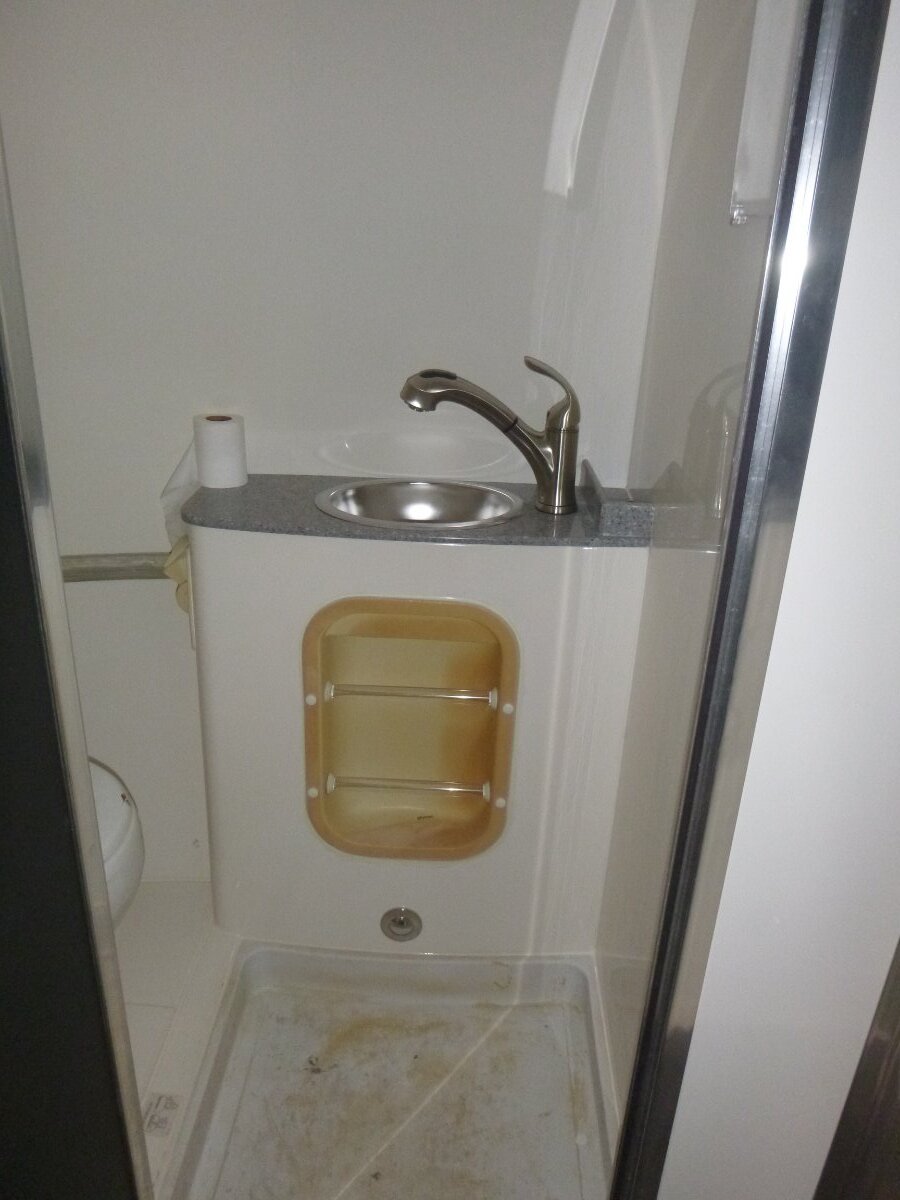
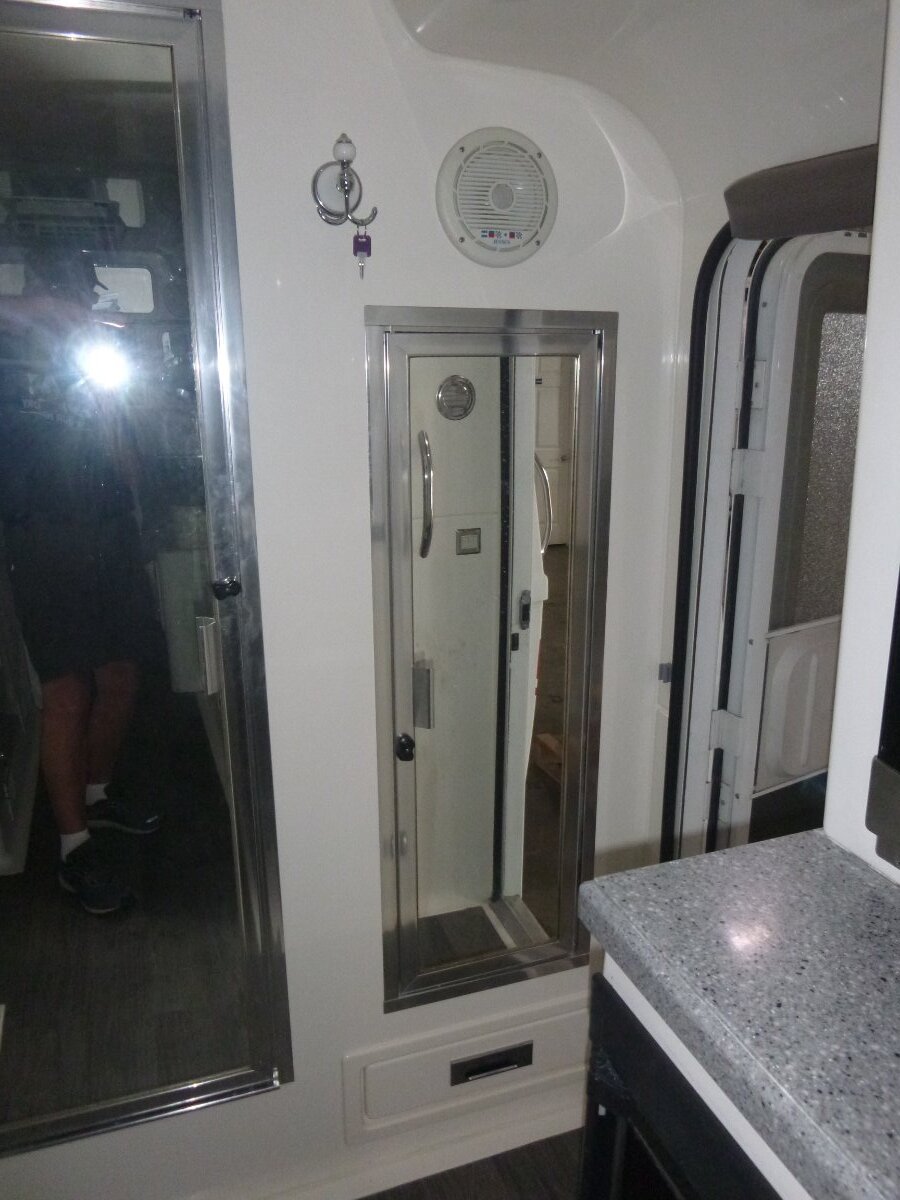
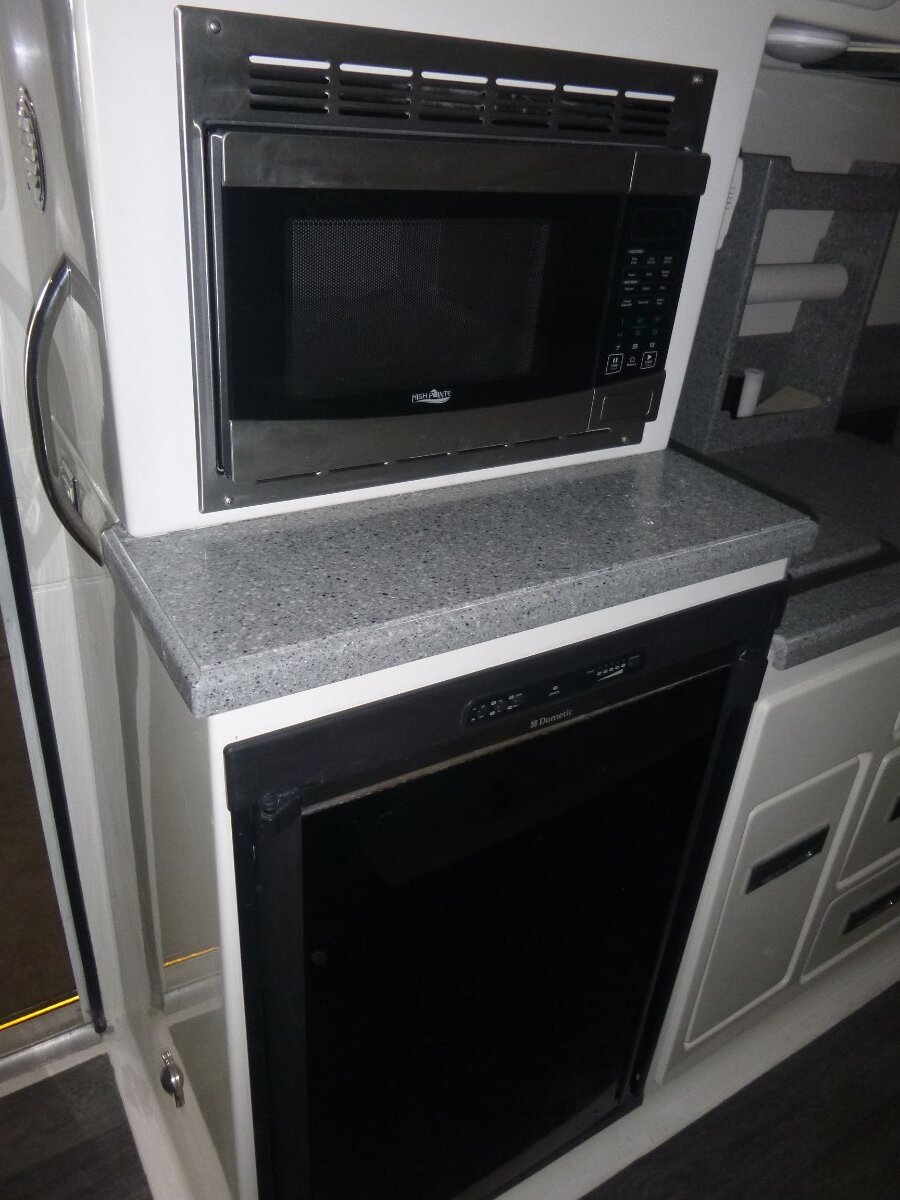
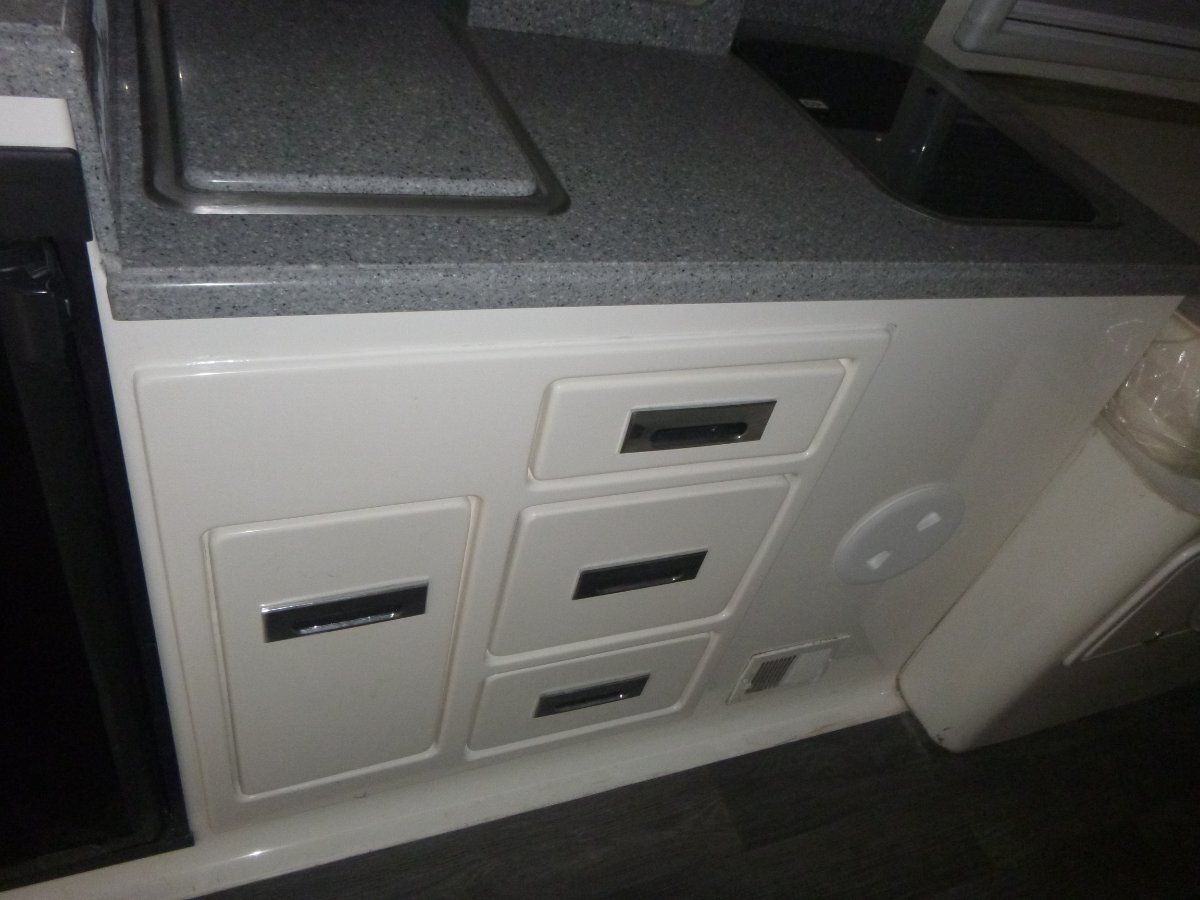
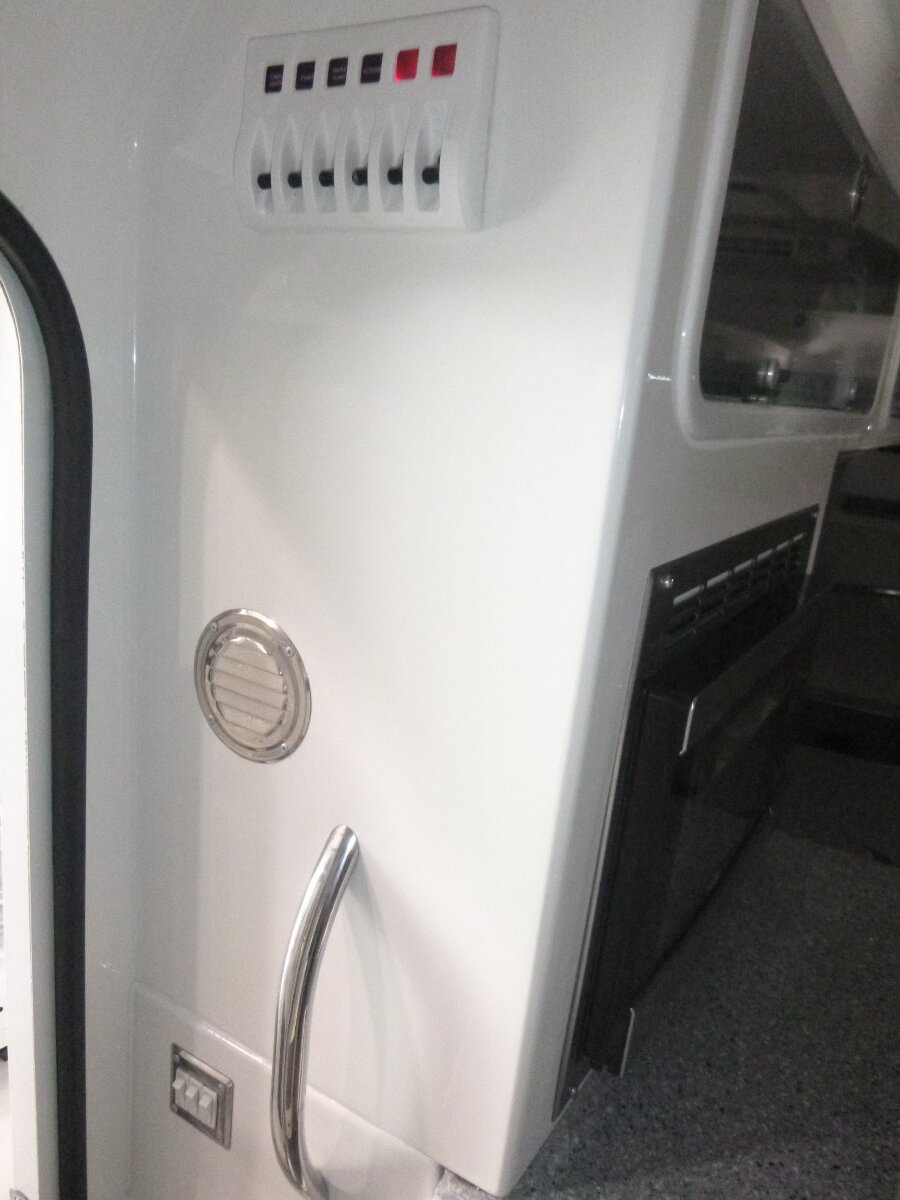
As promised - below are some pics of Mr. Oliver's "Beast". I assume that the name derived from the fact that it is estimated that this Oliver weighs in at something at or near 10,000 pounds. Partially this is due to the interior counters being made of Corian - not fibergranite - the addition of the under carriage storage areas, the bed risers, etc. Shape eyes will note things like the lack of a rear window (no emergency exit), the location of the front and rear under carriage storage, the location of the water heater, the design of the reading lights and "coat" hooks and bath faucet, single entry step, etc. Enjoy this classic! Bill
- 9 replies
-
- 12
-
-
-
-
See new topic post - Jim Oliver's Beast - posted September 2, 2024 Bill
-
E6000 is useful for all sorts of stuff in and out of the Ollie. I always have a small tube of it with me while on the road. Its available (of course) on Amazon, WalMart, Ace and (probably Lowes and Home Depot too. Bill E6000 on Amazon
-
Concrats to you guys for filling it in. Now, a couple of oars and, don't forget to plug those scupper holes you are well on your way to getting all of the States.😁 Bill
-
Got some exterior and interior pics of Jim Oliver's Ollie today. But, I can't post them until I get home early next week. Bill
-
Winston and Brandi did a fabulous job of restoring Jelly Bean. If you ever see it don't be afraid to ask for a tour. Jim Oliver's Beast presently sits in the Oliver Service area. However, Scott Oliver has plans to move it to his home in the near future. Hopefully I can get some additional pics of it this afternoon. Bill
-
Life on the road sometimes requires stopping to do laundry! Here in Cody, WY the best laundry is the Cody Laundromat. Now that this chore is done and restocking at Walmart is done the regularly scheduled activity of fishing at a higher altitude is to be resumed. A special hello to the Ollie II that was headed east towards Cody last week after they left Yellowstone National. Bill
-
Visitor drives suv into geyser at Yellowstone
topgun2 replied to SeaDawg's topic in Campgrounds & Parks
Ouch!