topgun2
-
Posts
7,746 -
Joined
-
Last visited
-
Days Won
464
Everything posted by topgun2
-
"Track "IT" down! Yesterday I towed Twist home to prepare it for an upcoming trip. As per usual - I plugged the 30 amp shore power cord into a 15 amp extension cord which (in turn) was plugged into a GFI outlet on the side of the house. All was working as it should until about 4 hours later it was time to plug in a vacuum cleaner in order to start cleaning the floor of the camper - yep, the vacuum didn't work! All other things were still working (or so I thought) but plugging and unplugging and checking the GFI - both inside and outside the camper yielded no joy. OK - time to check fuses - OK time to take apart the circuit breaker panel - OK, time to check the house circuit breaker panel - OK, time to take a break and actually think about what is going on. Finally (I can be a bit slow sometimes but this was really starting to p... me off), it was time to start getting serious. So, starting have already noted that 12 volt things still worked AND with the inverter on the 110 volt interior items worked, I felt that the "problem" was isolated to the 110 volt shore power. But, in my mind I had already checked that and there was no problem with fuses, circuit breakers or connections. BUT - lets actually TEST these things to make sure that they are actually live at each connection point. Sure enough, the extension cord was bad. No sign of melting, burning, corrosion, loose connection, or anything. Also, no one had tripped over it nor disturbed it in any way since I had first had things working. Eventually (probably during some dark cool rainy winter day I'll get that extension cord back out and see what the problem is. But, for now, the problem was fixed by simply getting another cord and getting back to work. Bill
-
Batten down the hatches tonight up there on the Parkway - there is a bit of rain and wind coming up from the southwest over night. Bill
-
That is kept very clean by camp hosts from Missouri. It is also the only pit toilet I've ever been in that has a separate chair and small rug that can be used for changing cloths, holding a bag (so you don't have to put it on the floor, holding a jacket and/or other stuff. Hopefully those camp hosts are still there. Bill
-

**UPDATE** Save the Date: 2026 Oliver Rally at Lake Guntersville!
topgun2 replied to Jason Essary's topic in Events & Rallies
Scroll to the top of this page. In the "blue" banner at the top look for "home" and left click on it. At the top of the next page look for "RV Education" and "hover" your mouse over it until a "drop down menu" appears. In that menu look for "Annual Owner Rally" and left click on it. A new page will open. Scroll down until you see "Register for the 2026 Oliver Rally" and left click on it. A new page will open - full it out with the requested information, pay your money, see you there! Bill -
AND - there are fish in Horse Creek - most are 10 to 12 inches but a very good friend of mine can attest to a 17 inch brown that was a bank feeder is there to be enjoyed. On the "interesting" side - be careful to watch for bears. This same friend came back from there one year and said to his wife, "I'm going to need a bigger gun!". In my opinion - sites 2 and 3 are the best sites. No electricity or dump here but there is water available via a hand pump. Bill
-
Oliver no longer selling through dealers?
topgun2 replied to DanielBoondock's topic in General Discussion
If this company does what they say they are going to do then I predict that they will soon need a much bigger service building. Good luck to them. Bill -
Oliver no longer selling through dealers?
topgun2 replied to DanielBoondock's topic in General Discussion
I seem to recall that in the video Jason says that they will continue to act as service for Oliver's. Bill -
Where's the snow in CO and where's the gator in MS?
-
Oliver no longer selling through dealers?
topgun2 replied to DanielBoondock's topic in General Discussion
AND - IF all of this is true (I suspect it is true), we just might get our "classified section" back here on the Forum. Bill -
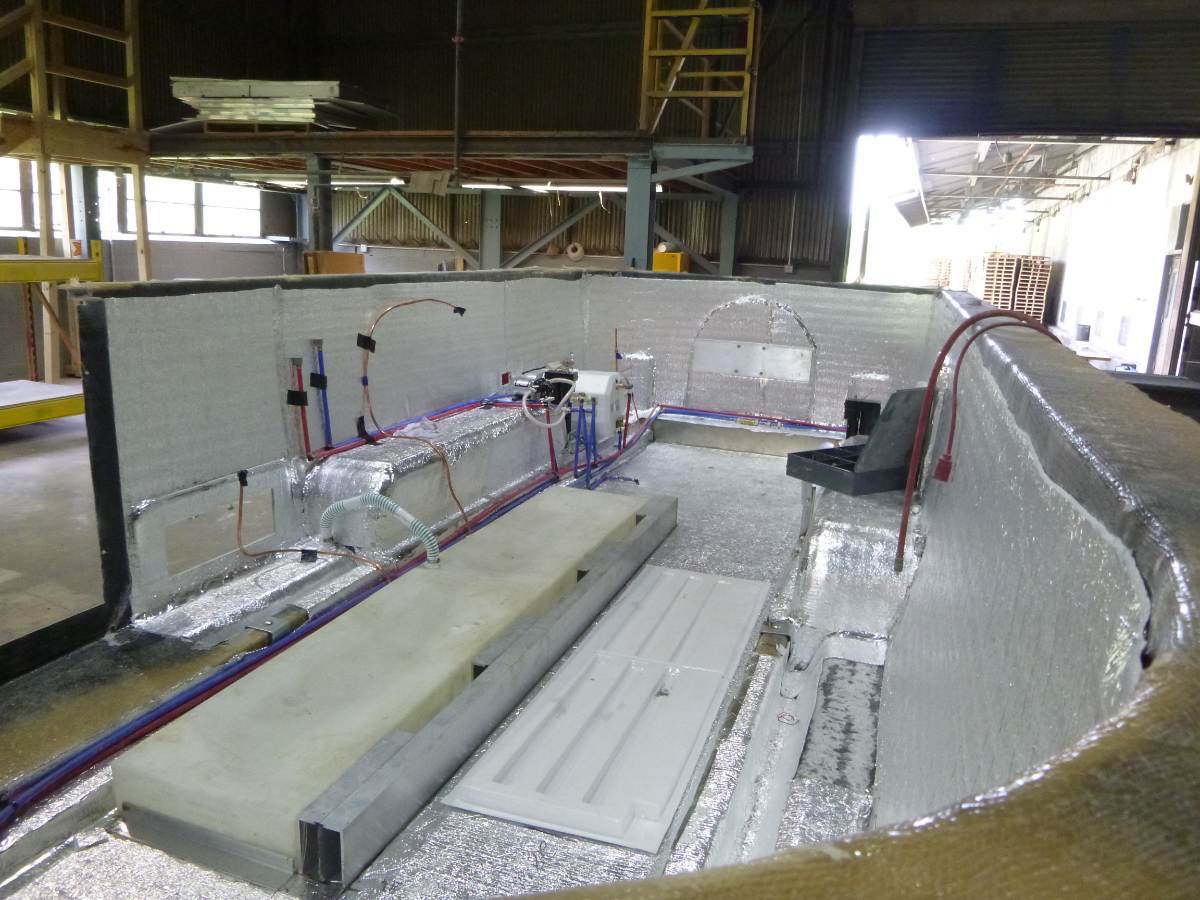
ADK - The first thing I would do is contact Oliver and ask if they can give you any information on how that original floor was constructed. Below is a pic of what I believe is under the floor that you have in your pic. Bill

-
I have a set of NEW Huskey Wheel Well Liners that specifically fit all Ford F-150 models from 2021 through 2026 EXCEPT for Raptor models. All parts and installation instructions are included. I can deliver these at the October Oliver Owner's Rally. PM me for details. Bill
-
Certainly that hole where your brake wire exit the axel SHOULD have a grommet. However, as a number of owners have found out - the brake wires that run through the axle can "short" due to the insulation wearing off INSIDE the axle where you simply can't see it. Mike Thompson (among others) experienced this. The good news is that the fix is fairly simply and inexpensive - run a new set of wires on the outside of the axel(s). I'm sure that Mike (or others) would be happy to give you the details. Bill
-
DR - Welcome to our Family! Bet ya can't wait for that new Apex. Make sure that you ask your Sales person what items are included at delivery with your new Ollie. This information will help you to either delay purchase or only get those things that you believe will suit your type of camping/travel. Any chance that you are planning on attending the annual Owner's Rally? If yes, then really delay so that you can see what others have . Next - start reading this Forum specifically looking for mods that might interest you. For instance - the use of "blocks" to shorten the distance your "levelers" have to travel is a practice used by many of us. These blocks not only save wear and tear on your levelers but also act as a "slip plane" (something that easily slides away such that a more permanent thing like you jack/leveler is not harmed) in the event you mistakenly leave the leveler down while moving the Ollie. Blocks can be as simple as a stack of wood, or, a 6x6 10 to 11 inch long block of wood, or, something like an Andersen block like THIS or THIS or "legos" like This or some combination of all these. Another item to consider is some type of side to side leveling helper - again like stacks of lumber or the "lego" blocks mentioned above or "ramps" such as THESE from Andersen. Once you have taken a look to see what's out there, come on back here and ask about the goods and bads of a particular item. Most likely you will get a variety of opinions on just about any single item, so, again, it would be helpful to detail what your intent is for usage. Have fun with all of this but don't go crazy until you get some idea of what things just might work best for YOU. Bill
-
Cleaning the gap around the linoleum floor
topgun2 replied to Ken Root's topic in Mechanical & Technical Tips
Every couple of years I clean that area with a bit of acetone on an old rag. Be careful and do not get too aggressive with the acetone. Good luck! Bill -
The only "issue" (in addition to the above mentioned ones) is a possible regulator failure. If you have both tanks connected and the regulator fails at the automatic changeover and/or internal seals, then the other tank is there to stop the flow of propane. Bill
-
Or, three or four! I do know of a person (me) that was leaving VERY early one morning from a campsite in Yellowstone and just had this "funny" feeling that all was not right. I (oops - this person that I know) stopped at the camp entrance just to take a look around and saw that while the bulldog was clamped shut and locked, it was "resting" on the top of the ball - NOT down and clamped around the ball as it should have been. This person has never told me just how he got the bulldog closed and locked without being down on the ball. I've accused him of not being as careful as he should have been and he claims that in the early morning darkness plus being in a hurry may have had something to do with the issue.🥴 Bill
-
A former Moderator and Oliver owner is/was renowned for relatively extreme mods to his Ollie. One of these mods occurred during construction where he had requested Oliver raise his Oliver to get more ground clearance - primarily for off-roading purposes. Someone here on the Forum might still have more pictures of this Oliver. Once the Oliver was "lifted" it was decided (by all concerned) that this would cause the trailer to be too top heavy and/or would impact the road handling of the trailer adversely. Therefore, it was returned to the original design. The trailer's name was Snowball and the Forum name of the owner was Overland. Bill p.s. Here's Overland's discussion of his "attempted" lift.
-
Good morning back to you and a big Welcome to the Forum! Amber Falls Winery is not far to the East from Hohenwald, TN (35.57895, -87.36741). This is a pleasant little winery and has a couple of red wines that are worth considering. However, I thought that $50+ for these was a bit high. There is another winery just off the Natchez Trace Parkway - north of Hohenwald called Keg Springs Winery (35.65096, -87.34441) but I've never had the chance to stop in. Good luck! Bill
-
I'd bet that you are no longer in the Leadville area - but - there is a coffee shop directly across the street from City Hall that has very good pastries and coffee. Plus, they have free WiFi. Bill
-
Claudia - Good to see you back - but - I wish it was under better circumstances. Hopefully someone here has taken this thing apart and can convey wisdom your way - good luck. Bill
-
Cabinet instead of Stock Convection Microwave
topgun2 replied to HDRider's topic in General Discussion
Every one of these that I recall seeing here on the Forum has been "custom" - that is, not using a pre-made cabinet. Good luck! Bill -
Be careful! Pretty soon you two just might run out of things to talk about!😇
-
The price for your dimmer switches at about $20 is sure a BUNCH cheaper than what I paid for my single dimmer switch some 10 years ago. And, the finished product looks great too. Bill
-
O2R - Thank you so much for giving us the conclusion of your Service story. I am so happy that things worked out for you. I am often perplexed by the stories I hear in which what happens seems to be at the entire opposite end of the scale. I'm simply not sure what's the cause of this seemingly drastic difference between quick through responses that , "Oliver went above and beyond on this one" and the owners that report complete dissatisfaction with virtually anything done by anyone working at Oliver. Perhaps your story and how you handled the situation can serve as a "road map" for others to travel. Bill
-
Below is the reply that I received an hour ago from Jason: "That's a tough one for me specifically as I have no idea about any of this or where to even find those graphics. Have you tried reaching out to technical support or service?" Bill p.s. I expect that it will take a bit of time before hearing back from Matt Duncan - as mentioned above - he only checks in with Oliver related subjects on an occasional basis.