John E Davies
-
Posts
5,759 -
Joined
-
Last visited
-
Days Won
243
Everything posted by John E Davies
-
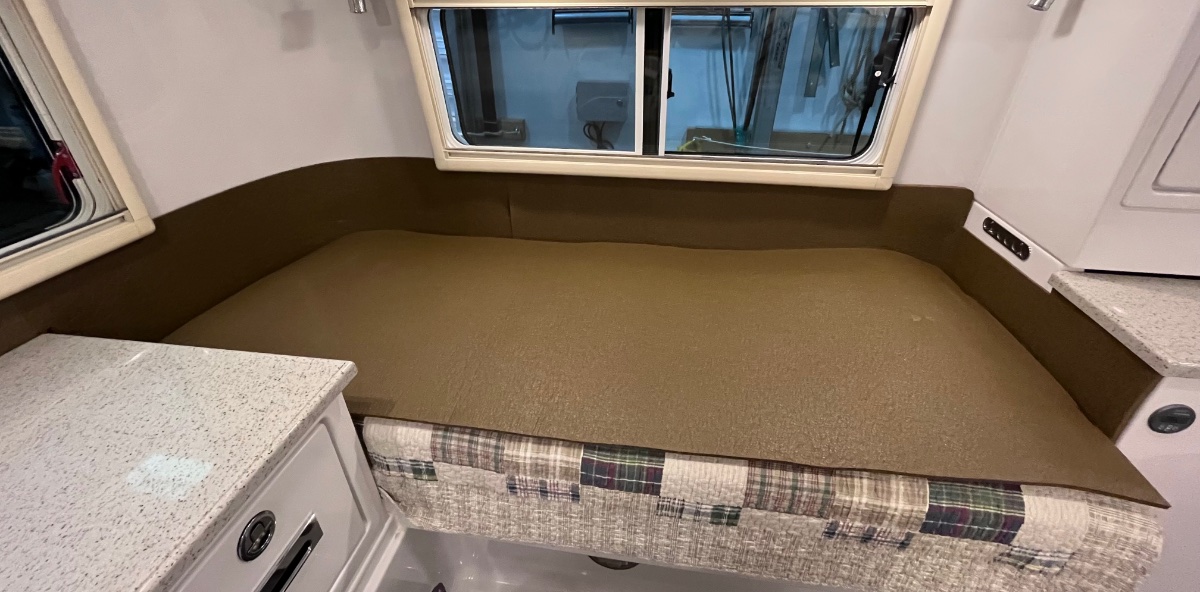
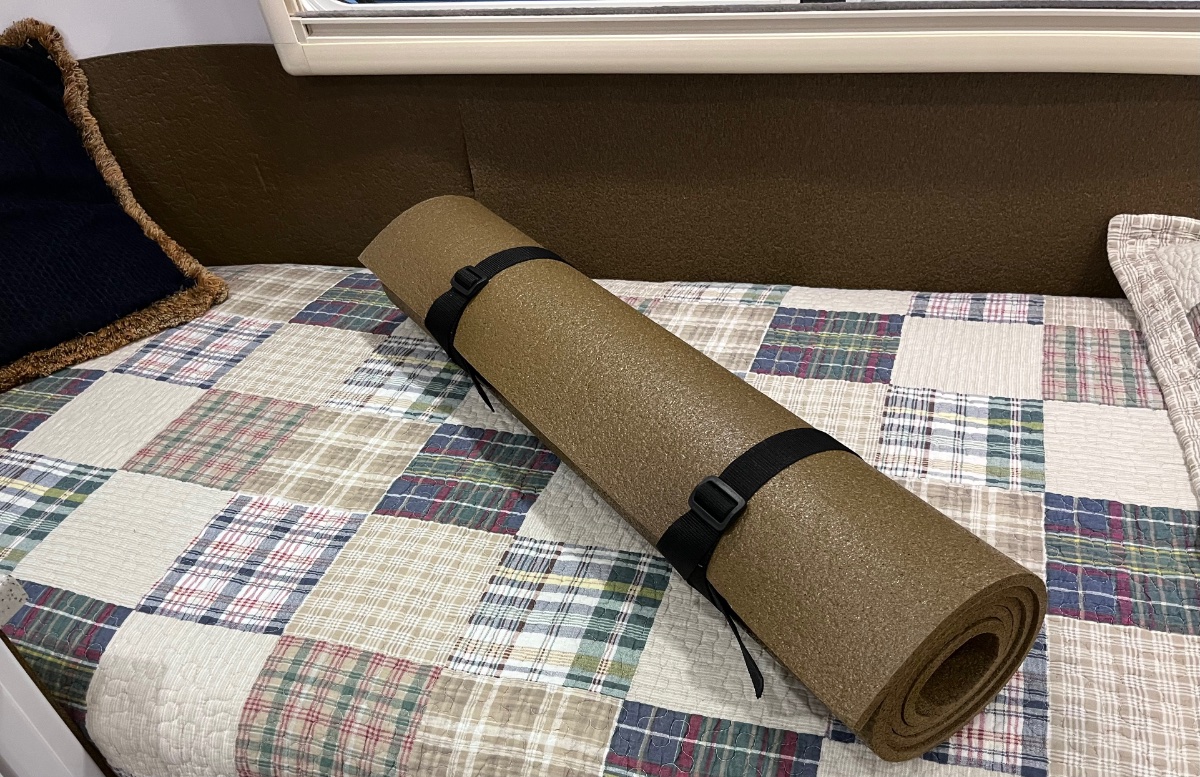
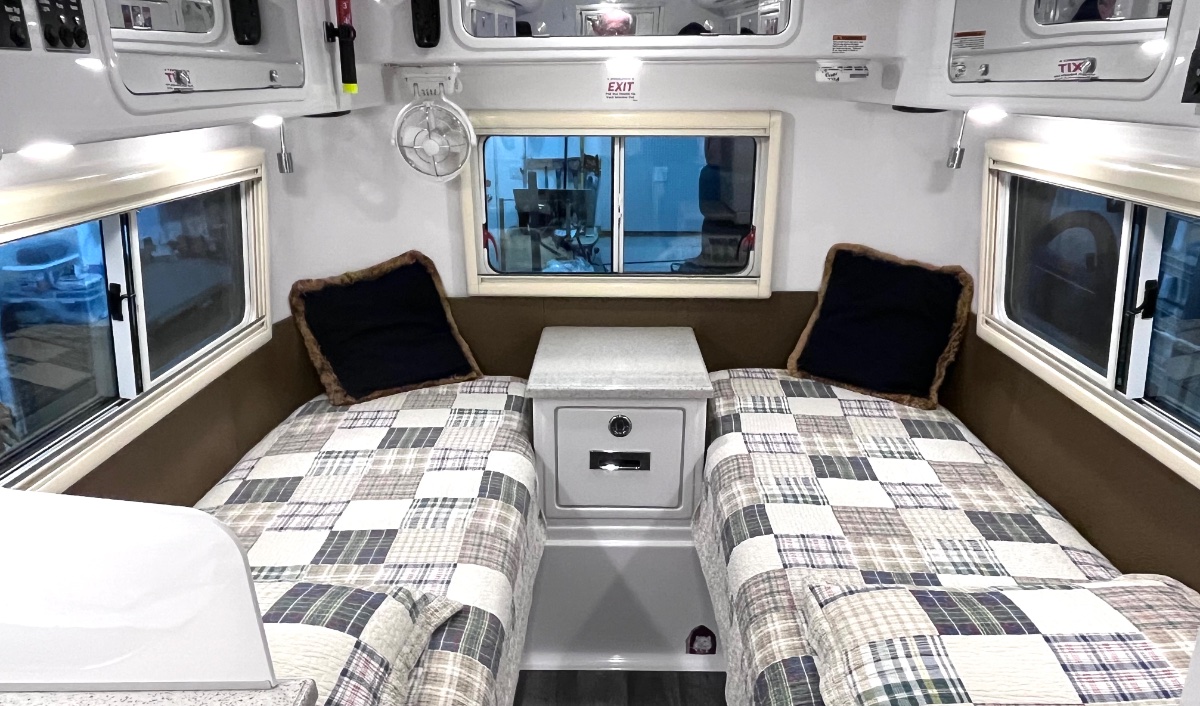
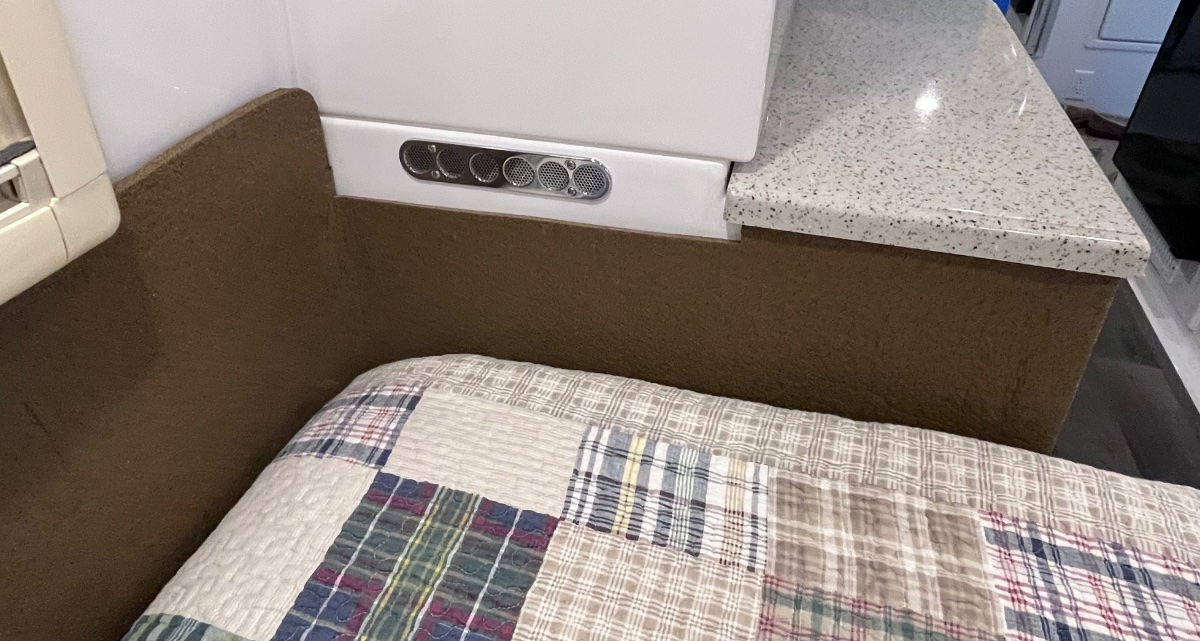
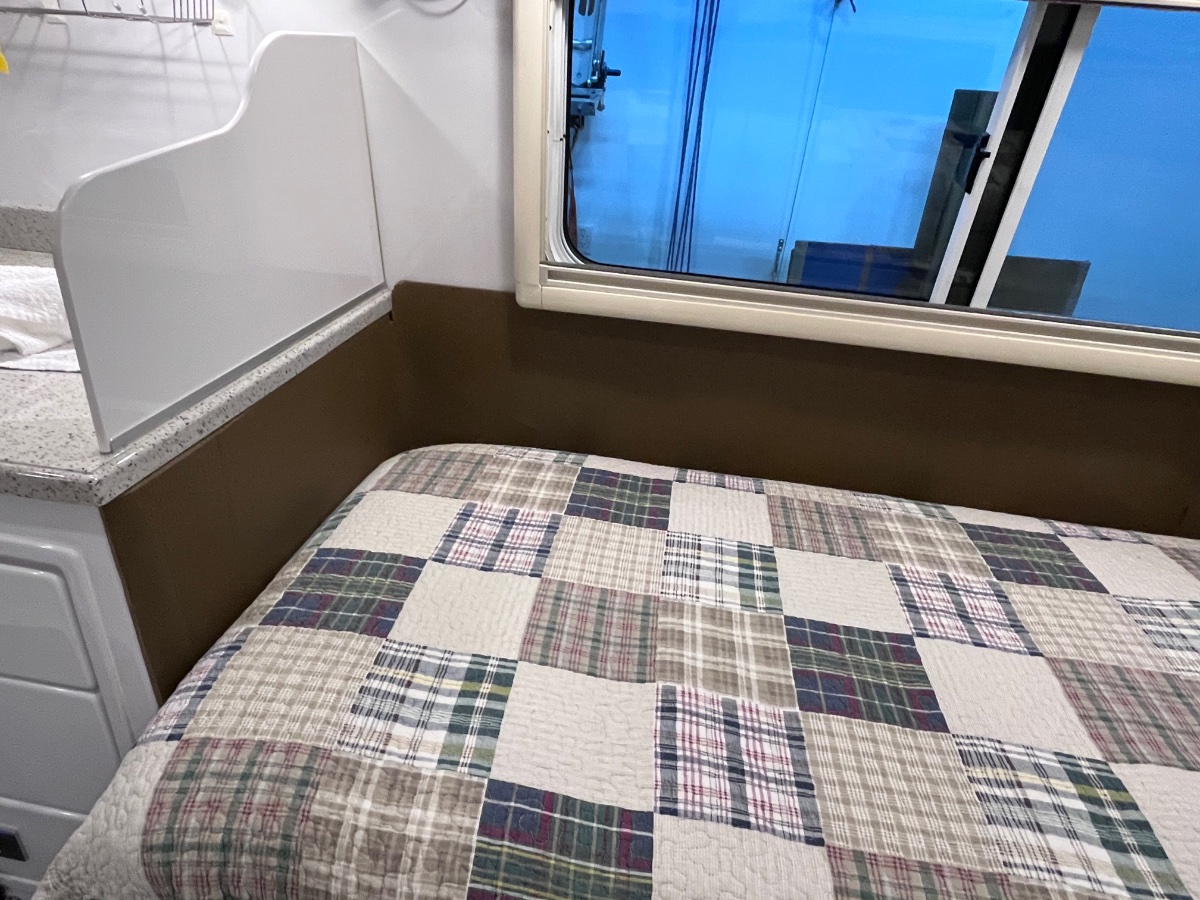
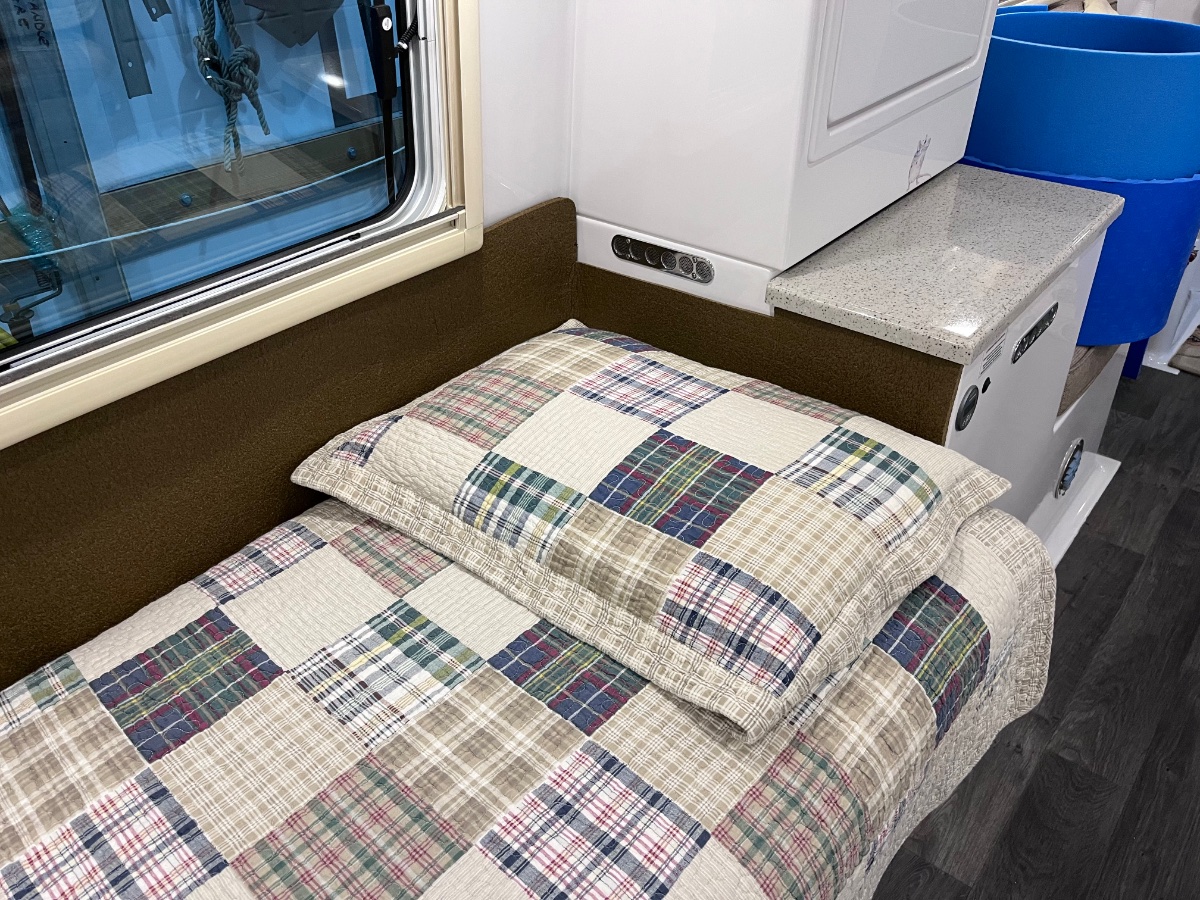
 I mentioned that I was happy that these are 30” wide. That is the exact width of the mis-labeled “Twin” mattresses, which are really Bunk sized. That third pad was *exactly* the right size, all you have to do is cut a curve to match the wall. When traveling solo, I can put gear on top of that mattress without worrying about hurting the fabric, or scarring the gelcoat, or the hassle of removing completely and storing the mattress. A zero gravity lounger works, or a full sized CLAM shelter, or a cased rifle, or plastic bins with paper products or linens. But there are no tie downs straps, I would NOT recommend putting a fridge or anything really heavy there. It would become a nasty missile in a collision. Wedging the item(s) against the front bulkhead will minimize that hazard. I highly recommend this mod, once you sleep with the added thermal insulation you will thank me. John Davies Spokane WA
-
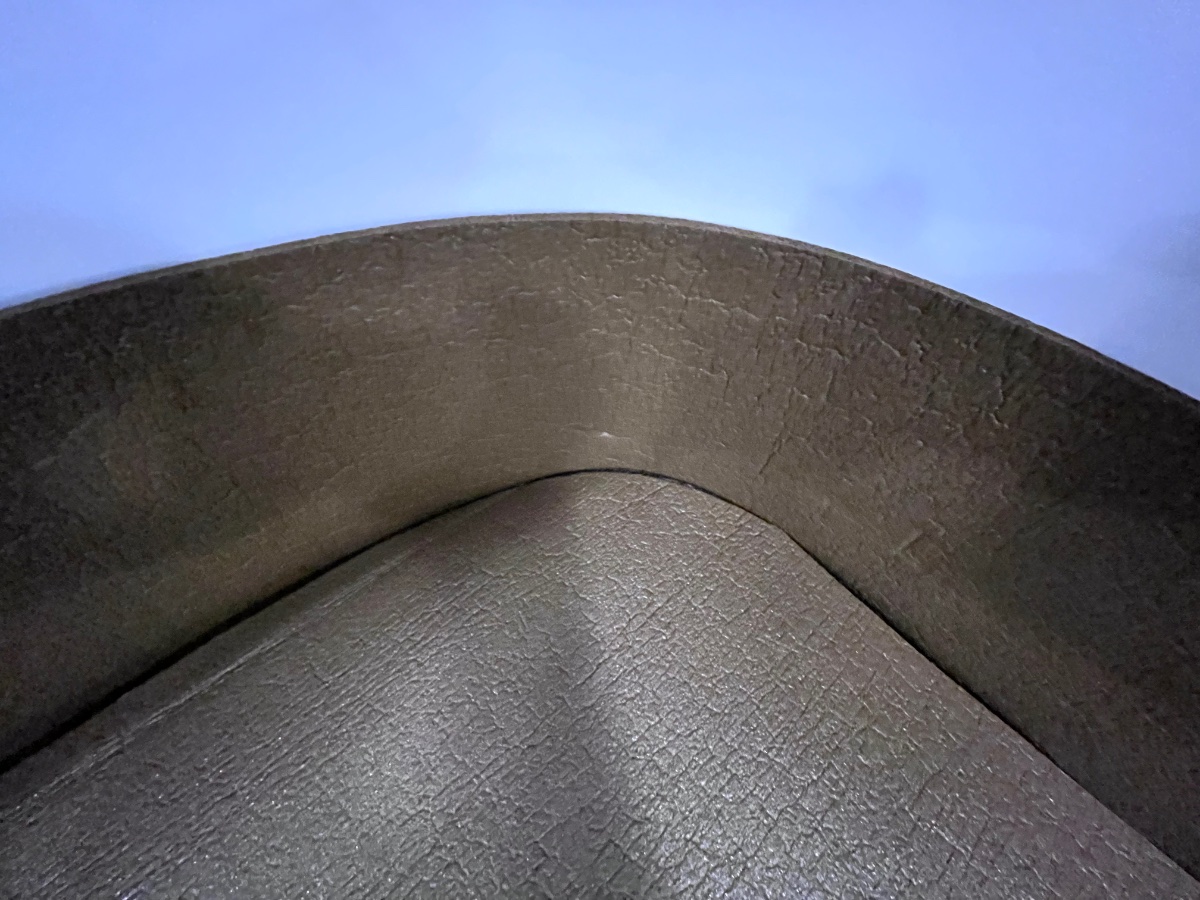
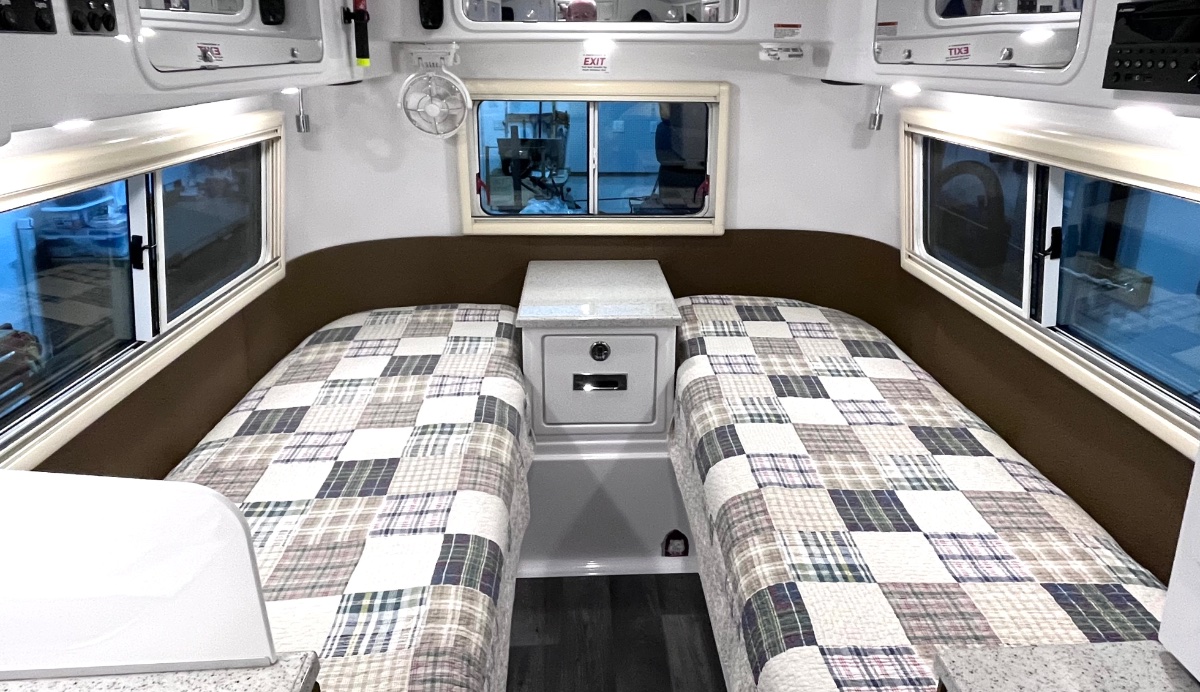
I have been experimenting with extra insulation for the last year, using a blue eggcrate foam sleeping pad. It worked great, but looked awful against my tan cushions and bed covers… Plus it was only 24 “ wide. I found new khaki Mil Surplus pads, 30” wide. I ordered three. Why insulate? The foam: Cushions all those the rock hard surfaces, no more banging elbows or toes. Ouch. Keeps out the chill or heat of the hard wall. The bed is remarkably more comfortable for sleeping! It BLOCKS the cold air dropping down from the windows. This is a big deal. Removes or installs easily in a couple of minutes. Helps keep the covers tucked in. It coordinates with my old tan blind frames. They don’t look so odd now. Provides cargo padding, see next post. Use a sharp razor knife over a big sheet of cardboard and a long straight edge, I used a 48” aluminum carpenters level. . Cut in half lengthwise, one pad provided enough enough material for one bed, fully wrapped. My trailer has 10 inch thick mattresses, so if you have skinnier ones you may have to order more pads. They need to tuck into the gap between mattress and wall, and up under the window blinds and faux granite to hold them securely. Alternatively you could add a lot of velcro. My installation doesn’t need any. Original blue compared to the new stuff, the blue is way way thick, the new is 1/4”. More…. John Davies Spokane WA
-
Use your onboard stabilizers AKA jacks to lift all the tires clear of the ground, have the store tech place his hydraulic ones under each axle. This isn’t exactly rocket science. Lots of us do this, but never ever crawl underneath without additional supports. But it is easier to just take the wheels down there. John Davies Spokane WA
-
Sorry, all the stickers are stuck, order your own…. John Davies Spokane WA
-
So you lie down on the floor for back pain relief? Does that work very well? How often do you do it? I am in the Oliver “Do What Works Best, Not What Looks Like a Professionally Staged Home” camp. If it does its job well, go for it. It looks as if you are in the same camp 😉 John Davies Spokane WA
-
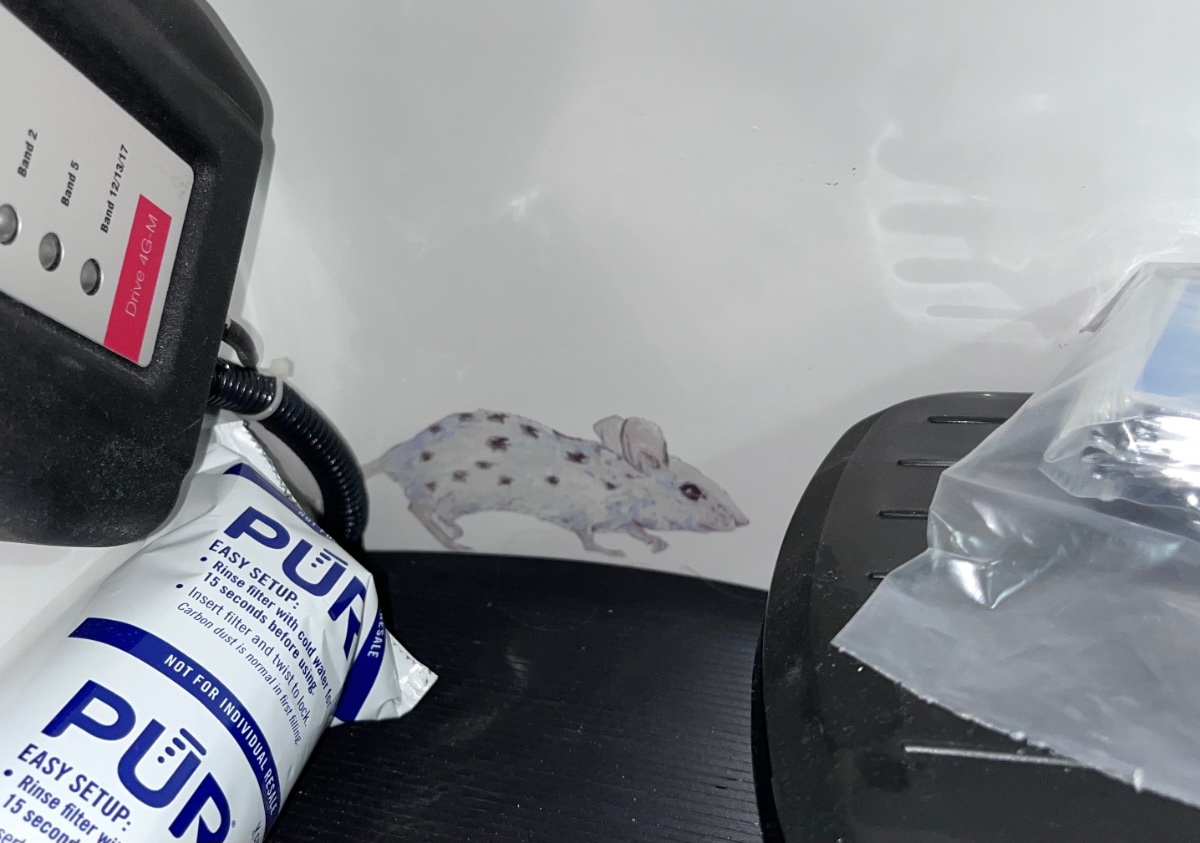
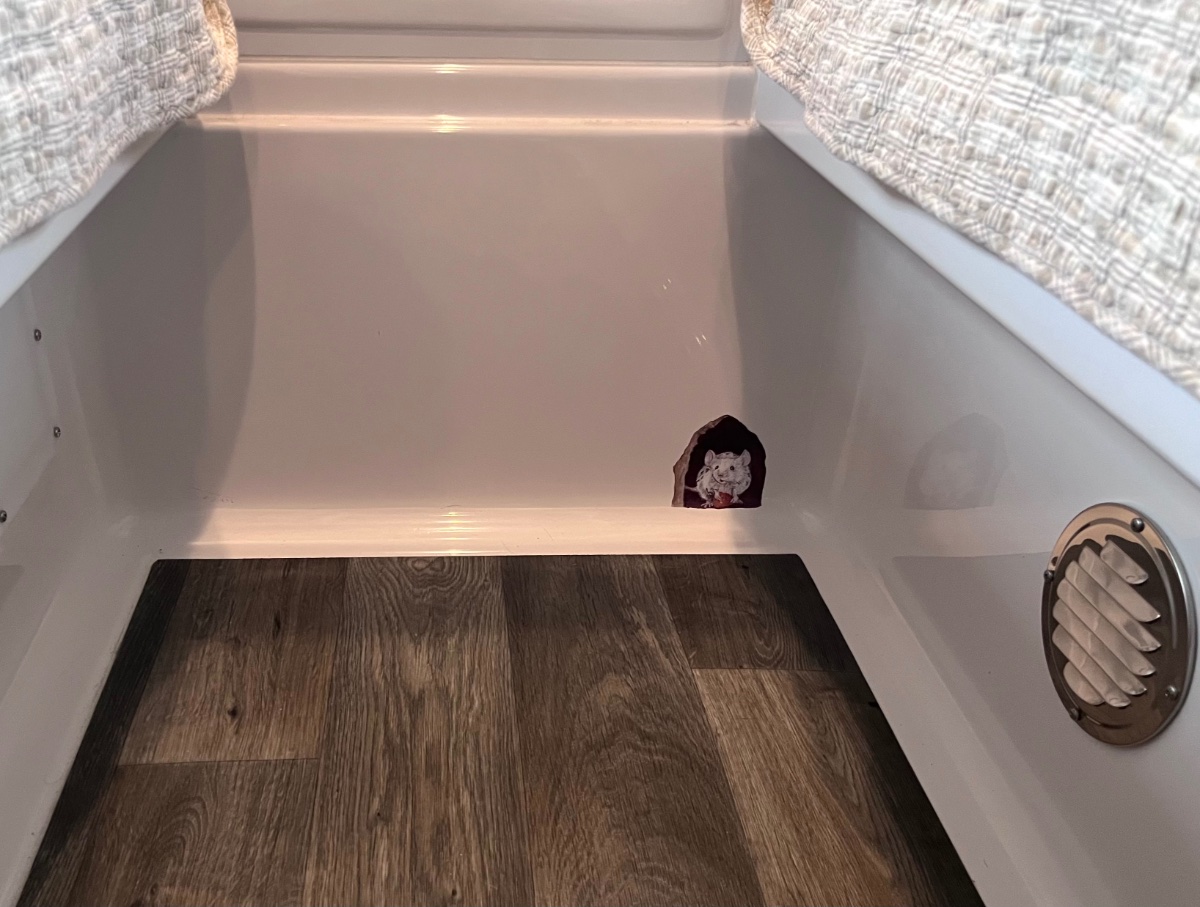
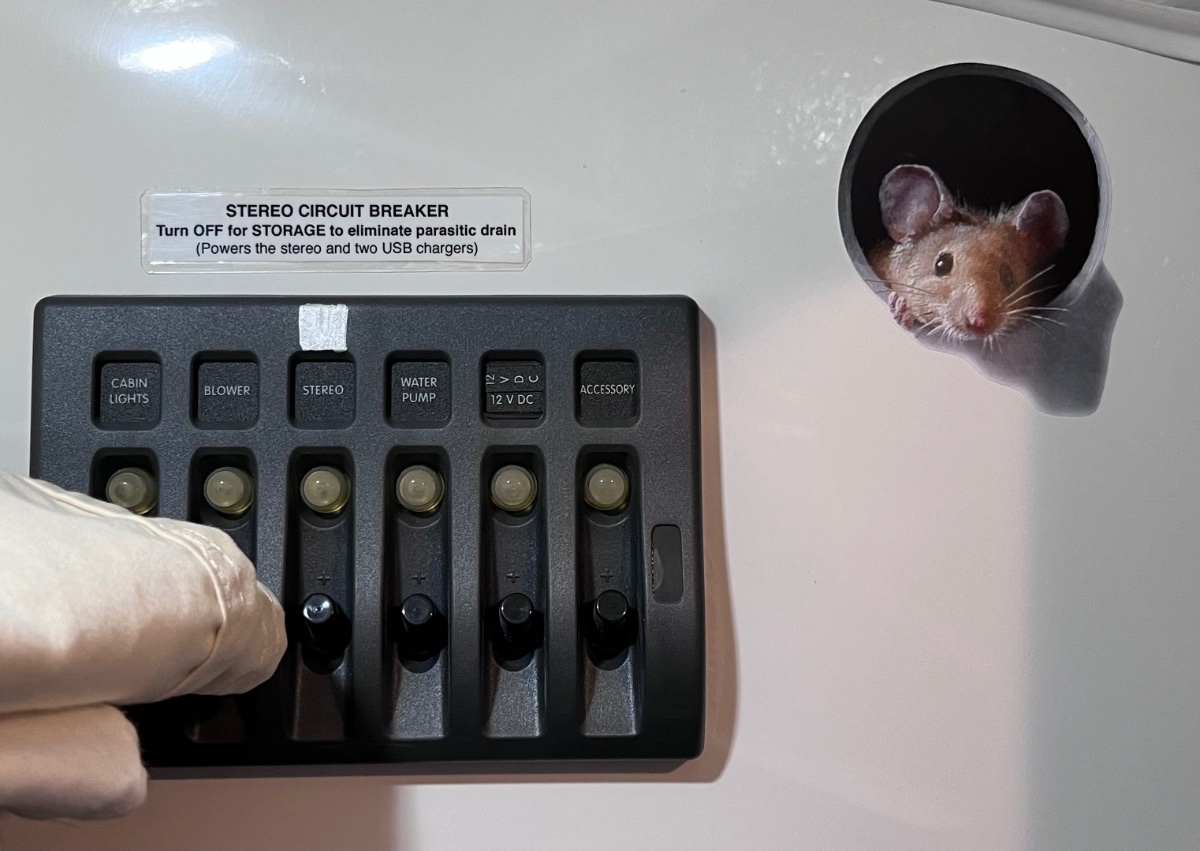
These were the first four I added five years ago. They came from an artist in the UK. There is another one of these scampering along below the pantry, no pic of that one. Then I found some really cool ones, they came from an Etsy seller in Kazakhstan (!) and it took about a month to get them. ... Realistic 3D Mouse Wall Sticker - dannydecorstudio What I like best about the newer ones is the shadows, I positioned them in locations where the cabin lights would shine on them from the correct angle. They look crazy realistic under artificial lighting... "Mouse" needs a bath badly after 10 miles of gravel roads after using the Air Command AC the day before - it has no inside condensate drain. oops: John Davies Spokane WA
- 6 replies
-
- 11
-

-

-

-
No power to front stabilization jack
John E Davies replied to DaveWilkins's topic in Mechanical & Technical Tips
There are TWO fuses For the front jack, the one you can see hanging in midair up front in the yellow rubber holder, and another in back next to the other two yellow jack fuses. If neither fuse is blown then check for 12 volt power on the wire where it connects to the bus, in back. Then followup by checking up front. If there is power, then you may have ground issue, the three bolts holding the base in place do get loose, constantly, and that is the ground path for the current after it flows through the motor.. Of course you may have a burned out motor too. But you need to eliminate the more obvious possibilities. Oliver stopped supplying wiring diagrams a few years ago, you need to complain BITTERLY to Service, in the meantime refer back to an older year, this is from 2017. And note that it does not show the second fuse up front! John Davies Spokane WA
-
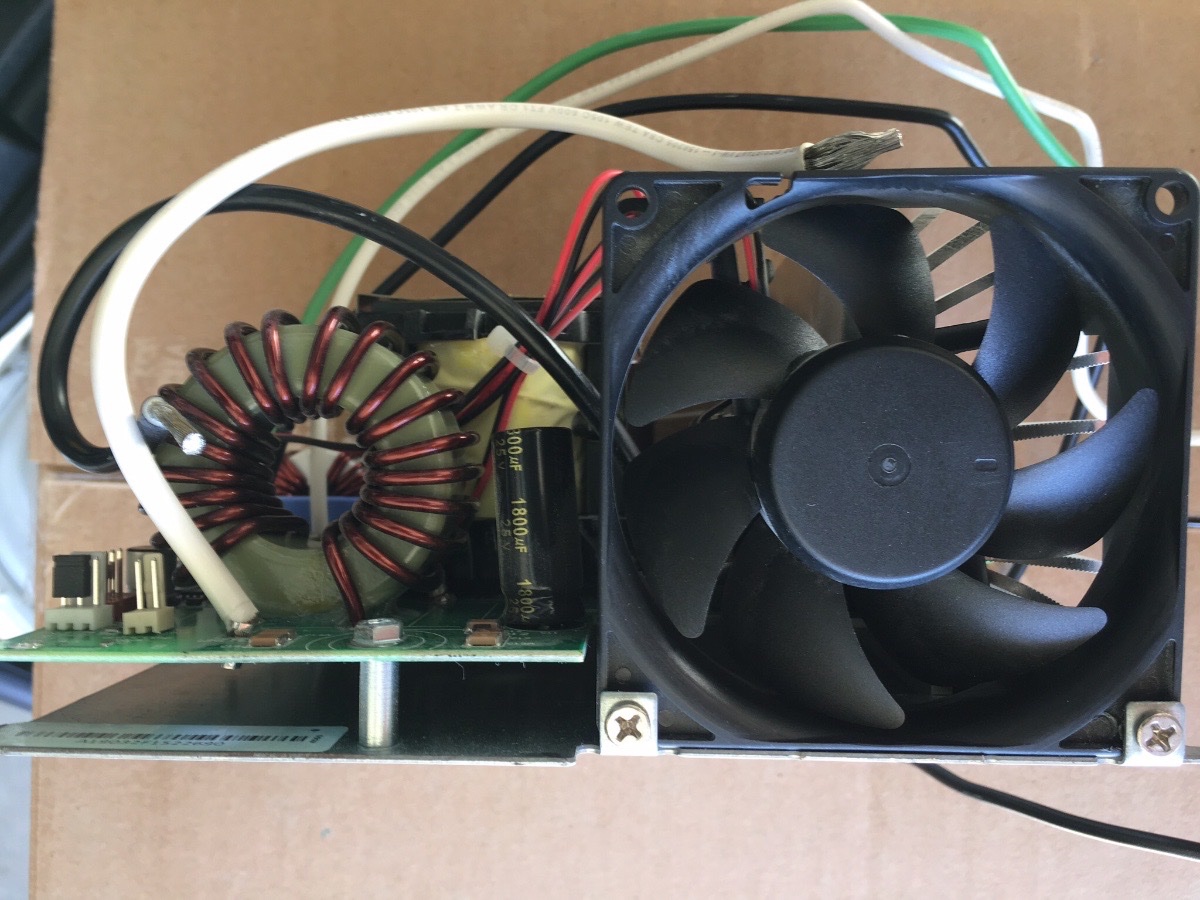
See this thread. Since yours is an older hull, you should strongly consider just replacing the entire charger (converter) with a new one that is capable of charging lithium batteries. https://olivertraveltrailers.com/forums/topic/4812-how-to-progressive-dynamics-pd4045-lithium-upgrade/ Even if you don’t add lithiums, the next owner will appreciate the converter upgrade. This shows the fan in question (not my pic). John Davies Spokane WA
-
Air Command has a built in thermostat/ control panel plus a small remote for changing modes and temp. It can’t easily be set up with a remote thermostat, to the best of my knowledge, but I never pursued that idea. John Davies Spokane WA
-
Kansa, get a warranty claim started, if you can wait for an Rv tech. That is obviously “user error” on the part of the installer, plus somebody did not inspect it later… regular ABS primer and black glue should fix it, but there may be other spots that are not right, so every glued joint in the trailer should be inspected IMHO. Of more concern to me is they mixed abs pipe (black) and pvc connectors (white). While it CAN technically be done with the correct special green glue, it is in no way standard practice on a production line! It could be OK for a repair, but in many areas it would not pass an inspection! I would like to know why they did it!!! Read this. https://www.mortonsonthemove.com/abs-to-pvc/#:~:text=Absolutely.,to chemically bond the plastics. Good luck. John Davies Spokane WA
-
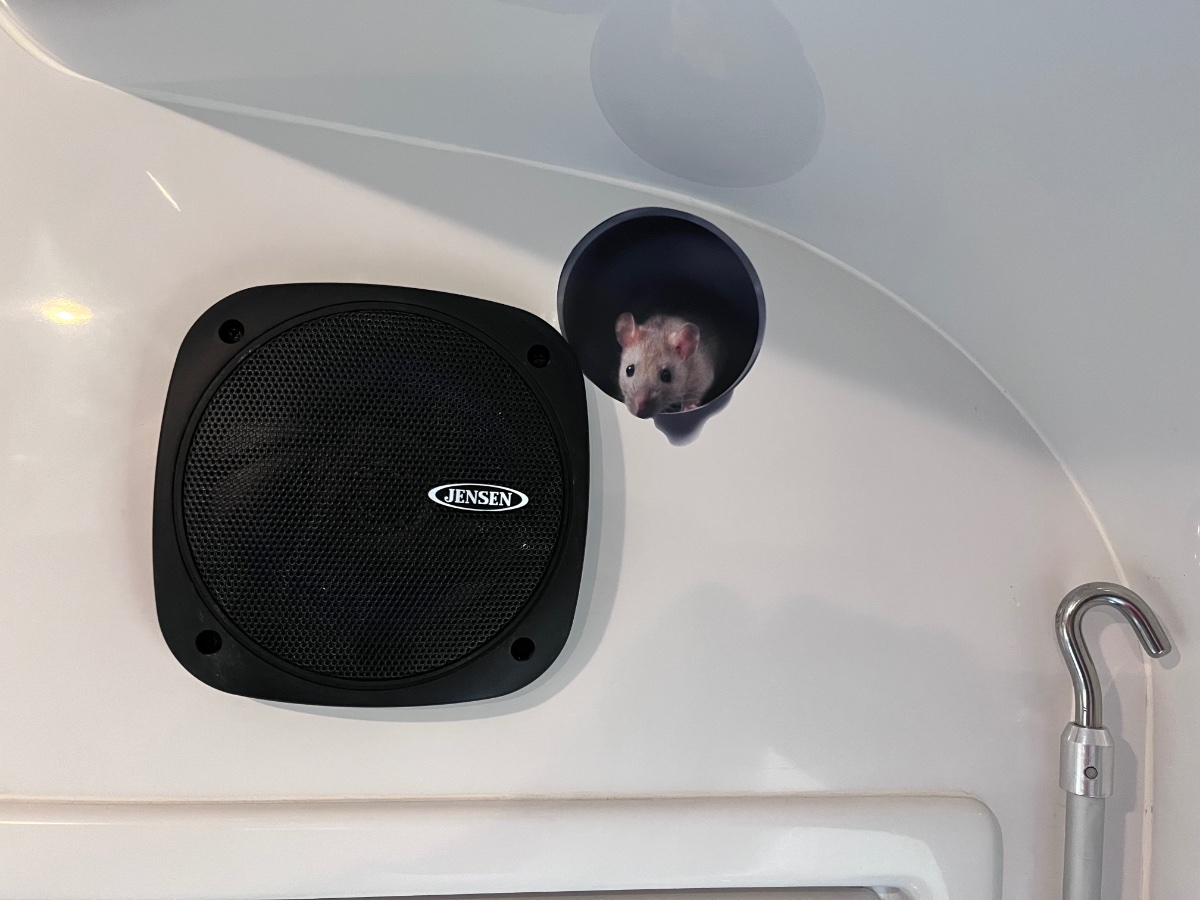
There are six more scattered around the interior… all different, of course. John Davies Spokane WA
-
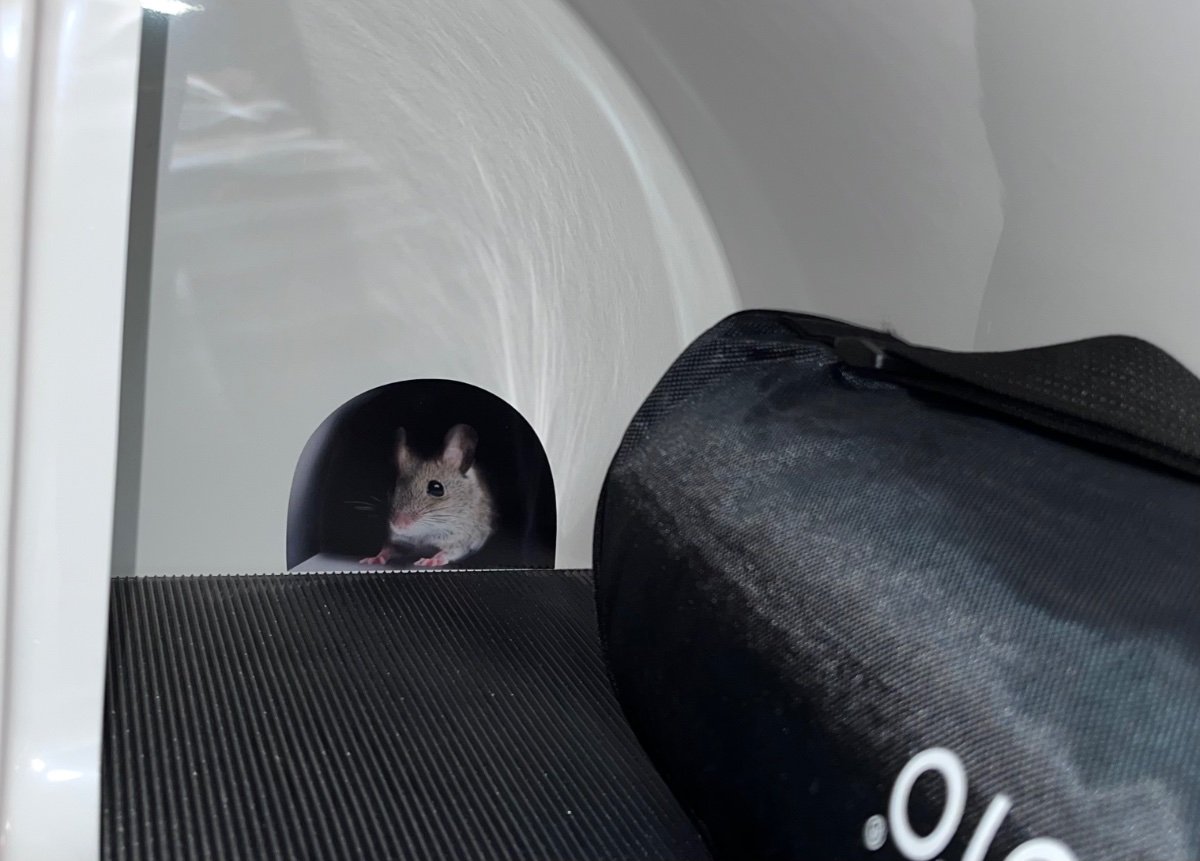
I am solo boondocking at a remote site on Lake Roosevelt, and I found this little guy in my attic. Sorry, I can’t say where this is, or I would have to shoot you, it is the best site in the best CG around here. Completely deserted this time of the year, probably because the lake level is 30 feet below the end of the boat ramp. John Davies Spokane WA
-
It will probably be fine as a static load, just don’t hit any potholes or washboard. Check with the factory, I bet they say no. Maybe 10 gallons sitting on an extra piece of 3/4” plywood… John Davies Spokane WaaA
-
Anybody in Flagstaff, or coming to Overland Expo
John E Davies replied to Carleton's topic in General Discussion
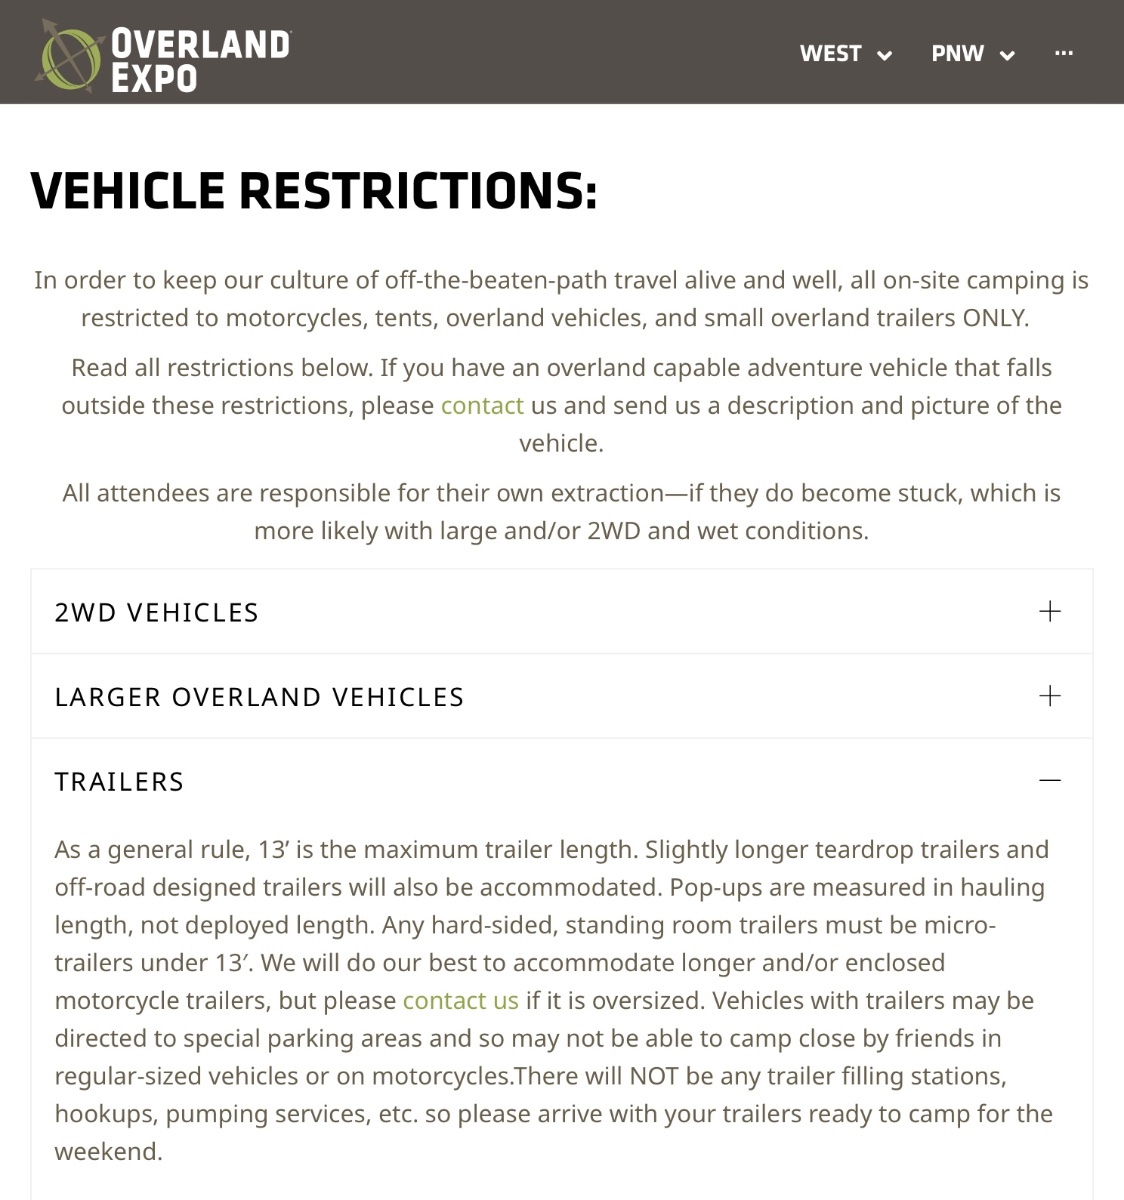
They will not permit an owner of an Ollie of any size to camp there at OE. I sure hope that the Oliver reps talk to them about that strange decision. And they are not listed as a sponsor. Anyway, use … See an Ollie … to find one to look at…. I suggest the LE1, considering where you live. You can fit a offroad coupler to it if your tow vehicle is big enough. The LE2 requires an equalizing hitch on everything except a HD truck, which can be very aggravating on rough terrain. Welcome to the forums! John Davies Spokane WA
-
Victron Multiplus II 3000 - Installation Xantrax Removal
John E Davies replied to Ty J's topic in Ollie Modifications
Can you please start a new thread about that? Is it a portable power station? Thanks. John Davies Spokane WA -
Victron Multiplus II 3000 - Installation Xantrax Removal
John E Davies replied to Ty J's topic in Ollie Modifications
I have concerns about cooling. That compartment is dead end and gets very hot in summer. How will you deal with that? Your unit is horizontal, which isn’t desirable, and it doesn’t appear to have the required 4” clearances all around it. Do you plan to add vents and a blower or fan? Can you easily remove the black service cover for service or adjustments “in situ”, without taking the unit out? Are you a “qualified electrical engineer” and do you think your warranty will be good? What does your warranty booklet say about this? I would greatly appreciate some closeups of the wiring. Here is a full article on installation. https://www.victronenergy.com/blog/2020/10/30/how-to-install-a-multiplus-inverter-charger/ Victron MultiPlus II intro video I love some Victron components, others drive me completely nuts. Their batteries for example, have no onboard Battery Management System, and they cannot function without the full suite of their proprietary controls and chargers, and they have to ship by a trucking company as hazmat freight…. $$$$$. (Battle Borns ship by FedEx.) Thanks John Davies Spokane WA
-
DYMO Label Maker with Adapter | LabelManager 420P High-Performance Label Maker, Rechargeable, PC and Mac Connectivity, Bright Backlit Display, Easy-to-Use, Portable, for Home & Office Organization This price has dropped 46% since I added it to my Wish List a couple of years ago. I just ordered one and a bunch of generic bulk packed tapes, the Dymo ones are from europe and are $$$. Plus a padded case (this unit doesn’t come with one). Reviewers comment that the 420P fits it fine, it is returnable if that is incorrect. Case Compatible with DYMO Label Maker LabelManager 160/280 Portable Label Maker, Label Printer Storage Organizer for AC Adapter, Tape Cartirdges and More Accessories(Box Only) Black You can get flexible nylon tape for wires or cables. It will print up to 4 lines on wide tape, for example addresses or barcodes, rechargeable battery, computer interface, etc. Make an Ollie label, stick it down, add a strip of regular clear tape on top for protection. It will beat printing from my iMac, laminating, trimming, and sticking down with double sided tape. I hope…. These are a blowout sale, this price may not last long. John Davies Spokane WA
-
- 6
-

-
-
Do NOT swap them at the BATTERIES! You could safely swap them at the back of the sidewall connector. But either is a bad move IMHO just buy the adapter, and verify that there is a fuse of the correct size in the positive line going to the batteries. If you swap them at the batteries the color coding will now be wrong, and the fuse will be in the negative wire, and that hot one will now be completely unprotected. If it should short out a LOT of current can flow back from the batteries through it. 10 AWG wire is rated at 30 amps continuous, and will melt instantly with maybe two or three times that current. Zzzzzzap! Older Ollies with the Furrion port should have a 10 amp fuse, the max that the port can tolerate, but I don’t know the size for the Zamp one. John Davies Spokane WA
-
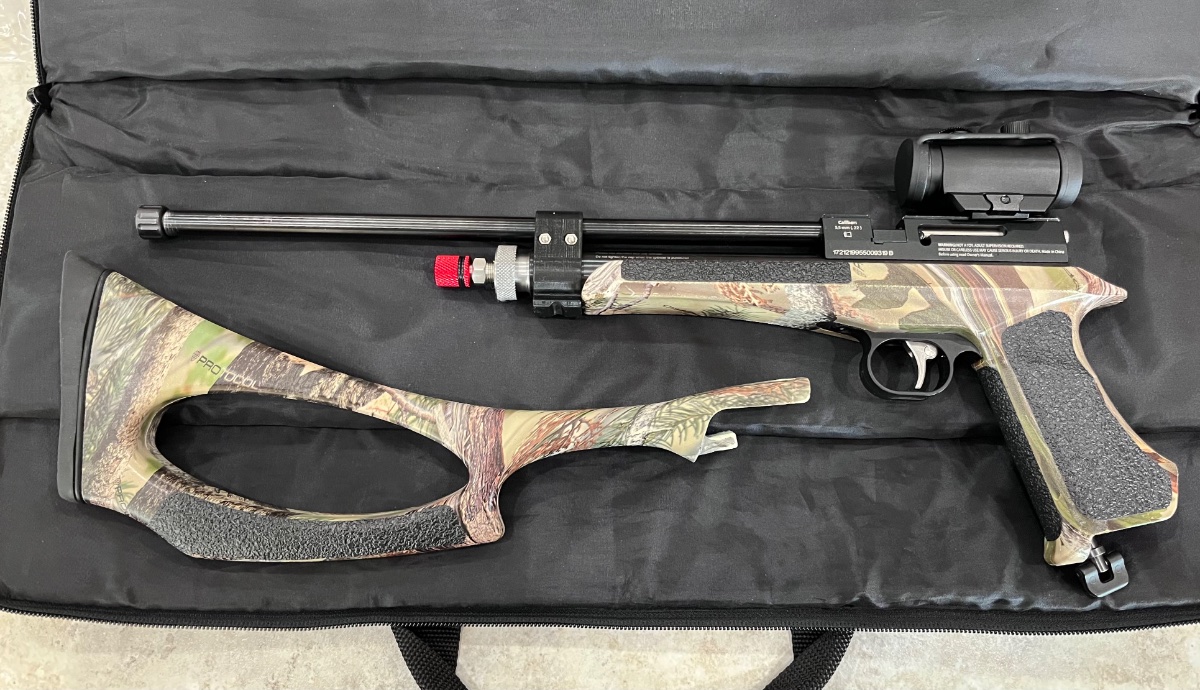
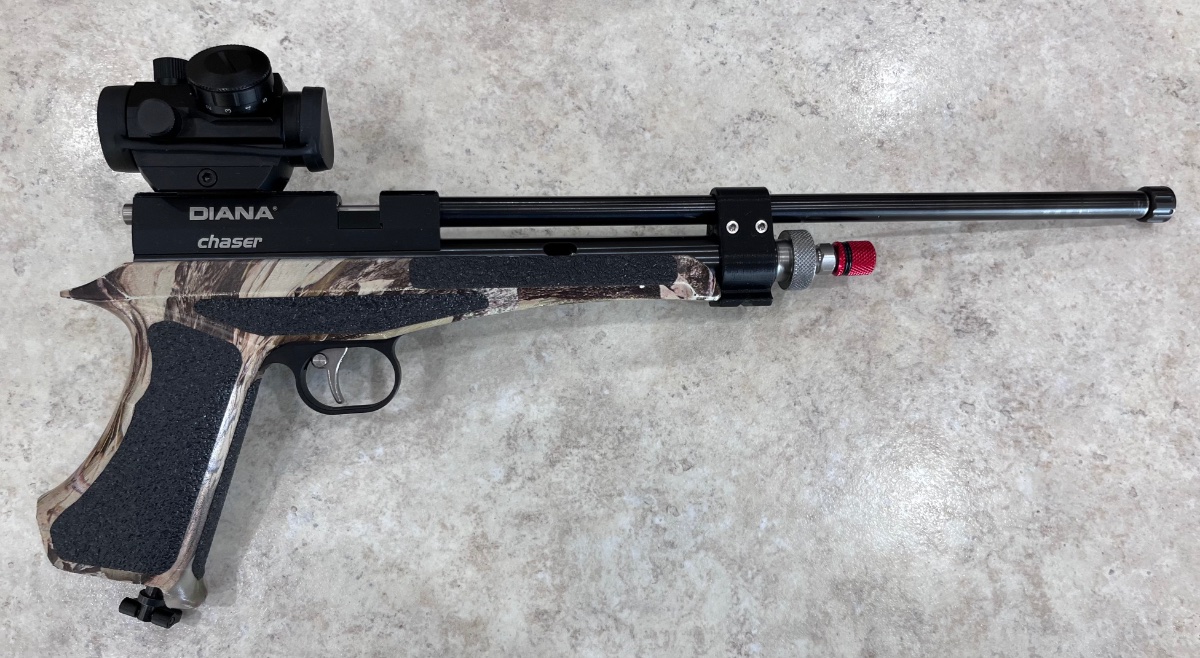
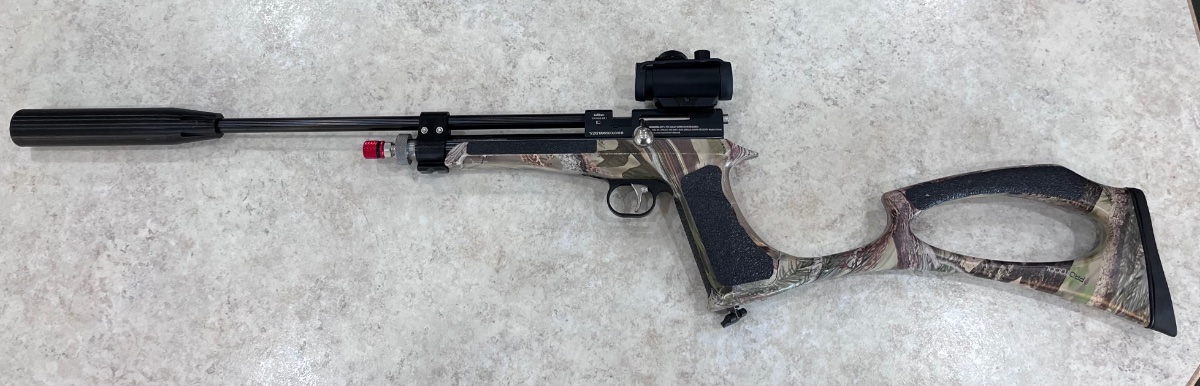
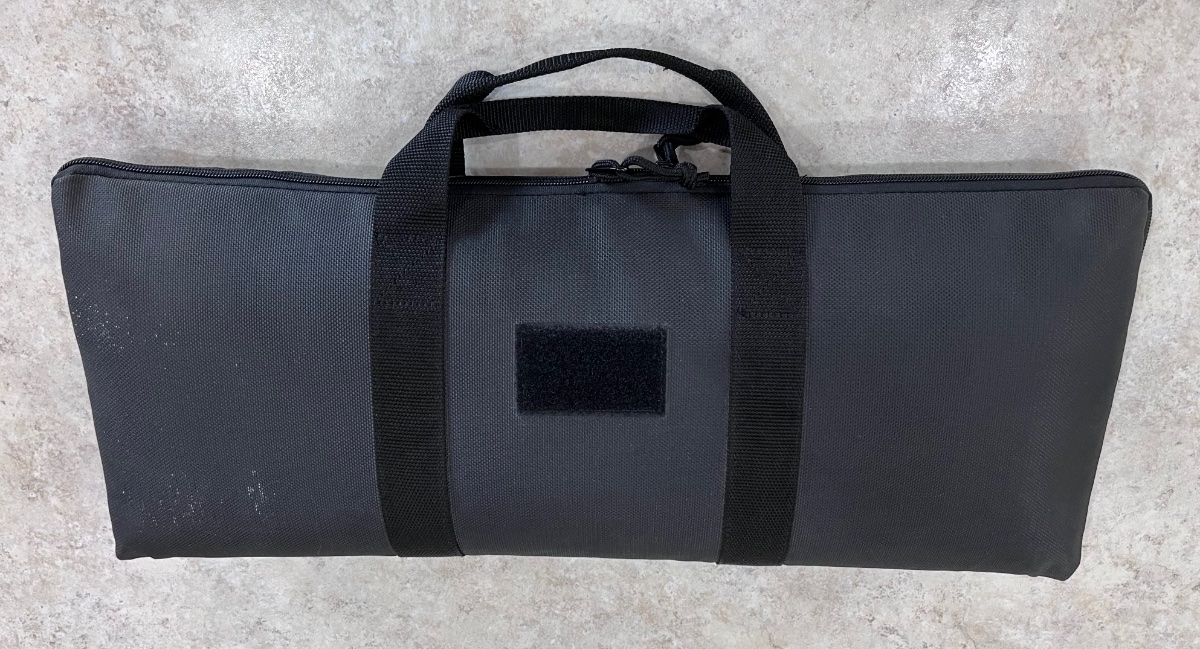
Why aren't you guys posting pics? This started out as a used cheap ($130 street price)) Diana Chaser .22 CO2 pellet rifle/ pistol kit and morphed into something better. It now has a High Pressure Air adapter so I can tether it to a small 3000 psi “buddy bottle” with a paintball coiled hose. 120 shots before I have to refill with air. It will still shoot with the 12 gram CO2 cartridges, but they are actually quite lame and expensive in the long run. The rifle barrel was cut and threaded by the previous owner to a carbine length. The camo paint was factory done, I added rubber grip panels. It all fits into my old (discontinued) Allen Takedown Rifle Case. https://www.pyramydair.com/product/diana-chaser-co2-air-rifle-kit?m=4613 John Davies Spokane WA
-
What does happen when pulling brake cable
John E Davies replied to Wayfinder's topic in Mechanical & Technical Tips
Then why those amp readings? Does not compute…. My Victron MPPT unit will show, for example, 5.0 amps in from the roof panels, and 5.4 amps out to the lithium batteries. WayFinder’s pics don’t show that happening at all. John Davies Spokane WA -
What does happen when pulling brake cable
John E Davies replied to Wayfinder's topic in Mechanical & Technical Tips
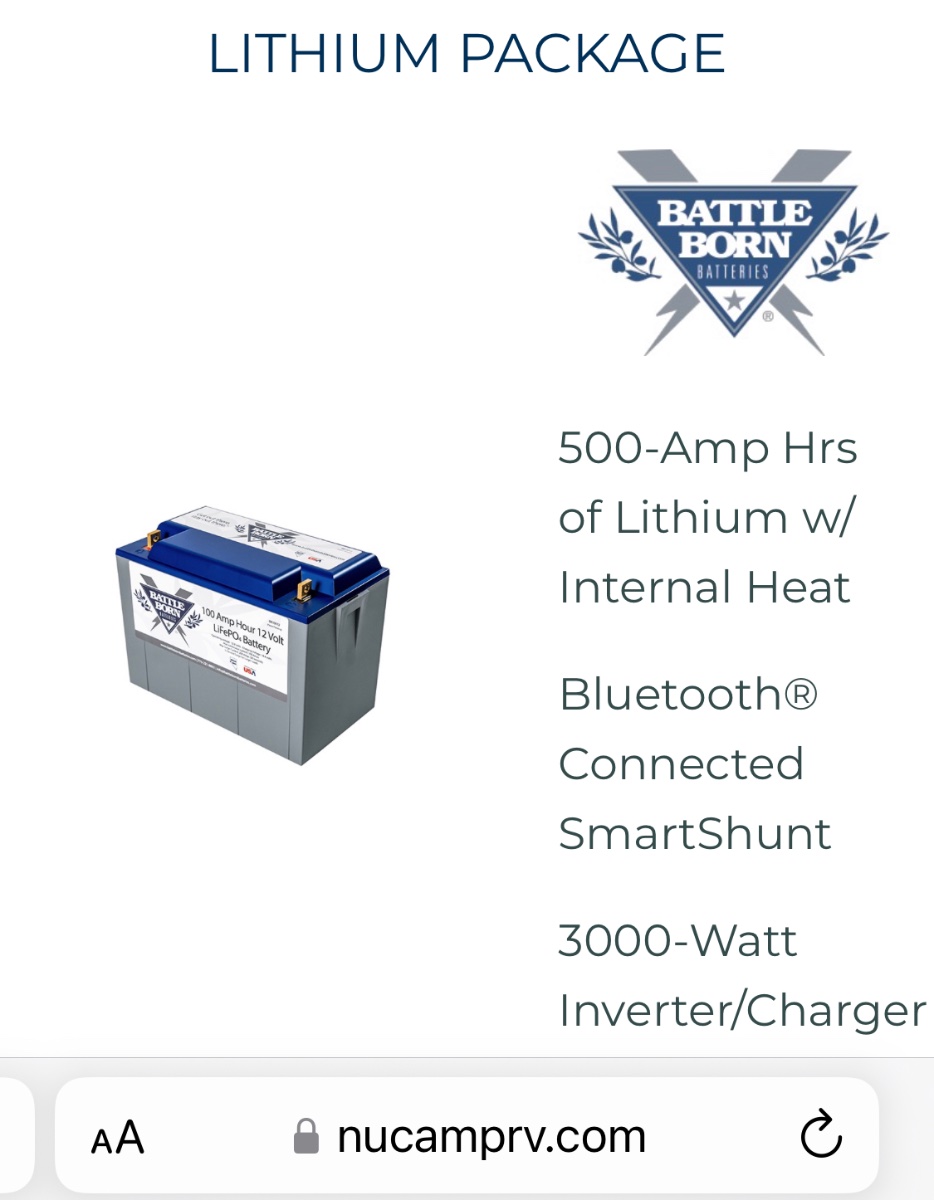
I feel for you. This comes easily to me because I was an aircraft A&P…. Please post your location as part of your signature. You need to visit an off grid RV solar installer *specialist*. Here is some reading. https://battlebornbatteries.com/rv-or-boat-lithium-battery-installers/ https://olivertraveltrailers.com/forums/topic/6629-how-to-find-happiness-with-lifepo4-lithium-ion-batteries-solacity-article/ I would not hesitate to go here (no personal experience). They are in Colorado and can do the installation in a couple of days. Read the reviews near the bottom….. https://www.rvoffgridsolar.com/ I am very happy with my choice of components, scroll through my links page for ideas. If you do not use the microwave a lot and don’t want to run AC, 200 amp hrs is plenty. If you want to run a compressor fridge go with at least 300 AH. Make sure that they add some extra ventilation for dead-end compartments! Oliver does not do this! It all depends on your camping style and where you do it. It will be costly but if your batteries are toast, it makes sense as an upgrade and it adds value to the trailer. High end RV manufacturers are joining in. For example the Cirrus truck camper comes with a standard single 100 AH Battle Born. Here is their (power user) option: John Davies Spokane WA
-
What does happen when pulling brake cable
John E Davies replied to Wayfinder's topic in Mechanical & Technical Tips
That device is located in a wet, dusty, gritty location. Flush it out with spray contact cleaner or alcohol, lube afterwards with silicone spray. This is exactly why you are supposed to pull that cable often. Thanks for the pics. Your solar controller is a basic PWM unit. It will always have a higher input amps figure than output. A smart solar charge control (MPPT) boosts output amperage in mysterious ways few mortals understand. A PWM unit basically is a switch, on off on on on off on off. The MPPT magically combines volts and amps from the panels to give out a higher amperage into the batteries. https://www.greentechrenewables.com/article/how-do-mppt-charge-controllers-work I enjoy watching my Victron display as it puts out all those extra tenths of an amp. Upgrade your unit and enjoy more efficient charging. https://olivertraveltrailers.com/forums/topic/5329-how-to-victron-mppt-solar-charge-controller-underneath-the-street-side-bed/ John Davies Spokane WA -
Push button light dangling by the wire.
John E Davies replied to RustyMD's topic in General Discussion
Those are common aluminum pop rivets, you must drill off the heads and install new ones. Obviously you will need to buy a rivet gun and appropriately sized rivets. They look like 1/8”, so start with a 1/8” drill bit. If they are larger ,then go up in size. Wear eye protection and put down cardboard first. https://arrowfastener.com/wp-content/uploads/2017/09/RT187M-Rivet-Guide.pdf You could file a warranty claim, but who knows how long that will take….. BTW those are called reading lights. John Davies Spokane WA -
Replacing Xantrex Freedom XC Pro 3000W Inverter
John E Davies replied to Sak's topic in Mechanical & Technical Tips
The huge issue with storing opened 5200 is that you can never know for sure if it will work later. Do you want to risk screwing up a critical job to save a little cash? Just because the stuff flows out of the tube a year from now does not mean it will cure correctly. Or at all. 2 part epoxies are a MUCH safer bet! John Davies Spokane WA -
Replacing Xantrex Freedom XC Pro 3000W Inverter
John E Davies replied to Sak's topic in Mechanical & Technical Tips
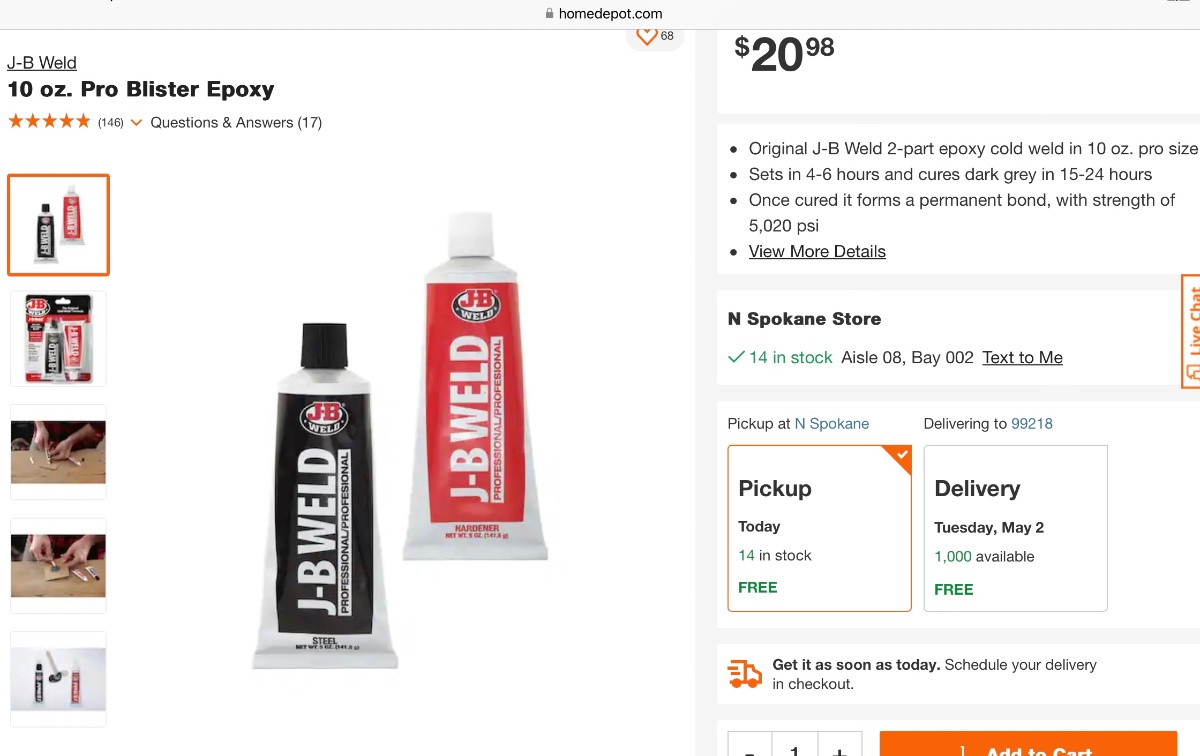
The screws or bolts are SUPPLEMENTARY, you must use epoxy or 3M 5200 to secure the white mounting plate, so that there are no vertical shear loads on the fiberglass. It is only 1/8” thick and it was manufactured with a chopper gun, not hand laid, so it is not especially strong by itself. If your white pad has fallen off completely, you must bond it back properly and let the epoxy cure before you install the screws, or you risk having those become immobilized. You could coat the threads with silicone grease, but that does not always work. One step at a time! Fix the board. Wait 24 hours. Fix the screws. When drilling from the inside outward, use the same size bit as the hole briefly to mark (“center punch”) its center. Then drill out using a 1/8” or smaller bit. Finish from the outside. It’s tight in there, a right angle drill attachment is necessary. As I mentioned on the first page, cut out the two bottom holes on the inverter flange, make slots so that you can pre-install nylock nuts and washers onto the screws, and simply lower the inverter onto them. You can reach the nuts easily enough to tighten them, but installing them with the inverter blocking the way would make you swear. Wouldn’t it be nice if Oliver did this at the factory…? File a service report. 5200 is great stuff but once opened it cannot be stored, it will harden inside the tube in a day... For the same price as a 3 ounce tube, you can get a 10 ounce JB Weld Pro pack, it will last for years, John Davies Spokane WA