John E Davies
-
Posts
5,759 -
Joined
-
Last visited
-
Days Won
243
Everything posted by John E Davies
-

HOW TO: Rear mud flaps for the Ollie
John E Davies replied to John E Davies's topic in Towing an Oliver
Everyone is perfectly free to do this mod as they please, that does not bother me, however I just wanted to be 100%:clear about my reasoning for the extra holes in my installation. I had originally left that info out of the first post. I am however bothered that I cannot edit it with an update. I do hope that we can keep this thread updated in the future with long term user info and crash or road hazard results.... if there should be any. After 6000 miles my flaps are fine and they continue to work very well to keep junk off the hull and bumper, but I haven’t run over anything yet. John Davies Spokane WA -
HOW TO: Rear mud flaps for the Ollie
John E Davies replied to John E Davies's topic in Towing an Oliver
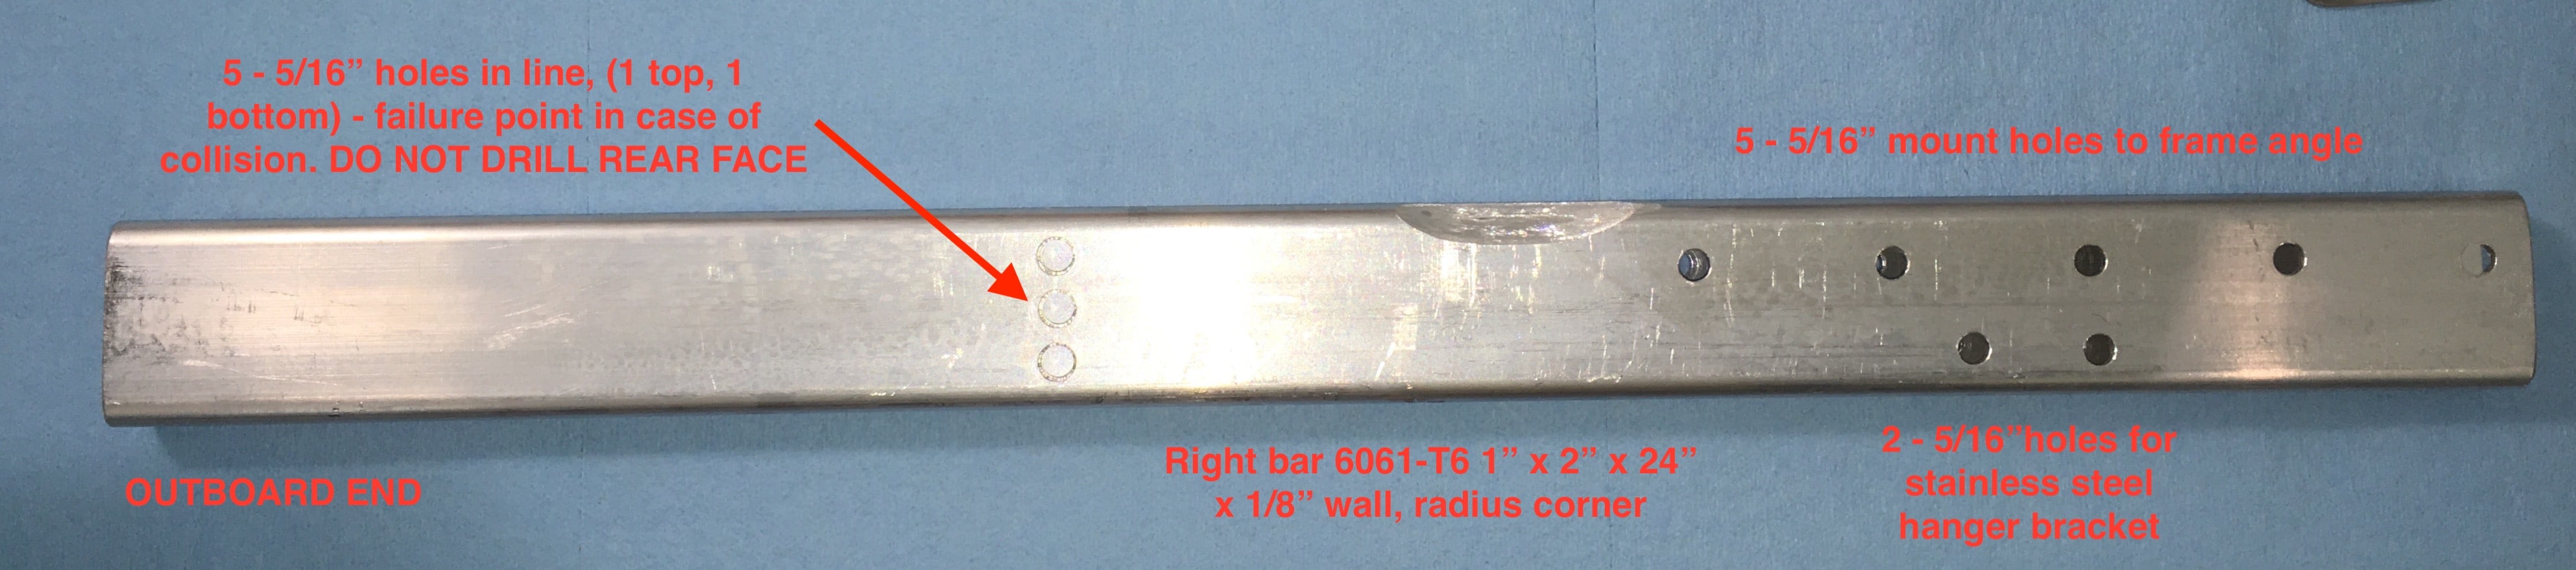
If your bar material is aircraft grade, then I fear it is too strong. What are the outside dimensions and alloy type? You really need to design the support arms so that they are weaker than the subframe they are bolted to. The angle is steel, but it is a mild alloy and not THAT strong. If there is a big hit on the arm due to road debris like a 2x4 or a blown tire carcass, the arm should fold back gracefully, not bend your sub-frame attach point. That might cost some $$$ to repair. Replacing just a damaged flap arm would be relatively minor. The material I used is 1 x 2 x 1/8” wall. It is pretty darned rigid due to its shape and the tempered 6061-T6 material, so I added a line of weakening holes so it will bend when hit hard. The following pic is from my Stone Stomper thread. I TRIED to add it to the first post of this mudflap thread but I am unable to edit that post. The line of holes does not show in the other pics because they are drilled on the top, bottom and front face only. This leaves a “hinge” in the back to allow the metal to fold. The material will tear apart at the holes. I suggest that you drill some small holes in the arm inboard of the flap to remove enough metal to make a failure point. Seriously. Please do it. Be safe. John Davies Spokane WA
-
That looks to me as if it was tampered with. If it unscrewed by itself, which normally cannot happen, the last few threads would be stripped out where the metal there failed. Your threads are completely undamaged! These links are pretty foolproof, but I prefer to use a wrench to snug them down. This helps if somebody tries to mess with it. Sabotage to your hitch is not unheard of. It is prudent to check your hitch pin, coupler and chains (as well as do a quick walkaround of the trailer) every time you approach your vehicle, especially if it was parked out of sight for a while. Did you see any other damage due to the failed link? I am having a real hard time believing that it did that to itself. Scary.... OTH they do have a load limit, a common 3/8” one from the hardware store has a working limit of about 2200 to 2600 pounds. I don’t know what the fail limit is. I use these but I half expect to strip mine out one day when I go through a really severe dip, the kind that tries to lift the rear wheels of the TV off the ground. That really loads the chains beyond their normal limits. When tensioned on level ground the chains have around 2000 pounds tension, each. I would rather rip out a couple of links than wreck a more expensive part of the system. It is always good to make the weakest part of the system - the “fuse” - easy to swap and inexpensive to purchase.... Do you carry a couple of spares? John Davies Spokane WA
-
E-Bike Phenomenon - help with keeping on the trails . . .
John E Davies replied to bugeyedriver's topic in General Discussion
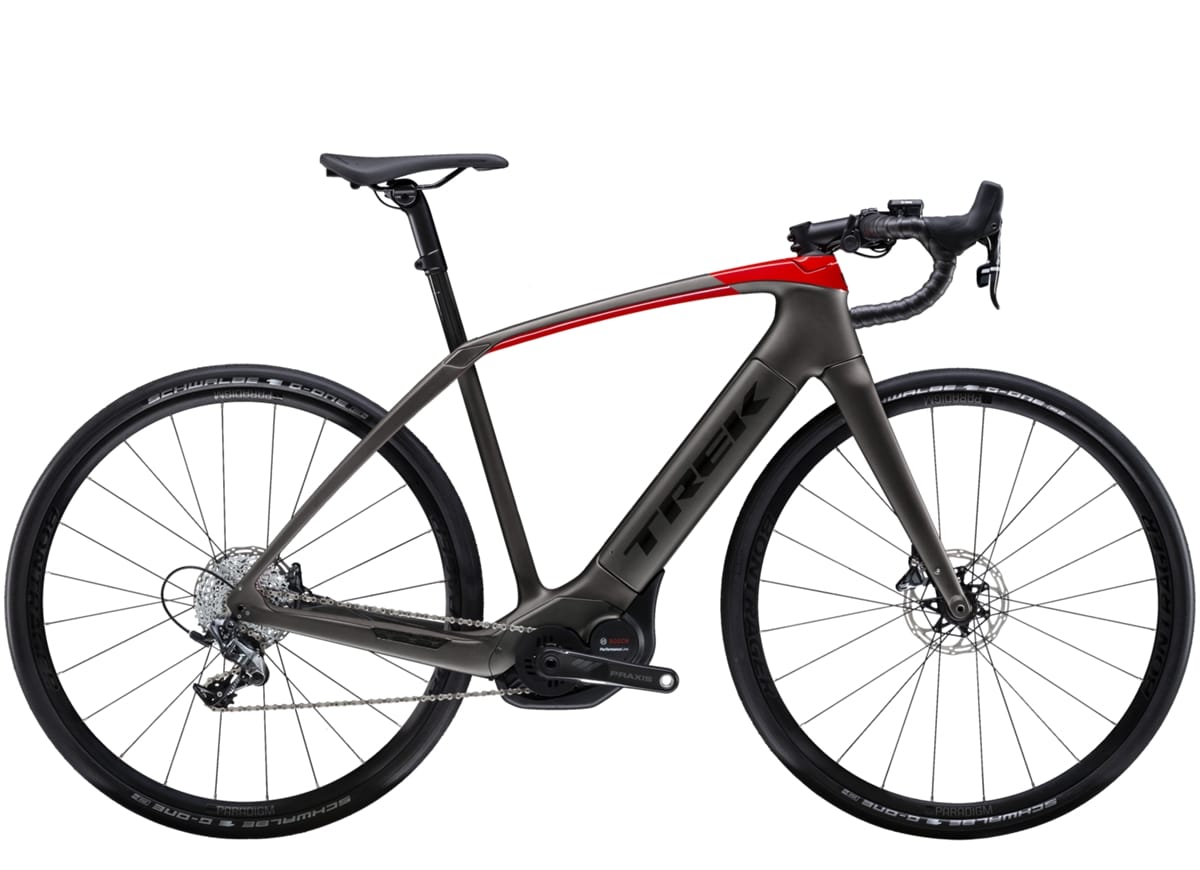
Laws vary hugely from state to state. If you live in a restrictive one like mine, and if you plan to travel with your bike, you need to know where you can legally ride it. Three-Tiered E-Bike Classification System Ten states (Arizona, Arkansas, California, Colorado, Connecticut, Illinois, Michigan, Tennessee, Utah and Washington) have created a three-tiered e-bike classification system intended to differentiate between models with varying speed capabilities. The ten states have almost identical defining language for e-bikes, as well as similar safety and operation requirements: Class 1 electric bicycle A bicycle equipped with a motor that provides assistance only when the rider is pedaling, and that ceases to provide assistance when the bicycle reaches the speed of 20 miles per hour. Class 2 electric bicycle A bicycle equipped with a motor that may be used exclusively to propel the bicycle, and that is not capable of providing assistance when the bicycle reaches the speed of 20 miles per hour. Class 3 electric bicycle A bicycle equipped with a motor that provides assistance only when the rider is pedaling, and that ceases to provide assistance when the bicycle reaches the speed of 28 miles per hour and is equipped with a speedometer. Any device outside of these definitions is not considered a low-speed electric bicycle that would be regulated as a bicycle. These ten states that allow bikes on trails "usually" limit them to Class 1, but communities can set their own more restrictive rules! Always check and watch for local signage! Lots of info here: ... http://www.ncsl.org/research/transportation/state-electric-bicycle-laws-a-legislative-primer.aspx Also, there are utility brands, which are designed as commuters or workhorses, and there are recreational brands that have lighter bikes that emphasize performance and fun over utility. The better ones feel just like a regular bike, but with magic power added to your legs. Which type you get depends on your personal desires and needs, but be aware of the major differences when shopping. Some high end and/ or very powerful models are not legal to ride anywhere but off-road or on private property, unless you get them registered as a moped. OTH some of them like the Optibike are available "detuned" with software that limits their power and reduces the top speed... but any time you ride an 'exotic" model (untraditional styling) on pedestrian/ bike paths, you run the risk of getting stopped and questioned, and possible ticketed. In this situation a stealth bike that looks like a regular pedal bike would be a better choice. Riding this bike would not get you any bad looks from a cop unless you were speeding on a path through foot traffic; [attachment file=Trek Domain+.jpg] John Davies Spokane WA
-
E-Bike Phenomenon - help with keeping on the trails . . .
John E Davies replied to bugeyedriver's topic in General Discussion
I have to ask how you secure it under the table, and in the center isle, and how do you keep from trashing the surrounding walls and the doorway, or do you just not mind? Do you remove the pedals? Wrap it in dense foam? Decades ago I transported bikes and motorcycles inside a full sized van, but it did not have a fancy gel coated interior. Do you mind that because of the throttle assist it is not legal on bike trails in some states (see post following)? How do you deal with that? Thanks, John Davies Spokane WA -
E-Bike Phenomenon - help with keeping on the trails . . .
John E Davies replied to bugeyedriver's topic in General Discussion
It is rare for an electric assist bike to have regen braking, maybe some of the heavy touring models. Here is a free ebook about the history and current state of bikes. It is biased because it was written by the founder of Optbike which is a really high end brand. Some of their models are north of $12K. https://optibike.com/electric-bike-book/ Spend some time here reading and watching videos and you will learn a lot: ... https://electricbikereview.com Here is Pete's Trek: ... https://electricbikereview.com/trek/verve-plus/ A full suspension bike is much more expensive, and when you start looking at high end components, the cost can get into five figures. An ebike is expensive partly because of the battery pack. One high quality pack can cost $600 to $800. The cheap rear drive Chinese bikes are OK but they are heavy, clunky to ride and do not perform well. Don't test ride a good mid-drive bike unless you want to be spoiled. It will blow your mind the first time you accelerate up a 6% grade in HIGH gear to 15 or 20 mph, with very little effort. It is a very liberating feeling. I got quite emotional....That kind of riding will kill your range. If you use the lower gears, ride slower using the Eco modes, and help the bike with your own leg power, the range will be hugely extended. This is a very informative and fun video comparing a racing road bike with its electric cousin in the Dolomites. ... Read through the comments below the video. John Davies Spokane WA -
Custom made 2" Receiver for Oliver by Babcock Metals
John E Davies replied to bugeyedriver's topic in Ollie Modifications
Cool, that is gorgeous. Are your tail/ brake lights adequately visible? Have you thought about adding some extra small ones on the back of the rack? John Davies Spokane WA -
Custom made 2" Receiver for Oliver by Babcock Metals
John E Davies replied to bugeyedriver's topic in Ollie Modifications
Pete, that rack is a great choice - it is definitely one of the very top choices..... But your pics are teeny - can you try uploading bigger versions? Thanks, John Davies Spokane WA -
Travel Stickers - US parks. Excellent web source!
John E Davies posted a topic in General Discussion
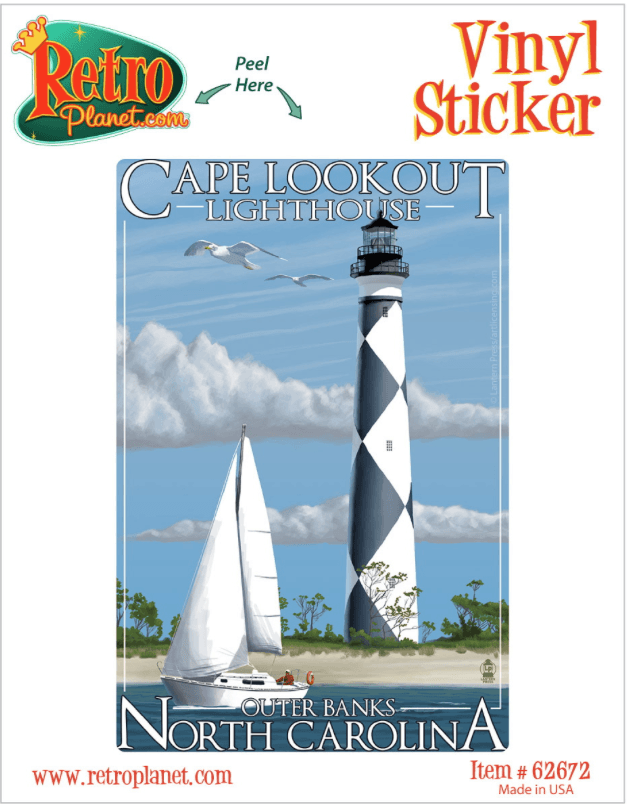
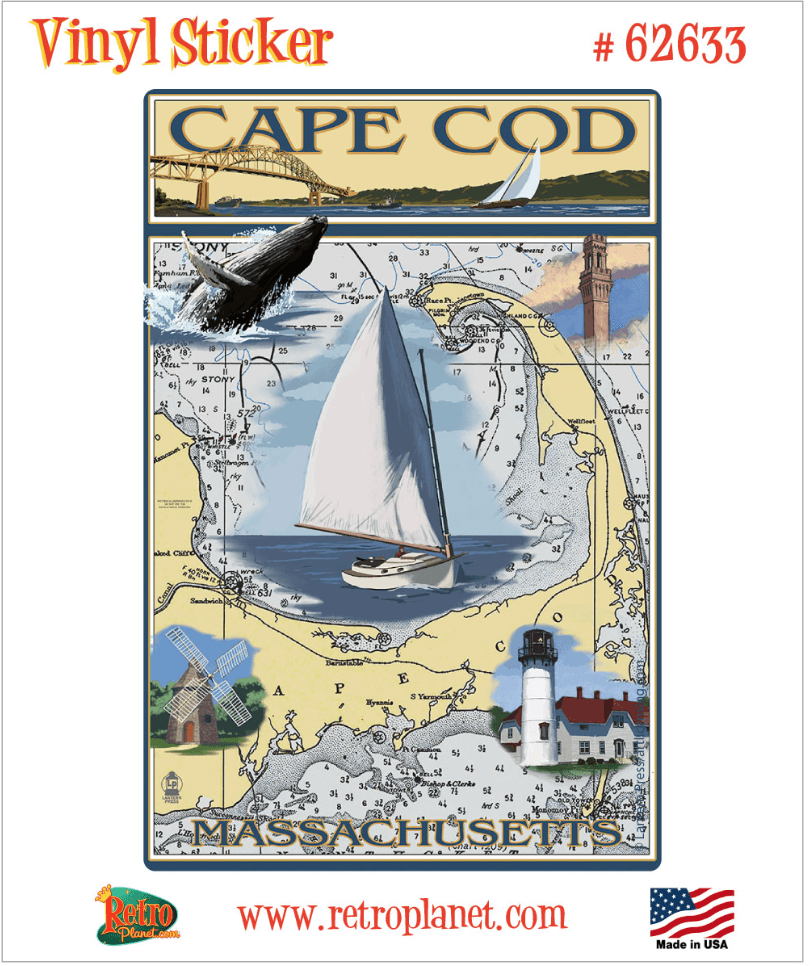
We recently started collecting small visitor stickers for memorable parks that we have camped in, and sometimes they are just not available locally in the gift shop. For example, we saw this pic as a cloth patch , but not as a sticker at the Olympic National Park Visitor Center last month. [attachment file=Sticker Ruby Beach.png] Some others: [attachment file=Sticker Cape Lookout.png] [attachment file=Sticker WHite Sands.png] [attachment file=Sticker Ballard Locks.png] [attachment file=Sticker Cape Cod.png] [attachment file=Sticker Rocky Mt.png] This site has a wonderful assortment, so you can apply them to your pantry door or your forehead or wherever.... they are removable. https://www.retroplanet.com/CTGY/Stickers.html#/filter:theme_hierarchy:US$2520Travel My wife really likes these, and she told me that we should start doing this camping thing backwards. We should order a bunch of really pretty stickers, then plan a long road trip around visiting them all..... For us, we won't put one up unless we actually have camped there and enjoyed it. Driving past the entrance or going in our tow vehicle does not count. Anyway, I hope some of you will appreciate this. If you have a Sticker Wall in your Ollie, please post a pic. John Davies Spokane WA
-
Bugs at Campsite & then Inside Oliver ~~~
John E Davies replied to Steve-Gwenne's topic in Mechanical & Technical Tips
Jason means inside the main hull. There is an upper and lower “shell” that are bonded together along the center. When you look inside any interior compartment, you are seeing the inside insulation of the lower shell. Even with all human sized openings secured, small creatures can still crawl up into the interior through the dozen or so half inch drain holes underneath. I don’t have this problem here, but if I were you I would consider plugging all those “weep holes” with a very fine mesh, perhaps a 3M Scotch Brite red pad, cut into tiny squares. I don’t think they should be left in over the winter though, you definitely do not want them to freeze up solid and block the drains... ... https://www.amazon.com/Scuff-Pads-Scotch-Brite-Brand/dp/B00MBPT0F8 While you are under there look at all the drain hoses sticking down, and make sure they all are sealed properly to the hull. Add sealant where needed to block that point of entry. Bugs don’t need a lot of room... Don’t worry about them crawling into the inside of the hoses themselves. A hose may possibly get blocked by a nest but the bugs cannot get inside the hull by that route. John Davies Spokae WA -
Graphic added to spare tire cover
John E Davies replied to KountryKamper's topic in Ollie Modifications
That is so true. I specifically asked for no side graphics - I did not want the two Nike Swooshes, but did want the name. At delivery I discovered that they left off the name. I got so tired of people asking if it was some kind of Casita, that I ordered the logos and put them on last week. I do like the look with no stripes but with the Oliver name. John Davies Spokane WA
-
Which batteries? If you have four, you need a bigger unit than a regular “battery tender”. I would think something in the area of 40 or 50 watts would be a minimum, and you could leave your small parasytic devices on without worry. You need to get one with extra capacity for those dim days when not much sun gets to the panel. OTH, a larger suitcase panel of 100 watts or more would also be very useful when camping, especially if you install a solar charge port on the side of your hull. John Davies Spokane WA
-
Mine was just as bad, and I used that exact phrase when I posted pics.. Some people got a little upset by it, but I think it is a very accurate description. There are literally many dozens of extra feet of cables and wires that could be done away with, but coiling and tying them securely works OK and makes it look as if somebody cared about it. John Davies Spokane WA
-
Custom made 2" Receiver for Oliver by Babcock Metals
John E Davies replied to bugeyedriver's topic in Ollie Modifications
This just blows me away. You can’t buy a 2 inch receiver tube in stainless, I have looked, so no worries, he just welded one up from 2” plate... He even gave you a threaded hole for a tensioning bolt.... I would comission him for any custom work, without any reservations. John Davies Spokane WA
-
Custom made 2" Receiver for Oliver by Babcock Metals
John E Davies replied to bugeyedriver's topic in Ollie Modifications
https://www.babcockmetals.com/contact/ -
Custom made 2" Receiver for Oliver by Babcock Metals
John E Davies replied to bugeyedriver's topic in Ollie Modifications
Pete, that is so cool, it is gorgeous. I remember talking to you about this, and I am so glad you found somebody talented enough to make this work. I have been thinking about bolting steel to aluminum to make a receiver, but could not figure out how to deal with the different rates of thermal expansion - aluminum has a coefficient of expansion nearly three times as high. But the design of your hitch with its curves and 90 degree frame brackets will deal with that very nicely by simple flexing. That is so very elegant. Did he mention this to you? Please post a pic with your bike and rack on it. Do you have a way to tie off the bike, or is that not needed? I think $1000 is entirely in line. You have to pay for artistry. The new Oliver receiver is almost that much, shipped, without installation! Here is your finishing touch... https://www.realtruck.com/bully-hitch-step/ Regards. John Davies Spokane WA -
The latest (generation 3 ?) receiver discussion
John E Davies replied to John E Davies's topic in General Discussion
Yay, pictures load now, but very slooooowly (over 30 seconds for a small file size). I added a pic to the first post, and also a comment there from Jason about cost and design. These off topic forum comments can be deleted as far as I am concerned. John Davies Spokane WA
-
The latest (generation 3 ?) receiver discussion
John E Davies replied to John E Davies's topic in General Discussion
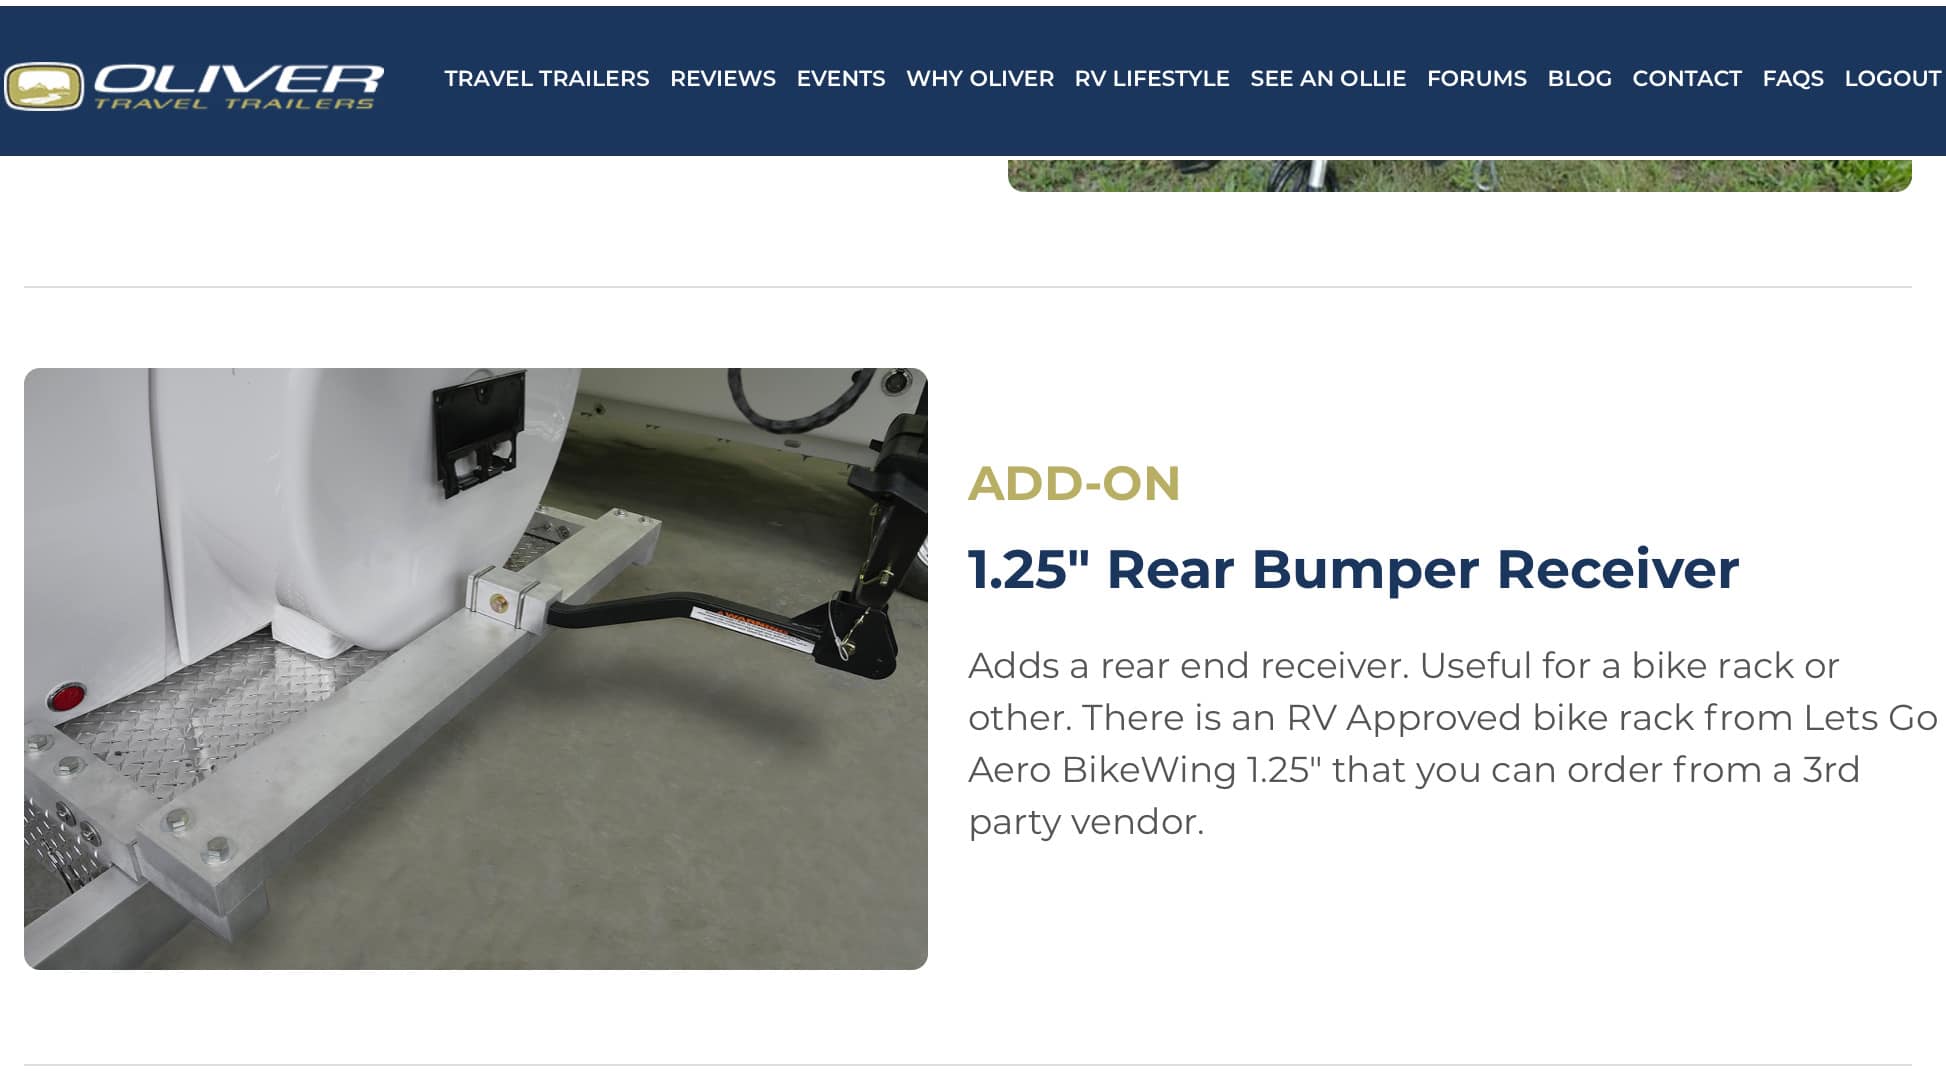
Thanks for the comments. I understand why Oliver chose a smaller receiver size, but then again you could just plug in an adapter stinger to fit a 2 inch accessory ... it would be way worse in terms of leverage than just having a 2 inch one there from the start. If they want to limit the weight, then give us a big hole and a big warning placard, "Exceed Max Load at Your Risk." I am comfortable building my own from good materials sourced locally, but if I could get a ready made one from the factory that could save me some time, effort and experimenting. Here is the pic from the website. The forum seems to be operating well again. And these four below were posted by someone a while back, sorry I cannot remember the name, but thank you. EDIT; I cannot post any pics, there are still issues... and I also cannot message Matt Duncan. Could somebody please try to get him and tell him there are still problems? Thanks. John Davies Spokane WA -
The new version has a piece of rectangular bumper material spanning the distance between the frame members with a stout 1.25” square receiver ubolted through it in the center. I like it. A pic can be seen on the trailer Options page near the bottom. I cannot upload a pic since the forum is so screwed up right now... Pictures work, here is the factory image: Can we discuss this newest design here? There have been other threads about carrying bikes, using the older “platform” versions. Does anyone have the new one yet? Could it be ordered witha 2 inch receiver, the most common size? I really want to relocate my Oliver cargo tray from the tongue to the rear of the frame, and wonder if I could modify the tray with a steel 2” tube and additional bracing, and use it with this new receiver...? I know it would probably require side bracing with straps, that is OK with me. Thoughts? EDIT 10/16/18: From Jason: It is only available with the 1.25" opening. It would be about $850.00 for the receiver and shipping to Washington. I believe the reason they didn't bolt anything to the crossmember below is that they felt it may be too low to the ground but that is a guess as I did not assist with the new design. I do know that it was designed to hold a bike rack only up to 100lbs max. John Davies Spokane WA
-
Push the Battery button on your tank monitor. If your voltage is over 13 the battery is charging. If you have the surge suppressor option, your remote monitor will show shore power status, such as volts, frequency, amps and any error codes. Unfortunately you have to lift up the cushions and look in the streetside rear compartment, unless you have moved it to a better location. It is a very easy mod if you want it positioned where you can actually use it. I like to be able to monitor the amps when running on generator power. I did not want to keep evicting my wife from that bed to do it. Some people do not like seeing the flashing display, but it is simple enough to cover it if it is a nuisance. John Davies Spokane WA
-
Love the night shot. Is that near Moab? These trailers are beautiful at dusk, with the puddle lights on. Very classy looking! Might I suggest that when you are in such a stunning setting, try some two hour time lapse videos at sunset. It is easy with your phone, a RAM camera mount and a light tripod. There are special apps or you can try the built in one on your phone’s camera screen. John Davies Spokane WA
-
Trailer covers for annElite II with solar
John E Davies replied to June's topic in General Discussion
Is that a custom fit? Do they reinforce the area that chafes on the solar panel frame? The corners are darned sharp. They are “as cut” and not rounded at all. I cannot imagine that there will be any useful charging once there is a little snow and dirt buildup. You would have to keep the cloth completely free over the entire panel, and then you might get a few milliamps... Sunbrella is pretty dense. If you have the big battery bank, that will not be enough over a long winter. Plugging in would definitely be needed. John Davies Spokane WA -
Trailer covers for annElite II with solar
John E Davies replied to June's topic in General Discussion
I used a cover once on a stick and staple trailer. I frankly cannot imagine any universal cloth cover surviving a winter of wind and heavy snow on top of the solar panels. It would tear immediately. You would have to either remove the panel entirely, whch would be fairly easy, or build some sort of perimeter support frame to keep the cloth free of it. I would just leave the Ollie uncovered. It won’t hurt anything, especially if you clean and treat it with Rejx before storage. It leaves an extremely slick surface that the snow will slide off easily, there will be no worries about trapped ice or cosmetic damage from chafing.... and it will be really easy to clean in the Spring. https://www.amazon.com/Rejex-High-Gloss-Protective-Finish/dp/B00GM6NF0I If your parking area lines up correctly, you can angle the panel about 30 degrees toward the sun. That will maximize the charging rate in your high latitude, the snow will slide off, and any ice on the cells will melt from the heat. http://olivertraveltrailers.com/topic/how-to-solar-panel-extension-arms/ Total protection by using a fixed shelter would be best, but avoid a loose fabric cover entirely! It just won’t work well. IMHO. Have you asked the factory about their recommendation about covers? John Davies Spokane WA -
Thanks Bill, I am sure that there are some quality control variations with the generic ones, such as the alloy type and diameter. It may be that those do not matter, other than avoiding an aluminum rod. By using an OEM rod, the owner might be better protected if there is a warranty claim for corrosion. John Davies Spokane WA
-
Does anyone do this and did you use the built-in Oliver Winterization plumbing to get the solution into the tank, or another method? I was thinking about removing the upper valve, screwing a threaded nipple and 90 degree elbow into the port and pouring it in with a small funnel, to be sure the tank was completely full... would I need one of these? https://www.amazon.com/Camco-10552-Universal-Temperature-Pressure/dp/B003VB15MC/ref=sr_1_1?s=automotive&ie=UTF8&qid=1538840516&sr=1-1&keywords=Camco+10552+Universal+Temperature+and+Pressure+Valve+Remover Or would a regular 7/8" crowfoot socket work? I kinda want to make sure the relief valve is not torqued down too much, or frozen in place, in case I need to remove it on a trip due to leakage. Plus, by removing the valve I could soak it in vinegar also to clean the inside passages and seat area. Finally, .... ! Would any magnesium anode rod be OK or should I stick to an OEM one? $16 Prime for one Surburban rod, vs $20 Prime for a pack of two generic ones. Comments and suggestions? Thanks. John Davies Spokane WA