Leaderboard


Popular Content
Showing content with the highest reputation on 12/16/2019 in all areas
-
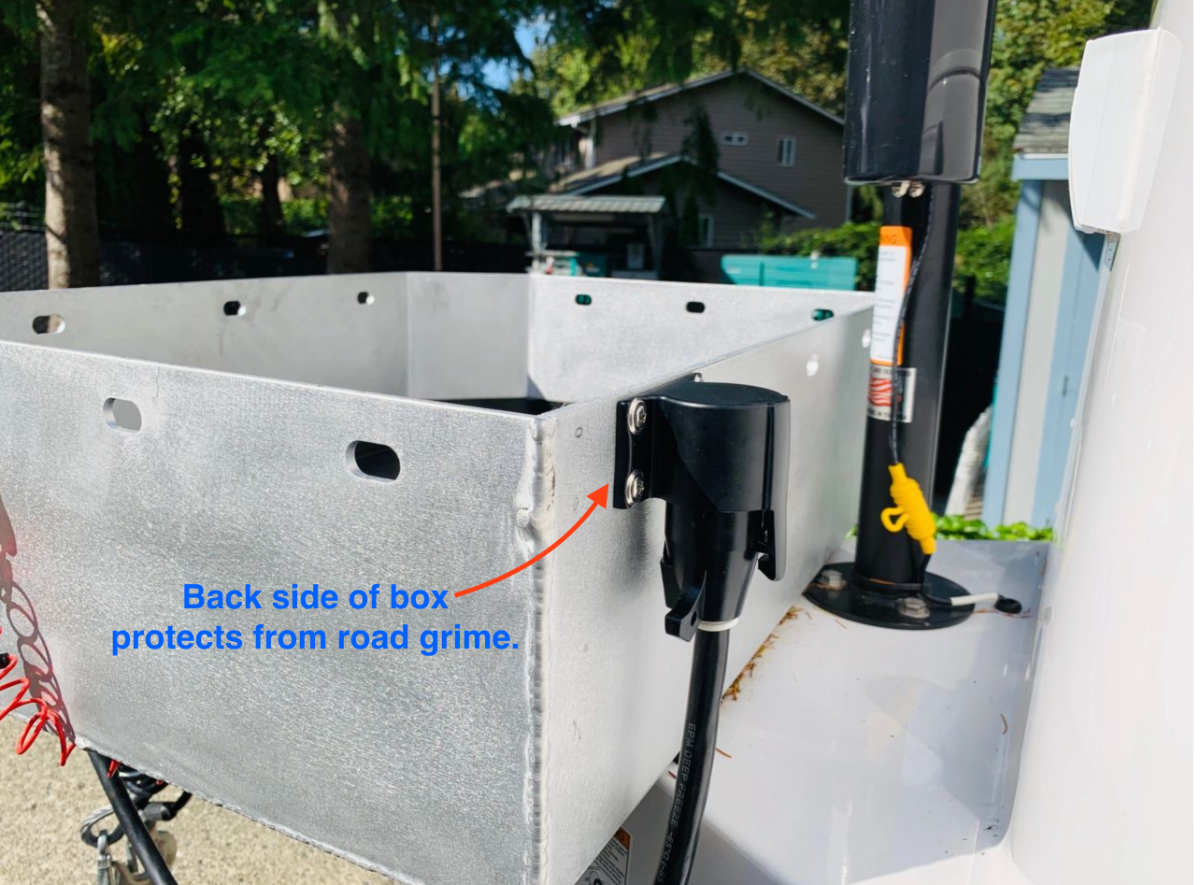
I’ve done a modification to add an Optronics 7-Way trailer harness plug protector. Here’s the link to the part I used from e-trailer.(Including shipping and tax < $10 https://www.etrailer.com/Trailer-Plug-Covers/Optronics/ACP7B.html 7 Way Plug Protector - by Optronics And here’s where I mounted it…on the back of my Tongue Box. I used stainless #10 bolts to mount the unit. It could be mounted with zip ties to the bottom of the tongue as well if you don’t want to drill holes. The cover is a semi rigid type of rubber material but with enough flex to make it easy to insert or remove with one hand. In any case, I switched to this after my original “rubber cover” leaked.
 1 point
 -
WDH transfers some % of the trailer tongue weight forward to the front axle of the tow vehicle and some % of that tongue weight back to the trailer axles. So using the WDH gives you back some of the dead tongue wt. that you can use as cargo weight. In addition the WDH helps recover some of the 'rise' that happens to the front of the truck when you drop the trailer on the hitch. Normally the instructions for WDH's say to adjust the hitch so 1/2 of the total rise on the front fenders is recovered. For example if you drop the loaded trailer on the truck, and the front fenders raise 2", then they want you to try and adjust the WDH so you get back to only 1" rise on the front. This also gives you back load for steering control. Second - it's important to note that the physical receiver hitch assembly on the tow vehicle typically has has a rating for both "WITH" and Without a weight distribution hitch. For most Elite II's the loaded tongue wt will be >600 lbs...and in the case of my specific F150 hitch sticker...that means I must use a wt. distribution hitch as the "dead weight" it can carry in "WEIGHT Carrying Mode" is 500 lbs.
1 point
-
Trailer: Elite II = Loaded trailer wt. 6400 lbs. Tongue Wt: 740 LB => requires an Anderson Wt. Dist. Hitch Tow Vehicle: 2018 F150 4WD Super Crew with 3.5 EB & 3.55 rear end Mods: Have a canopy and installed SUMO Springs for overload/squat reduction and they work. Tow Experience: Grade B+ ( I'm sure a 3/4 ton would be an A+) Feels stable in all but the most extreme conditions. 3.5 Ecoboost has PLENTY of power due to turbo...but ....it has a turbo which can be a big ticket repair in future. Mileage: Towing from Tennessee to Everett (2500 miles) and in Western Washington have averaged 11 mpg overall. In mountains typically got about 6-9 MPG, on Flats as high as 14 mpg. Without the trailer but loaded with gear on the way out to pickup we got 20+ MPG on the highway. Most extreme towing scenario: High wind gusts (50MPH) through I-90 passes in Montana last summer. Felt a sideways wiggles and felt concerned for about 3 seconds, but the hitch + towing controls of F150 kicked in quickly. I remember thinking...I wish the truck was heavier than the trailer during that situation. Truck Stats: GVWR = 7000 lbs. Actual Curb Wt: 5200 lbs. Cargo Capacity: Calculated GVWR-Curb 1800 lbs Door Sticker Cargo Capacity: 1557 lbs door sticker for tire rating. Hitch: F150 Factory Installed Receiver/Hitch as rated below: with Weight Dist. Hitch..... Max Gross Trailer WT Rating 12,200lbs has 1220lb Max Tongue Wt. without Weight Dist. Hitch..... Max Gross Trailer WT Rating 5,000 lbs . has 500 lb Max Tongue Wt. Hope this is a helpful post.1 point
-
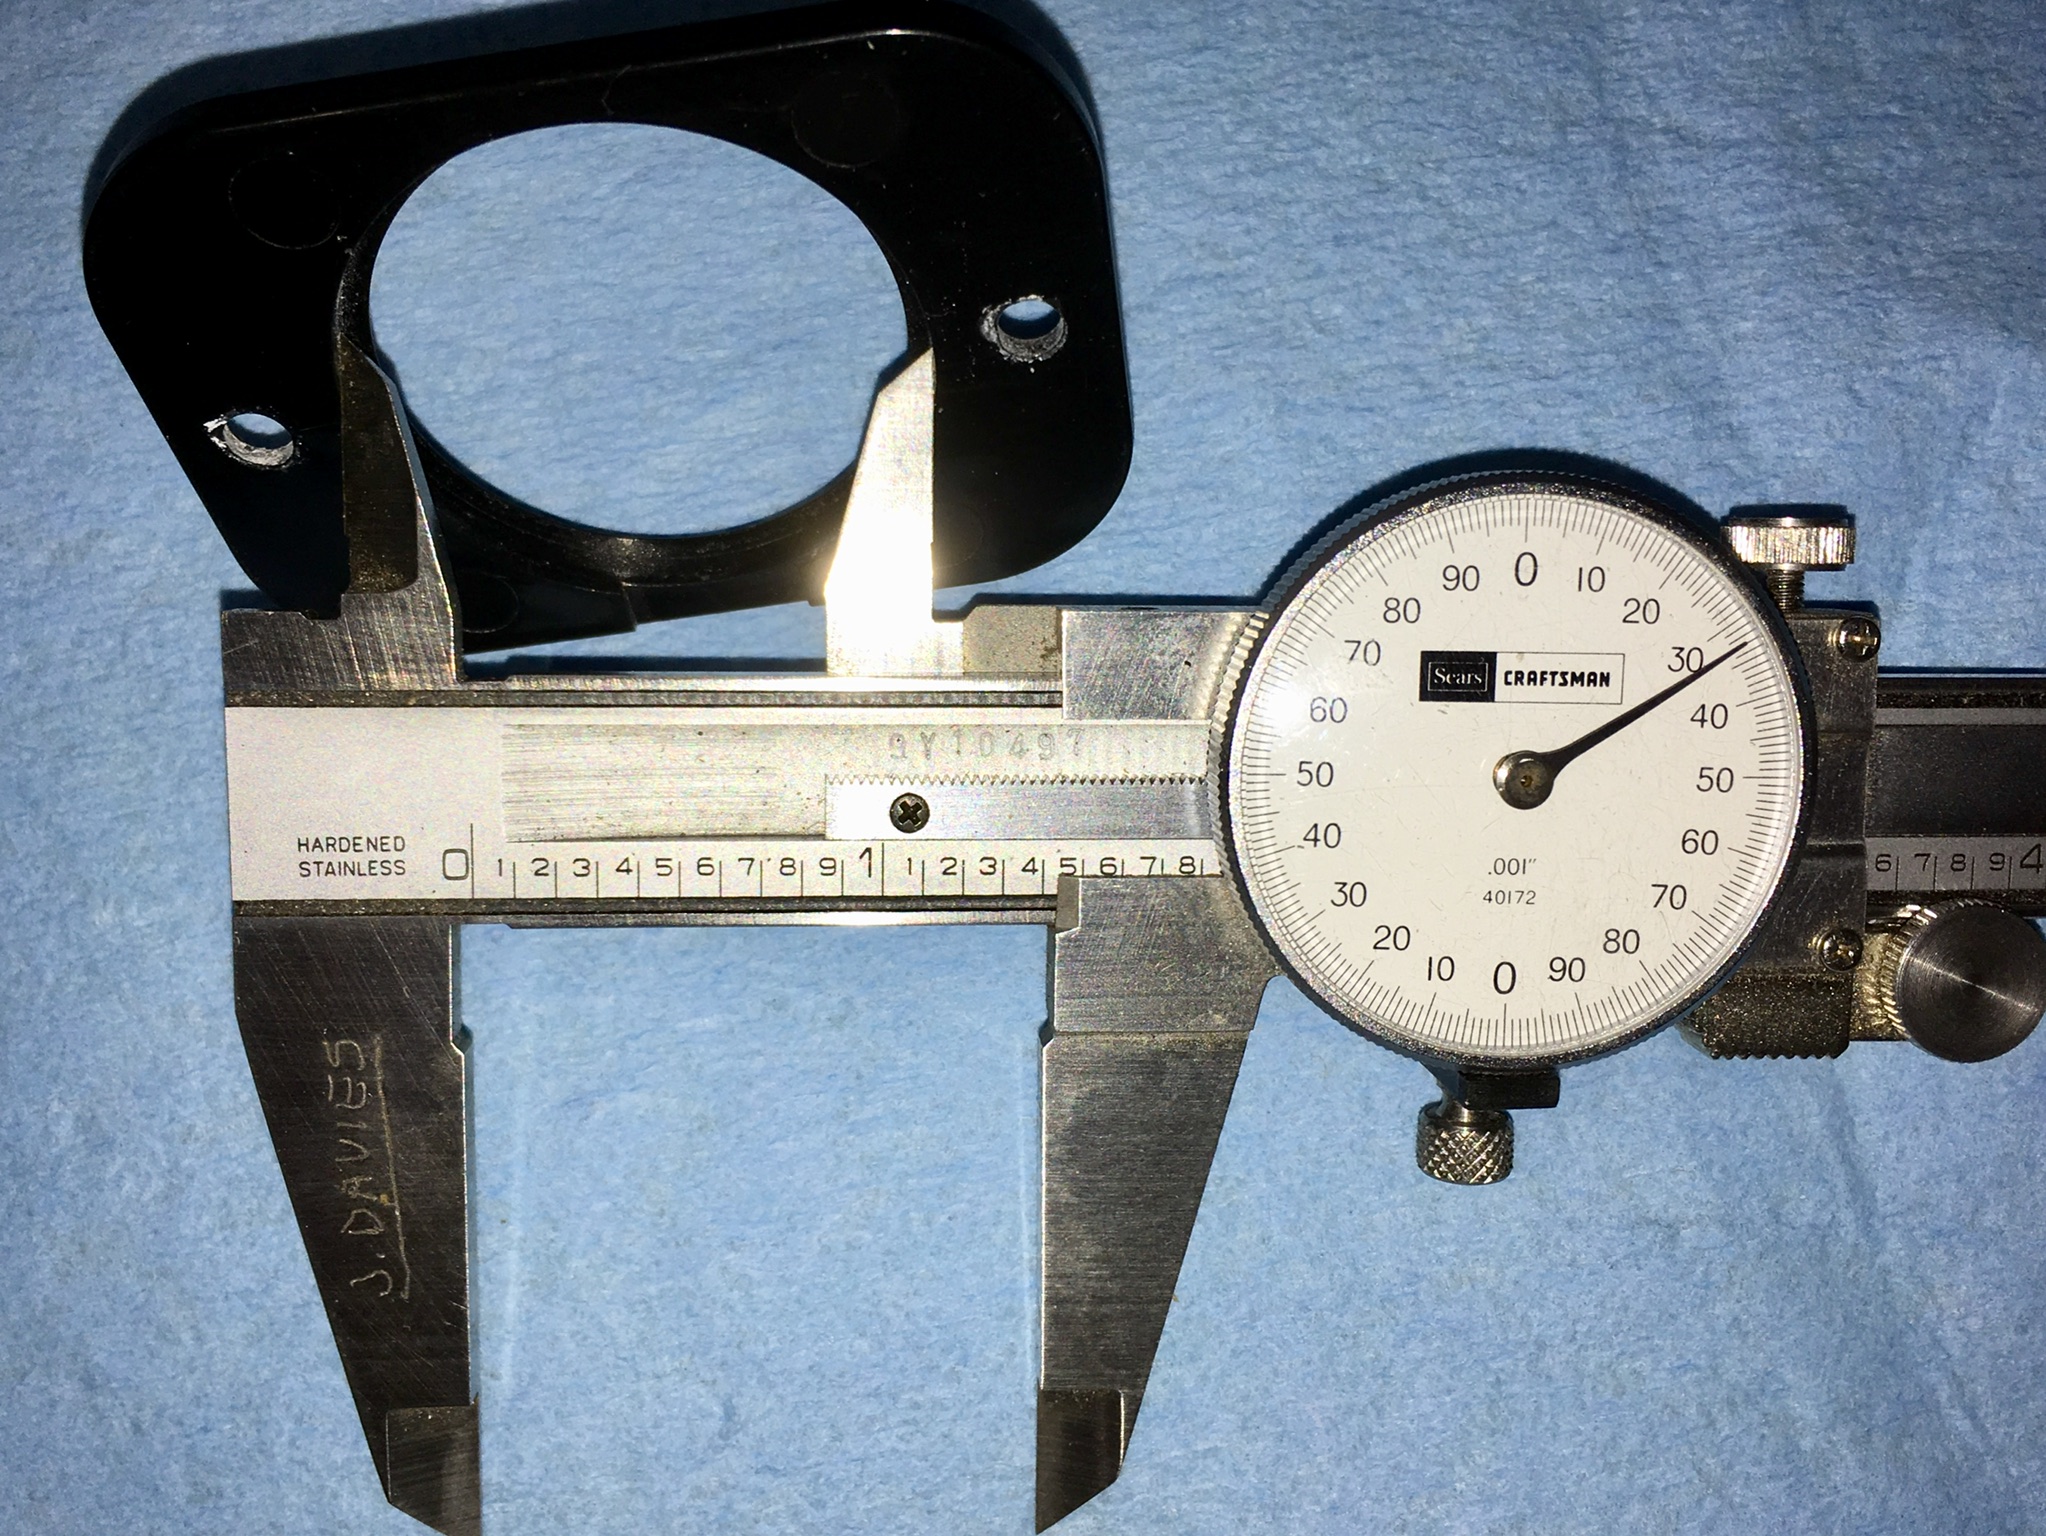
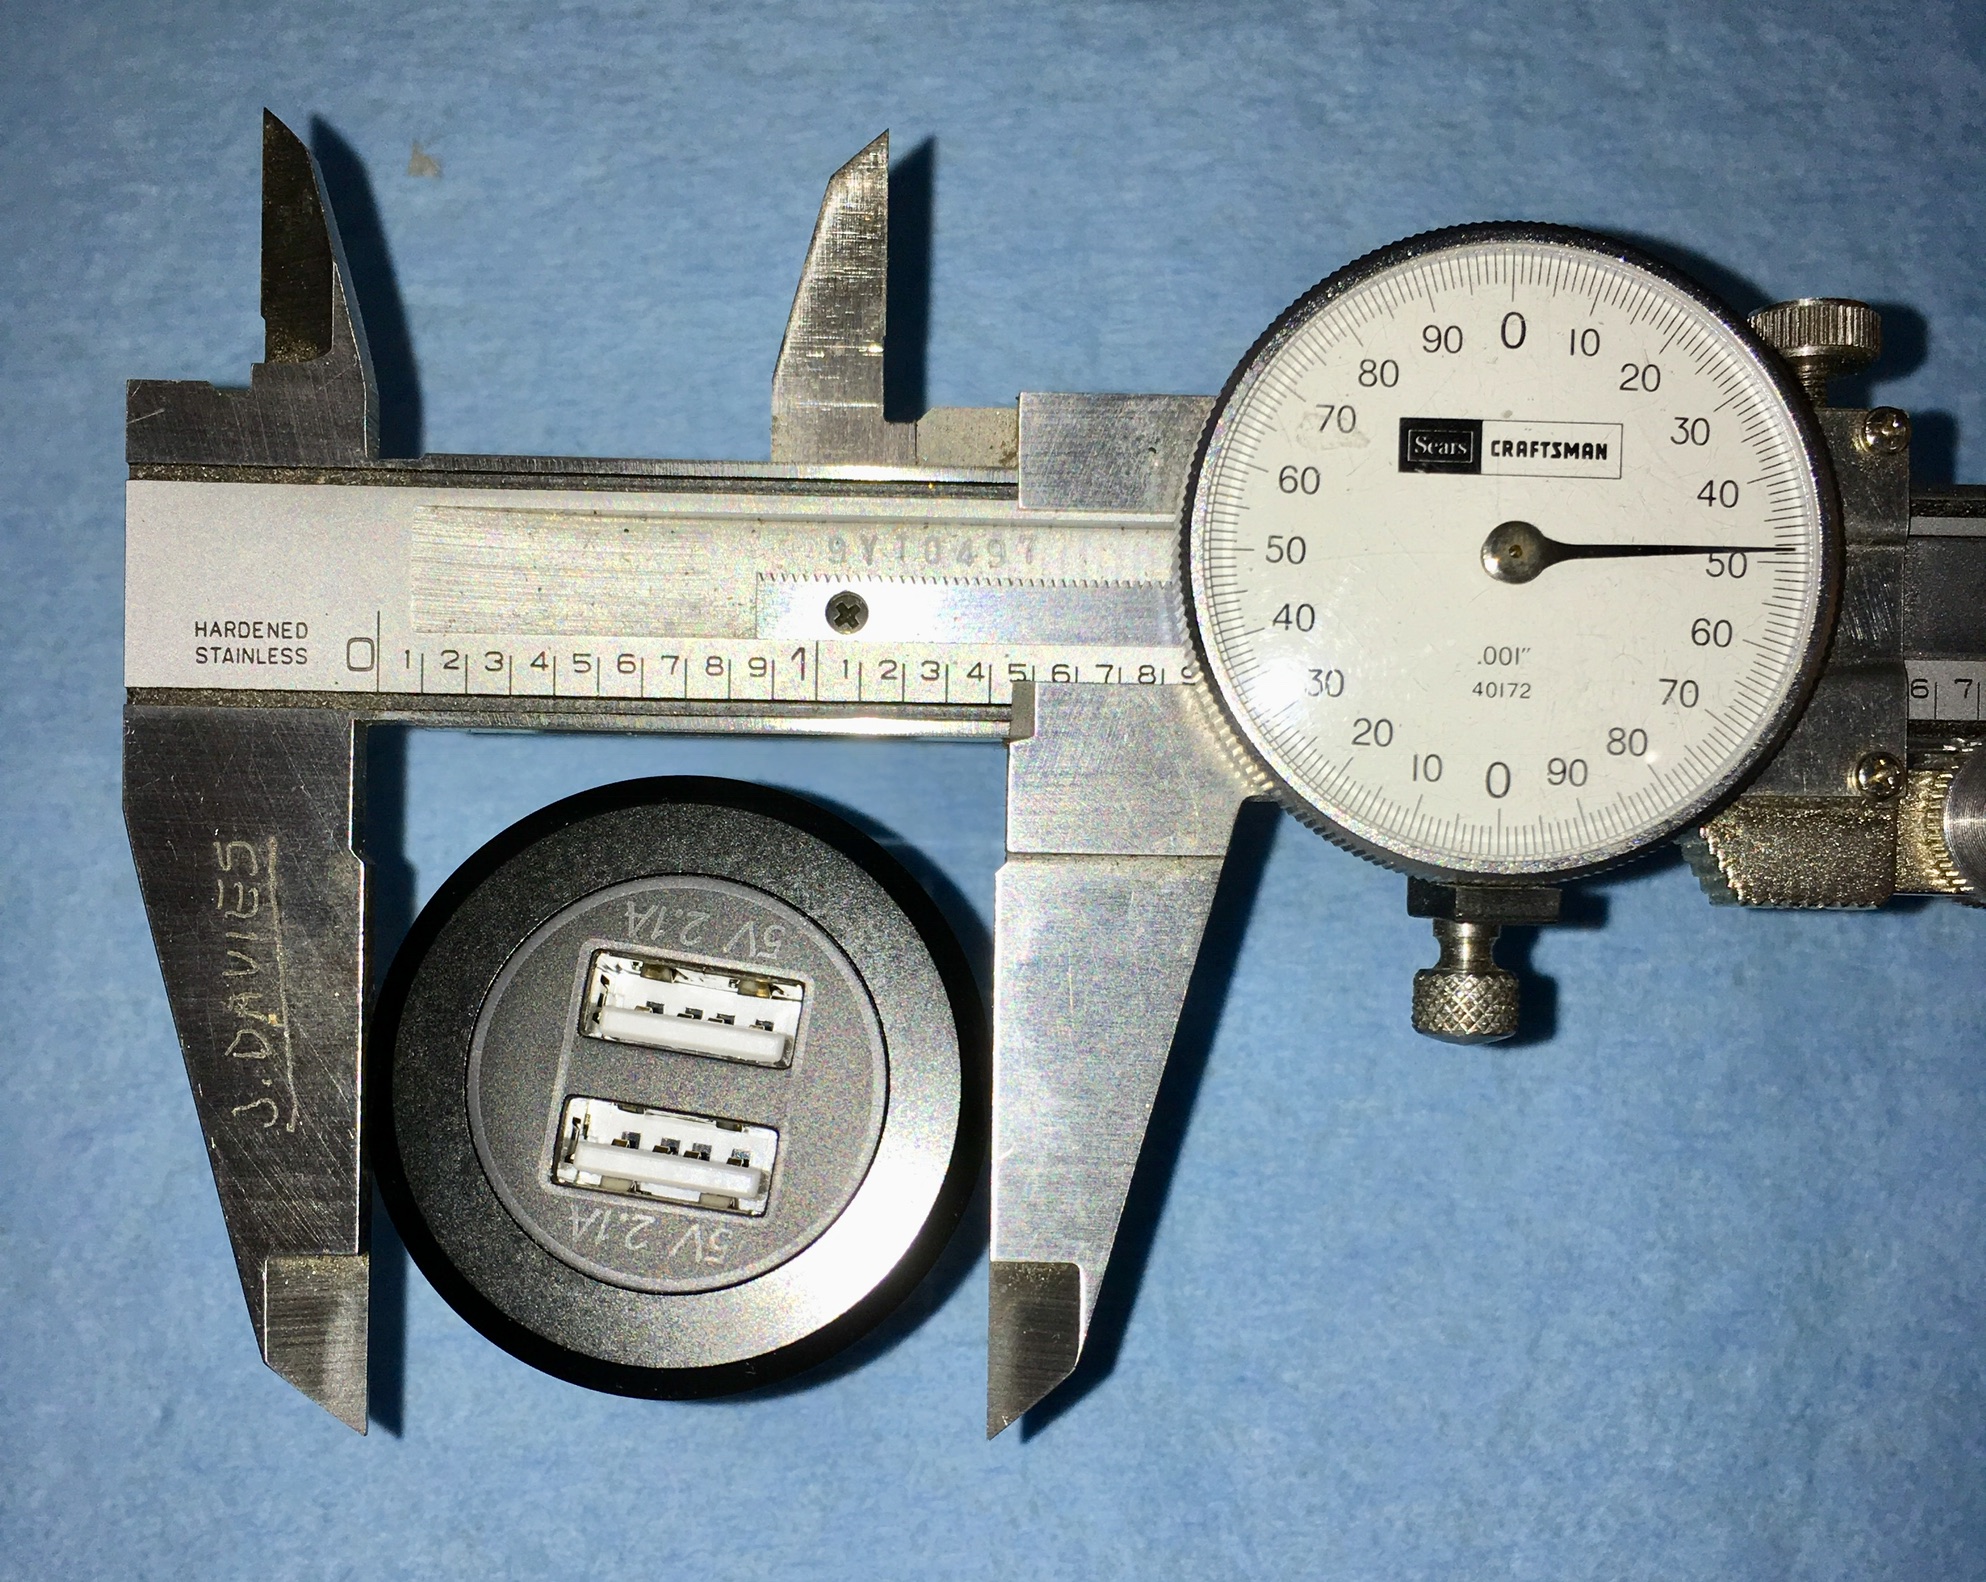
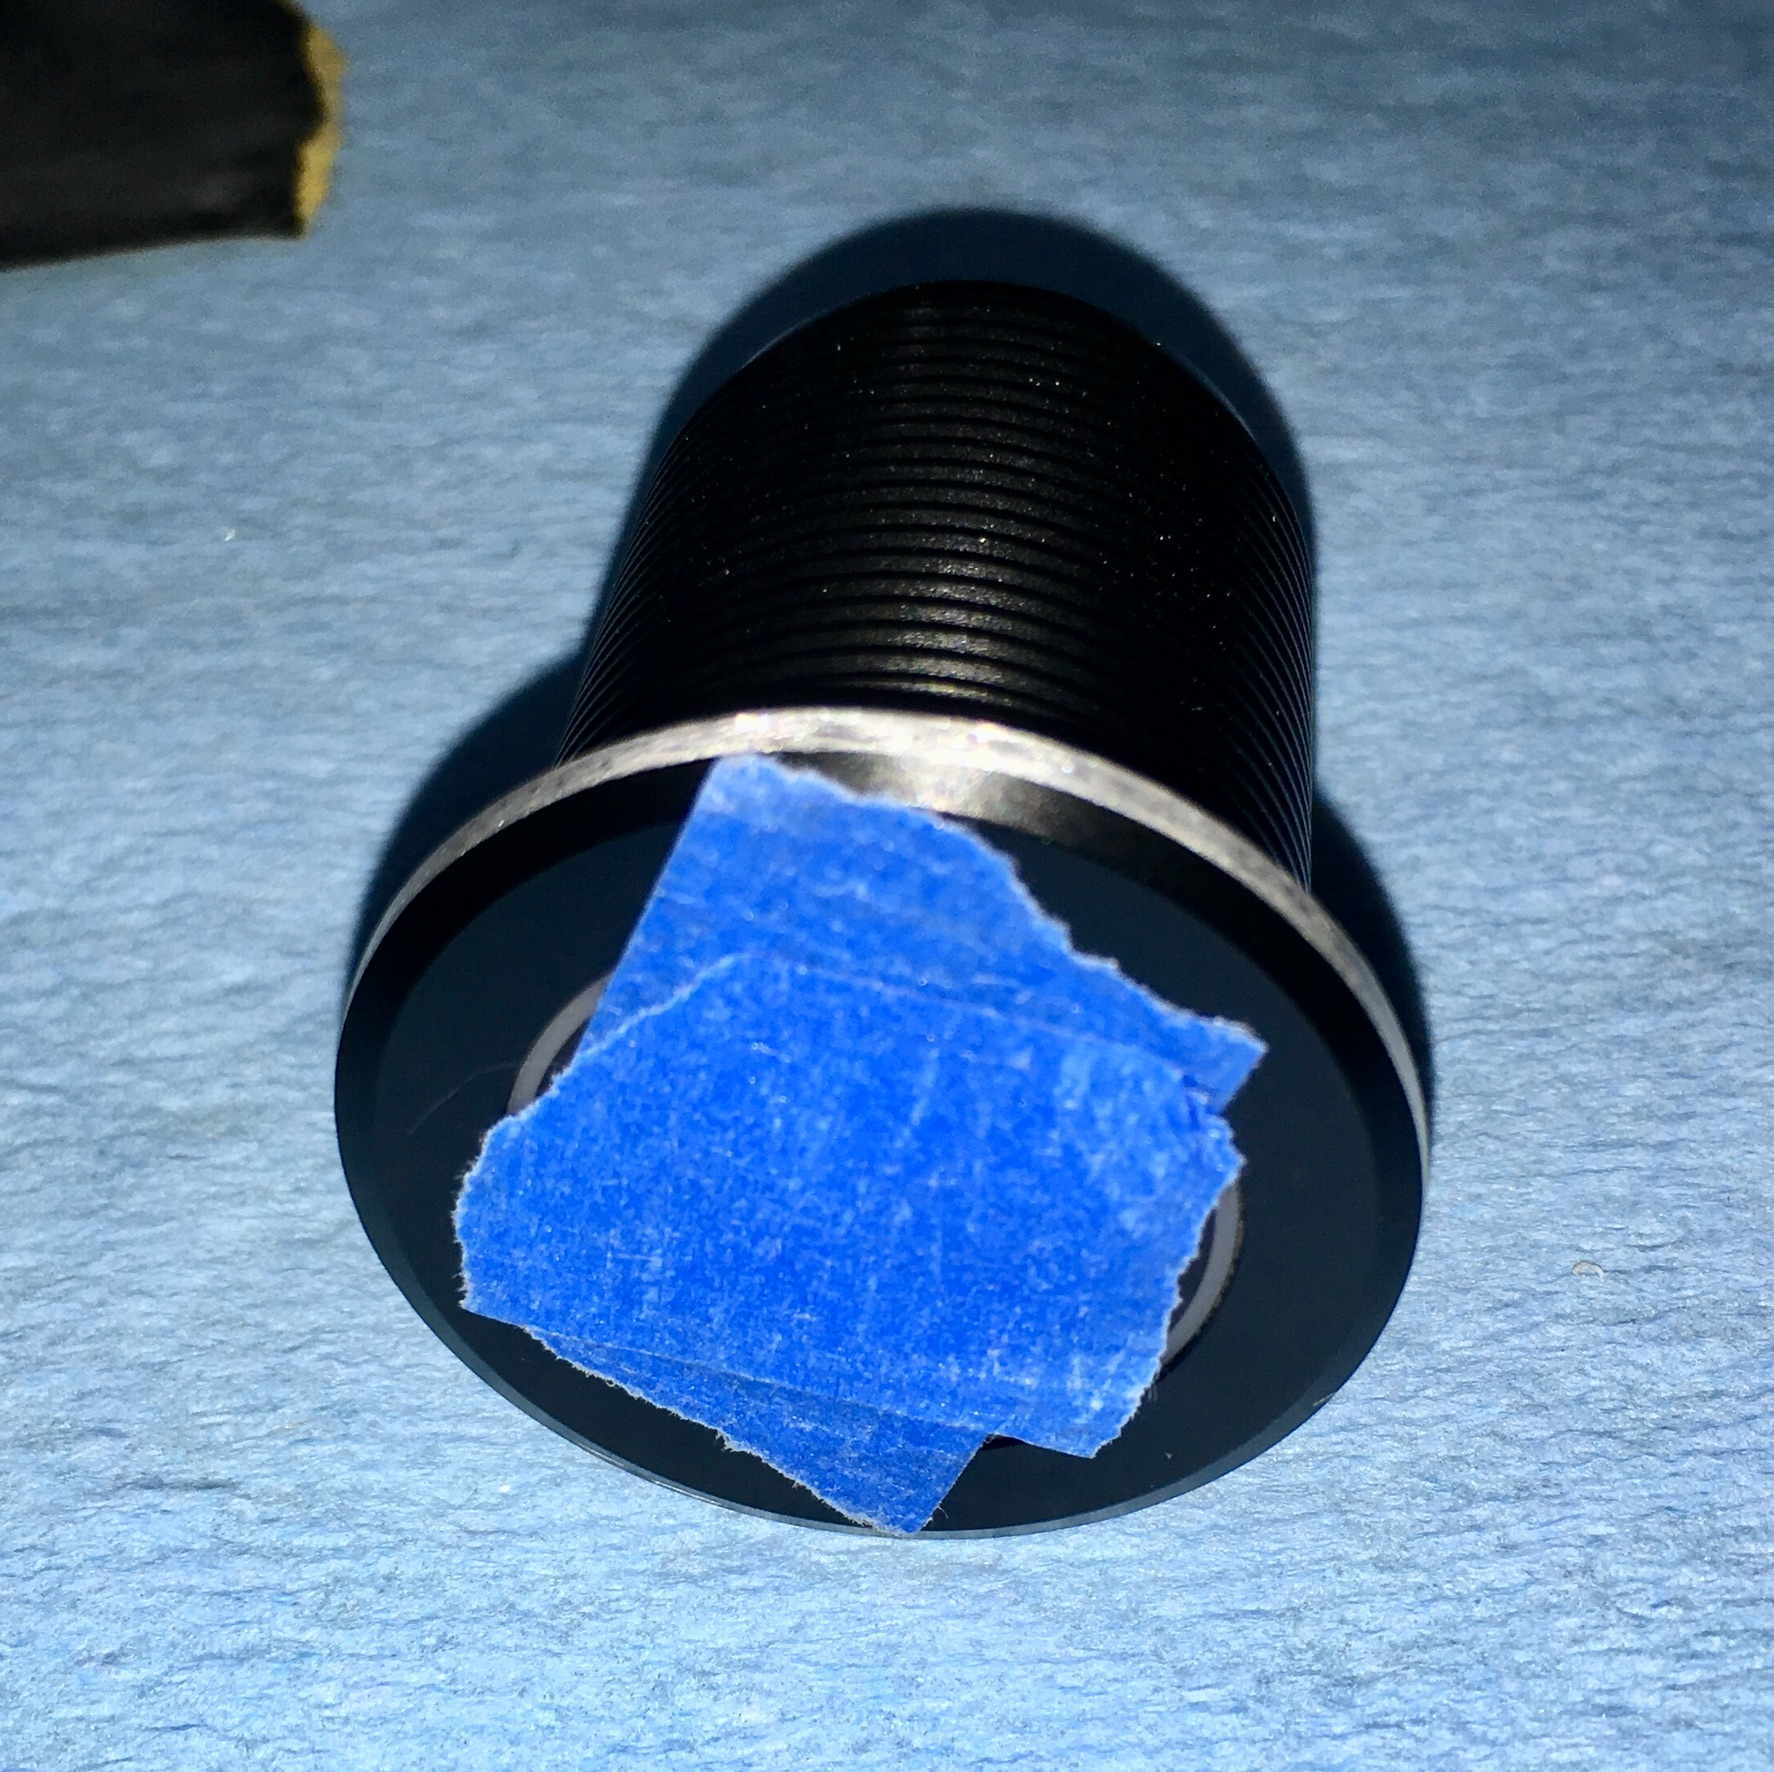
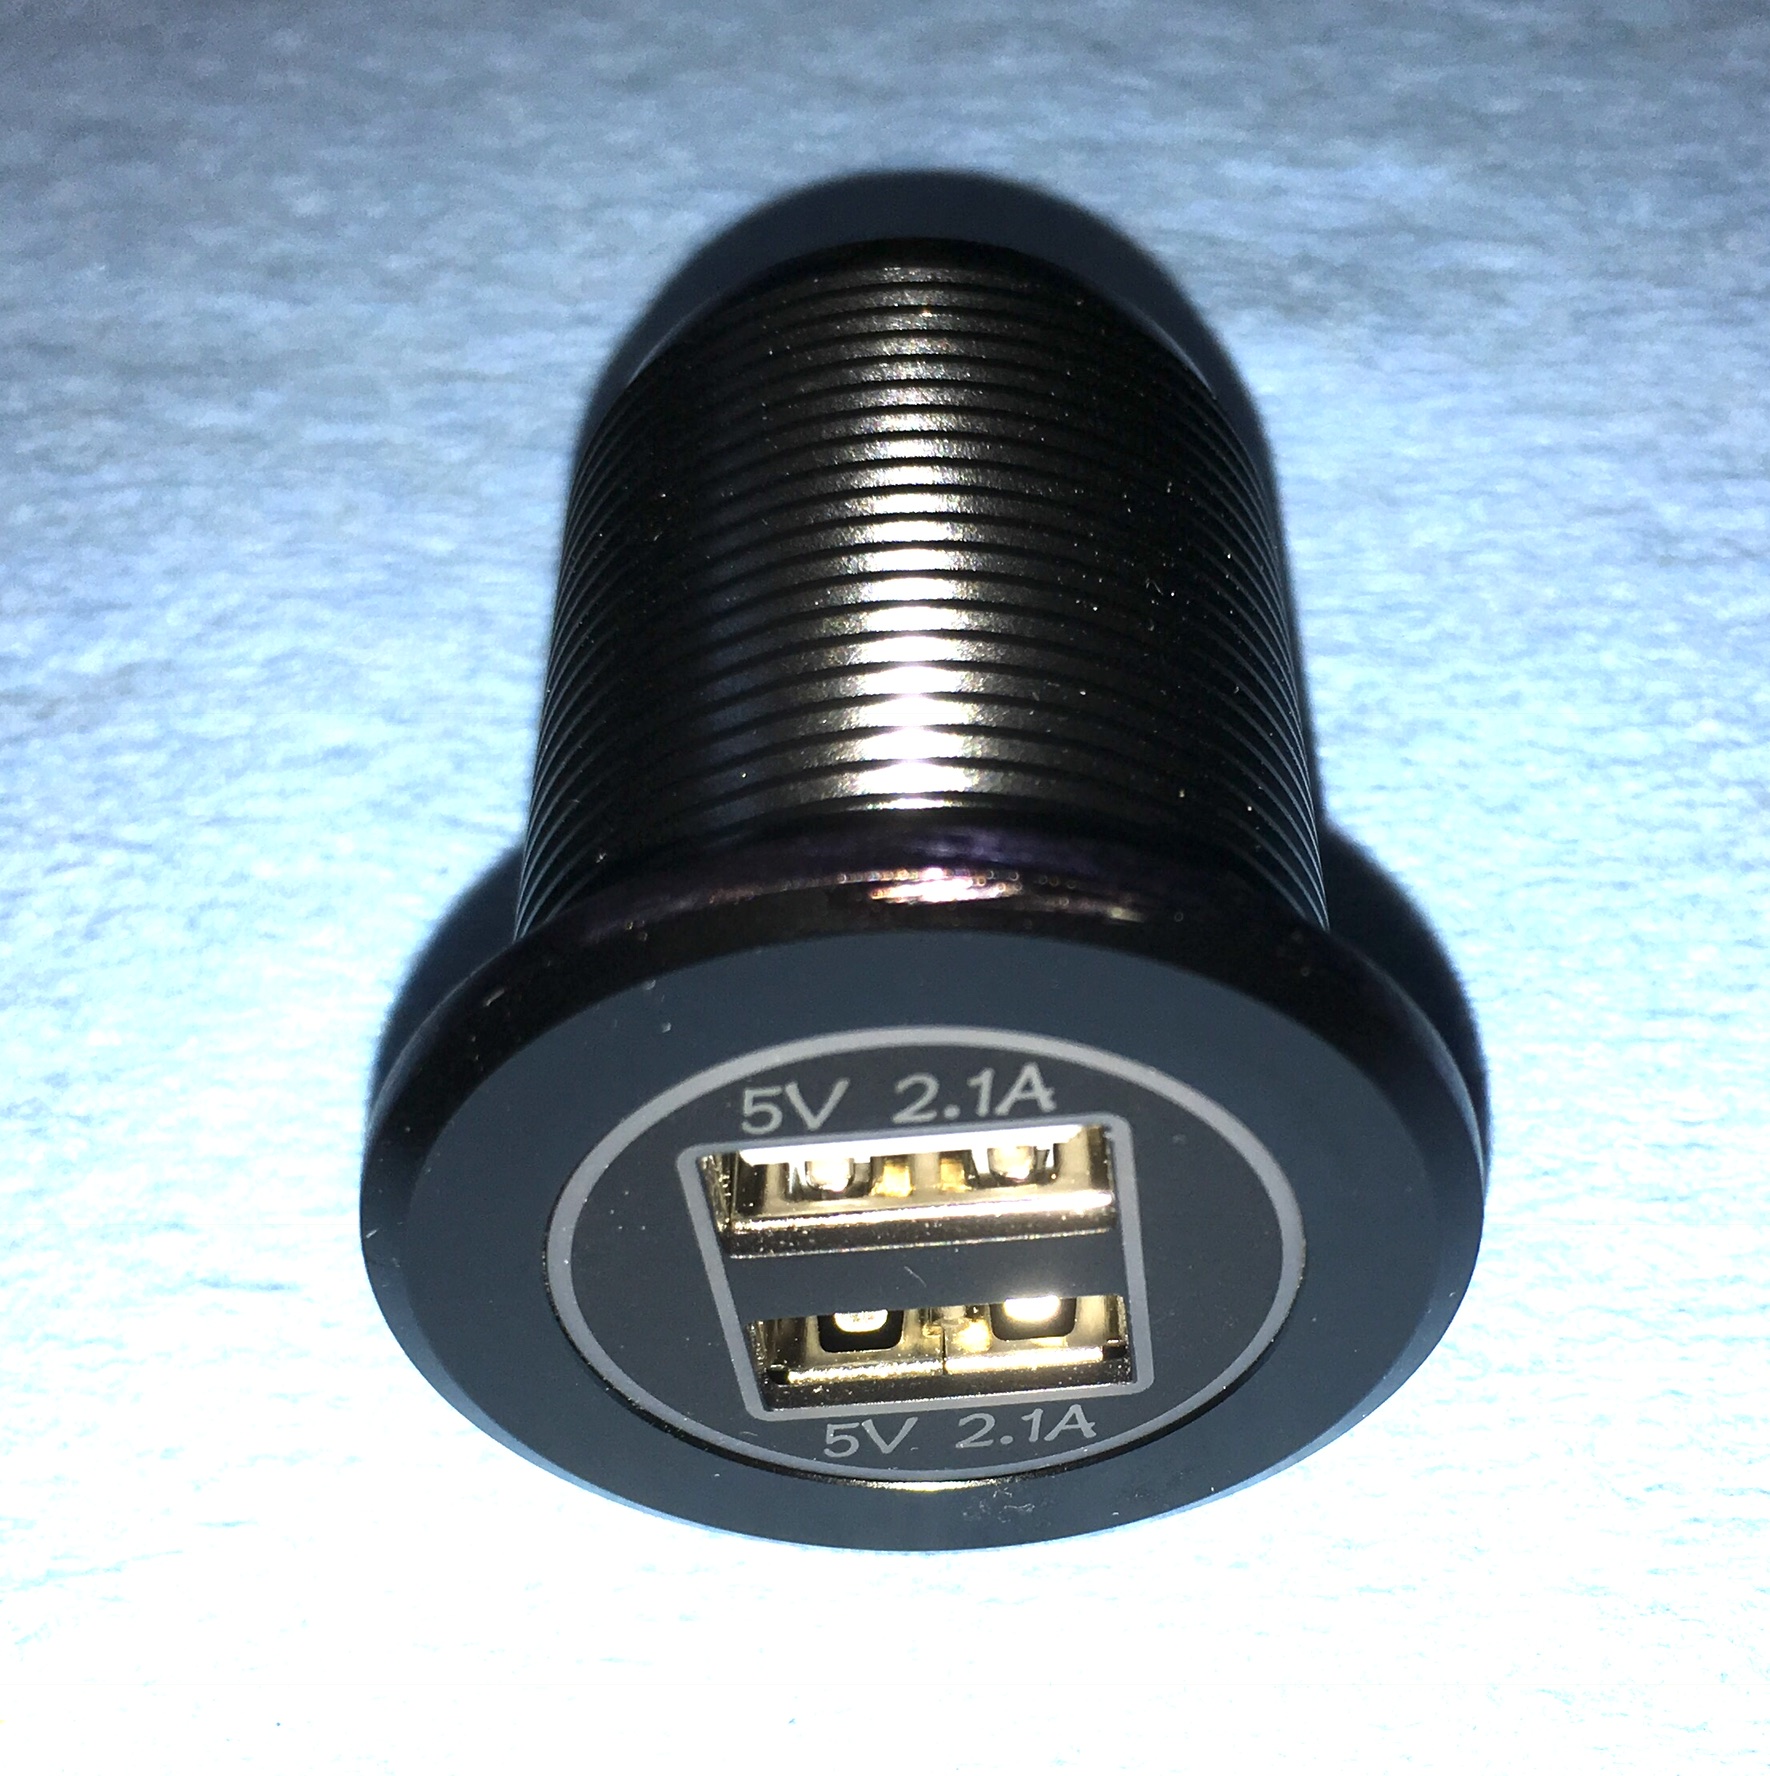
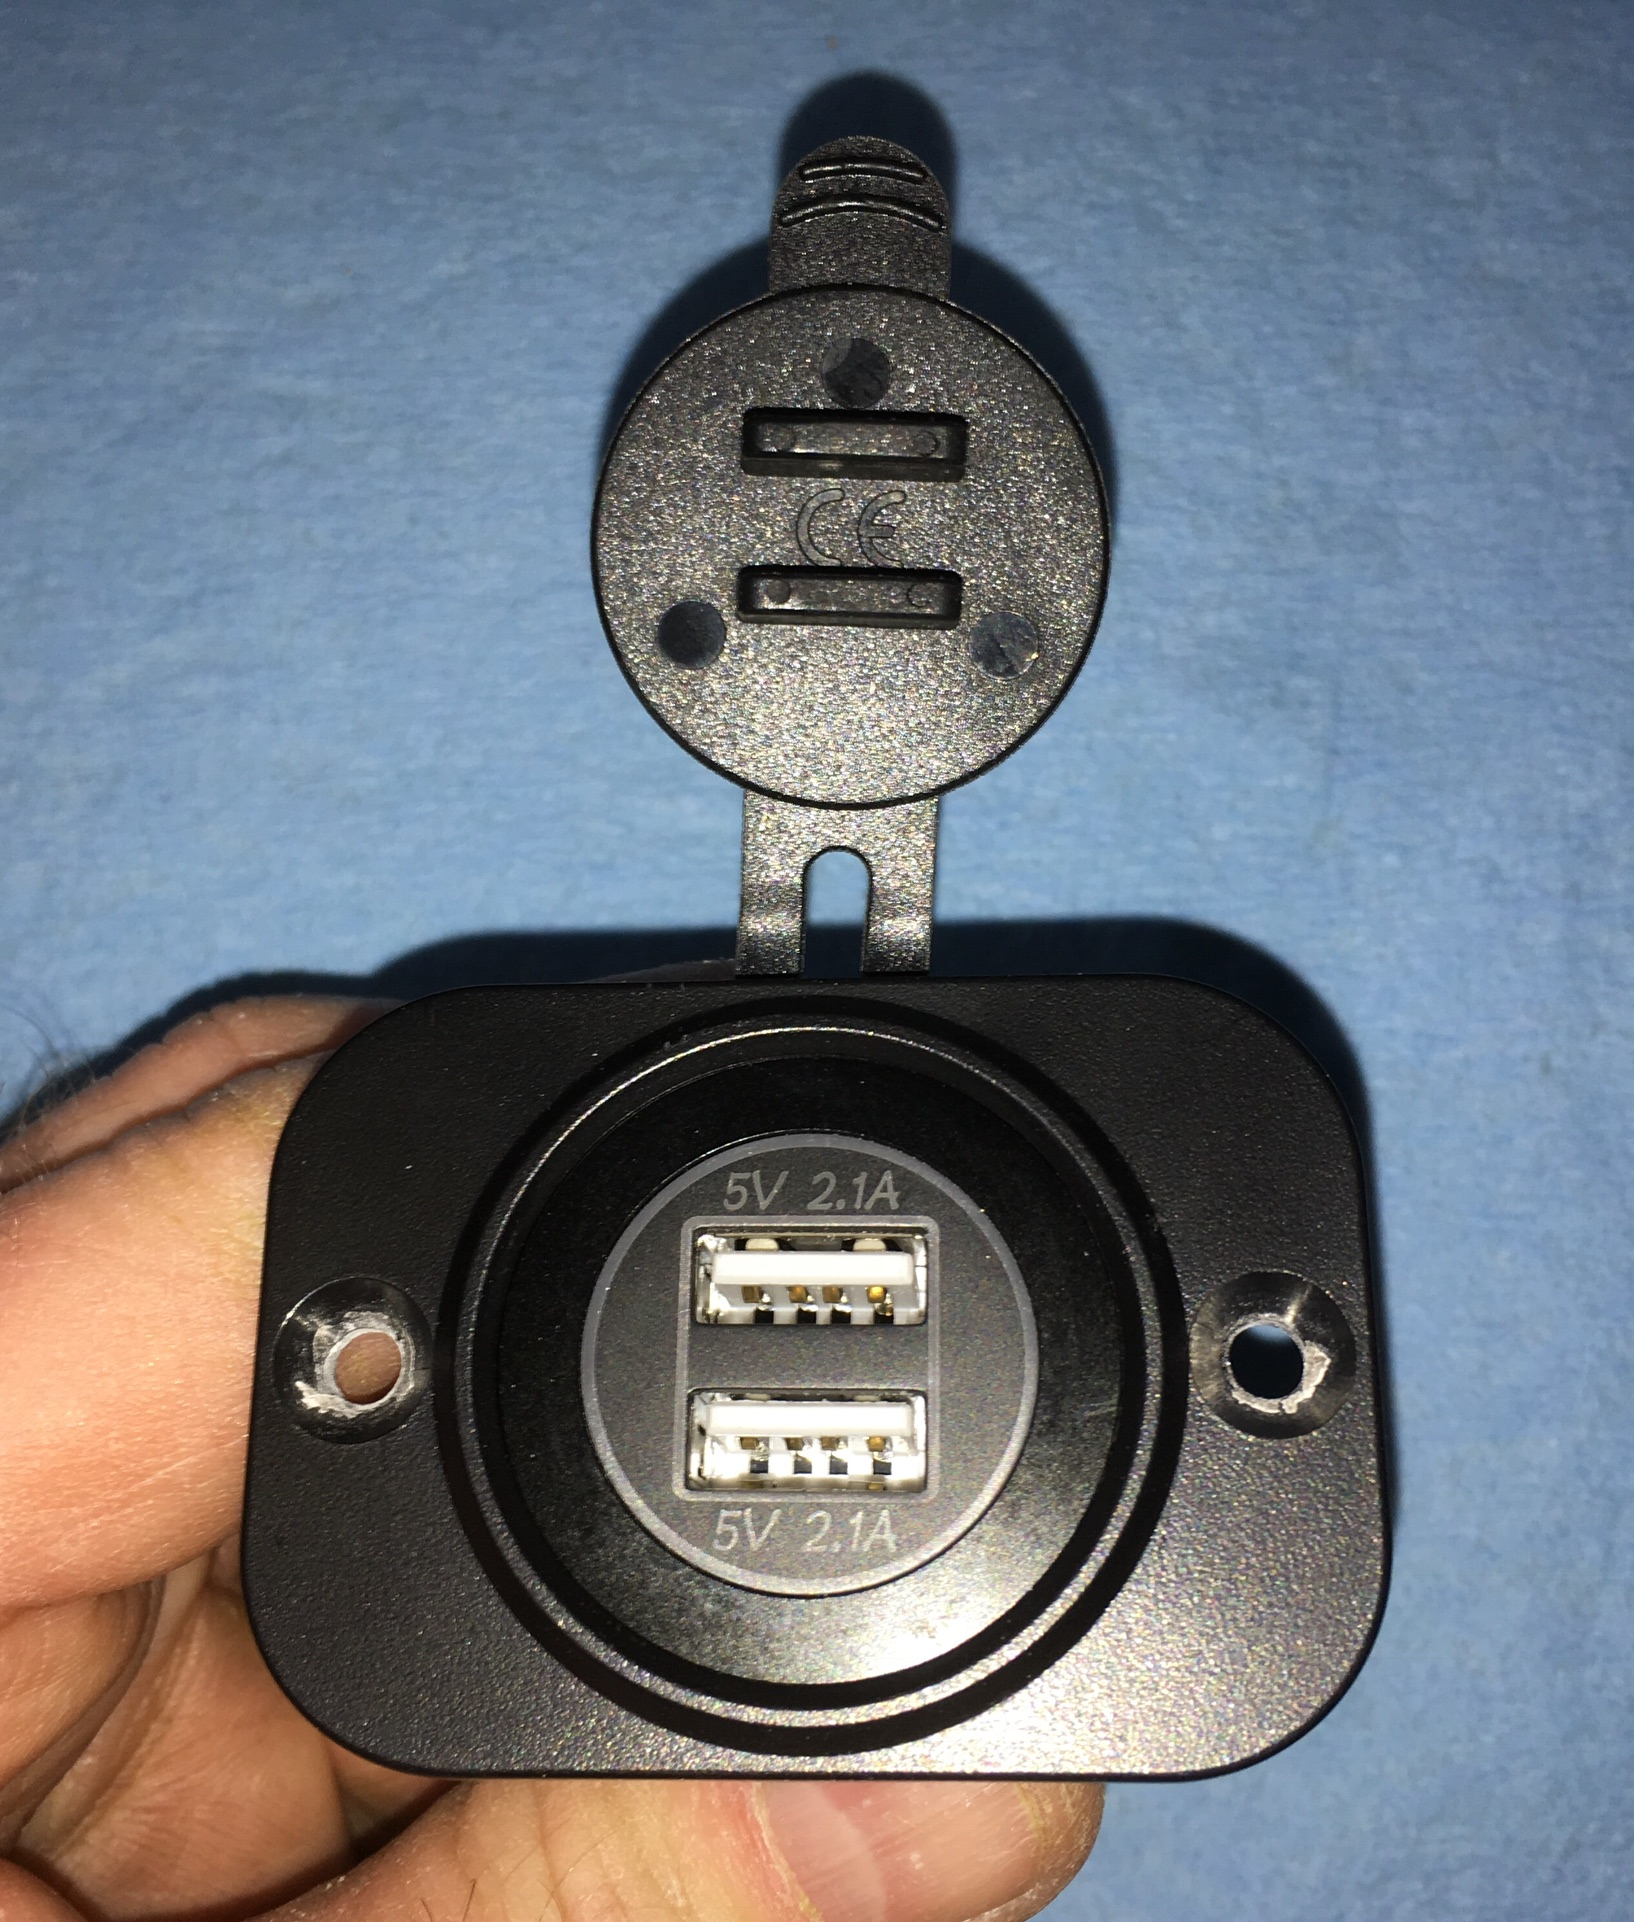
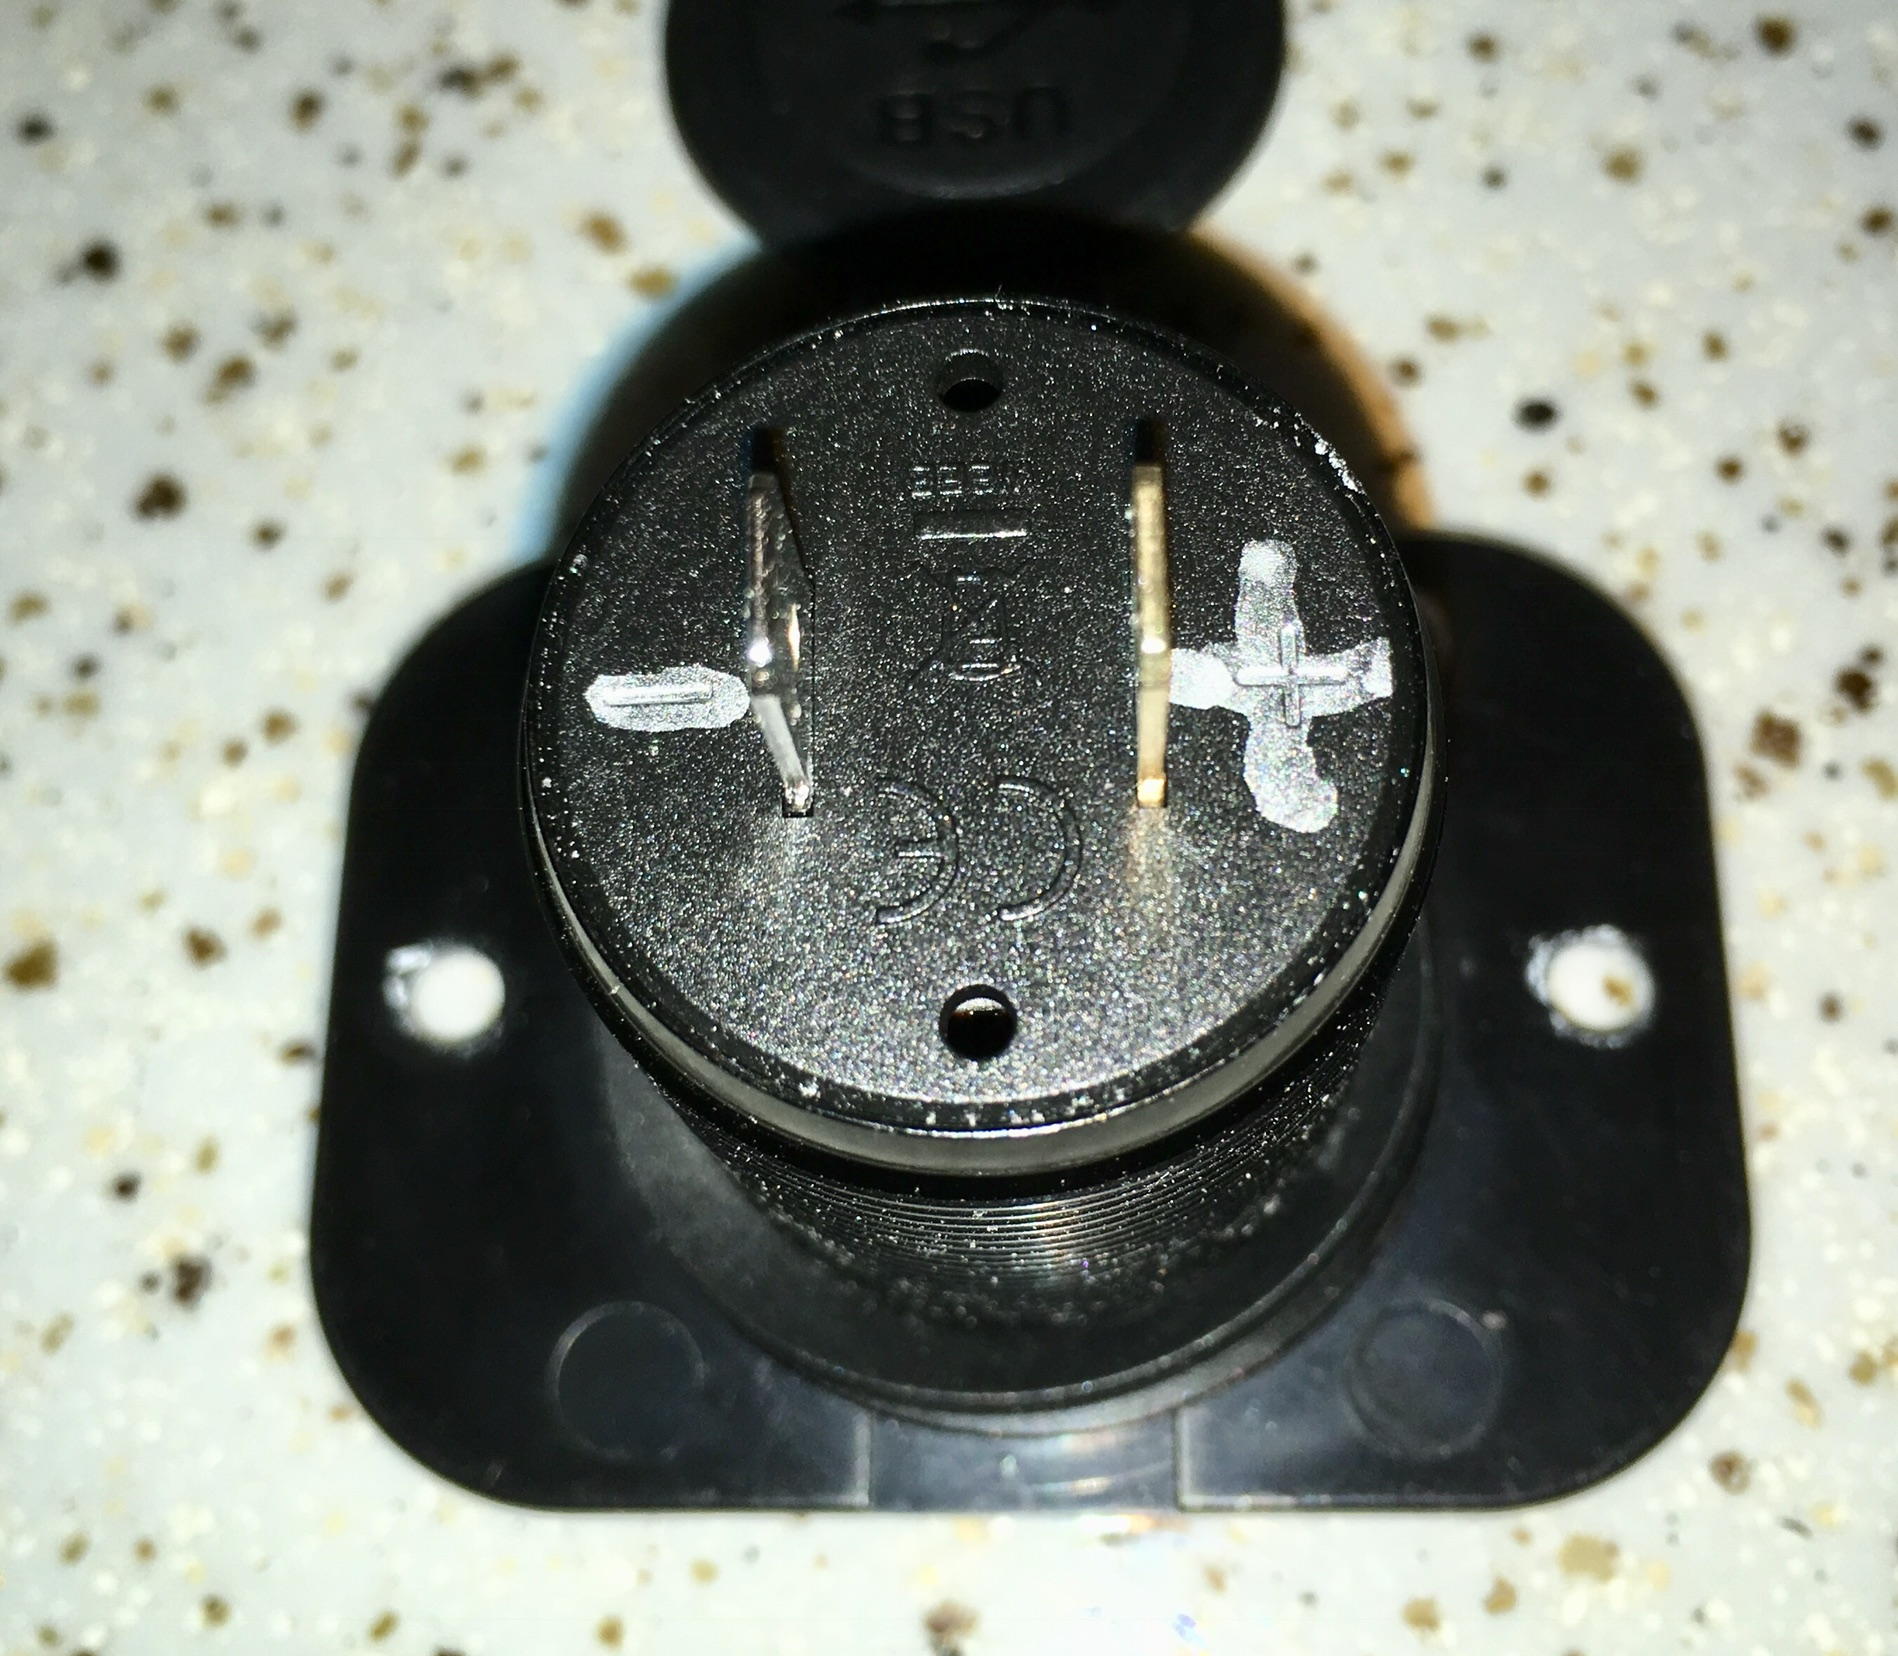
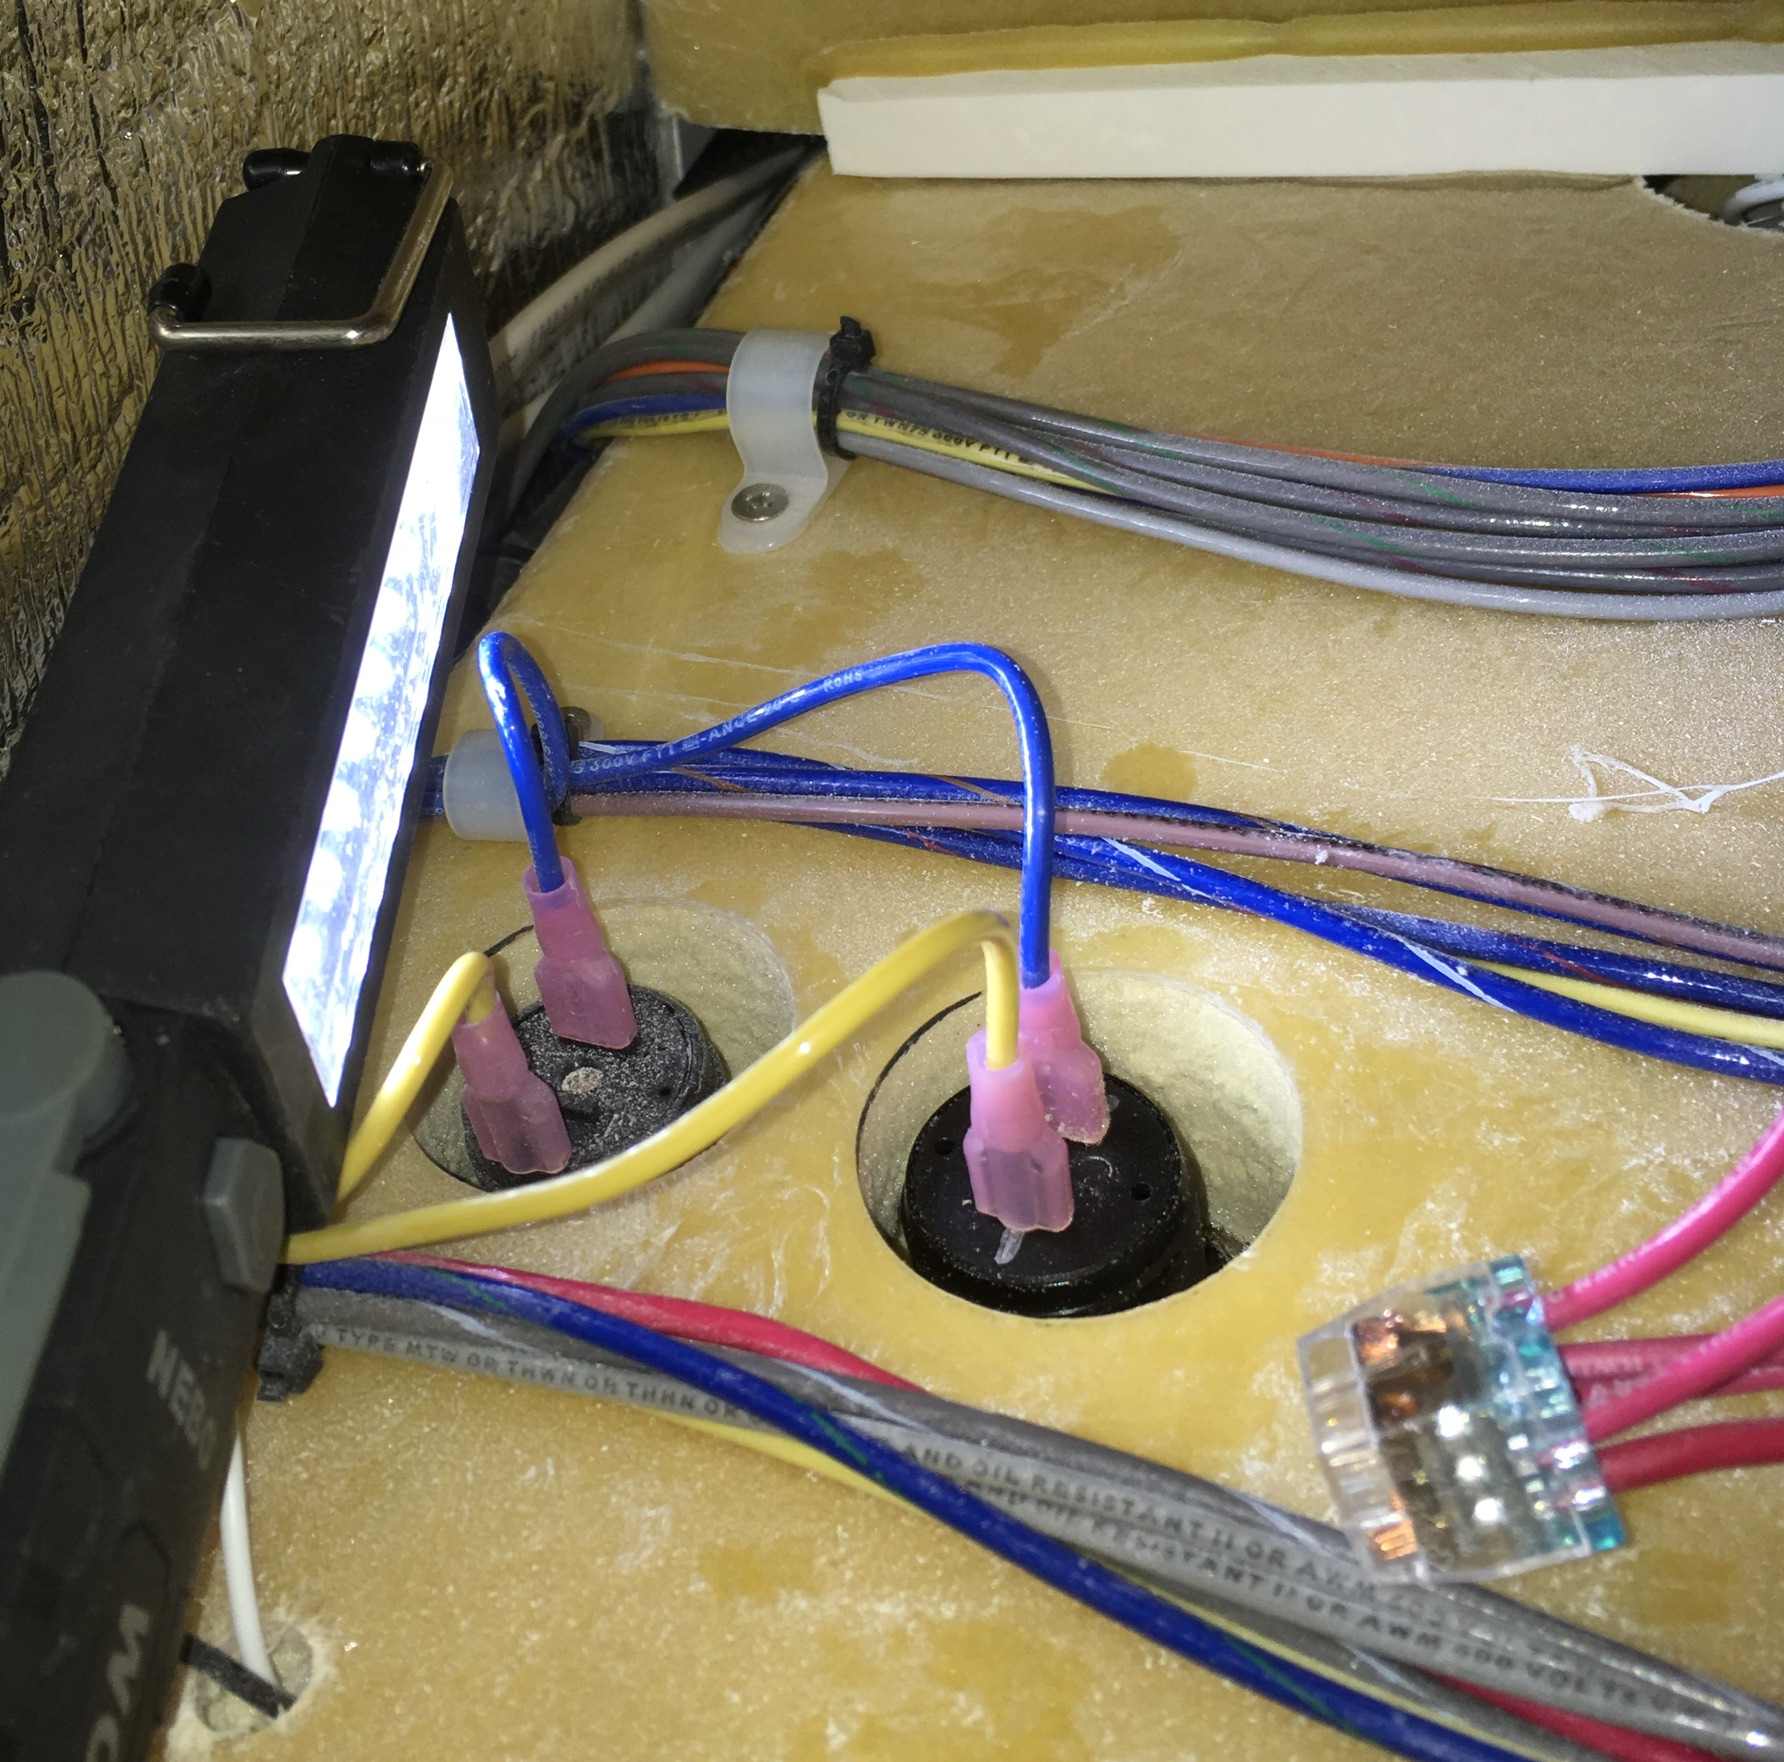
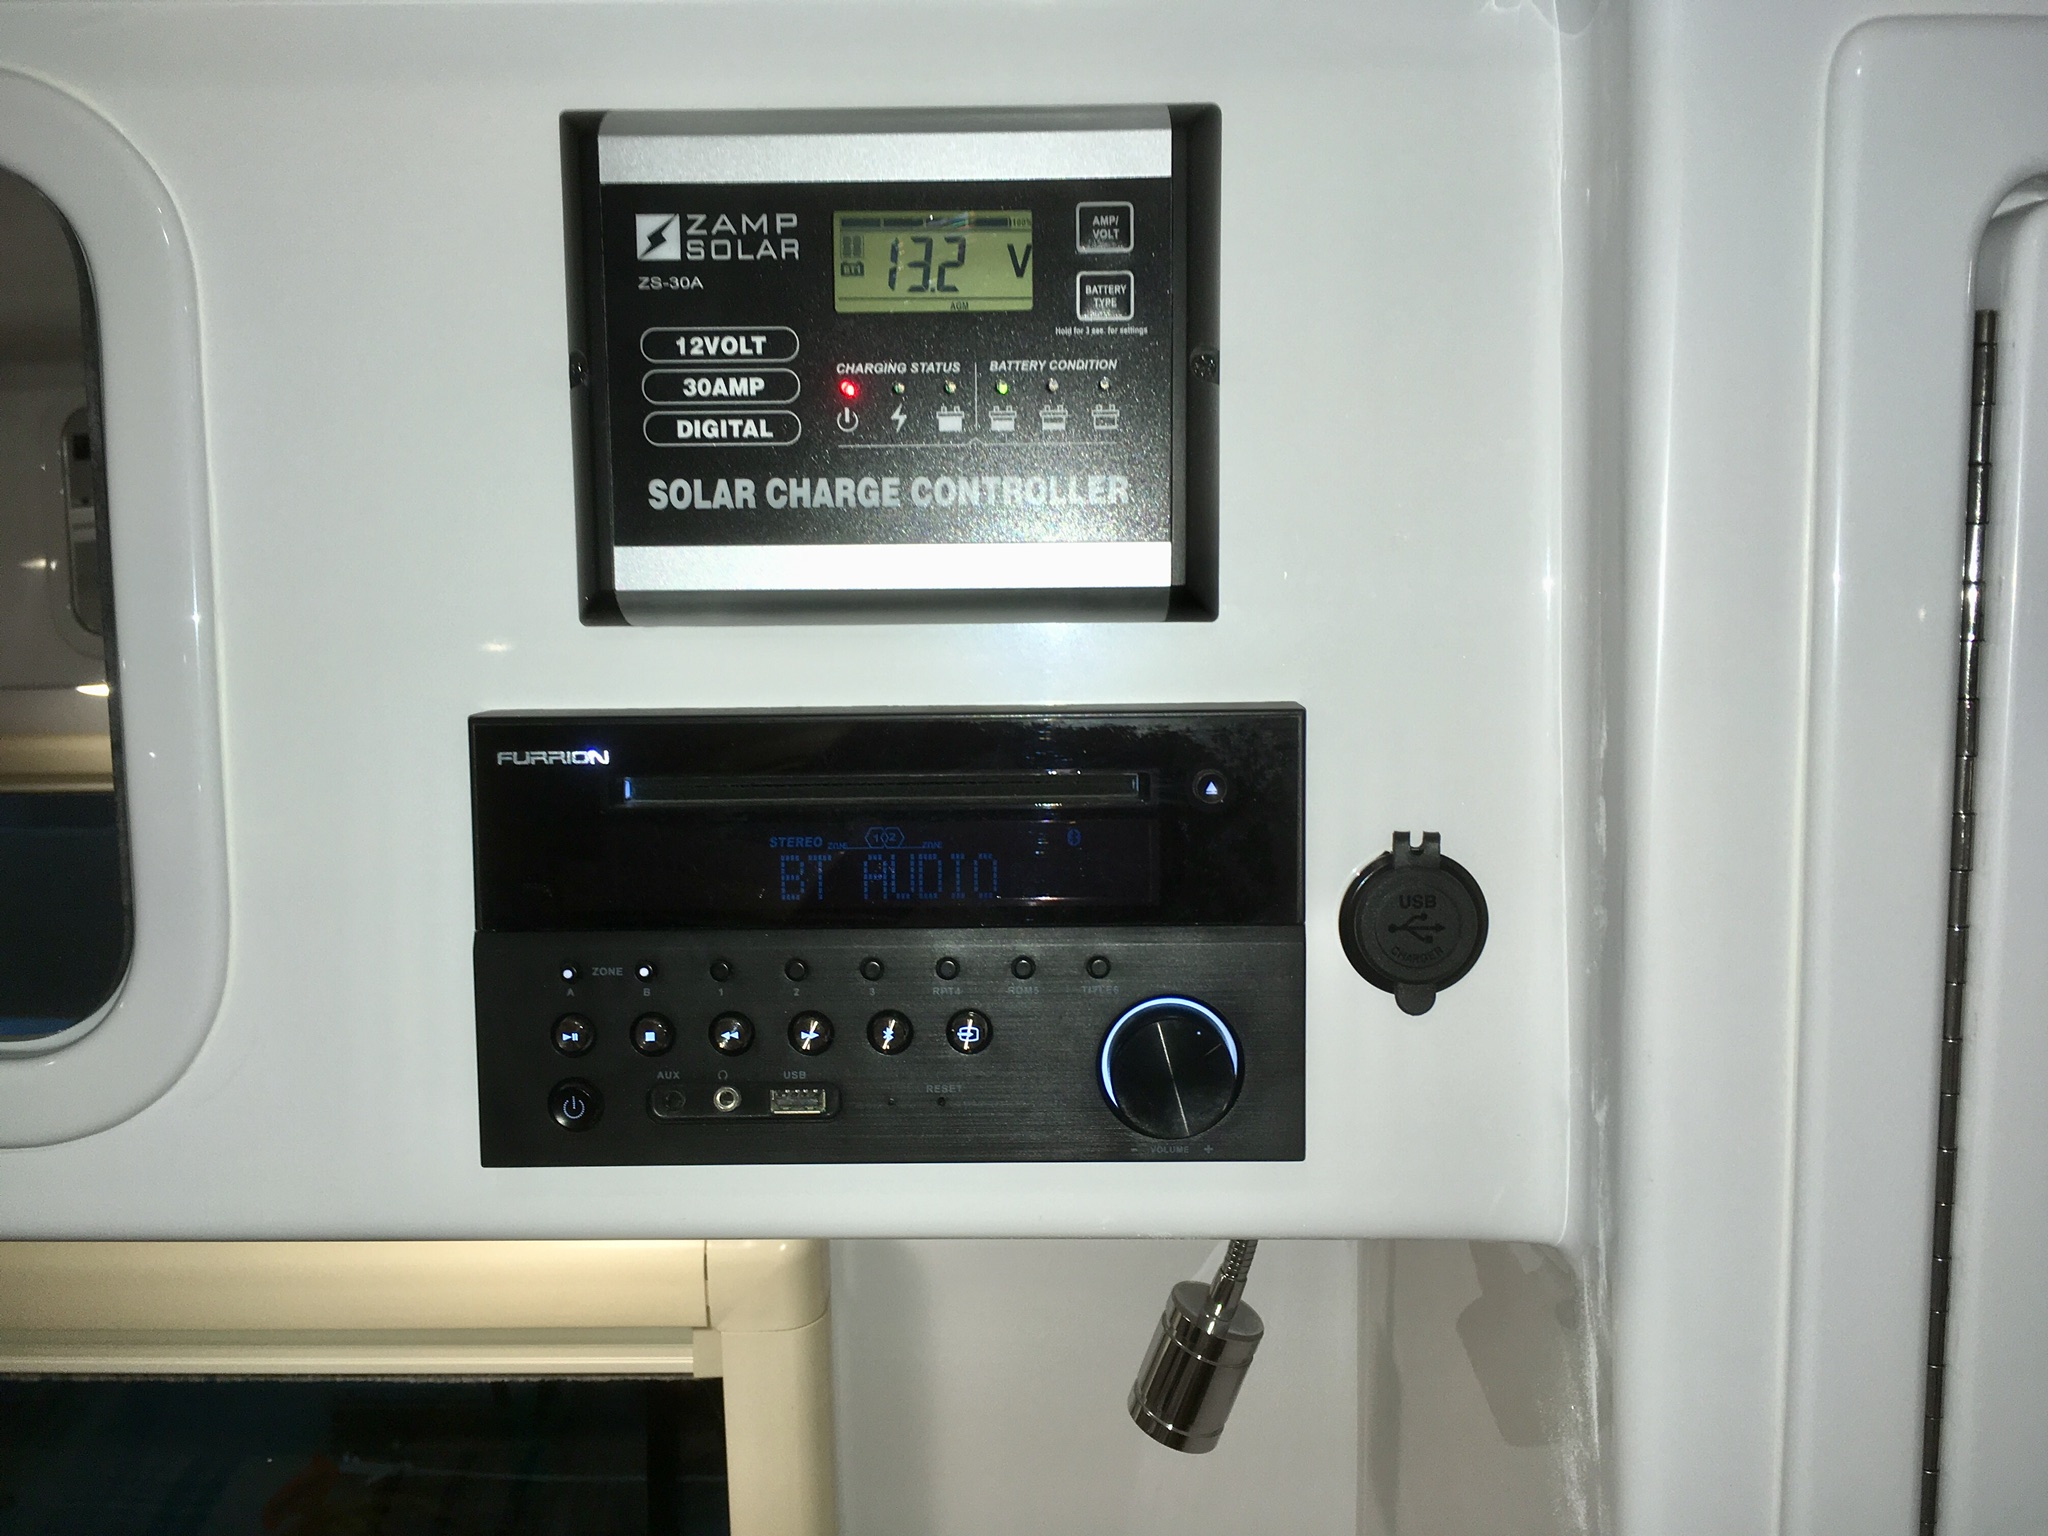
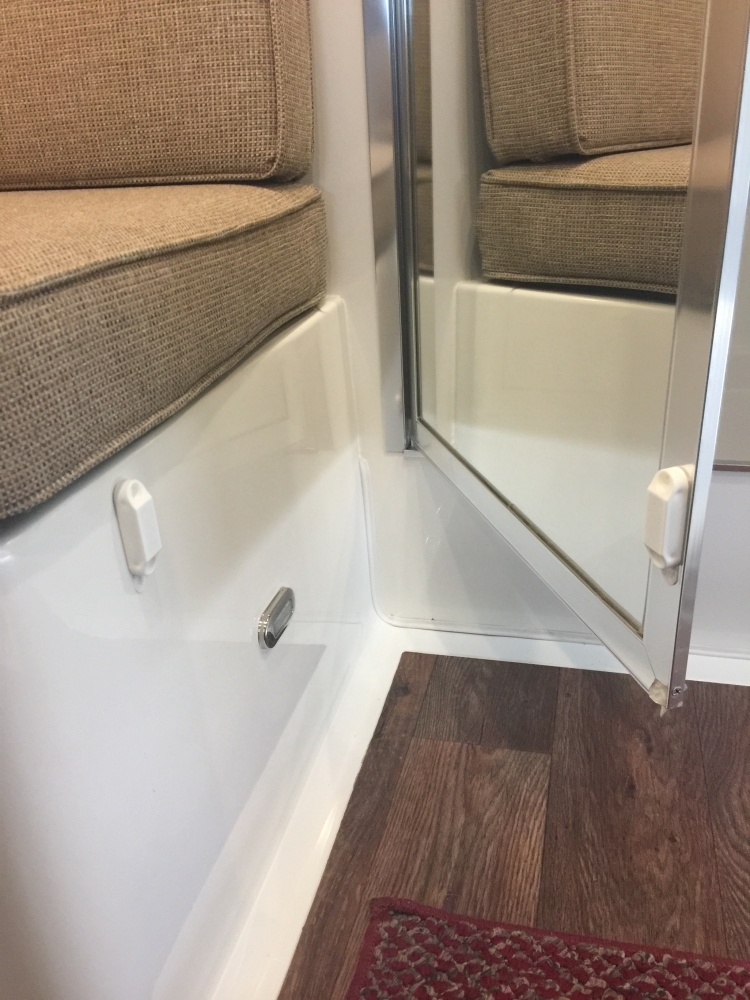
The factory units in Hull 218 are high quality (Blue Sea) but only 1 amp, so they are slow when charging a modern smartphone or tablet. It took a lot of searching but I finally found a nice CNC machined replacement that is available with a NON-illuminated face, which is perfect for over a bed or anywhere close to the sleeping area. https://smile.amazon.com/gp/product/B07CJW3ZRP/ref=oh_aui_detailpage_o01_s00?ie=UTF8&psc=1 The bezel is smaller than the diameter of the charger. Mask off the openings to keep out debris! Carefully reduce the diameter of the lip to closely match the bezel, so it will slide inside snugly. I used a belt sander with a fine grit belt, followed up by 220 grit hand sanding. MAKE SURE the unit functions properly before grinding, you might not be able to return one that you have altered! Also double check function just before installing. I “painted” the raw aluminum with a black Sharpie. Inserted into the bezel, and marked the + and - terminals with a silver pen so I could actually see them. and installed it into the hole where the factory unit used to be: Note how very thick that cabinet bottom is, I wanted to mount one more on the street side, but there was no way it would easily work through that much thickness. I pulled the stereo and drilled a hole next to the faceplate, picking up power and ground from the radio wires. I used an inline fuse holder plus a 10 amp fuse. My wife can lay her devices on top of the galley counter, or underneath to get them out of the way for food prep. These new chargers will charge my iPhone way faster than the old one. And no more glowing light in the eyes at night.... Neat mod, highly recommended! John Davies Spokane WA
1 point
-
Just today I installed this one in the OOII. It has 8 sensors and I put them all over the place. 1-Outside under the propane cover (I've had another one there for years and it has worked out fine) 2-Inside the fridge 3-On the water heater tank and covered with styrofoam insulation. I intend for this to tell me how hot the water is so I don't run the water heater excessively. 4-In the Bathroom, up high on the wall just right of the door. 5-Inside the Upper rear Cabinet. 6-In the rear basement by the incoming water plumbing. 7-In the front basement under the dinette by the black valve. 8-TBD, I may put it by the water pump or I may install it inside the cabin. There's already two other thermometers inside, one in a digital clock and one inside the remote for the Maxxfan so I really don't know what I'll do with the last one. All these wireless sensors provide temp, humidity, and heat index to a common monitor. I stuck them all up with command strips. This unit is also available with three and five sensors if you're not as big a believer in overkill as I am!1 point
-
https://www.amazon.com/gp/product/B01INZ7RY0/ref=oh_aui_detailpage_o04_s00?ie=UTF8&psc=1 Mike
1 point


-
Recent Achievements
-


")


")


