Leaderboard


Popular Content
Showing content with the highest reputation on 05/16/2026 in Posts
-
The 48th state was Rhode Island. We completed the last fifteen (15) states over the past 12 Months. Newport, RI was a fun town to complete the job.
 3 points
 -
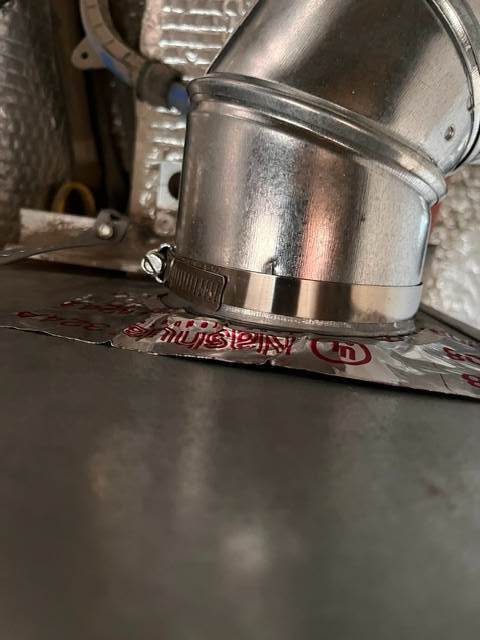
Difficult to tell from the existing picture but it's also possible the duct work has dropped out of the knockout panel. If you haven't already I would move your bed aside, open the hatch from above to make sure the duct has not vibrated loose and onto the floor.2 points
-
Wow! That's even better than a trip to the local hardware store, except you probably didn’t get popcorn like I do! Mossey2 points
-
When I called Dometic for a part number last year, the lady couldn't figure out the part number for the little grommets. So she sent a bunch of parts including all the grommets, new knobs, new decal. For free! She was also very fun and cheerful to talk to.2 points
-
It's pretty easy to stub your toe like this when buying on Amazon. It's not the same as a trip to local hardware store if you still have one! Mossey2 points
-
At the Oliver Rally I plan to put out various parts for free that may fit other Oliver setups as I’ve bought many replacement parts (like stove grommets) that aren’t for our version by mistake.2 points
-
That looks like the knockout panel on the furnace is missing . You can seal it with silver furnace tape or find a sheet metal piece to put in place. Please post the pix to oliver as a service ticket!2 points
-
Geoff, Did you end up putting a screw into the "Connecting Collar" coming out of the rear of the Truma heater and the start of the rigid duct (180° turn). Or replace it with a "straight out" " not beveled" connecting collar. I found the design of the existing connecting collar had a slight beveled towards the inside. I believe this is to allow insertion around it of the flex ducting, which has little weight to it. but for heavier rigid ducting and the heavier flex ducting there is for lack of a better word more “Torque” on that connecting collar. My rigid 180 as shown kept sliding off no matter how tight the 4” clamp was cranked down. So, I went back to a heavier (than supplied by Oliver in 2020) duty flex tubing. I even had the rigid and heavier flex on the floor to reduce torque, and it would still come off with the slightest of movement. I liked everything else i saw and it makes sense. So, I did "phase I" of re-ducting. Maybe the re-design will be adapted at factory assembly. B~Out,
2 points
-
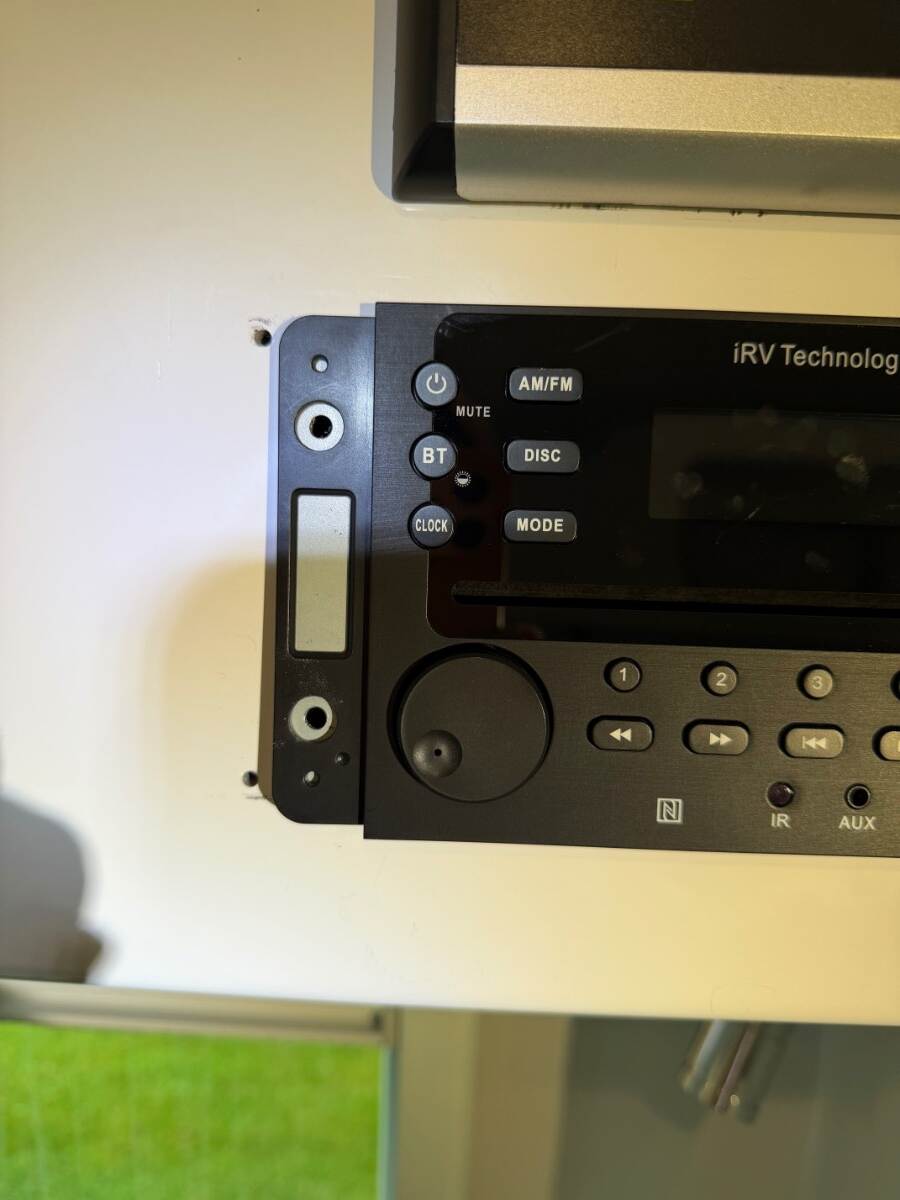
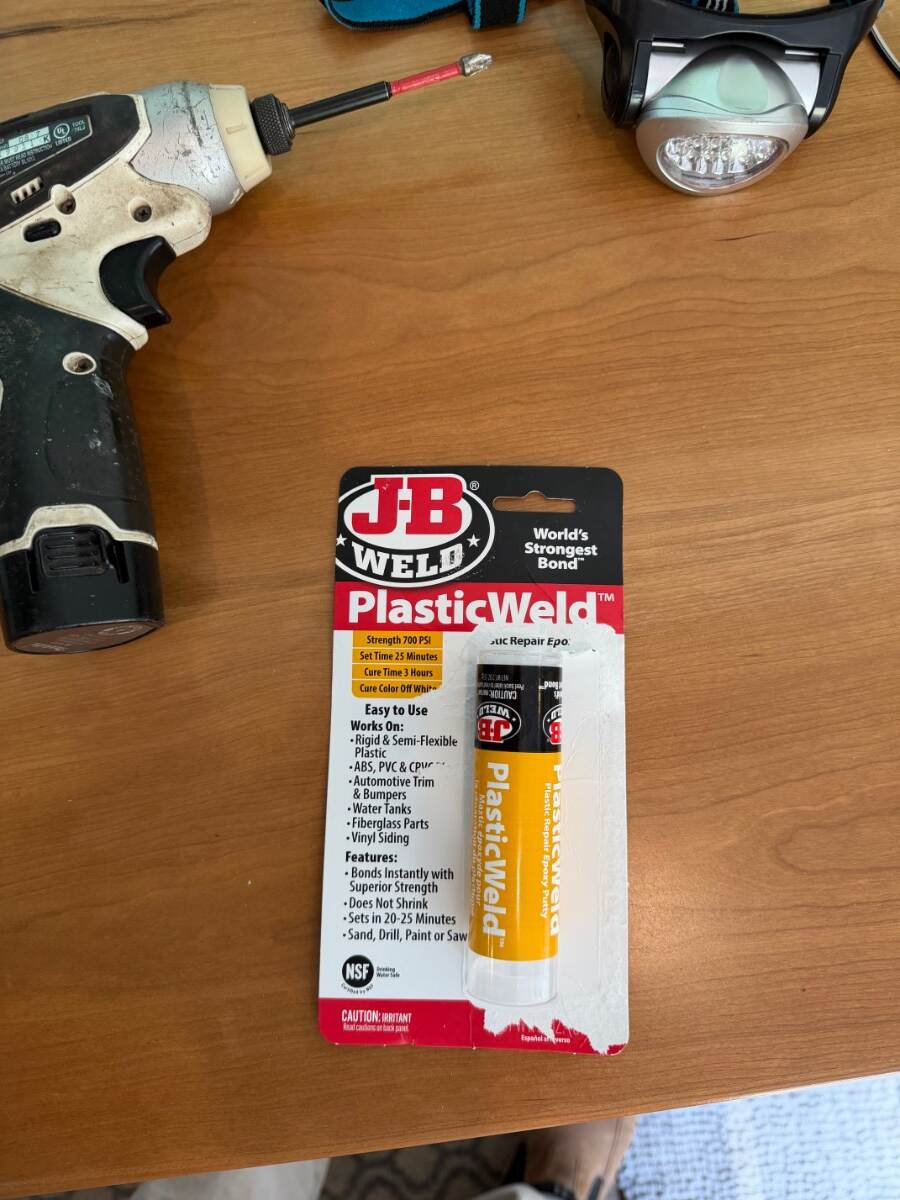
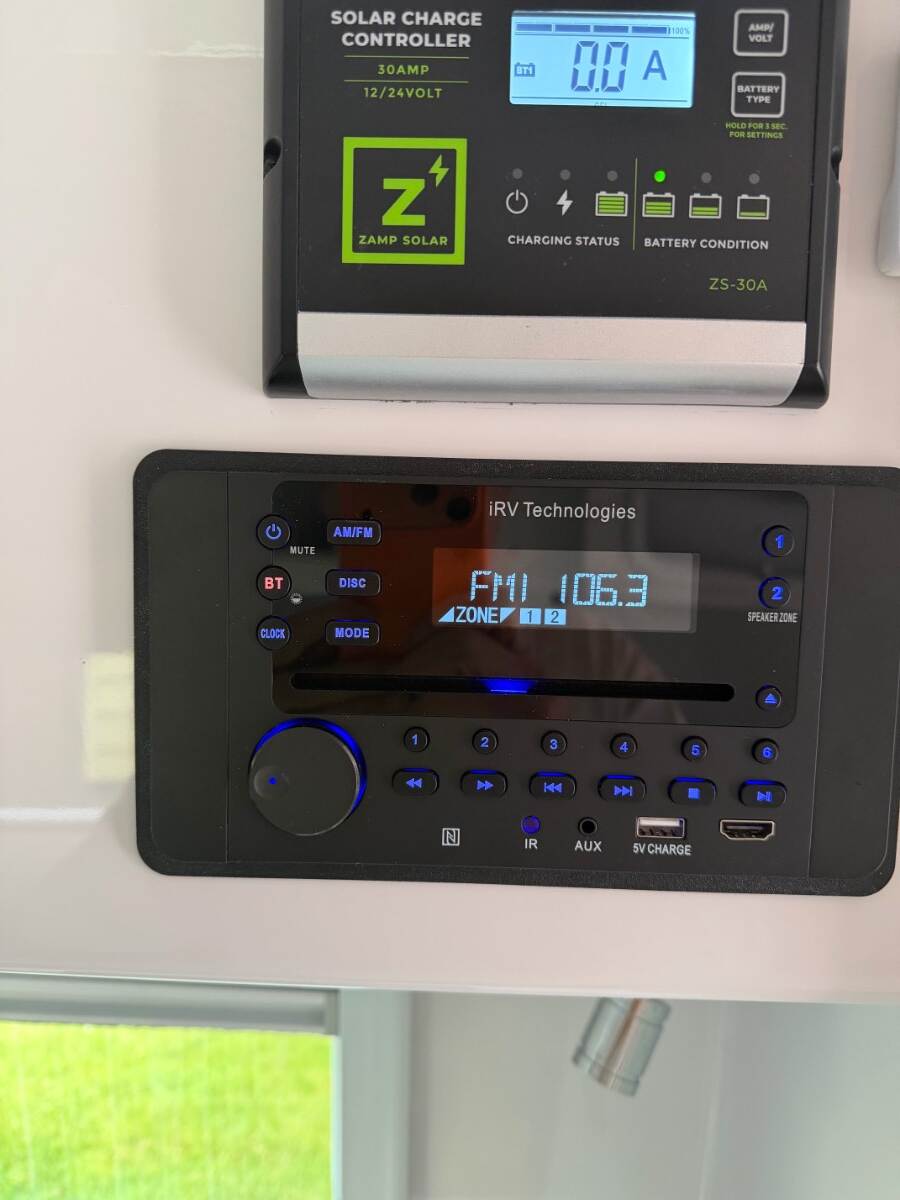
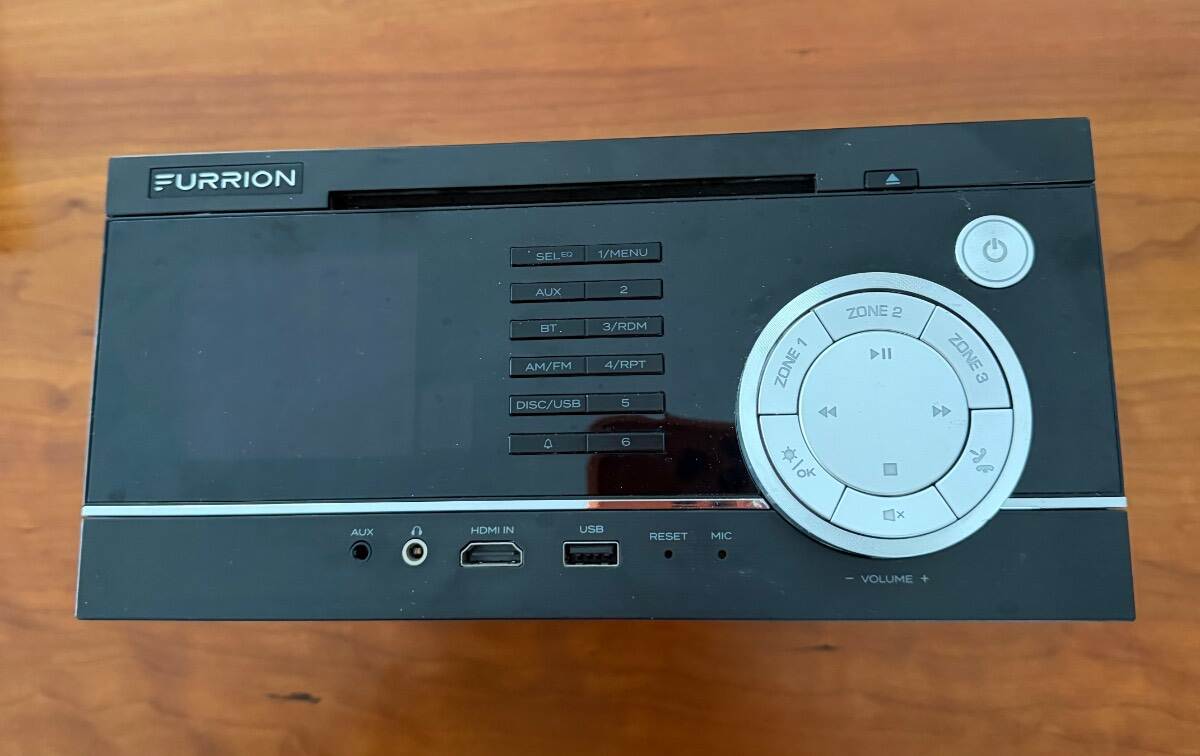
I’ve never liked the Furrion DV1230 entertainment center, it’s not user friendly and the front panel is difficult to read in low light. The tiny remote is absolutely terrible, and the larger upgrade remote isn't much better. I usually control it with the phone app when I remember where to find it, for some reason they called it "ES Control,” and it constantly drops out. The tech is outdated. Iv’e wanted to upgrade it for years, but never found a unit that met my requirements and justified the expense: Has to fit into the existing cutout (7-3/8" x 4") Controls that are intuitive and easy-to-read Decent remote control HDMI ARC ports on front and back (not the cheap HDMI pass-through ports) Current Bluetooth technology Two speaker zones Cost under $200 I found IRV Technology’s model IRV62 for a $180, and it had everything I wanted. https://a.co/d/0dODdwBi The controls couldn’t be simpler or easier to read. It does have a few less features than the Furrion, but nothing that will be missed. Like only 2 speaker zones compared to Furrion’s 3 and the Optical audio port that caused horrible sounding audio phasing issues between TV and stereo speakers. The IVR62 was a close fit on paper. But unfortunately Oliver had cut an oversized opening for the Furrion and miss-drilled extra mounting holes. Consequently, the new faceplate didn’t quite cover the extra holes, and the new mounting holes were on the very edge of the cutout. This was resolved with white JB weld on the edge of the oversized cutout to strengthen the screw holes, and I made a thin 3-D printed bezel that covers the extra holes. It’s not even noticeable. The print file is available if anyone has the same problem, or I made extra bezels if anyone needs one. The rest of the installation was easy, although it took a minute to figure out how the Furrion was mounted. There are 4 screws behind top and bottom trim pieces. These trims have small notches on the ends where they can be popped off with a screwdriver. It’s highly recommended to identify and mark each of the 4 speaker cables before cutting the connections. Use the wire color code legend on the back of the Furrion case to identify the right rear, left rear, right front, and left front. Also the IRV’s yellow “Bat” wire and the fused red “+12” wire are both connected to the Olivers hot wire, which was purple in my case. Other than that, the wiring is straight forward. The new stereo is so much easier to use, it works seamlessly with Bluetooth and the TV, and it sounds better too. I’ll be using it more often now that I don’t need a flashlight and reading glasses to operate it. Cheers! Geoff
1 point
-
Thanks, that’s what I was thinking but didn’t see the knockout in plane site. I’m going to take a mirror to see if it slid under the floor. 😀 We are slowly making our way to Alaska from Arizona. Currently in Idaho and we are definitely using the heater. 🥶⛄️.1 point
-
Jd, my Oliver came with Furrion fs65w speakers. They have white grills and at $20 each on Amazon they are a bargain. You might spend as much just changing the grills. I actually looked into replacing the Furrion speakers with Polk Audio DB652 to improve the sound. They have a broader frequency range and the sensitivity is improved from Furrion’s 86dB to 92dB. However, they have black grills, would need a 5.5” to 6” adapter, and they are about $50 each. The return didn’t justify the cost. I took another route and painstakingly measured the Furrion’s speakers Fs (free-air resonance frequency) to determine if a 3-D printed sealed enclosure or baffling would improve their sound. This involved injecting a range of frequencies through the stereo, then measuring the voltage at the speaker terminals through a 10 ohm resistor. The highest voltage was at 188 Hz, which is the point where the speaker resonates most freely. This indicated that the speaker suspension was on the stiff side and improvement was unlikely After all that, just the new IVR stereo was enough improvement that I completely forgot about replacing the speakers. Cheers! Geoff1 point
-
I had a similar experience when I needed one of the four screws that hold the Dometic AC cover on. I called and was told they would “take care of me”. In a few days I had a bag of 6 screws. No charge. Mike1 point
-
Yes screws are necessary on all the fittings, clamps will not compress rigid fittings onto the furnace flange. But screws are not enough, also use foil tape on all the joints it holds very well and seals too! I see some remnants of the old foil tape in your picture, and it's readily available at most hardware stores. Geoff1 point
-
390 ah is three batteries, 640 ah is two. You have three batteries, 390 ah. Also if you select one of the three batteries on your app, then go to page two, it will show capacity... 130 ah each1 point
-
I found replacements that work on both size grommets on Amazon https://www.amazon.com/dp/B0CVQR21J7?ref_=ppx_hzsearch_conn_dt_b_fed_asin_title_11 point
-
Your last camping trip once again proves the old adage 'camping is a participation sport'. I appreciate you sharing your solutions to the adversity you faced! Well done, Mossey1 point
-
I do not know who said this in a post about 6 months ago, but when I read it I was running out of canned air in the garage (I only use it on fine stuff like electricronics, other wise I use my air compressor). So I bought 2 cans, one for the old and one for the garage. I did see small hose about 1/8 inch with a valve on it to reduce flow that hooks up to a standard air compressor hose. but I didn't purchase it. might be nice for home instead of a can. But the can is nice and portable for working on stuff inside the house.1 point
-
Never leave home without that can of compressed air if you have anything that has a burner and igniter in the Ollie. Shame that you had so many "issues" but love the way you attacked each "issue" in order to get/keep things working. Not so bad on those AGM's - they really didn't owe you a lot. You're going to love the Lithiums and the extra power. Bill1 point
-
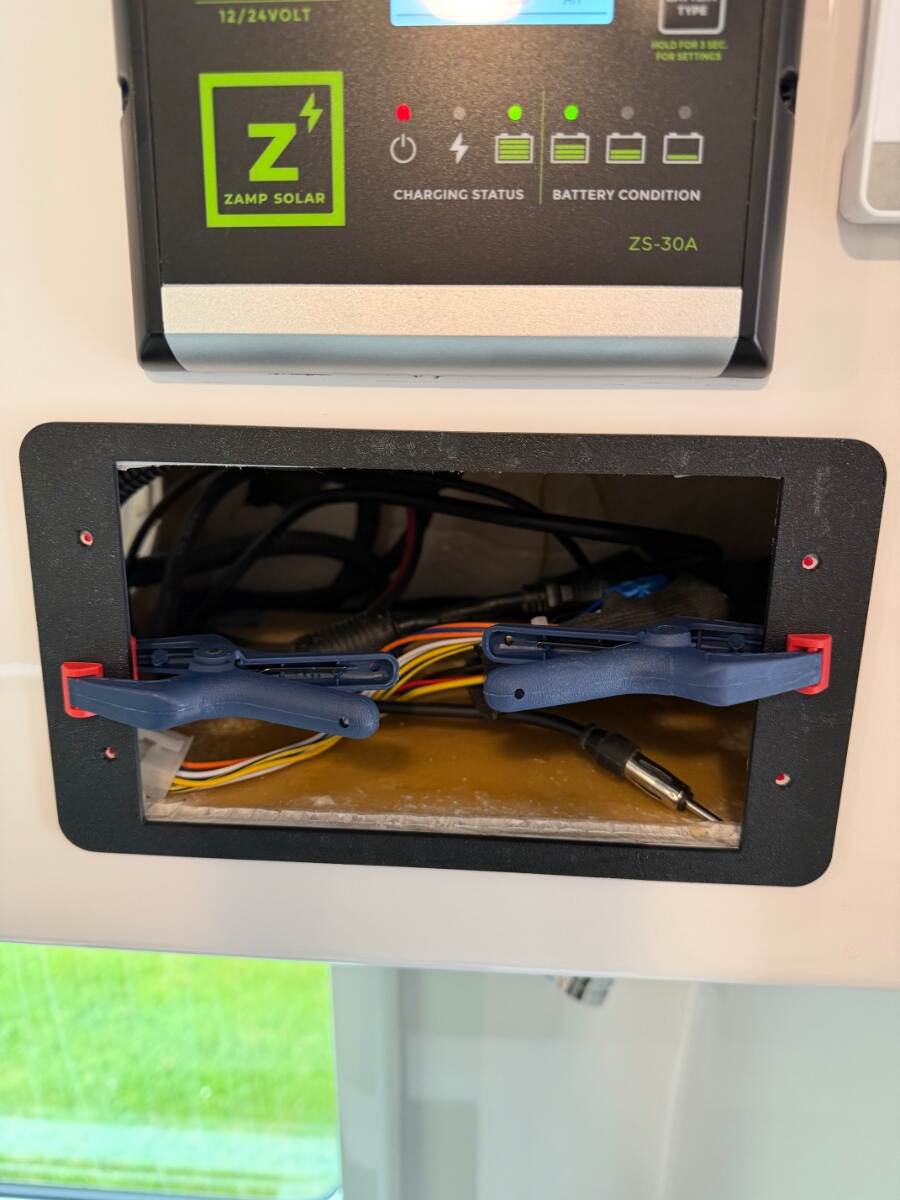
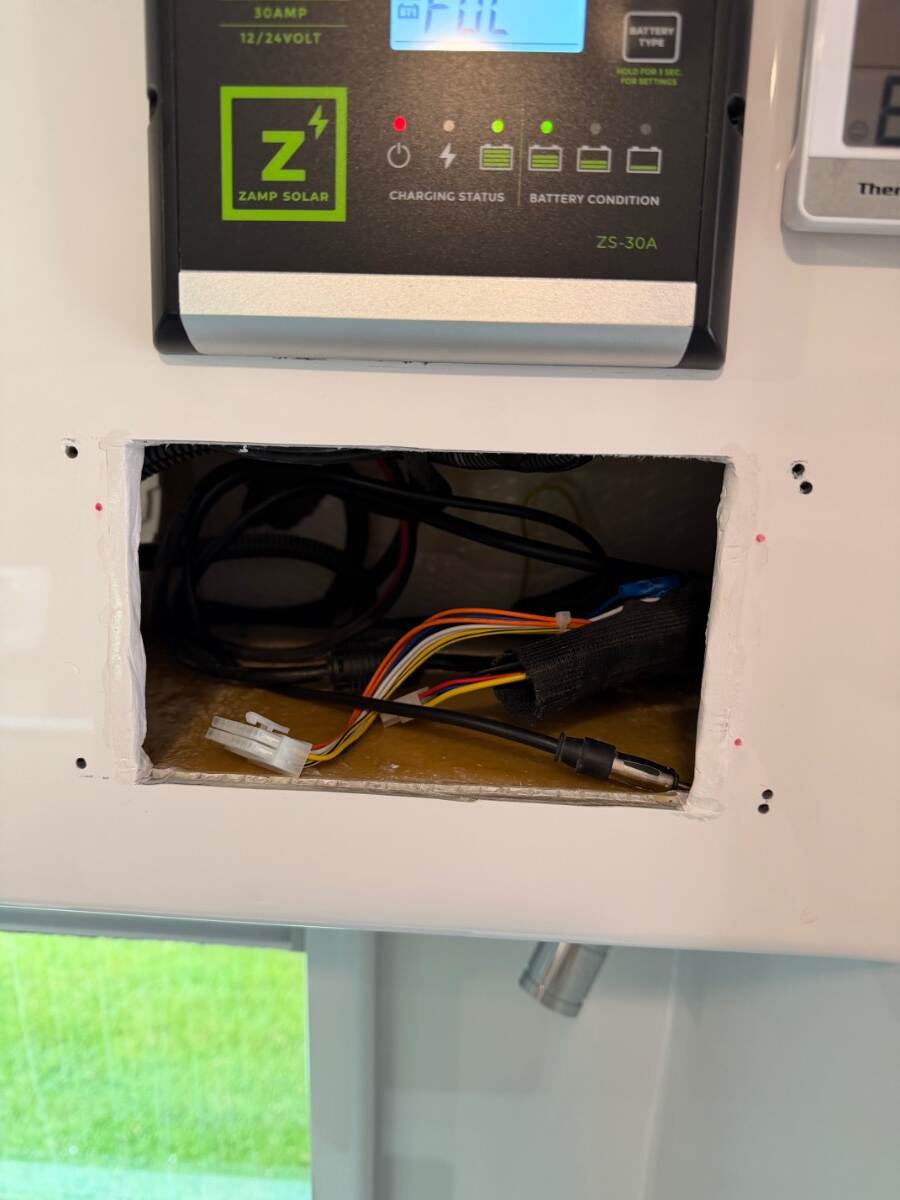
Well I had an interested 19 day trip to Yosemite, Arches, Canyonlands and dinosaur monument National Parks. I had 4 different failures. I hadn't used my truck in a month before the trip and I have an alarm system in the truck the uses a lot of energy communicating with me and the factory and it drew the batteries in the truck way down. I tried starting the truck a few days before the trip and the batteries were dead. I recharged the batteries and they settled down to 12.6 volts after the charge instead of 12.8v. Just for safety sake I took a 660 Amp jumper battery along, but never had a problem again with the truck batteries the whole trip. Now the AGM batteries in the Oli are just over 6 years old. I haven't had any problems with them, in fact last year we are out for more than 60 day total boon docking on them over half the time and they did great. This trip out they failed the first night at 3AM with an alarm going off after using 34 Amp/hours. I was down to 10.4 volts from a full charge.. I was using a CPAP and the furnace was on set at 57 degrees. I isolated and checked all 4 batteries. Their volts were within 0.1 volts total so it wasn't one battery taking them all down, they are all just tired. I was planning the Epoch upgrade next year, but Oli forced my hand. Luckily I packed the jumper battery and hooked it into the system at night and recharged during the day. We went down to 11.9 volts in the morning heating the olive oil back up to 65 degree to take the chill off. No more alarms going off. I figured that the jumper was 5 years old and was the price of a good lead acid battery. So if I fried the jumper on the trip it was not a big loss. The jumper battery is still running good and holding a charge. Here is the jumper batter hooked into the system. That took care of the first failure. I had been using the heated truck mirror at Yosemite. The last day at Yosemite they blew a fuse and I didn't realize it until we were a 200 miles away from the park and my auxiliary diesel tank pump wouldn't work (same fuse). We got to our destination with a 1/8 in the main tank. I shotgunned the problem after blowing a couple of fuses and found it was the mirror heaters. I disconnect the heaters from the circuit and then we could pump fuel from the auxiliary tank. I will find the short this winter when I have the time to disassemble the dash and doors to trace it down. That night we pulled in and my wife tells me the Fridge would not work on gas. O' no what next. It was late that night and we had hook ups that night, so I waited until morning. When I looked in the compartment everything was very dusty. So I start by physically cleaning out the lower compartment. with a windex and paper towels. After everything dried, I reset all the spade connector in the compartment. Next I took the shield off around the burner and wipe off around the burner and then used canned air to blow out the burner from the air intake holes then the outside of the burner and the rest of the compartment. I tested it out and the first 2 clicks I heard the 2 relays into the electric box click, then the gas solenoid click the flame started on the first click of the ignitor. Nice full blue flame and no flickering or yellw/orange colors. Wow was I happy! OK 3 failures, I'm done now for the trip. Right! Well not quite I had one more minor failure; I bought these white/Blue LED lights for the interior lighting, and one failed the next to the last day of the trip. It stayed on with the blue light. The only way to turn it off was turn off the main switch controlling all the lights. I am now planning a couple weeks of maintenance and upgrades to the trailer and truck. Planning on attacking the Colorado Rockies this summer during the hottest time of the year with lots of long hard climbs and some boon docking . I ordered battery wire and lugs to make cables and i'm going to order Epochs on Monday. I will do a fan upgrade to the fridge, repack axle bearing and check brakes, again. We still have the original brakes with 23K miles on the Oli , just want to make sure every thing is working correctly and checking wear on drums and shoes. Will also fix a few small items on the Oliver. I also have regular maintenance on the truck and the boost is down little on the turbo, and oil temp is up little. So I am taking the truck in to get the turbo boots checked for leaks and the oil heat exchanger replaced on the old Ford 7.3 engine. I know all of this info does really belong in this thread, but I did want to start a new thread about thing that happen. This is the first real major failures since I bought the Oli besides the window tracks overflowing with water.
1 point
-
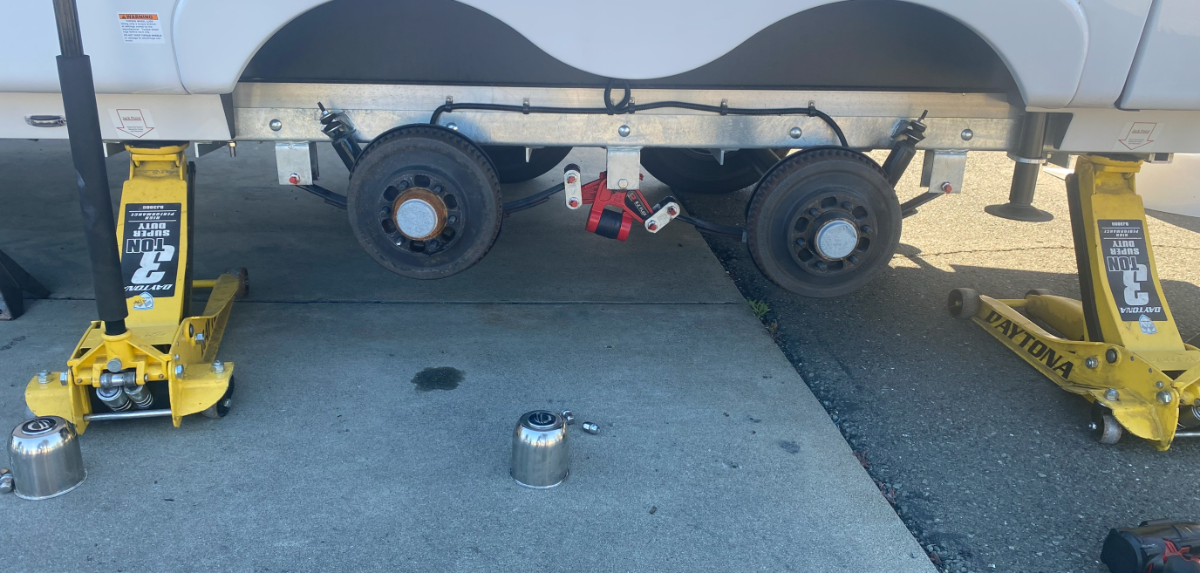
Got my tire pressure monitors installed today at a family run local shop, here’s how the pros do it. Just outside the picture are two stands on either side, not touching the trailer but ‘just in case’ as he said Pretty awesome having all this info now
1 point
-
there is also reference to the "little yellow Zerk Covers/caps" that has a collar that will fit around the zerks, and the cap which will cover the bearing where the grease is introduced. "we may have broken some leaf springs to and from Alaska & TUK, but we had the cleanest Zerk fittings on the ALCAN..." B~Out1 point
-
I'm sorry but I do not currently have the time to look for the rather long discussions about zerks not taking grease that we have had previously here on the Forum. Nor have I recently looked at the video. But, many of the zerk issues can be resolved by taking the load off the the suspension or making sure that the little ball in the end of the zerk is not stuck shut. If it is a zerk "ball" problem then the solution is to free that ball by tapping (gently) with something like a "nail set" or replacing the zerk (these are not expensive and are available at NAPA and most other automotive stores and/or Tractor Supply and the like. Hope this helps! Bill1 point
-
Steve Landrum shared his sanitizing several years ago. Instead of changing the valves, add a 1/4 cup of bleach into the hose, connect your quick connect to the hose end and to the fresh water intake. Fill your fresh tank. Run all of the faucets to bring water/bleach through the lines. Empty the fresh tank. Refill and you are ready to go.1 point
-
I had up graded all my touch lights with the 7.3" over the kitchen and the 4.75" for the beds and table lighting. I had 22 days on the flight and I had one of the 7.3 lights over the kitchen fail. I touched the light to turn it off and it would not turn off. I only had 22 travel days on these lights. I wasn't real happy. I will replace the it again with the same thing only because we light the low light of the blue. If it happens again , I will try another solution.0 points


-
Recent Achievements
-


")


")