Ronbrink
-
Posts
1,152 -
Joined
-
Last visited
-
Days Won
35
Everything posted by Ronbrink
-
The issue I read about most pertains to a pedestal outlet found to be wired incorrectly. This could cause damage to the RV power cable and MORE! Many owners routinely verify with a tester before plugging in, whether 30A or 50A. I carry a 50A to 30A power cord adapter for use if the 30A outlet fails a test and have to resort to the 50A outlet to connect shore power to the Oliver; proved useful on two occasions! Also, there may be times when a CG only has available sites with 50A service; once again said adapter was put to good use.
-
Welcome fellow Aggie!
-
I’m not totally convinced based on her demonstrations. The specific gravity of hydrocarbons is lower than that of water and thus, will float on top of water. However, with enough agitation a hydrocarbon will emulsify with water. Had she aggressively agitated all tests in like manner the results would have likely been similar. Neither product will prevent condensate from developing in ethanol gasoline due to its affinity for water. This is not so with non-ethanol blends and the reason she recommended its use as a preventative, especially in small engines. That said, non-ethanol blends are generally not as available and more costly, so the convenient ‘go-to’ is ethanol. I personally would not use a fuel additive for moisture control in a daily driver where fresh fuel is regularly added. Water is a natural byproduct of combustion and expelled in exhaust, we’ve all seen it dripping out our tailpipes. However, other fuel additive types can be beneficial to boost octane, clean injectors and lubricate upper cylinders. Here’s my take on the subject: for long term storage, whether in a tank (vehicle or small engine) or container, any additive to stabilize the fuel and prevent/deter degradation is a good idea.
-

Truma Pressure Relief Valve Leaking
Ronbrink replied to Rich and Jane Walker's topic in Mechanical & Technical Tips
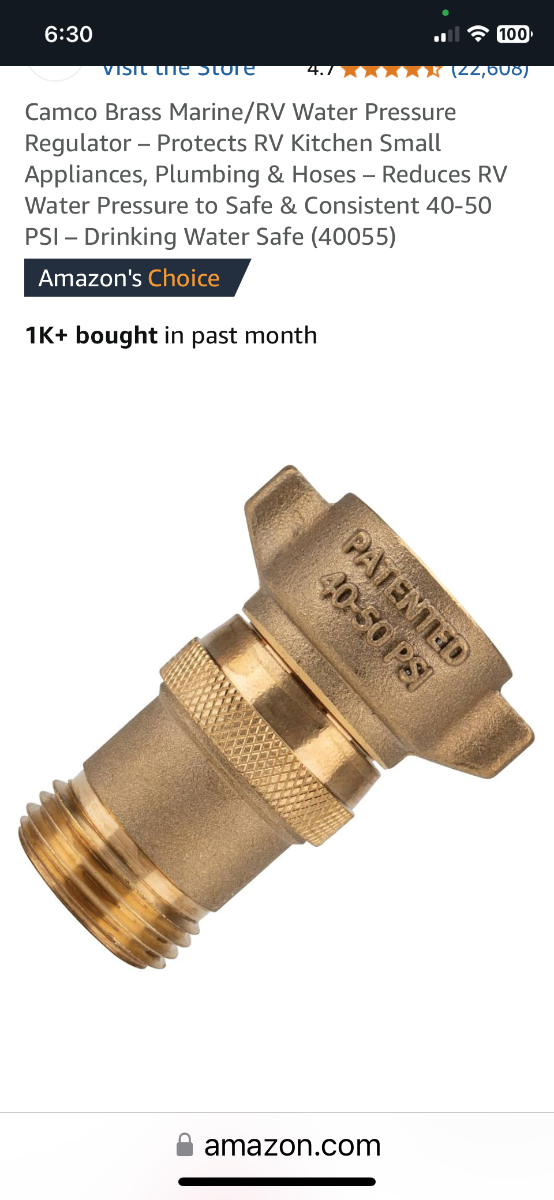
Actually, I too had a small pressure regulator supplied upon delivery as @John and Debbie described, and it does look very similar to the back-flow preventer you mentioned. I used it a few times and still carry it as backup, but reverted to the Valterra adjustable regulator with a gauge. The supplied regulator is similar or same as this:
-
Understood, I was simply reinforcing your thoughts about having an on/off switch under hood and sharing an alternative to others on the matter. Originally, I installed a circuit breaker fuse with manual reset to serve as an on/off switch as well, but added engine temps during extreme heat conditions would cause it to trip. No bueno! I replaced it with an ANL fuse holder/60A fuse for cable protection and the toggle switch for manual on/off capability; again, information for those that may not be in the know.
-
Admin, please remove this, I inadvertently made a duplicate post. Thanks
-
You may recall, I installed a solenoid to activate power to the DC-DC cables leading to my rear bumper-mounted Anderson when the motor is running and thus, no power when off. That said, I also do not want these cables powered while running and not trailering, unless the Anderson is needed for others purposes like the VIAIR or an alternative Dometic fridge/freezer power source. Therefore, I installed a toggle switch for the solenoid trigger wire, which leads into the van interior for convenient toggle activation, as needed.
-
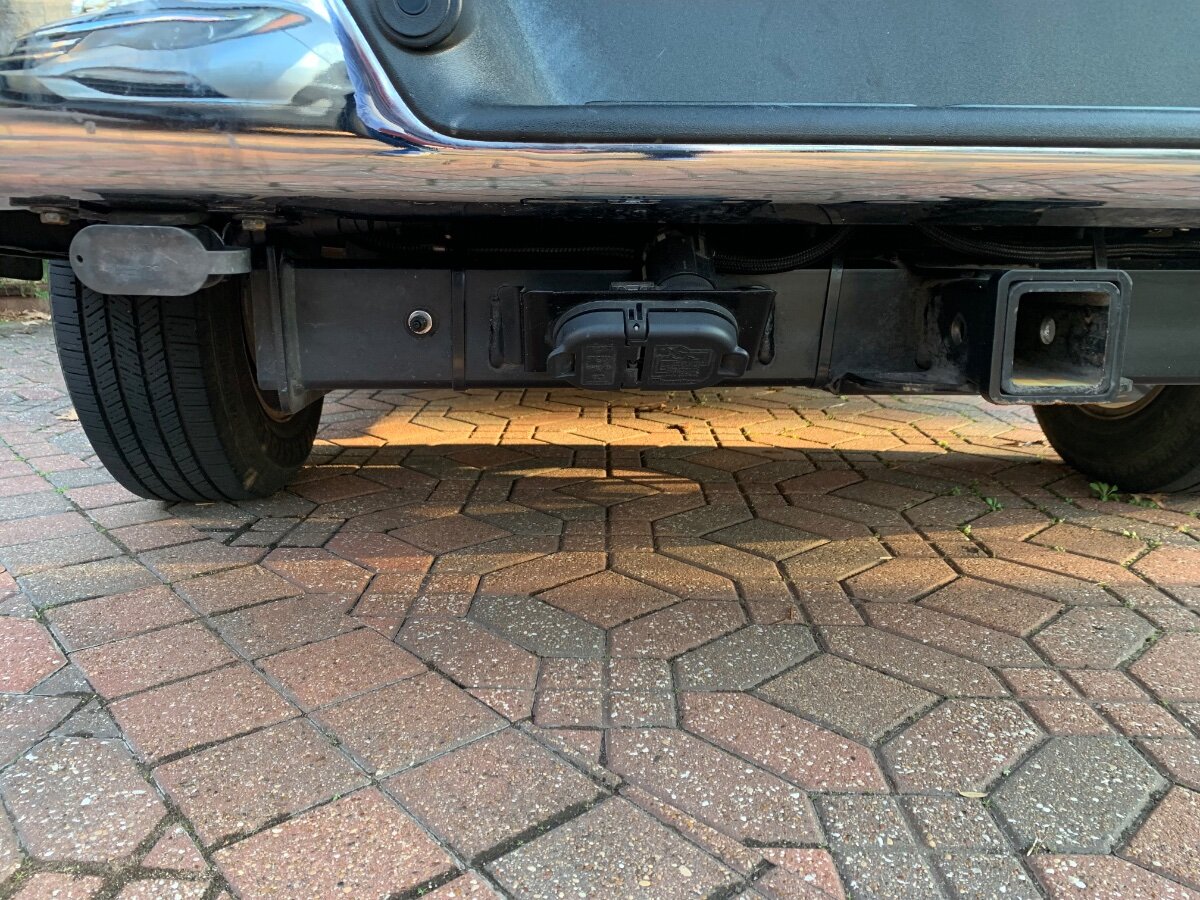
Recently completed the cable transfer from my former TV to the Savana van for the DC-DC setup. On the former, the 7-pin outlet was well protected on the bumper next to the license plate and at the recess designed for a ball hitch mount, the receiver hitch being below the bumper. The van however, came stock with the trailer cable connections affixed to the receiver hitch cross beam, underneath the bumper. That being, I mounted the DC-DC Anderson connection likewise. My hope is the rather robust receiver hitch cross beam will serve as a skid plate and protect said connections!
-
Recommend a clamp meter that will measure DC amps
Ronbrink replied to a topic in Mechanical & Technical Tips
I got one for myself at that price, as well, along with a multimeter to replace one that went kaputt! -
Dc to Dc charger Victron Orion 12 I 12 - 30
Ronbrink replied to johnwen's topic in General Discussion
Looking forward to your forthcoming post on the install! A couple of things that may or may not be specific to my Renogy DC-DC charger regarding installation: 1) Because I choose to mount the charger remotely inside the Oliver and not in the TV, I decided it best to run a negative cable from the starter battery, rather than the typical ground-to-chassis as done in some instances when separate battery banks share a mutual grounding, like a motorhome for instance. I know when a trailer is hitched to a vehicle grounding occurs, but I find no comfort that it constitutes the adequate grounding necessary to fully safeguard the system; 2) the Renogy manual specifies use of ANL fuses with their systems; and 3) since the charger is in the trailer, use of the D+ ignition wire was not utilized and thus, the solenoid install serves the same purpose. I hope this provides a better understanding of actions taken in my install. I have read where others, for reasons unknown, are not getting the rated amperage from their units. I am pleased to report that is not the case in my situation! -
Dc to Dc charger Victron Orion 12 I 12 - 30
Ronbrink replied to johnwen's topic in General Discussion
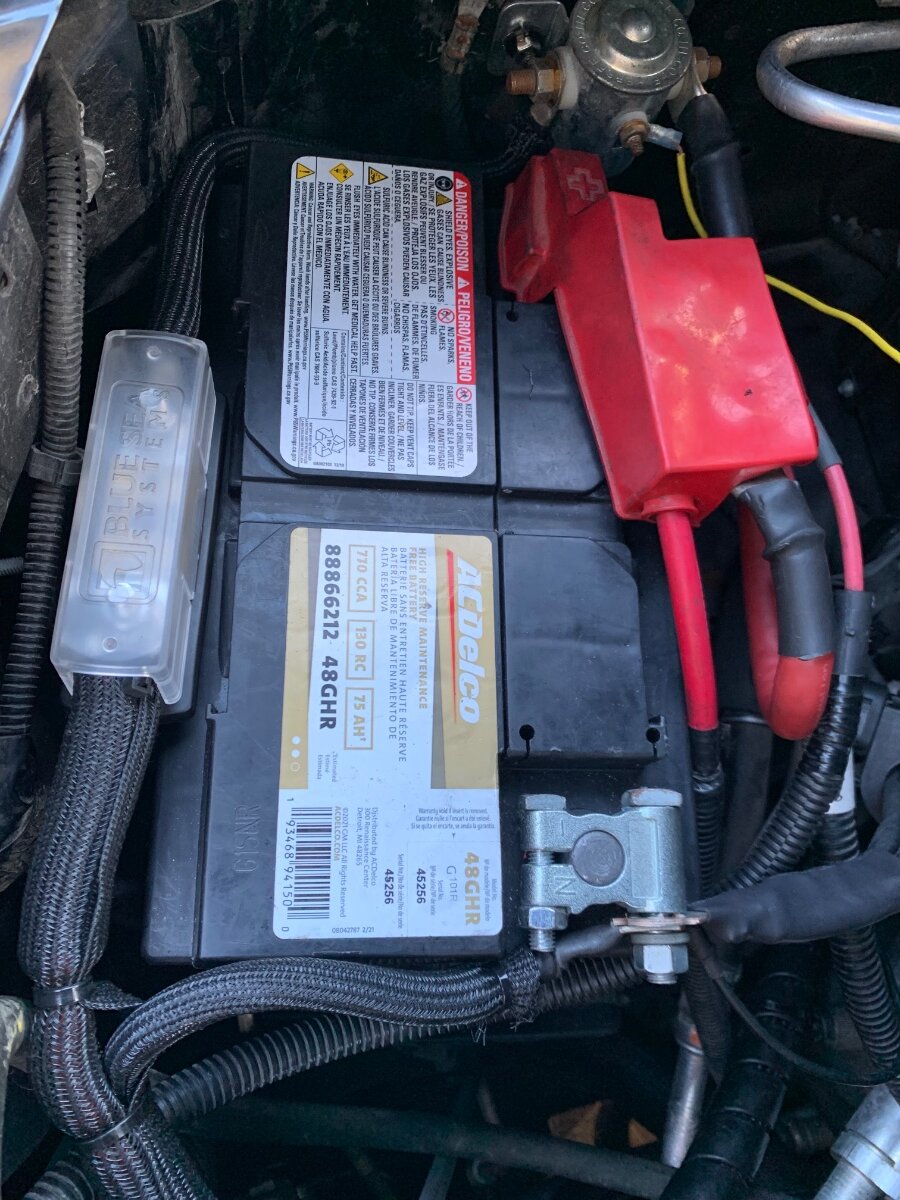
Initially I installed a ‘resettable’ fuse, but found at times it to trip due to excessive under hood temps during the hotter months of the year. I now use an ANL setup, specifically an ANL Blue Sea Systems 5005 fuse block with insulating cover and 60A fuse. Problem solved! Also, note the solenoid mounted next to the battery. I did not want current powering the DC-DC charger when the Anderson was connected and the TV motor was not running. I also opted to run a negative cable from the bumper-mounted Anderson to the TV B-, rather than a ground-to-frame. Yes, an added cost and measure, but to me the best alternative to ensure optimum performance of my DC-DC setup. I can also utilize this Anderson to power my VIAIR portable air compressor and Dometic dual zone refrigerator/freezer, as necessary. The dedicated DC-DC trailer cable’s Anderson must be connected to the corresponding connector on the TV to power the charger.
-
I understand ALL within the ‘nonconforming’ group are in need of inspection, just read too much into the recall disclosure and was unclear if there would be SOME found to be in good order. That said, why the need to have it inspected in the first place ?, just set up an appointment to have it replaced. I now know that ALL in said group are in need of replacement, thank you and others for that conformation!
-
Furrion DVD/stereo remote - upgrade!
Ronbrink replied to Galileo's topic in Mechanical & Technical Tips
Me neither, but I can’t find any wood to knock on! -
Steve and Deb Try to Stay Warm - January 15 - February ?
Ronbrink replied to Steve Morris's topic in General Discussion
We had a very rare Texas Snow Day yesterday, rather more properly deemed a Snow Half-Day! Taking advantage of this unusual low temp event to ‘cold smoke’ some sushi grade Scottish Salmon today, following two days of preparations. Looking forward to ‘rolling smoke’ through tonight until temps start to rise mid-day tomorrow. After which a trip to the Cow Barn to see how the Oliver survived this cold snap, winterization is also a very rare event in Texas, as well! UPDATE: Perfect Nova lox!
-
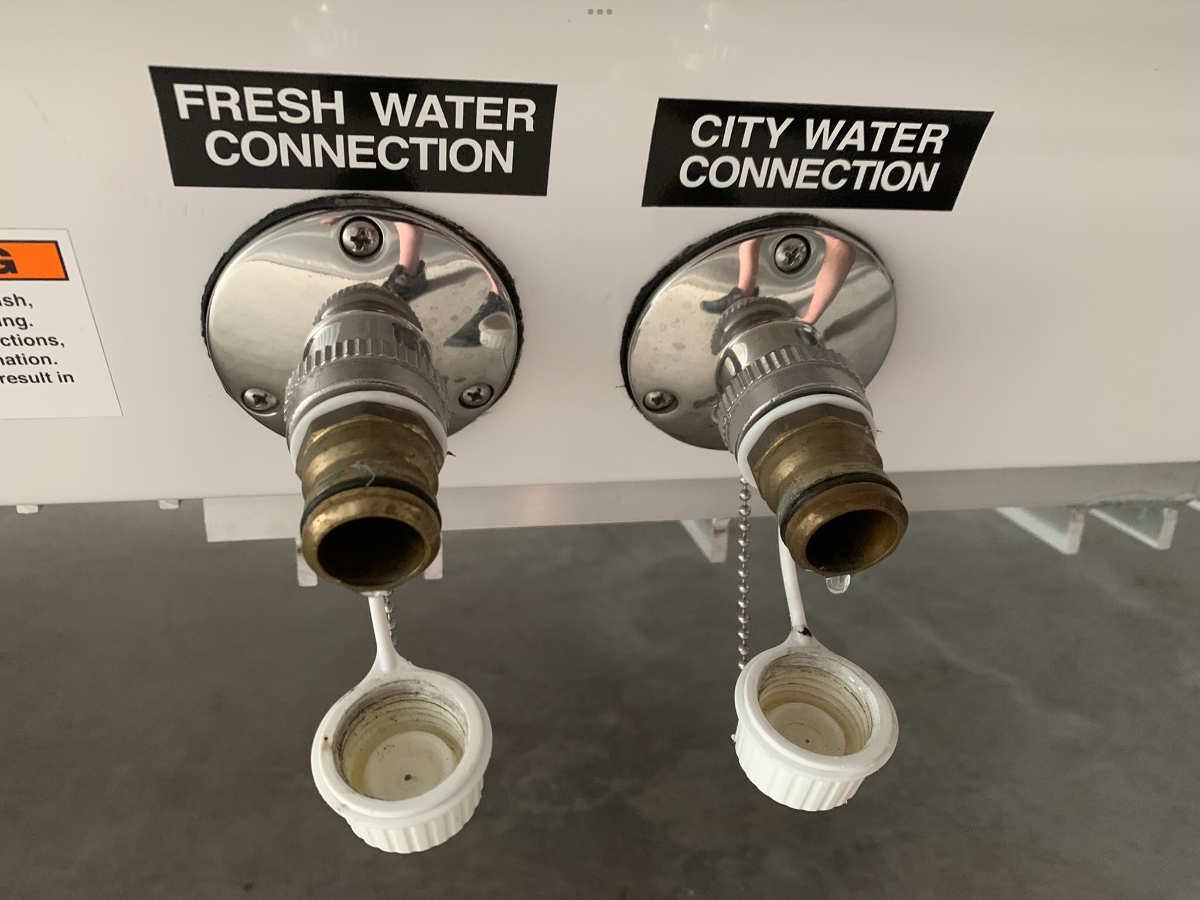
Conversely, I like my Y at the spigot for max pressure to the auxiliary hose, not on the pressure regulated side.
-
@Galileo I experienced the exact same issue with cold air intrusion via the heater vents. Since in a CG with electric hookup, I was using my small space heater rather than the gas furnace; this was not in freezing conditions. As a temporary fix, I taped plastic film over all of the vents for the duration of my stay. Prior to covering the vents, I noticed running the wet bath vent exacerbated the issue. We generally don’t camp in cold conditions, so never really tried to chase down this problem. I too would like to know why this was happening. Thanks for raising the question.
-
I’m also in the experienced DIYer camp, but Truma products are ‘hands off’ when it comes to their and Oliver’s policies regarding warranty and recall issues. I would hate to have to pay for a new unit if another recall or failure occurred, and a full replacement was required.
-
May I suggest consideration of the Dreiha Atmos 4.4 15K AC/12K Heat 120V from SDG!
-
Think ‘backup’, just in case!
-
We use CG showers to the extent possible, meaning if well maintained and clean. On our first day of camp arrival, we like to drive around for site familiarization and inspect the showers therein. Usually a choice pick is obvious, other times not so much; but a selection is made and we go with it. Oftentimes our selection is in lesser used camp areas where demand is lower and thus, no waiting! Yes. we usually have to drive a bit further, but we fold that late evening excursion into our wildlife viewing hunts.
-
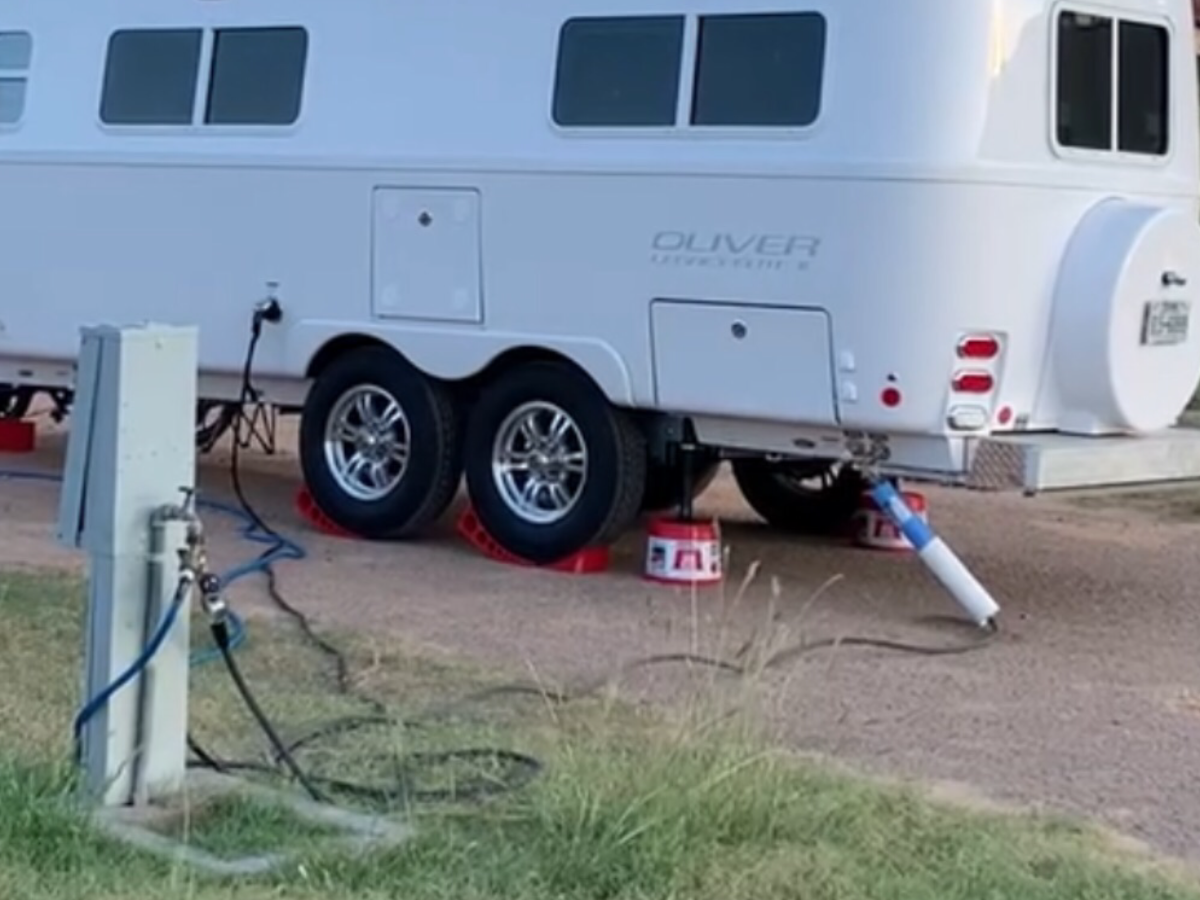
Same here, the Y valve with Eleys for an extra ‘camp hose’ is a very handy addition with many uses. There are times when I prefer not to use the rear bumper as a support for the blue water filter, so I carry a short section of PVC pipe as a ground standoff, works great. Also, the bumper protrusion on either side can be used to hang coiled excess water hose and even propane hose at the rear port, if equipped. Some pics for you and others:
-
I checked my s/n yesterday and it falls within the ‘nonconforming’ group. But I remain confused, are ALL of the units installed and deemed ‘nonconforming’ (according to the serial number) in need of the recall replacement or just SOME identified upon inspection to have a loose burner bracket assembly? Maybe someone can clarify.
-
Norcold Fridge Hinge Parts - Availability Issue?
Ronbrink replied to DunnYet's topic in Mechanical & Technical Tips
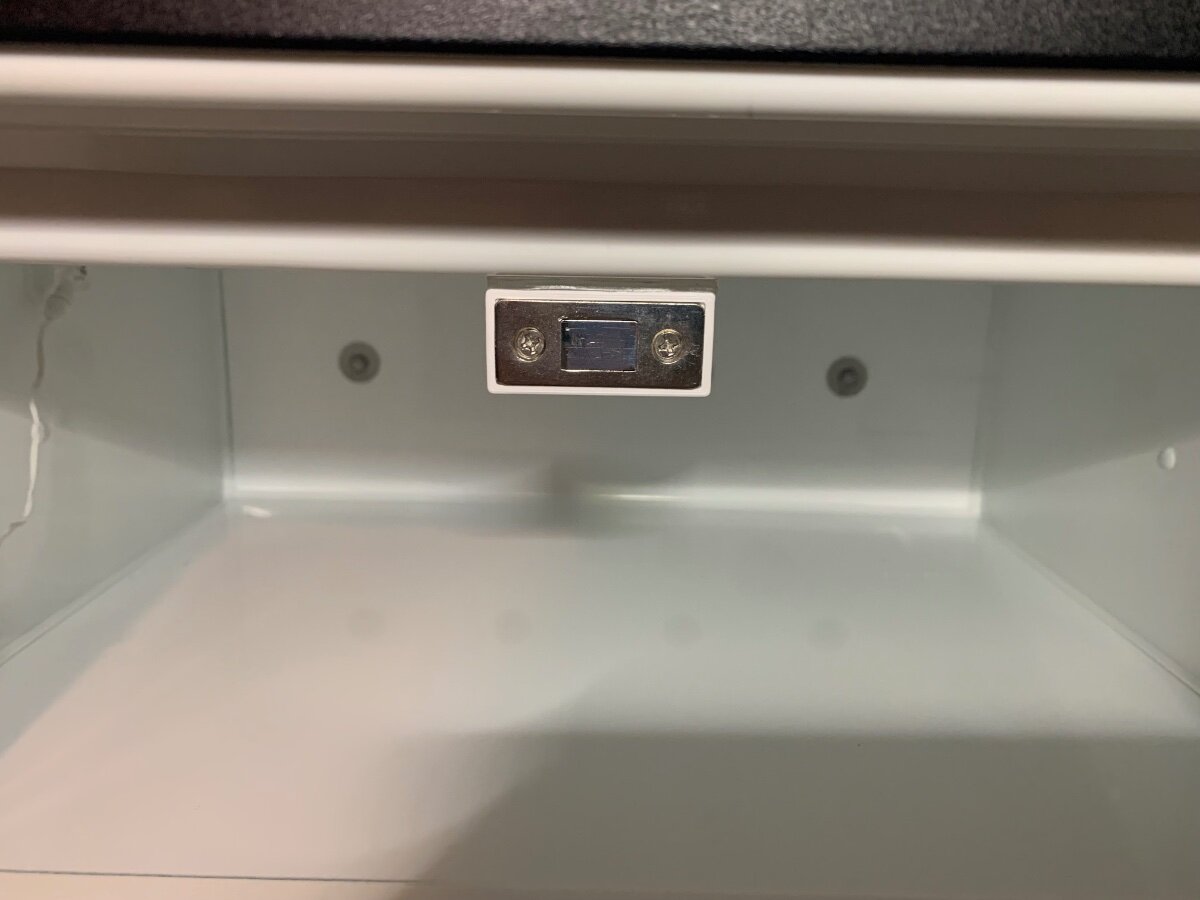
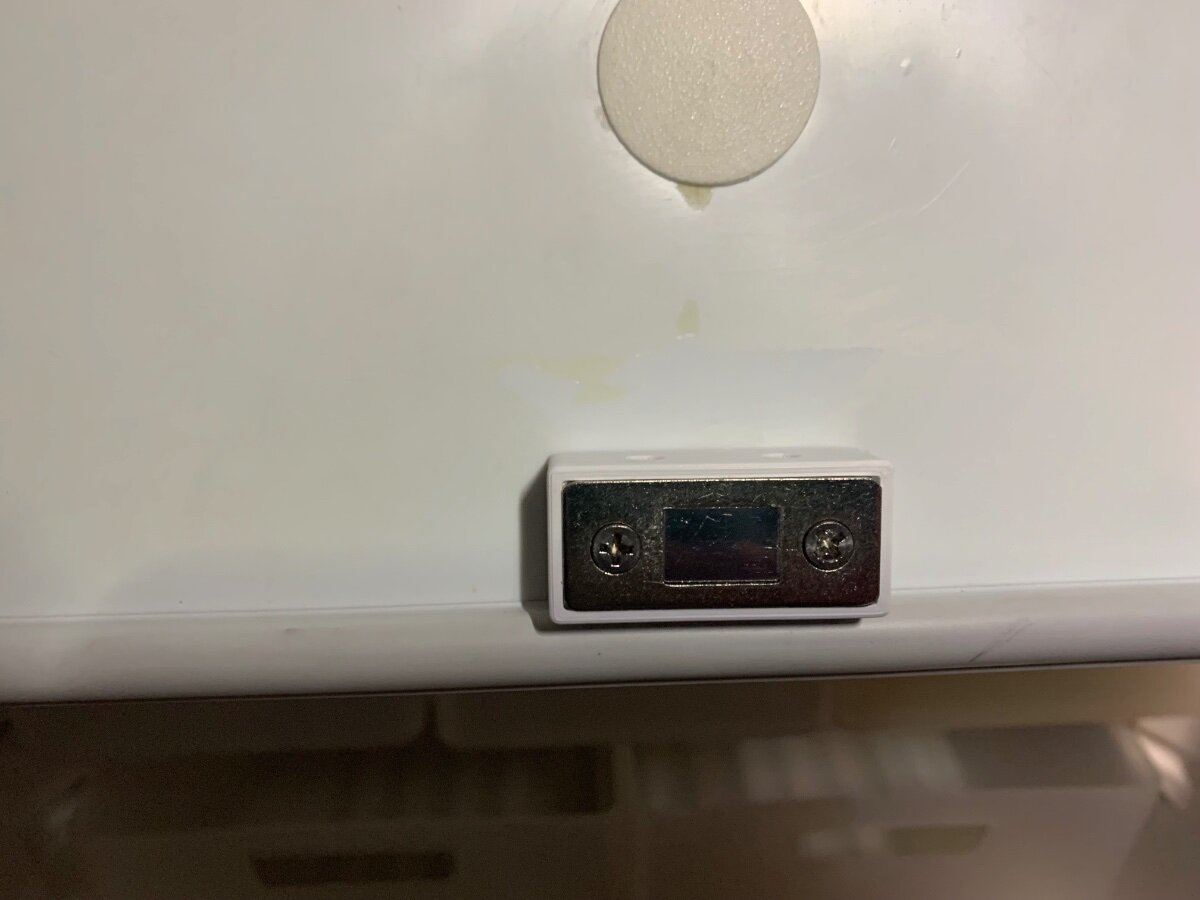
Yes, thanks for the inspiration! I purchased some magnetic catches (set of four) for $7, and asked my Son to design and 3D print a couple of mounting blocks. I decided to use the magnetic halves from two paired sets for a stronger, single catch. Here is what I did: Mounting blocks with recess for flush fitment of magnetic catch components, shown here as a pair. View of optional mounting holes and longer screws for vertical attachment. Catch components screw-mounted into block recess, shown as a pair. Center interior door attachment, horizontal mount using screws. Center interior freezer attachment, vertical mount using Alien Tape rather than screws as a preliminary precaution. Completed install. I’m very pleased with the holding power of the dual magnet approach, now for some field testing!
-
A few years ago I came across Talasbuan, a YT on the daily life of a couple living off grid in Northern Sweden. Perseverance and determination come to mind when thinking back about the lifestyle they adopted. Admittedly, I only ‘binge view’ now, but to date they have produced close to 150 episodes, impressive!
-
What’s your favorite flashlight EDC (Everyday Carry)
Ronbrink replied to Patriot's topic in General Discussion
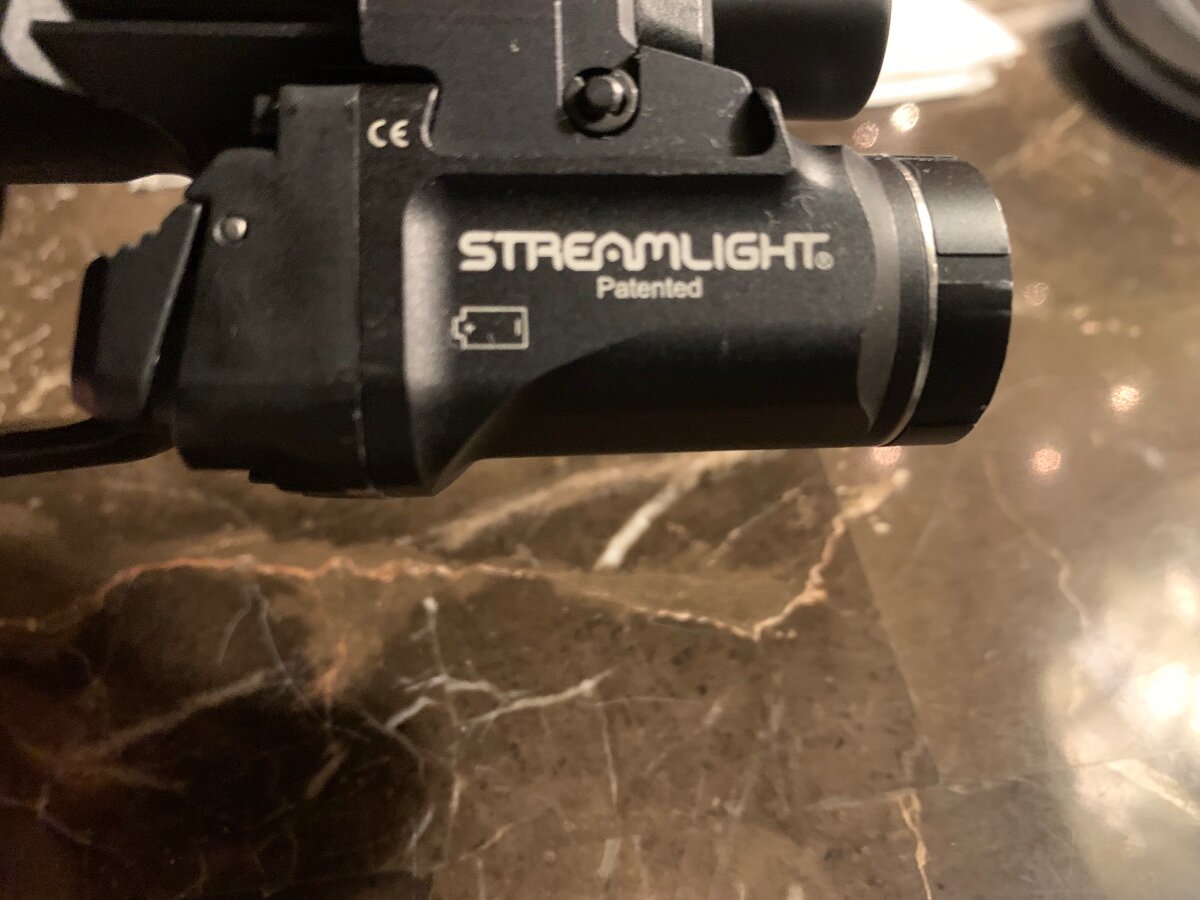
EDC flashlights, knives and …., well some may recognize my other favorite!