Overland
-
Posts
3,835 -
Joined
-
Last visited
-
Days Won
212
Everything posted by Overland
-
Not added. Good try though. 😛
-
Added. Thanks!
-
 Great photos, and that's a beautiful little spot. Thanks
 -
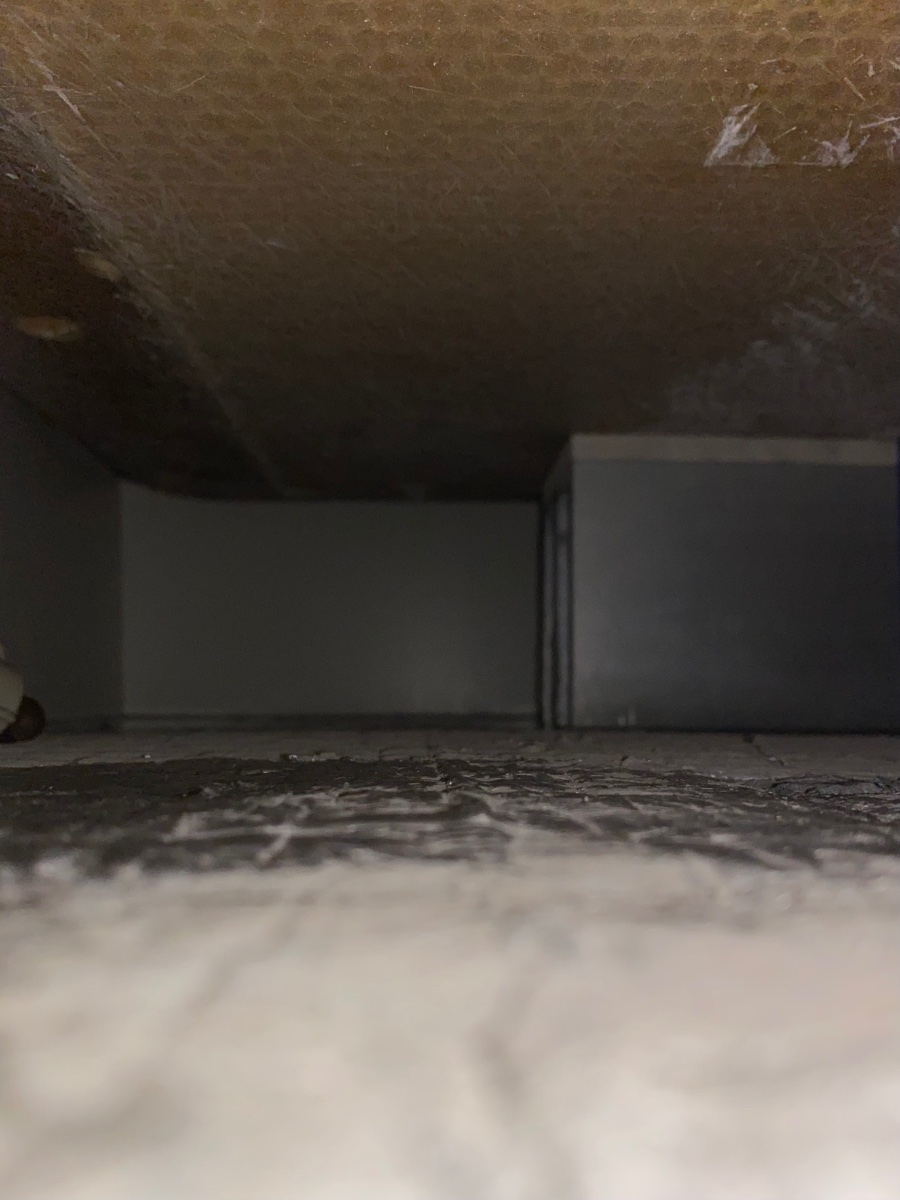
Since we're talking about this, I think after experimenting with the ducts, my 'ideal' setup (excluding the bath) would be one vent at the rear under the nightstand, blowing forward, and another at the side of the fridge, facing the closet. IMO, that would heat the cabin the most evenly and efficiently. Of course, I don't think that a vent at the front like that is possible with the standard fridge, and the rear vent would be in the basement. But, if you start at that point and then work back to something practical, I don't think that I'd have settled on the vent arrangement that Oliver uses. I think the kitchen vent would be as far forward as possible, and the rear vent probably going where the return air is located. I'd put the return air vent on the frontmost dinette seat to maximize airflow through the hull space.
-
FYI, when I did mine, I ran the duct from the front of the furnace to a T at the first cabin vent, and then daisy chained the kitchen vent off of that. My idea was that the bath vent could then come off the rear by itself and in doing so, might get better airflow. I'll probably redo that since I've decided not to reconnect the bath, but just for the info, I noticed no reduction in the airflow to the cabin vents with that setup, even with the bath vent disconnected at the rear. With it partially blocked off, I get considerably more airflow, and in fact if you're sitting with your leg in front of one of them, it gets quite hot.
-
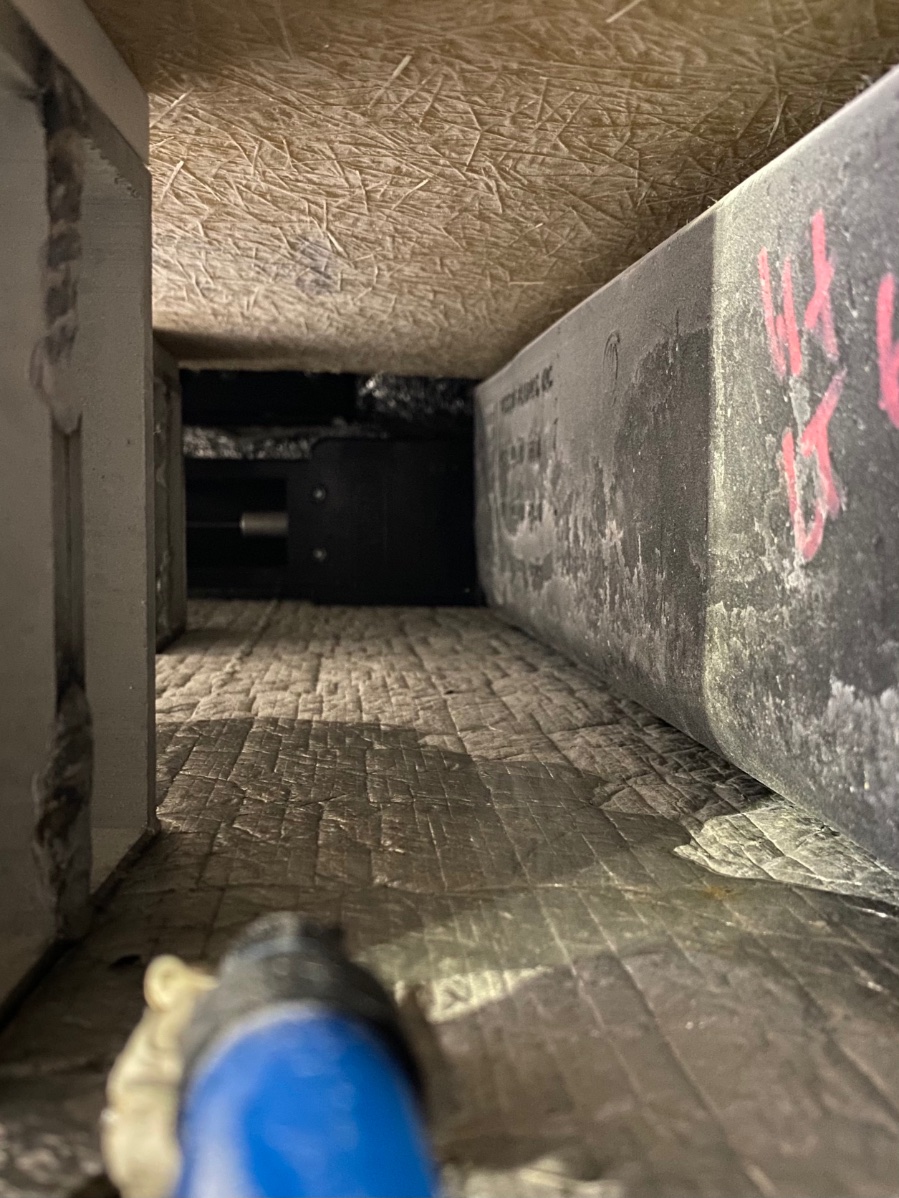
I think at that space you only have two or two and a half inches. It's just a bit more than the width of the plumbing plus insulation. I mean, you could squeeze down a flexible duct to go through there, I suppose. I think if it were me, I'd use a piece of semi-rigid duct to make the bend around the back of the valve, and then switch back to rigid, if that's what you're doing. What would be awesome is if that valve had been placed just a few inches out, and facing up.
-
Not for the back. I cut holes in the bottom of the kitchen and fridge cabinets and one in the front corner of the closet to get the bath lines run. I completely agree about the outdoor shower hose. It needs some kind of basket or something, maybe even a bag of some sort would work.
-
Yeah, I agree - removing a tank is major surgery anyway. I don't think having a few pipes in the way would make much difference to the repair cost.
-
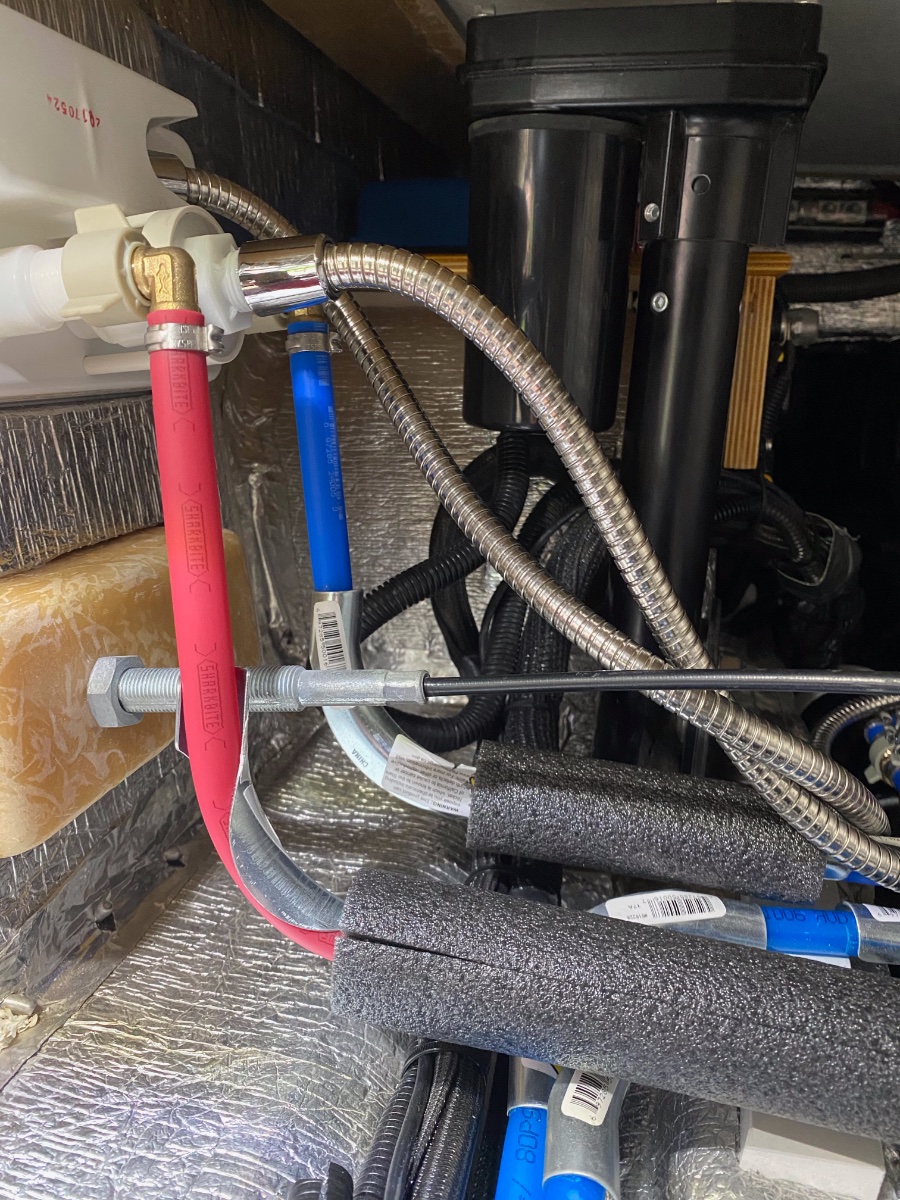
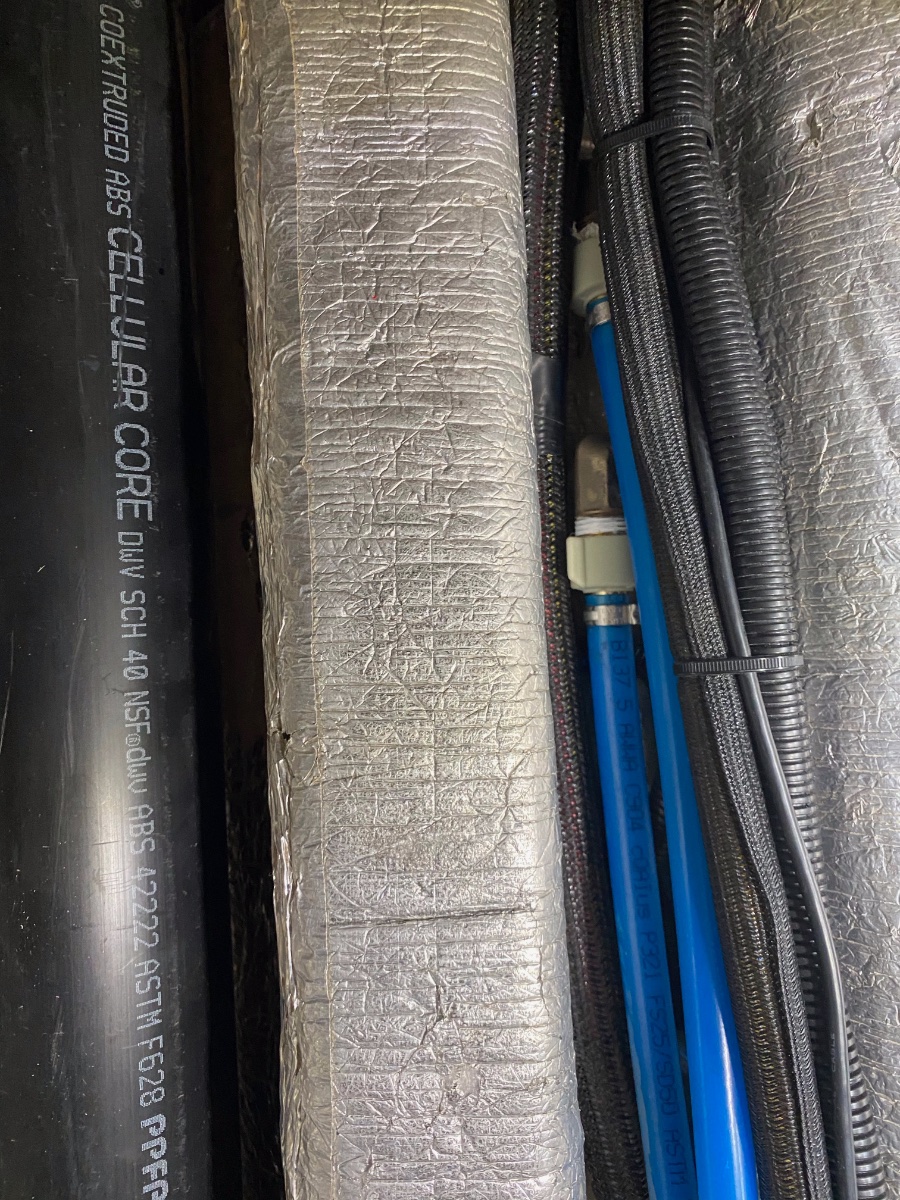
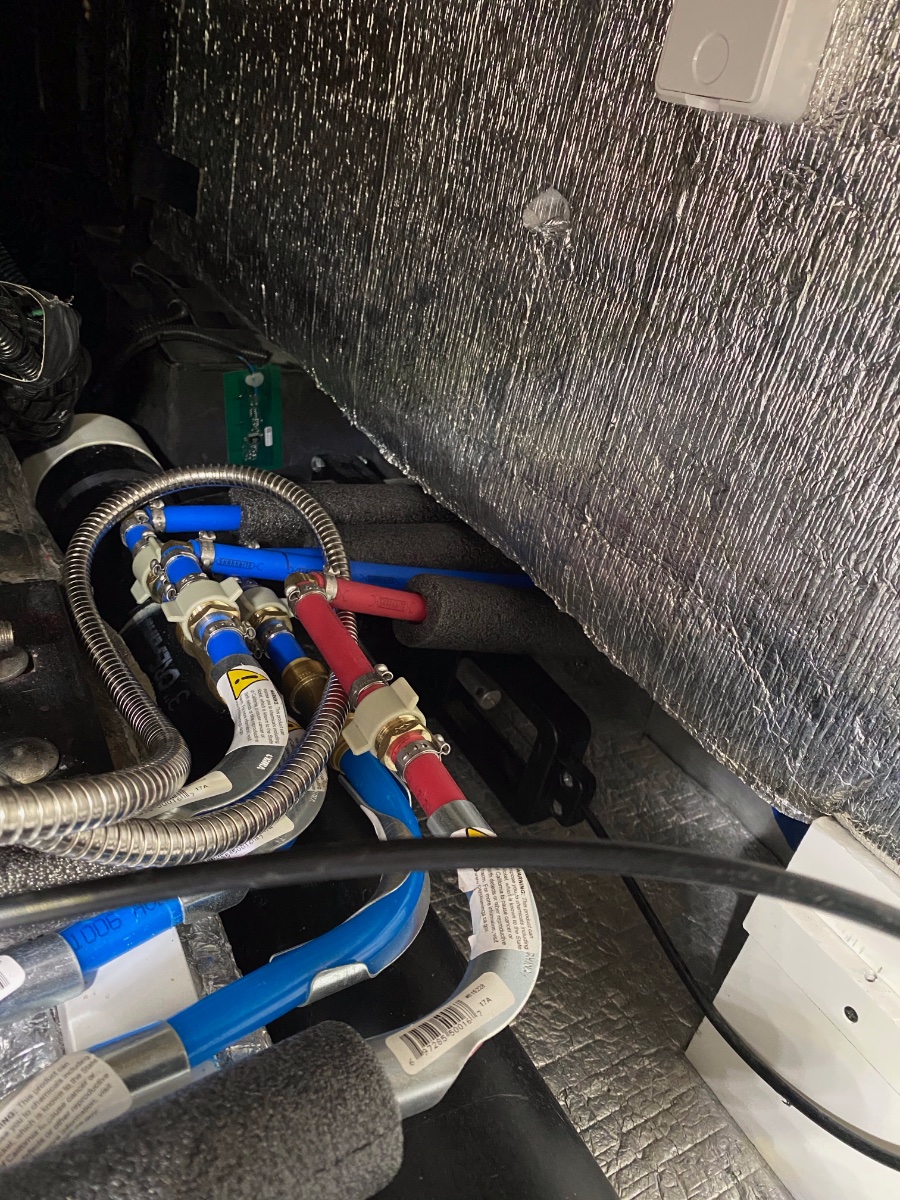
I do plan to make a separate topic for my plumbing mods, including the separate shower and new bath sink. Soon...ish. But here's some photos of the under floor area. I ran my plumbing right behind the grey tank and tied them to the top of the valve, using it as a ramp to drain the lines the way I wanted. There's actually more space behind the blocks, as you can see. I ran some flex duct through there just to see and there's plenty of room behind the valve to slip it through, as you can see on the pic from the other side. Also in that pic, you can see the 4 plumbing lines coming through. The two on the top are for the outside shower, but you can see the check valves on the two incoming lines underneath. I made a small block to fit the top of the drain and used that to air the lines down. I've since insulated the rest of the lines.

-
I think it would be the same. It might be a little harder to get to the corner behind the furnace, but I don’t think that Oliver places any joints there, just a bend. One thing that would be easier with my setup is inspecting or replacing the check valves. They’re easily accessed via the front access panel on the street side bed, rather than under the floor of the basement. I don’t have any joints under the floor of course.
-
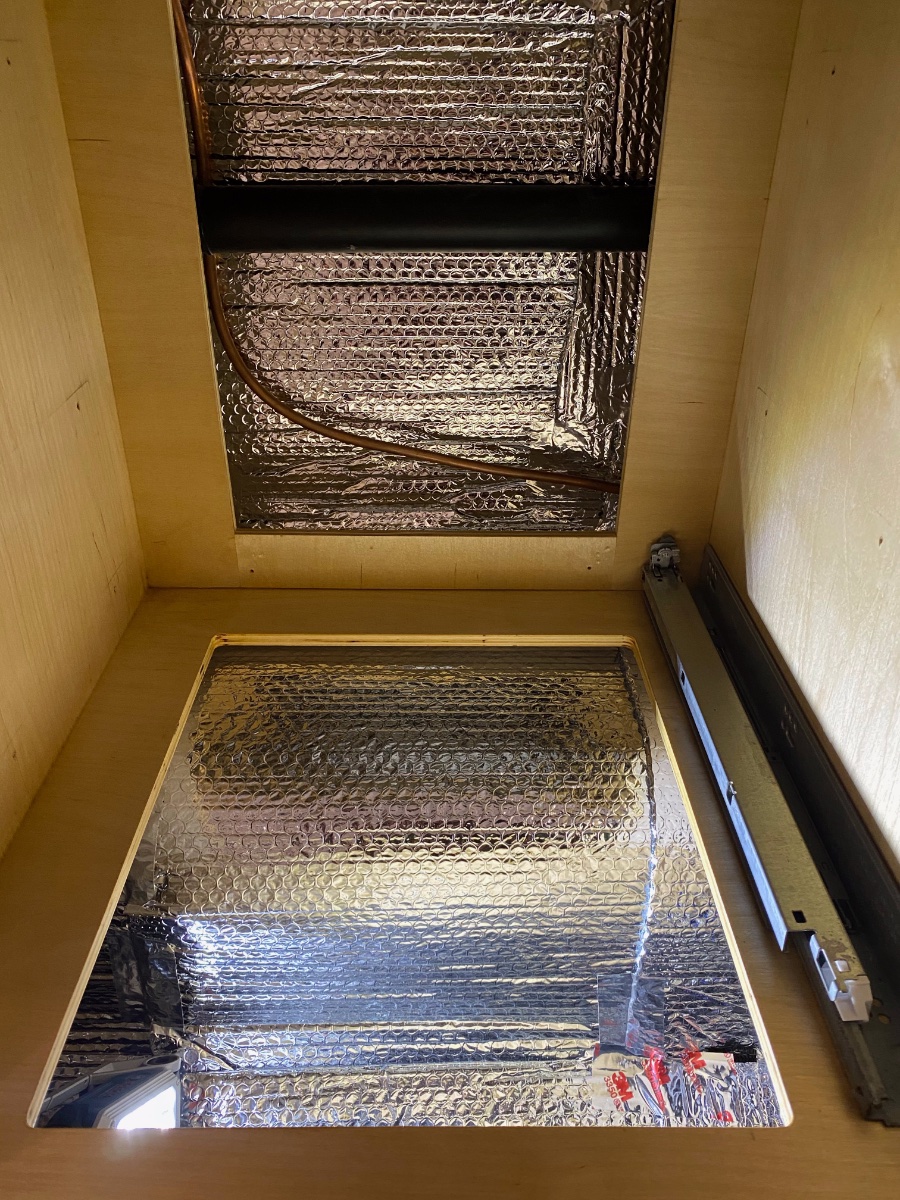
This looks well done. I took a different strategy with my modifications, which was to first move the plumbing out of the basement and relocate it under the floor behind the grey water tank. Then I had planned to run the ductwork next to the relocated plumbing. There’s is plenty of clear area under the floor there for both. Then I moved the check valves for the water ports inboard so that they wouldn’t freeze, sloping the lines down toward the ports so that they fully drain when unplugged. So that way I don’t have to worry about heating the basement at all. Plus I eliminated about ten feet of plumbing in the process by not running the two fill lines to the back and then forward again. I’m actually not sure why Oliver doesn’t do it like that to begin with.
-
I'd say that if you're choosing a trailer based on your tow vehicle, then you're letting the tail wag the dog. Pick the trailer you want, the one that fits your camping lifestyle, and if that means you need a different tow vehicle, then so be it. Olivers aren't disposable. If you choose wisely, your trailer will last a lifetime - your truck will not.
-
You can still get them directly from Battleborn for $899. More than their Black Friday sale but still a good deal.
-
Factory lithium batteries - do they have a heating system?
Overland replied to John E Davies's topic in General Discussion
They seemed content with the heat mat. They weren’t crazy about the humidity this summer though. Apparently New Mexico chile plants prefer dry climates. Who’d have thought? -
The current Olivers have a different electrical setup than most owners are used to. What used to be the charger and distribution panel is now just the panel, while the charging is being done by a combination charger and inverter. But I believe that the post above may have mixed up the manufacturers. As I understand, the charger/inverter either the Xantrex Freedom XC or XC Pro, depending on your battery package; and the distribution panel is the Progressive Dynamics PD-5000.
-
Factory lithium batteries - do they have a heating system?
Overland replied to John E Davies's topic in General Discussion
And Battleborn now has heated batteries - https://battlebornbatteries.com/product-category/heat-battery-kits/ -
I was busy adding more projects to my to do list.
-
Bath vents are easy to deal with. Just reach in and rip them out - all fixed. The kitchen vents you might want to be more careful with, but those are easy, just use a router and the cabinet walls as your guide. You'll have to be a little careful with the front cut. You can try to use the cabinet trim as a guide, but it flexes, so I held a 2 x 4 tight to the lip of the trim and used that instead. The result is a nice clean hole, big enough to do most any repair or modification you'd like. The one under the sink is that same one Oliver will cut if you ever need them to reattach your fresh tank overflow. You'll of course want to cut some ¼" plywood to screw down over the holes. or anything that bumps out of your drawers while traveling will end up who knows where.
-
Not for very far. 😛 Seriously, I don't know, but I hope we'd have heard about it here if someone was. There's a good discussion about the possibility of towing with the cybertruck here, and in that topic there's some general discussion about towing with other electric vehicles including the X. I don't know what the towing limits are for the X, but I'd guess that range will nix the idea regardless.
-
Haven't posted anything yet. Don't worry - I'll get to it.
-
Factory lithium batteries - do they have a heating system?
Overland replied to John E Davies's topic in General Discussion
The more I think about it, the more I like the idea of ventilating the battery box with cabin air rather than trying to heat it. I'd think that a small computer fan would do the trick at very low electrical cost. This one is easily big enough, but only draws 0.2 amps - connect it to a nice louvered vent on the cabin side with 3" duct. I'd have no problem running that all night, if not 24/7, and I'm sure you could find a better sized, more efficient fan with minimal research. I use a similar fan in my fridge to move the air around, and I just turn it on when we're packing the fridge and turn it off when I clean it out at the end of the trip. Its power consumption is a rounding error in the battery monitor. -
OK, I figured it out. Apparently on the F150 (I'm guessing the 2015 model and up at least), you've got to click through all the on screen trailer messages that come up, and then after a short delay the charging relay is flipped. So with that, I think we can safely say that on an F150, you can leave the trailer plugged into the truck with no fear of a battery drain in either direction. As for charging, I did the same test as yesterday. Usage to start out was exactly the same, and with the truck finally charging, I got this - Which is pretty much as I expected, a 3 to 4 amp charge. I'm guessing that's about the most that the wiring will allow, since the truck's charging relay is either 20 or 25 amp - can't remember which. So, on an 8 hour drive, I'm guessing 20 to 30 Ah of charge, assuming I could get the alternator to keep the voltage up, which I have no clue if is at all possible.
-
Here's a pretty neat test of the biggest generator you can buy for the Ollie. I'd like to see a Db comparison between the F150 and a small Honda generator - I bet it's quieter (by a lot). Fuel efficiency looks to be roughly a gallon per hour at full load, which the truck was able to do at idle (3.5 hours charging used a bit less than 3 gallons, less what fuel they used driving to the gas station and back). I'd like to see a test at a more reasonable load, say 1.5kW, to see how often the truck would cycle on. A Honda 2200 around gets about 3 hours per gallon, so a third the fuel consumption, but of course less than a third the power. If the truck only ran for a third of the time to power a 1.5kW load, then it would be no less efficient than a small generator, which would be amazing. GM and Ram will surely pick up on this in their next generation of trucks. I think I'm going out on a very short limb to say that separate generators are a thing of the past.
-
Factory lithium batteries - do they have a heating system?
Overland replied to John E Davies's topic in General Discussion
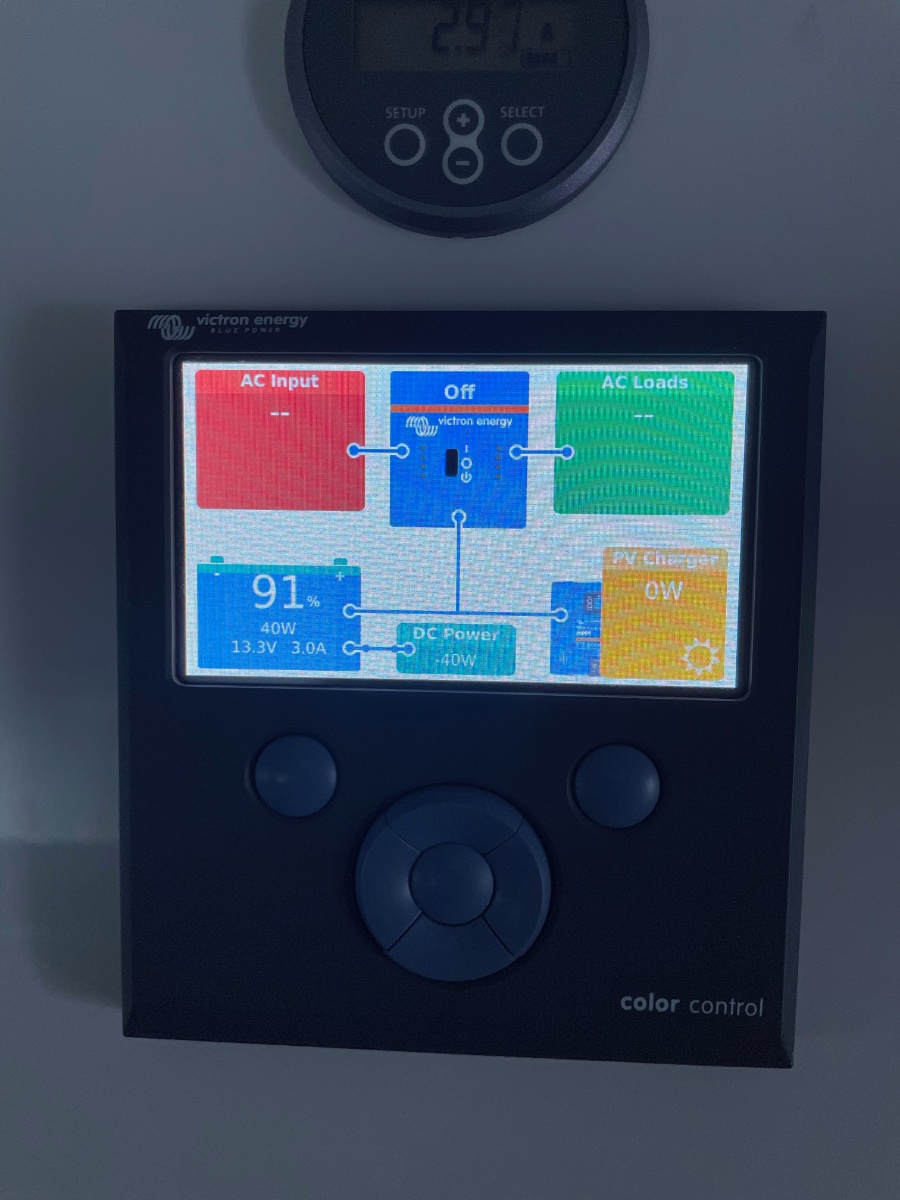
I've read that the lithiums will produce a bit of heat on their own, but I think that's only while they're being used. I suspect though that most of the heat in the box that you're seeing is coming from the rest of the trailer. To test, I just went out and checked some temps in and around my unoccupied trailer with an infrared thermometer and every reading inside and out was within a half of a degree (34.2° - 34.7°), with the exception of one positive terminal on one of the batteries, which was 2.5° higher for some reason (37.2° - the terminal the trailer is connected to). The sun hasn't hit the trailer or panels yet, but the display is showing just a few watts from the solar from ambient light. I think the main issue with charging while cold isn't while the trailer is in use, but rather while in storage. I don't think that you'd want to plug in a trailer with lithiums in freezing temps when it's empty and the heat is off. Same for letting the panels charge in full sun. Of course, with Battleborns or the LifeBlue, the batteries should prevent that charge from happening even if you did inadvertently try to charge them. I'd love to see some confirmation that the Victrons will do the same. edit - actually, will the LifeBlue batteries stop a charge, or are they dependent on the (Oliver inactivated) heating system to keep them in a chargeable state? -
First few months of ownership (Legacy Elite I) -
Overland replied to QuestionMark's topic in Mechanical & Technical Tips
Yep I caught my mistake right before you posted - Elite vs Elite 2. I’d hoped I’d deleted it before anyone noticed. 😛😊