.jpg.176360e006f677de17a1bb62b4502073.jpg)
.jpg.d1ecf032d987dba58fb8f9bcfb902d89.jpg)
CRM
-
Posts
608 -
Joined
-
Last visited
-
Days Won
2
Everything posted by CRM
-
.thumb.jpg.e34bf01ef7f7d5e99ad31856d45afbeb.jpg)
Greenland Turbro 13.5k Inverter AC / Heatpump install.
CRM replied to CRM's topic in Ollie Modifications
Yep, it would have saved me more than an hour if it were installed correctly. -
Greenland Turbro 13.5k Inverter AC / Heatpump install.
CRM replied to CRM's topic in Ollie Modifications
That's another thing I should have added to the "not so good" list- the fan speed noise doesn't seem to change much between the low-med-hi settings. Maybe it was something I was doing wrong? I'll look closer at this when I'm using it over Thanksgiving. Also, I don't think adding foam between the two who do much since it's not vibration causing the noise, but who knows? I really think the air channels in the cover need a redesign to fix it, especially since airflow is only coming from a 1/3 of the register openings. That alone has to be creating some extra noise. Will definitely be experimenting! In the end, it's not horribly loud, but Just a little quieter would be icing on the cake! -
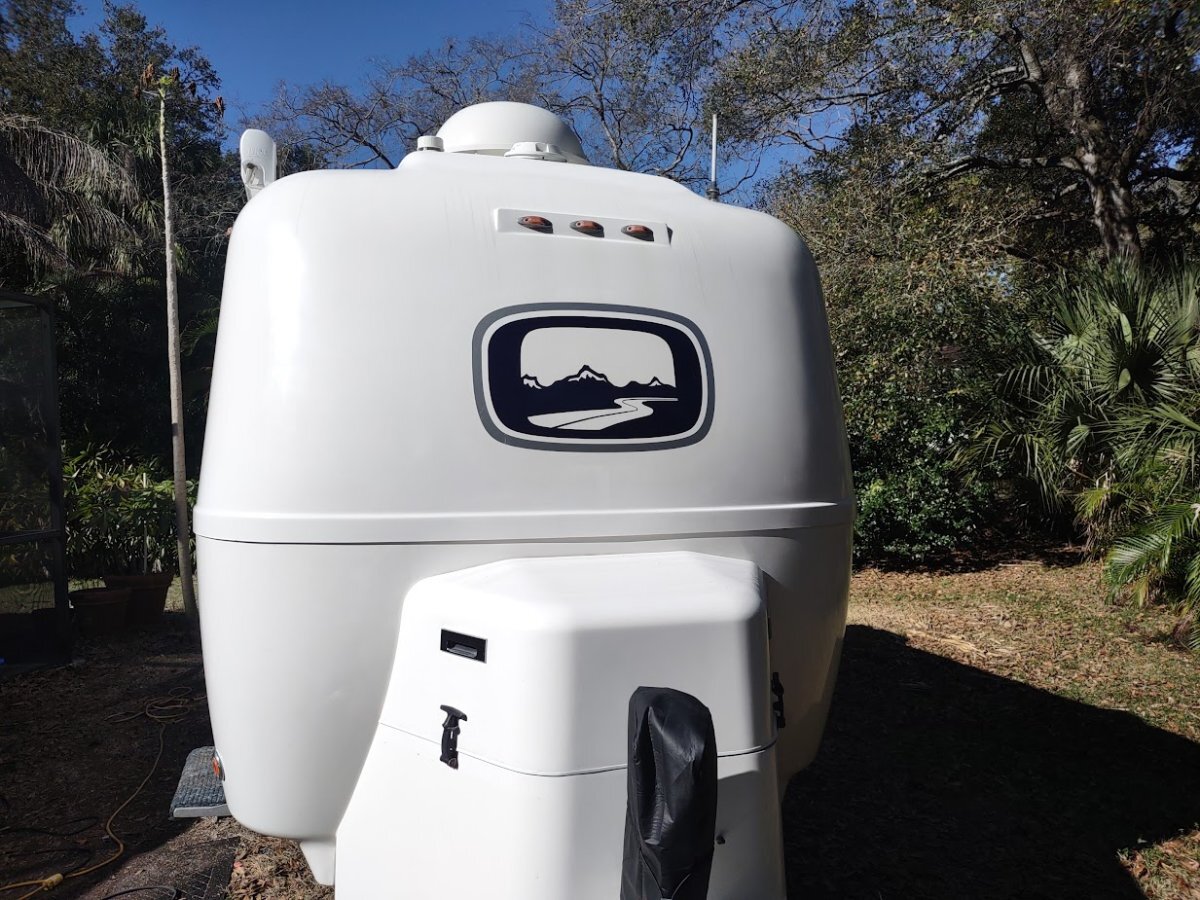
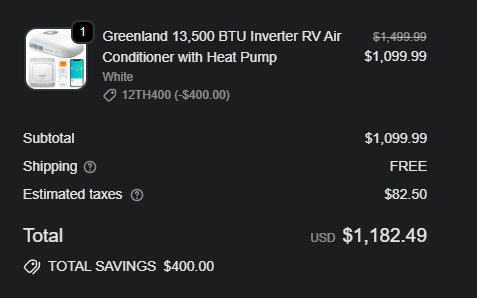
Finally got around to picking up a Greenland Turbro Inverter AC/heat pump to replace the original Coleman that came with Hull 45 back in 2009. Been wanting to do this for a while now and couldn't resist once @jd1923 posted the about the anniversary sale going on that knocked the price down from a list of 1,499 to 1,099 with free shipping. Install was a breeze. The hardest part of the job was cleaning the gunk off the roof after the Coleman was removed. The seal for the Turbro is preinstalled so it's just a matter of getting the unit centered over the opening and bolting it down through the inside mounting plate. Since it doesn't have a wired thermostat, electrical connections were simple too. Just the 120v power and connecting the wiring between the rooftop unit and the inside cover panel was all that was needed. I have separate thermostats for AC and heat which made it easy but if you have a single thermostat for both AC and heat additional steps may be required. The Turbro comes with a remote with a wall mount and it also has a phone app available. Once fully installed, I connected our power cord to a voltage/amps/watts meter and used an adapter to plug into a standard 15amp outlet. I also turned off all other breakers to insure I was getting only the draw from the Turbro during startup and running. There were two main reasons I purchased the Turbro unit- One, because it uses the same extremely efficient "inverter" compressor technology used in mini-split systems and two, because of this technology the system is able to "ramp down" once set temp is reached and continue to run at a lower capacity instead of powering down and cycling like a standard single speed compressor does. Running in this manner reduces or eliminates the humidity spikes common with standard compressor systems and is very important to those of us who live and travel in hot/humid locations. Added benefit is that no soft start reuired and it can be easily run off the Honda EU2000 that we have as a backup. Since my brother is using our Ollie for temp housing while his house is being finished I didn't have much time for testing after the install, but here are some of my finding and opinions for the short time I had. The good- Power efficiency is right about what I expected, which is excellent. The unit slowly ramps up starting around 120 watts and peaks just under 1000 watts. As it gets closer to setpoint, it begins ramping down and settles in around the 500-700 watt range. At set temp I was seeing watts in the 120-200 range but couldn't tell if the compressor was running or not at those watts. The compressor is so quiet that it was impossible for me to tell. The air output continued to be cool so I assume the compressor was still running. Cooling and humidity control were both excellent too. Cabin cooled quickly after which I changed the setting on the remote to "dry" mode which locks the fan on low speed with compressor running. No humidity spikes seen at all. Outside sound level is about the best I've encountered. You will not annoy anyone around you running this unit at night, even if they're in a tent right next to you. LED strips built into the inside panel can be left off or set to white, blue or yellow. I think this feature will come in handy for us at night when getting up to go the bathroom. The not so good- While not close to Dometic level loud, and quieter than our old Coleman, it's not the quietest unit out there. Quiet enough for us for sure, but if sound level is the most important feature you're looking for then you should probably look somewhere else. On the bright side, I think the sound issue could be improved with an updated interior cover panel alone. I loosened the cover and dropped it a couple of inches down and the sound dropped dramatically. Another issue that makes me think the cover panel is the problem is that the airflow only can be felt across about 1/3 of the vent openings on both front and back vents. The ability to adjust the airflow between front and back vents with a damper would be another nice feature... Temperature control... Wasn't happy here. It seems to be about 4-5 degrees off from actual cabin temp. Hoping that this can be solved with the addition of the external Cielo wireless thermostat that @Ronbrinkturned us on to and has had great success with. I wish I had more time to test and give better feedback, but I most certainly will update this post once I'm able to. I want to see how it performs in different environments, how the phone app works, and how it interfaces with the Cielo thermostat before I make a final judgement. For now I'll give it an overall rating of A-. On power efficiency alone, an A++

-
And, if they're only coming "naked" now, they should probably stop advertising the new models with front and side graphics. Or maybe they're just now an upcharge on new models?
-
Those marker lights are one of the reasons I was able to buy Hull 45. Someone had put a deposit down on it ahead of me but they pulled out quick after a few people commented on the FB ad that it wasn't a real Oliver due to those lights and other features. I contacted Oliver with the VIN and they confirmed it was genuine. Got lucky!
-
Midnight blue and silver gray.
-
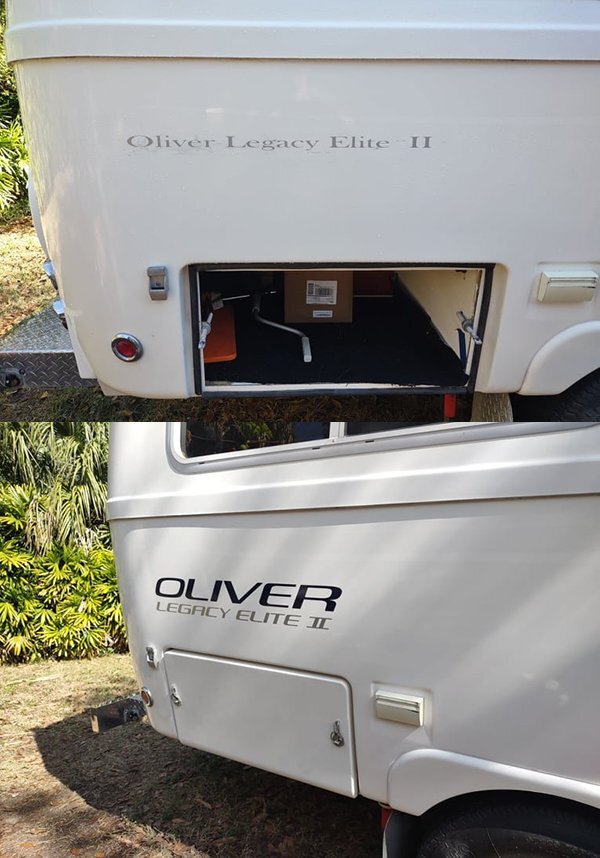
Yes, I applied a new front logo too. If I can't find a pic I'll take one tomorrow. There's been a change of plan and it looks like I be able to install my new Turbro unit a little early!
-
@jd1923- Looks like you have the old style "Legacy Elite" graphic like mine had. To keep things original, I tried to get that one when I ordered my decals but they said that they were no longer available. Kind of glad they weren't since the newer style is much nicer, IMHO...
-
There are pics of the new models on the Oliver FB page and the ones I saw do have the front Oliver logo. Can tell they're the new models since they have the new tilt out windows.
-
Just want to clarify, when I said I got a "full set" I was only talking about the front Oliver logo and the side "Oliver Legacy Elite II" decals. I had already removed my side stripes and I like the look better without them.
-
Strange... I was able to buy a full set of decals a couple of years ago.
-
With all of the humidity issues Houghton owners have had I would think someone would have tried the Cielo workaround with one of those units by now. Anyone?
-
What's needed is a list of all AC units that are compatible with the Cielo. Might help entice those having humidity issues to give it a try. We know it works with the Atmos 4.4, and the Turbro/Pioneer units, but has anyone else tried using one with any of the other brands/models? I wonder if Cielo has a compatibility list?
-
Grainger has these in several sizes. Quick Release Pin: T-Handle Edit- Lot's of options on Amazon too. Quick Release Pin T Handle Lock Pins
-
Grounding Monitor Interrupters - Do Olivers Have This Already?
CRM replied to DunnYet's topic in Mechanical & Technical Tips
I have the same basic setup, though hardwired inside. One of the things it can't test for is a bootleg neutral/ground at the pedestal which is a wiring fault that can cause a lot of troubles if you have a fault inside the camper. Even worse is if you have a bootleg ground AND reverse polarity at the pedestal. This wiring fault will energize anything metal in the camper that is internally grounded with 120v and it can't be picked up by any EMS or three light testers. Using a non-contact voltage tester on the frame is the only easy way (other than getting shocked) that you would know... -
It was an easy sell, too. Once my wife found out that it was a heat pump, and that we wouldn't have to run the noisy propane furnace anymore, it was a done deal!
-
Got one on the way, and it was free shipping too!. Only bad part is I now have to wait until I get my Ollie back over Thanksgiving to install it.
-
Now it's just getting too hard not to buy one. I think I'm going to be extra nice to the wife today! Obviously the tariffs haven't affected the pricing on these. I wonder if they shipped a large amount prior to them hitting and now they're trying to liquidate them? Or maybe a new model getting ready to be released?
-
Grounding Monitor Interrupters - Do Olivers Have This Already?
CRM replied to DunnYet's topic in Mechanical & Technical Tips
Under the right conditions, even the metal outside of appliances inside the camper could become energized. This could happen even if plugged into a GFCI outlet since GFCI's don't monitor for voltage on the ground. -
Grounding Monitor Interrupters - Do Olivers Have This Already?
CRM replied to DunnYet's topic in Mechanical & Technical Tips
Here's a more detailed explanation courtesy of AI- Bonding the ground and neutral together at an RV pedestal creates a secondary neutral-ground bonding point, which violates the National Electrical Code (NEC) and RVIA building codes that require only one bonding point in a distributed electrical system. This single, primary bonding point must be located at the main service panel, such as the campground's incoming service panel. When the ground and neutral are bonded at the pedestal, it establishes an additional connection between the neutral and ground conductors, which can lead to several hazardous conditions. If the neutral conductor fails (e.g., due to a loose connection, corrosion, or damage), the current from the load will seek an alternative return path. With a secondary bonding point at the pedestal, this current can flow through the grounding conductors, including the equipment grounding conductor (EGC) and the RV chassis. This causes the safety ground, which should normally carry no current under normal conditions, to become energized and carry the full load current. This condition is dangerous because it can result in a "hot skin" on the RV, meaning the metal frame and any connected appliances become energized at 120 volts. If the ground conductor also fails in this scenario, the risk of electric shock increases significantly. A person touching the RV while standing on the ground could receive a severe or fatal shock due to the energized chassis. Furthermore, this secondary bonding can cause ground loop currents, which may induce hum or buzz in audio systems and can trip GFCI outlets even with minimal load current. In summary, bonding the ground and neutral at an RV pedestal creates a dangerous condition by allowing fault current to flow through the safety ground, potentially energizing the RV chassis and creating a serious shock hazard. This is why the bonding must be performed only at the main service panel and not at the pedestal or within the RV itself. -
Grounding Monitor Interrupters - Do Olivers Have This Already?
CRM replied to DunnYet's topic in Mechanical & Technical Tips
If the ground is bonded to neutral at the pedestal, instead of a separate direct run back to main panel ground as it should be, the ground conductor will become the neutral if the neutral connection is lost inside the trailer. -
Grounding Monitor Interrupters - Do Olivers Have This Already?
CRM replied to DunnYet's topic in Mechanical & Technical Tips
Depends on the wiring fault, but it could become energized under the right conditions. -
Grounding Monitor Interrupters - Do Olivers Have This Already?
CRM replied to DunnYet's topic in Mechanical & Technical Tips
A bootleg ground at the pedestal with an internal fault in the RV could do it. Not sure if the EMS would even see this as a fault.