All Activity
- Today
-
Finished the coating, looks great! In the long tradition of 'you learn how to do it when you finish' the bottom half is the best job. The mistakes were all in applying the coating. You have to be really careful applying this, constantly rechecking for any high spots that didn't get rubbed out. Looking from different angles for reflections is the only way. And don't underestimate the flashing off period, its hard to wipe off good coating that hasn't cured but the longer you wait the harder it becomes. The problem is this stage is at the end when you're the most tired. I've got a number of mistakes on the top half. I also was super braindead on the street side bottom and just compounded with Cutmax 06 04 and a microfiber pad, instead of EX 04 06 and a foam pad. The numbers refer to cutting power (e.g. Cutmax 06 XX) and polishing (Cutmax XX 04). Microfiber pads are more aggressive. Anyhow that evening I realized my goof, boy was that upsetting but you know what? You can't tell. They're sending these out now with mirror finishes and the polishing stage doesn't visibly add much of anything to the compounding. I'd still do it as its an easier step, but fortunately with this combo it doesn't matter so fuggit about it! So fixing those coating mistakes on the upper half, today I'll work on that. Gemini recommends using the Sonax EX 04 06 on those, alcohol wipe and reapply. Nobody else will notice or care but I'd like to do the best job I can so will work on that today. And upside is now I'm experienced enough to do my truck. Fiberglass is really forgiving so that was a good platform to learn. I'm saving $10k probably doing it myself for truck/trailer, and I'm doing more than any shop (all the extra bits), so time well spent. Good muscle workout and I enjoy being out with the trailer as it's a lovely storage lot next to State Park.
-

Complete change-over to Victron equipment
Mike and Carol replied to ScubaRx's topic in Ollie Modifications
Steve, quite an impressive install! Mike -
Steve, cool vid. So glad to refer you to Easton at Inverter Services and he got you all taken care of. He handled all your upgrades exceptionally well. As previously post, Easton installed the same outstanding and comprehensive Victron system on XPLOR Hull # 634 after we returned from our 54-day trip to Maine last fall. Nothing like a super clean professional upgrade/install. I highly recommend Inverter Services and Mr. Easton sure knows his way around Olivers!
-
Try THIS THREAD for more info on colored Olivers Bill
-
If that were the case then Glacier would not be full either. They got a bunch of those furry creatures up there - at least everywhere we went both inside and outside the Park. Bill p.s. enjoy the heck out of that area - it's special
-
For those that have never had the chance to see the interior of the Outlaw Oliver, be sure to look around during this short video. Steve and Tali have switches for switches and extra "lifts" for the beds that increase storage room a bunch. Bill
-
Also - do you have solar panels? Do you have a solar panel cut-off switch? do you have an inverter? Is it on or off? do you have a fridge that runs off DC power (i.e. a three way fridge)? If yes then what setting is the fridge on (a/c, d/c, or propane? Bill
- Yesterday
-
More info please. Type of batteries? What voltage do you see when you press the Battery button on the SeeLevel monitor? Are you plugged into shore power or running off batteries? Do your interior lights work? Do you have a multimeter?
-
This video will give you a basic outline to some of the upgrades we had done earlier this summer on the Outlaw Oliver.
-
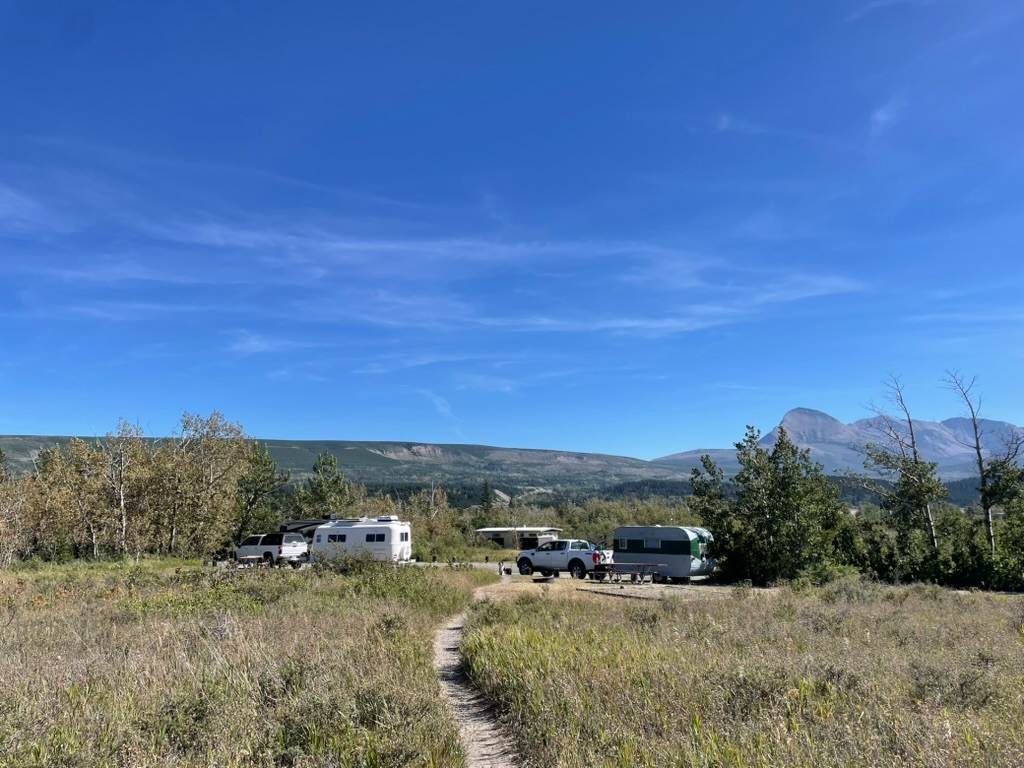
Glacier National Park, Saint Mary Campground near eastern entrance to the park. The campground amenities vary a bit depending on the loop, but they have hot showers (free) as well as fresh water spigots, waste water dump station (for gray water from dish washing) and an RV dump near the entrance. Full of berries and full of bears; maybe that's why the campground isn't full! The sites cannot be reserved before the day-of-arrival, but it wasn't a problem to find space. I'm so glad I took the opportunity to come here this year, at the suggestion of a friend. The weather has been perfect camping weather; cold enough to want a camp fire, and damp enough to be allowed to have a camp fire.

-

Air Head Tejo - Out with the Flush
Tom and Doreen replied to Half Fast Hugo's topic in Ollie Modifications
That's nice work and a good looking toilet! -
Today, my unit suddenly indicated through the Xantrex solar unit that the batteries were dead! New batteries as of last year! Circuit breakers checked out fine. Why is the system apparently draining the batteries?
-
I'm thinking they came to their senses that adding colors would not sell more trailers, would increase production complexity and increase inventory costs. not a winning formula
-
Thanks Mike - I couldn't remember his Forum name for the life of me. Bill
-
Somewhere here on the Forum there are pics of the colored Ollies, the stories behind them and the story as to why they are not produced. Bill
-

Air Head Tejo - Out with the Flush
Half Fast Hugo replied to Half Fast Hugo's topic in Ollie Modifications
The Tejo is about 19.5" tall so it is definitely a couple of inches taller than our stock flush toilet. Not sure what you have in yours but it was definitely higher than mine. A foot stool may be in order for comfort! -
There are a couple out there, one red and one black. The owners of the red one are forum members here. There are others that have wrapped their Ollies. You just don’t see them very often.
-
We need some colored Ollies
-

Air Head Tejo - Out with the Flush
Steve Morris replied to Half Fast Hugo's topic in Ollie Modifications
Thanks for the details. As I’d mentioned on the FB group, this is the toilet we’ve been considering. I like how you vented it vs what I’d talked about by tying into the black vent. How is the height compared to the OEM flush toilet! We’re both somewhat short. Don’t want legs dangling like a little kid. -
the dog house get's a new refrigerator
Mike and Carol replied to mossemi's topic in Ollie Modifications
@tractors1 is Charlie Young’s forum name. Mike -
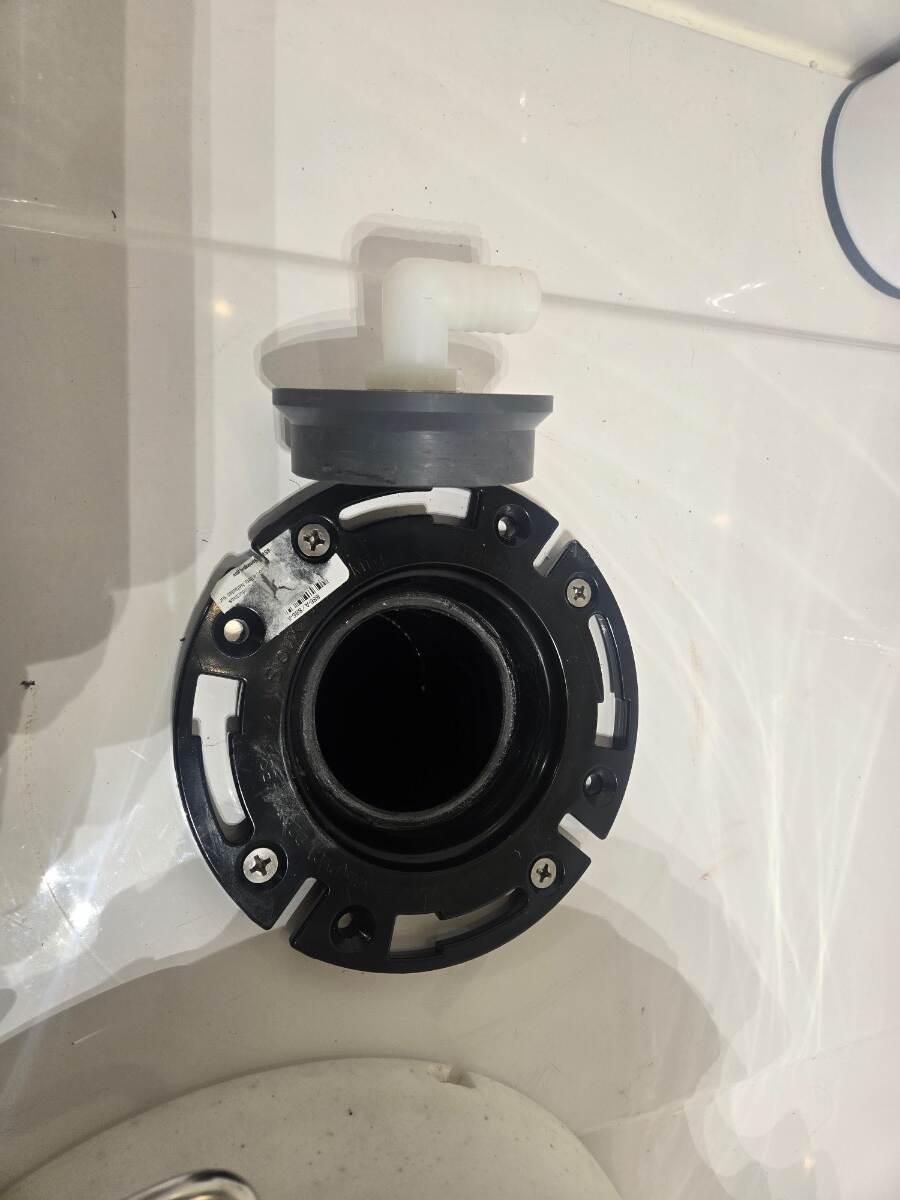
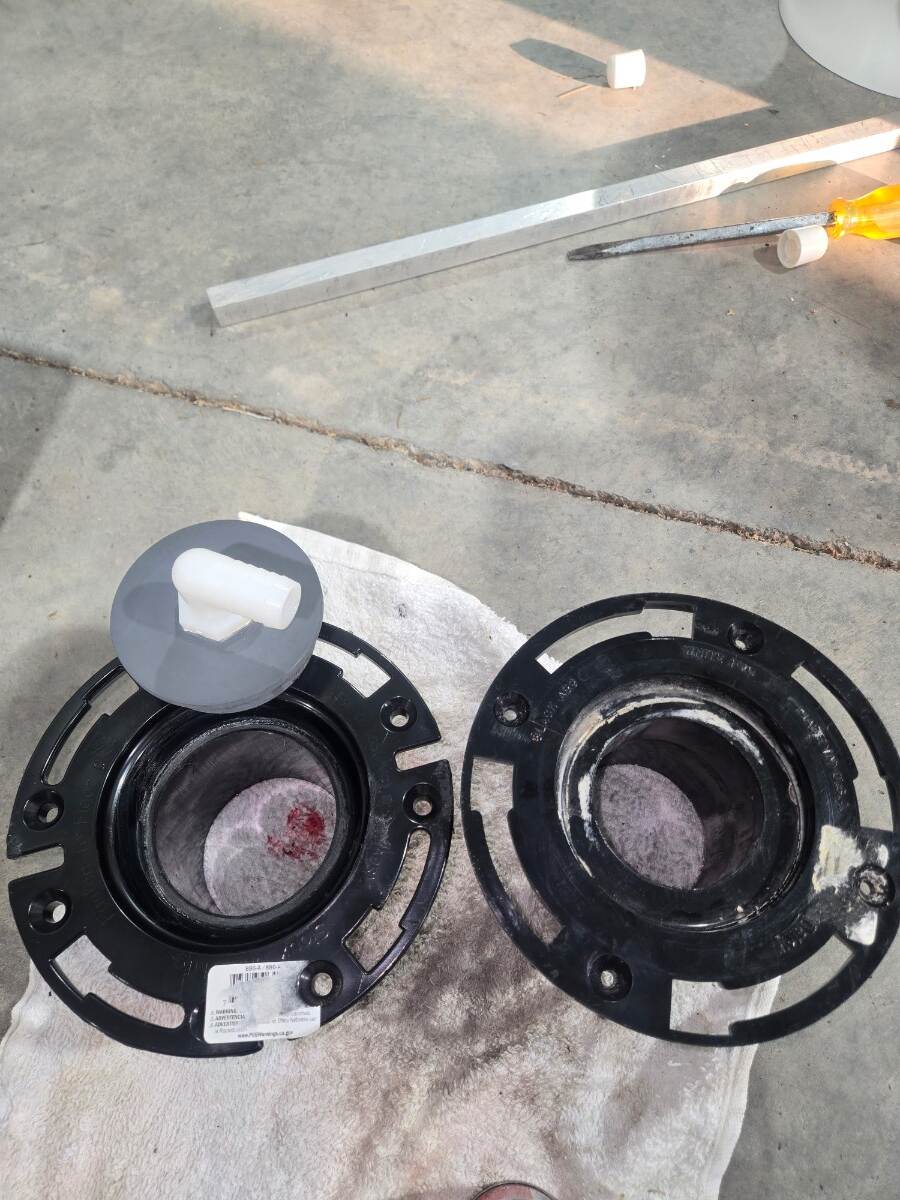
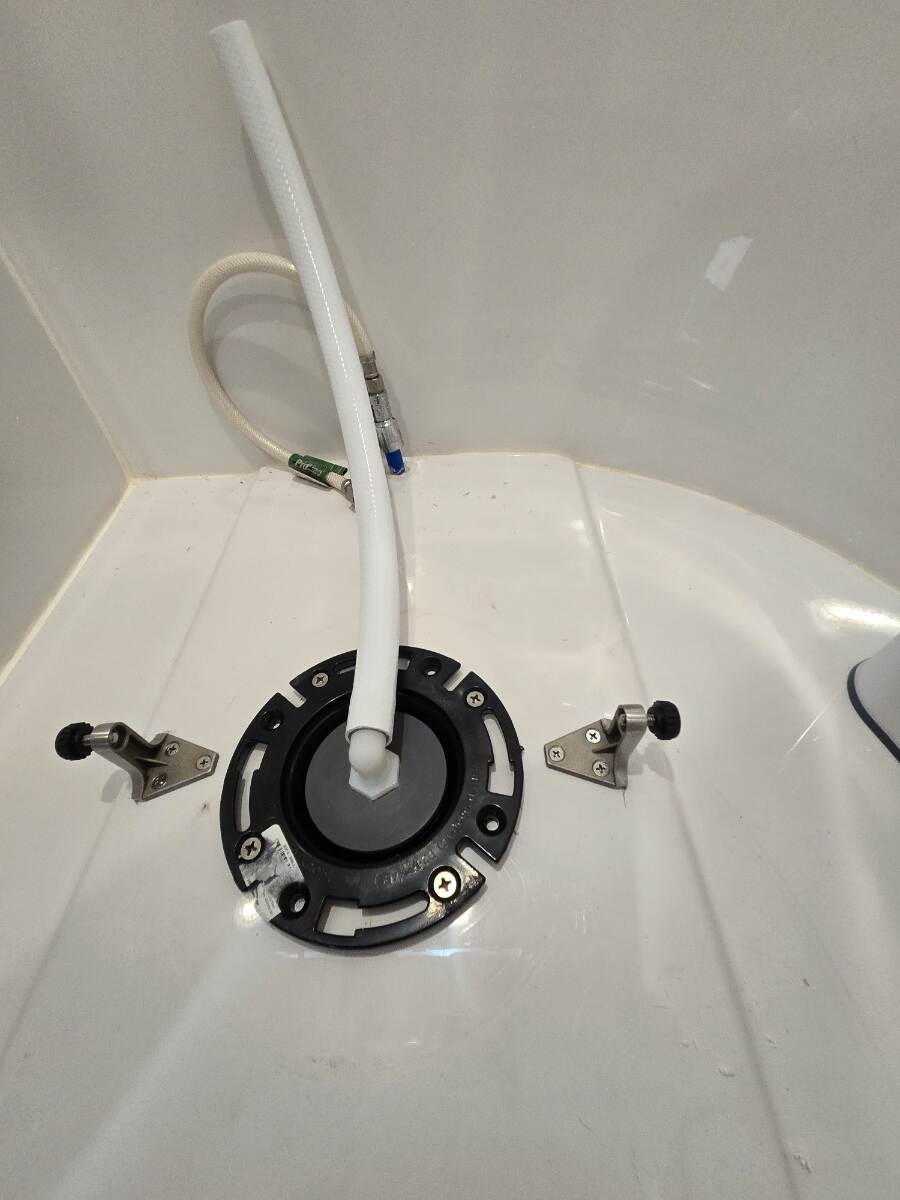
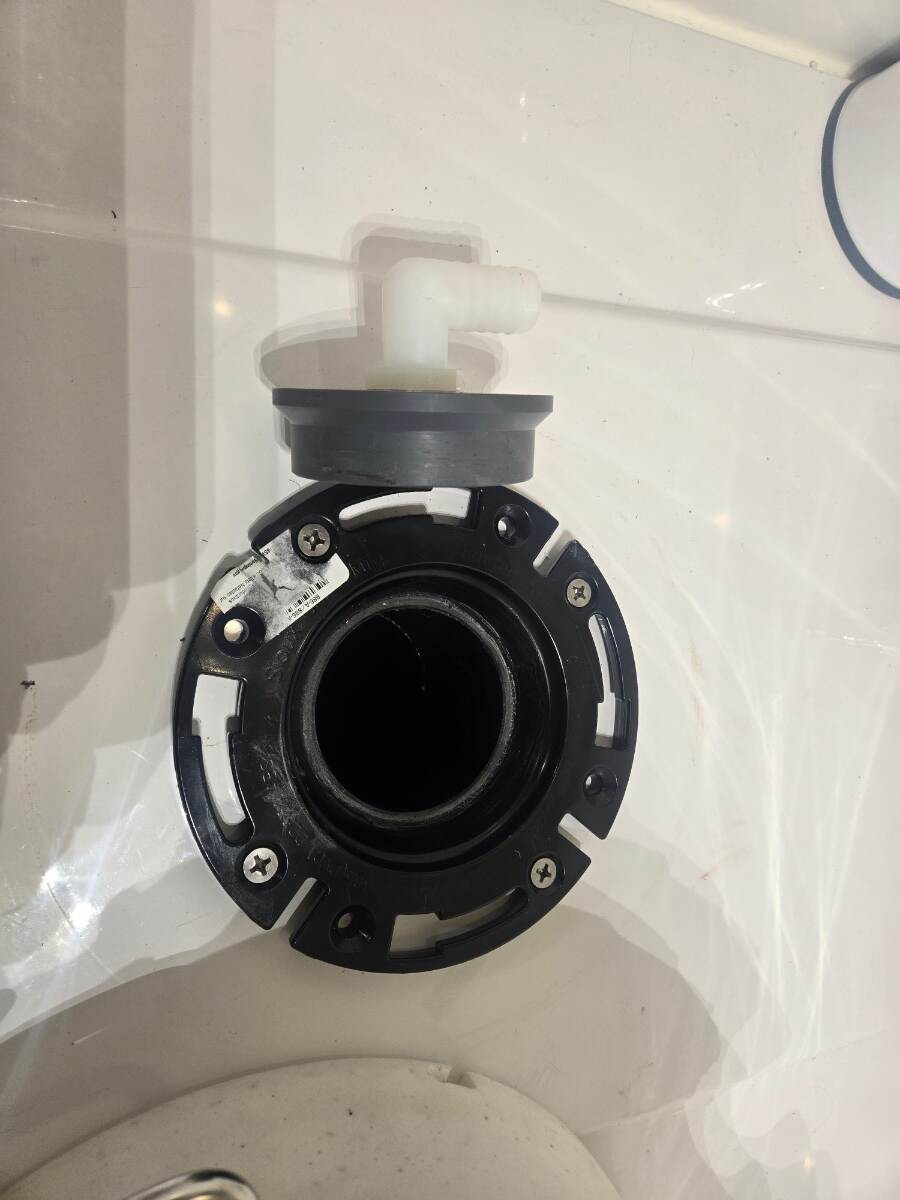
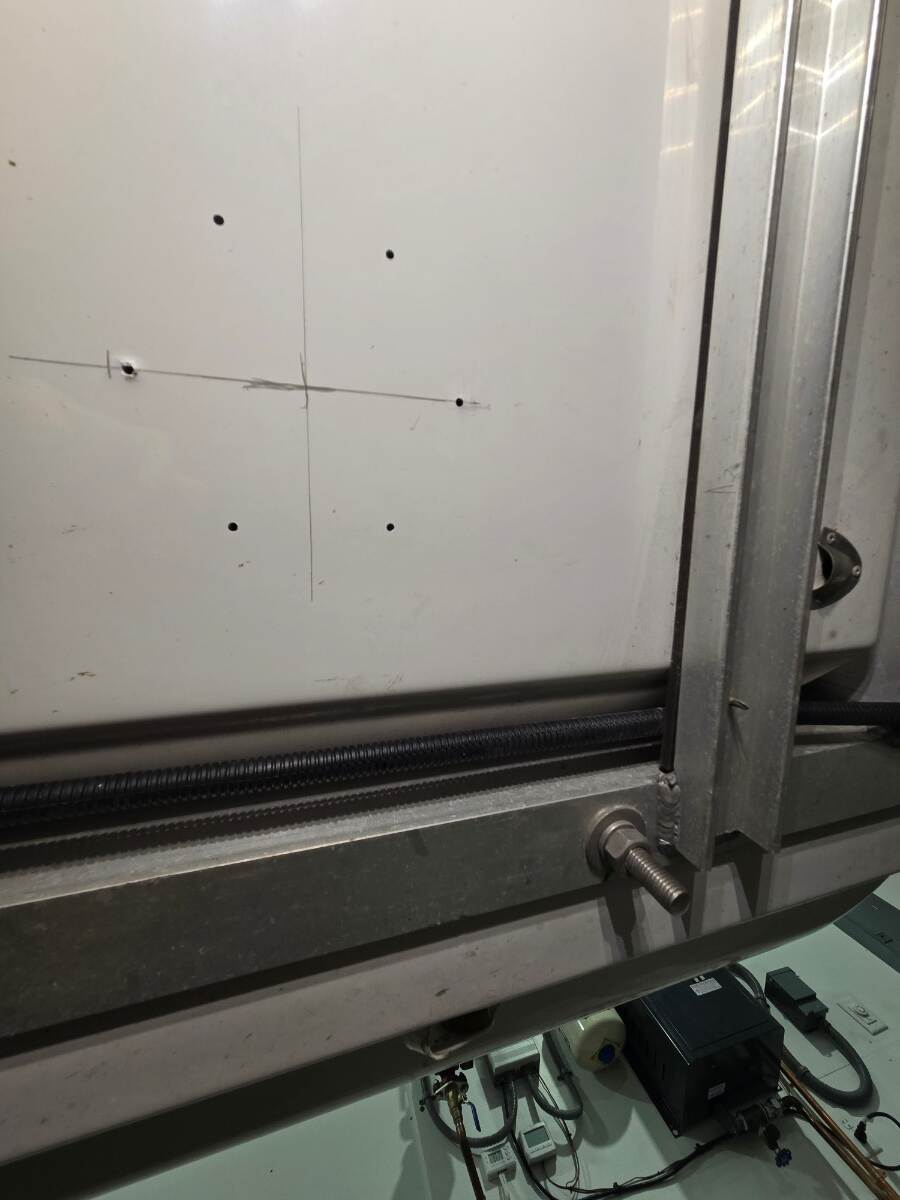
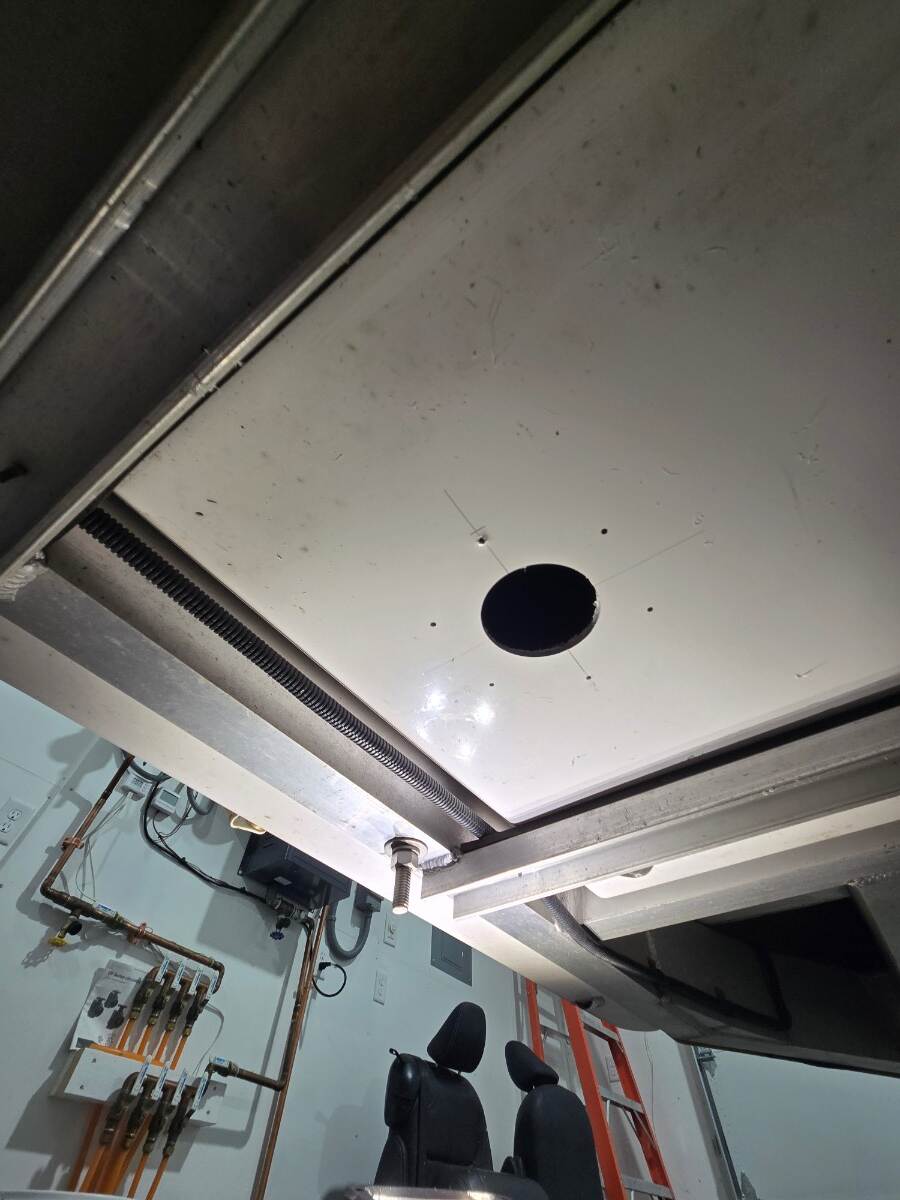
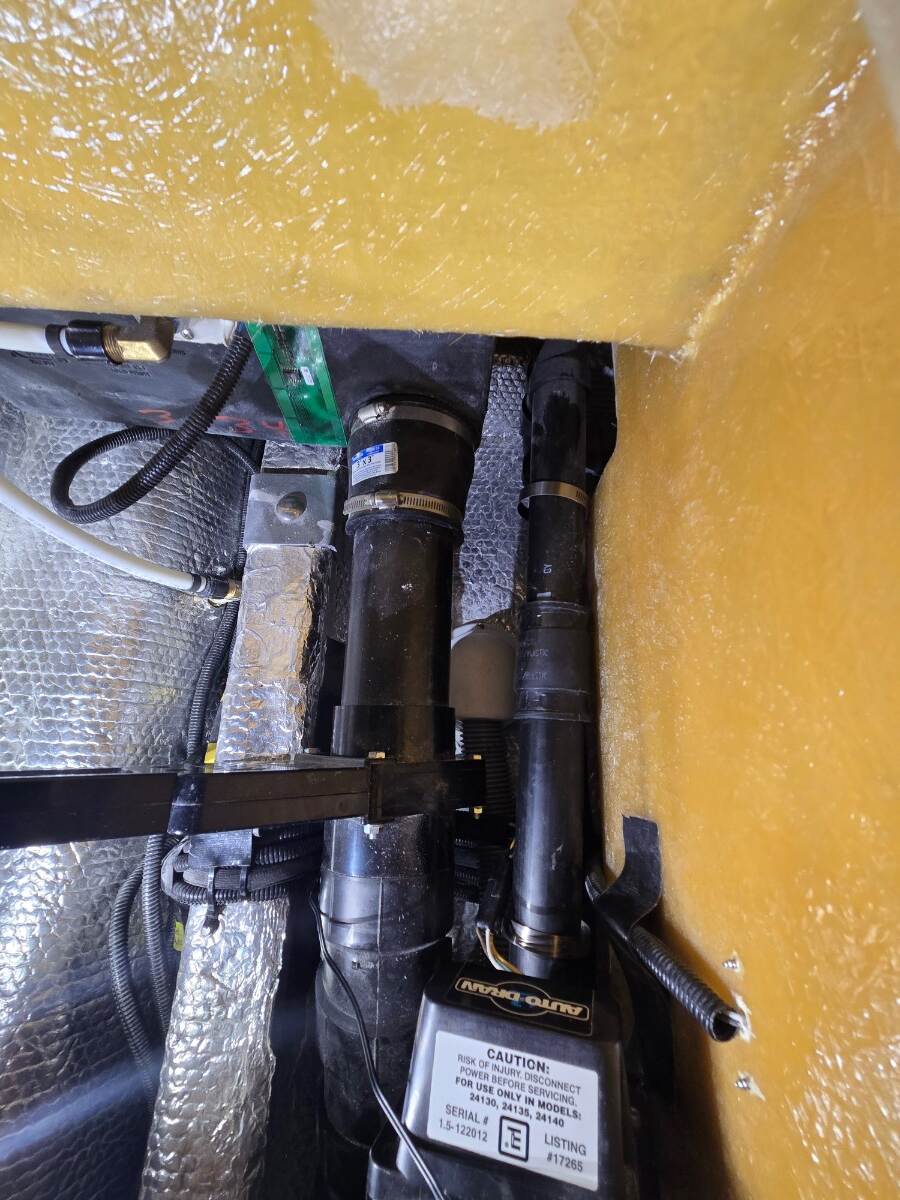
We finally decided to get rid of the flush toilet after much agonizing internal debates. I looked at all the various models and decided on the Air Head Tejo which doesn't have a urine bottle and dumps right into the black tank through the toilet flange with a supplied fitting. This version is not yet on there website so you will have to call if you want this specific version that has clearance to sit over the toilet flange. It is still possible to use a urine bottle behind the tank with some possible ingenuity as there is a quick disconnect for the urine line. I'll try and keep the pictures in somewhat of an order so you can see the progress but feel free to ask with any questions. This is on our 2021 Legacy Elite II. If you're taking the plunge, the biggest hurdle you'll have is getting the old toilet flange out. It can be a pain but it will twist out with some lifting at the same time. The existing toilet flange will not work as it had too small of an internal diameter as the 3" waste pipe is glued on the outside of the male flange. You will need to swap out the toilet flange for a female flange that the pipe will fit inside which isn't a big deal nor is it costly. You will need to bevel the end of the pipe so that is slides fairly easily into the black tank. I also shortened it up a bit as it dropped down a few inches lower into the tank than seemed necessary. The supplied urine house fitting will be glued into the toilet flange facing the rear of the toilet and the hose will be connected to the urine outlet on the upper left rear. Mounting the toilet is pretty much dictated by the toilet flange mounted to the floor. I kind of did it by feel and moving the toilet side to side and centering it along with a few rough measurements. It worked just fine. I put the toilet in place where I wanted it, slid the brackets into each side and penciled around them so I knew where to go back and drill holes for the brackets. I used six stainless steel #10 - 3/4" long screws to secure it. Be careful not to drill to deep and go through the top of the black tank! I drilled one hole for each bracket and test fit the toilet before finishing drilling and it worked just fine. The biggest concern for me was venting. The Air Head has the fan at the exit point to the exterior so I wanted to be able to take advantage of that rather than having to install an inline fan or something of the sort. My first consideration was to vent into the existing vent pipe in the vanity but that was not recommended by Air Head and they had even mentioned that they had discussed that with Oliver at some point. My next consideration was through the front wall and into the propane box which would have been really easy as well. However, I did read a lot about that not being acceptable for a whole host of reasons. I did consider running it into the box with the hose continuing down underneath the trailer so it vented below the open box. After poking around inside the trailer. I opted to mount the fan housing below the gray and black lines underneath the forward seat of the dinette. The gray line comes off super easy and it was pretty simple area to get to both inside and outside of the trailer. The hose connects to the housing and loops around and through the left side bathroom wall which keeps the vent hose visibility to a minimum as well. As you'll see in the pictures, I haven't caulked it all in yet and buttoned it up but I had a couple people as if I was done yet so I though I would post where I'm at. I like that it vents underneath with minimal bends in the hose and it is towards the outside of the trailer so I don't believe fumes will be an issue.You can place the vent hose on either the center hole in the back or the hole in the right side. I opted for the back since the hose was going out the left side anyhow and it gave it more clearance for the internal mechanism of the toilet and less hose length. They have an inline screen that will also be used in a coupler behind the toilet. I also used a heat gun to give the hose a slight bend but be careful as if you let it get a little too hot it will separate at the corrugations. All in all is was a pretty simple install once I figured out how I wanted to do it and had all the miscellaneous parts ready to go. Now for a test run in a few weeks!
-
 Denise Osgood joined the community
 -
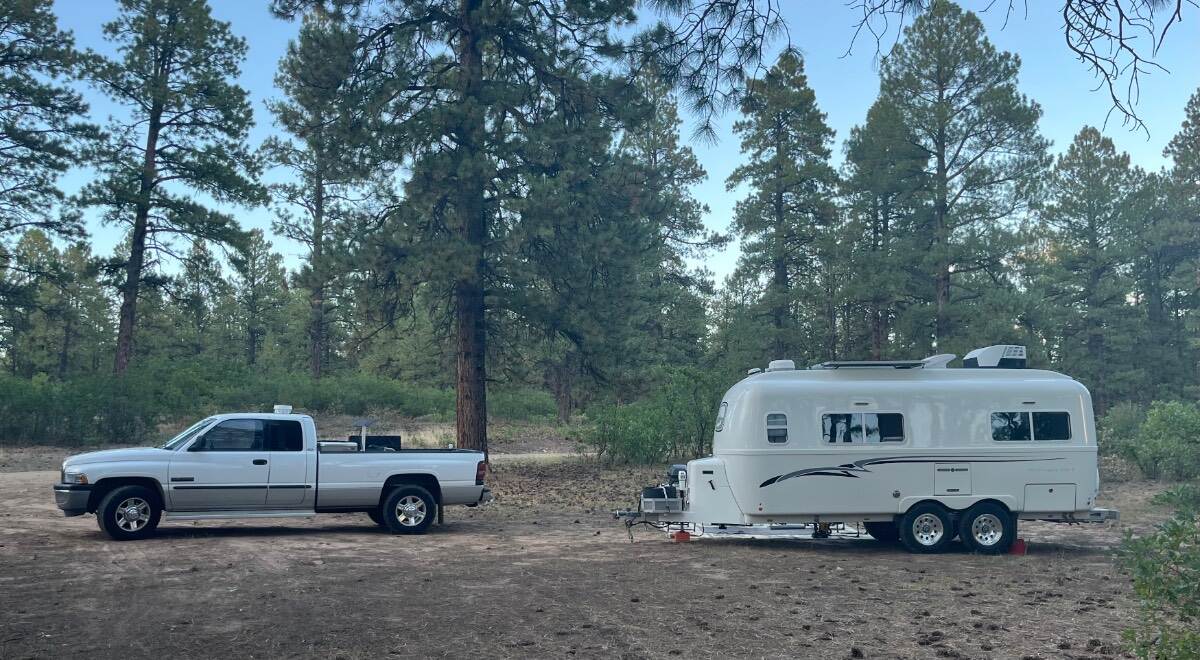
Pulled the truck up for Starlink to be centered between the trees! 😎
-
🤣😎🤣😂
-
I spied an LE II headed West on Interstate 40 just West of Asheville, NC late this morning - of course the Ollie was white but the pickup towing it was a dark grey. Bill