All Activity
- Past hour
-
Welcome. Looking at the map, I'd suggest the Reno, Las Vegas, Albuquerque, Oklahoma City, Little Rock, Memphis route. Lots to see on that path. Last year we stayed at Maumelle Park outside Little Rock and visited the Little Rock River Market and the nearby riverfront park. We also visited Memphis (not the nicest city) and saw Elvis' mansion and the Bass Pro Pyramid, which is definitely worth a stop (try the restaurant at the top). Some good food and interesting places north of Hohenwald in the Nashville area, too. Have fun planning your trip!
-
Martin and Linda, welcome! You live in a nice part of Oregon. If you have questions, you’ll find lots of experts that will offer solutions. Mike
-
Good morning back to you and a big Welcome to the Forum! Amber Falls Winery is not far to the East from Hohenwald, TN (35.57895, -87.36741). This is a pleasant little winery and has a couple of red wines that are worth considering. However, I thought that $50+ for these was a bit high. There is another winery just off the Natchez Trace Parkway - north of Hohenwald called Keg Springs Winery (35.65096, -87.34441) but I've never had the chance to stop in. Good luck! Bill
- Today
-
I'd bet that you are no longer in the Leadville area - but - there is a coffee shop directly across the street from City Hall that has very good pastries and coffee. Plus, they have free WiFi. Bill
-
 Likewise, good to hear from you again Claudia. We've conversed here before and I remember you being quite DIY capable! 😎 Re your statement above, it means two things to me. First, I've always noticed that ours works a little better on LP which is the opposite condition. And that has me thinking about what you wrote, when temps are over 80F. Have you installed a better fan in the exterior vent area? You might think, why would that matter when it cools properly on AC/DC? I'm not certain, but a viable hypothesis may be the fridge on LP creates more heat than when powered by electric. Our fridge used to perform on-and-off and ever since adding the Beech Lane large dual fan it performs excellently under any power source. When we set it on #4 the freezer will approach 0F and the fridge will get down to 32F (Ruuvi temp sensors) and when it does so we switch the cooling level to #3. Chris was a restaurant chef for a few years and she keeps me well nourished! 🤣 That means she keeps a very FULL fridge! We now have an extra fridge in the truck, always with space for grocery shopping. If you reply that you already have a similar fan (not the little OEM fan), then I'm at a loss in what to advise. But if not, do this before you do anything else. My installation is presented at the bottom of page 1 on this post:
 -
You're welcome, Robert. That's great that you are in Colorado! You should definitely visit Alcan like I did on our trip, purchase parts at a minimum, get the Alcan Leaf Springs and get their U-bolts also to mount the springs. Your Oliver is a 2022, mine a 2016 needed everything. I'm assuming you have the HD EZ Flex kit installed from new. For example, if you have towed 50K miles in 4 years, your EZ Flex equalizers are likely shot. There is a section in my post about the equalizers. They wear cock-eyed inherent to their design. If your mileage in 4 years is much lower say 20K miles, they may be OK to be reused. Shocks don't matter much. If you had Alcan work the spring install, you could ask them to test the shocks. If bad they could replace them if available, or just reinstall them as-is and you could DIY new shocks at anytime, a simple task. Many on this forum and elsewhere are adamant about the wet-bolts installed in a certain 3 or 9 o'clock position. I'm not sure that matters, I worry less about some things. Since the Alcan wet-bolts were not splined, I just mounted ours in random positions. When I grease, I usually get one Zerk per side that will not take grease (yes wheels and load OFF). I just loosen that bolt, give it a 1/4 turn, apply grease and retorque. To date, only one Oliver owner had issue with the Alcan shackles, where they got buggered with use. The same owner went with an extremely light torque setting, hence the damage. No other complaints from what, 200 Oliver owners with Alcan Springs! If you believe in the 3-9 positioning get a HD splined set instead. I also thought afterwards, I could have bought the full HD EZ Flex set saving money. If needed when there, purchasing Alcan wet-bolts would be fine. One thing I can tell you is they will reuse everything good and are not the kind of outfit to upsell their customers. Another thing I would have done differently? If Alcan had in stock the axles I needed, in hindsight, I would have had them do the whole job when I was there. They charged others a very reasonable $600 for labor, and got the job done in a half day. I enjoy DIY on my vehicles, always pay for parts only, dislike paying for contract labor! But to install axles and springs was a long hard job for one old guy at home (my son helped when asked), pacing myself I spent a few days! They certainly would have fit me in vs. allowing me to drive off that day! They measured our Oliver and spent so much time with me. Our Oliver is one of the few with the 50" axles, while Alcan had a whole pallet of 50.50" axles for their Oliver customers. My axles had to be custom ordered, so having them do the work while we were in CO was not in the cards. You have a lot to consider. I suggest you keep the installation option open. Call them and talk to Lew or Tim. Let us know how it turns out for you!
-
Good morning to all. This is Martin and Linda from S Oregon. We live near Jacksonville and the Applegate valley. Wonderful wineries and cider makers in the valley. We just picked up our 2019 E2 and are searching for places to go as we head to Tennessee next summer. New to this site also so hopefully this post works. Enjoy
-
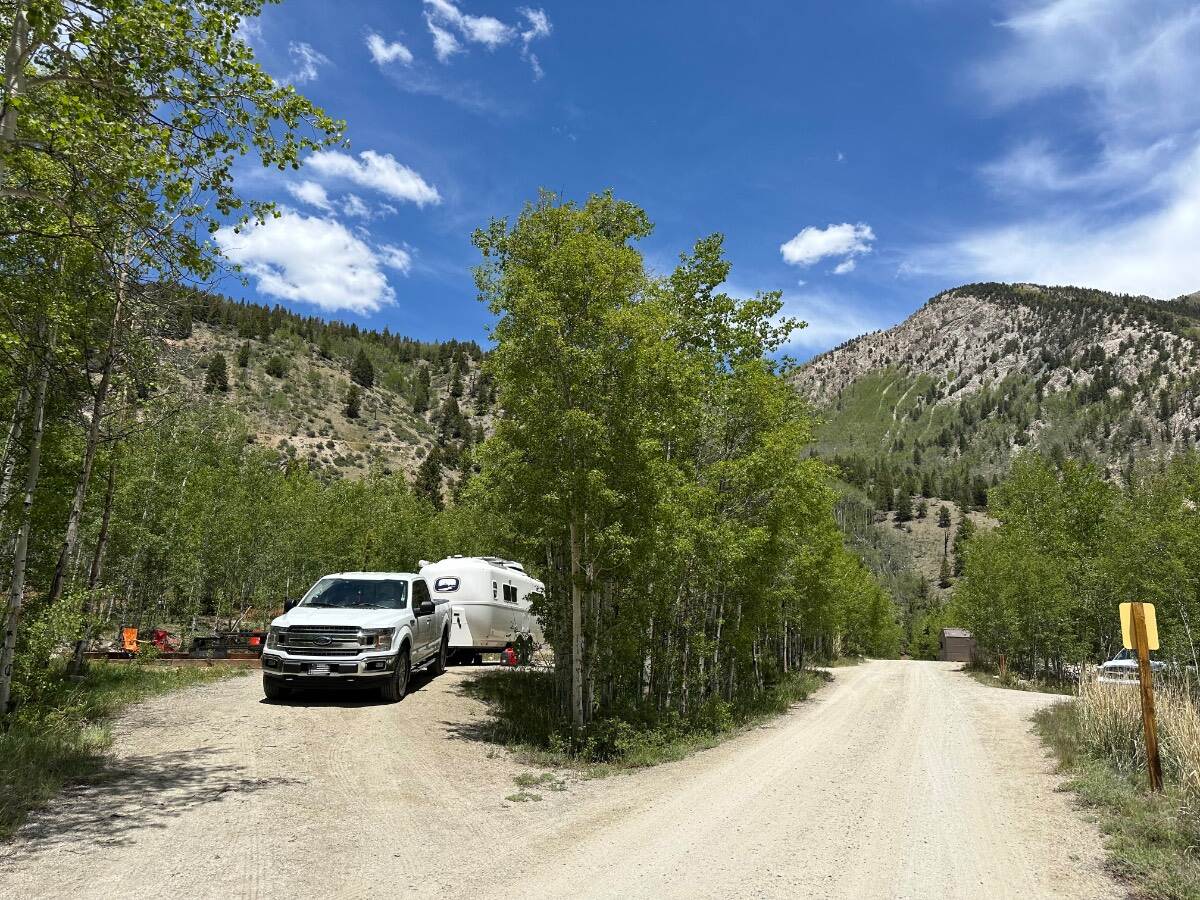
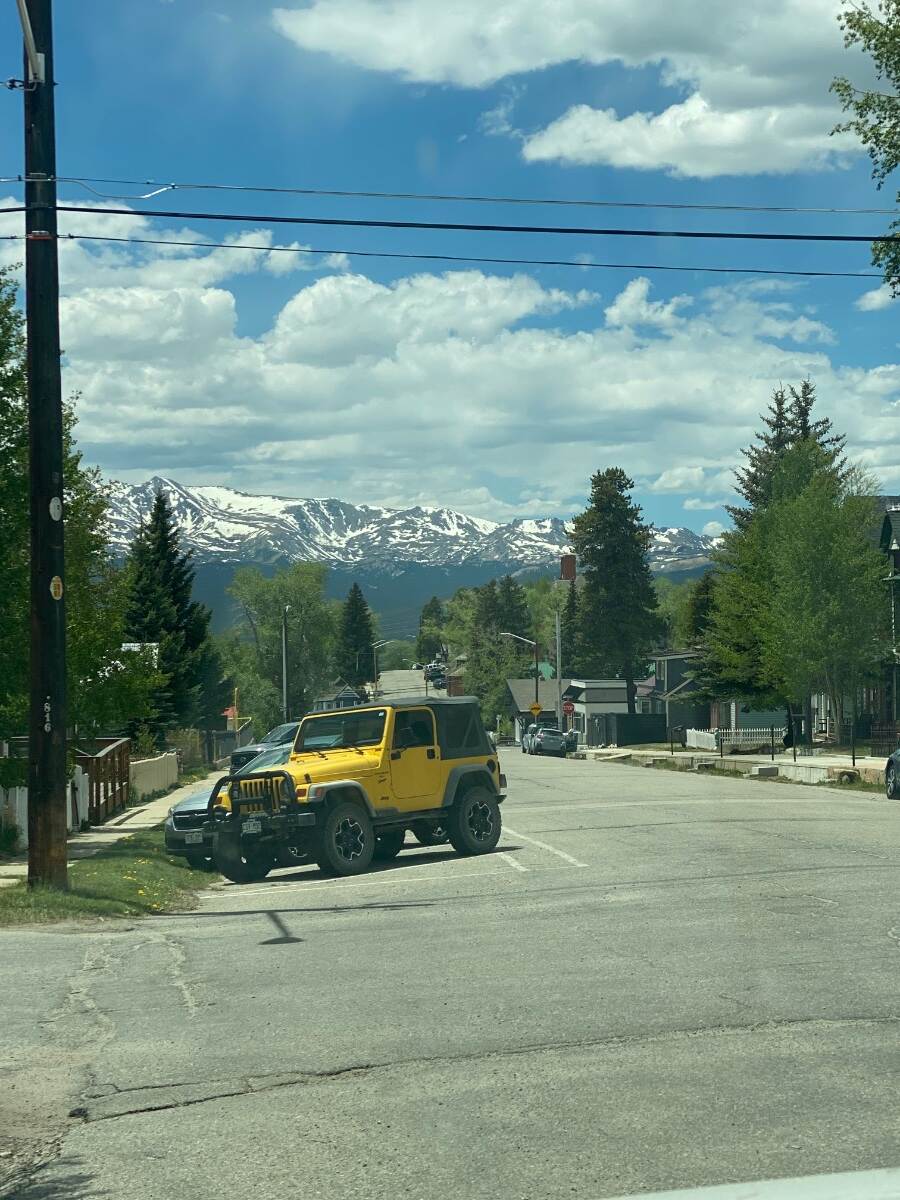
Cottonwood Lake USFS campground on Cottonwood Pass, near Buena Vista, Co 3.5 miles of miserable washboard dirt road , nice campground, no water available as the well has been broken over 5 years with no plan to repair 🤔 campground is all FCFS and fills up Friday mornings too much dust with folks driving 25 mph in a 5 mph campground One pic in Leadville, Co

-

Made in USA leaf springs
Tideline77 replied to Mountainman198's topic in Mechanical & Technical Tips
Thank you for this detailed information we are roaming around Colorado and I was thinking about contacting Alcan to check on appointment availability for the upgrade. Maybe we will just pick up the springs and haul them home to complete the job after we gather all the other parts , shocks, EZ Flex, Shackle U Bolts and wet bolts Thanks a million -
 We probably have the same Dometic unit though I have never checked its model # but my hull is #70 so not too far apart. No issues on mine so far. Given your description I would be inclined to think you might have to take the unit out of the Oliver to work on. You are already much further down the pike of knowledge on this thing than me. Best of luck with the repairs and working through this. Rob
 -
 Claudia - Good to see you back - but - I wish it was under better circumstances. Hopefully someone here has taken this thing apart and can convey wisdom your way - good luck. Bill
 -
Just installed a 24k BTU Pioneer mini split in my garage. Takes some time and effort, but it's doable if you're handy. I don't have experience with a dual head unit. You will need some specialty tools: Cut, debur, and flare copper tubing (get the Yellow Jacket eccentric) Vacuum pump Micron gauge (recommended) Lineset bender kit (BendAid) Specialty torque wrench (or crows foot) for flare nuts Measure everything multiple times before making any critical cuts or holes. The included cardboard template for mounting the inside unit was wrong, but luckily I caught the error. It works exceptionally well and is very quiet, both inside and outside. Benjamin Sahlstrom has some excellent installation videos: https://www.youtube.com/@BenjaminSahlstrom/videos
-
 Hi Oliver Fam, I'm hoping to hear from owners who have actually serviced the Dometic RM2454 burner system in an older Oliver installation. I haven't been on the forum for a while, but I own Hull #184 (2017 Legacy Elite II). I also had the same RM2454 three-way refrigerator in my Casita for about 10 years before moving to the Oliver, so I'm fairly familiar with the unit. Recently, I've noticed the refrigerator is not cooling as well on propane as it does on electric, especially when ambient temperatures are over 80°F. The flame appears normal, steady, and blue with no orange/yellow. The fridge was in normal use at the time—not empty, but not heavily packed or overfilled. I've already worked through the usual troubleshooting steps, including adjusting the thermistor position, running the auxiliary cooling fan, and reviewing common recommendations from both this forum and elsewhere online. At this point, I'm trying to determine whether the issue is related to a dirty or partially restricted burner orifice, a partially obstructed burner, propane pressure, or something else in the LP system. I've attempted to access the burner compartment, but even getting to the baffle screw was more difficult than expected due to the tight working space and awkward access. Looking at the burner/orifice area and chimney, it doesn't appear to be a straightforward space to work in with wrenches. Most of the access is on the right side, and as a right-handed person with some limitation in my left hand, it feels like a very constrained area to safely get proper tool control. For those who have actually worked on this specific installation: Were you able to clean or remove the orifice for cleaning in alcohol? Have you checked propane regulator pressure as part of diagnosing this issue? What tools or approach worked best in this tight access area? Was it realistically doable, or did it turn into a refrigerator removal job? Any lessons learned or "wish I knew this first" tips? I'm not currently looking to replace the refrigerator. I also carry a separate 12-volt auxiliary fridge, so I have some flexibility. I'm mainly trying to understand whether this is a reasonable maintenance task or one that effectively requires pulling the unit. I have cleaned a gas jet before (a few times) on my Casita as part of maintenance. Those who know me from the forum know I tend to be a very hands-on owner and do most of my own maintenance work when possible. I have the interest, but sometimes not the tools or mentorship to pull it off. Appreciate any firsthand experience. Claudia Hull #184
 -
Main battery switching, a different approach
jd1923 replied to Snackchaser's topic in Ollie Modifications
Thanks, and it has worked great for 2 years now. Along with 35-gal fresh water in the TV we use it every few days. No-way could we do that lifting our heavy custom mattress! This and moving all the electrical under the rear dinette seat has saved a lot of frustration. Perhaps OTT could add these ideas to their 2027 models! 😎 - Yesterday
-
Main battery switching, a different approach
jd1923 replied to Snackchaser's topic in Ollie Modifications
🤣 -

True Induction Stove Top will not turn on
DanielBoondock replied to Lamar's topic in Mechanical & Technical Tips
If you like that you gotta try regenerative braking at 0.5 trailer gain! I’ll pull 130 kW silently on the regen and bring you to a full stop, it’s nuts. I have to lower the regen to the moderate level as the high level is too much. Big batter == more regen capability basically. Anyhow yeah the first gen trucks like Lightning, CT and Rivian aren’t for towing, but these second gen Sierra + Silverado are pretty hard to beat as a camping companion. Power is the one thing I don’t worry about boondocking. I’ve talked about it before but I haven’t mapped a trip yet that doesn’t have charging close enough for these trucks. The only vampire I notice is the WIFI (TP-Link travel router), slowly but surely it’ll eat at the battery and heat up the attic, even on Eco. Not a problem with all these kWh really but its’ annoying, I turn it off at night. I wifi hotspot mooching and tether my unlimited plan phone for the family otherwise. -
Main battery switching, a different approach
DanielBoondock replied to Snackchaser's topic in Ollie Modifications
Yeah cutoff switches, the solar pokes into the cabinet but the inverter is on the main layout panel under the bed. Stuff under the beds makes sense - I was wondering with the double hull how you’d access everything but it works great, except when you need to get to them! I’m fine with the electrical, that’s a rare interaction, but the water valves are super annoying. Why didn’t they put a Nautilus panel or the like just under the curb bed? Your motorized valve solution is cool. -
Main battery switching, a different approach
jd1923 replied to Snackchaser's topic in Ollie Modifications
I'm assuming you mean the cutoff switches. That's cool and quite an improvement. I had to move everything out from under the beds! -
Main battery switching, a different approach
DanielBoondock replied to Snackchaser's topic in Ollie Modifications
The inverter, the solar is up in the street side cabinet -
Cabinet instead of Stock Convection Microwave
jd1923 replied to HDRider's topic in General Discussion
Hey if Lance's idea works and OTT has such parts at a reasonable price, then cool! In my experience, after entering six (6) service tickets, I strike out every time! I stopped even thinking to ask and channel my efforts into DIY! 😎 This is not a difficult project to custom build yourself! I removed the original microwave for an oven, so check my mod thread below to see what you'd be getting into (when you see my first picture, I added the 2x4s to provide a base for the oven). I see 3 steps in creating a custom cabinet: 1) Remove microwave, fill screws holes on face, file smooth the rough cut opening 2) Clean and line the internal cavity with poly sheeting 3) Ordering and installing new cabinet doors The microwave bezel comes out with 4 corner screws. Our microwave (not that OTT installed yours the same way) had a bracket above it that was screwed in from the upper cabinet. Empty the cabinet and the mat liner and you may see 2-3 screw heads. I lined ours with fire resistant insulation for an oven. You could line yours with any thin PVC sheeting or the like, cut the five sheets to size and glue in place. If you want to get fancy, you could add a molding to hide the cut edges. Also, use Marine-Tex to fill the screw holes in the face. That's step #2 above, now for the finale. Measure the opening for cabinet doors. You must order cabinets somewhat larger than the opening. Go to Depot/Lowes or a cabinet shop to select your cabinets of choice. Get your wife involved in this step of course. Your options are endless! Also think about the hinges. I'm not a woodworker or cabinet guy, but purchase hidden hinges that mount to the interior walls vs. anything that would screw into the face. Then you want a good latching device for both cabinet doors so they stay shut while towing. Staff at the cabinet shop could advise on proper hardware. Can't wait to see your mod post, if you go this direction, take the plunge! It's a good project that you can personalize and when finished have pride in your work every time you use it or look at it! 😎 -

Cabinet instead of Stock Convection Microwave
Mountainman198 replied to HDRider's topic in General Discussion
Check with service. They may have some of the interior cabinet shells, frames and lexan doors that were left over from when they offered the microwave delate as a build option. I ordered the cabinet and it has a nice gelcoat interior, light and frosted lexan door with matching chrome cabinet pull and hinges -
Welcome to the forum! Mossey First picture Right click your 'M' and it will open your profile page. Second picture Click on the Red circled area marked 'Edit Profile'
- 1 reply
-
- 2
-

-

-
Cabinet instead of Stock Convection Microwave
routlaw replied to HDRider's topic in General Discussion
We ordered our Oliver #70 back kn 2014 without the MW. It came with a built in cavity of sorts which I guess one could call it a cabinet. The cavity was wood line probably 1/4 inch Luan plywood. Oliver installed a rather unappealing door during the build but did use the standard SS latches seen on the rest of the overhead doors. Once home I built a new door to replace the original one that appealed to us. -
Hello. We are new to the Oliver forum. Just purchased a 2019 LE2 and love it. . However, not have much fun trying to figure out how to use this site. Trying to edit our profile is confusing. Is there a tutorial video or anything.
-
Our previous camper had Dometic/Seitz awning style windows that could be opened during light rain, really liked those windows, but they were plexiglass. Talked to Oliver about retrofitting an Oliver, but they are not ready to release information about retrofits, yet. Just looking and learning for now. 🙂