Leaderboard


Popular Content
Showing content with the highest reputation on 05/12/2018 in all areas
-
I think a wiki would be a great addition to this website; something that all members can contribute to where we can keep information organized.1 point
-
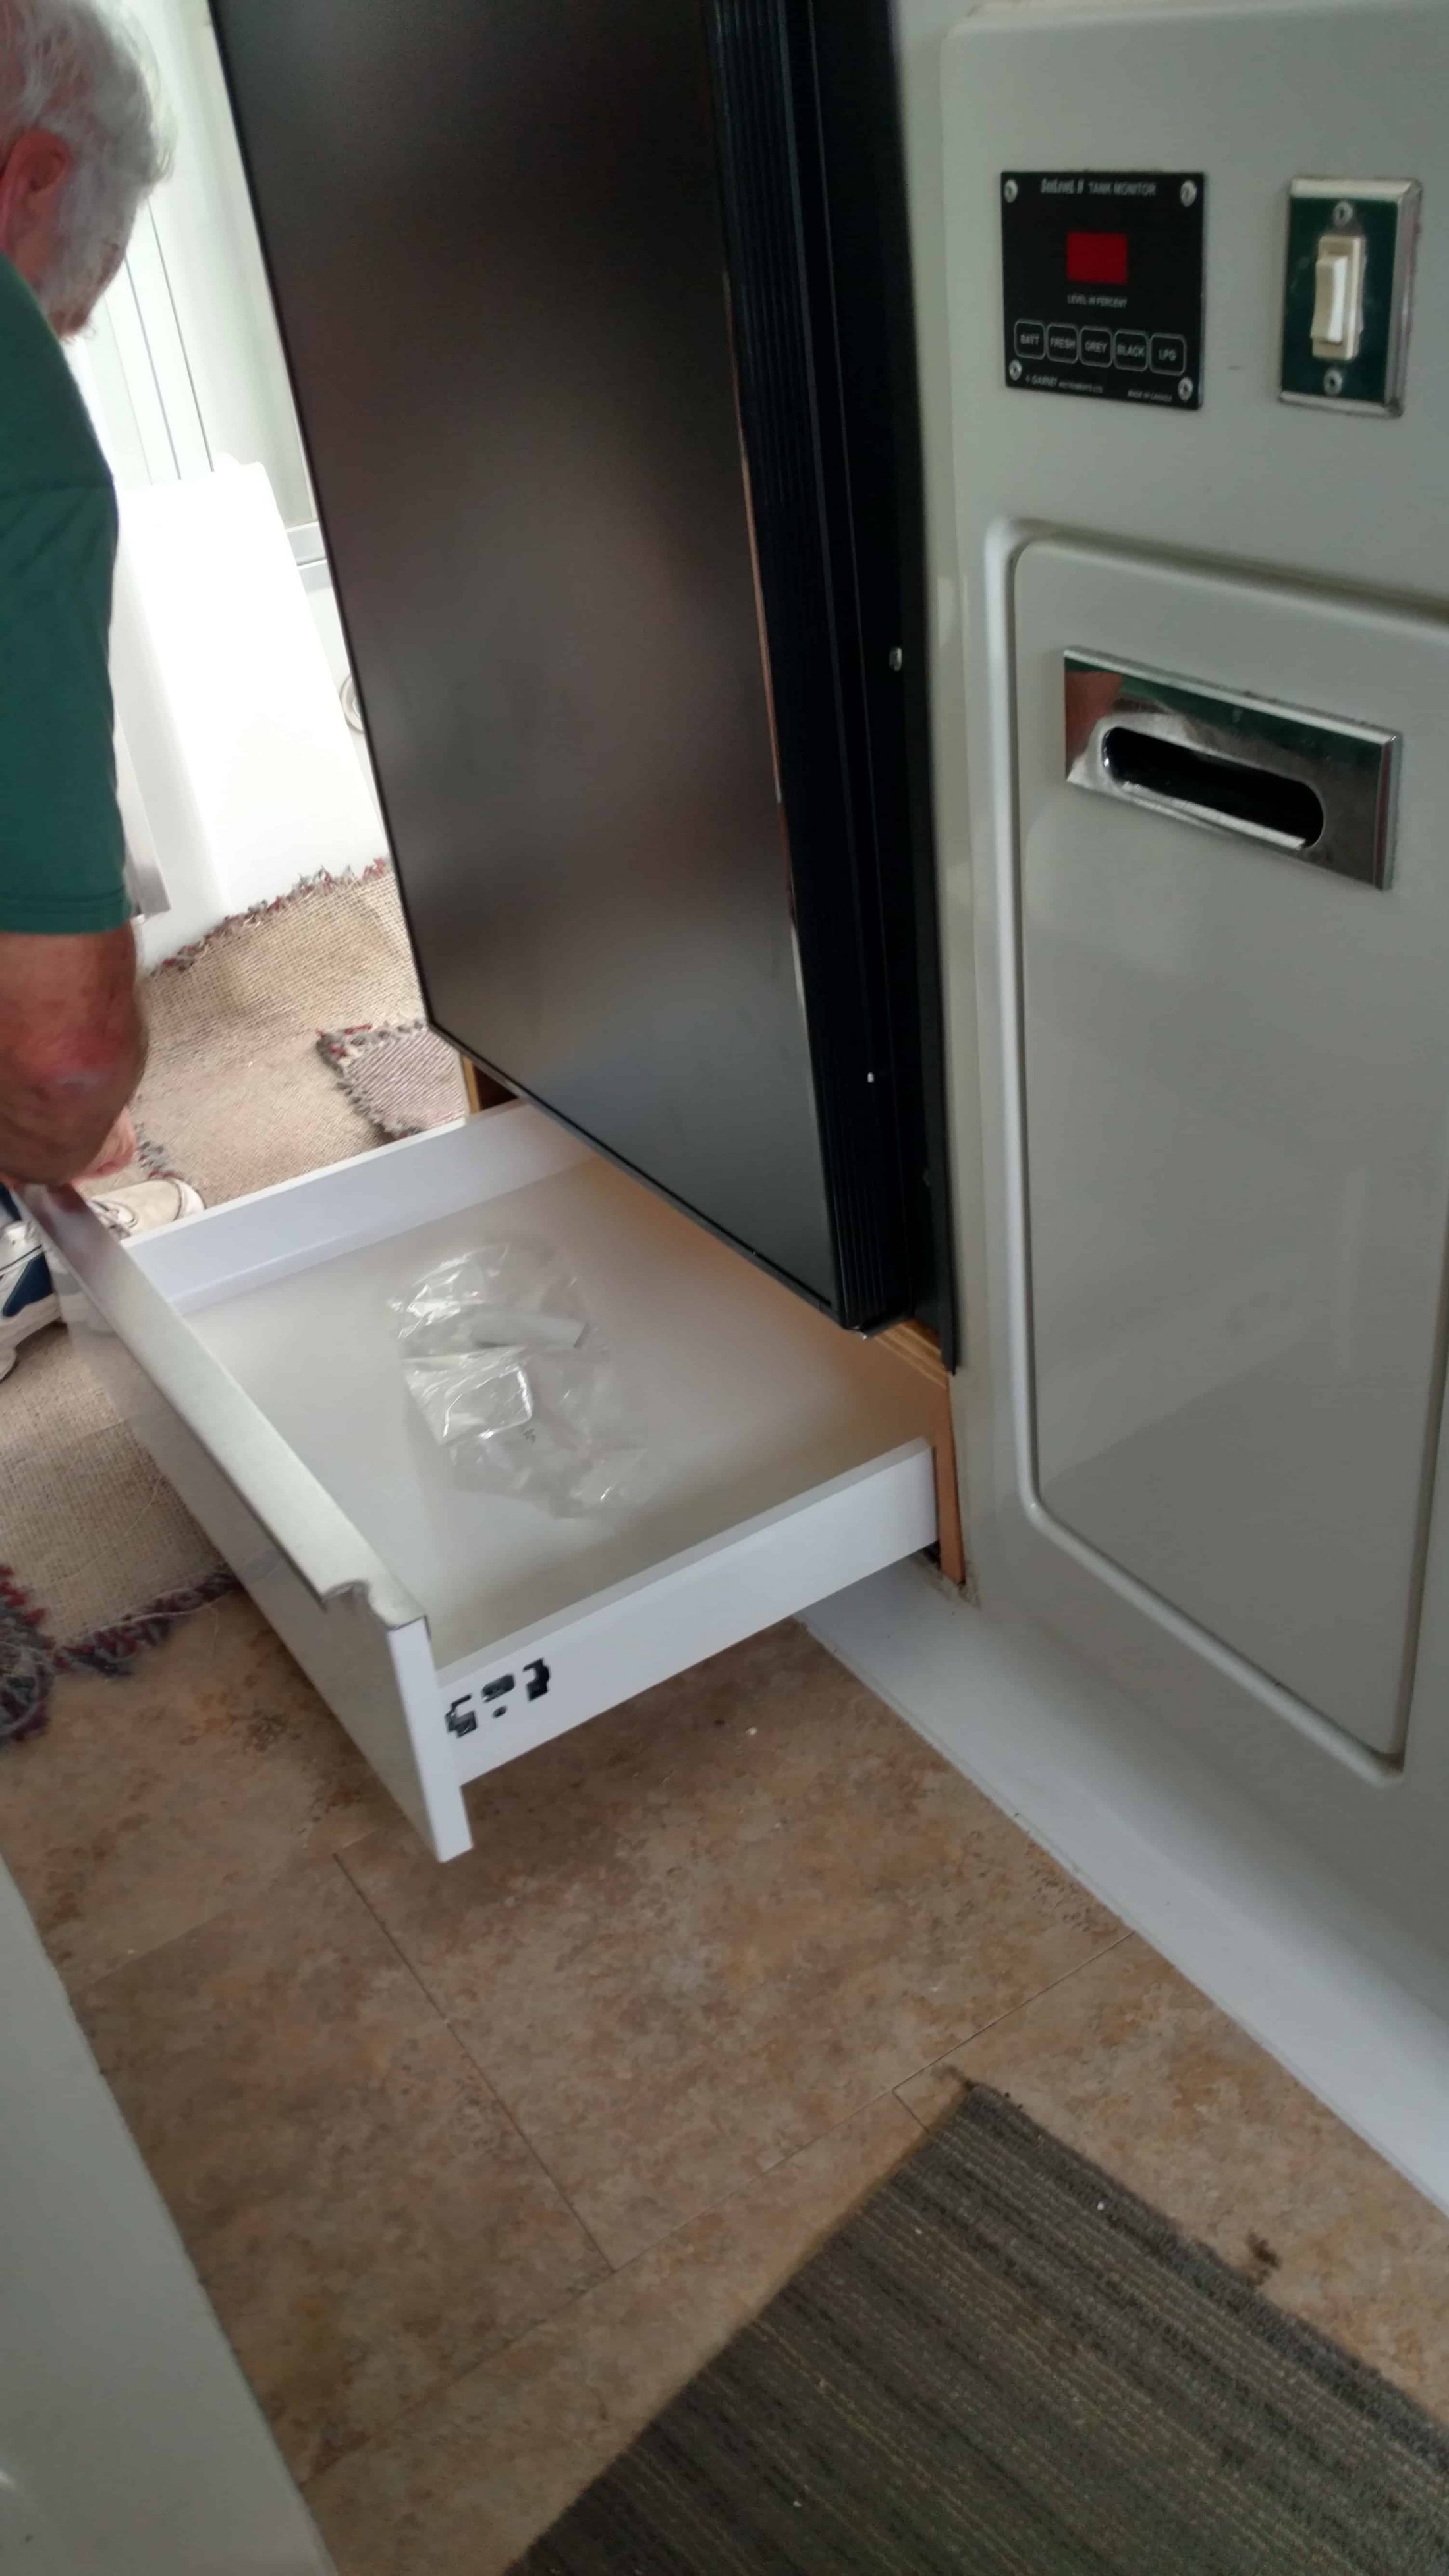
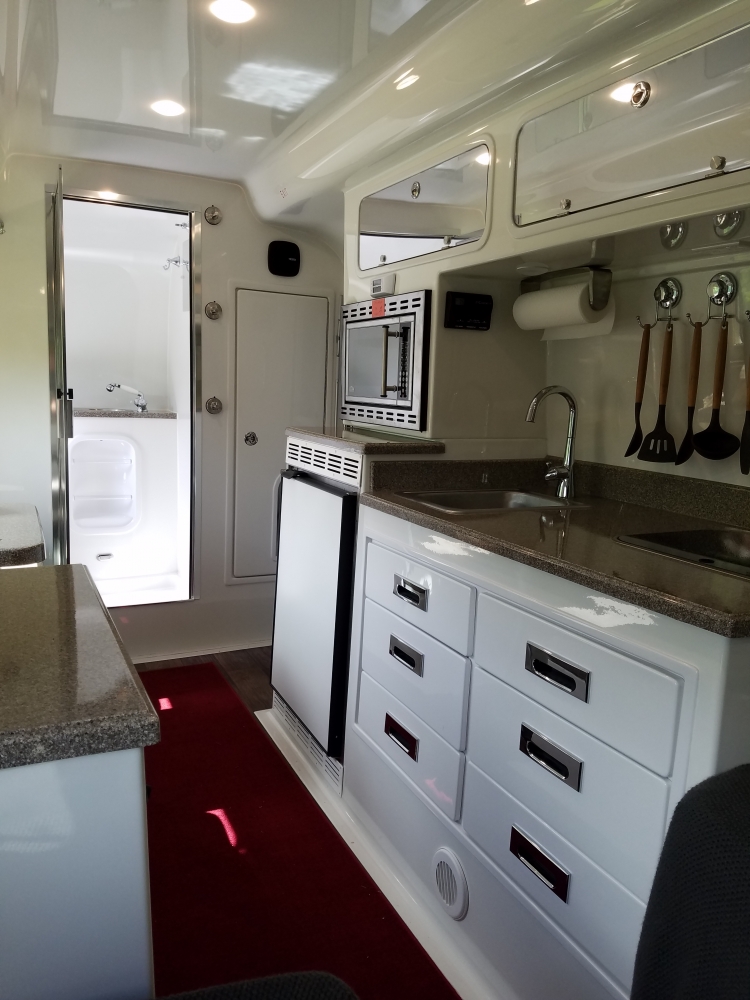
John, We're not home right now, but I'll add a link to the discussion on replacing our dometic with an isotherm truck fridge. Our oliver hasn't been out of the storage slot, as we're once again delivering a stick built RV to Alaska, but I have extensively tested it in our side yard, in the shade, and I'm really happy with the results. We've used the compressor fridges in rentals in Australia and New Zealand, and were very happy with the results, even with no solar, but smaller fridges. I'll be able to give you real world camping results later in the year, but I'm confident in our new danfoss/secop type fridge from at home testing. I not only got a slightly bigger capacity fridge that should run on solar (if we have sun), but I got a drawer beneath it, too. Ah, the luxury. Lots of photos. http://olivertraveltrailers.com/topic/legacy-elite-ii-dometic-rm2454-refer/1 point
-
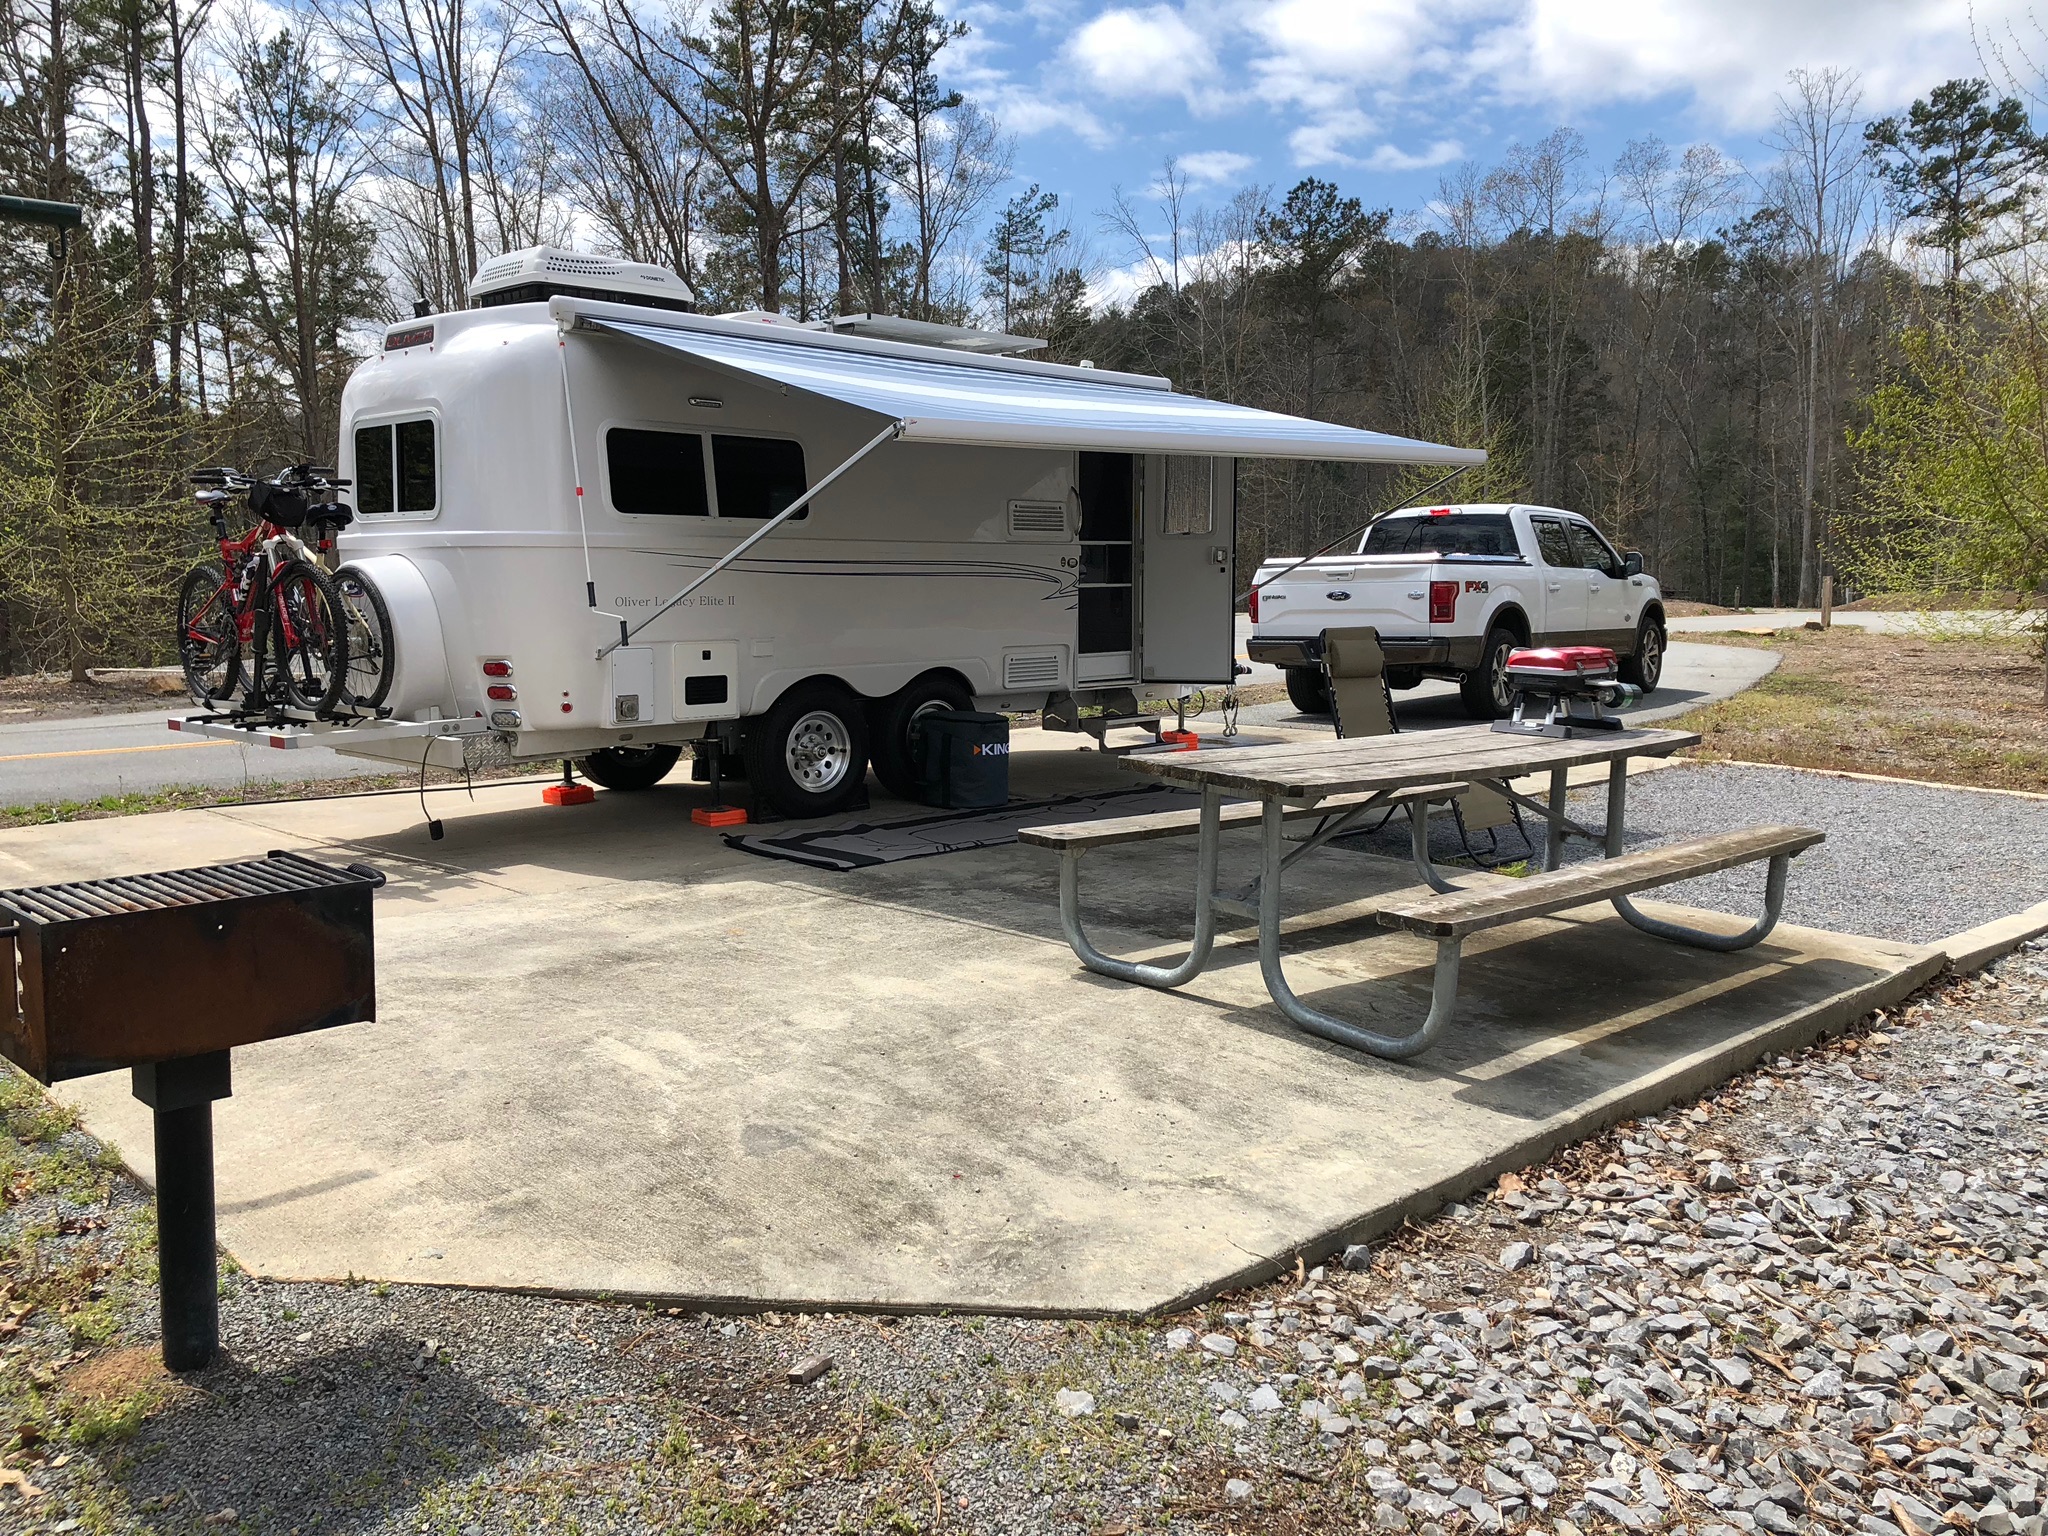
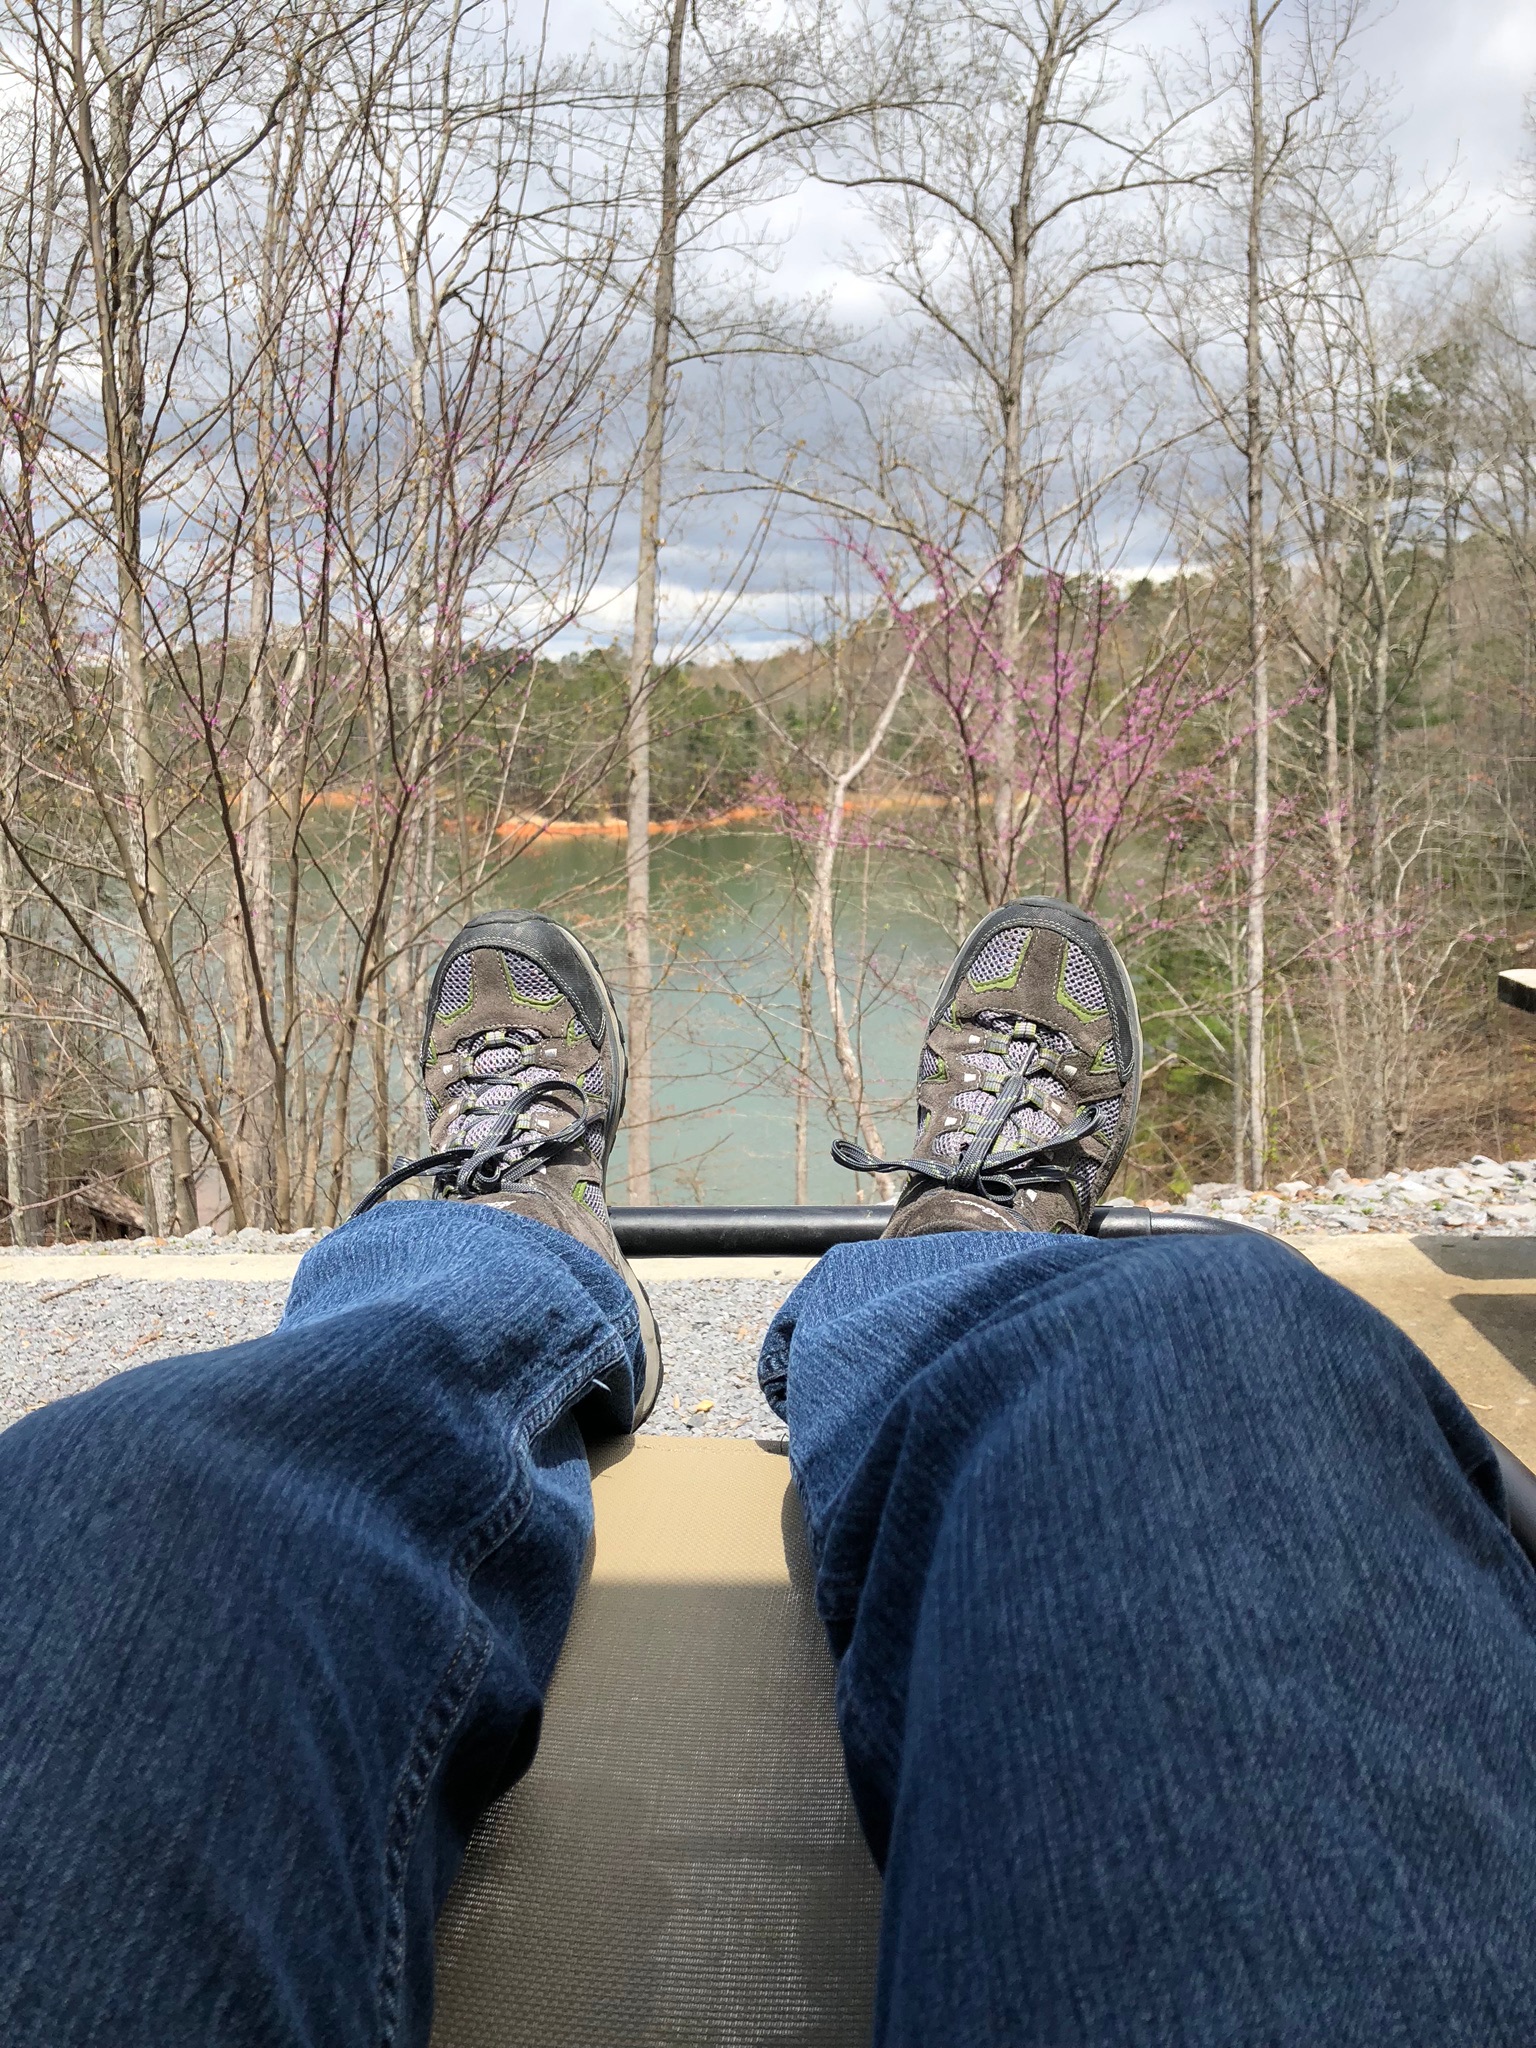
Took the Olliver camping to Carters Lake, a COE campground in Ellijay, Georgia , 2hours North of Atlanta. The park has two sides; one sits high on the lake and has great views. Campgrounds are spotless and they have electric and water and a dump site. The other side is much more family friendly with a beach area. That area is very isolated so make sure to take your provisions.
 1 point
 -
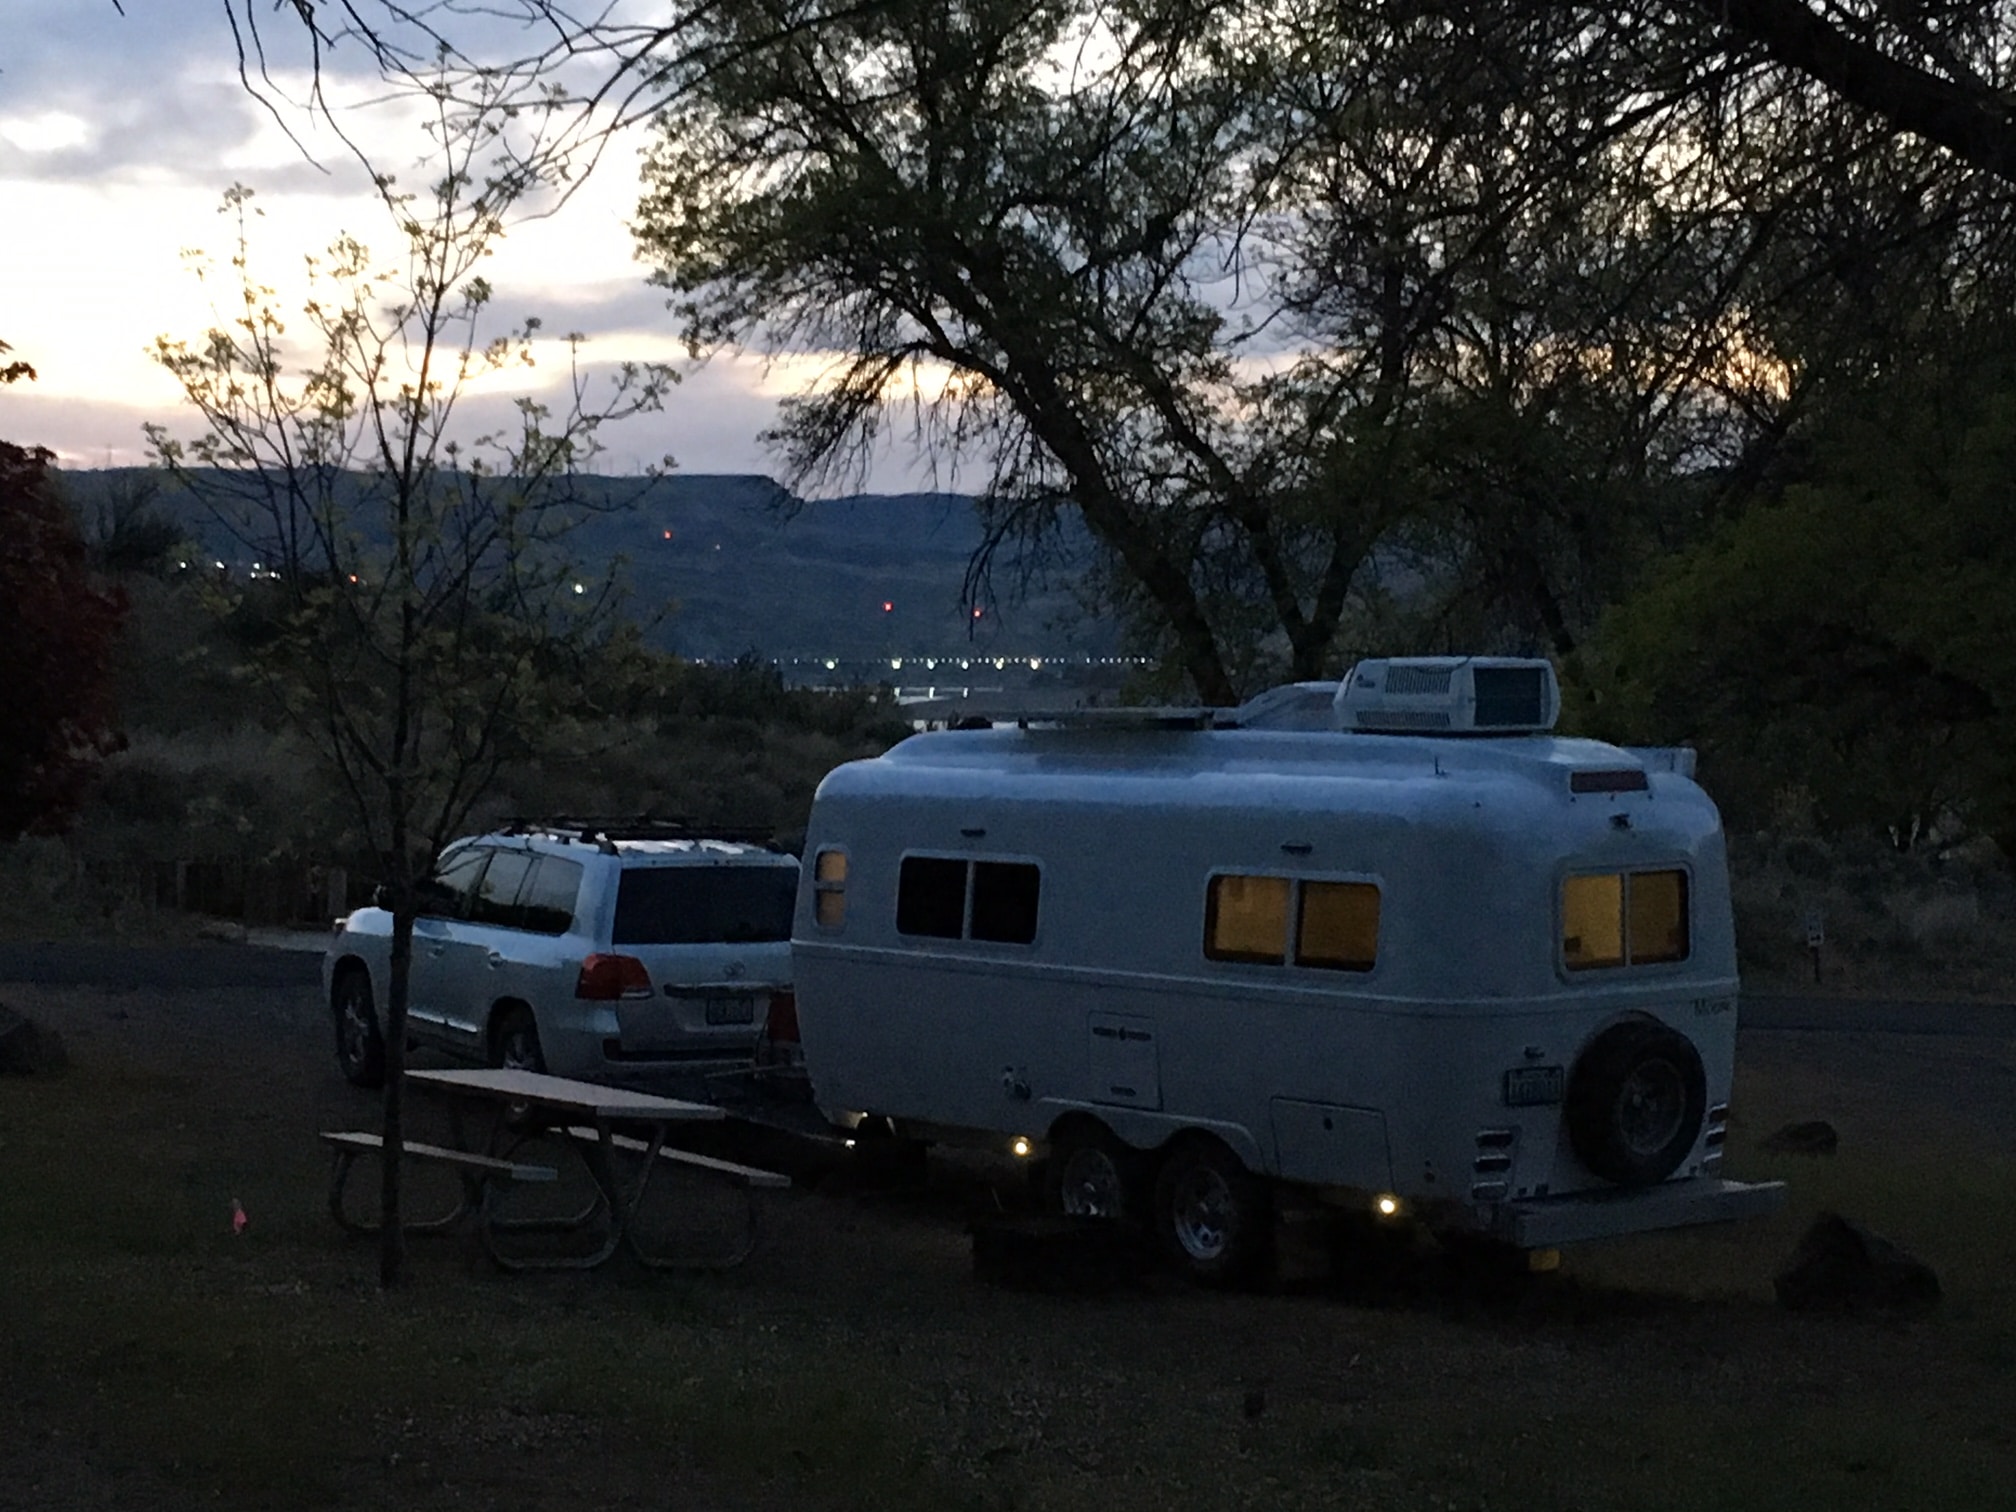
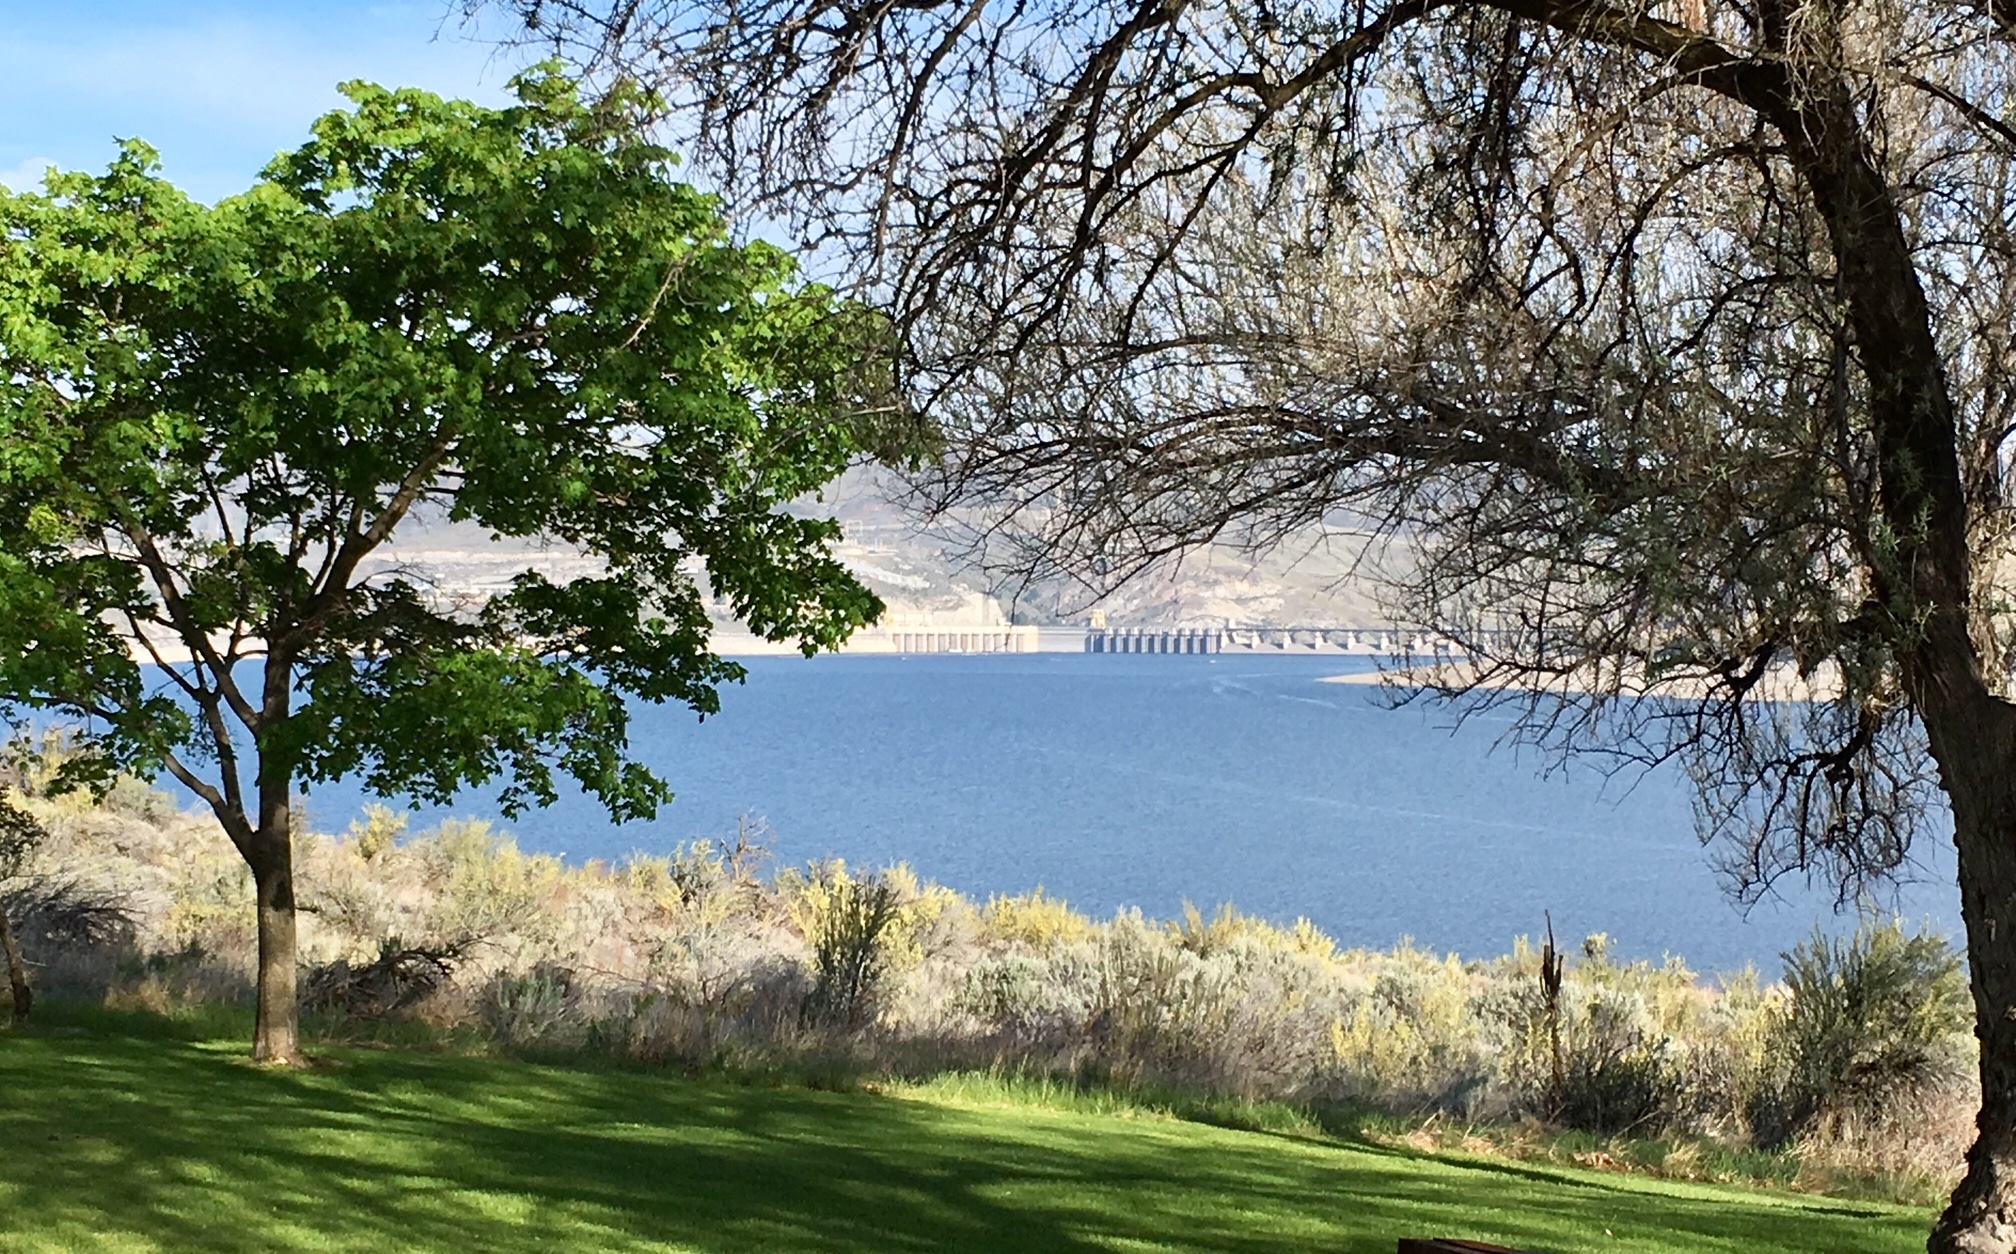
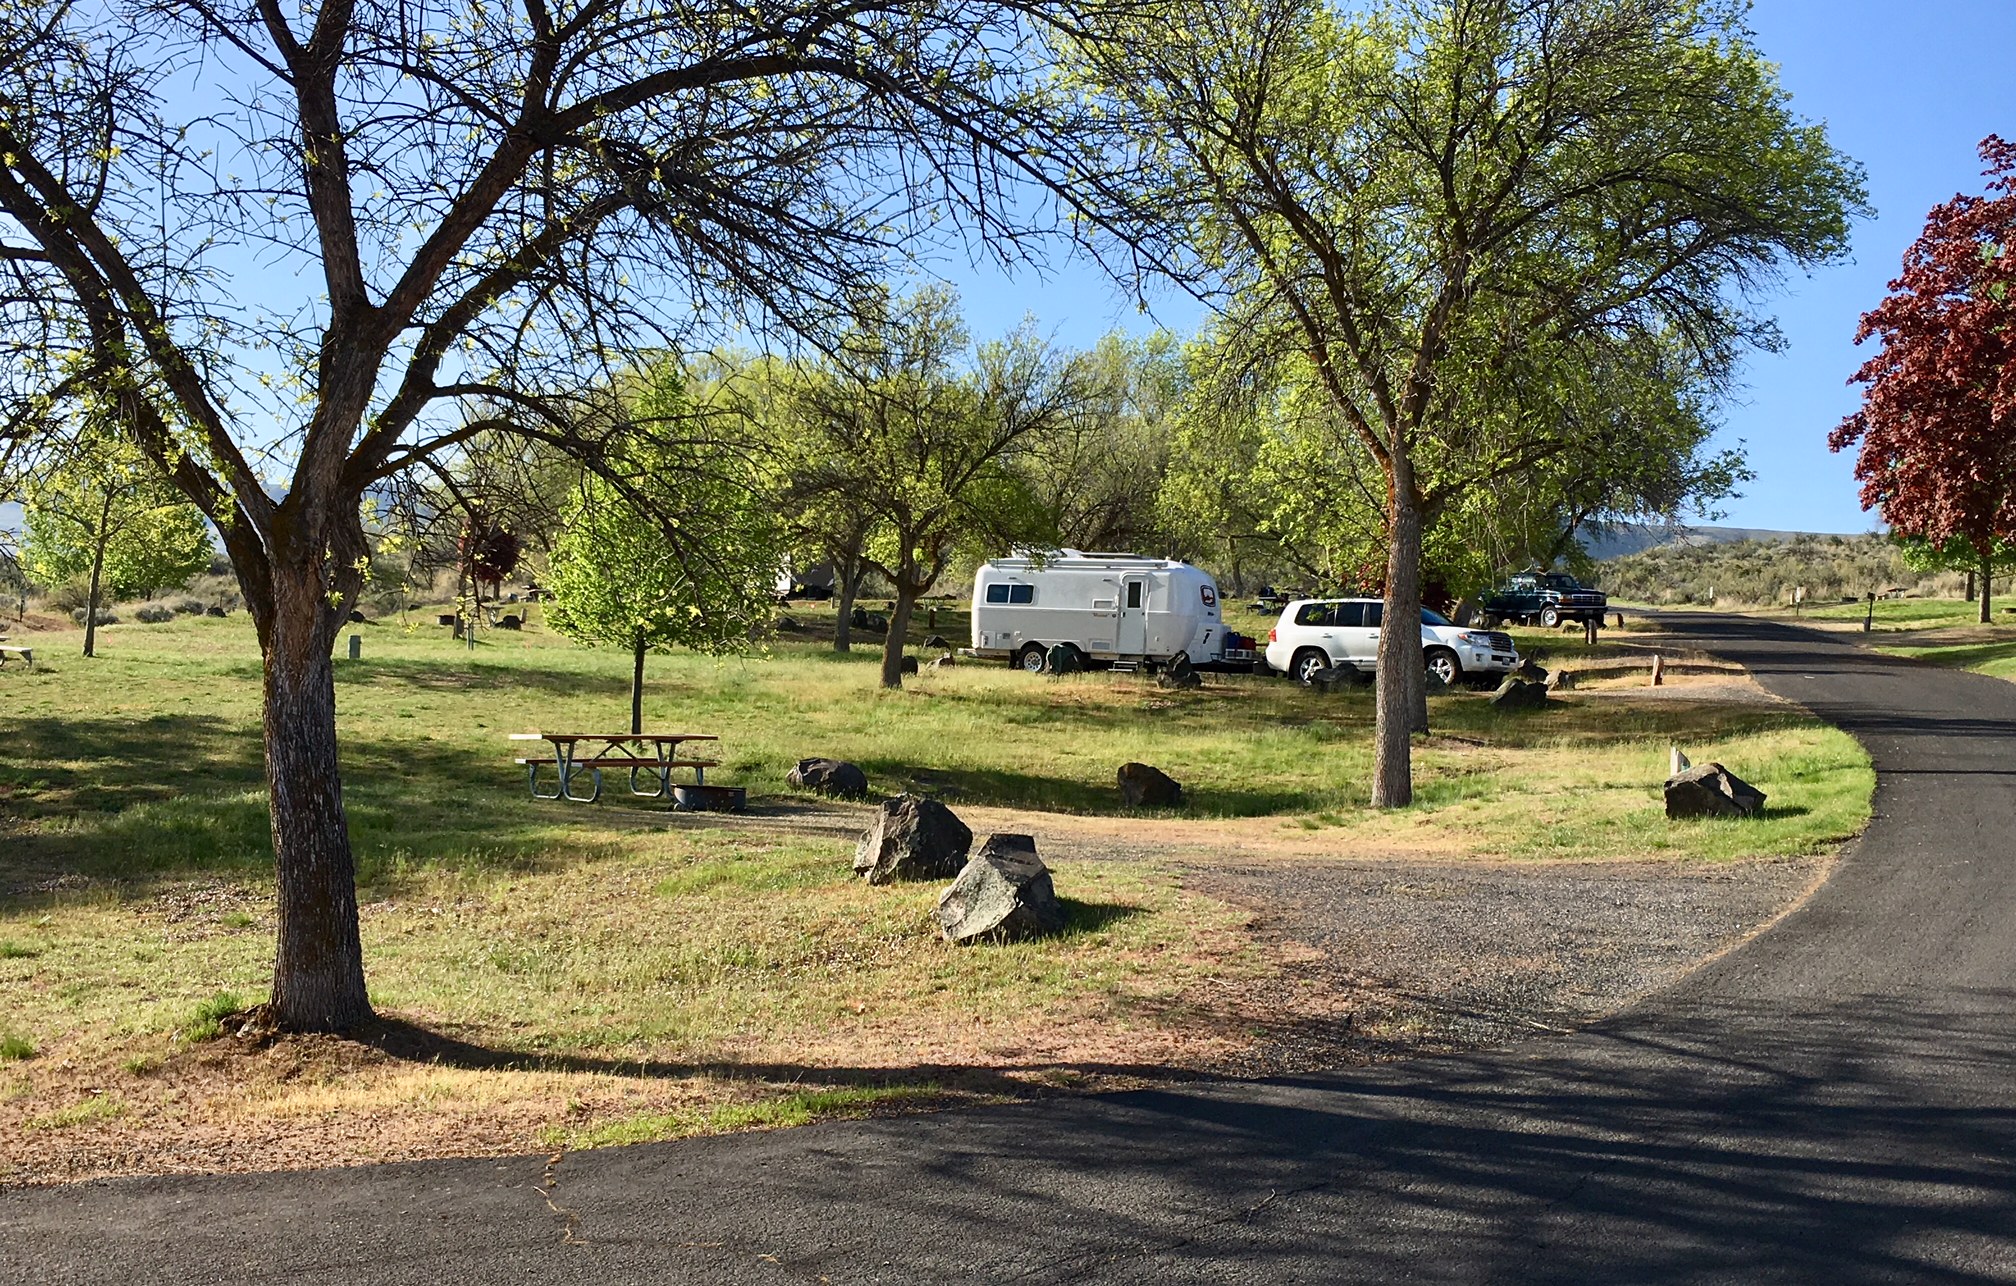
Spring Canyon Campground, on Lake Roosevelt two miles east of Grand Coulee Dam, central Washington. The dam lights are in the background. Lake access is very good, even when the lake level is low this time of year. Rates are $9 off season, $18 starting in May, and you get half off of that with a Federal geezer pass. There are two camping sections, the upper is newer, flatter and more easily navigated with a trailer. But the sites are really strange - they are all very short and back-in, and most have a strange partial carport roof overhead. You are expected to park the TV beside your trailer. I think this was designed before slideouts became ubiquitous. It is very unappealing to me, like camping in an apartment complex parking lot..... Has anyone seen this sort of odd arrangement elsewhere? It certainly would defeat the purpose of roof solar panels! The older lower section is on a substantial slope and the gravel pads are not real even. But the best view is there. Verizon cell signal is very strong a little way up the slope where we are. There are restrooms with running water but no hookups. There is a dump station. While shaded, there is lots of sun and it may be really hot in summer, though winter conditions are mild due to the low elevation. Winter camping here is encouraged. If you want to visit the dam area including wonderful Steamboat Rock State Park, and not pay $40 to camp, this is a teriffic location. But very busy in summer! Some sites are reservable. John Davies Spokane WA
1 point
-
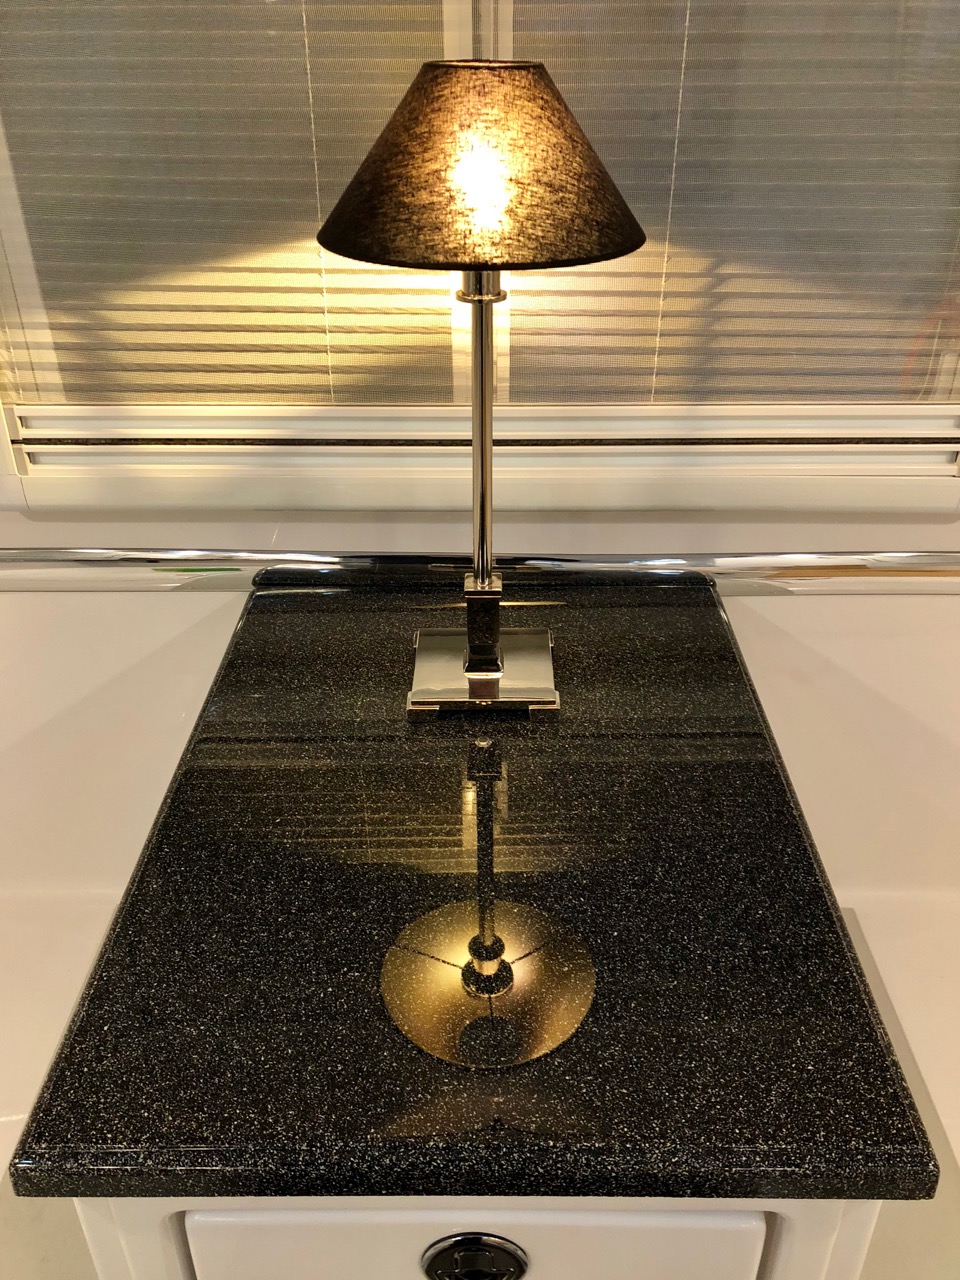
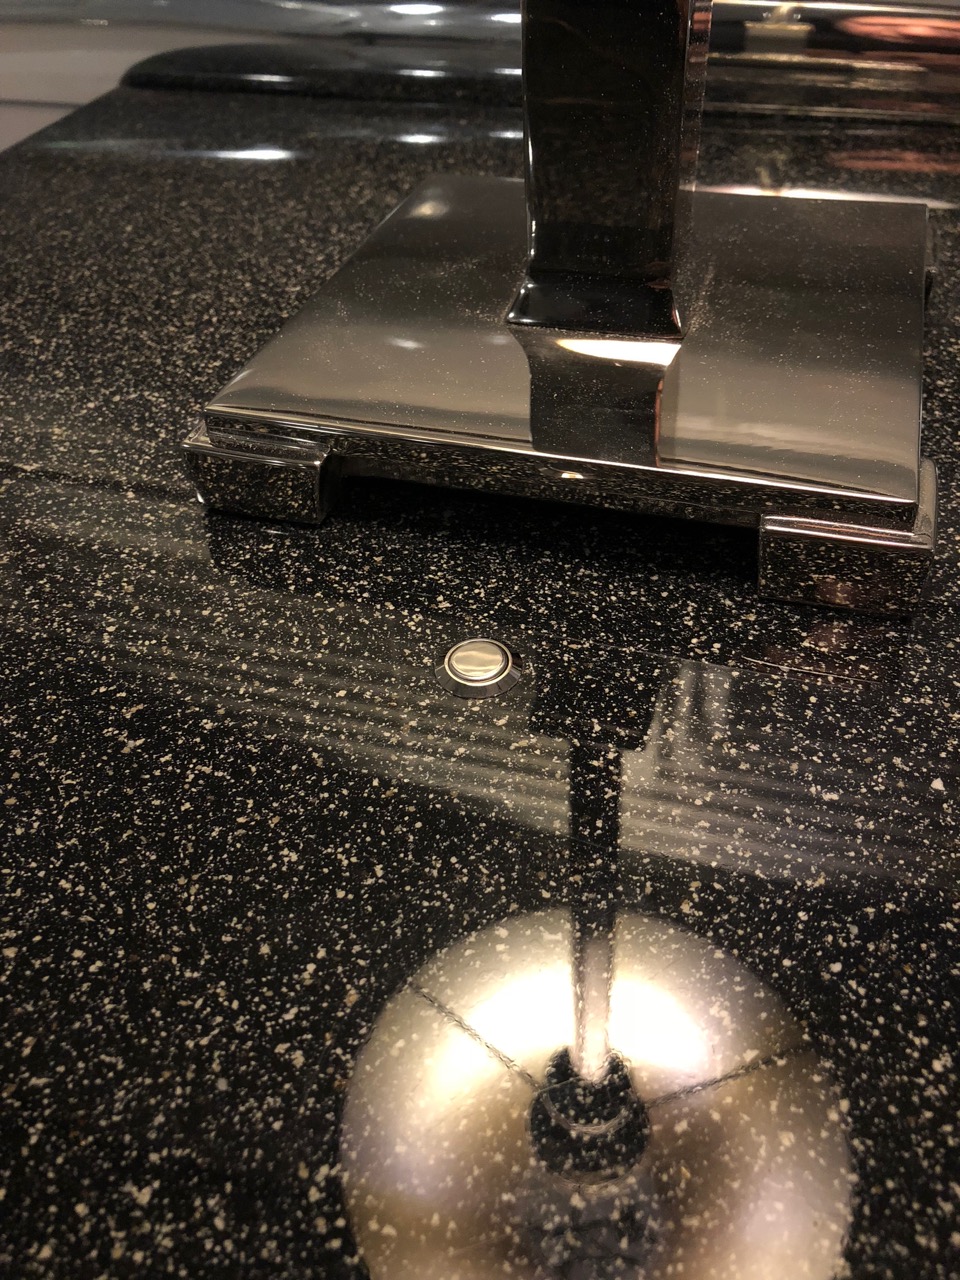
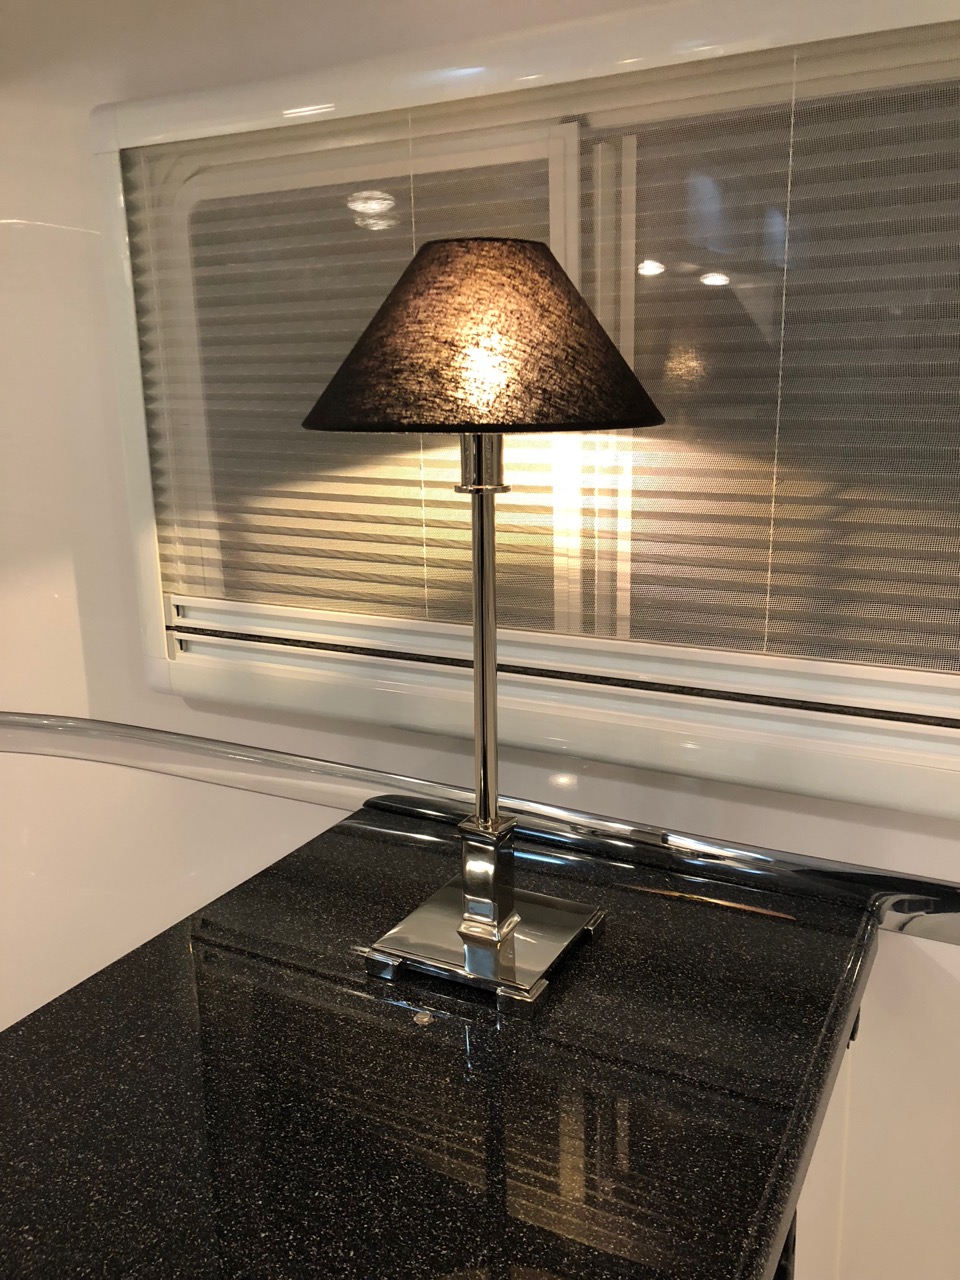
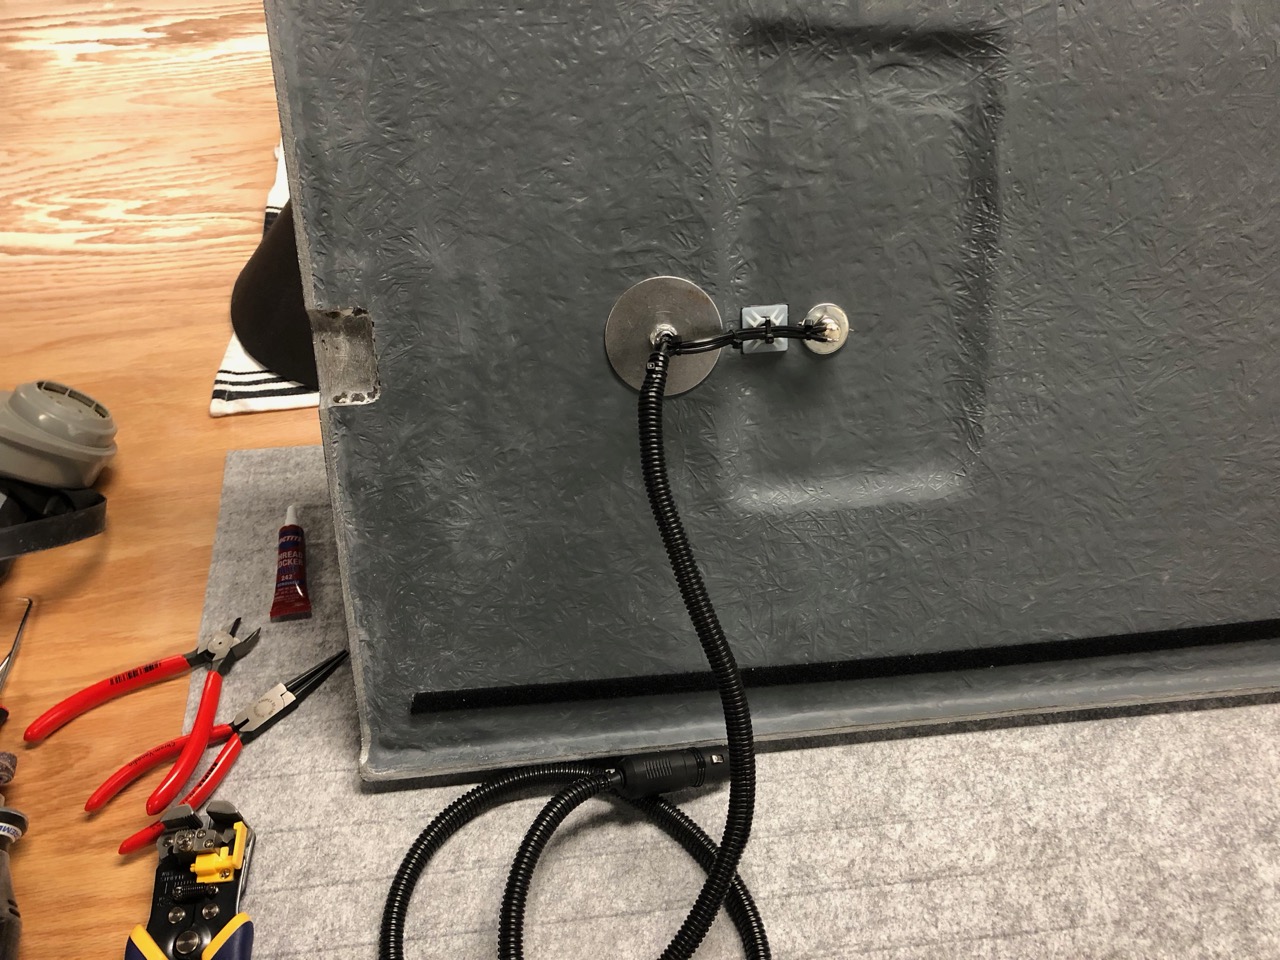
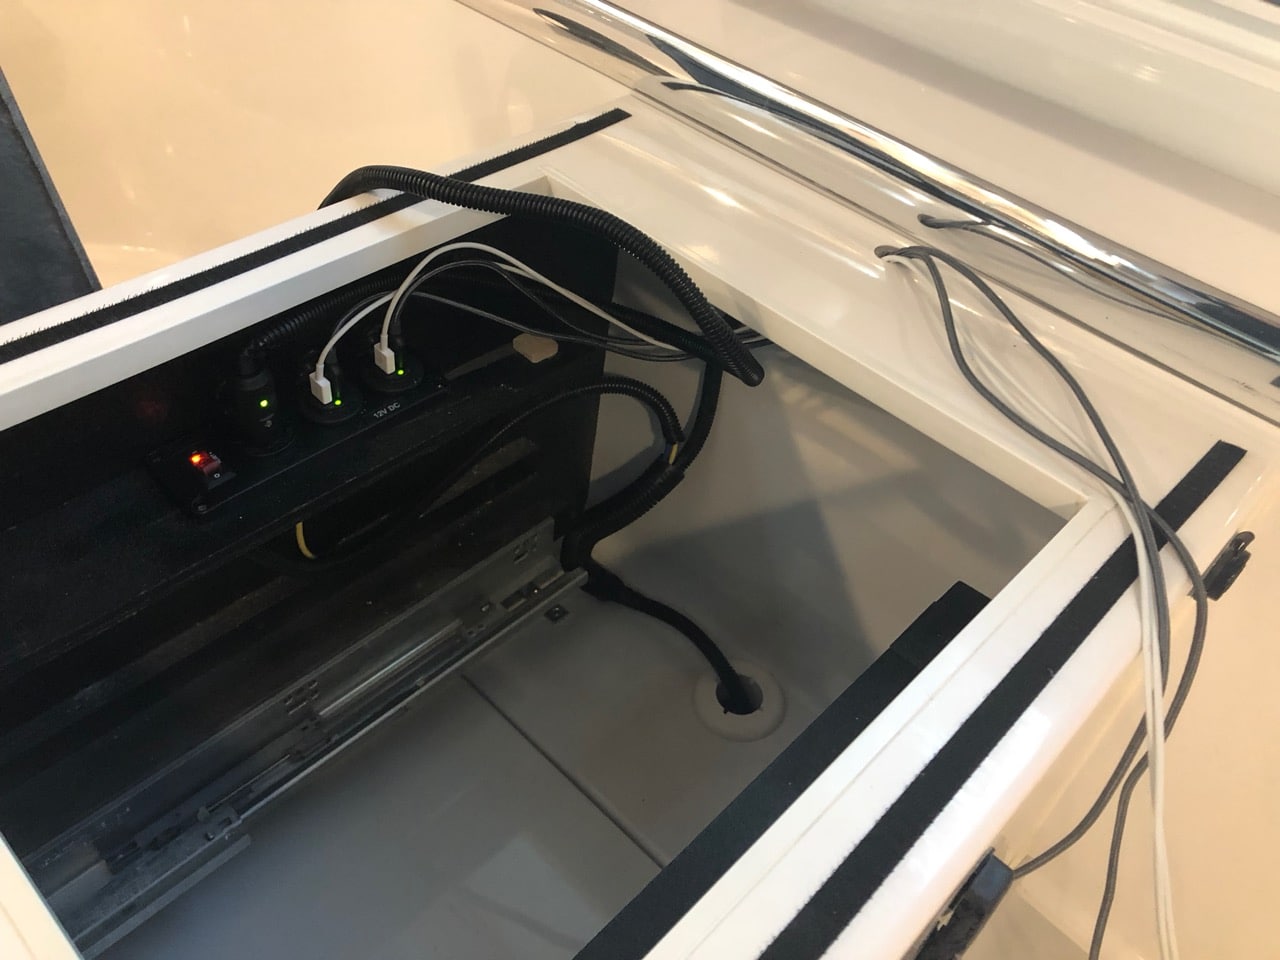
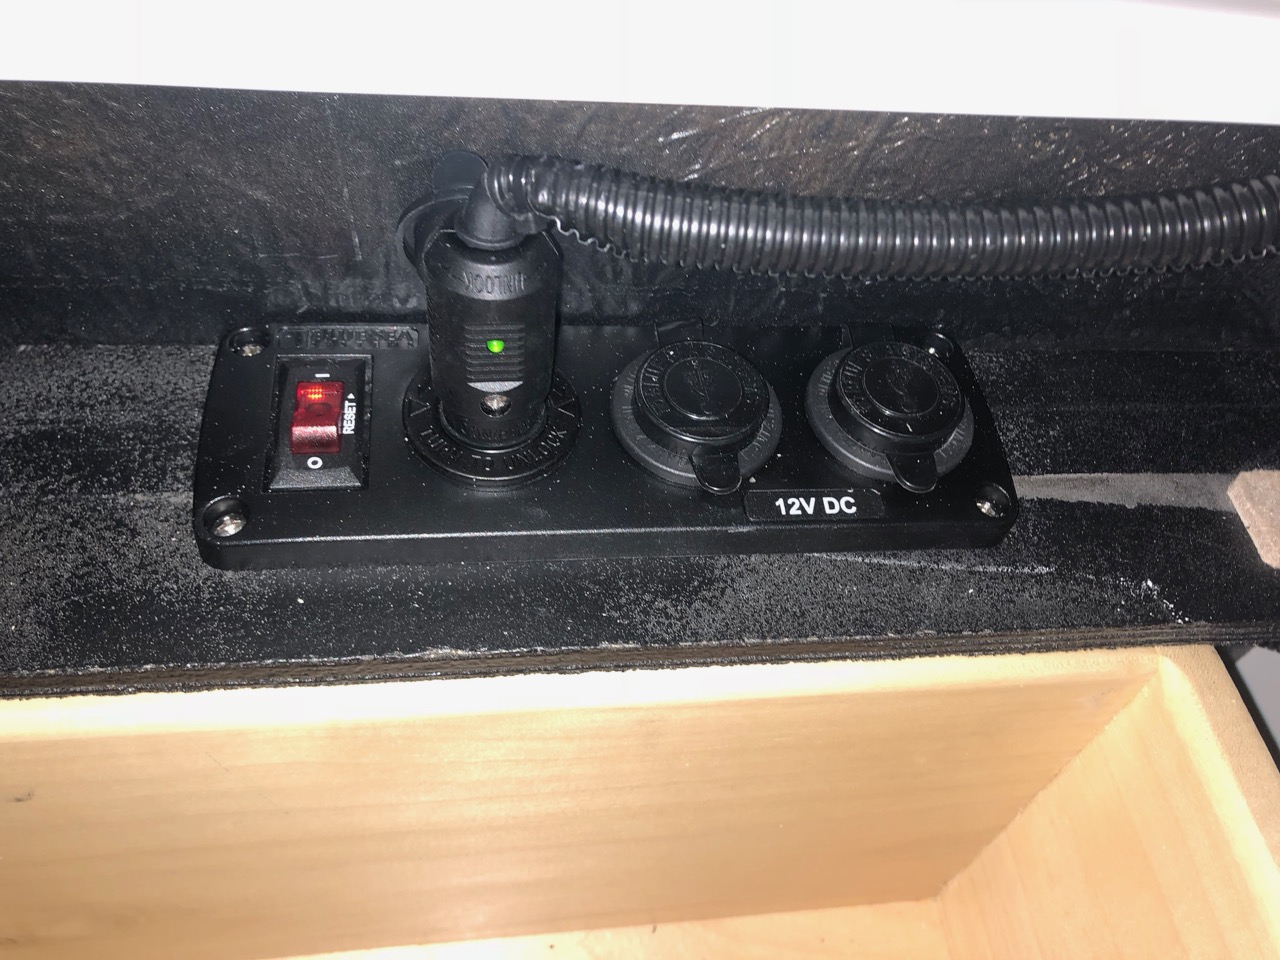
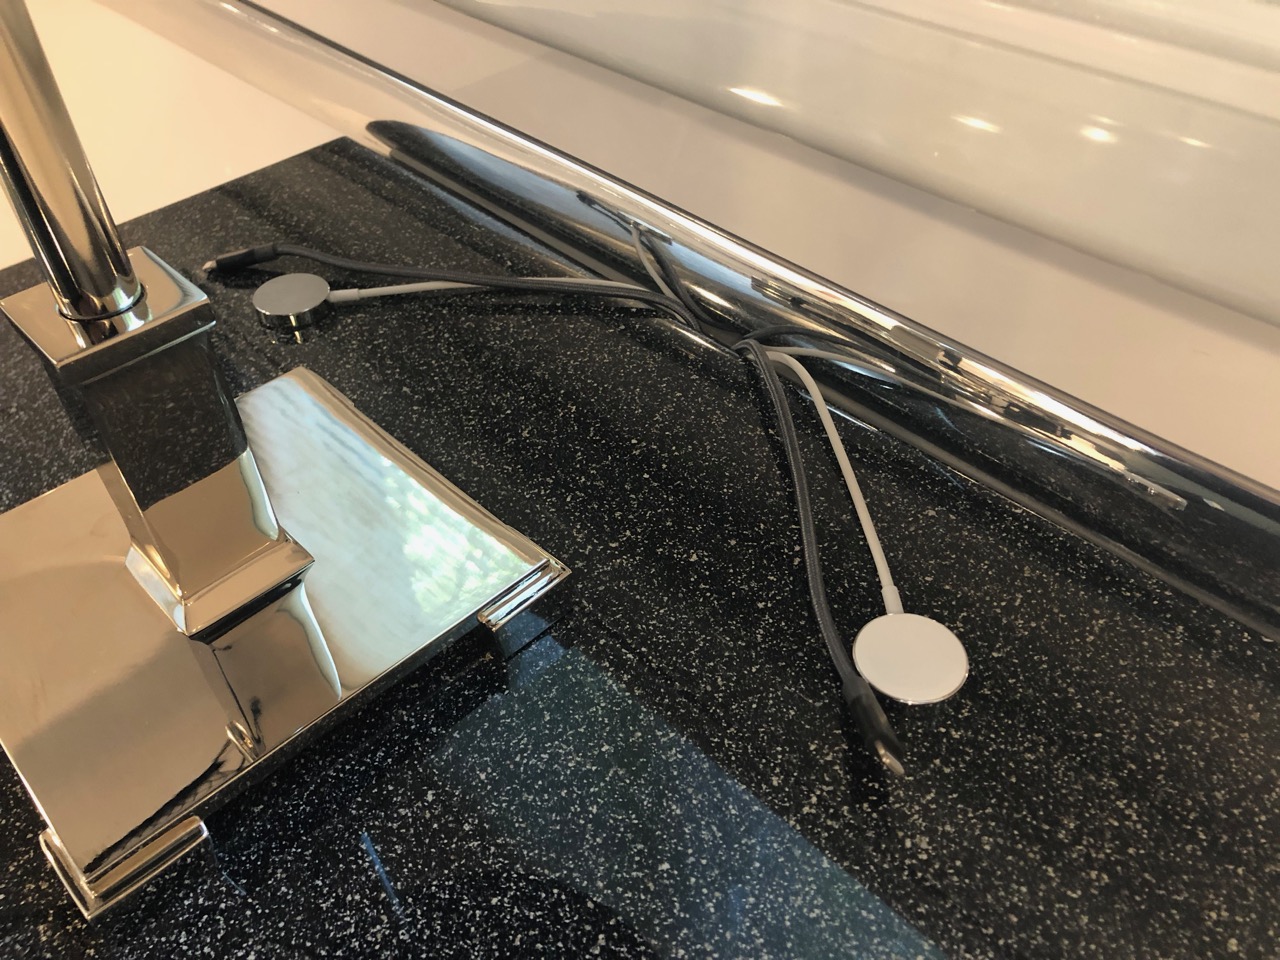
One thing we noticed the first few nights sleeping in the Ollie was that there's not a convenient light or light switch that can be reached from the bed. If you're on the curb side, you can sit up and flip a switch if you remember which one to flip but otherwise you have to get out of bed to turn on or off the lights. I loved the cool table lamp that @scubarx installed in the Outlaw Oliver, so I added a lamp to the list of to do's. My list of requirements for the lamp were: that it be 12 volt so that I didn't need to be plugged in or have the inverter on to use it; that it be securely mounted but easily removed; that all the wiring should be hidden and everything look completely built in; that the bulb have a nice warm temperature (I'm a believer in having only low temp lighting on for at least an hour before bed); that it have a switch that's easily accessible while lying in bed; and that the lamp itself should be high quality, able to withstand bumps and vibrations, and last the life of the trailer. So, with all that in mind, I first picked out the lamp. We went with the Petite Candlestick Lamp from Restoration Hardware. I would have preferred something a little bit more modern, but this one was the right size and has an Art Deco feel to it that I think goes fine with everything else we've done and with the trailer itself. It's way too tall as it comes, but dismantling it and cutting it down to a reasonable height for the trailer is pretty straightforward. I've gotten several lamps from Restoration Hardware, and they've all been super high quality and this one is no exception. They have a yearly or twice yearly half-off sale on lighting, so if you get one from them, be patient and wait because they're arguably overpriced at retail. Secondly, I found these bulbs on Amazon, which you can get in warm white or daylight, whichever you prefer. That's really all you need to convert a lamp to 12 volt these days, apart from swapping out the plug or direct wiring it to the trailer. I went with a lighter plug since I wanted to be able to remove the lamp. You can get those anywhere, but I highly recommend a locking marine style plug because the quality difference is substantial. Third, you'll need a socket for the plug if you go that route. I was fortunate in that I had asked Oliver to provide us with USB ports on the nightstand, so I already had 12 volt power run. If you don't, then you'll need to tap into the wiring behind the breaker panel on the right side of the attic and then run your wiring down to the basement and then up through the base of the nightstand. Shouldn't be too difficult but I can't say for sure since I didn't have to go that route. But I did need the socket, and while I was at it I wanted to add some USB ports inside the nightstand as well. (That's actually what I'd asked for, but Oliver placed the outlets on the side of the nightstand instead. Easily accessible, but otherwise you've got to deal with cords getting in the way of bedding and a little green light shining in your eyes.) So I ordered a combination outlet panel by Blue Sea off Amazon. It has a pair of dual USB sockets and a lighter outlet, and also has a switch and circuit breaker inside. It's a really nice panel. Finally, I decided that a little chrome push button mounted to the table top in front of the lamp would make for a great switch. This one was perfect. So, how to mount the lamp to the table. Steve and Tali had the genius idea of glueing magnets to the base of their lamp and to the underside of the table top. I experimented with that but just couldn't get it to work. Maybe the table tops are different or thicker, but I just got a really weak hold even with some super strong magnets. So instead, I decided to bolt through. Since I had the lamp apart anyway, I just swapped out the threaded rod holding it together with one that was a few inches longer than what I needed. (The way the original rod was made it couldn't be cut down.) When I put the lamp back together, I left the extra rod sitting out the base at the bottom. Then carefully drilled a ½" hole where I wanted the lamp, put the rod through the hole and screwed it in. I got the biggest washer I could find to distribute the load on the tabletop. Then I drilled another ½" hole just in front of the lamp and mounted the switch. The switch is just a tad mushy for my taste, but it's acceptable and I like the way it kind of disappears in all the reflections on the top. Underneath, wiring it up was a simple task and the only tricky part was that I had to solder the connections to the switch, and I've never developed good soldering skills. But it works. I added a few zip tie mounts with VHB tape to hold the wiring in place out of the way and keep it from vibrating too much. The switch connection is a bit exposed, so I think I might paint some plasti dip on the leads. Finally, I added the lighter plug, leaving plenty of slack in the cord, and covered the cord with wire wrap to protect it. In the nightstand, I removed one of the little shelves that hold the tray in place and mounted the outlet panel there. The panel is a bit too wide, but it's a good spot for it, so I cut a little notch on the bottom of the tray for it to fit back. I just unclipped the wiring from one of the USB outlets Oliver had installed and clipped it to the new panel. I'll probably run a jumper back to that outlet even though I doubt we'll ever use it now. I don't like the angle of the wire coming out of the plug, so I'll need to add another zip tie mount or something there, but I was down to the two I used on the top so I'll need to get some more. I then cut a scallop out of the back of the tray to run the wire, and any other cords we might have for charging stuff in the tray. You'll also notice in the pics that I drilled a hole in the back of the nightstand for USB cords to run, and ground out a little notch in the bottom of the top for the cords. I think I need to grind out a notch along the back as well, since right now I have to pull the top out a bit for the cords. And that's it. Pics...
1 point
-
Sherry, I haven't "permanently" sealed them off, I haven't figured out which way I would like to go. My semi-permanent solution, so far, has been that the bubble wrap insulation I lined the back of the cabinet with the insulating bubble wrap it was first laid into all the contours so that it was built up to make an ultimate flat wall, each layer was taped in place with aluminum flashing tape. So overall, from the vent perspective it is completely tight up against the opening. From the outside, I had some left over 1/32 thick hard sheet vinyl from a crappy tub surround that I cut to fit the opening, with the top part slid in behind the opening and the bottom on the outside of the lip, so that any water that gets in runs out and the vent cover is enough to keep it place. While I don't consider it permanent, everything about it works if it is still there 10 years from now.1 point
-
Thanks, overland. Is that a vent below the fridge, and to the right? I'm assuming that the vent in the vertical microfiber backsplash is also for your fridge? Yes, the top of the flange is a vent. Right now, our tf130 has mega venting, as we have not closed any of the original vents from the three way, but we want to. I'm leery about road dust and dirt and mud daubers, in a more intricate environment. We can still get in to clean and vacuum, even if we seal the outdoor vents with film or foam sheets. And it would eliminate some cold air circulation... Not sure what to close or leave open yet. We have a few months left to test. During the day today, we only lost 6 hours of battery time, which is great, but with all the shade from two tall homes, and a bunch of trees, we don't get much solar in the side yard. We plugged into the house an hour ago. I don't want to stretch the batteries. We were at 79 per cent. Technically, plugged in, still all solar power, because we run the house off solar....but... My thoughts right now are, plug in at home, bring the fridge down from 70 to 39 on house solar, and we may be ok. We'll see. At most today, I was getting momentary 3 amp gain. Mostly .5 to 1.5, in the best sun of the day, because of where we park. I've never really monitored gain here, because usually nothing is running. That's ok. Like I said before, I'd like to know what we can and can't do, before we leave for boondocking. I'm jotting notes each time I am in the trailer, for reference. More later, but dinner is almost ready. Sherry1 point
-
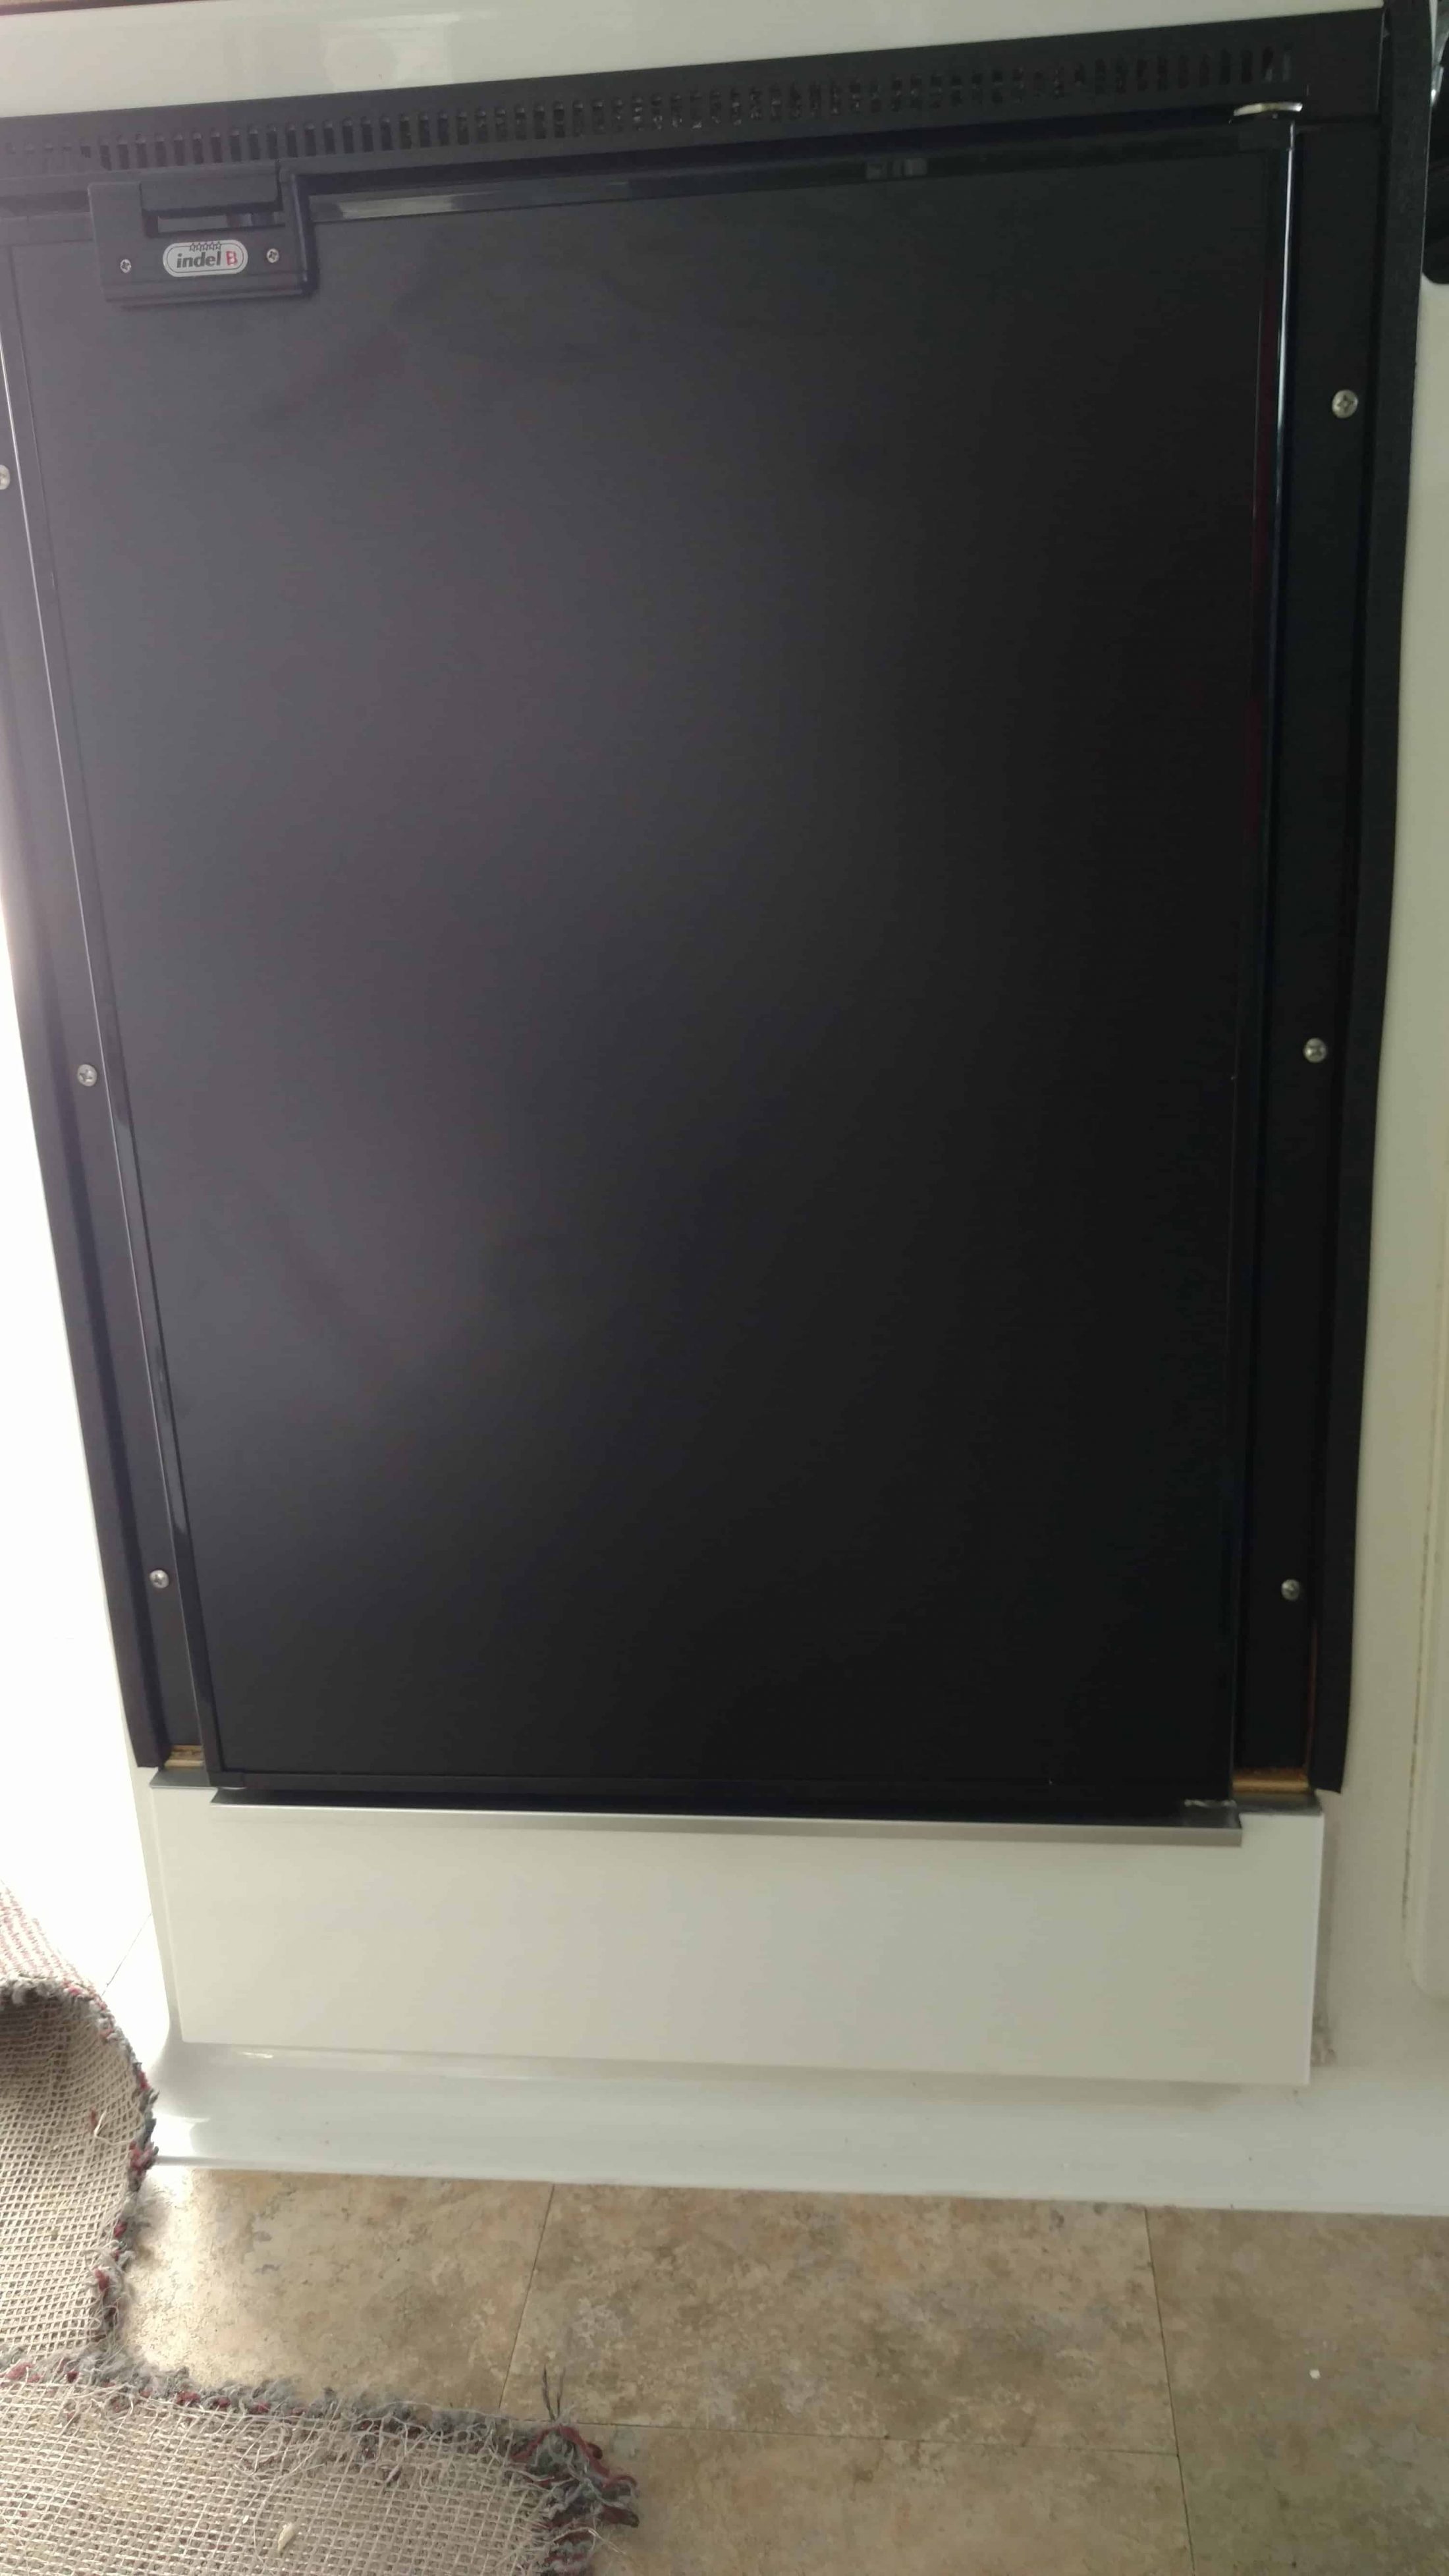
So, it's been a week, with other more pressing projects, and houseguests, too, but Paul finished the install of my new tf130. I'm so happy. We plugged it in at 2:26 pm today, with batteries on 100 percent. Set the fridge to coldest setting, and closed the door. Checked it every half hour on the monitor for power consumption. Running on solar only, in the shade. Went to dinner at five. Averaging 3.5 to 4.1 amps consumption. At 8, I opened the fridge and checked the temp with my kitchen digital thermometer. 36 degrees on center shelf. Battery is at 12.4 volts, 93 per cent. Sundown was awhile ago, and in the shade, we weren't gaining more than .7 amps at best, from 2 to 4 pm. .3 gain against draw when we left. I'm so very happy with the performance so far. It was in the high 70 s today. Supposed to be 80, but I don't think we got there. Planning to run and use the fridge on solar only in the shaded side yard for awhile, to see what we can expect when camping. I'm also very happy to have the fridge off the floor by another seven inches, and a big drawer, six high, underneath. We did use some recycled styrofoam panels as extra insulation on the sides. The fridge is so quiet, I have to put my ear next to it to hear the low humidity of the fan. Now, on to the microwave cabinet replacement, and back to boat projects... simultaneously... Wish us luck. Sherry
1 point
-
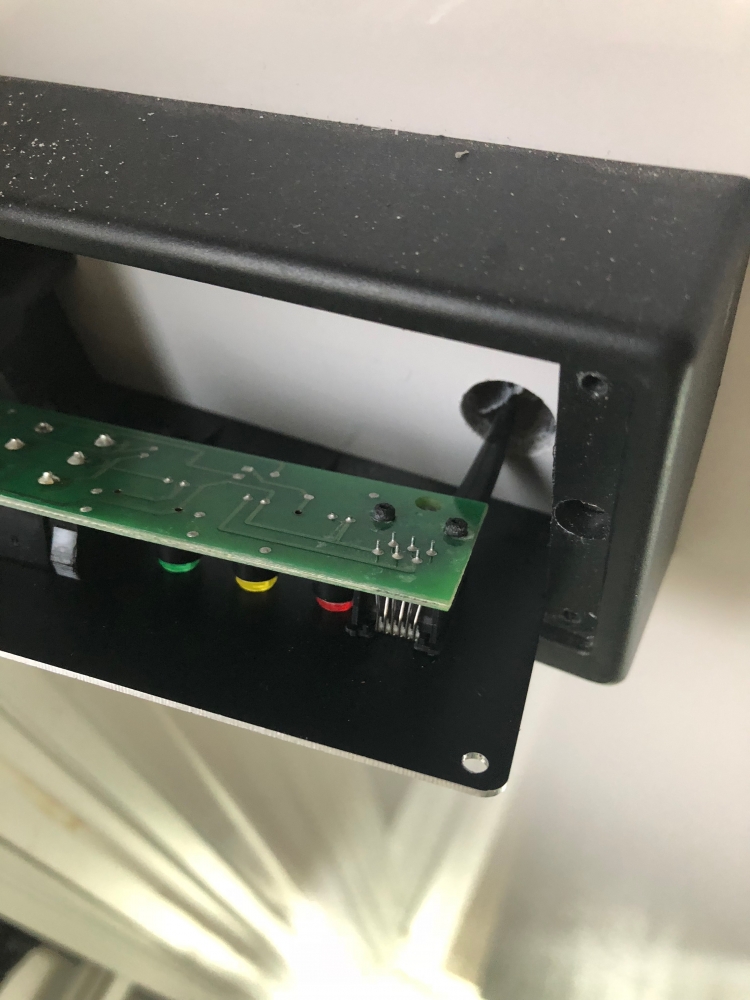
I wouldn't read anything into the 3-phase thing as they're just talking about the internal workings of the compressor. They use a Danfoss BD35F compressor in this fridge (12v only) which can be run at four speeds: 2000-3500 rpm in 500 rpm increments. Indel (Isotherm) only uses the lower 3 speeds for some reason, hence the 75%. When the fridge detects a charge, it will allow the compressor to be run at 3000 rpm. Otherwise, it limits the rpm to 2000 or 2500, depending on the switch setting. I don't remember what the voltage needs to be before it will allow the boost mode, but it will detect a solar charge. The Danfoss compressors, btw, use a trick similar to the soft starts that everyone is adding to their AC units - it does a phase alignment at start up to reduce the locked rotor amps and that's what allows them to run on 12v. They're very robust units and are found in a wide range of mobile fridge and freezer units. Isotherm is a marine brand, but as stated above, Indel brands these fridges under multiple names, some of which are specifically marketed for road use. The problem, btw, does seem to have been the ASU module. I haven't tried out the ASU mode yet, but the fridge is now working under manual mode just fine. I suspect that the unit was either DOA from the factory, or fried at some point during construction at Oliver. It could also be that it was never pushed in all the way which led it to short out and then eventually vibrate off. I say that because when it's pushed in fully, it's in there super tight. But I'll add a few dollops of silicone to hold it in place anyway, just because it's come out once and why take chances. While the fridge is out, I'm going to insulate the cabinet and add a layer of reflectix to the fridge itself. I'm concerned about the installation now, as the mounting holes for the fridge all look like this: Nice. 3 screws seem to be holding, but one already spins. I think the solution is to glue in some wood blocks behind and then some longer screws. I'll see if Oliver can oblige. One other thing I've run into multiple times is this: That's the control panel for the fridge and a full ¾" of slack that I have in the cable to work with. It's really frustrating, and I don't know why Oliver does this, but it seems like every other panel is wired this way, with the cables taped in place with gorilla tape and zero slack and then the extra cable wound up elsewhere.
1 point
-
When your having fridge cooling problems, always switch to propane, it is the only stable and reliable cooling platform. Electric AC and DC will only maintain the fridge at best when it's in the 80°s or lower where propane will do a good job at keeping it cool where you want it even over 100°. You will need to set it on 5 for sure in those temps, but we usually run it on 4 the rest of the time or 3 in cold weather :) Reed1 point
-
I'm happy to report that I have finally replaced the stock Dometic with a NovaKool 5810. The swap out wasn't too complicated, however getting the Dometic out (the door) proved to be fatal (for it). The 5810 is a larger volume, but smaller footprint, width and depth are almost perfect the height is approx 4" shorter, which is also perfect for the space and my process. Upon removing the old one, I sealed off the two exterior vents and layered 5 sheets of reflectix, to cover the entire exterior wall, I also ran 2 new higher gauge wires for power. The 5810 comes with a 40mm fan mounted directly over the compressor, which is controlled to turn on when it runs, I removed this and replaced it with two quieter high volume fans mounted on top of the unit to draw the air from the rear of the unit. The extra 4 inches of height allow for the unit to be mounted on 2x1" aluminum channels and leave the remaining space at the top, this the fans draw the coolest air in the trailer in the bottom, up the back and exhaust it out the top, this exhaust air is barely even warm, so it does not really add to trailer temp. Performance wise, it is a WORLD of difference. One day I let the trailer cook, inside temp 94° held steady at 38° and 19°, cycling on and off as necessary. Unplugged it for a week to see how it affects the battery, no problem handling it, where it's parked is a late sunrise and early sunset, due to hills and trees, morning voltage 12.8 and bluesky monitor indicating 23 amp hours from full. The temp hold is rock steady, all of this was done with a completely empty fridge, so once there's mass in it it should run less and hold even better. Max indicated current draw is 4.3 amps on the system. Personally, I would consider this a completely worthwhile investment and effort.
1 point


-
Recent Achievements
-


")


")


")


