Leaderboard


Popular Content
Showing content with the highest reputation on 01/23/2019 in all areas
-
I had a wild idea to one day run a countertop across the dinette and build cabinets underneath, with space in the middle for a bigger fridge. It think it would work, but not without difficulty and you'd have to put a ton of thought into it to make it look good. But a much more practical solution is to get a separate fridge/freezer for your truck. We have a National Luna 60 liter with separate fridge and freezer compartments and between that and the trailer fridge, we can keep three weeks of food safely. The fridge fits well in the cab of our F150 - I installed a mounting plate to keep it secure, which is hard to notice with the seat down. Installing the fridge is just flipping up the seat and sliding in the fridge. Access is easy. If you're full timing it, then I'd recommend one of their larger double door models, and I'd recommend getting a topper for your truck and installing it in the back. You'll need a house battery for the truck, of course, and preferably solar to help recharge. I have a 200w panel I can attach to a rack over the bed and that does a good job except in the summer when it needs some drive time to keep up. Of course, if you have a generator for the trailer, you can use that on the house battery as well.1 point
-
Thanks John. The information you sent is exactly what I needed to repair the “puddle light.”1 point
-
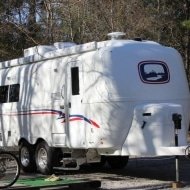
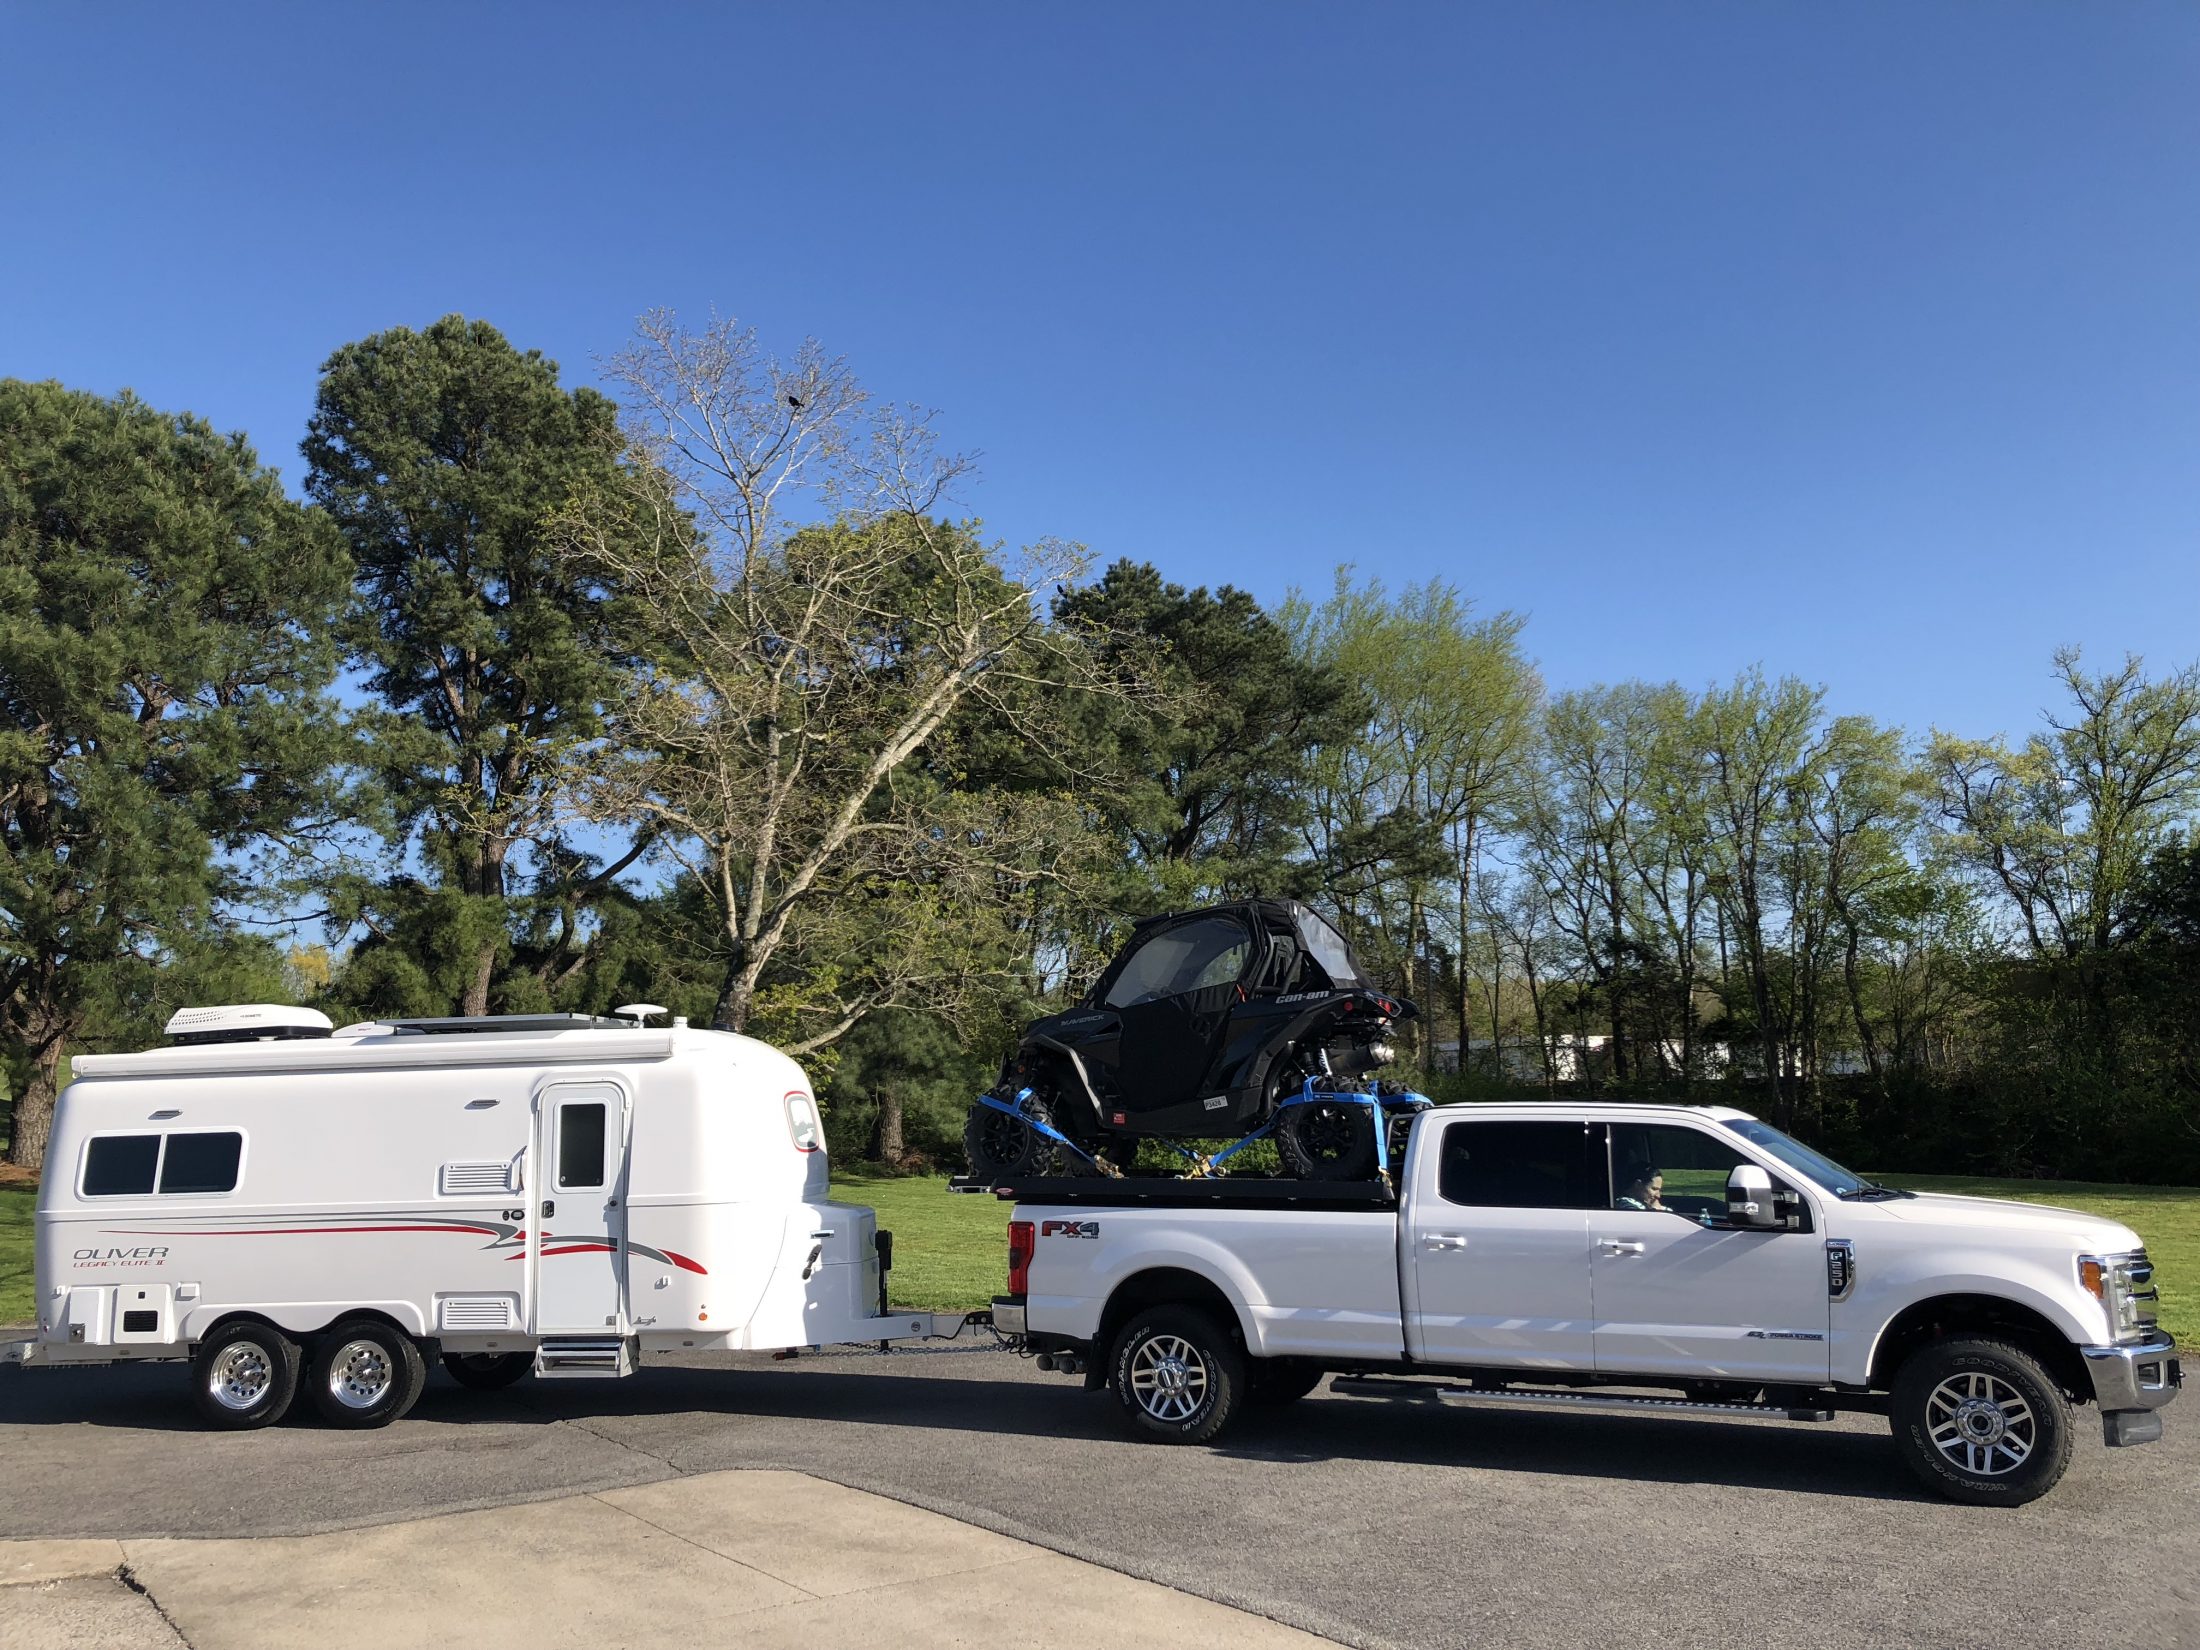
It's official! After five 12-hour days of driving, my wife and I picked up our Ollie on the 19th. It was an excellent experience! I can tell you that these guys are there for the customer, and bent over backwards during the orientation. They made it quick, easy and painless (somewhat). The F250 has extra large eyelets for the break away chains and would not accommodate the hooks. Phil offered to drive me to the nearest hardware store to square it away, but It was only a mile down the road and they had another couple scheduled for delivery that day as well. It's the small things that prove this company was the right choice. The wife and I have been slowly making our way back to Alaska, and the last week has been awesome. We have done a little of everything so far (boondocking, two RV parks and two national parks). We just left Palo Duro Texas State Park and it was an excellent spot to spend two nights. We just arrived in Moab, and are planning to spend 6 days or so here prior to heading to Salt Lake. The Ollie is superior in every manner and it's so nice to see a well researched plan work out. I have researched every item I have purchased for this lifestyle and it has come together well. From my TV, to the bed deck, to the Ollie it's been a great week/trip. If anyone is on the fence about this travel trailer, don't be. You get what you pay for. Daily I find some small detail that I'm impressed with. I'll say the biggest impression is in the docile towing mannerisms. It is truly a joy to pull. I have many miles towing...both overloaded, underloaded, underpowered, etc., and this trailer makes it easy. I see the bigger guys and the fifth wheels in rush hour traffic and smile knowing I made the right choice. Anyways, sorry for the long post, I'm just excited! -Alex
 1 point
 -
After several experiments with leveling, we have found this process to work for us, allowing us to set up quickly: 1. Check the lay of the land to estimate the best place to place the trailer tires. 2. Place the trailer there and check the side-to-side level with a Stanley 42-324 24-Inch I-Beam 180 Level on the bumper. 3. If one side needs lifting, roll back or forward a foot or a little more to place the Andersen levelers under that the trailer on that side. 4. I roll up on the Andersens while my wife observes and then checks the level telling me to pull forward, back, or stay put. 5. Once, level, we chock with two Camco 44414 Wheel Chocks and one CAMCO 44652 WHEEL STOP CHOCK. 6. We use four or five Lynx Levelers to form a block for the stabilizer jacks so the jacks do not have to reach the ground and, if we make a big error by driving off without retracting the jacks, we don't damage them. 7. Use the front jack to level front to back. It is interesting that we found the best place for us to place the level when doing this is atop the top refrigerator vent cover. It can be set in place by placing one end in the handle used for entering and existing the trailer. 8. Use the rear stabilizing jacks to fine-tune the side-to-side leveling. Also interesting, when ascertaining how level we are, is that we hang a dog leash on a suction hook right by the door. It is easy to see how level the trailer is front to back by how parallel it is to the side of cabinet holding the microwave and refrigerator. In addition, if the bathroom door can stay open at about a 45-degree angle--not swinging street side or curbside, open or close--we are confident that the trailer is level.1 point
-
While this might not pertain to all of us, it is perhaps good advice for most of us. Don't Let The Old Man In Bill1 point
-
I printed the chart below and placed it near my surge protector readout. Hope it helps you! Bill Error Code Chart E-0 Normal E-1 Reverse Polarity E-2 Open Ground E-3 Voltage High E-4 Voltage Low E-7 Frequency High E-8 Frequency Low E-9 Data Link Down E-10 Replace Surge Protector1 point
-
Frank - I use two runners for that area. When it is time to "clean", it sure is a bunch easier to roll up one of those shorter ones at a time and shake it out as opposed to wrestling with one long one. Also, since more or your "dirt" will be at the front near the door, I chose to add a third "runner" just for the area from the door to the seat near the bath and keep the other two even shorter. Obviously this allows me to take up the door mat more often without having to move the others. Finally, the one in the "bedroom" is nice and soft, the one in the "kitchen" is easily cleaned (think spills here) and the one by the door is "all weather". Bill1 point
-
Another thing to check is your water pump. There are two red wires that connect to the underneath front of the pump. My pump quit working when both wires worked themslelves lose. Here’s a pic of what I found when I looked. If they are not connected feel around for a blade connection under the front of the pump, there are two. If the wires don’t fit tight give then a squeeze with some pliers.
1 point
-
This should be normal. It has also been discussed before (do a search for Furnace/Heat Strip). You didn't mention which a/c unit or thermostat that you have, but I think that they all work alike. If "my" thermostat is set to "electric heat" and there is more than a 5 or 6 degree difference in the set temp and the room temp, then the gas and the electric heat will run. After the room temp nears the set temp setting it will shut the gas furnace off and continue on electric heat until the set temp is reached. This is because the electric heat is more of a maintainer. The electric heat would take considerable time to heat the RV on its own. Hope that this helps. Shirley1 point


-
Recent Achievements
-


")


")


")


