mountainoliver
-
Posts
455 -
Joined
-
Last visited
-
Days Won
19
Everything posted by mountainoliver
-

SDG air conditioner installation
mountainoliver replied to mountainoliver's topic in Ollie Modifications
Because of tariffs on imported goods and other variables it would be best to contact SDG in Elkhart directly for a quote. The Tosot air conditioners that I have seen online lately range from just under 2,000 to just over 2,000 plus shipping. There may be some dealers that offer the units for well below the above listed prices. -
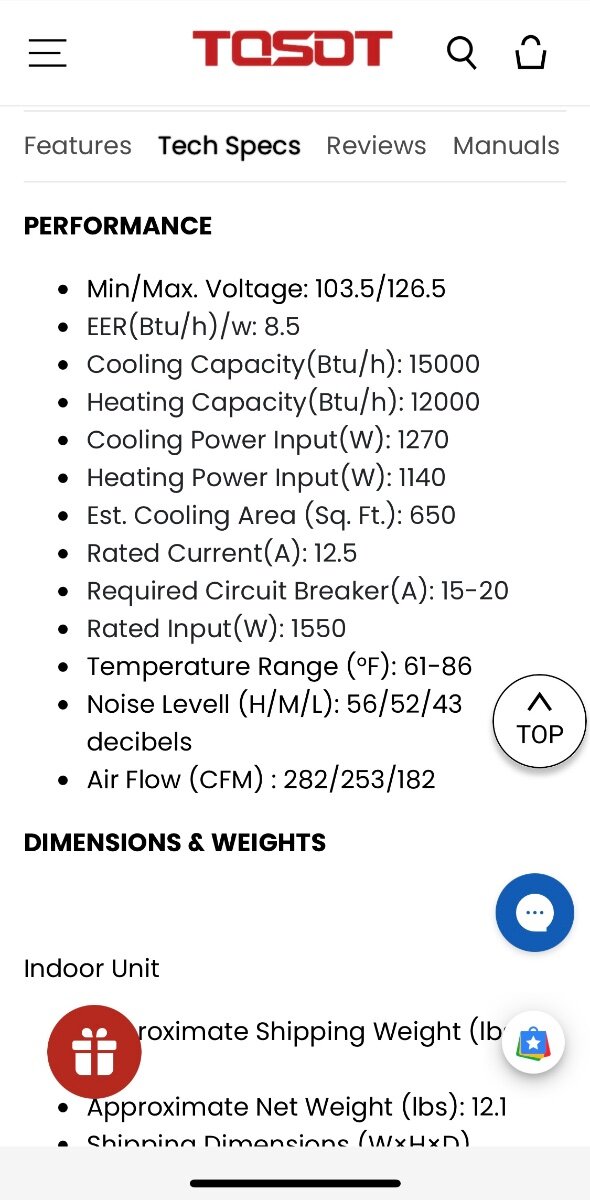
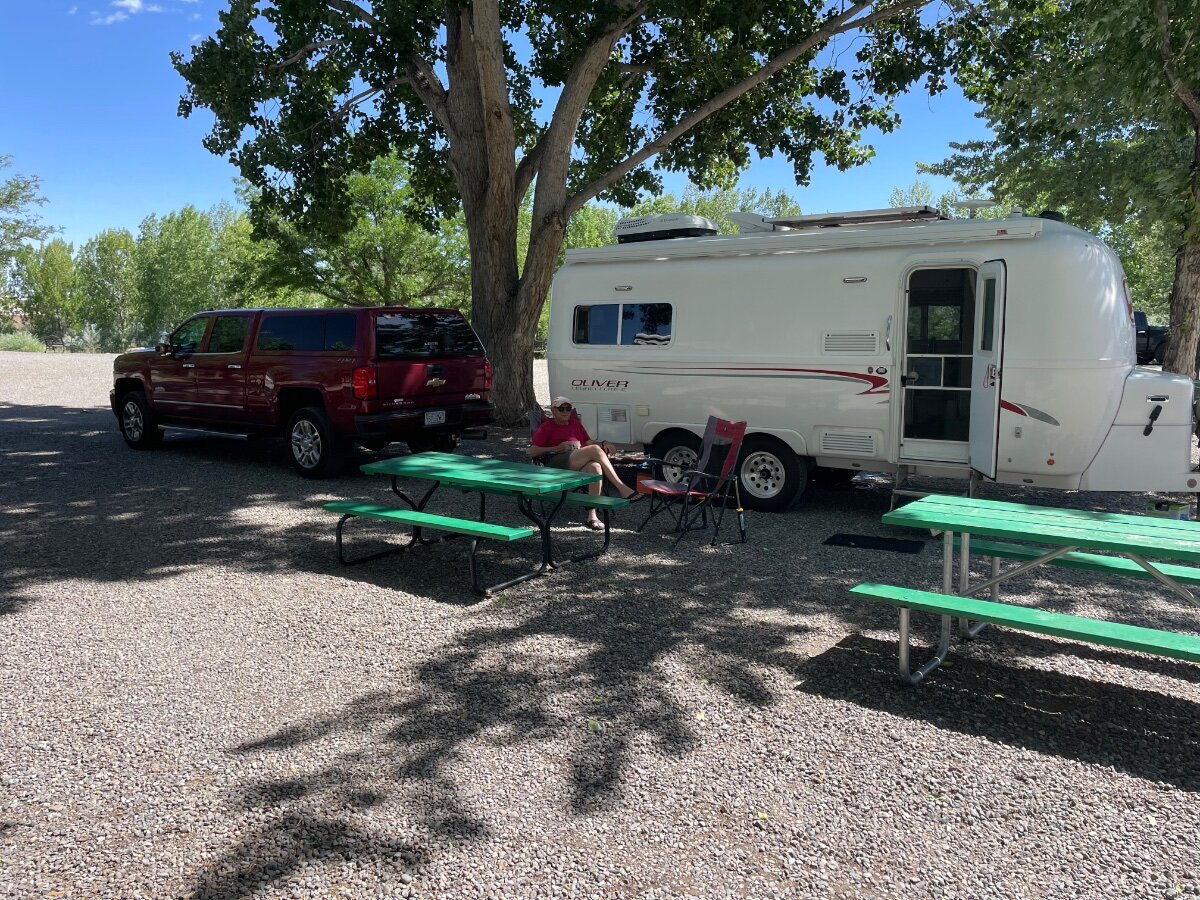
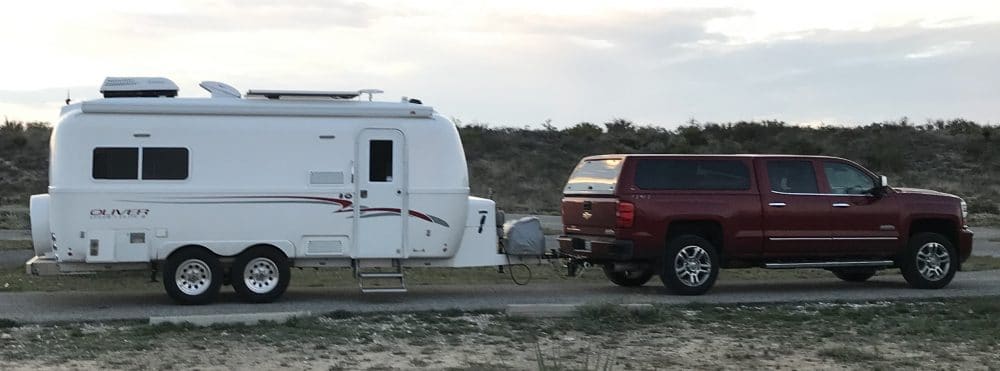
After 8 years of use it was time to retire the Dometic air conditioner. I have looked at several brands and for one reason or another I decided on the Tosot brand which is the same as the Atmos brand and probably others as well. Since last summer the Dometic has been making fan bearing noises off and on and I’ve grown tired of climbing on the roof to oil the motor. After eight years I really didn’t want to replace the motor only to have something else fail so this was an excellent excuse to replace it with a higher efficiency quiet unit. We’ve been traveling out west for the past three and a half months and were passing “close” to Elkhart Indiana so decided to drop in and visit the SDG folks. The entire replacement process was perfectly coordinated and our installer Joe knew exactly what needed to be done. We’ve camped out in their parking lot the night before with 30 amp shore power available. The next morning at 8:00 AM I backed our trailer into their shop and about two hours later the job was done. They even printed a custom cover plate to cover up the holes from the old Dometic thermostat. We were able to sleep through the night with the air conditioner running for the first time in 8 years without having to use earplugs, and to watch television at half volume instead of full volume! The air registers force air towards the front of the trailer instead of most all of the cold air being forced onto the bed area. We’re parked in central Ohio for a few days and it’s very hot and humid but the air conditioner is keeping the Oliver very dry and comfortable. On low fan the unit draws about 9 ac amps. Running from the inverter the inverter draws 94 dc amps. The Dometic on inverter would draw between 130 - 140 dc amps under similar conditions. We are extremely pleased with the work that SDG provided and with the comfort and efficiency of the Tosot unit. I strongly recommend the folks at SDG for the air conditioner replacement. They have done several Oliver air conditioner replacements and have experience in replacing/installing air conditioners on many different rv types.
- 30 replies
-
- 10
-

-

-
Made in USA leaf springs
mountainoliver replied to Mountainman198's topic in Mechanical & Technical Tips
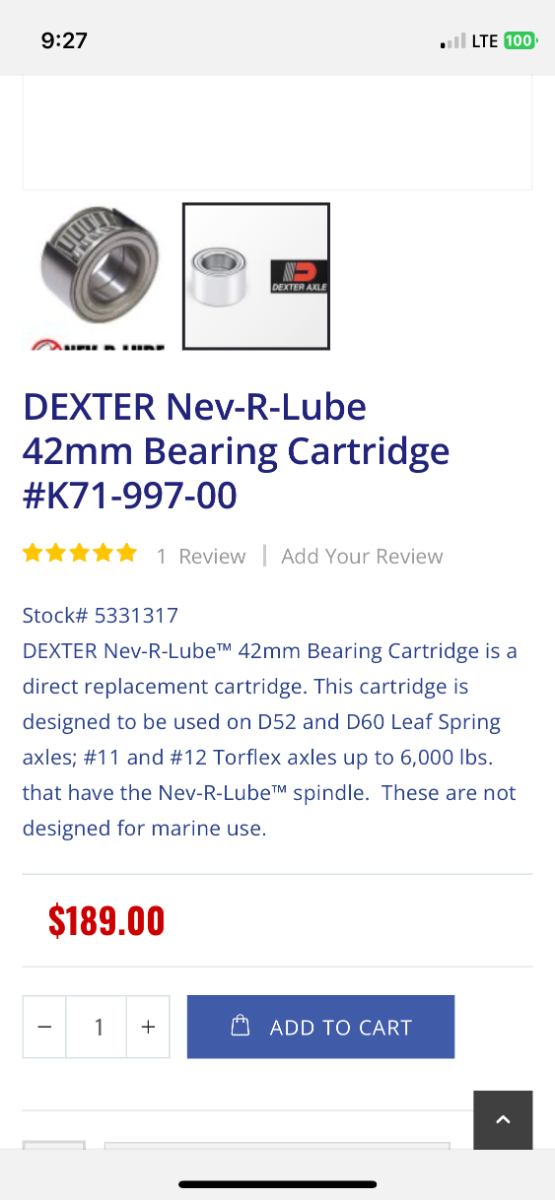
I’m in the midst of a 3 1/2 month western trip with many places that have zero to minimal cell service so have not done nor taken the time to do a lot of research. My axles/springs were installed in Grand Junction Colorado during our trip (I know, white knuckle experience) so I’m still getting used to them. In the beginning I stopped every half hour to check bearing temperature. These are different from the old ones. I also have completely turned the brake control off to make sure that non of the brakes were dragging/overheating. Anyway, developing a new baseline of operation. Now I’ve gone back to my old routine of stopping every couple of hours to check bearing/brake temperature. Right now the only link I have is a screenshot of an Amazon page that I saw. I also have screenshots from a couple of old Airstream forum posts. We should all do more research. I’ll continue in depth when I return home in August. Here’s what I have so far. These are all unedited photos/screenshots. Keep in mind that pre assembled bearing cartridges are not new. The automotive industry has been using them for years. They have been used in industrial applications for years as well. I may be wrong but I personally feel comfortable with the Nev R Lube axle especially knowing that our axles are the smaller of two that use the same size bearing. The 42mm bearing is used in the 5200 pound Dexter axle and the 6000 pound Dexter axle. Plus we’re not going to overload our trailer (now are we?) so our trailer maximum weight rating of 7000 pounds is still the limiting factor. Longevity and maintenance issues remain to be seen and it remains to be seen whether I made a mistake or not.
-
Made in USA leaf springs
mountainoliver replied to Mountainman198's topic in Mechanical & Technical Tips
I’m interested in what Alcan has to say. -
Made in USA leaf springs
mountainoliver replied to Mountainman198's topic in Mechanical & Technical Tips
Several years ago I was going to replace the bearings and brakes on my 3500 pound axles. I contacted a local Dexter dealer and the hub/drum assemblies were over $100 each and the loaded brake assemblies were close to that as well. Of course e trailer was even higher. I called the Dexter distributor that Oliver was using at the time, Textrail. The hub/drum with Chinese bearings were something like $46 each and the loaded brake assemblies were like $45 each with the manual adjust brake assembly even less. Anyway, e trailer is not necessarily the price leader so check around. And absolutely yes! I’d never buy Timken bearings from Amazon. I bought mine from a local industrial supply company that I dealt with for years. Bearings ordered directly from Timken. I think even the ones from Summit may have been knockoffs as well. I could be wrong on that but it seems like someone did a deep dive into this at one point. Anyway, buyer beware! -
Made in USA leaf springs
mountainoliver replied to Mountainman198's topic in Mechanical & Technical Tips
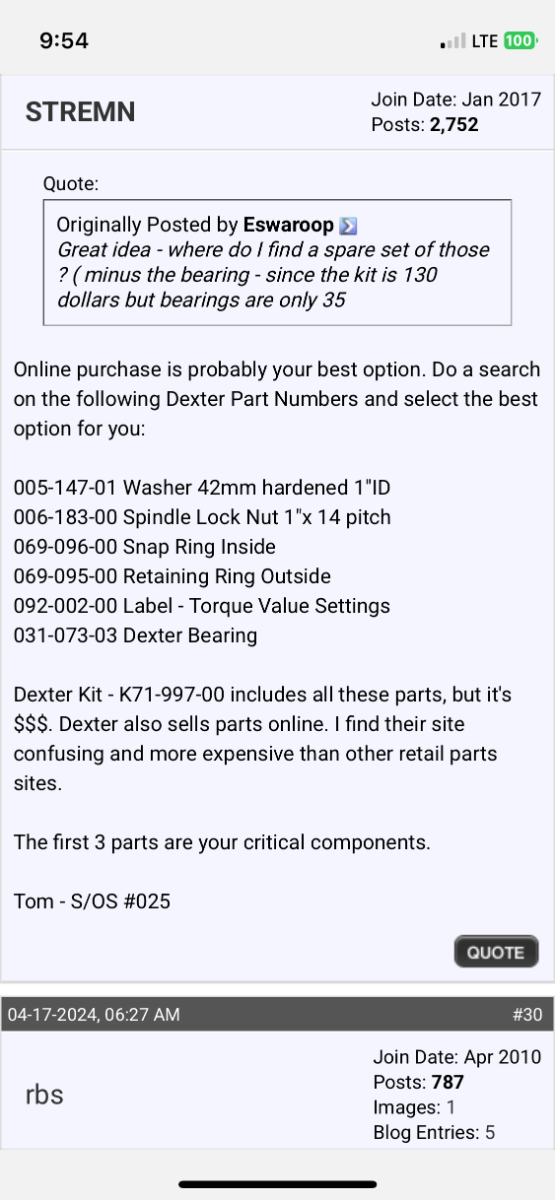
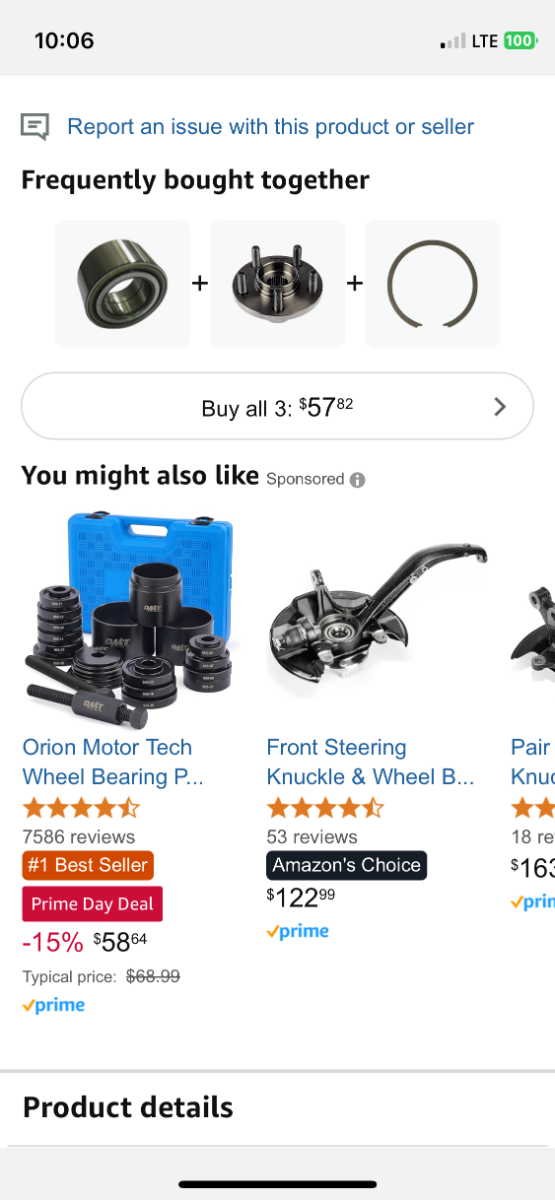
The bearing installation tools that I have seen have a bunch of different diameter/different length tubes and a couple of thick discs one being threaded and a forcing screw. I believe the kit is all that’s needed to draw out the old bearing and to then press in the new one. Or so the YouTube videos that I’ve seen seem to show. Anyway, yes I’d carry a complete hub/drum assembly and two or three extra bearings. Also don’t forget to have several of the single use lock nuts on hand. The tru arc snap rings are reusable and pretty standard items. -
Made in USA leaf springs
mountainoliver replied to Mountainman198's topic in Mechanical & Technical Tips
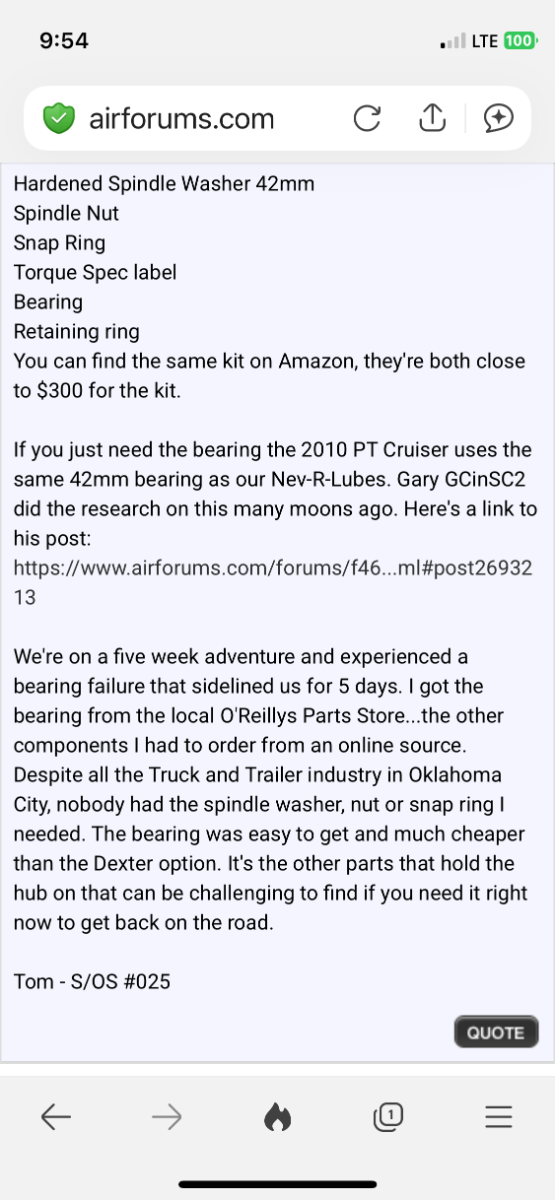
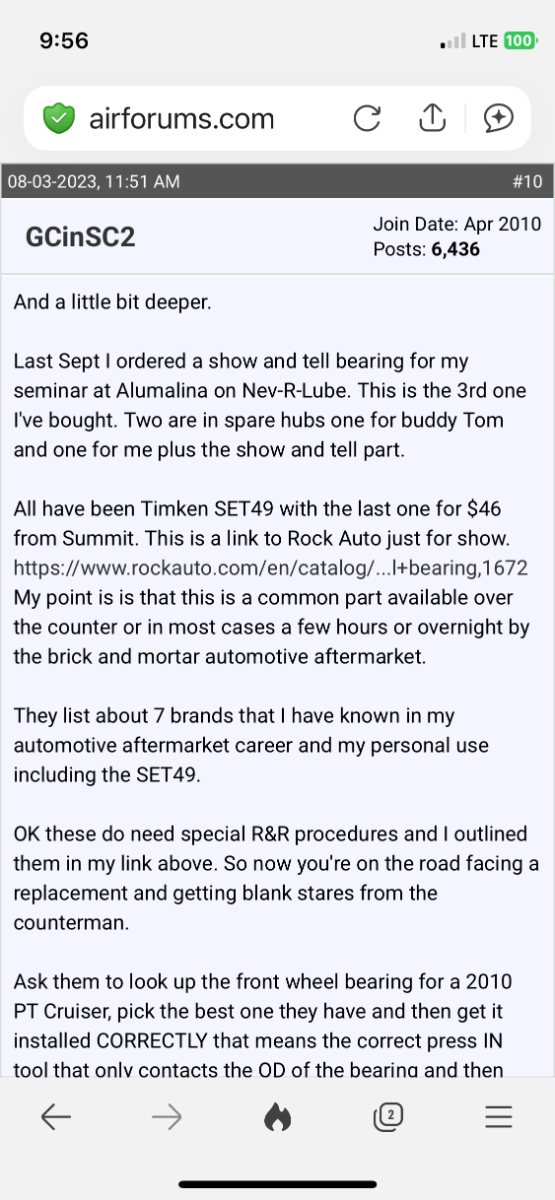
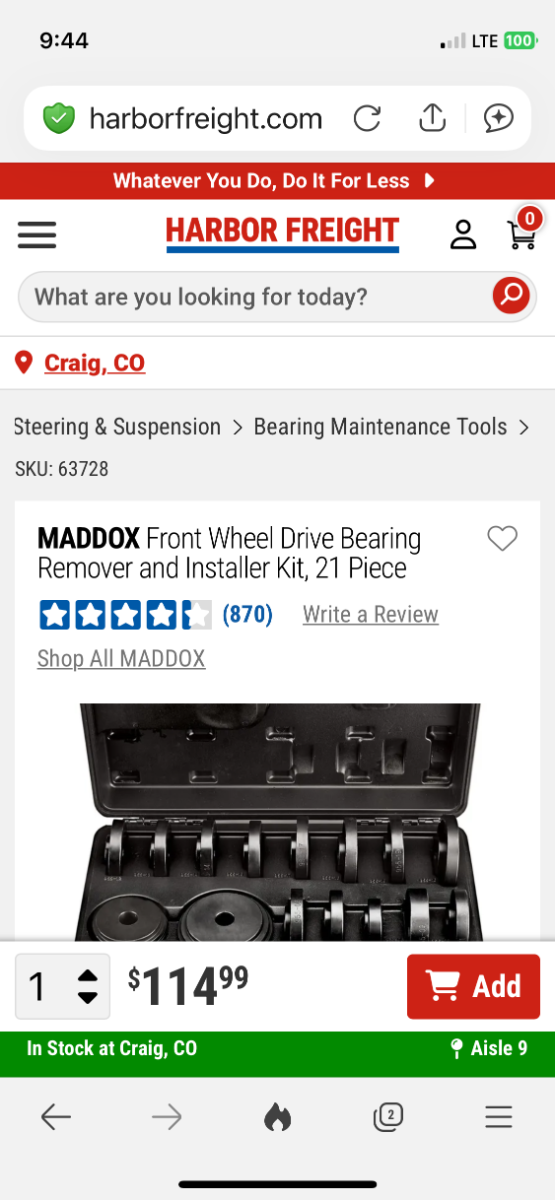
Okay, risking banishment from the planet and the inevitable public humiliation, my one and only update on my recent axle and spring upgrade. We are in the midst of a 3 1/2 month western trip. Granted a good deal of the trip was planned around a visit to Grand Junction Colorado we have made a complete trip out of that one appointment. I firmly believe that Oliver’s decision to change axles from the 3500 pound version to the 5200 pound version is one of the best decisions made. Nothing like extra capacity. Also the heavier springs are also a great benefit. I have noticed reduced rocking during travel. My original springs had relaxed quite a bit because I had only about an inch or less of clearance between the U bolts and the frame. There is now around an inch and a half to two inches of clearance which is probably a little more than what was originally there. I have done a little research on the Nev R Lube Dexter axles with very limited cell service so more research to come. The bearings used for the 5200 pound axles are also used for the 6000 pound axles. So there is a little bit of extra capacity there. I also found out (not totally confirmed yet) that the bearings are also used for front and/or rear axles in several smaller cars. I also found out (not totally confirmed yet) that the Timken bearing used is a standard Set 49 bearing sold at every auto parts store for a fraction of what Dexter charges. The bearings are fairly easy to replace using a standard automotive wheel bearing press kit. So can be done on the road if needed. The bearing press is available at Harbor Freight and Amazon and I’m sure dozens of other places as well. Of course all the above information is to be confirmed once we get home in August sometime. Others are more than welcome to join in the research.
-
We saw an Oliver today (7-26) heading north between the southern entrance to Yellowstone and the northern entrance to the Tetons.
-
Black Canyon of the Gunnison fire 😞
mountainoliver replied to Patriot's topic in Campgrounds & Parks
We were just there a few weeks ago. Very sad to hear about the fire there. We were also camping at the Grand Canyon north rim last summer. The visitor center is gone now due to fires and the camp we stayed at is probably gone as well. Sad! -
I’ve been using the zero g hose for several years as well with no issues. Because they aren’t a flat shrinking type hose it fills the fresh tank quickly. I have four 25 foot hoses and typically only use one 25 foot hose but have used all four at times.
-
Change out refrigerator 2019 Oliver Elite ll
mountainoliver replied to Copycat Carlton's topic in General Discussion
The Dometic fridge in my 2017 LEII never worked properly from the beginning so after 2 1/2 years (2019) I replaced it with a compressor type fridge, a Nova Kool R5810. Not an issue since! 4800 does seem high but considering Oliver service hourly rates and any other shop for that matter, it might not be so terrible. Still too expensive for me. I have no idea of the cost for a fridge today but I think with shipping from the factory in Southwest Canada to a dealer in (I think) Massachusetts to my driveway, mine was about 1,500 if I’m remembering correctly. I installed it myself probably spending another 200-300 in raw materials, fasteners, miscellaneous, etc. It will probably be sort of expensive having someone else do the installation for you no matter where you have it done, but you should shop around for cost. -
We passed and waved to another Oliver passing through Thermopolis, Wyoming today (7/13). They were heading south on route 20 and we were just turning on route 120 towards Yellowstone. Spending a couple of weeks west of Cody at Buffalo Bill State Park. You folks have a safe trip!
-
Made in USA leaf springs
mountainoliver replied to Mountainman198's topic in Mechanical & Technical Tips
We’re in Grand Junction this morning with the guys at Alcan installing new 5200 pound axles and new springs! I also noticed that heavier bronze bushings are used in the Alcan springs. The Dexter bushings are sintered bronze AKA Oilite bearings. These thin wall type bearings are the wrong application for use in a rough bore because they are so brittle. Typically they should be pressed into a finished bore then final reamed to correct final diameter. Anyway, the Alcan bushings are machined from bronze bar stock and are the correct application. -
The Oliver - a Suitable Survival Vehicle!
mountainoliver replied to jd1923's topic in General Discussion
Similar to “moochdocking” but in your own driveway. -
Which jack do you carry on your trips ?
mountainoliver replied to Tideline77's topic in Mechanical & Technical Tips
I actually carry two jacks along with various 2X10’s and 6X6’s and three sets of plastic stacking blocks. The two jacks, one is a 3 ton hydraulic jack and the other is a several ton (don't remember the exact capacity but it’s very ample!) surplus scissor jack/kit designed for the Hummer. Probably designed for a fully loaded Hummer, anyway very ample. Not to mention the screw jack that came with my 2500 truck. So technically I carry three jacks. Oh and not to mention the three screw jacks that came mounted to the trailer. So yet again, technically I carry six jacks! -
Here’s a screen shot directly from the Tosot website:
-
It also looks like the elbow in your picture is loose as well. Just as a suggestion go through every fitting that you can possibly get to and check them for tightness. They are just hand tightened. I go through mine periodically and I always find one or more a little loose.
-
Another Oliver pulled in River Bend rv park in Montrose Colorado yesterday. The staff said that they have seen four or five Olivers since May! Apparently a popular Oliver campground!
-
Dexter Axle Upgrade Options - To EZ or NevR Lube Design
mountainoliver replied to Geronimo John's topic in General Discussion
I’m glad that there’s disc brakes now available for the 3500 pound axles. To be honest I’ve never researched that. In the 8 years and around 75,00 miles we’ve traveled I’ve never had any issues with the drum brakes adequately stopping the trailer so have not searched for something better. -
Dexter Axle Upgrade Options - To EZ or NevR Lube Design
mountainoliver replied to Geronimo John's topic in General Discussion
Someone correct me if I’m wrong but I think that disk brake upgrades are not available for 3500 pound rated axles. It is my understanding that the 5200 pound rated axles have several options available for wheels and brakes. The larger axles do (naturally) have the same bolt pattern as smaller axles. In fact I believe that I was told that a five bolt pattern was standard for the smaller axles and that Oliver did some sort of a mix and match with Dexter to create the six bolt pattern. In my case I’m switching to the higher capacity axles because I feel that the 3500 pound axles are just too close to their limit for our trailers as evidenced by the many bearing issues that have occurred over the years. I guess bottom line is personal preference. -
Enjoying our mid morning coffee and cool weather in Montrose, Colorado at River Bend RV Park. Still meandering westward. A couple of days ago we visited The Garden of the Gods outside of Colorado Springs and saw an Oliver from Florida in the parking lot. After our park visit we waited but unfortunately we didn’t get to see the owners. River Bend in Montrose, CO
-
We were visiting Garden of the Gods just outside of Colorado Springs today and an Oliver from Florida pulled in to the parking lot. After we finished exploring we waited in our truck for about a half an hour and had to leave. Hope you’re having a great trip!
-
2 broken leaf springs / shocks
mountainoliver replied to Cort's topic in Mechanical & Technical Tips
Also John if you tow either nose down or nose up (instead of level as possible) you will transfer extra weight to either the front or rear axle. Most of the time when I unhitch at home, the trailer will remain in that position until I reconnect. That puts extra weight on the rear axle for however long. I now level the trailer after unhitching. Of course while camping typically the nose is up a little to aid waste tank draining. I’m not totally sure but it does seem like there are a lot of broken springs on rear axles. We are actually on our (slow meandering) way to Grand Junction to replace the (humble opinion) undersized axles and the weak springs. Two less things to worry about. “On our way home” we’re stopping in Elkhart Indiana to have an Atmos 4.4 installed. There are bearing noises that I don’t like on occasion and I have to climb on the roof to oil the fan motor. Had to do that in 100+ deg heat last summer at Gilbert Ray campground. Not fond of doing that and the frequency is increasing. Time for a change. Okay three less things to worry about. -
DunnYet please check your private messages. I provided some general compressor fridge information and troubleshooting information as well. I had some electrical damage to the compressor inverter drive on my NovaKool fridge and had to replace the inverter. This was one example of the surge protector not being a good thing. We were at a campground that was having serious voltage issues and we were running the fridge on shore power. We were not at camp for most of this but caught some of the instances and shut everything down but a little too late for the fridge. The voltage would spike to about 190 volts then just as quickly drop back to 120. The spikes would occur in rapid succession so the surge protector would disconnect and reconnect just as rapidly. My fridge inverter was one that could run on dc or ac so would switch back and forth between ac and dc rapidly which damaged it. It probably would have operated just fine if left alone with no surge protector. It is capable of running on 120 to 240 volts ac 50-60 HZ or 12-24 volts dc and switches seamlessly between the two. With the voltage spiking to 190 I don’t think it would have even cared. Anyway you may just have a bad compressor inverter and yes the dc only ones are around $200 and the ac/dc ones are around $300. They are easily replaced being a simple one plug connection. If the Freon charge has not been lost (which is seldom the case) then the inverter is really the only thing that can go bad. I hope this helps some.