Ronbrink
-
Posts
1,152 -
Joined
-
Last visited
-
Days Won
35
Everything posted by Ronbrink
-
I’m certain this refers to the same gear drive motors for the front and rear ADB ‘up & down swing’ angles of the Atmos, no pics.
-
Once the Oliver is brought to a desired temp, in Cool Mode the fan can be set to its lowest setting to address your concern. For high humidity conditions, Dry Mode is very effective, and the fan only operates at low speed and cannot be adjusted. I don’t know why the air flow CFM range is seemingly unavailable.
-
I did a brief search of Dreiha Atmos 4.4 specific information, but found no formal references regarding actual CFM or EER ratings. I did however, find this statement on the Sprinter forum, not conclusive but remember reading this when I was considering the Atmos. I will say this unit will blow my hair when standing at the wet bath doorway, not so with the former DPll! I also recalled wherein @rideadeuce included this unit sticker in his writeup on the SDG install. Interesting enough, it shows ‘SANZ DREIHA GMBH - GERMANY’; when researched the location is Bremen, Germany. Another fact I remember reading, the Atmos was German engineered. Furthermore, Page 7of7 of the Dreiha Atmos 4.4 brochure also shows other ‘SANZ’ affiliates; SANZ Kenway and SANZ Clima, headquartered in Fairmount, Minnesota and Madrid, Spain, respectively. SANZ Kenway “custom designs and manufactures mobile air conditioning and heating components and systems…”; SANZ Clima has factories in Spain, USA (Fairmont, MN), Germany, Brazil and Poland. Could this be the origin of the Atmos 4.4 and not China (think GREE branded knockoff products), perhaps even Made in the USA? I know, another ‘can of worms’! Where was the ATMOS designed an where manufactured? @Geronimo John once asked. Maybe getting closer to a definitive answer, but then….

-
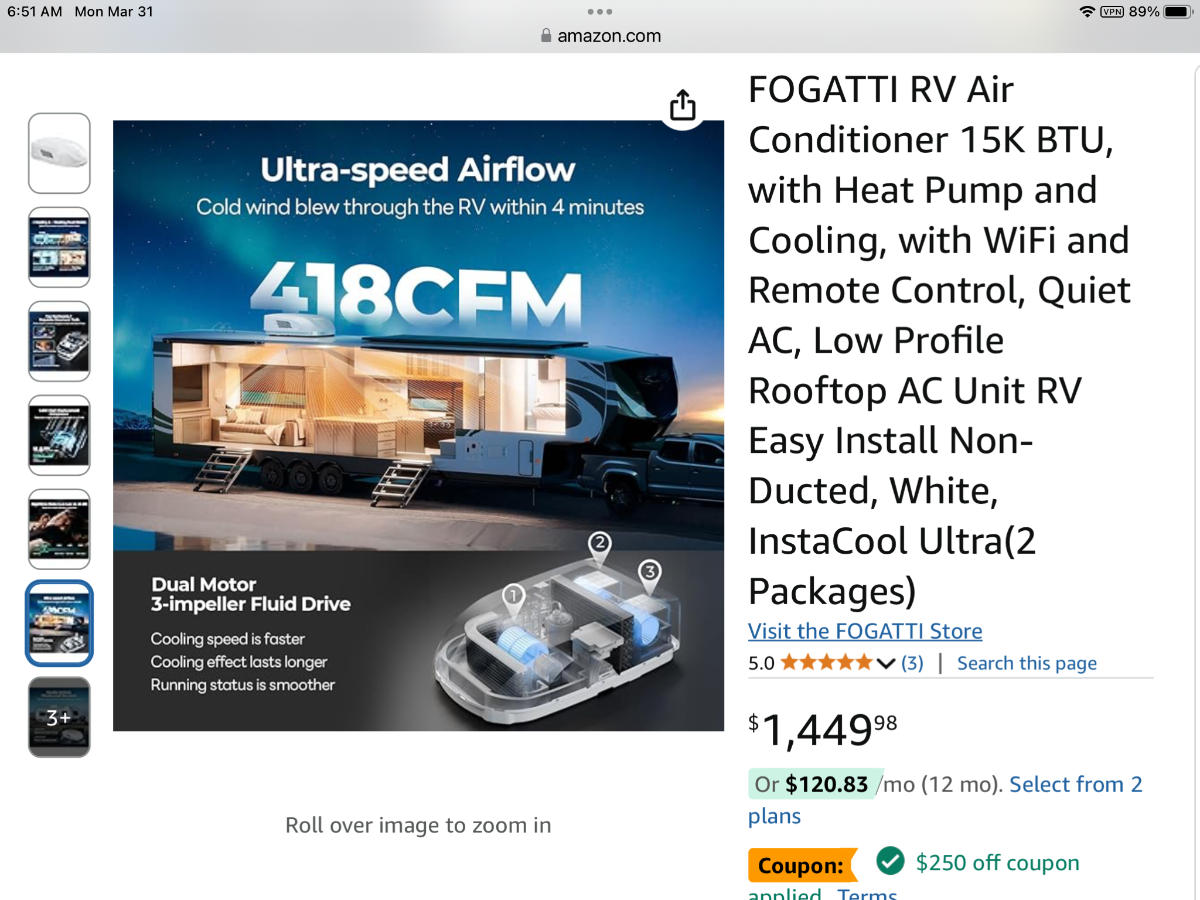
Not to further confuse the issue, but just viewed another like unit offered on Amazon, FOGATTI. What caught my attention was the much higher CFM air flow and EER ratings on this unit compared to the Tosto. I seem to remember reading that the Atmos had comparable high CFM, but need to research for confirmation on that. NEway, would be good to know if there are in fact subtle differences in these very similar units and thus, some actually better than others; also the reason for the price disparity. Just say’n!
-
I was wondering the same so went into the Tosot Owner’s Manual prior to my last reply to @Ty J and read R32. Hopefully he can offer further confirmation per your request.
-
GREE manufactures several like units including your Tosot, they are all seemingly the same as the Atmos. You got a very good deal and current pricing on Amazon is now $100 higher, but still a value buy. Others may be interested in knowing what added costs there may be, specifically tax and shipping if applicable. The TURBRO soft start is interesting and value priced, as well, however I would be concerned with its quality. And yes, you are better off having a soft start device if running on LFPs, good move and install! You may want to add an informational ‘Signature’, go to Account Settings.
-

Water pump not working -- problem solved -- FYI
Ronbrink replied to ZLarryb's topic in Mechanical & Technical Tips
Good catch! Same thing happened to me early in ownership; crimped the spade connector for a tighter fit, no further issues. -
My former a/c was the 11K DPll and I would run the LFPs to 50% SOC, never had a reason for a longer period of discharge. Last September a more efficient Dreiha Atmos 4.4 (15K/12K heat pump) was installed and looking forward to a hot summer test for run duration. In general, I run on inverter for lengthy periods at the Cow Barn when performing maintenance, cleanup, travel prep or just hanging out. Upon departure, shore power then provides 80A charge via the Xantrex 2000, however if the SOC was dropped below 75% an auxiliary onboard 30A Victron Blue Smart charger kicks in via a Cerbo for a combined 110A of rapid charge. When traveling, the a/c is run on inverter during various stops to eat, shop, rest etc., as necessary, and when back underway a 40A DC-DC charger then restores the SOC until a destination is reached. If the night’s stay is off grid and a/c is needed, a small dual fuel genny on propane is deployed, which also brings the LFPs to 100% SOC. This is how we roll given our style of camping; lack of solar has never been an issue, nor thoughts of a larger Ah battery bank.
-
I use mine to run the a/c at nights, as needed, which is often as we make our way to and from a far destination. In doing so, my house batteries get a boost, as well, with no solar. Although I can run the a/c on inverter for several hours, I like knowing we can stay comfortable in the event of a lengthy unplanned holdover. Happy wife, happy ‘travel’ life!
-
Waiting may be good, but be prepared! I waited over four years and finally decided on the Atmos 4.4, no regrets! I especially love how quite it is; this ‘light sleeper’ no longer needs earplugs at night, and we can easily watch TV and carry on a conversation at the same time regardless how far apart or chosen fan speed. As for the continuous fan run when in Cool Mode, not a concern of mine. If ever a spike in cabin humidity is detected, Dry Mode is activated which rapidly drops the moisture level. However, a small room dehumidifier helps to mitigate such issue and high cabin humidity is a rare occurrence. I truly like the feel of continuous air movement via the ‘swing function’, whereby up and down circulation is felt at the furthest reaches within while factoring in the higher operating CFM rating of these units. The ‘cool breeze’ is an added comfort and talk of mods to make change are unnecessary measures IMO. Like others I too am disappointed in the cost increases and thus, so glad I didn’t wait any longer for the ‘ultimate’ unit that may or may not become available and at what price. ‘Nuff said!
-
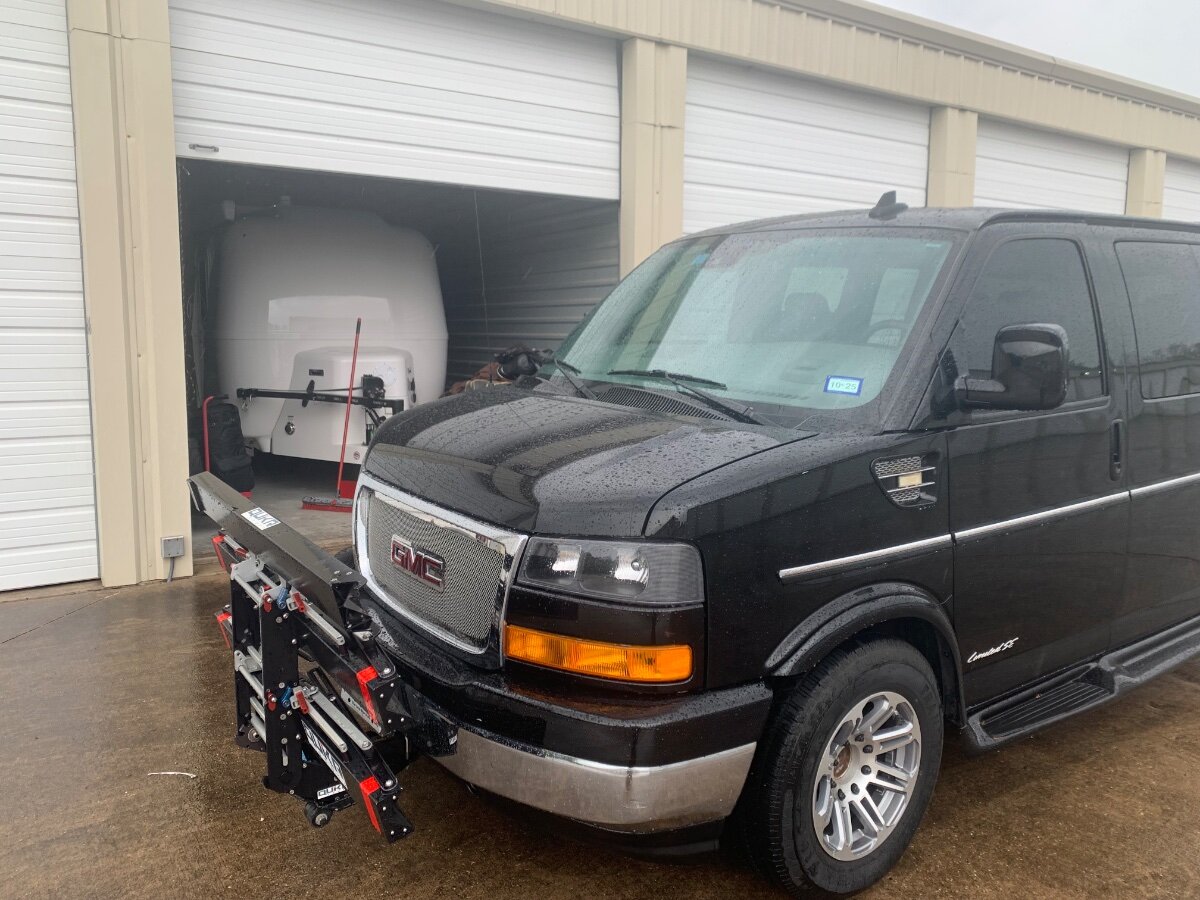
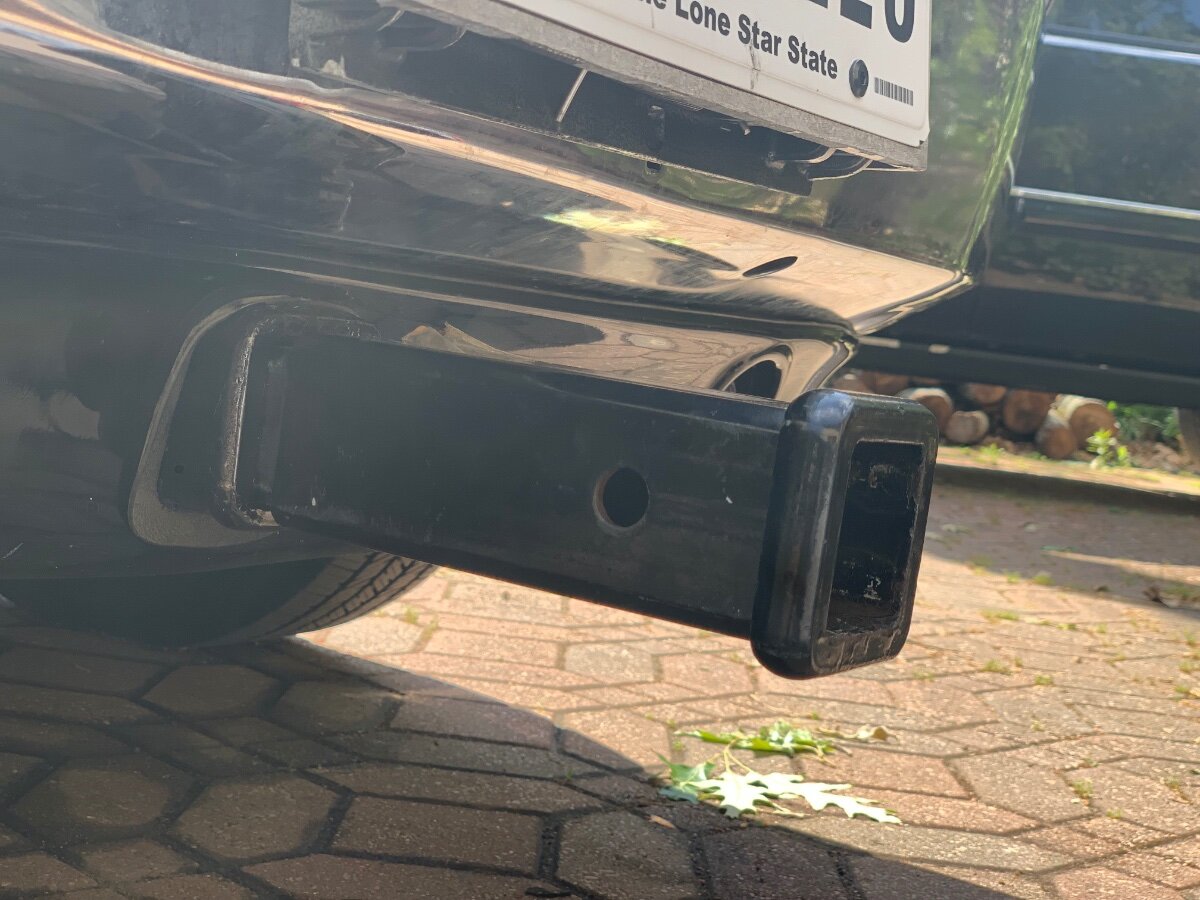
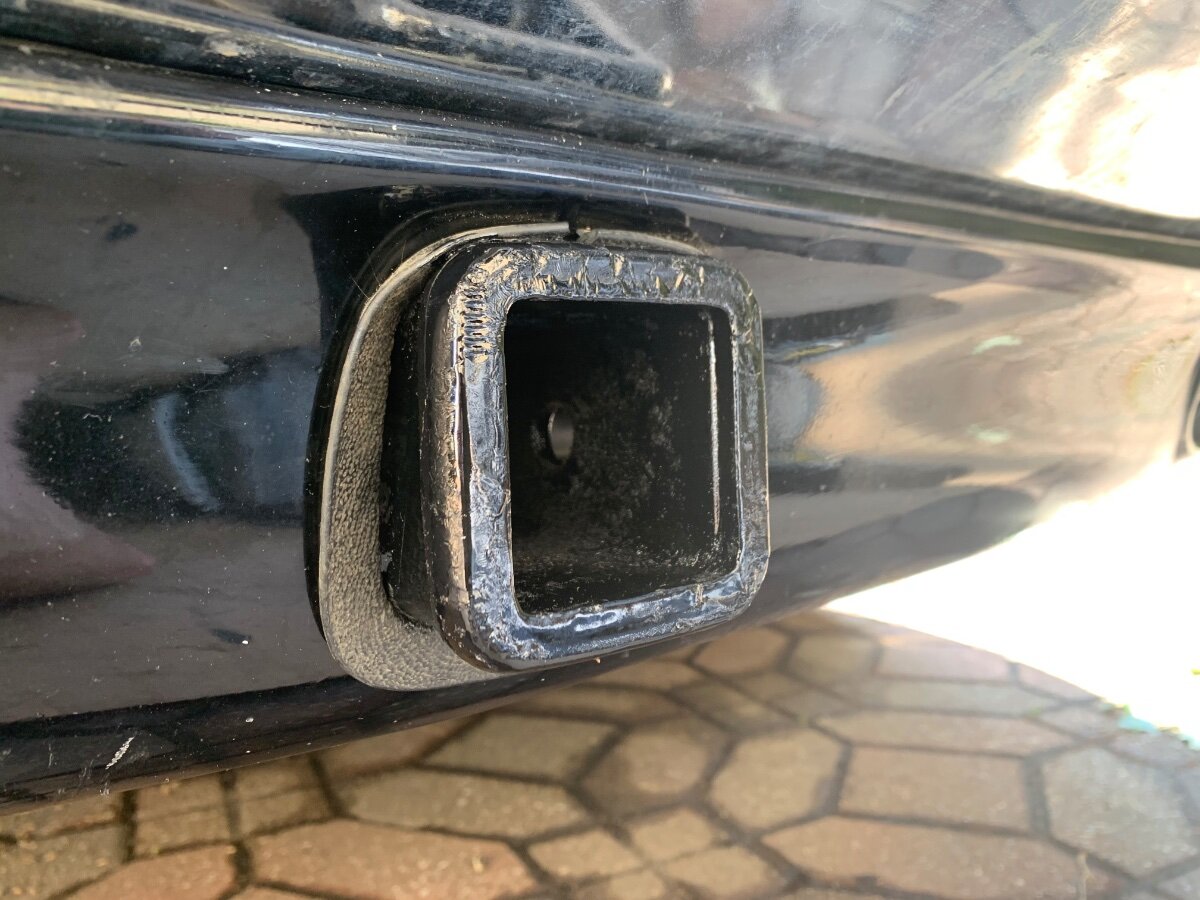
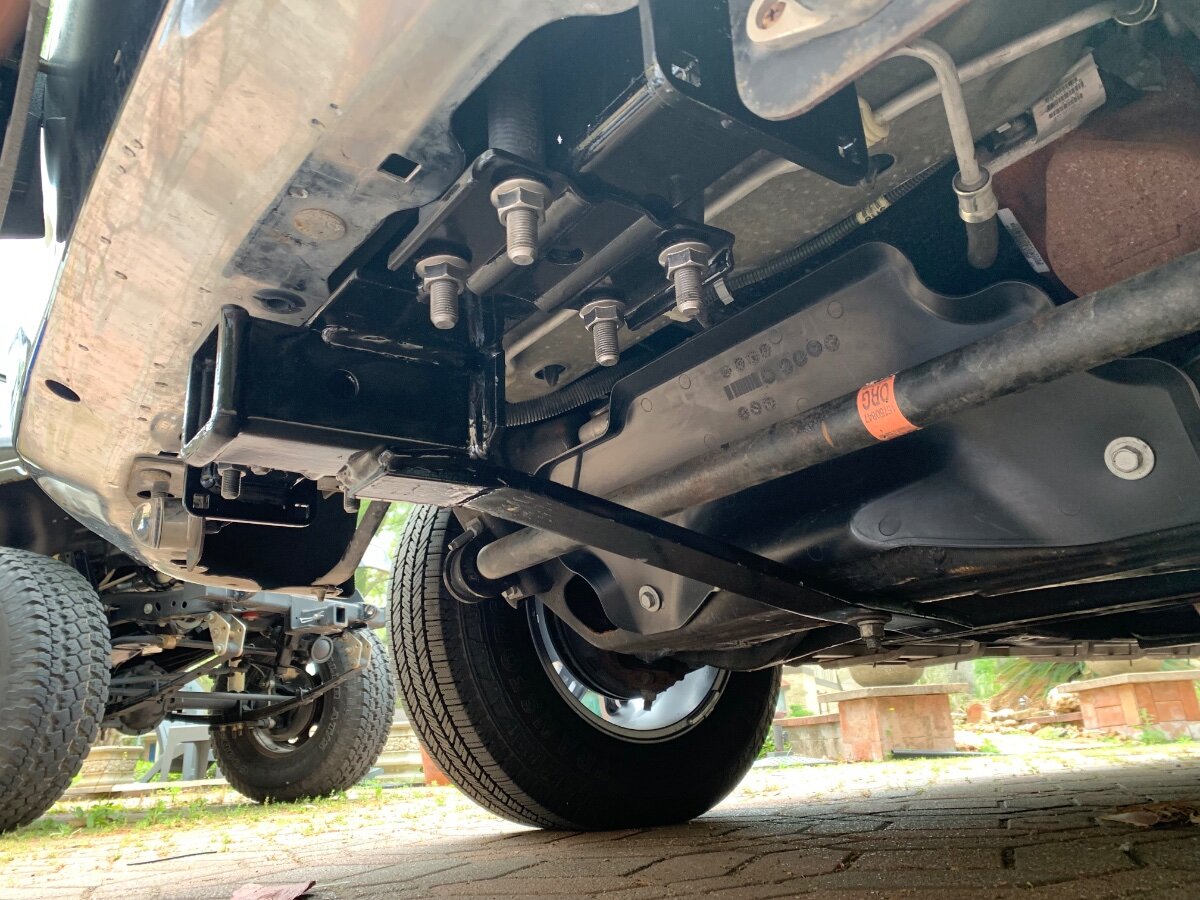
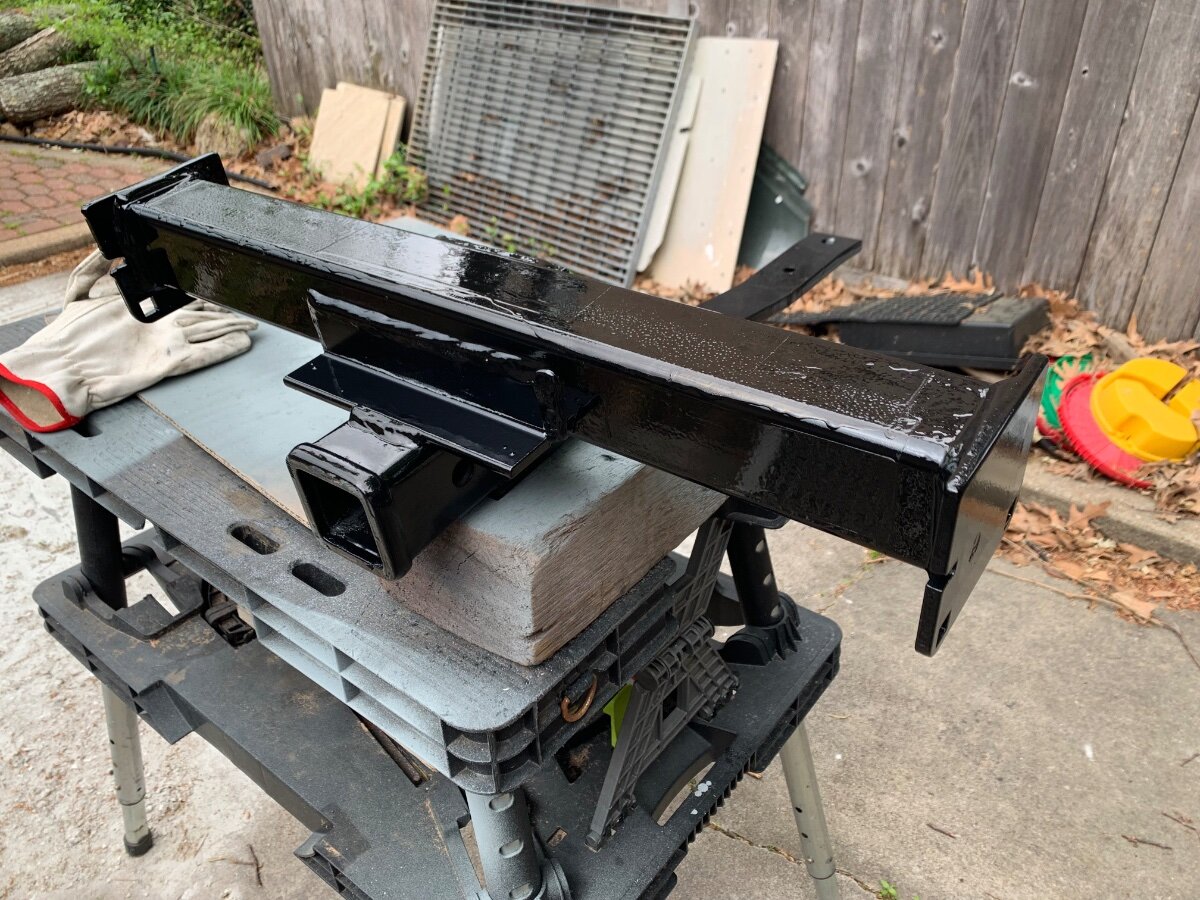
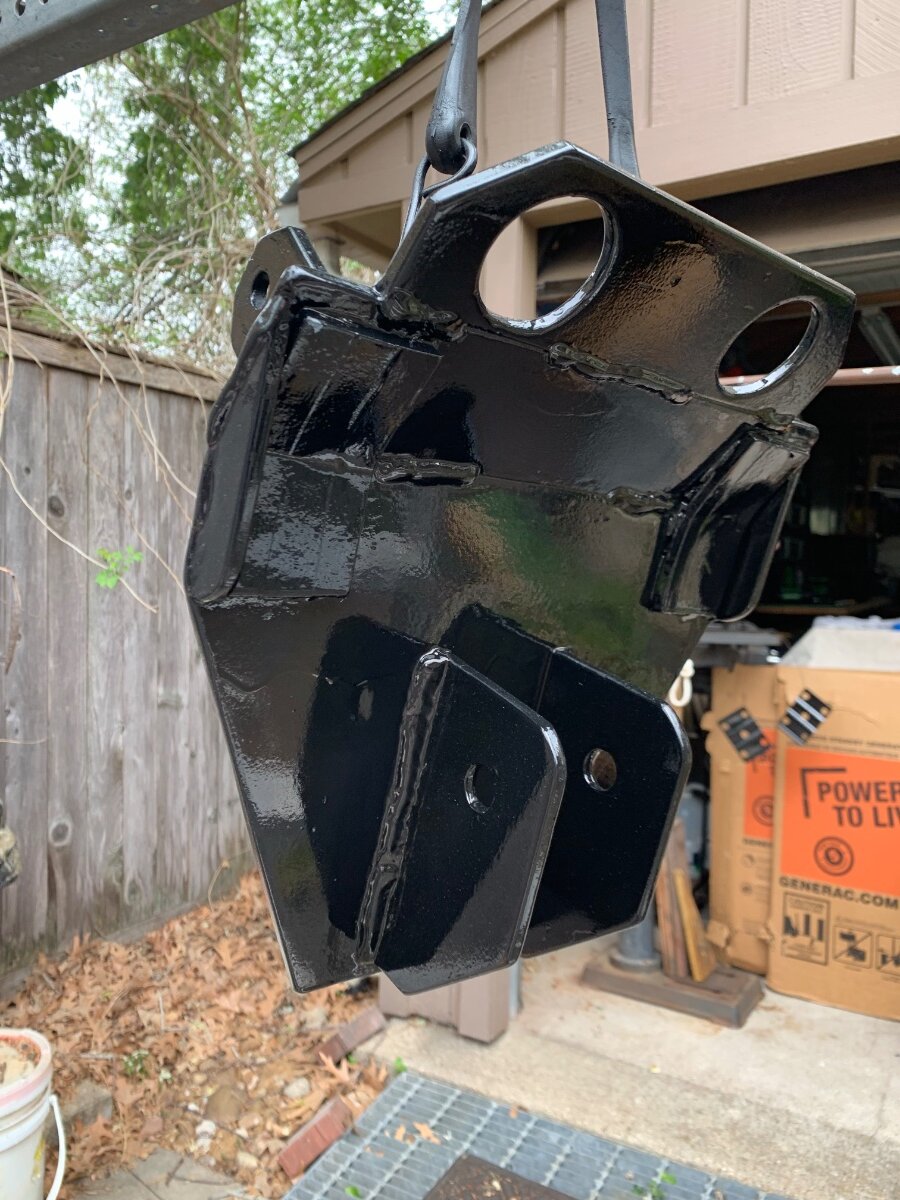
A few days ago I completed an installation of a front receiver hitch on the Savana. I previously installed same on the Silverado, specifically to carry a bike rack when underway for use with our folding ebikes once in camp, and liked its functionality. However, no such hitch was found available for the van and thus, removal and modification of the one that was on the former TV was in order. Once a mounting plan was devised for proper fitment and securement, necessary cutting, shaping, welding and painting was done. Modifications in progress. Hitch readied for install. U-bolt and plate securement. Front spoiler remounted with thru-hole, hitch extension installed. Formerly fabricated roller skid plate I made to protect the bike rack got new paint job. Savana sporting hitch/skid plate and QuikrStuff dual bike rack with ramp.
-
Dometic Refrigerator Not Working
Ronbrink replied to thompsonkd's topic in Mechanical & Technical Tips
Great advice, and the reason we travel with a sizable dual zone cooler; mostly intended for overflow, but on rare occasion as a backup!
-
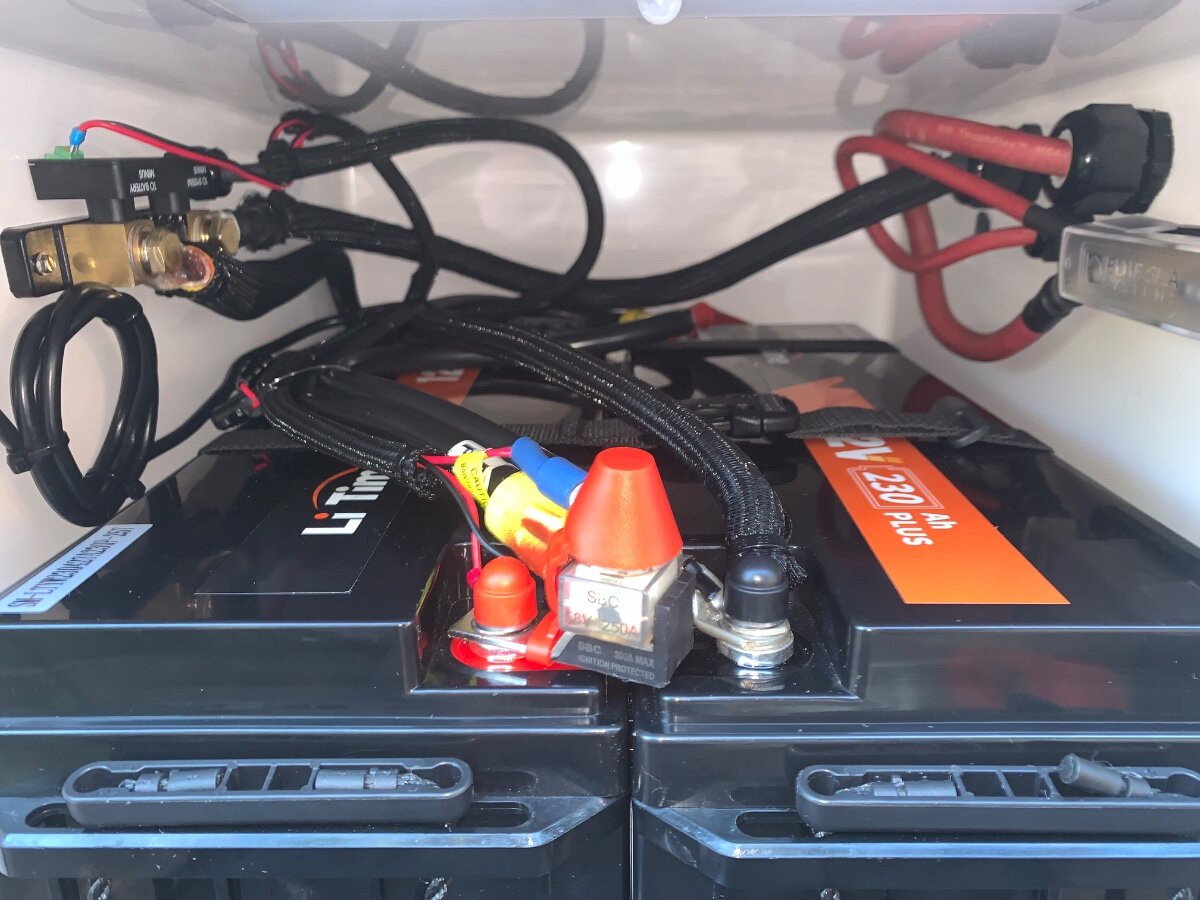
I replaced four 6V Trojans with two 12V 230Ah LiTime LFPs, a 158 lb. reduction in weight and double the usable amp hours. This was the cheaper alternative of the two options @jd1923 mentioned. Also shown is a Victron SmartShunt to the left and an ANL fuse holder to the right.
-
I now carry this instead of the low-profile aluminum floor jack; much safer, easier to handle and takes up less space!
-
Excellent write-ups on your DC-DC install! Looks like you have it dialed in for peak efficiency, waiting to learn more on its awesomeness! I too ‘home shop’ for spare parts and materials to complete any given project, definitely saves time and money. When I did the alternator upgrade on my former TV (Mechman 320 Amp High Output Alternator) I installed the Big 3 wire upgrade, which substantially improves grounding at the alternator, engine and frame using 1/0 cables. However, I have since stripped said alternator and cables from the Silverado 1500 for future install on the Savana 2500, which has a 150 Amp stock alternator that will suffice for now. I’ve already done the same with the formerly installed DC-DC cables on the Silverado and the Savana is now readied with the rear bumper Anderson SB120 connector and Source Side Environmental Boot/Cover.
-
I checked on this and found the special pricing to be for the Standard kit for Residential plans.
-
Inexpensive Helpful Modifications
Ronbrink replied to Wandering Sagebrush's topic in Ollie Modifications
Wonderful, need to place another order! -
Inexpensive Helpful Modifications
Ronbrink replied to Wandering Sagebrush's topic in Ollie Modifications
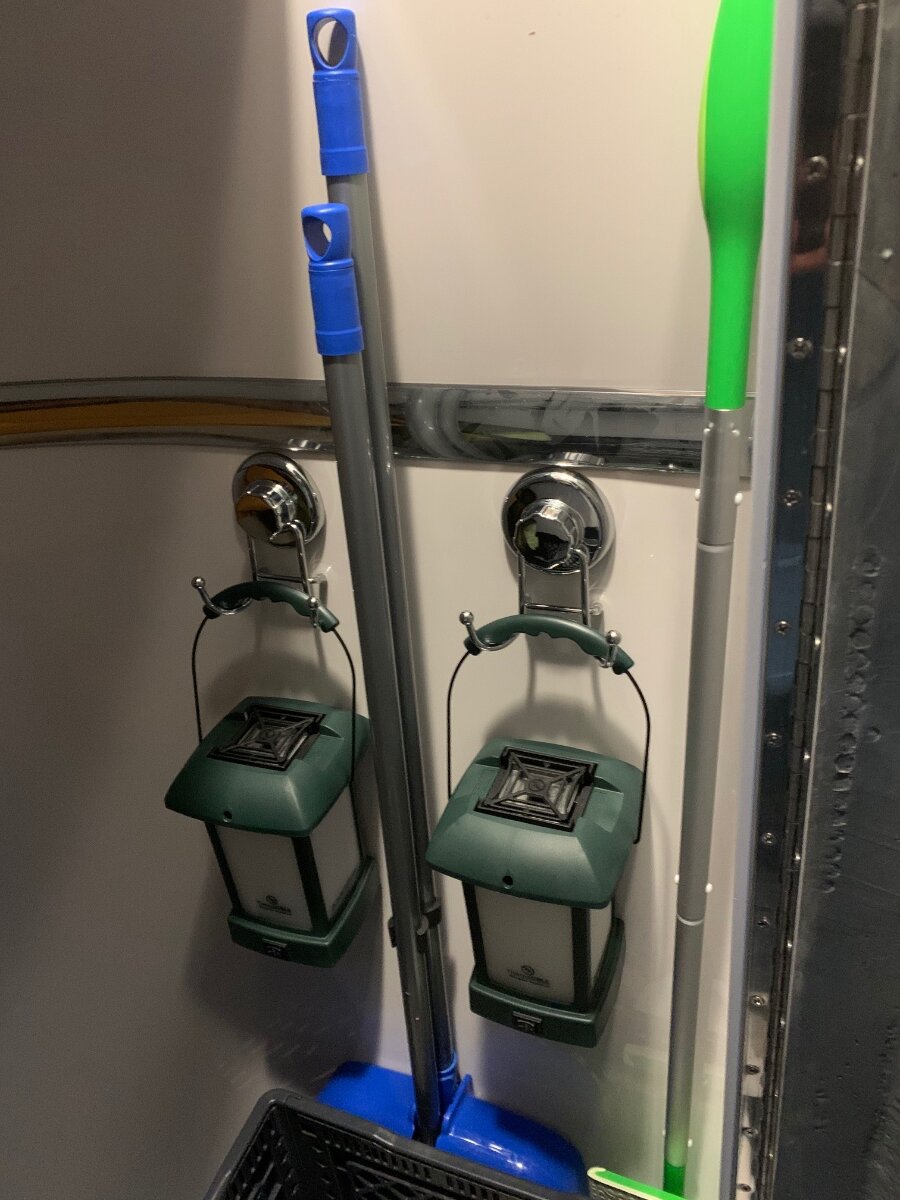
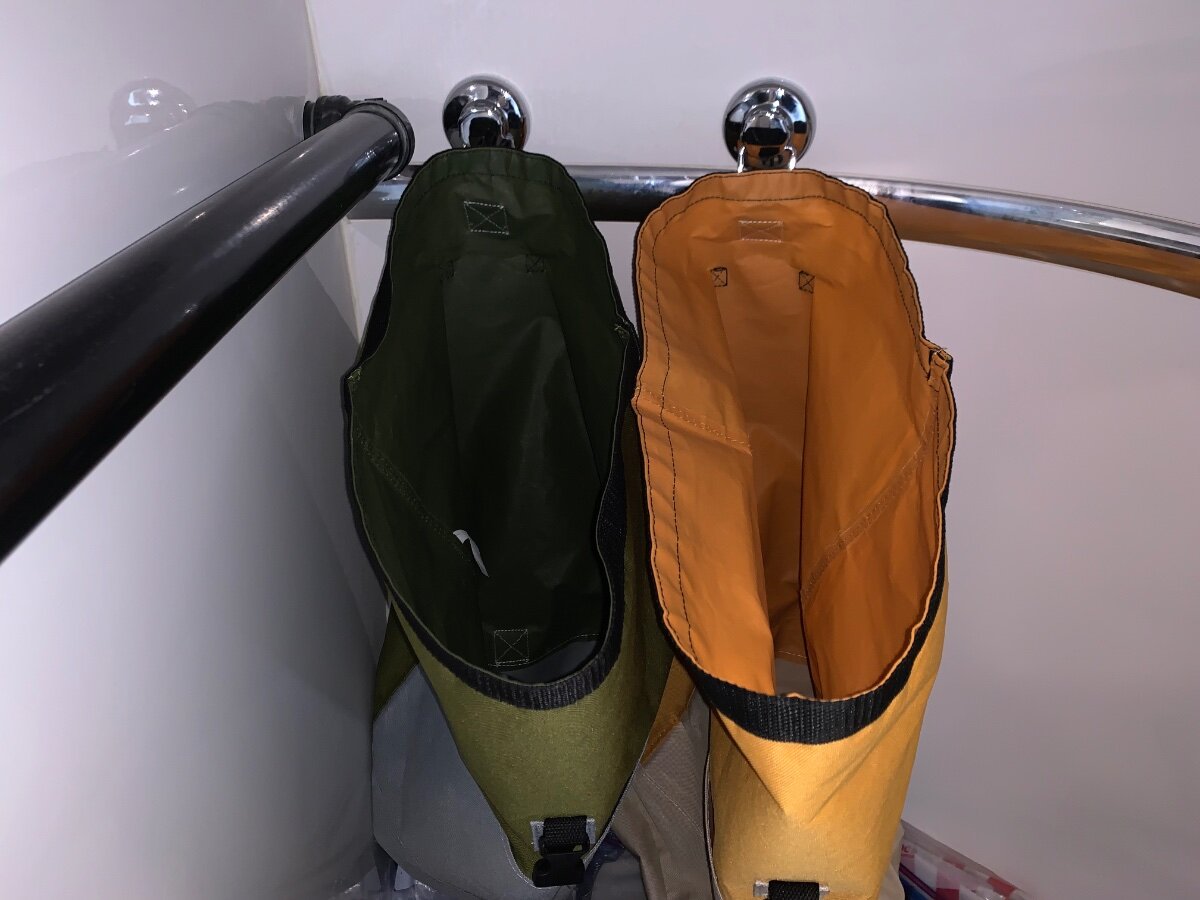
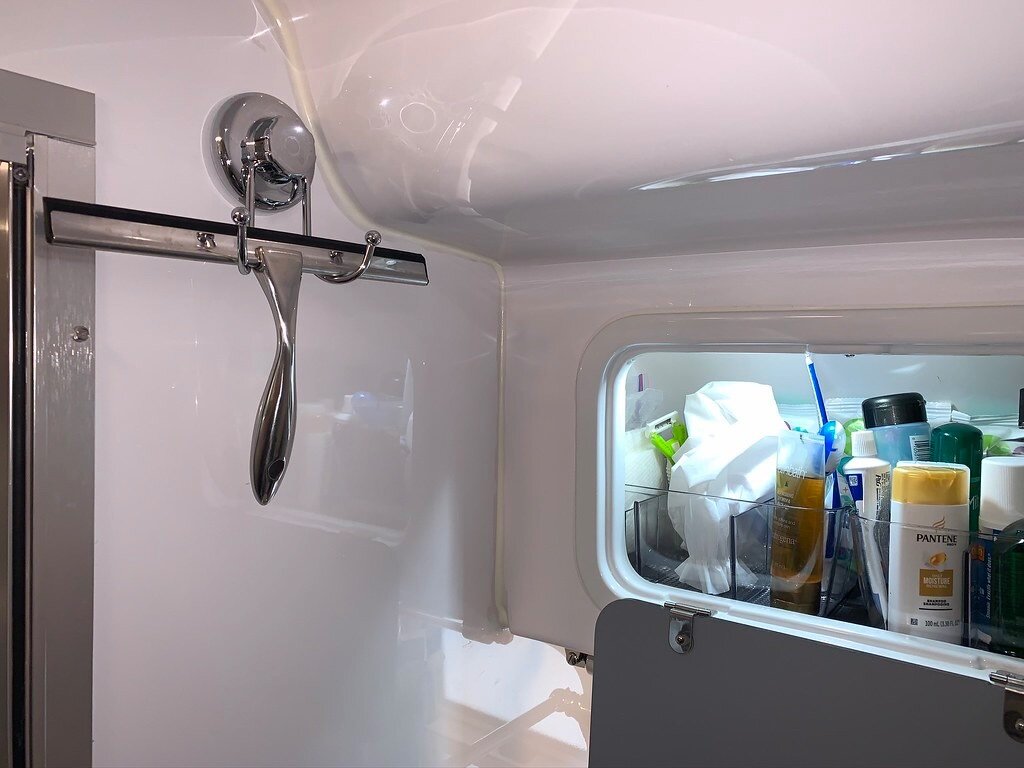
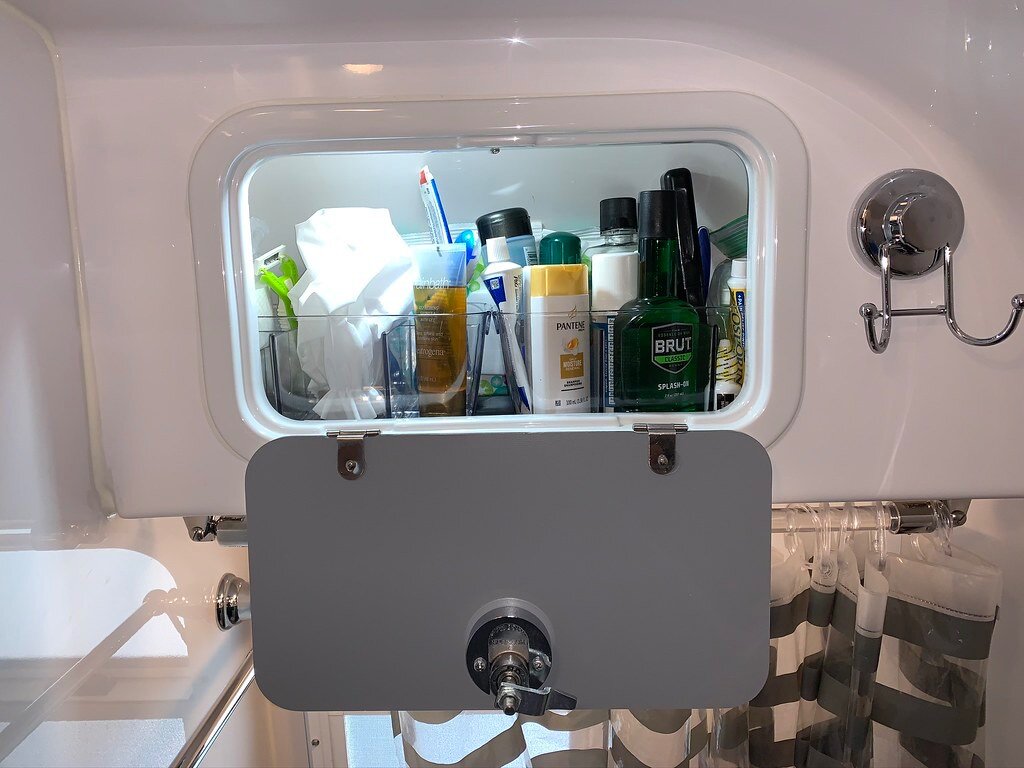
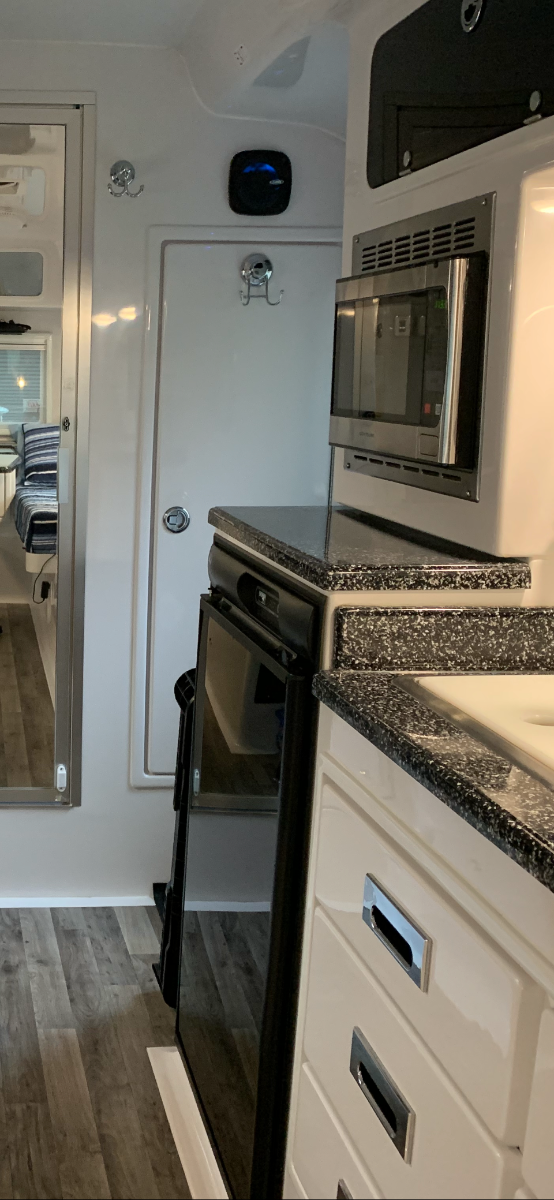
I’m hooked, have a dozen of these throughout the Oliver! Easy to install; they stay put for the most part; and great for hanging equipment, clothing, towels, hats, bags, you name it. I just twist the suction knob occasionally to maintain a tight hold. Here’s a few examples:
-
If you can find a dual zone fridge/freezer within your budget and allotted space/carry capacity I would encourage you to do so. Having some overflow for both will prove very beneficial and more universal in usage. In these models either or both zones can be set to meet a current purpose. I like being able to have cold drinks when detached and away from camp, not one to mess with ice in a conventional cooler.
-
A bit late chiming in, looks like you confirmed/answered your own questions. The Gree Eco-Cool and Dreiha Atmos 4.4 are exactly the same; both have R32, like interior plenums with control panel, and remote and wi-fi app controls. Here’s another YT video by Why Not RV, wherein he installs the Gree on his Airstream, once again exactly as my install of the Atmos (other than the furnace wiring/wall thermostat). No direct link to the video but you get the picture, pun intended! Also shown an excerpt from the Eco-Cool Owner’s Manual on the refrigerant.
-
Perhaps just marketing lingo! True, they don’t come with a. softstart device, but one is needed to run off inverter or small generator to keep from tripping a breaker.
-
Just to clarify, I lifted the following statement from the Sprinter forum: “Gree manufactures both the Eco Cool and Atmos 4.4 air conditioner, they are just labeled under different brand names. They are exactly the same units.” I’ve also read that Tosot by Gree is the same, as well. From what I have learned, none of these Gree units have a “built-in SoftStart”, that was a widely spread misconception which has been dispelled. I personally installed an Atmos 4.4 w/SoftStartRV on my OLEll. The Dry Mode is real; has a forth fan speed, ‘Turbo’; and both a remote and ceiling air diffuser control panel. On some SOBs when ducted, an optional wall thermostat is needed depending on the installation.
-
I have my DPll 11K listed on my go-tos, FB Marketplace and OfferUp. I’ve brought in thousands of dollars in past listing and ultimately someone will buy this unit. However, typical inquires include ridiculous offers and money-stricken individuals who can’t really afford, but with patience a viable buyer will happily pay the asking price or a perceived ‘bottom line’ price. There is no fee paid for use of these two sites.
-
That is correct, and thanks for explaining another aspect of the bilateral drain design. I read this morning of a video wherein a mod was done to have the fan only run when the compressor is running in Cool Mode. An Atmos owner (not Oliver) stated in the Sprinter forum that he was going to do the mod, but no further report to date. Such mod would void the warranty.
-
You are correct on both instances, and a mention that the rear fan continues to run until the compressor is cooled down, supposedly to add longevity to the unit. A couple of things, the Dry feature is very effective in keeping interior cabin levels comfortable when relative humidity conditions are very high outside. It is also my understanding that the condensate and evaporate coils have separate drain pans, each having drain holes to both sides to ensure condensate water flows out regardless of the trailer’s orientation. I’m not sure if that is common or unique to the Atmos.