-
Posts
1,679 -
Joined
-
Last visited
-
Days Won
68
Everything posted by MAX Burner
-
@Jay T. Norcross - Greetings, Jay and welcome to the OTT Family... As an admitted "stalker for years" you'll already know how useful these forums are for challenges you may experience and how much exceptional camaraderie they provide. Welcome Aboard, from Casablanca HULL #226!
-
Hey @Steve Morris; Steve We found the same issue - even though our LGSP Rez starts on SUN 27APR.... should be no biggie. Looking forward to linking uo again this year, brother! Safe travels!
-
Hey, @Patriot - greetings from Sint Maarten, West Indies.... This was my dive plan yesterday - finding this shipwreck: Can you make out the ship's STBD prop? HA! GX010998.MP4
-
True statement -- especially for older PWM charge controllers. Many of the newer MPPT CCs are self protecting -- but the SOP @Rolind describes is a good measure to practice, IMO.
-

Replacing black water release valve
MAX Burner replied to Imelda's topic in Mechanical & Technical Tips
We've experienced the same results with the Calgon/PineSol practice. We keep a container of the solution under the bathroom sink storage and add it on each dump - about 1.5 - 2cups. After adjusting the blade valve cables and using the C/PS solution we've yet to have leakage in the dump hose.... It appears that the cables operate a bit smoother especially when almost in the fully closed position.... -
By using the AGMs to their end-life, you'll enjoy even more savings because lithiums will certainly be less expensive 5 - 7+ years from now. In fact, there may likely be a new battery technology by then that's even more efficient than Li.... just say'n
-

Truma Pressure Relief Valve Leaking
MAX Burner replied to Rich and Jane Walker's topic in Mechanical & Technical Tips
Like @mossemi has noted above, the freshwater inlet has fewer "restrictions" than the City Water side (I believe is true in all OTT models) for this, and other boondocking reasons, we've adopted the practice of only using water from our FW tank -- regardless if staying at an established CG with city water hose bibs. As @Geronimo John has noted in other similar threads, static and dynamic pressures are NOT the same animals even at the same pressure! One can really "hammer" the OTT system with a dynamic pressure at 40psi ultimately causing leaks or other damage, IMO. Always SLOWLY crack open the city water valve when using either the FW fill or CW side of the OTT water inlet system, this practice will "soften" the blow of dynamic water pressure on your plumbing system. FYI, we haul around a "Travel Berkey" water filter system (it lives under the forward dinette seat) and never yet had a problem consuming filtered fresh water from our tank. We keep the FW Tank sanitized regularly throughout our travels as a standard practice. Monitoring the CG water pressure going into the City Water inlet with our in-line pressure gauge is another SOP for us which indicates when we need to "throttle-back" the flow via the hose bib valve due to high CG water pressure. Casablanca has 40psi pressure regulators, but peace of mind is achieved by monitoring the in-line pressure gauge. For our style of OTT camping, we only connect to the City Water inlet when sanitizing the plumbing system.... my $0.02. Safe travels, ALL! -
I find myself stepping up on the top of the rear wheels to grab stuff from the front of the truck bed -- I'm getting a wee bit "long in the tooth" for those operations, and may need to get a hoe, I'll check with D and see what she thinks.... HA!
-
Concur 100% w/Jason's comment above. Once the "phantom" amperage is discovered and dealt with accordingly, it may be interesting to explore the installation of a master battery cut-off switch (between all things using DC current and the battery bank). Configured in such a fashion as to keep batteries float charged with shore power when stored....
-
We've had 4x 6vDC AGMs in our AS that lasted 5+ years. They're good but IMO not as good as the modern lithium options out there. We're 100% pleased with the performance of our 300A-Hr lithium bank, especially now with our 200W solar tracker. It behaves like a 400W module and our SOC is full by 1pm-ish even in the winter low sun angles of Quartzite. A very nice combo for our style of boondocking, FYI. But as @Mike and Carol stated previously, don't think solar is the same drill as a FHU when your boondocking. One still needs to keep a "weather eye" on the charging data and the camping conditions (i.e., WX) at the time... Just say'n Press on, regardless....
-
We've been using the Lippert friction hinges for a couple years now. We love them - it actually makes the lower "hook hasp" unnecessary. Some folks may say you don't need two - but we like the 2 hinge option especially in some of the winds we've experienced in the Rockies. The downside is some visitors to your rig may question why your door is so "stiff".... Oh, well.
-
Casablanca will be in E-06 this year, FYI....
-
Thanks, @John Dorrer -- for tracking this one! See y'all there!
-
FYI: We were able to make our reservations for the '25 Owners Rally before we departed LGSP last year. For veterans who have yet to secure a rally site, don't forget to ask for the discount when making your 2025 reservation. Looking forward to seeing everyone again this year! Safe travels, All!
-
We have a local welding supply business called, "AirGas" (possibly a national chain) -- we've been using them for filling, testing and rectifying our CO2 kegerator tanks, LP tanks, and welding tanks for many years. Our SCUBA tanks go to the dive shop for their 5-year hydro testing, however.
-
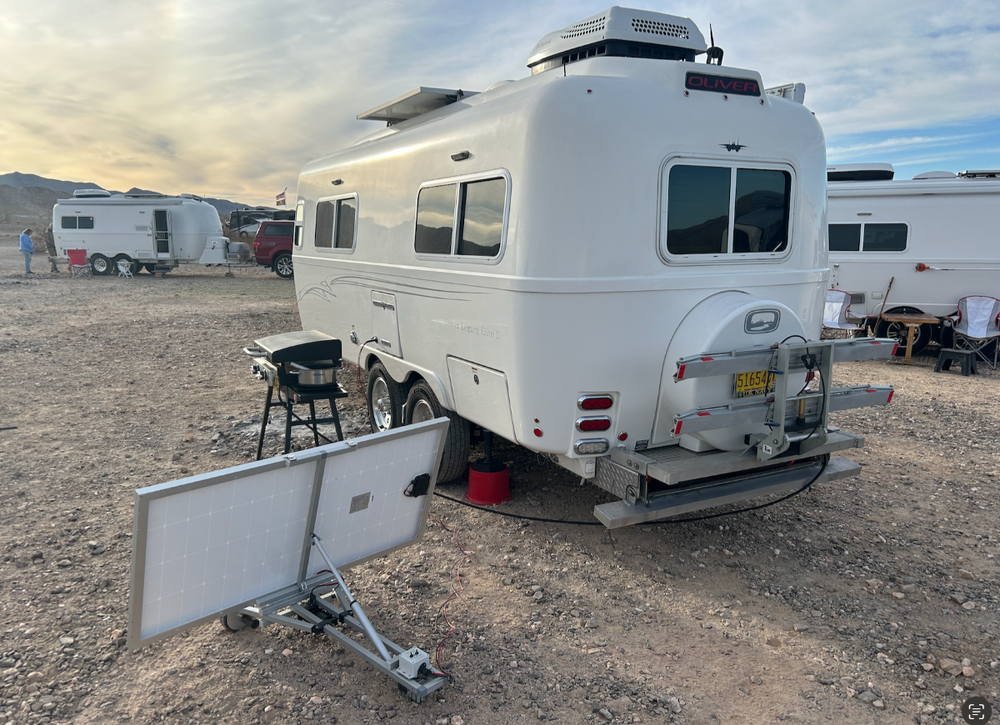
The production model will likely have a folding light-weight (about 11lbs) solar module like @Ollie-Haus describes which will make packing/storage/hauling/set-up much better. There were discussions at Q that included having a digital power output register incorporated into the frame and greater traction tires. It's interesting that the weight of the Tracker assembly (frame = 15lbs; solar module 23lbs) is the same as our 200W Renogy suitcase. This idea of an 11lb folding 200W module is a great one. An interesting feature discovered just yesterday after setting up the Tracker in front of Casablanca's "Man Cave" -- when the Tracker senses a 100% SOC, it stops tracking the sun. So, if you're out and about and within sight of the assembly, when you see that the Tracker has fallen "behind" the sun's path, you'll know've reached full SOC. Cool.
-
Excellent point @Geronimo John ! I should have mentioned the rather high wind conditions in Q earlier. We had several days with back-to-back winds in excess of 25mph. Fortunately, Steve ( @ScubaRx ) brought his hand-held Kestrel 1000 anemometer and measured 27mph+ sustained with gusts over 30. The Tracker's control module has accelerometers on board and will stow the solar "sail" when winds are dangerously high to avoid an inadvertent launch. Not sure where they're set to stow but the Tracker kept the solar module deployed throughout these windy conditions. One thing we noted is that the module accumulates quite a bit of dust (almost like talcum powder at Q) and needs to be wiped down a few times daily to maintain optimum output. All in all an impressive unit. @topgun2 -- thanks for your assist in splitting this thread! More later....
-
@topgun2 - Good morning, Bill - could you administratively start a new thread for this topic, calling it, "Solar Tracker Module"? @dewdev, @Ollie-Haus - sorry for the delayed reply. Been on the road and just saw the above inquiries. The best way to obtain tracker information is to go to the company's website at: solartrackpro.com The tracker company name is, "Solar MaXX RV, LLC", FYI... The "Tracker" is not in full production yet. Beta and field tests need to be completed on these first three units before production commences. Regarding the question of connecting the Tracker to the OTT - the real answer is, "it depends". Not all owners have configured their trailer the same. For an unmodified factory trailer, the Tracker can either be connected directly to the battery bank with supplied alligator clips or plugged into an owner-installed SAE outlet while insuring correct polarity. In our case, we installed an SAE outlet on the battery compartment hatch for our Renogy 400W suitcase solar module, where the negative lead goes to the Victron Smart Shunt and the positive lead to the battery terminal block. After insuring correct polarity, we simply plug the Tracker into the SAE plug on the hatch allowing us to record the Tracker's output into the 3 Battle Borns using the Victron app. More news to come...
-
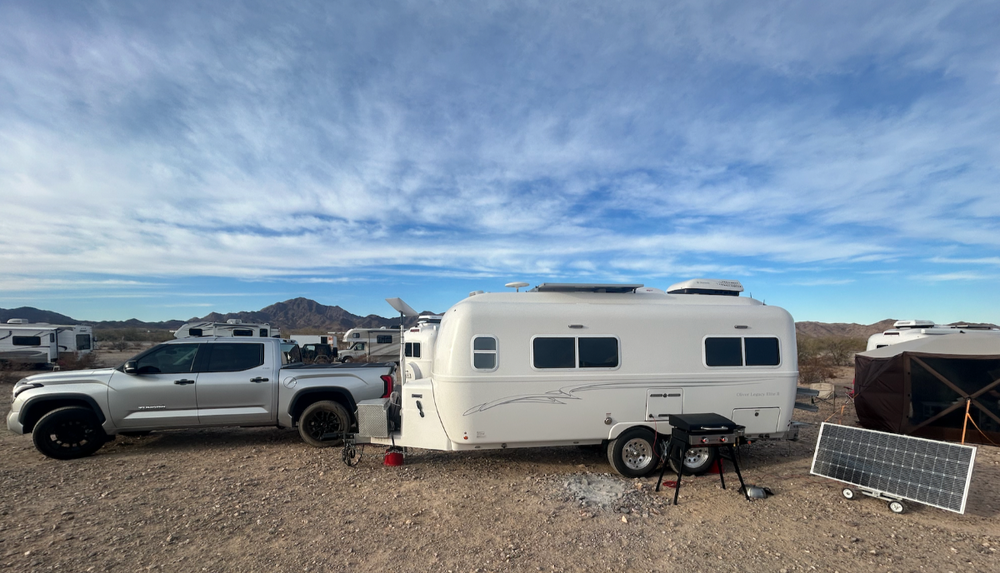
FYI: Quartzite "Proving Grounds" -- We opted-in on a Solar Tracker at the owner's rally last year which Coy and his business partner, Joe designed. It's been running straight through since arriving at the Q last Monday. The tracker uses onboard GPS, MPPT charge controller, and other programs to "track" the sun's progression throughout the day. It stows itself at sunset then "wakes" up after sunrise, resets its position and its 200W solar module angle to optimize power generation. Even with the low winter sun angles here at the Q, the tracker get's our 300A-Hr Battle Borns back to 100%SOC by noon-ish to 1pm. We're still putting it through its "shake-down" cruise during this trip. More later...
- 19 replies
-
- 13
-

-

-

-

Another AGM to Lithium Modification on 2020 LE2
MAX Burner replied to Ray Kimsey's topic in Ollie Modifications
For our "style" of boondocking our 300AH bank of Battle Born's are serving us well. At Quartzite now, low sun angles, and overcast, our 200amp "Solar Tracker" is augmenting our roof modules. We are burning through about 70AH/night and the tracker is bringing us back up to 100% SOC by 1300 - 1400hrs every day, FYI. The "tracker" is proving very efficient as a much lighter weight module than our 35# Renogy 400W suitcase IMG_3551.MOV Photos.app.zip -
I would suggest a different design for a 100-night, 500-night, and 1,000-night patch. Who are the graphic artists out there? HA!
-
...and don't forget about "Harvest Hosts". We've met some awesome folks over the years while staying at HH venues!
-
OK - a random idea following @Steve Morris's impressive milestone.... Back in the day when flying aboard navy aircraft carriers, it was a big deal to celebrate every 100 landings on a specific carrier and especially every 100 NIGHT landings on that particular boat. Each air wing had its own flight jacket "Centurion Patch" with the number of landings 100, 200, 300, etc. including the name of the carrier (Nimitz, Constellation, Ranger, Oriskany, etc.). The idea is we design a patch, coffee cup, hat, whatever that celebrates multiples of 100 nights in an OTT. The most coveted was the "Black Centurion" patch signifying 100 night landings. Thoughts for coming up with and designing "Oliver Centurion" swag?
-
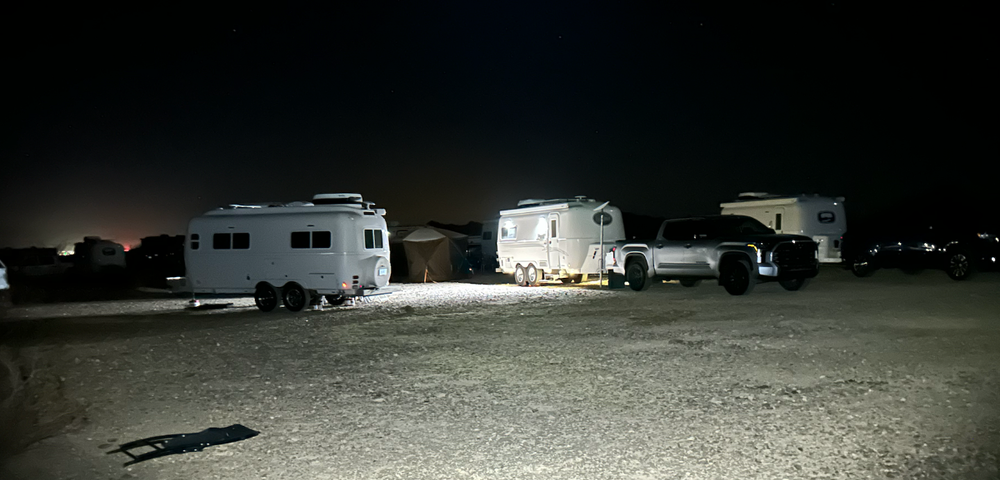
@jd1923 -- Thought we'd finally meet in person, JD! We'll see you down the road, eventually, brother - take it easy! Here's a snap of @johnwen's OTT and @ScubaRx's Clam during a pre-sunrise puppy duty for Oscar... with the wind chill factored in its a balmy 25F here this AM. HA!: At last count, there's 6 OTTs and a BigFoot... I understand there may be more coming later this week. Staying on the warm side of the "Main Hatch" for a while - take care, all! Best,


