topgun2
-
Posts
7,680 -
Joined
-
Last visited
-
Days Won
462
Everything posted by topgun2
-
Congrats on the new job even though it will take time away from your Ollie. Given the approaching winter perhaps it is not actually a bad time to start down a new road. Regarding the shades - replacement is a "snap" Regarding new suspension - if you are upgrading to the EZ Flex I know you will like it much better and (probably) the bushings are gone on the old suspension anyway. Regarding the new sink and faucet - there sure are some nice ones out there - I've always lusted after Overlands. But, what I've got works and therefore I'm not touching it. North Carolina will miss you! Don't forget to visit us! Bill
-
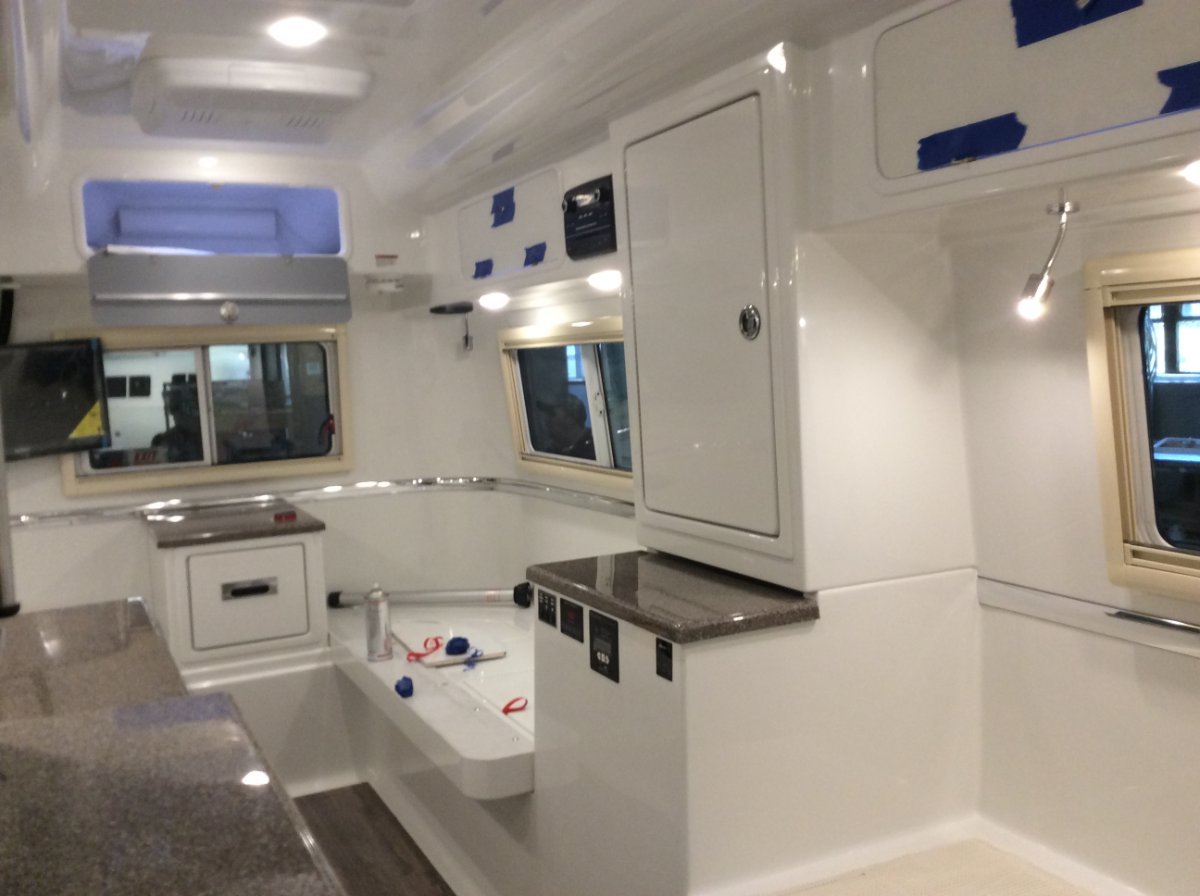
OK, note in the pic below the piece of fiberglass that a spray can is sitting on. Or, that same piece that sticks out into the aisle starting at the battery box (just below the pantry) and extends back to the nightstand. This piece (as Mike said) sticks out into the aisle about 4 inches or so right about at knee level. Thus, it makes the aisle more narrow at right about knee level. With the "standard floor plan" this piece (extension) is not there. Thus, the aisle is full width at that point. Bill

-

Gauging Interest in a 2023 Boondockers Mini Rally in Colorado
topgun2 replied to VBistro's topic in Events & Rallies
Gee - 90 minutes from Denver doesn't exactly put this site in the middle of a metropolitan center and being retired I actually look for places with little to no cell service. My "normal" schedule of fishing for a couple of months up in Wyoming, Montana or Idaho would couple very well with a mini-rally during the first or second weekend of September and that kind of time frame would get the rally well away from any conflict with the Oliver Owner's Rally in May. Anyone that is still working either full or even part time would likely have a long weekend over Labor Day (September 5, 2022). Bill -
I knew I saw it somewhere. Second post down from the top of the thread. Bill
-
The aisle in the standard floor plan is also wider (at least right about the height of your knees) due to the fact that there are additional pieces on each side for support of the twin beds. Bill
-
Didn't someone above mention that they had used "real" lava rock in their pit?
-
Glad you liked the idea! You might also want to PM Matt Duncan at Oliver here on the Forum. Within the past two years a summer intern (I believe) tried to develop a list of places that could serve as Owner Rally locations. Having said this - if a mini-rally is what you have in mind (this is where I'd start if I were you) then a location that could handle 10 to 20 Olivers should be sufficient. Good luck! Bill
-
Many of these Clam type screen houses have very fine screening in order to really keep out the bugs. It works great except it does somewhat restrict air flow. Certainly this is little problem when it is cold out and, of course, when using the wall panels. But, if you are using it for shade in full sun and the ambient temperature is much above 80, it will get a bit "stuffy" inside unless you have a fan or there is a good breeze. Bill
-
A reasonable solution - organize a western Ollie rally. There have been a number of Forum members that have wanted the same thing as you do. Foy and Mirna have organized two rallies (both in northern Florida) that have been well attended and I'm certain that a PM to Foy would get anyone all the details that they would need to organize a mini-rally out west. As they say - organize it and they will come! Bill
-
I do have the "couch" on one side but have never tried to set it up as a dinner table. Certainly the lagun table arrangement could be made to work and either you can make or Foy can make a custom table in virtually any reasonable size you desired. Of course another way to get to the same place would be to use throw pillows. When ever I have more than the two of us for dinner I either use my Clam screen shelter or the picnic table (if available). Good luck! Bill
-
dewdev - Never trust the memory of an old guy first thing in the morning (or any other time for that matter)! 😉 Since my Ollie is in storage at the moment I'm only giving you what I remember off the top of my hat - using the button that allows you to switch from AM to FM you can simply keep pressing it until the WB shows up (only four or so presses gets you there). Once there you can scroll through 5 or 6 "bands" to get the clearest one or the one closest to your present location. Bill
-
Note that registration for this rally is a two part affair. The first part would be to get your reservation for a campsite - you do that by contacting Guntersville SP. The second part is to register with Oliver for the rally itself. Bill
-
Obviously it is also an aquatic creature 😁. But that is not the one being discussed here. Actually Clam first started making ice fishing shelters and the design was adapted to the screen shelters that many of us enjoy today. They are very easy to setup and take down and are very stable in the wind - assuming that you stake them down properly. Bill
-
Perhaps this is true - I don't know. But, what I do know is that I've owned a number of RV's over the years and most of them (actually all of them that I can remember) had propane supply configurations that very closely resembled that is the Oliver. I have never had a problem with any of these leaking, blowing up, wasting propane, cracking or any other issues of this nature. I have also not checked them annually with the old soap and water test (looking for bubbles), but, I do like to think that I have a fairly sensitive nose for rotten eggs. To be fair - I do not use that much propane and maybe only change (refill) my tanks once per year. But, I do remove them/reinstall them three or four times per year. Given that the current tank, regulator and gas line arrangement is fairly similar to what I've seen in other RV's I'd bet that Oliver is simply following industry practice in this regard and without seeing a fair number (my assumption) of failures of these supply hoses there is simply no reason to change. Yes, I changed mine when I installed my new GasStop devices. Not because there was any issues with the old (almost 7 years) hoses but just because I thought that it made for a "cleaner" appearance and all rubber things do age with time. Certainly it is possible that Oliver might change the current configuration given this thread but unless there is some reasonable data out there to suggest that there is a real world issue here, I would think that there are other areas where I'd rather see Oliver spend time, effort and engineering. Bill
-
Four prong approach: 1 - My Oliver Furrion radio has weather band but no automatic alert for severe weather 2 - A stand alone weather band radio (THIS ONE) that also has shortwave radio and automatic alert 3 - A satellite communicator (THIS ONE) that has weather but no automatic alert 4 - Garmin 890 has a weather function but it must be interfaced with a cell phone and I don't believe that it has an alert function. Bill
-
A bit off topic but with this mod it is the bed of the truck that gets "modified". There was a Forum member that did type of mod a few years ago and as I recall he never had any issues. I'm sure that there is a picture of his rig here somewhere and will post it back here if I can find it in the next day or so. Bill
-
If you had thought that your map would show in the post above - it does not.
-
Propane Tank Mod - Installation of GasStop Valves
topgun2 replied to VBistro's topic in Ollie Modifications
Note that if your original propane hoses are showing some age or if you would rather not deal with the elbows there are THESE HOSES available. I installed the 12 inch hoses and they work well. Bill -
Patriot mentioned this keypad upgrade in THIS THREAD. Bill
-
Repeater or Extender for Victron BMV-712 Bluetooth Signal?
topgun2 replied to Spike's topic in General Discussion
Certainly not a bad idea ! But, if you really don't want to "think outside the box" then as a first step try getting the monitor in a position that is (1) as high in the Ollie as possible and (2) in a position where it is located with only the outside wall of fiberglass between it and the exterior. One of the easiest places to do this is in the attic where the insulation can easily be pulled back and the monitor simply laid between this layer of insulation and the outside hull. Bill -
You're going to need a bigger store room!😆
-
I'd do what Mike suggests. But, if you have any concerns or if the water just doesn't seem right when you return, you can use THIS STUFF to freshen it up a bit. Bill
-
I've used Battery Tender's for years and years - mainly on motorcycle batteries - with zero issues. In fact, one motorcycle battery lasted 11 years while being constantly maintained on one of these. Bill
-
Difference between new Ollie and a 2017 Elite II
topgun2 replied to robrien24's topic in General Discussion
Yep - heard that rumor but never have seen the actual stuff. -
WOW! Large Campfire? What do you call a bonfire? Nice pic. Bill