-
Posts
690 -
Joined
-
Last visited
-
Days Won
2
Everything posted by rich.dev
-
I will be very surprised if a class action does not take place!
-
Just more bla bla bla…when I read garbage generic responses like this I want to 🤮, the CEO’s coffee maker probably pulled this letter from their 10yo archives! Why not own up to the fact their batteries have an issue, or at least come back with a something /video some explanation that makes sense to people that have more than 2 brain cells why Will Prowse, and btw Lithionics who called them out for same issues year ago, are taking too much kool aid!
-
You cannot go wrong with Epoch, another brand that’s also getting good reviews, and is on Will Prowse’s approved list is WattCycle https://www.wattcycle.com/products/wattcycle-deep-cycle-rv-battery-ad
-
I don’t have a brick in this wall and I’m glad I don’t! But from what I’ve seen BB’s lame response to the issues many owners have been reporting, and not owning up to the fact their batteries have an issue has been so atrocious that nobody should ever buy their product. If I had a solar business and had customers demanding BB batteries I would politely ask them to go elsewhere to have that done..just my opinion!
-
I know many Oliver owners have switched to the Alcan 2750 lbs 5 leaf pack springs and are very happy with the switch. So this is just and FYI....a video of a couple that documents their overlanding suspension failure involving Alcan Springs and their Alcan shackles.
-
So here’s yet another very disgruntled BB “ex” customer! I’ve followed Mark (GrandAdventure YouTube channel) for many years, and like Will Prowse I believe he’s also pretty fair on his content.
-
Art and his new I235?
-
If you have fat tire e-bikes take them, great to zoom around in the desert and town. Just watch out for traffic in town, gets very busy during the big tent event.
-
Hey John, pretty sure you have the BMV712, if yes it has a connection/terminal on the shunt to connect an external temp sensor, like THIS Victron temp sensor.
-
John, your pics of the spot you stayed there on the ridge do not do that view any justice, you found a winner there with unbelievable views, will definitely see you there next year….2026/2027!
-

Sea Biscuit Rear Basket and Storage Boxes
rich.dev replied to Steve and MA's topic in Ollie Modifications
Yup have them on all 4 stabilizers as well. I considered the Andersen blocks but decided on the flap jacks because of the space saving measure. -

Sea Biscuit Rear Basket and Storage Boxes
rich.dev replied to Steve and MA's topic in Ollie Modifications
-

Sea Biscuit Rear Basket and Storage Boxes
rich.dev replied to Steve and MA's topic in Ollie Modifications
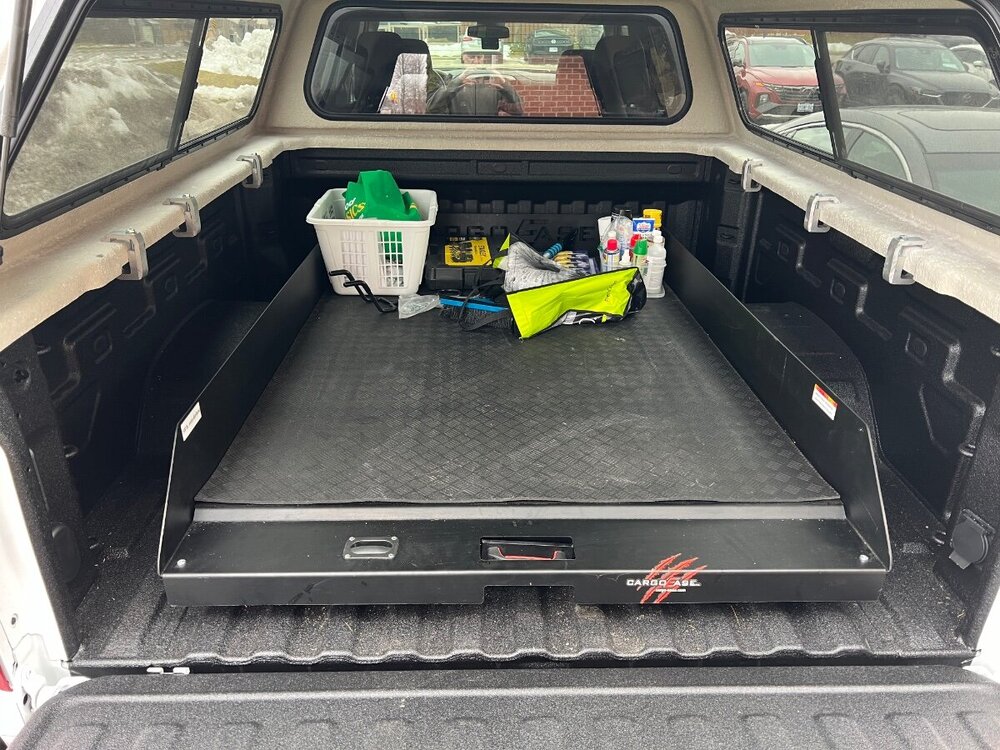
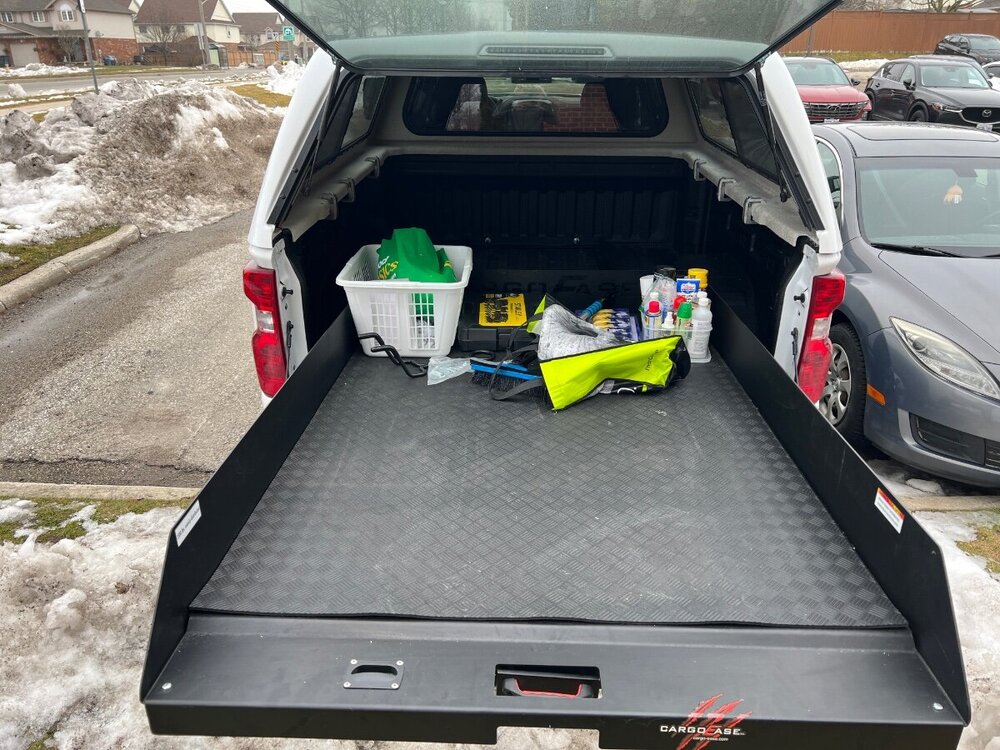
This was our setup with the Seabiscuit basket and a custom made trunk box. Yes definitely not easy to access the sewer hose, but 💯% doable if you’re able to get on all 4s!😊 And just in case the question comes up about that ginormous bin on the back and tongue weight, we also had a custom generator bin in the front and all weights were golden per CAT scales. -

Barker VIP3000 Stabilizer Jack Slipping
rich.dev replied to jd1923's topic in Mechanical & Technical Tips
Agree…this is the one I got that’s specifically for the barker jack. https://trailersphere.com/products/clever-cover-forbarker-jack-the-wenatchee -

Barker VIP3000 Stabilizer Jack Slipping
rich.dev replied to jd1923's topic in Mechanical & Technical Tips
@jd1923 John, as expected another amazing retrofit/job by you! 👏 🙇 -

2026 YM Oliver awning style windows and other changes
rich.dev replied to Patriot's topic in Ollie Modifications
Really, a dry bath? -
Facebook marketplace Done!😊
-
@Donna and Scott Donna, FYI...Thea and I will not attend the rally anymore, we sold our Ollie! I have emailed Texas State Parks, so site# 54 will be up from grabs.
-
Nooo John, that must’ve been in Adam and Eve’s days, these days there are bed slides…..like this one we have, love it 1000%! 😁
-
Great thanks, can an admin please transfer the relevant posts from the Dreiha Atmos thread that I believe started around here to this thread, thanks!
-
John, we run our dual fuel Maxpeedingrods MXR3500S on propane without any issues. I prefer propane vs gas - it's cleaner burning, more eco friendly and lower maintenance. However, with propane you lose energy output, on our MXR3500S the specs are: Peak Wattage: 3500W (Gas) / 3100W (LPG) and Running Wattage: 3200W (Gas) / 2800W (LPG).
-
On our 2023 you still need the neutral bonding plug to run a generator, you can override it by turning off the progressive industries switch in the attic.
-

Dexter Axle Upgrade Options - To EZ or NevR Lube Design
rich.dev replied to Geronimo John's topic in General Discussion
John, I’m a fan of your handiwork/DUI projects, so yeees please go ahead and start a new post. Thanks!


