Leaderboard



Popular Content
Showing content with the highest reputation on 10/28/2017 in all areas
-
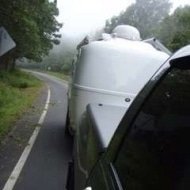
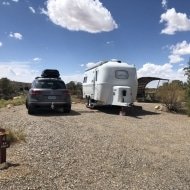
On our way home to Florida after our Ollie factory tour, Duke & I stopped by the Lake Guntersville State Park. All I can say is that this is the nicest State Park I have ever visited! We hope to attend the May Rally & meet everyone!3 points
-
In researching options, my plan is to utilize a Valterra Rocket ABS tank sitting under the cross bed toolbox in back of truck. The model R8060 30 gal. fits perfectly in the space. Since it is a rigid RV water tank it can be used to haul extra water while traveling to site as well as for refills. The bladder tanks do not appear to be designed for road travel.2 points
-
I just bought one of these: https://www.amazon.com/gp/product/B009MU64Y0/ref=oh_aui_detailpage_o02_s03?ie=UTF8&psc=1 I got the 30 gallon. It has standard hose attachments, one on top and one on bottom of the other side. Folded it is the size of a small shoe box. I haven’t used it yet. It will primarily be used to transport water from a source back to the trailer to fill the fresh tank when we’re boondocking. Mike2 points
-
Summary: It remains to be seen how well the dip tube connection endures the rigors of trailering with 32 gallons of water sloshing around. If it seeps, I will tighten the nut. If it continues to be a problem, then maybe the official spin-welded fitting will be needed. I will not know for quite a few miles, but I think it will be fine. I can imagine a situation where the suction dip tube has air in it from trailering, and you can't get water to flow out the tank drain. Simply turning on the pump should clear the line of air and start the siphon going. Attached are the original water capacity placard I made up shortly after I got Mouse home, and the new one I just made. There is quite a difference in usable water, I think this mod is definitely worth doing, unless you are forever connected to city water at your campsites. Note that while I did measure capacities while filling and emptying using 5 gallon buckets, there is some error and the numbers are not 100% accurate. I plan to print the new placard,laminate it and place it above the Tank Monitor in the trailer for easy reference. I checked the water filter after a few minutes of operation and it was FULL of white shavings, but I have never cleaned it before, so that may be a present from its birth in Howenwald. I plan to check and clean the filter every few hours until I see no more plastic shavings. Comments, questions and possible improvements are welcome. Oh yes, I never planned to run naked outside the trailer to raise the tongue if my shower ran the tank dry. I would most likely scream at my wife to do that.... with clothes on. John Davies Spokane WA Fresh-Water-Capacity-Placards.docx2 points
-
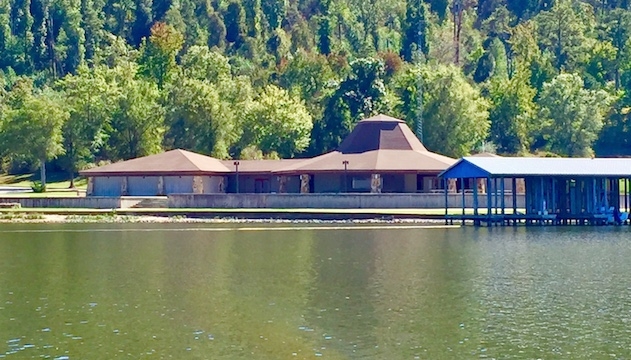
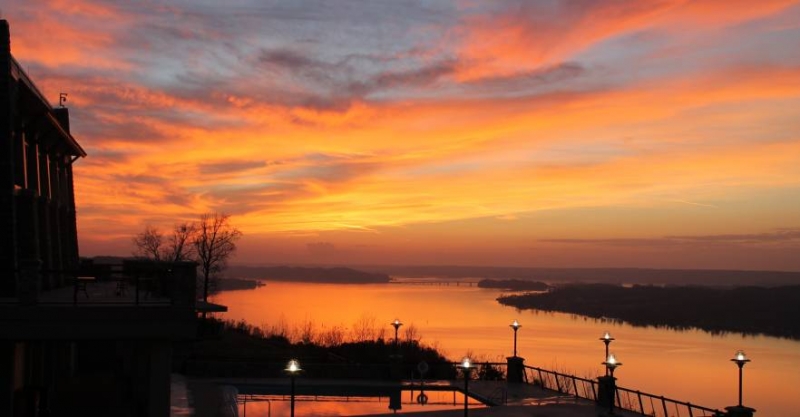
Your eyes see the beauty, yet what the camera captures is only a fraction of the reality, Lake Guntersville is one of those places. I am reminded of Mark Twain: Life on the Mississippi - There were graceful curves, reflected images, woody heights, soft distances; and over the whole scene, far and near, the dissolving lights drifted steadily, enriching it, every passing moment, with new marvels of coloring. I stood like one bewitched. I drank it in, in a speechless rapture. The world was new to me, and I had never seen anything like this at home. We arrived late Tuesday afternoon, traveling the short distance from Hohenwald where we had some service work completed. The drive into the park is full of beautiful scenic vistas of the lake and covered tree lined forested roads. The campground is located about 5 miles inside the 6,000-acre park. We checked in at the Country Store just as the staff was getting ready to close up for the day. After a quick exchange of information, we were handed a map with our lot number and on our way. The campground is made up of semi-circles starting at the lake’s edge and going back up in elevation into the trees. Most if not all lots offer a view of the lake. We later learned that a tornado in 2011 fell thousands of the trees in the campground, they have replanted many and in time the canopy will return. There are before and after picture in the Lodge that shows just how many trees they lost. We camped at D18 right on the lakefront and close to the docks. Our pad was gravel and level with plenty of room to back in. There are a few concrete pads but most are gravel. Well placed 30/50 electric, water and sewer hookup made our setup effortless. We had a stone fire pit, grill and picnic table that just beckoned to have us sit by the fire and enjoy the view. The grass grounds are well cared for and clean. The park is open year round and the staff could not have been any nicer. The Country Store offers everything you could need and anything you might have forgotten - firewood, ice, propane, fishing tackle, RV repair items and lots of drinks & snacks. The Bathhouses! Clean, modern and air-conditioned, with larger private shower stalls each with a locking door. Tons of hot water and water pressure that made showering an event you looked forward to after hiking or being out on the lake. The park has so many things to do that embrace its natural beauty. With over 30 miles of hiking trails, fishing, a golf course, boat rental, nature tours, geocaching and of course killer zip-lines through the forest canopy – there is something for everyone. Just sitting outside your Oliver and taking it all in came to the top of the list. The morning mist coming off the lake at sunrise with all the waterfowl beginning their day is otherworldly! Our Oliver Owner’s May Rally should afford us cool temperatures at night and pleasant days of discovery. We had the pleasure of meeting Sandy Tesney, Director of Sales. She is working with Coy Gayle (Our Owners Chairman) and Matt Duncan (Oliver Travel Trailers) to plan our May 2018 Rally. Sandy showed us around the Beach pavilion where our daily meet-ups for breakfast and cookout will be held. The pavilion is located just to the south of the campground entrance and a short walk from the campsites. Located right on the lake, this large covered octagon seats 250 and has great facilities for serving meals and group gatherings. In addition, we got to see the meeting rooms at the lodge where we will share a dinner and have some of our meetings. The lodge can easily host many hundreds of people and Sandy told us they hosted 23 weddings in just October alone. That fact alone, speaks to the grandeur of this place. The Lodge sits high up on a cliff above the campground and at night the lights make it look almost magical. If you are considering staying at the lodge, it is a grand retreat, with massive balconies overlooking the lake and a beautiful rustic interior. Sunset at the lodge is breathtaking and should not be missed! You can hike up to the lodge about a 40-minute trek or drive one of the two the paved roads. There is a full restaurant and bar that matches the high quality of everything about the park. Early morning or evening has the many deer come out along the roadways. We saw new fawns and large bucks, all going about their business as if we where not even there. If you have not booked your reservations to attend the 2018 Oliver Owner’s Rally, we hope our brief introduction to Lake Guntersville State Park stirs you to action. Merely call the park at (256) 571-5455 and ask for the discounted rates ($22 per night + taxes,) let reservations know you are with the Oliver Owner's Rally (Group Code 7066.) While Oliver Travel Trailers and other great vendors are sponsoring parts of our Rally, there is a $35 fee per person that we as owners pay to cover food and the park facilities. 100% of these proceeds go to the park. Many hands make light work – if you want to help make this event one to remember, volunteering is simple. With lots of small rolls that can make a major difference, contact Coy Gayle (gayleman@aol.com) like we did. We look forward to meeting all of you in this enchanting setting.
 1 point
 -
I've pumped from the bed of the truck, 30' away with no problem with the onboard pump with 30 gallons of water parked at the front of the trailer. I put a brass hose Y at the water inlet hose connection on the back of the trailer, opened both valves, then started a siphon from the back of the truck. It took a few seconds for the water to get to the Y and start coming out, but then I closed the top valve on the Y that I was using to prime the line with water and get the air out, then went inside and turned on the pump and it worked fine pulling all of the water from the tanks, thru the 30' of hose and filling the onboard tank. I was thinking bladder because I want to be able to roll it up and store it when it's not needed, leaving more room for gear, but the RV tank under the front tonneau cover mount is a great idea also because I could just fill it and take it from the beginning... Thanks everyone :) you have my wheels spinning now :) Reed1 point
-
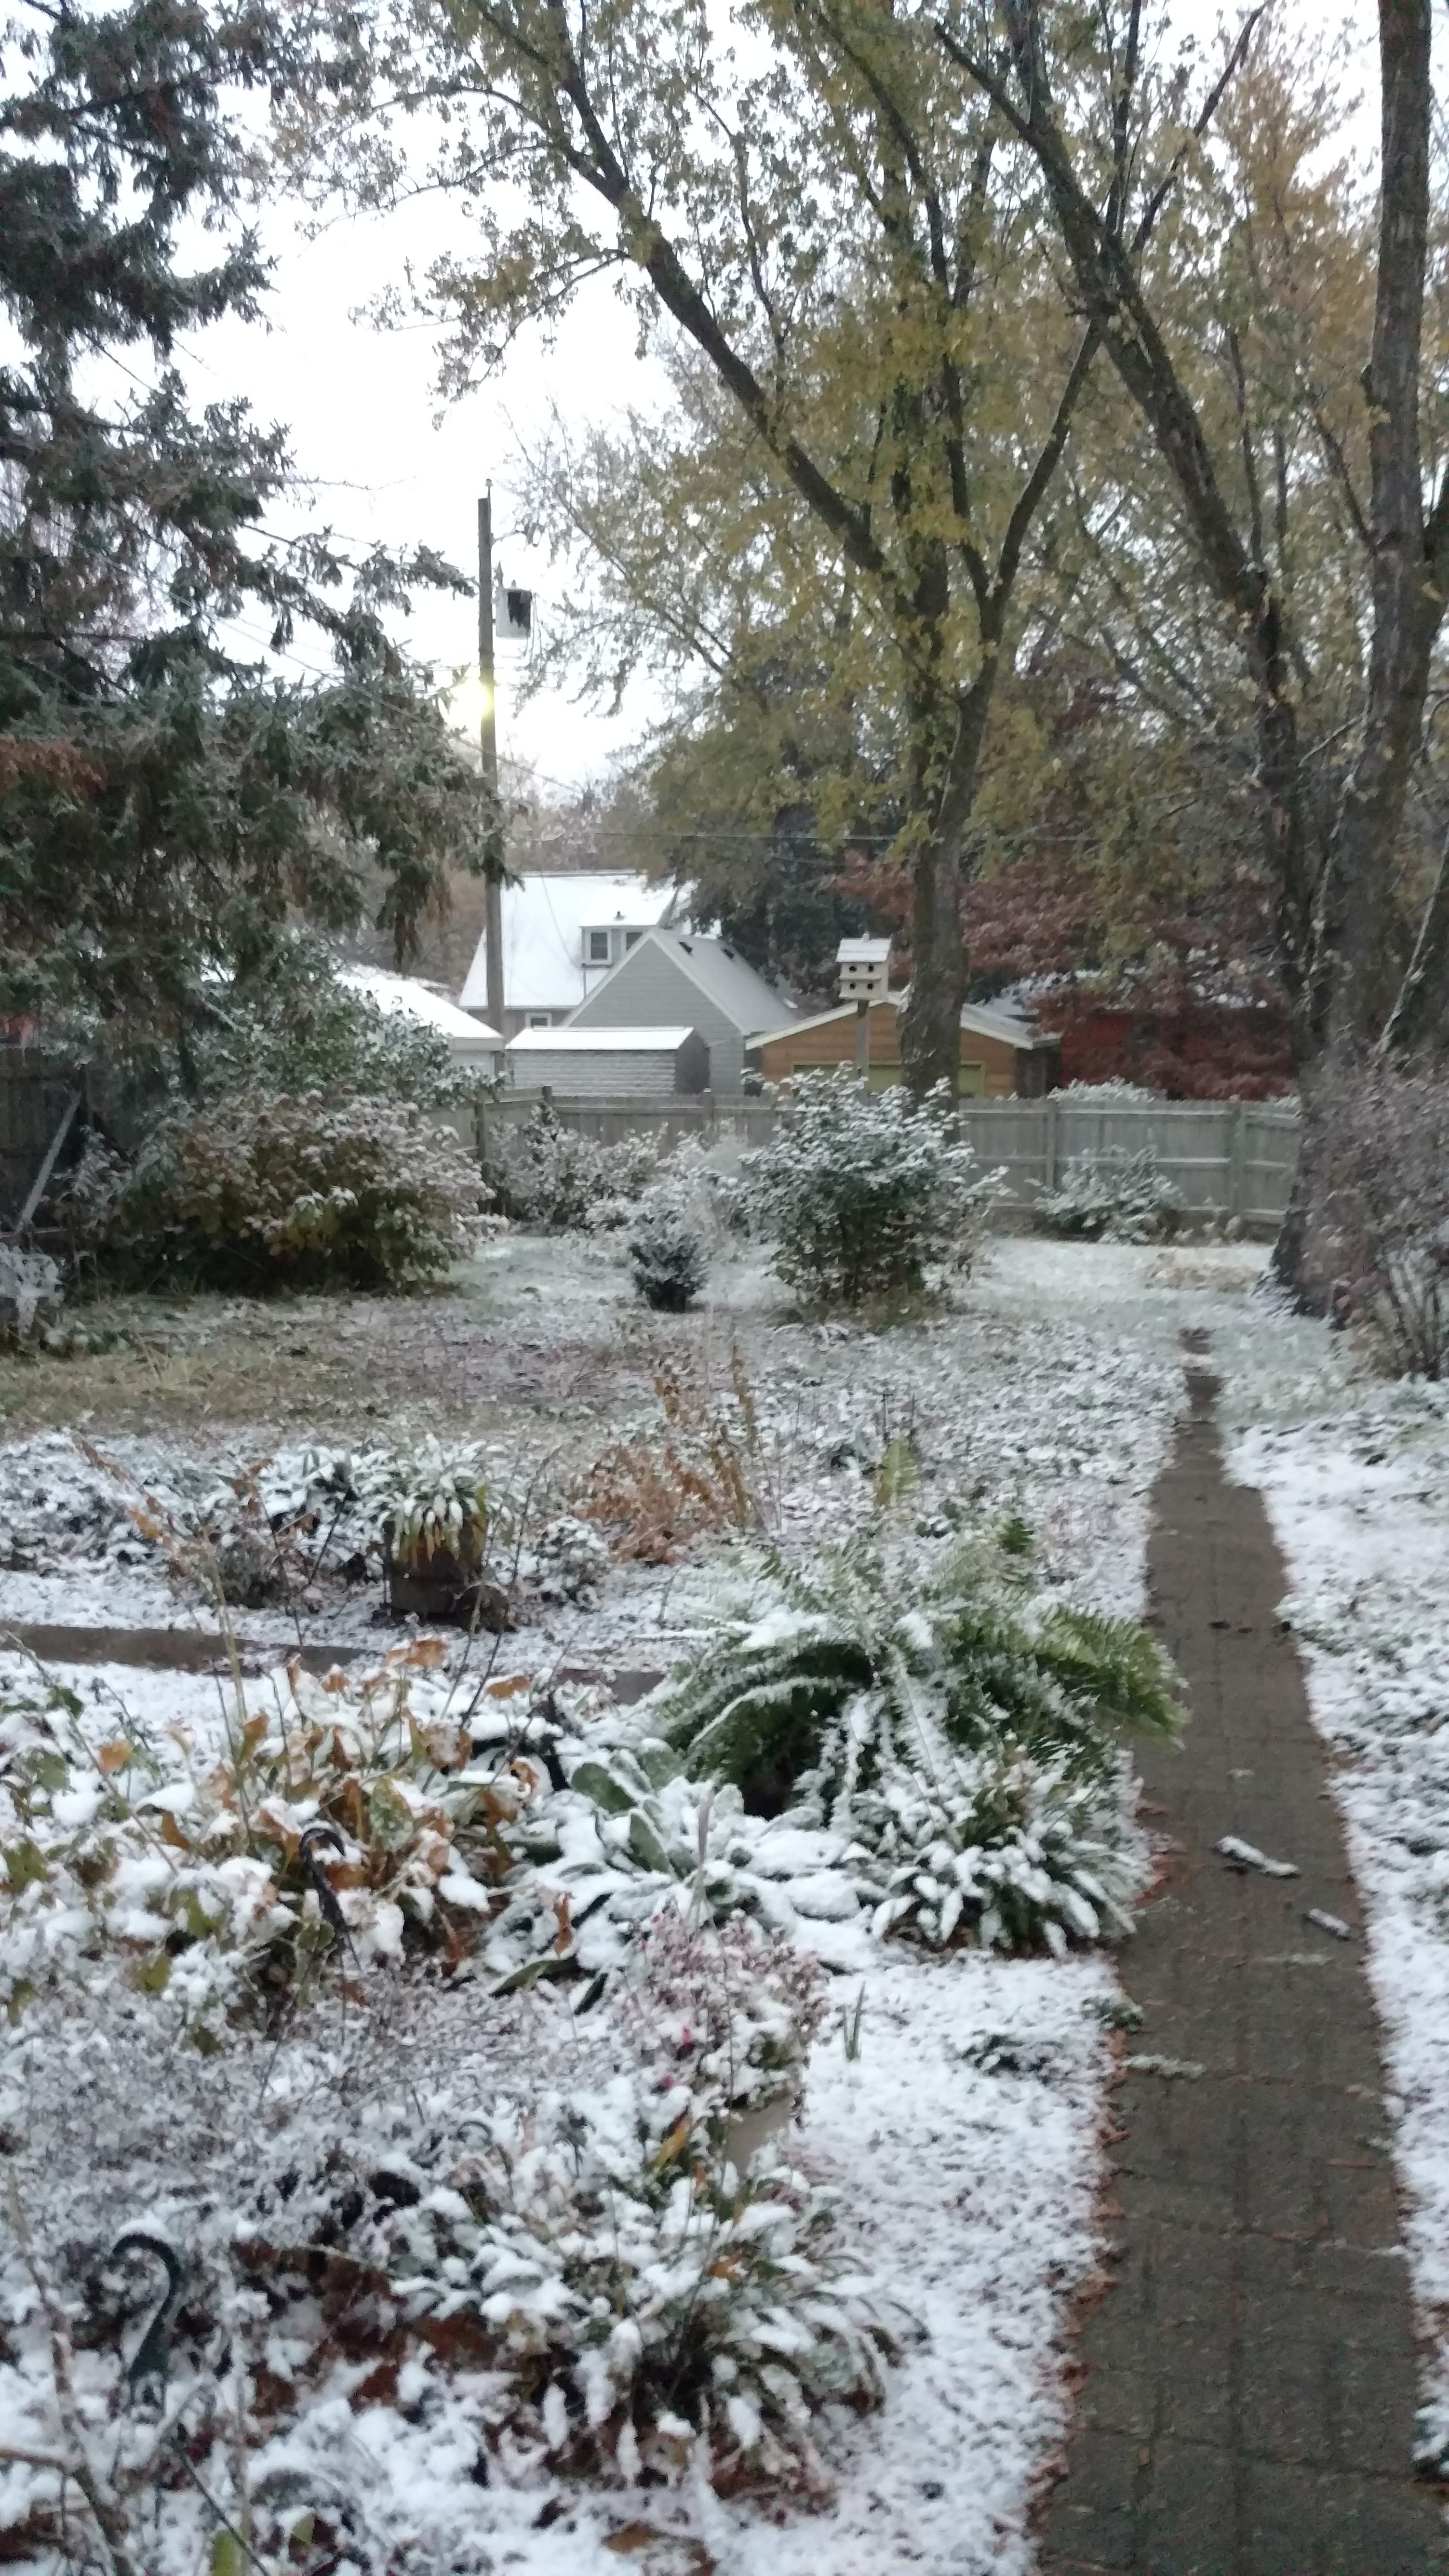
If you are in the northern Midwest, as I am, get it done. It's cold, and the cold will continue all week, at least at night. Another crappy Halloween, just like my childhood. Always wanted to be tinkerbell, but the weather was never accommodating in Minnesota. A costume that fit over a snowsuit was so much better. ,
1 point
-
That looks awesome. We've seen a lot of awnings ripped from stakes and subsequently ripping off the roof attachments of trailers and motor homes. We stake only when we know we will be around, as you do. I would never trust stakes when I am away from my trailer. When the wind picks up, we disconnect and roll the awning in. Too expensive to replace. The wind stretches and distorts the fabric even if it doesn't rip. Gusts can take you by surprise. Sherry1 point
-
We carry drinking water in rectangular, stackable five gallon jugs. We also have had a bladder since 2008. It's about 40 gallons, about the size of a crib mattress full, and folds up to shoe box size. If not used frequently, we sanitize it. It's clunky, but a great way to transport water for 2 to say 20 miles. I wouldn't want to haul it around full for great distance, as it takes a lot of room in the truck bed, but it's really useful in campsites without a water source at the site. To transfer to our tank, we hook the freshwater hose to the bladder, drain to a bucket, and put the intake hose from the tank into the bucket. Like I said, it's a bit clunky, but it works. Sometimes we have a number of tent campers with us, using our shower, and this really extends our water range. Sherry1 point
-
I really like my Scepter Military Water Canisters. http://civ.sceptermilitary.com/water_containers I have two 20 liter containers. That's 10 gallons total of extra water. They are easy to fill. I can transport them easily in the cargo area of my SUV and they are very easy to sanitize using a bleach solution. I can carry a full 20-liter container which is a big plus. You could buy 4 and have 20 gallons. I looked at bladders but they seemed impractical given my needs. Biggest drawbacks are transport and cleaning/sanitizing. The Scepters are very high quality and should last as long as the Oliver!1 point
-
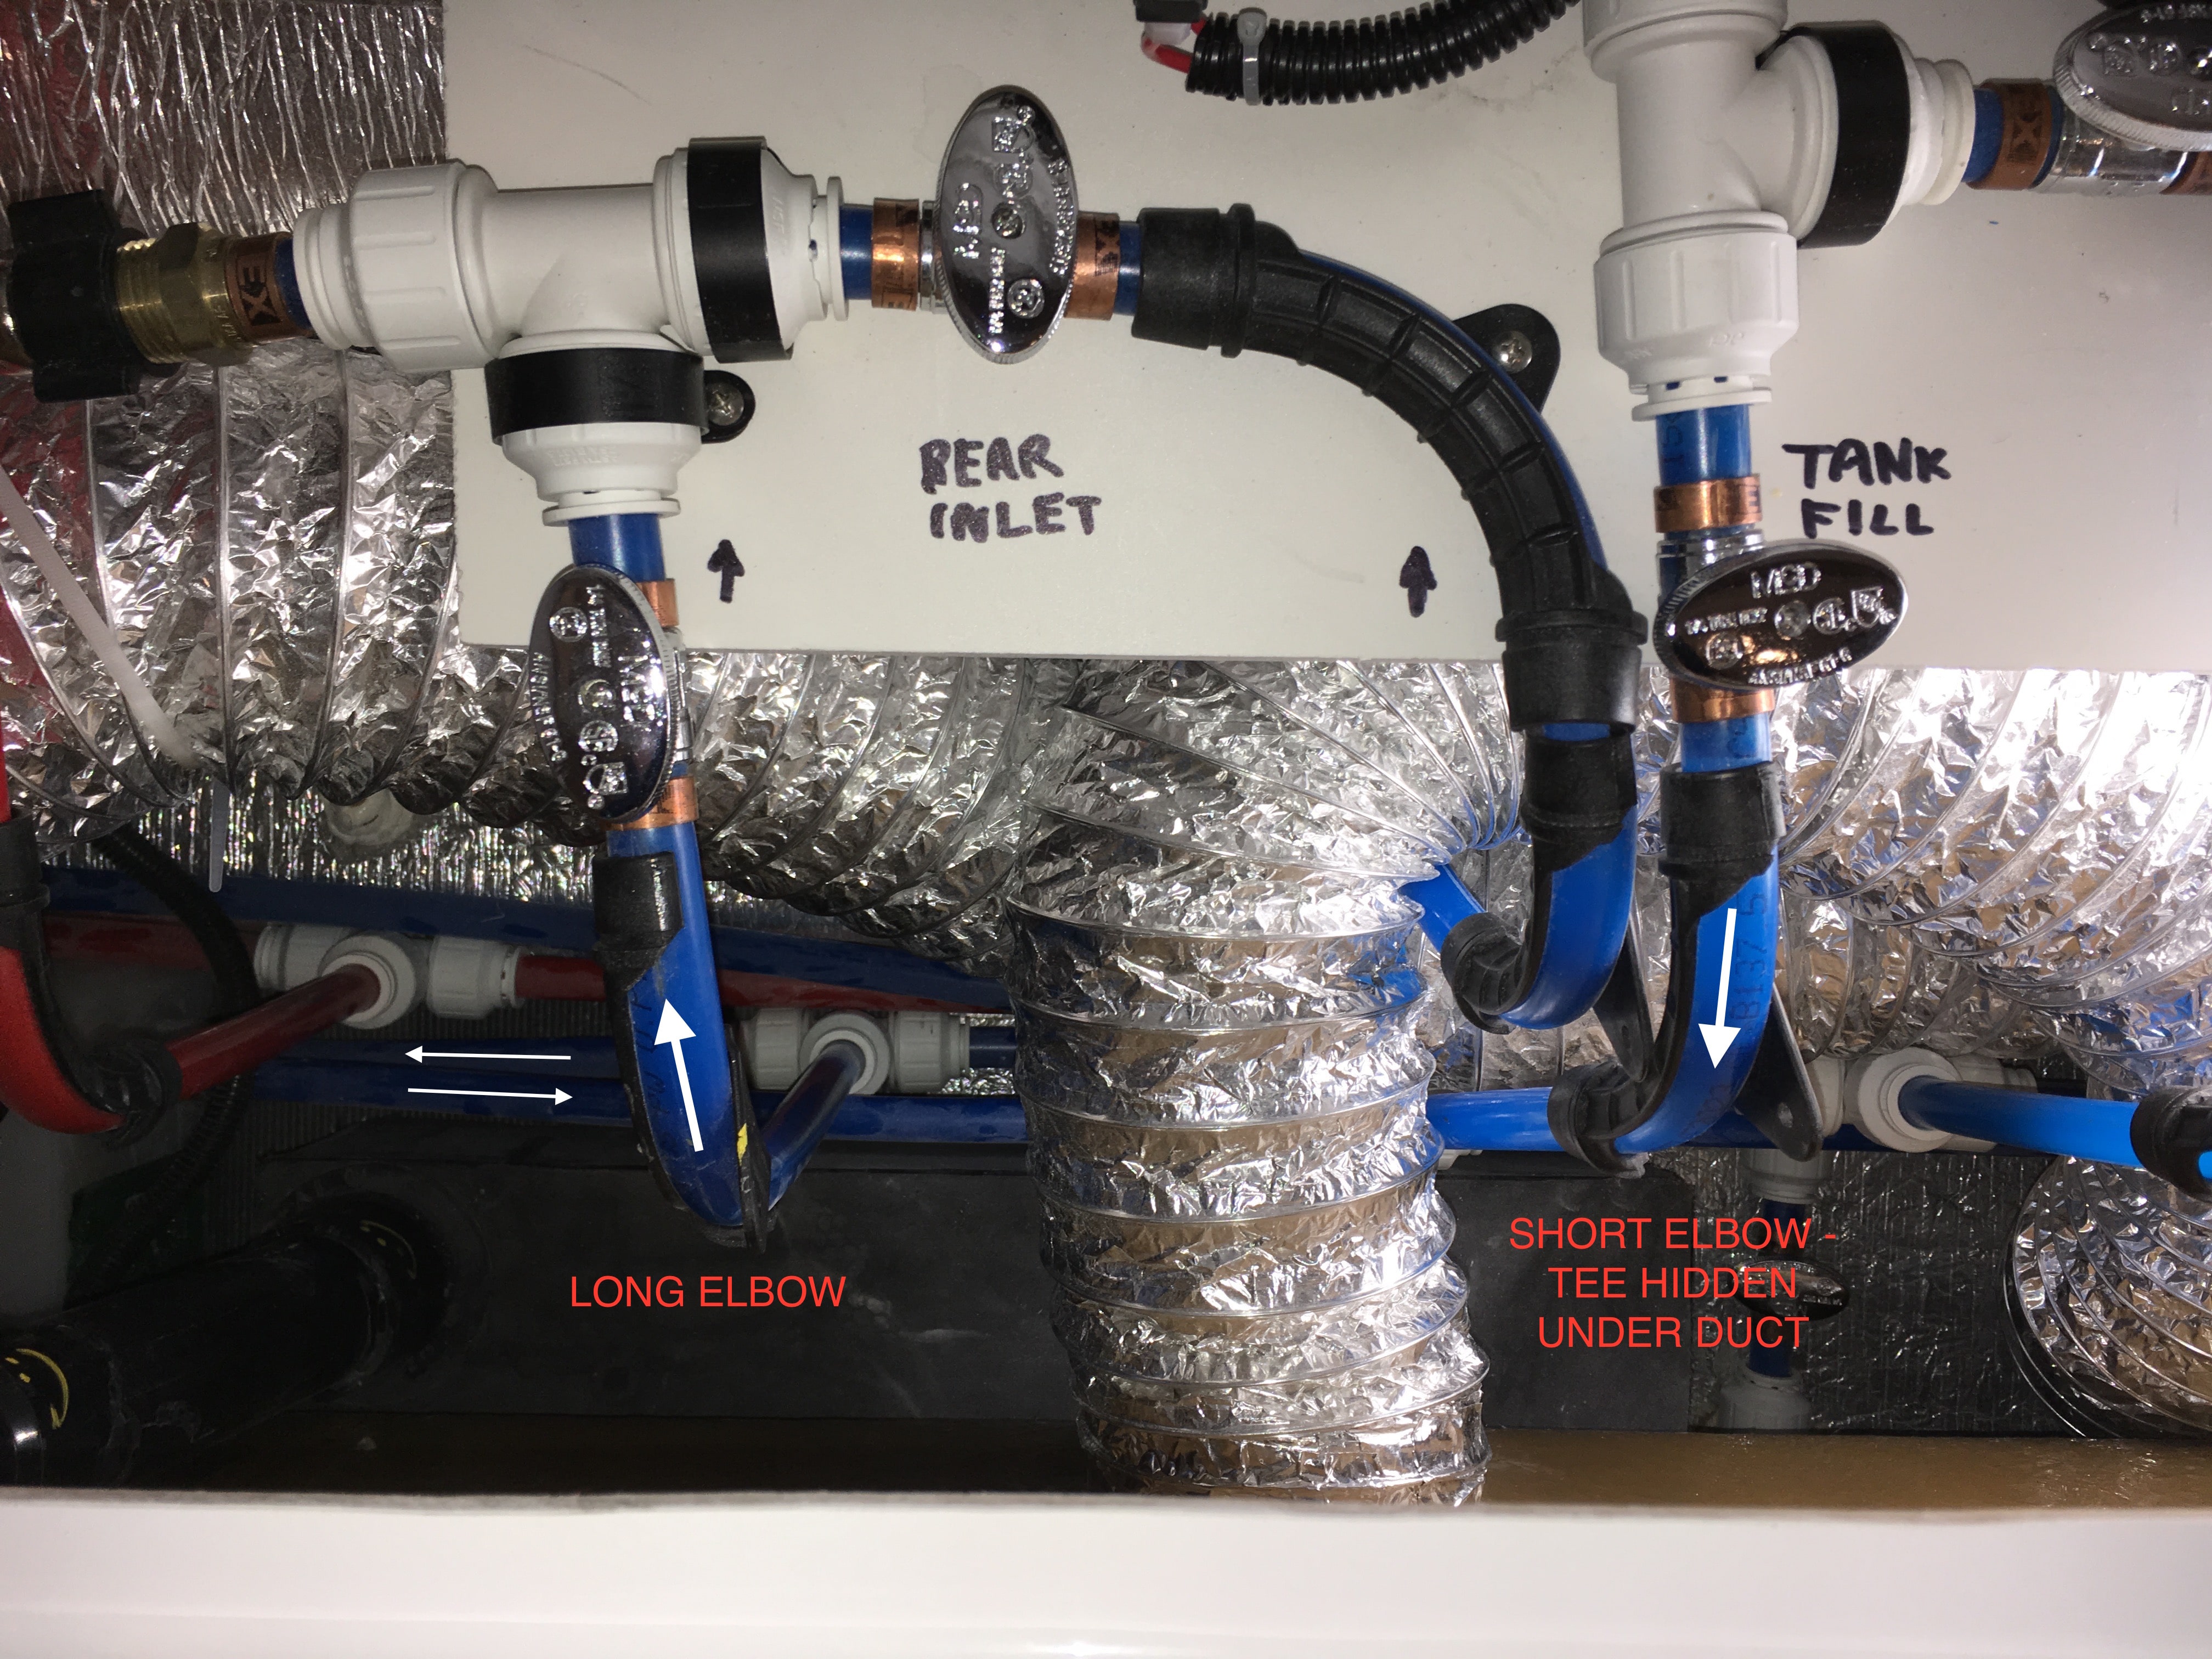
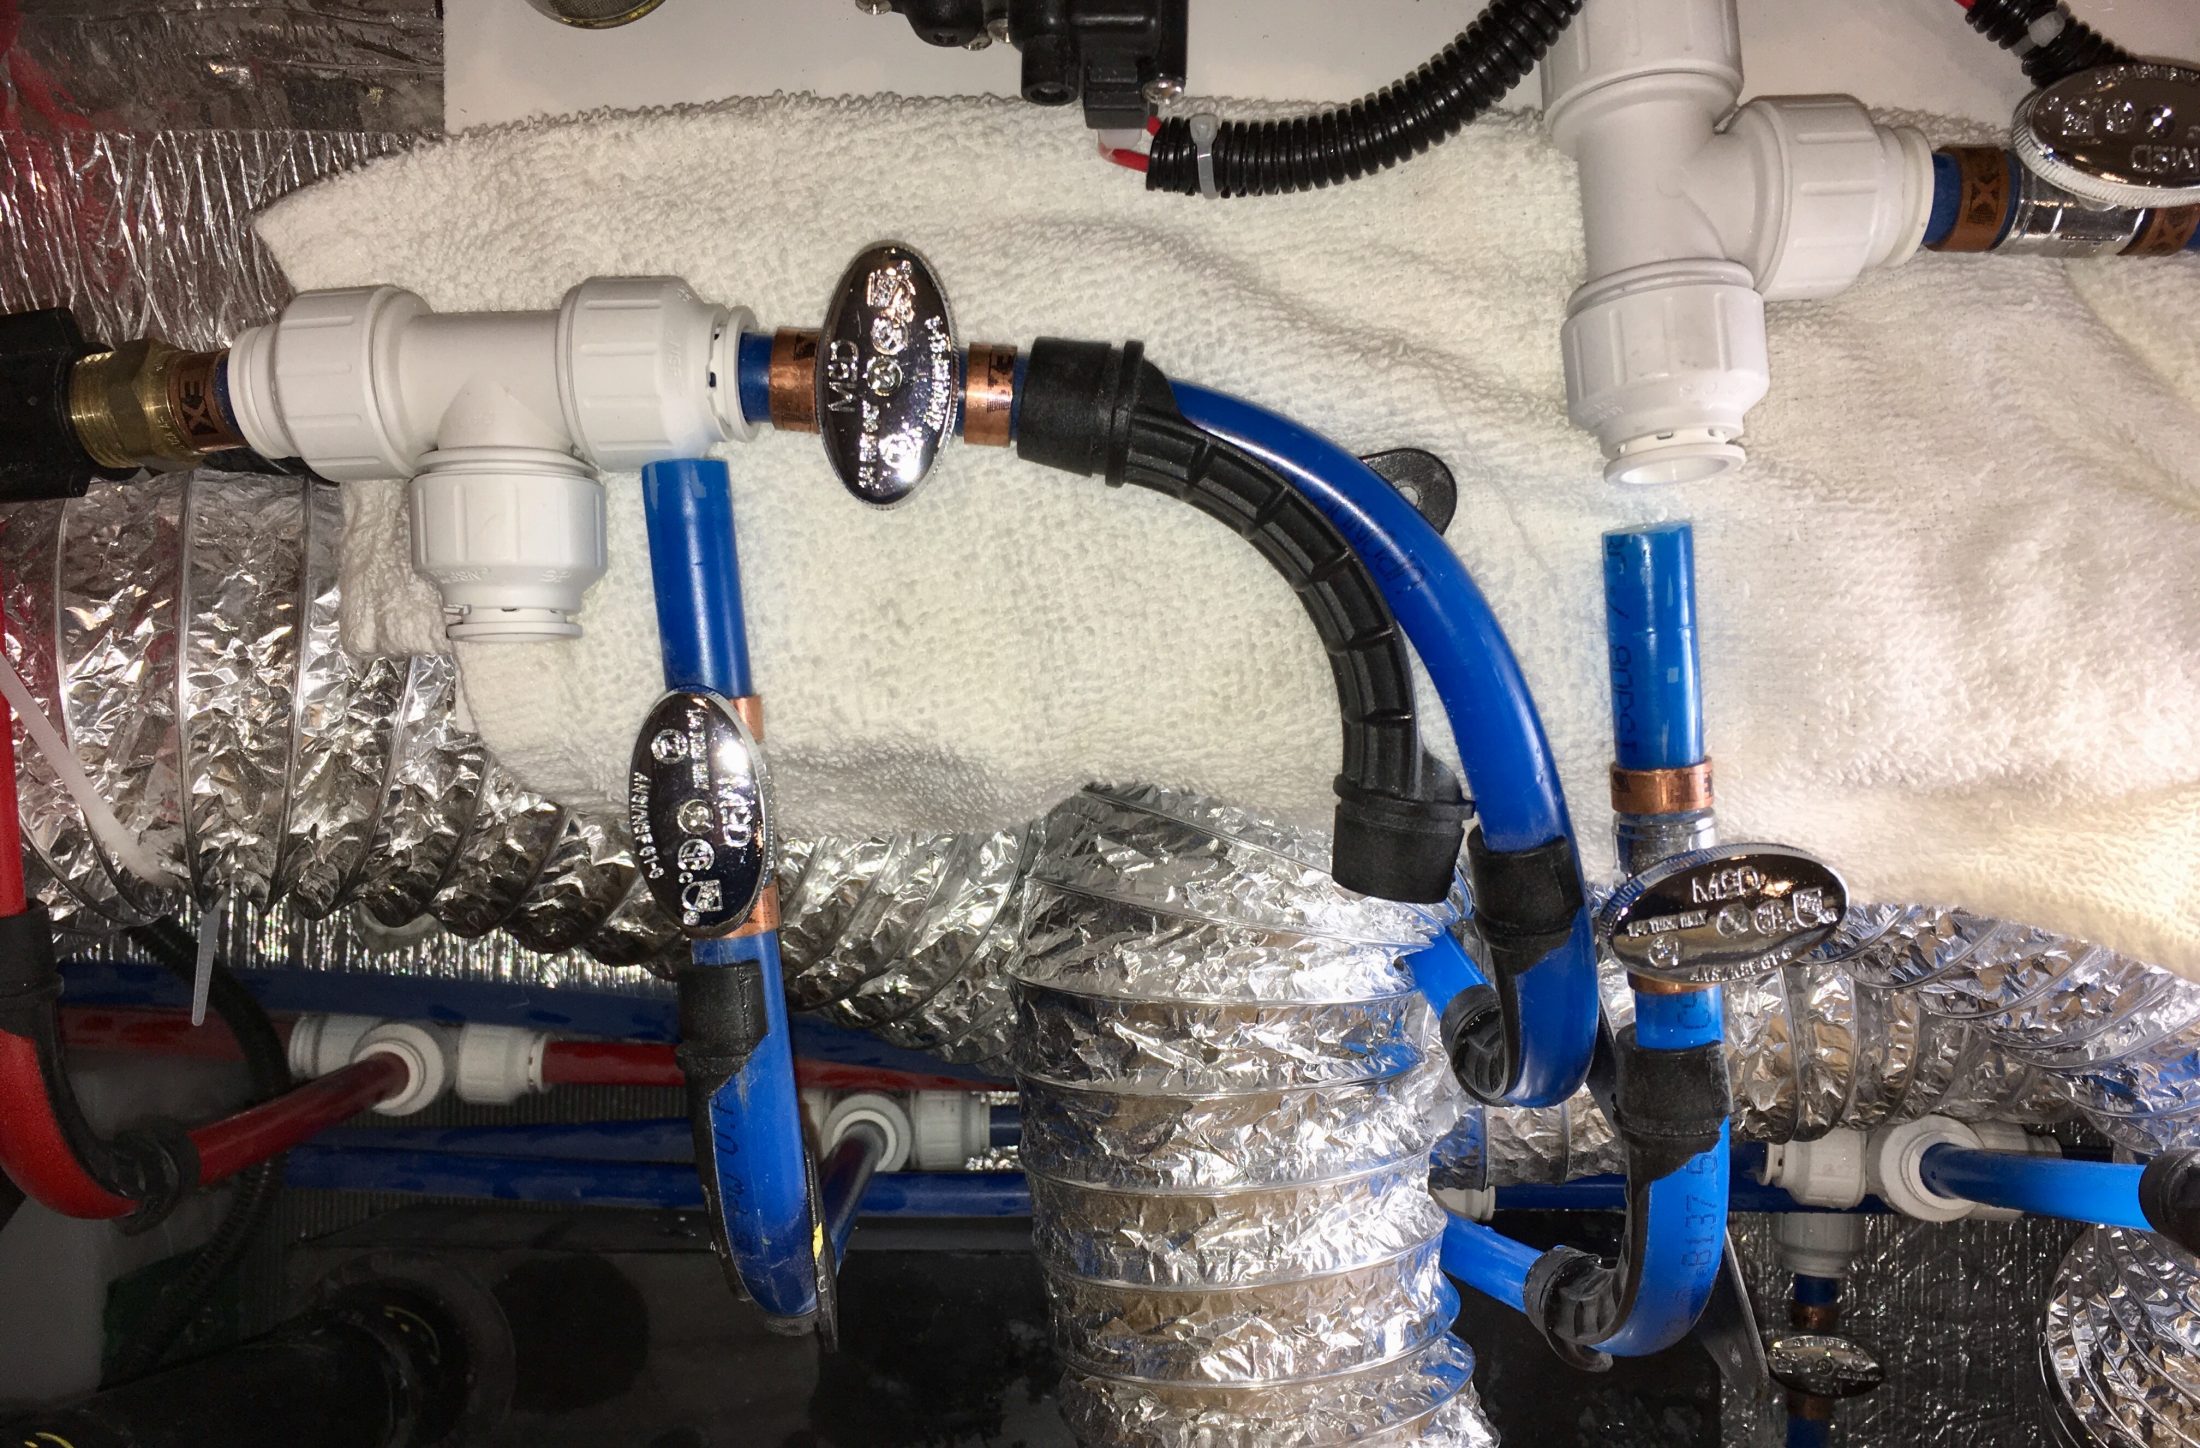
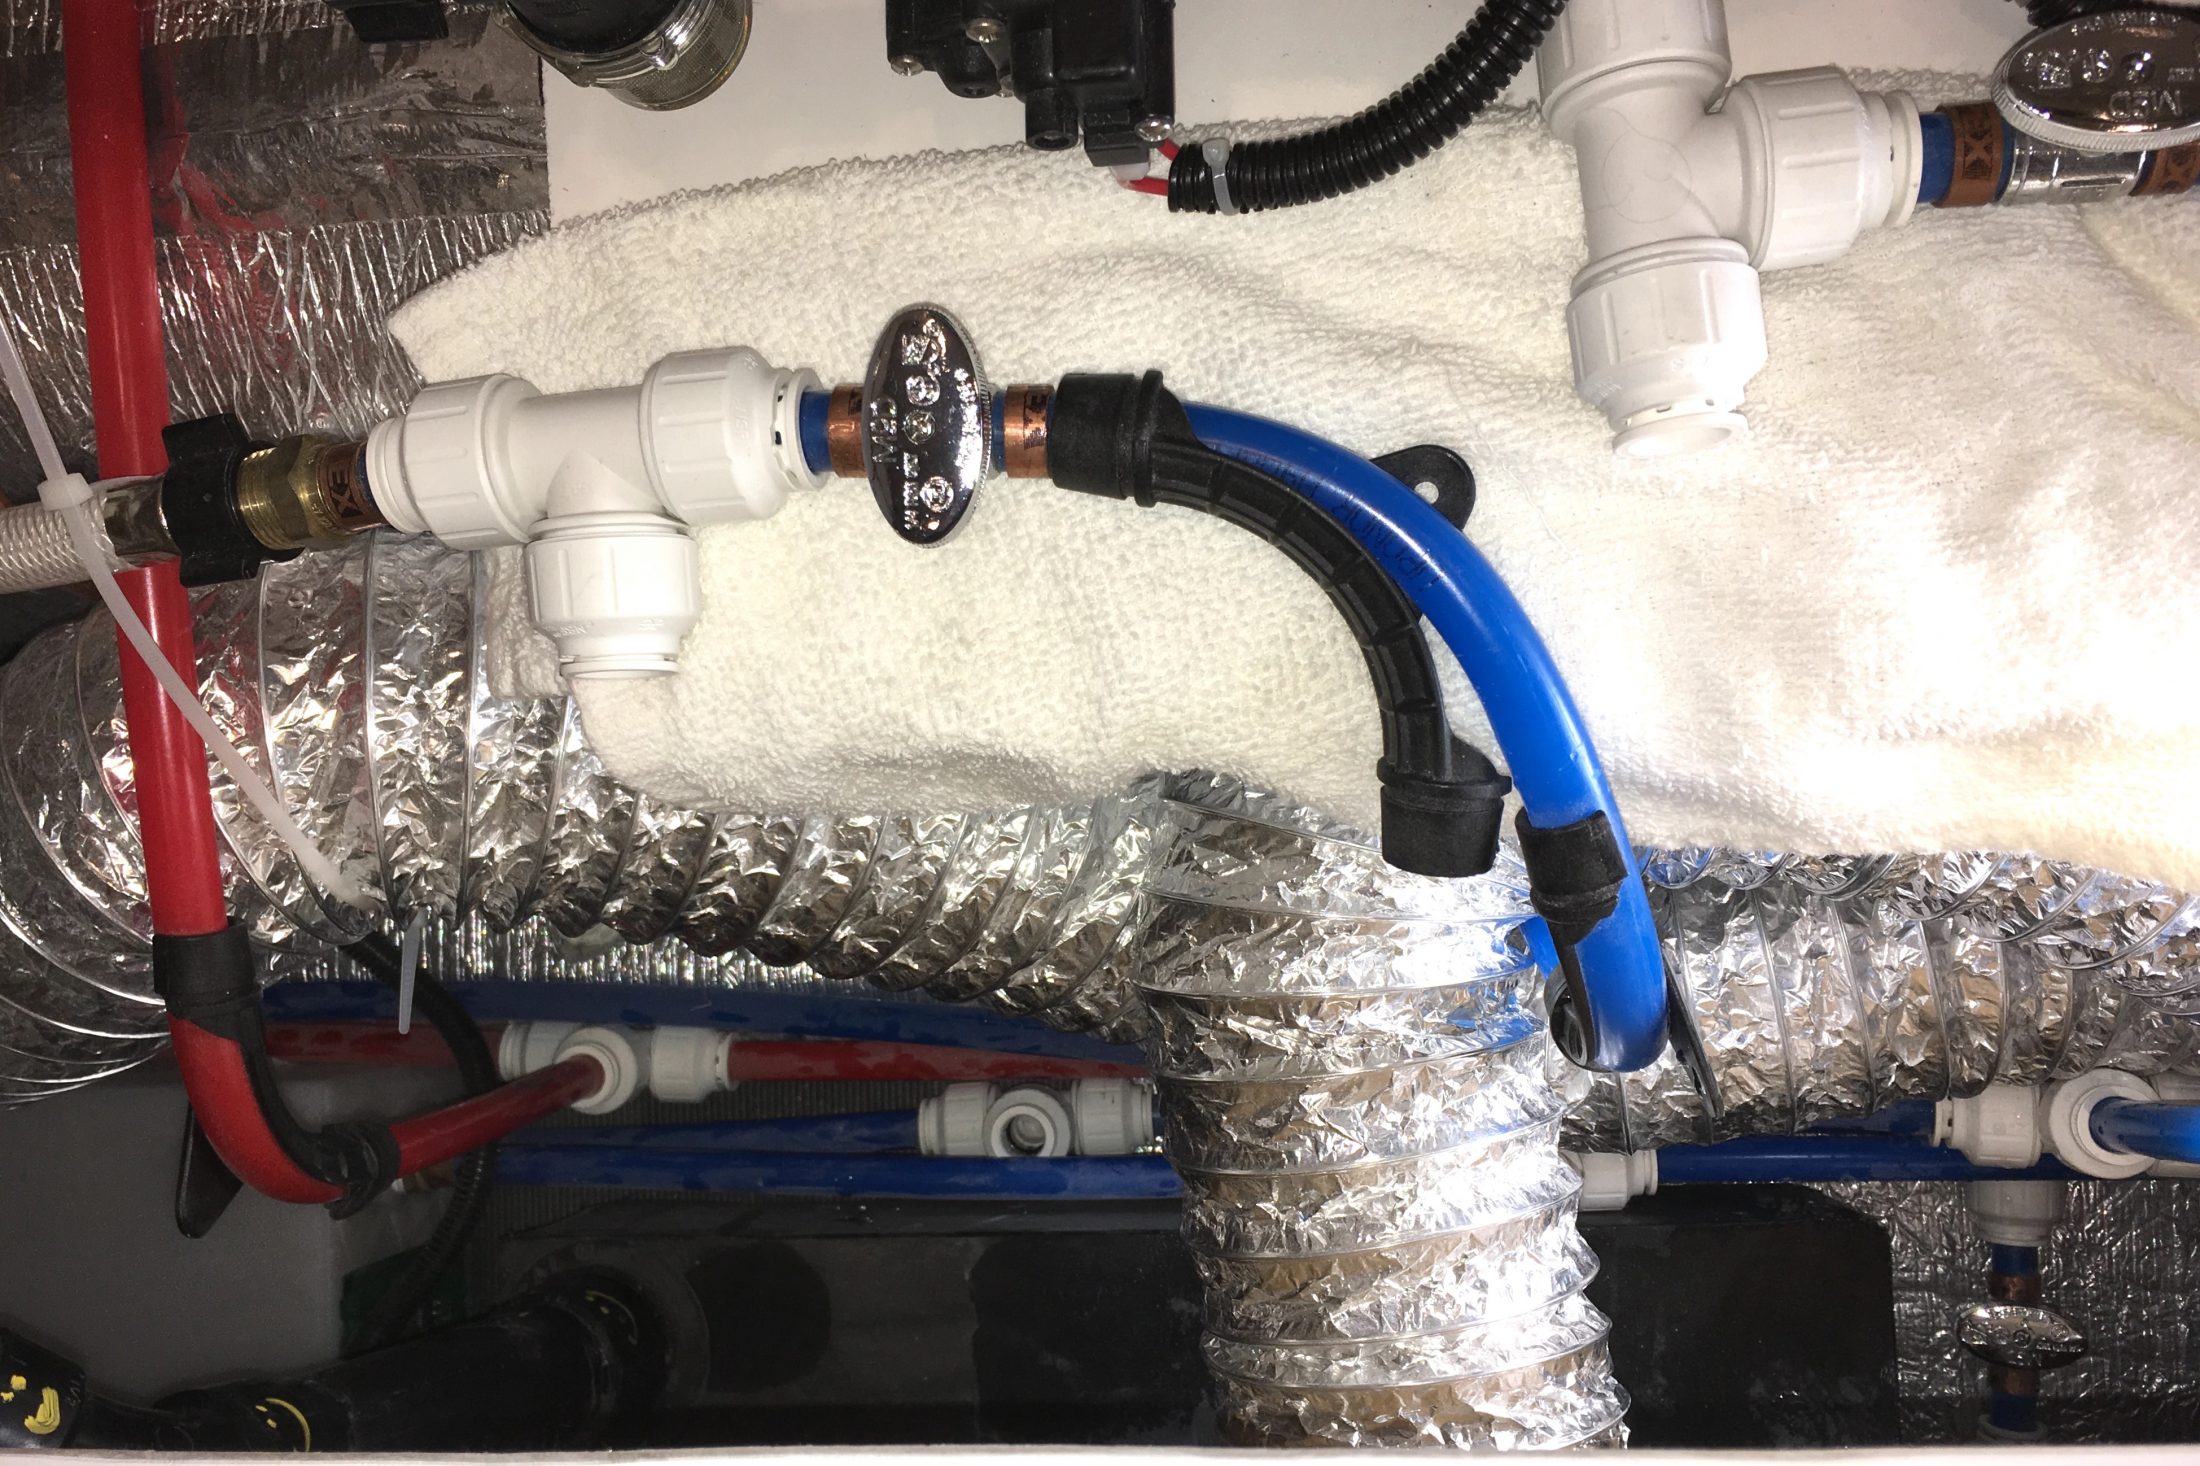
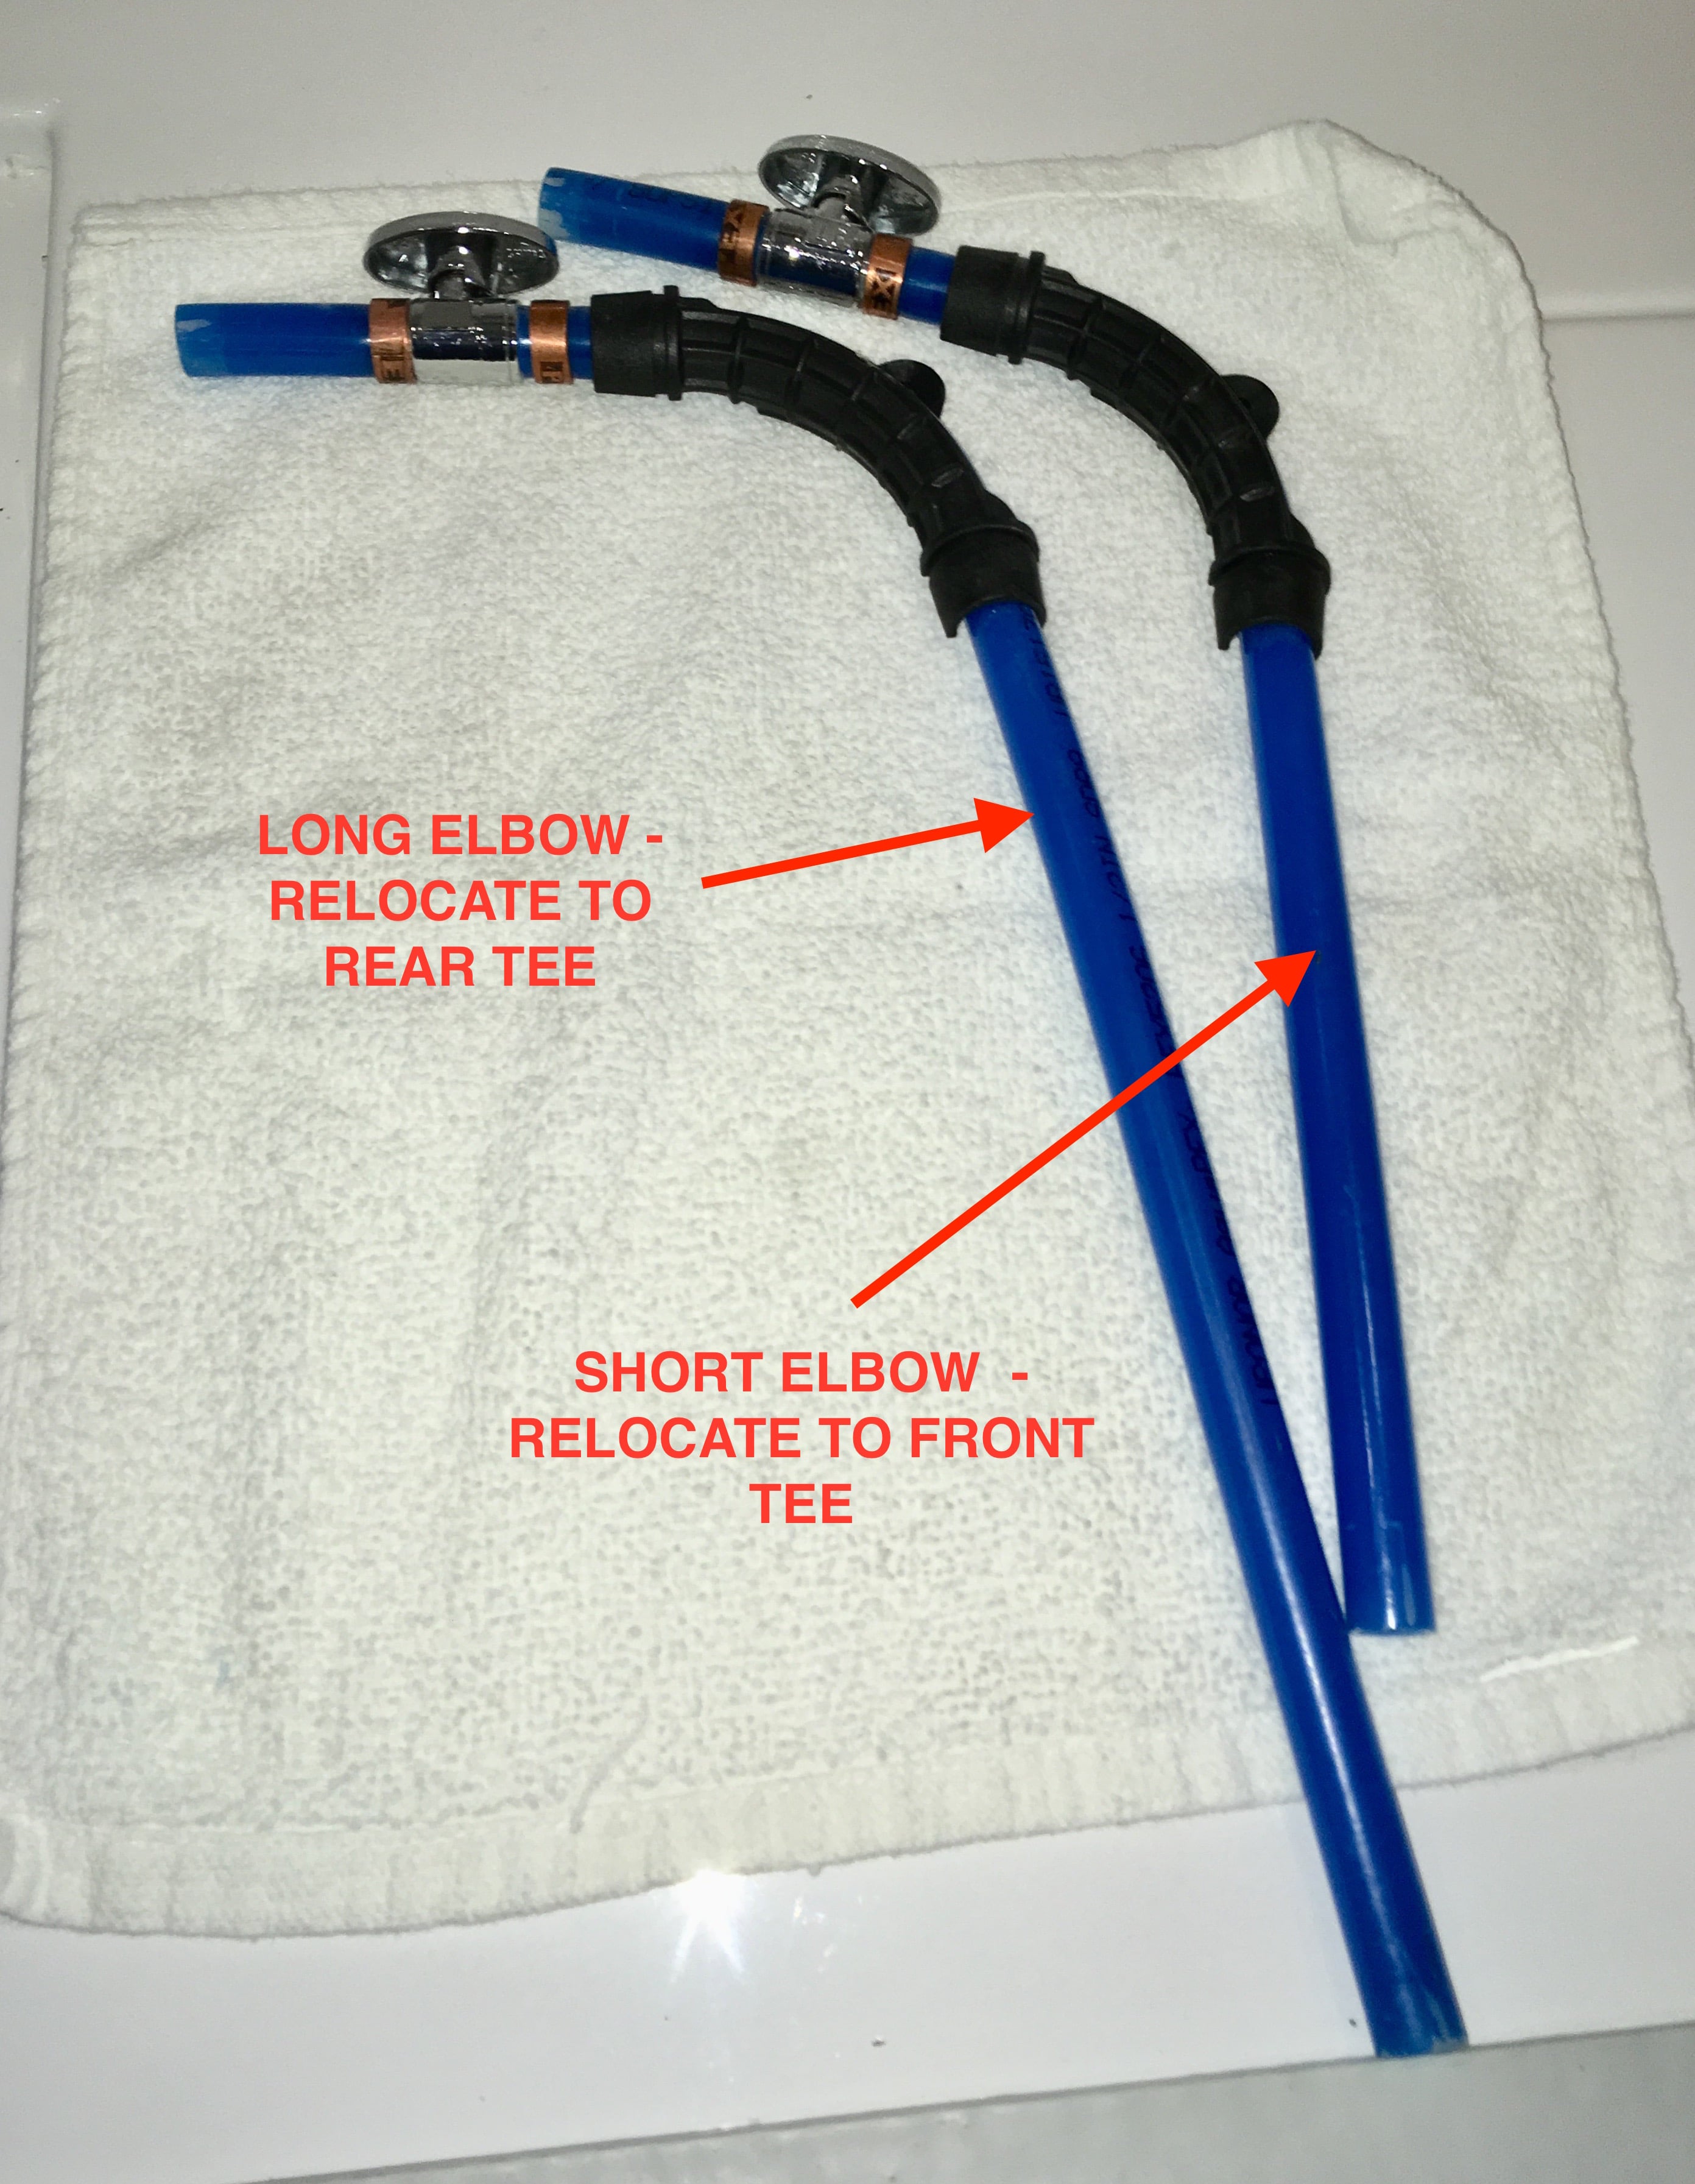
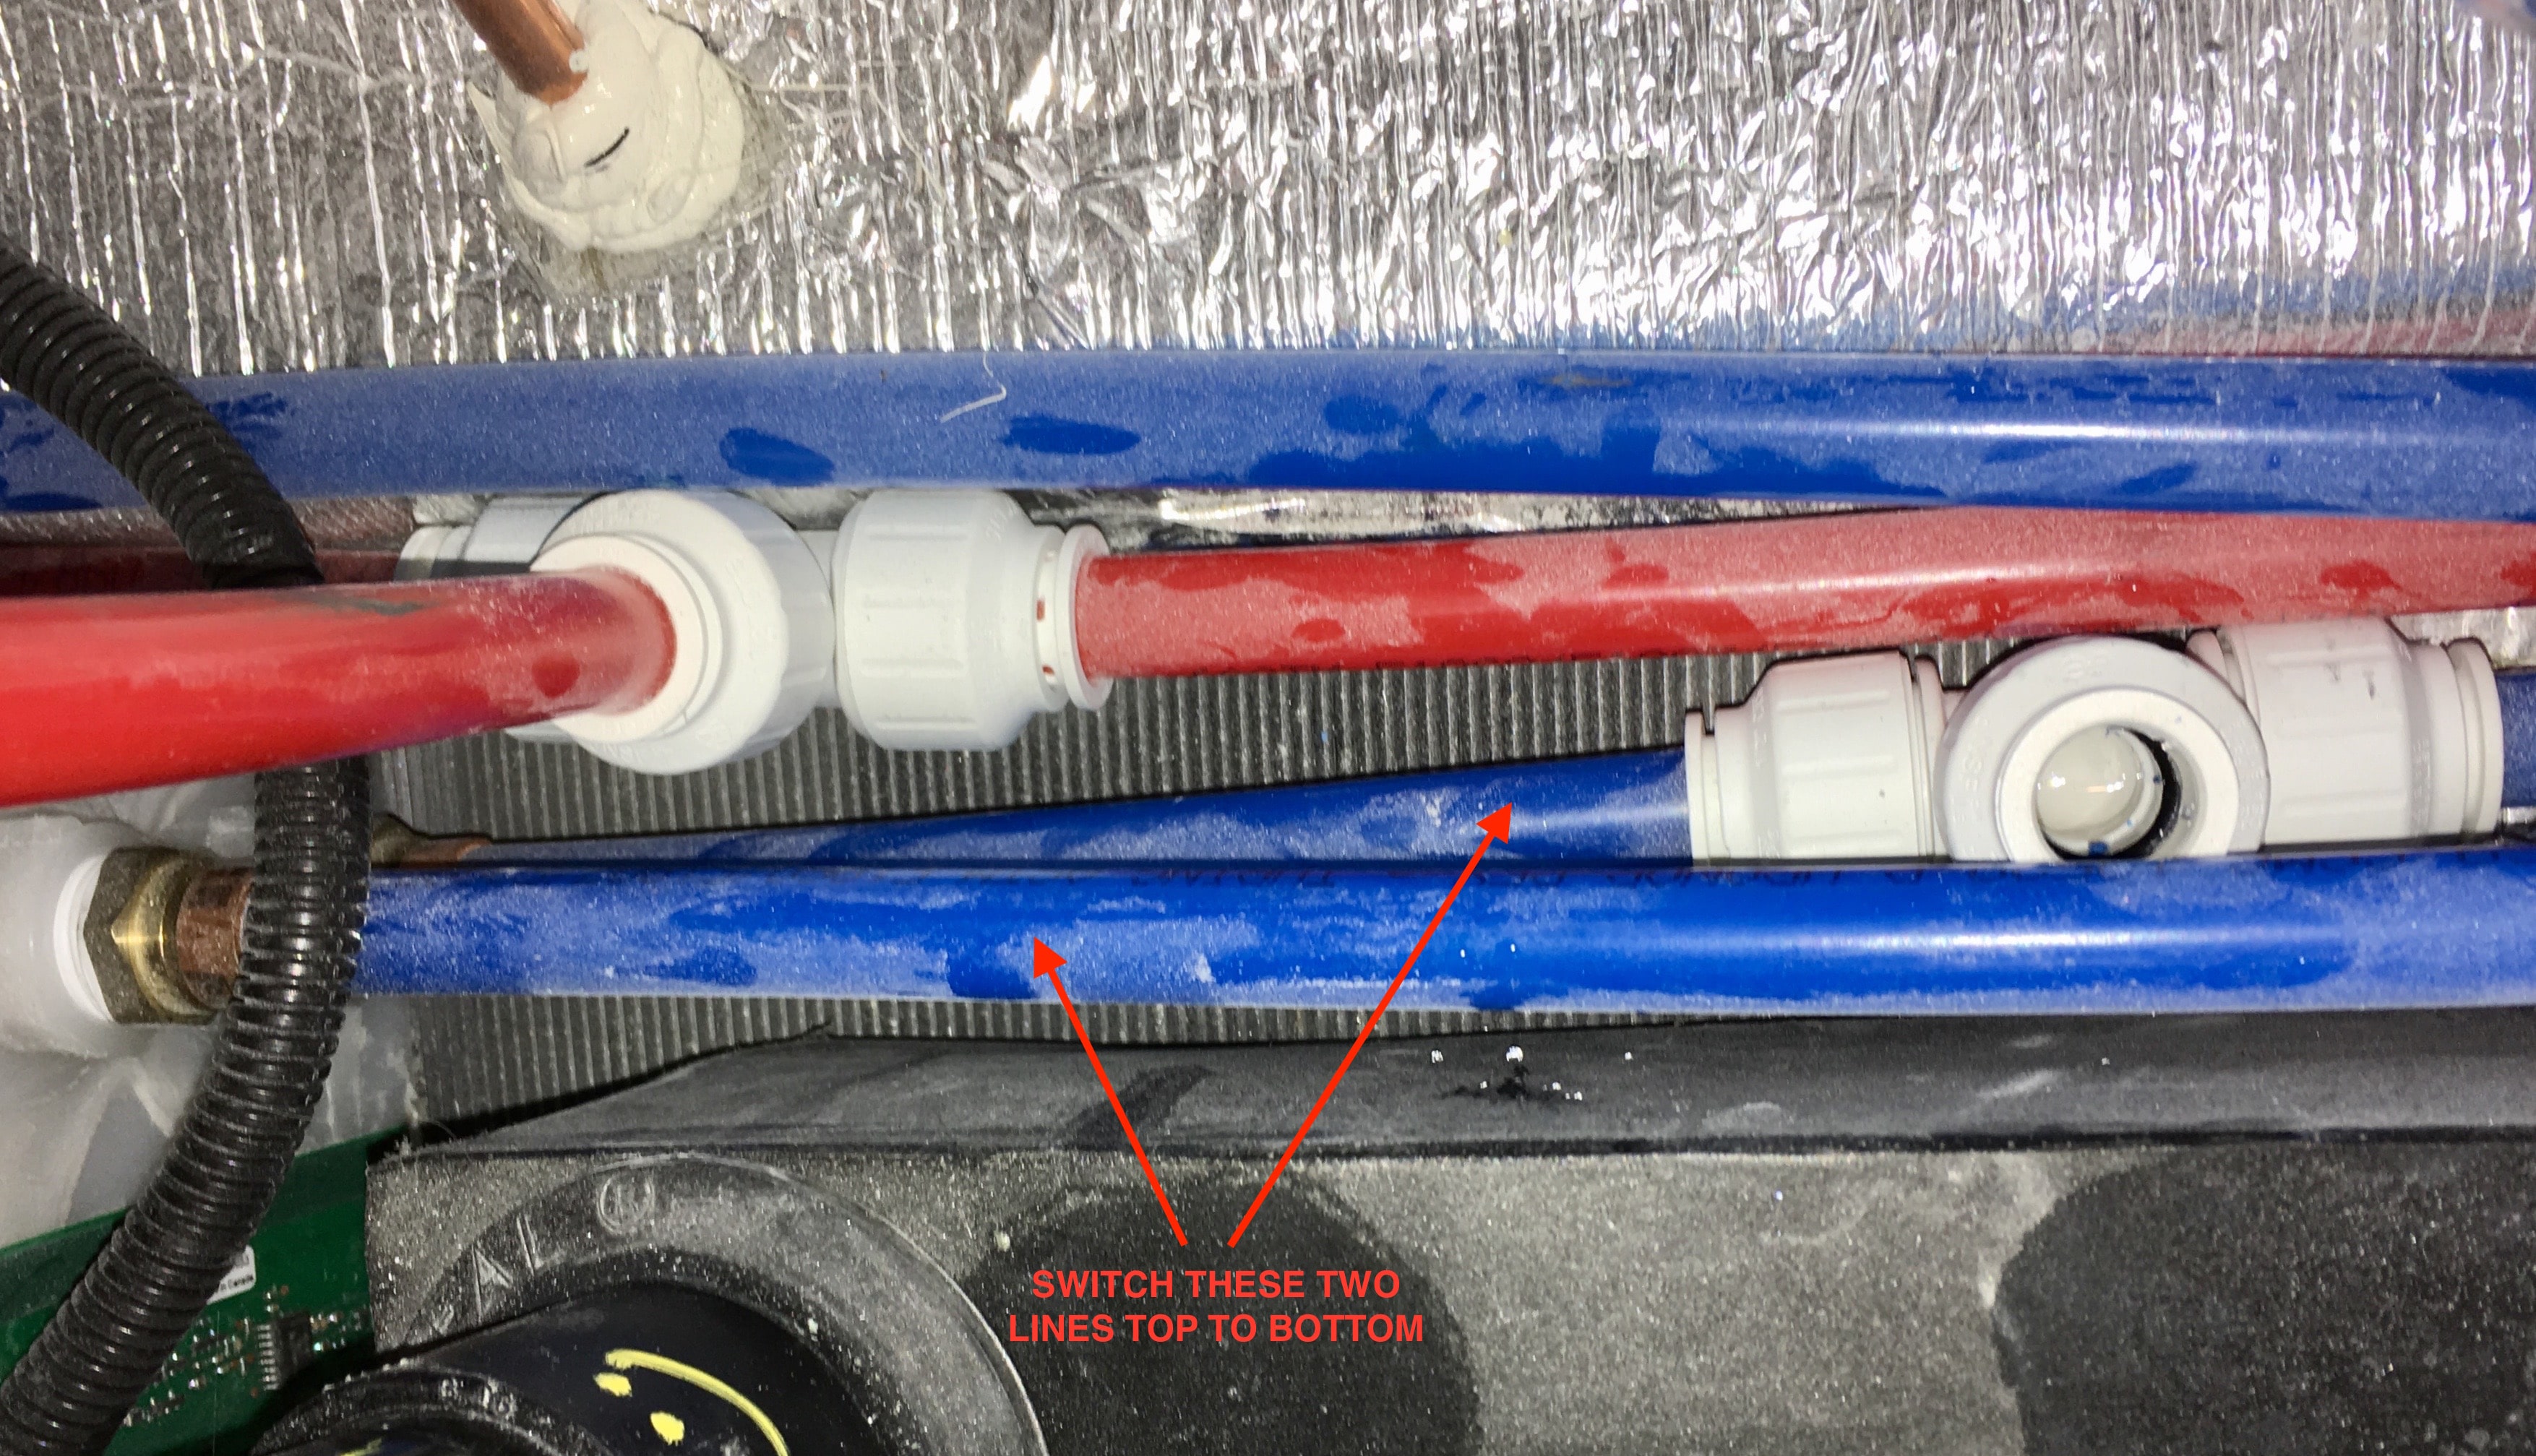
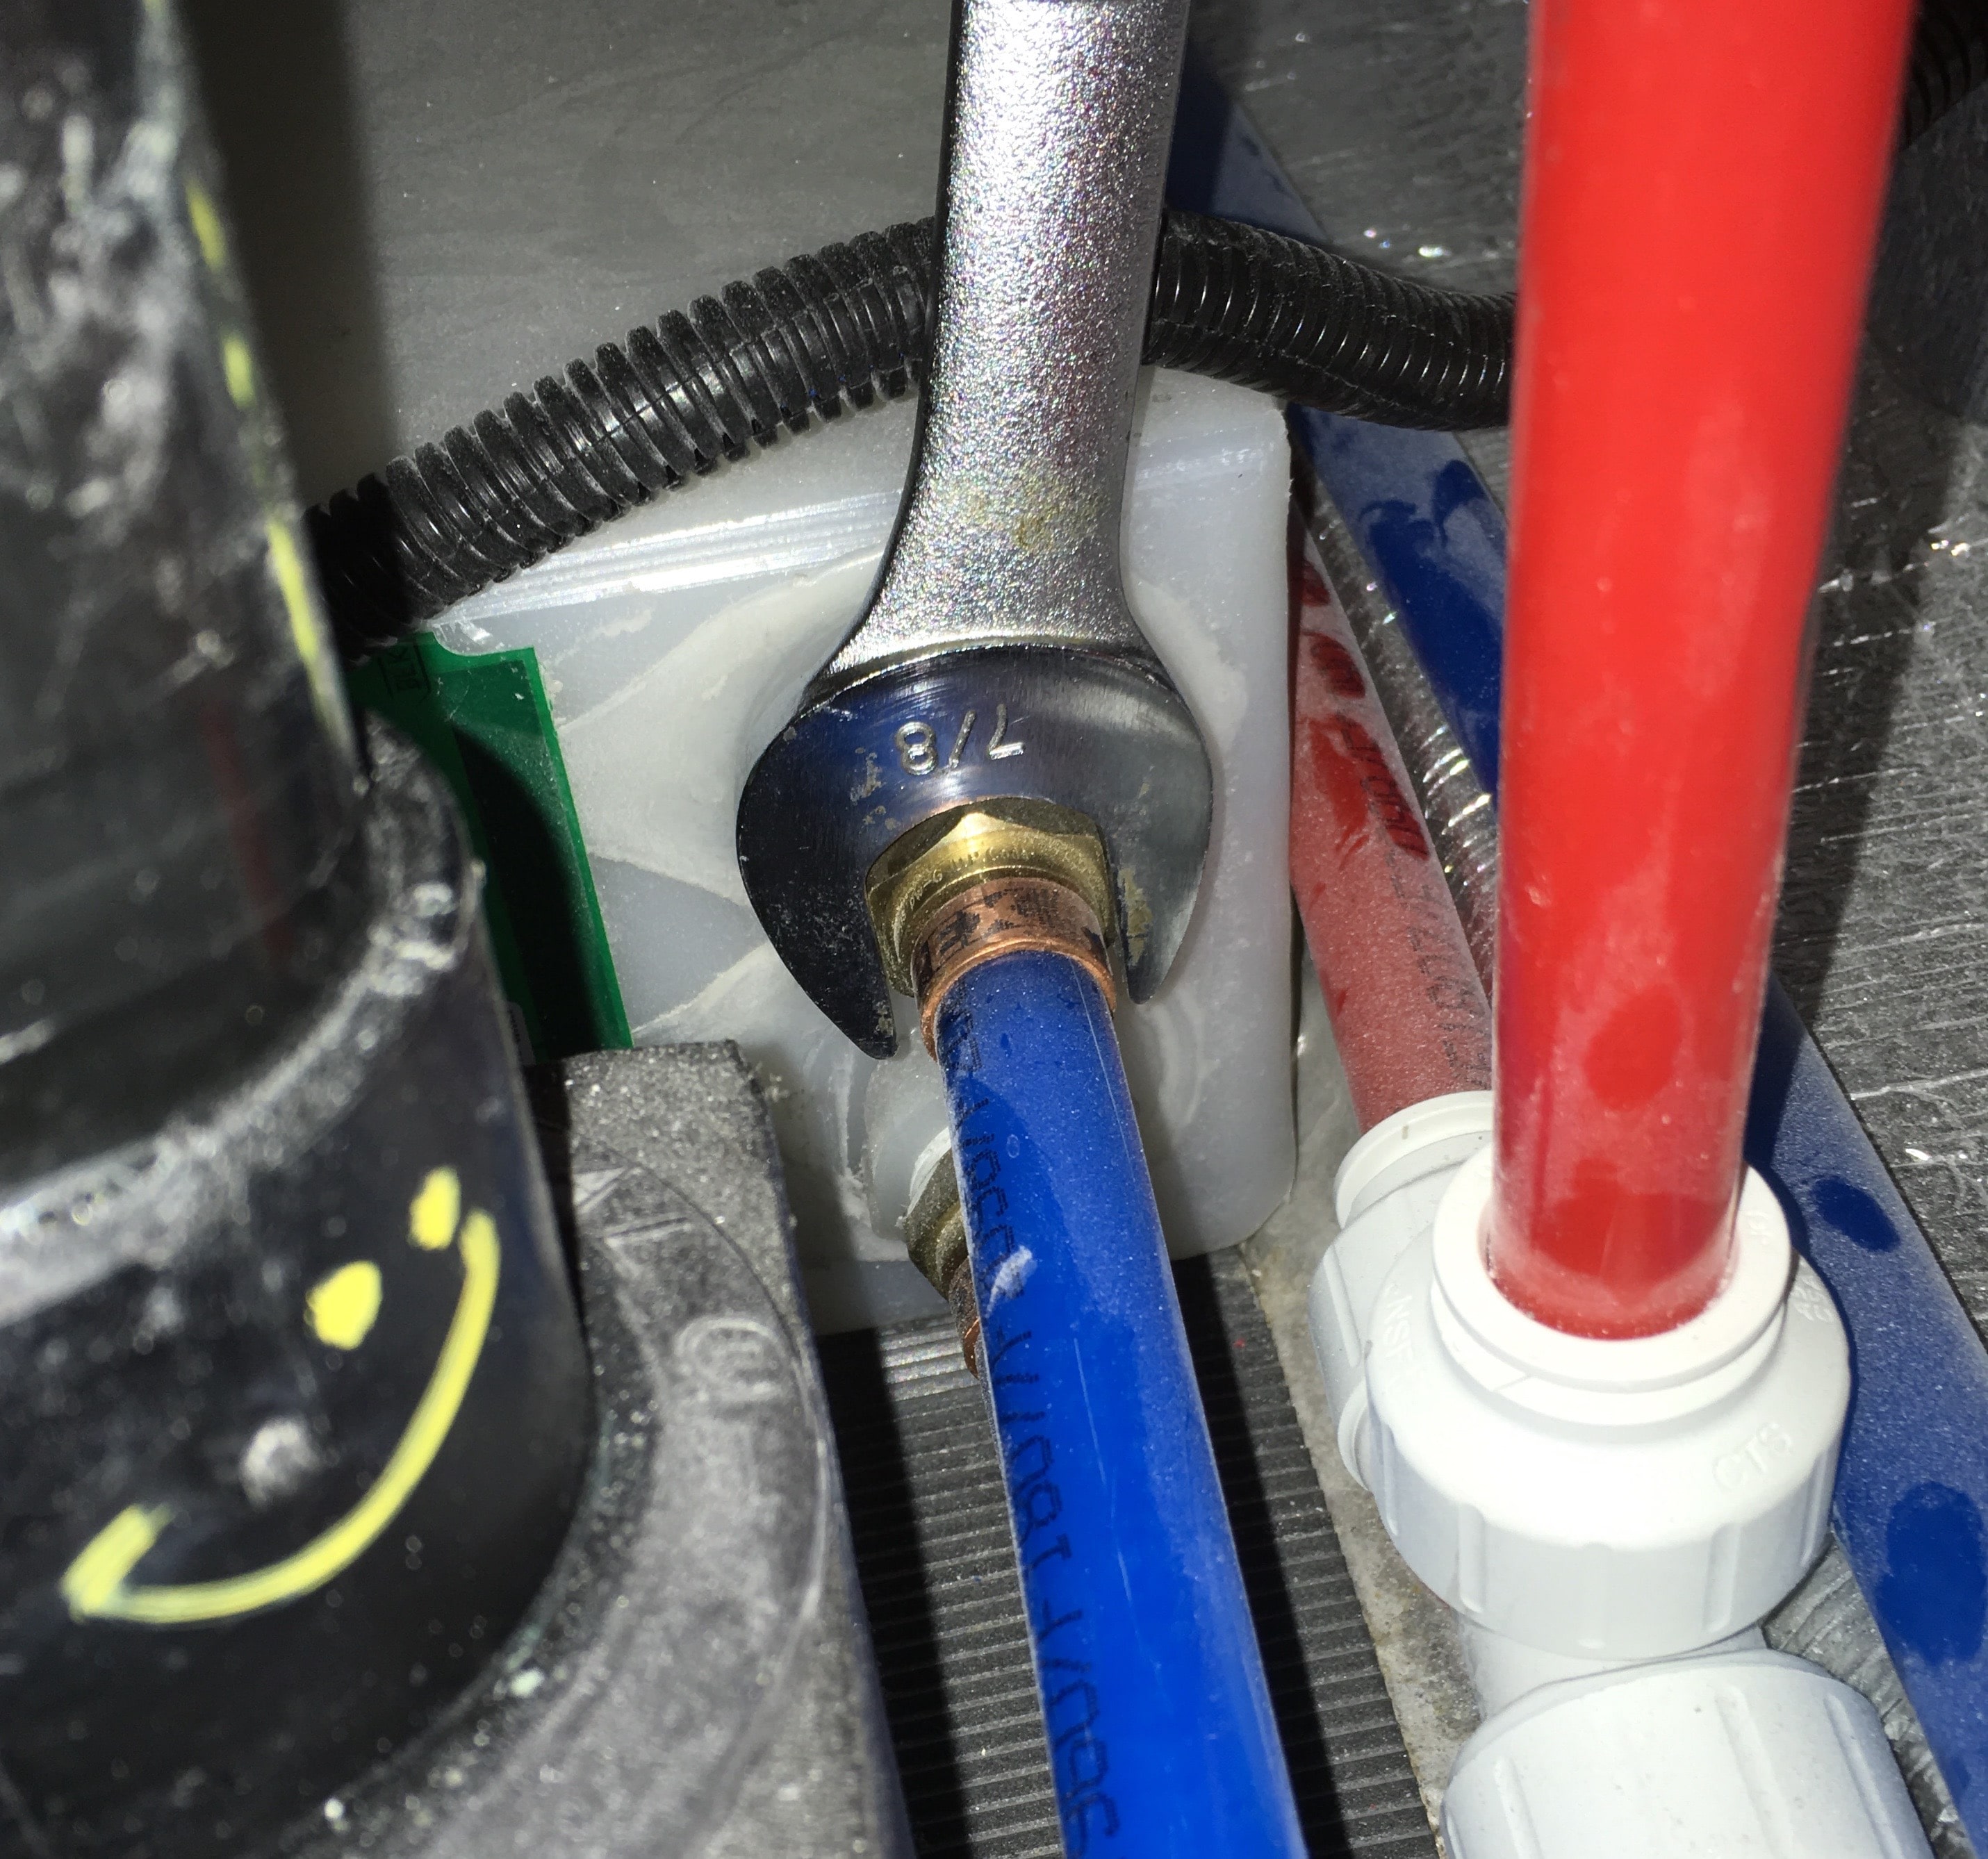
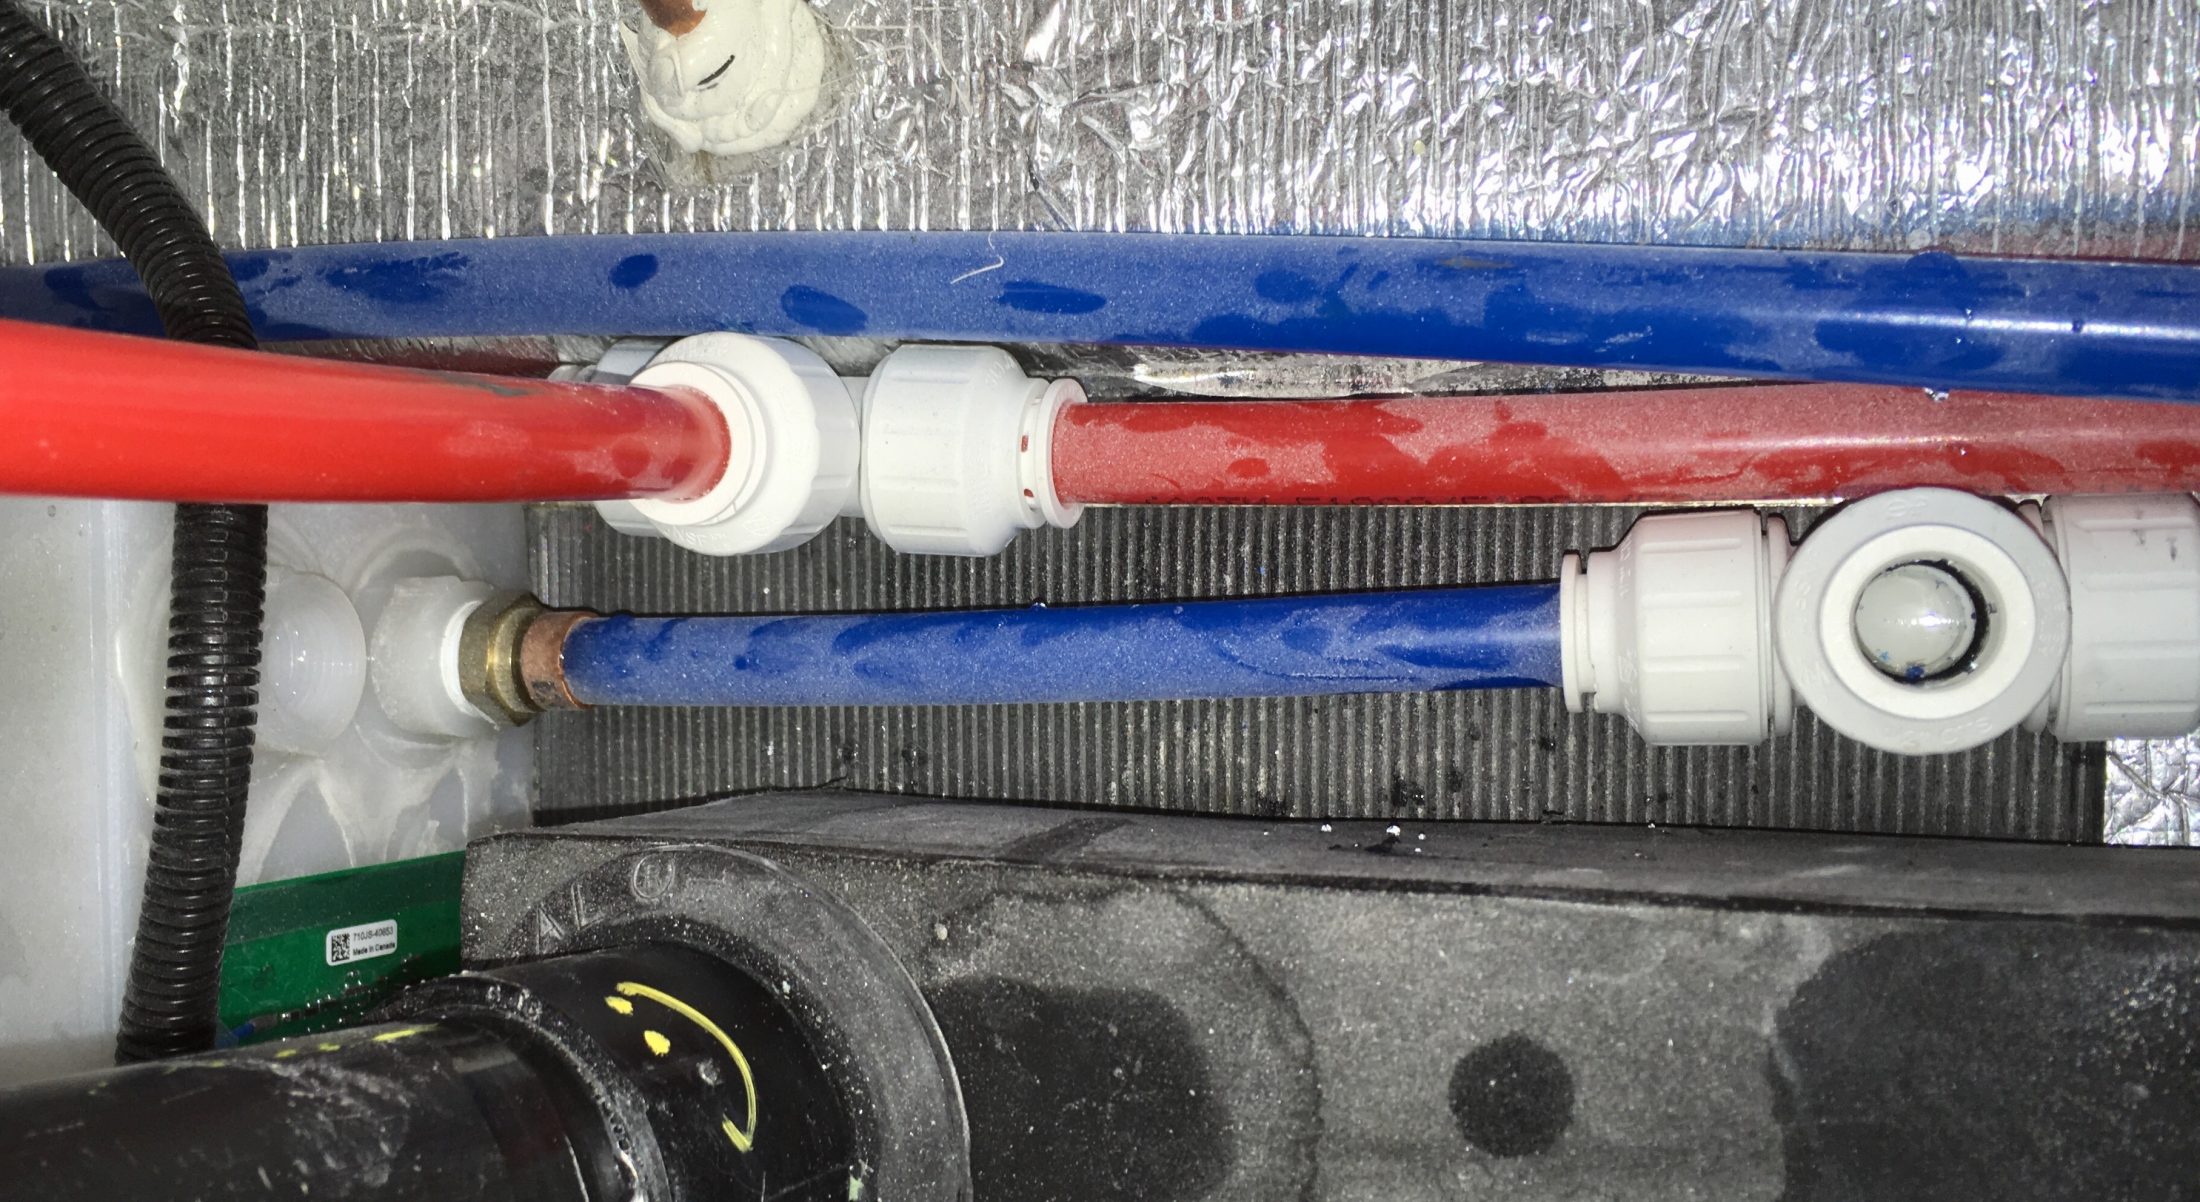
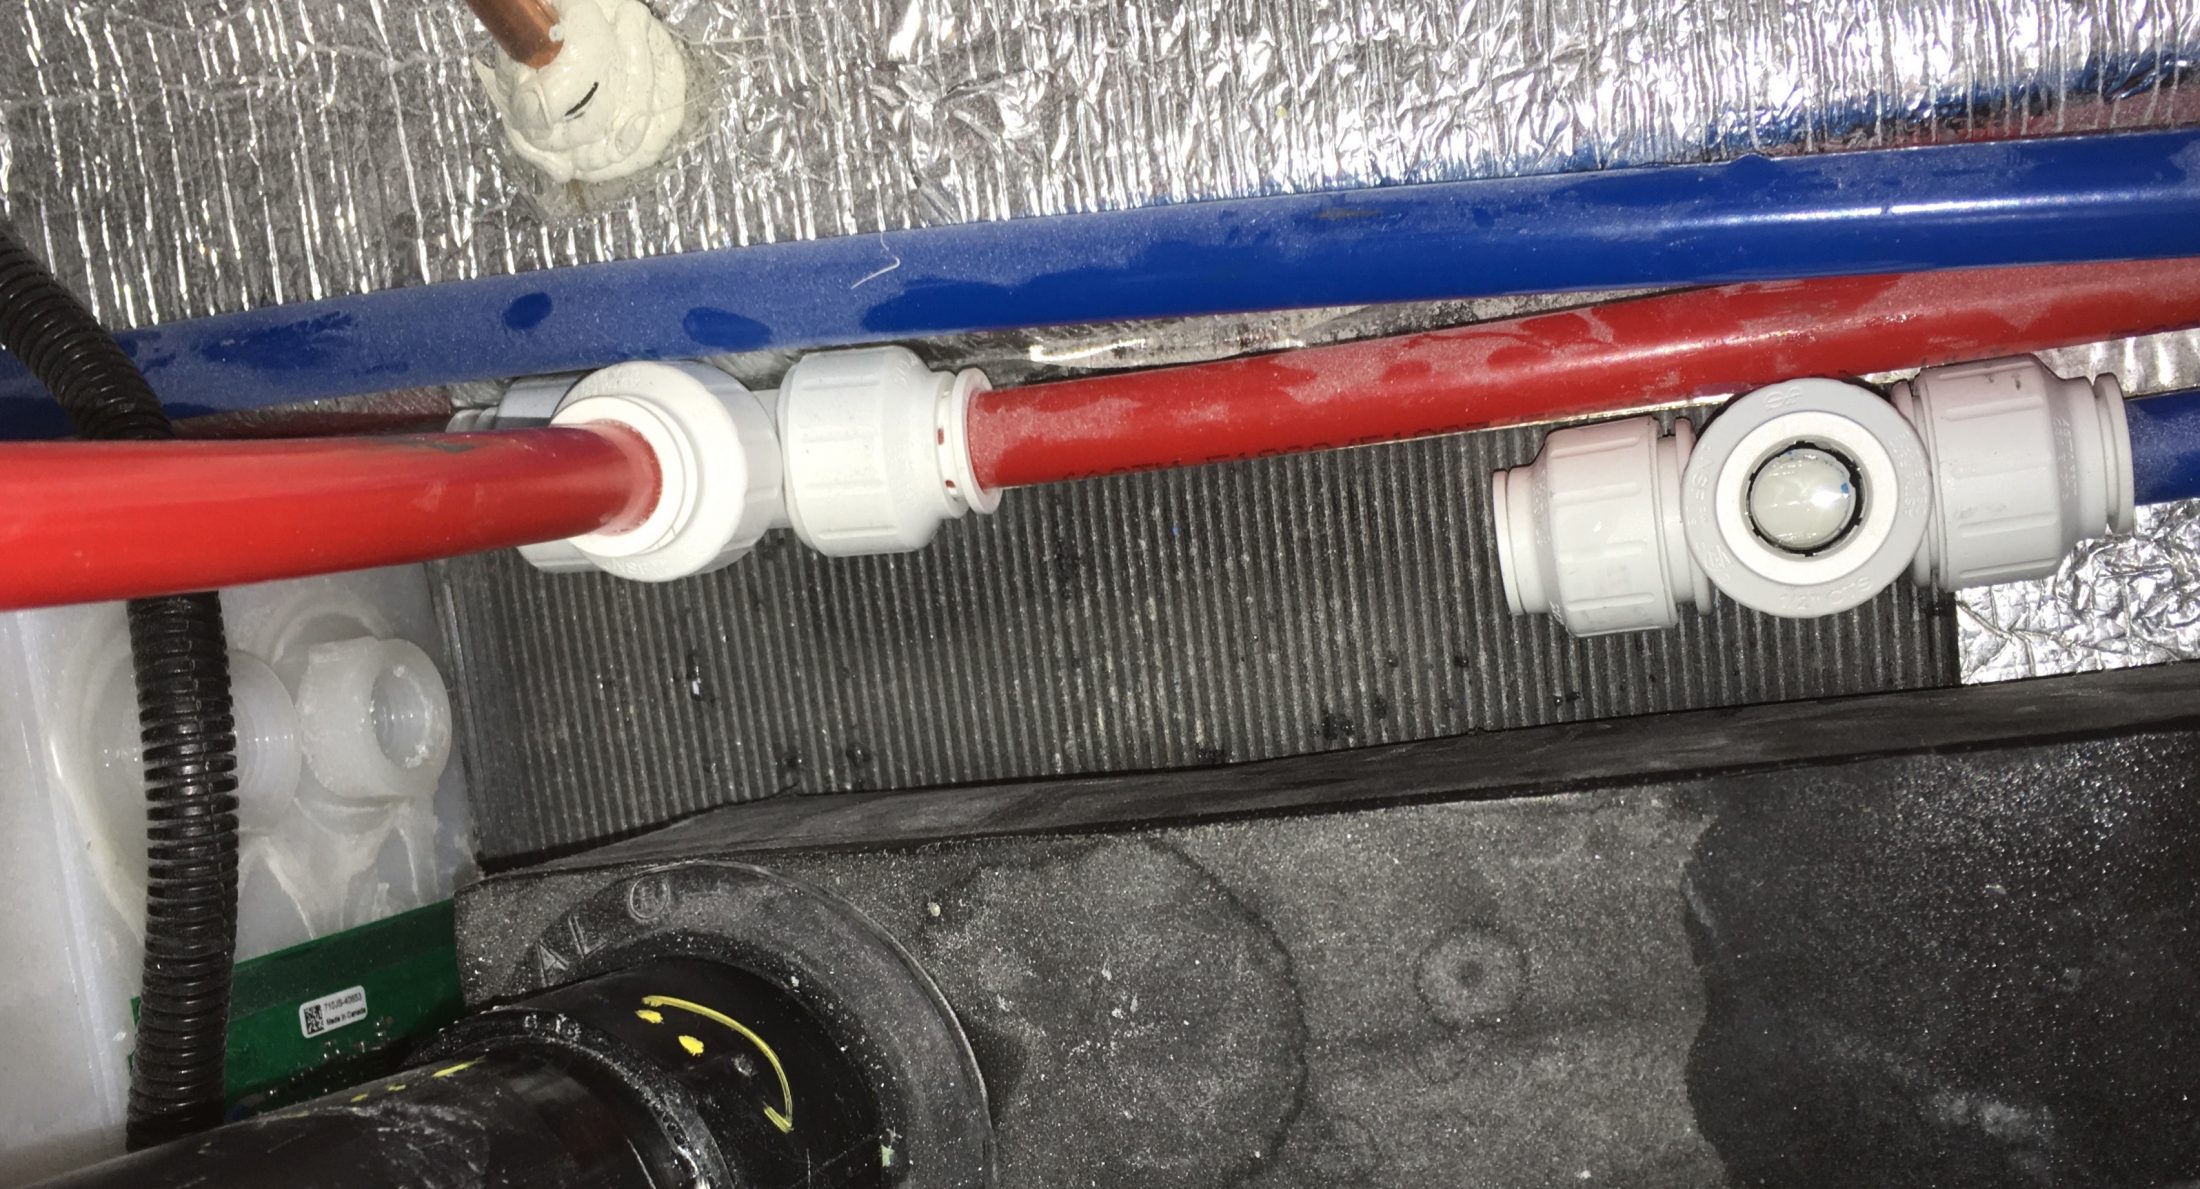
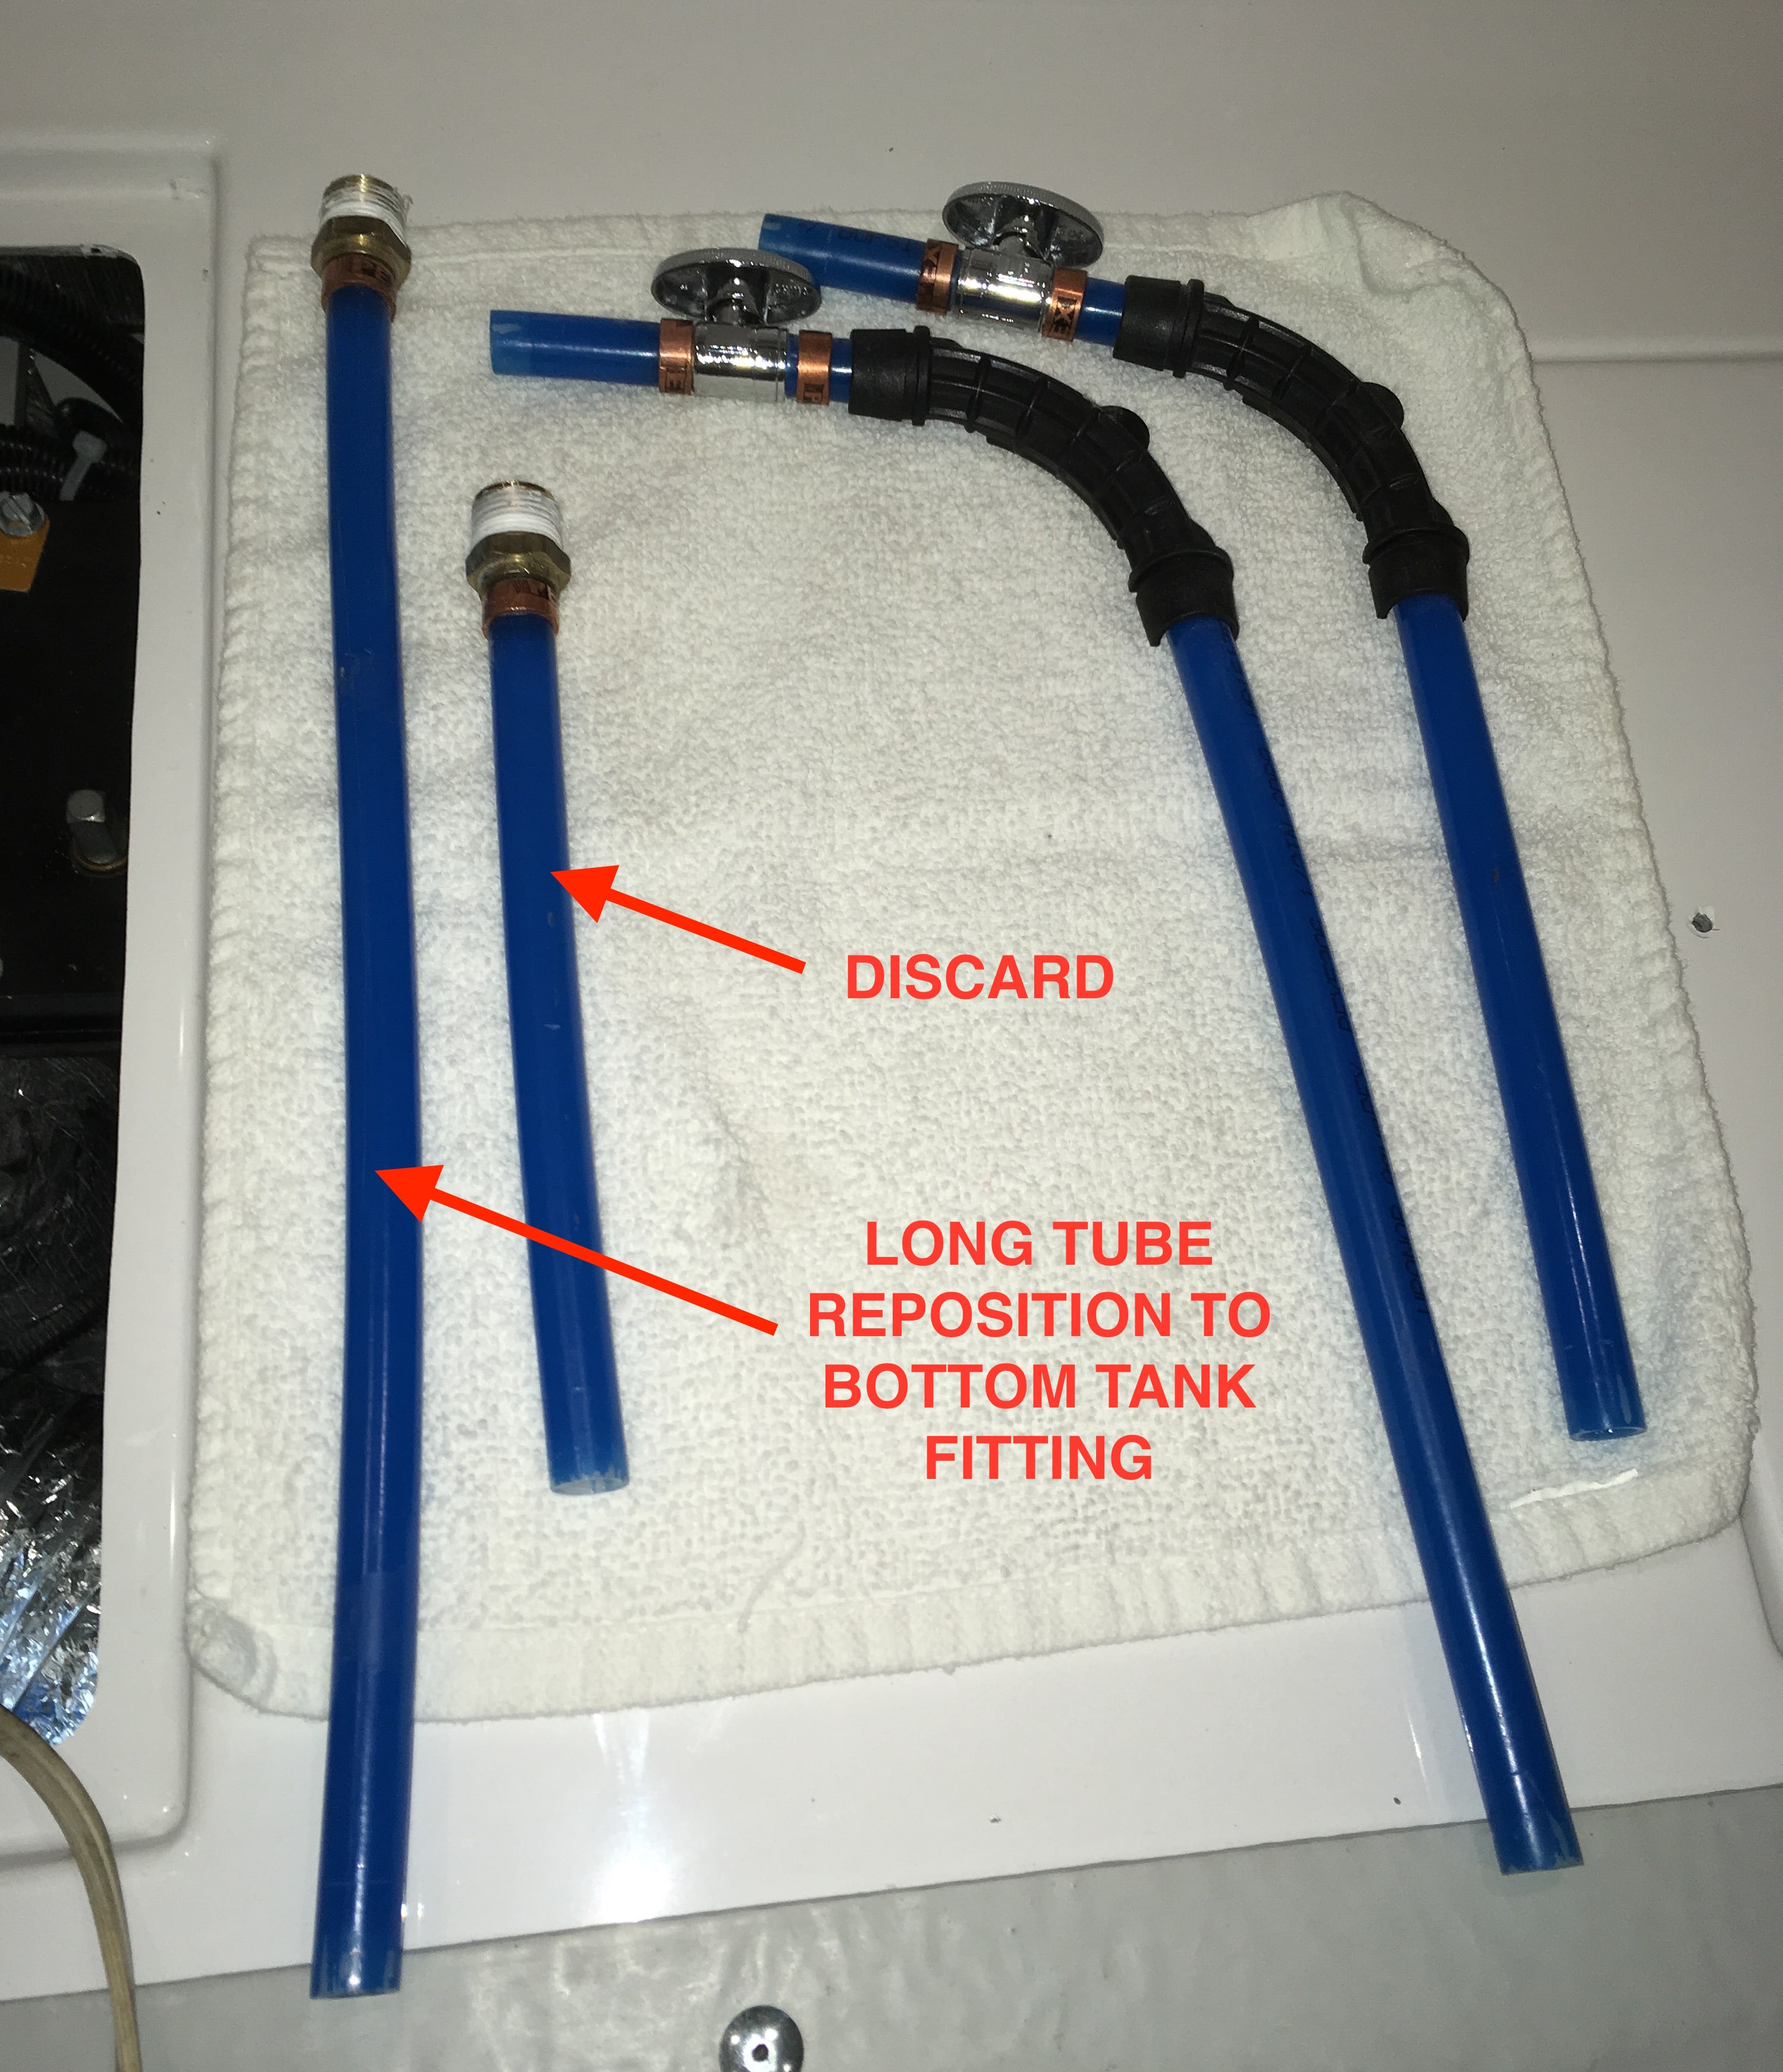
Disassembling the factory plumbing. A word on the quick connect fittings. To remove a line, rotate the collar counter clockwise 90 degrees. The inner sleeve will push out. Press the sleeve inwards with a finger or tool and that will release the pressure from the o-ring.Pull the line out of the fitting. Assembly is opposite, just be sure all parts are clean. View of the system, white arrows show water flow. The flow in these locations is NOT changed. The two elbow sections (with white arrows) will be swapped since the lines they connect to down low will have different heights. One will drop 3 inches, one will rise 3 inches. There is a tee visible to the left in the shadow, and another hidden under the duct at the lower part of the pic. Remove any black clamps as needed to gain working room. Do not drop any of the stainless clamp screws down into the hull - they are non-magnetic and may be very hard to retrieve! Disconnect the two upper elbow lines. Use a towel to catch any water. It isn't necessary to label any parts. Working at the lower tees, disconnect and remove both elbow lines. Here is a closeup of the two lines we need to swap to different ports. The shorter section will be discarded and replaced with the new curved dip tube. Remove the lines from the tank using a 7/8 inch wrench. There is adequate room. Be aware of the circuit breaker board for the water level sensor, do not short it out! You could cover it with duct tape if you feel klutzy... Here are the bits that have been removed. All will be reused except for the short straight section which can be tossed or placed in a junk drawer. I worried a little that reusing old pipes in new locations would result in leaks, but I had none. Your mileage may vary. You could always install new line and fittings if you are a worrier. More to come. John Davies Spokane WA
1 point
-
Now, that's scary stuff there this close to Halloween :) It looks good John, why didn't you just use copper and take it all the way down to the floor in the corner? Either way, it's a lot better then it was :) Nice job :)1 point
-
We stay plugged in when not traveling. We keep the fridge running all the time too. If you have the capability I would keep it plugged in whether you winterize or not. We don’t winterize down here and travel almost all year round, so it’s nice to be always ready to go. Mike1 point
-
As John said, plugged in to a standard 15A circuit is fine, the Oliver electric system will keep them safe. Or, if you have solar, just leave it outside and your fine. If your choice is to disconnect, then that isn't as easy, there isn't a main switch, but you can get a battery terminal cutoff switch on Amazon, about $10, and install it to break the circuit.1 point
-
Jason Essary at Oliver advised me that the only way to make sure there is no drain on the batteries in storage is to disconnect the cable to the negative post in the battery compartment. I have 4 6-volt AGM batteries. There is a main negative cable that is easy to disconnect. This is the method I used until yesterday. I now have electricity in my indoor storage space, so I won't have to do this in the future! Don1 point
-
That looks like a viable fix John. While looking at mine it seemed really hard to get to the side fittings as you've done. What tubing is that? PEX? If PEX, how did you get the permanent "90" in it. Just a suggestion about the teflon tape: It might be better to use something like Rectorseal #5 as I showed in my photos because teflon relies on a permanent clamping force to not leak and the plastic tank fittings can relax. Also, the fittings can crack with not much force and you'll have a leak that will be very hard to fix. The rectorseal sets to a stiff but sticky glue that is compatible with drinking water and plastic, but doesn't require a lot of constant pressure on the fitting to seal. Looking for your update on the process.1 point
-
Fortunately, mine fits in the garage and it is always plugged in. The garage is heated from waste solar heat, so I never have to winterize it. Point is: Always plugged in doesn't hurt a thing. Fully charged batteries are freeze resistant. The Ollie battery charger won't hurt your batteries. When it's freezing, but not extremely cold, my other trailer, outside, has heat tape on the water supply and an electric heater on low inside. Still not worried about the batteries if they are on a charger, but I don't leave that one plugged in all the time because it is not a smart charger.1 point








-
Recent Achievements
-