Leaderboard




Popular Content
Showing content with the highest reputation on 05/21/2018 in all areas
-
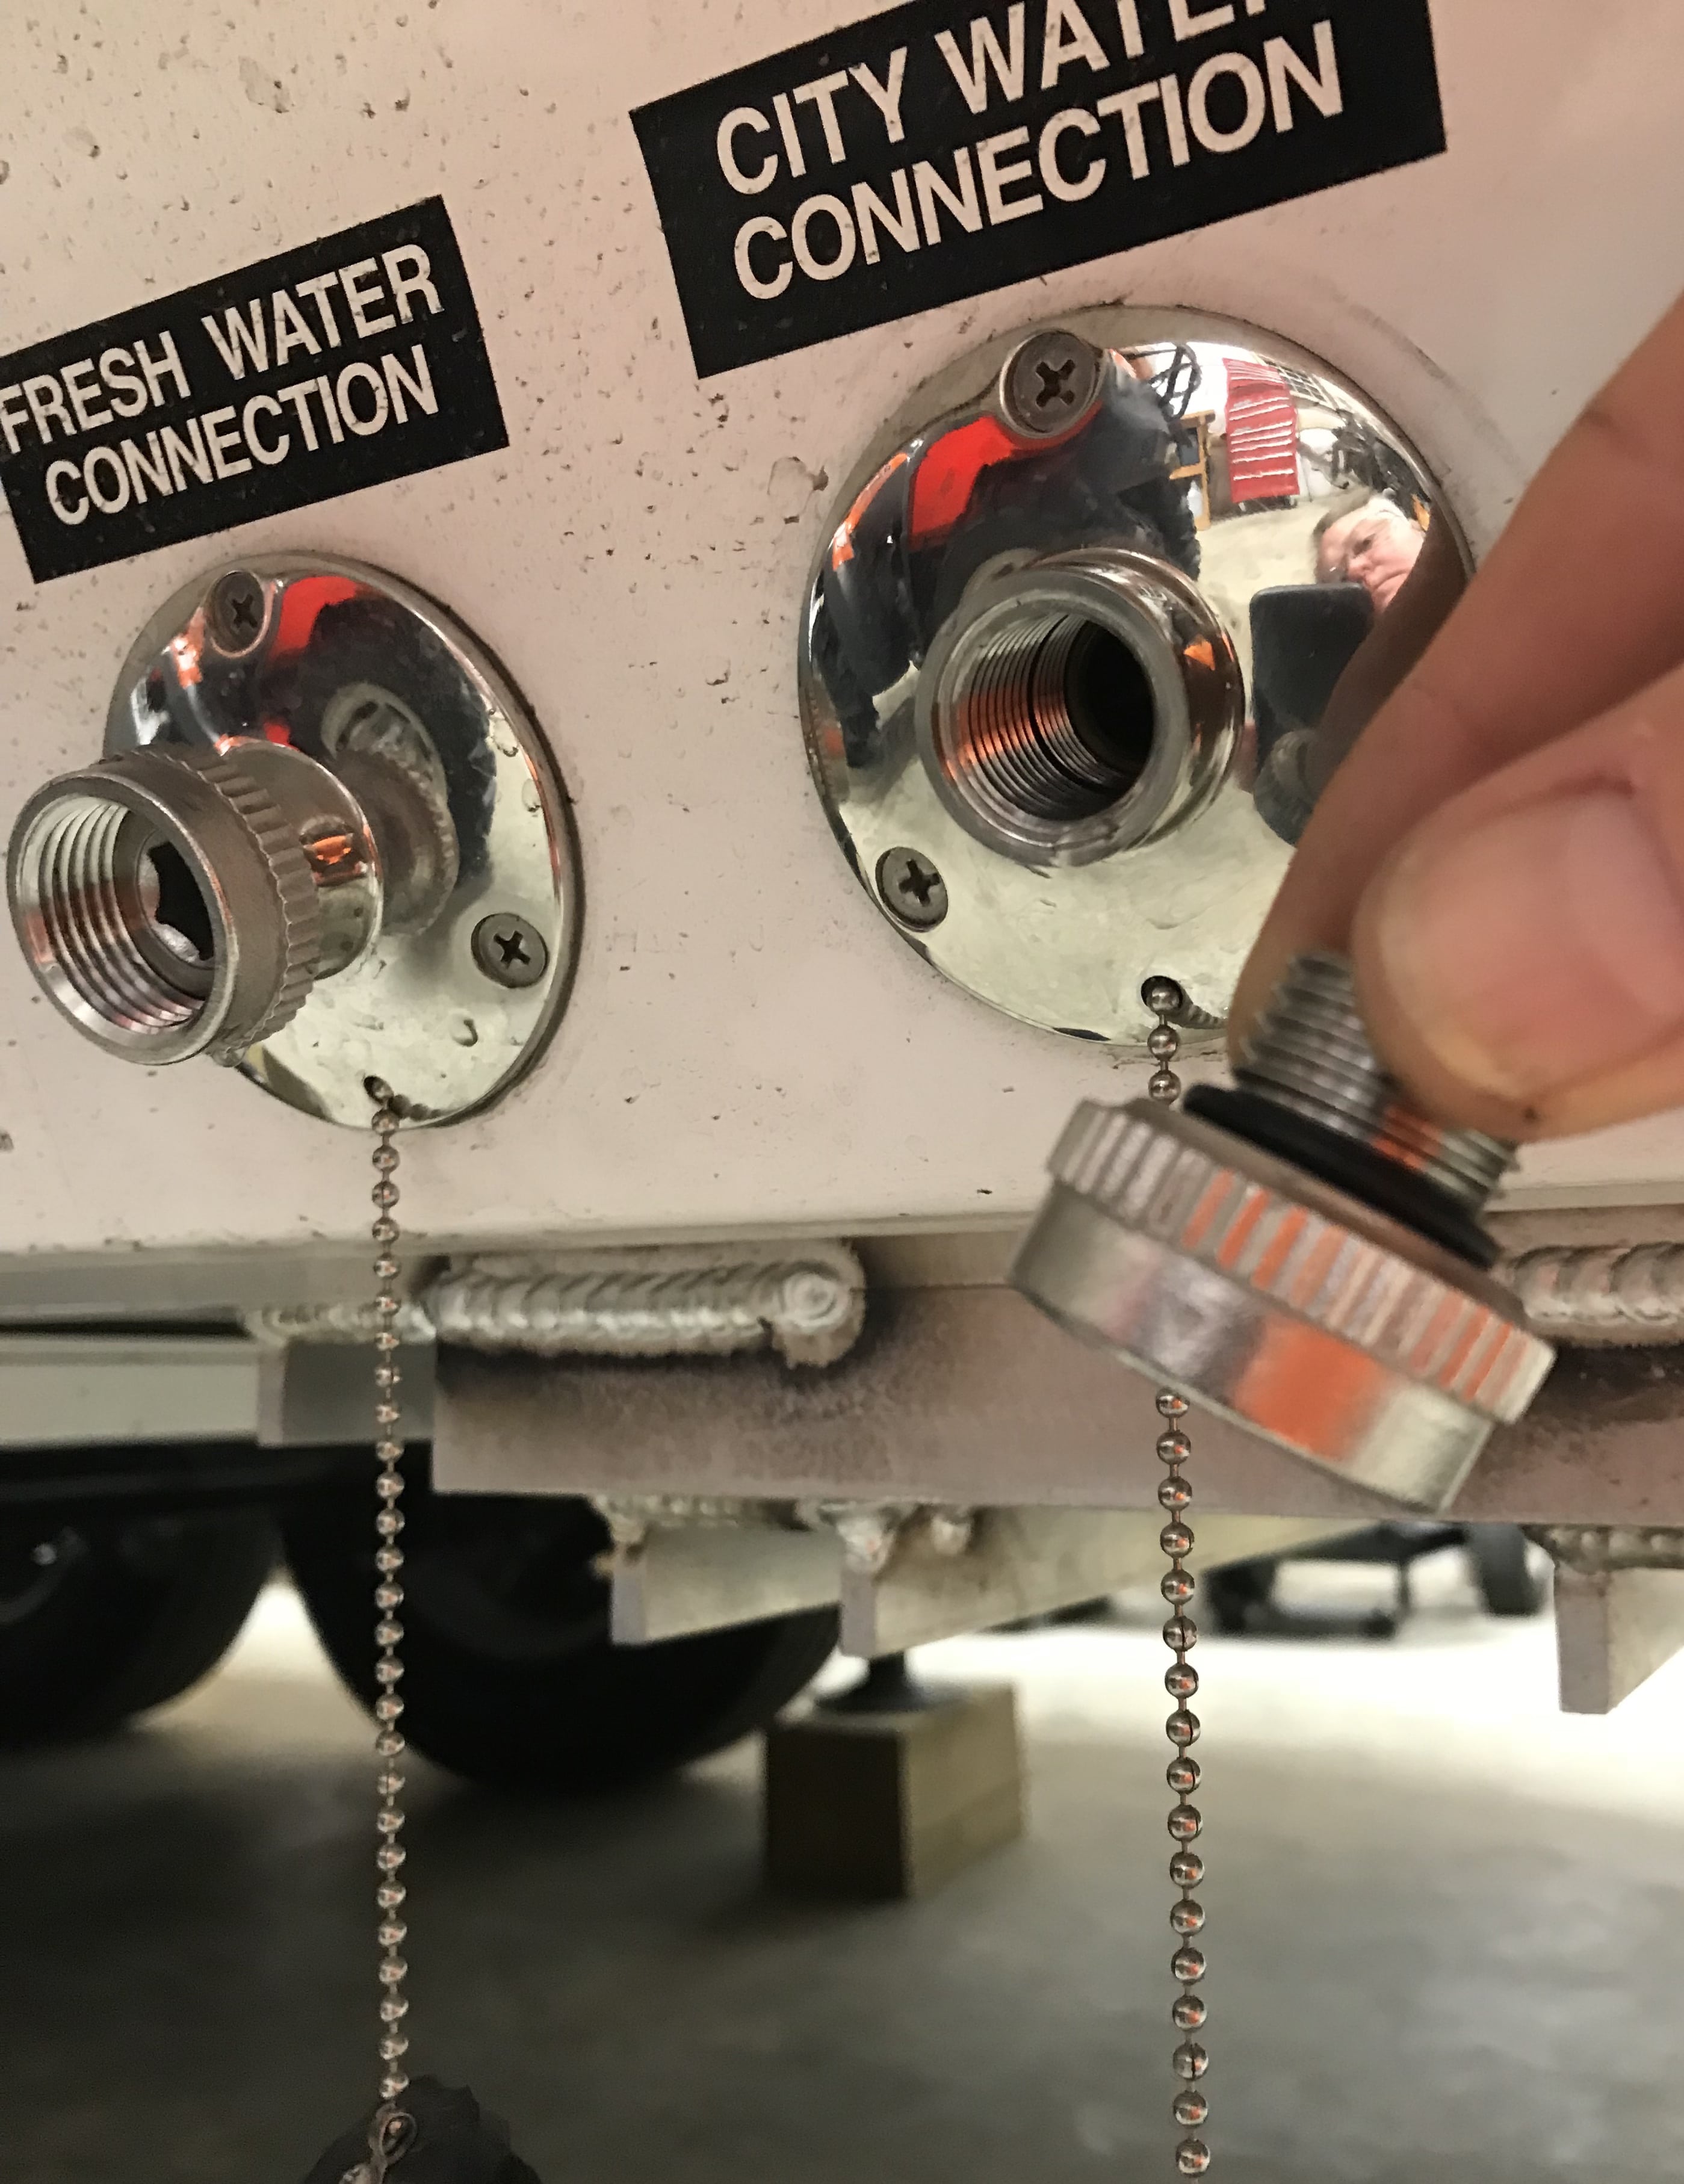
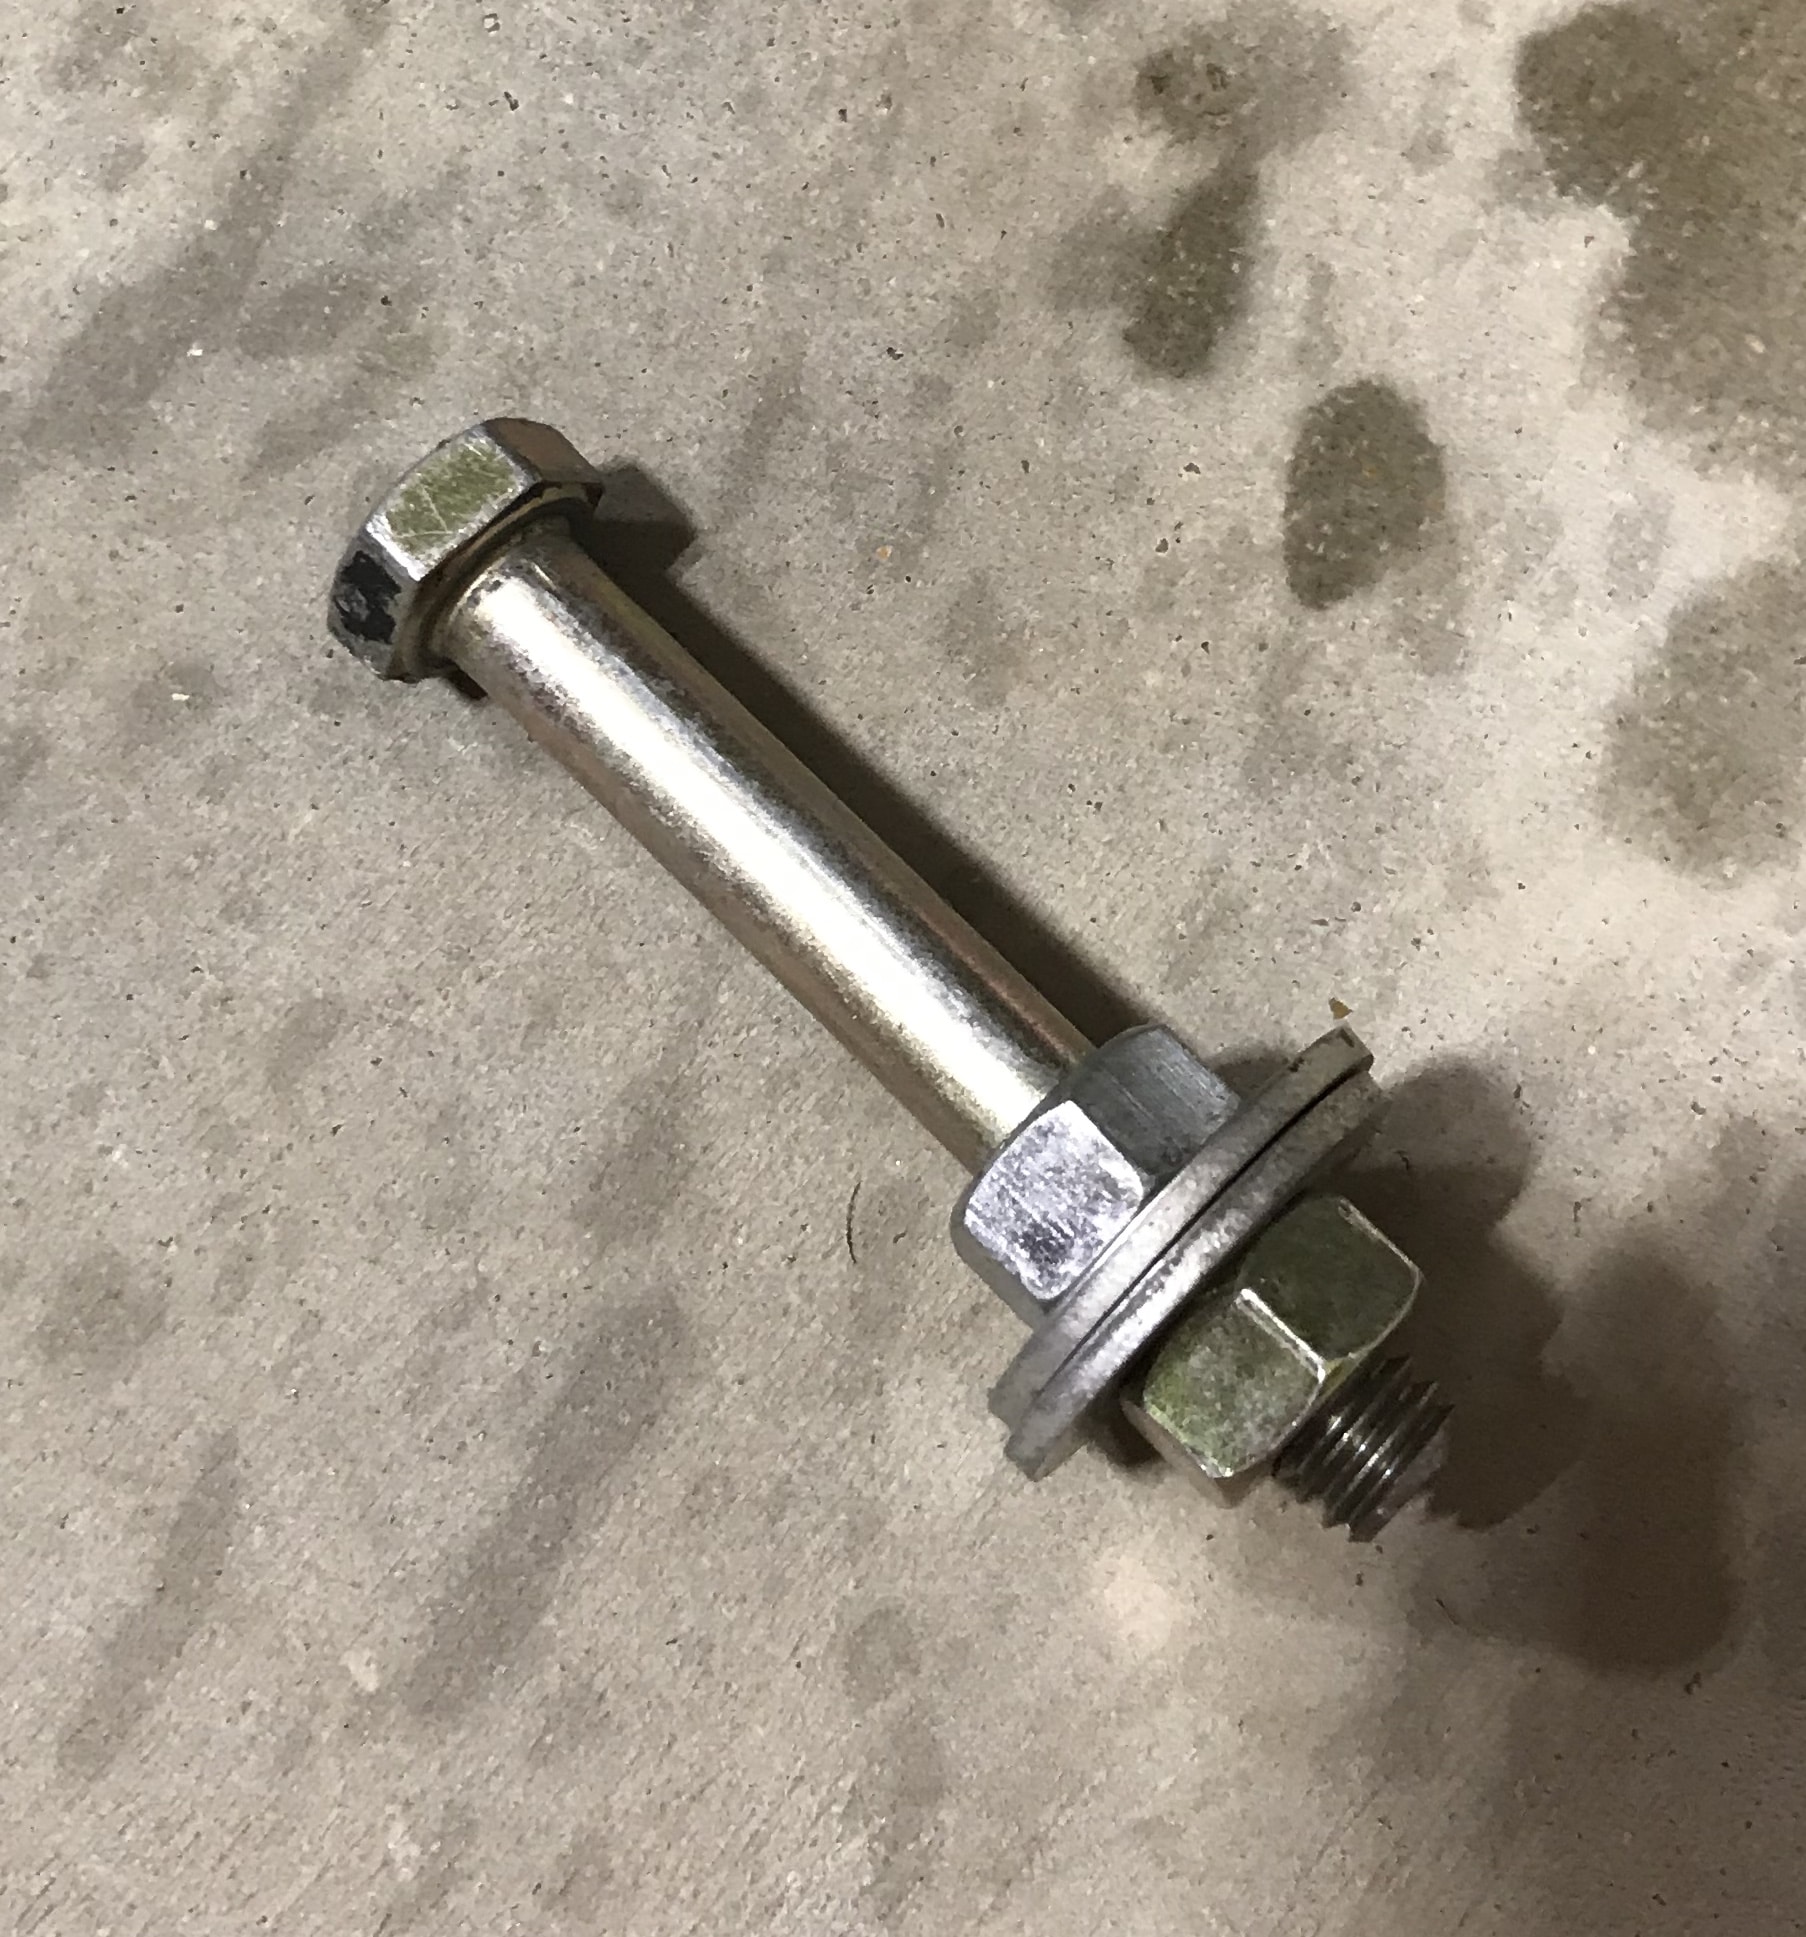
These fittings can come off. When they do you will need to carefully remove the strainer washer and use a 1/2 inch hex key (Allen wrench) to reinstall. It only needs to be snugged up because there is a rubber washer on the back side. A bolt with a 1/2 inch head and 2 jam nuts will also work. Might be wise to check them when convenient rather than replace them when inconvenient.
 5 points
 -
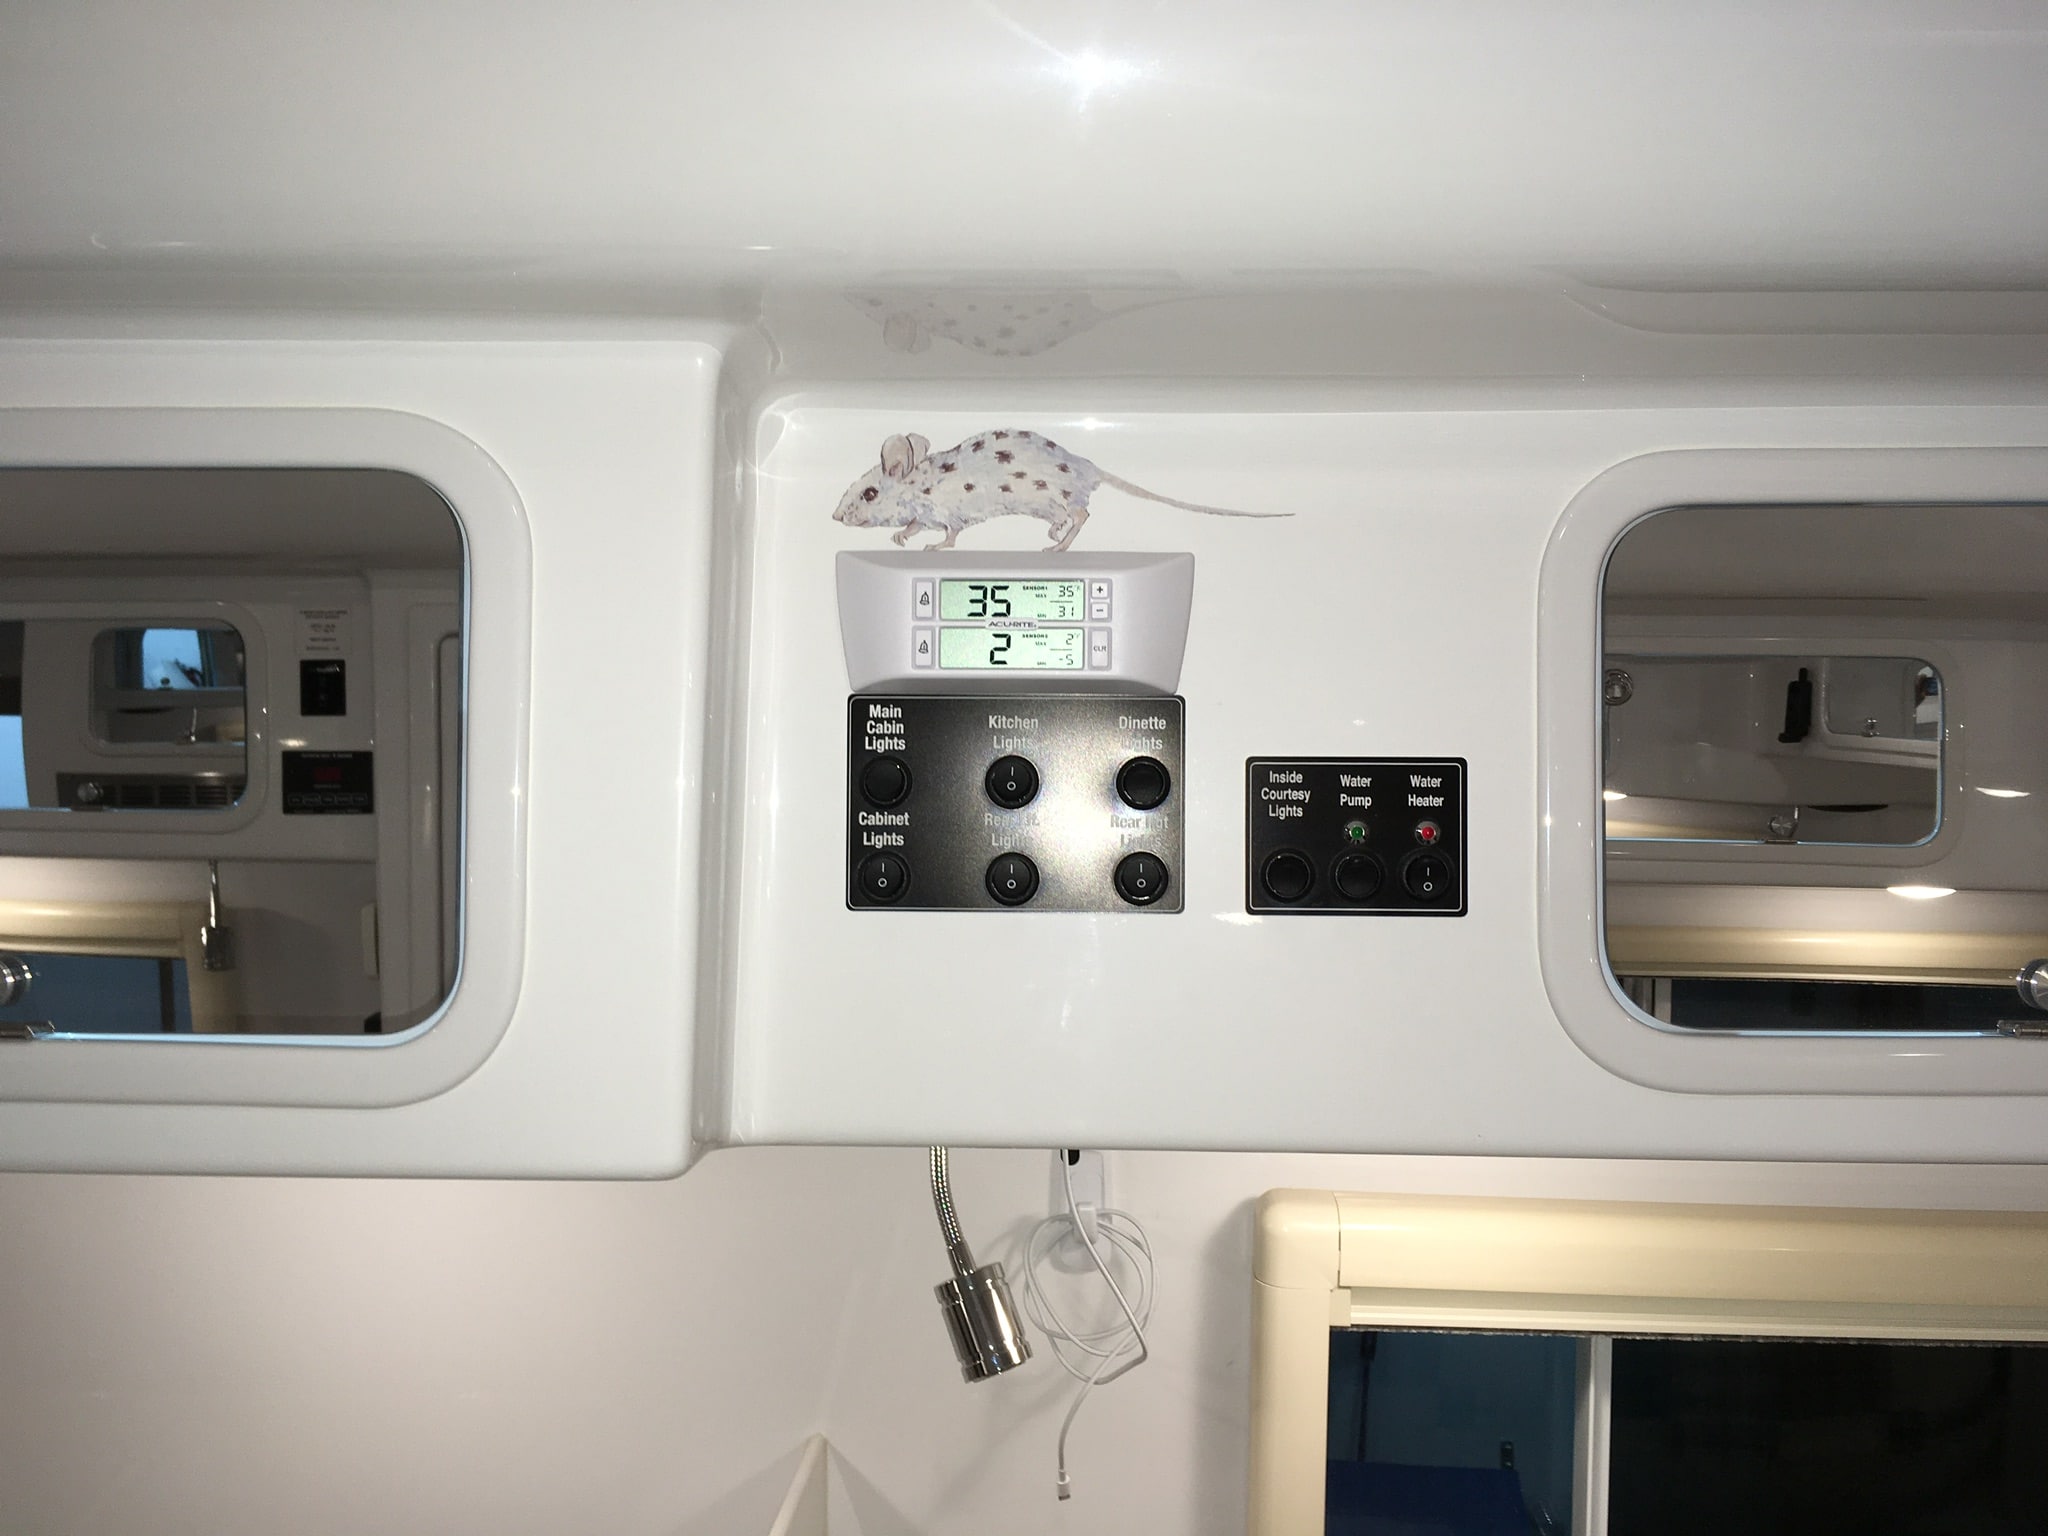
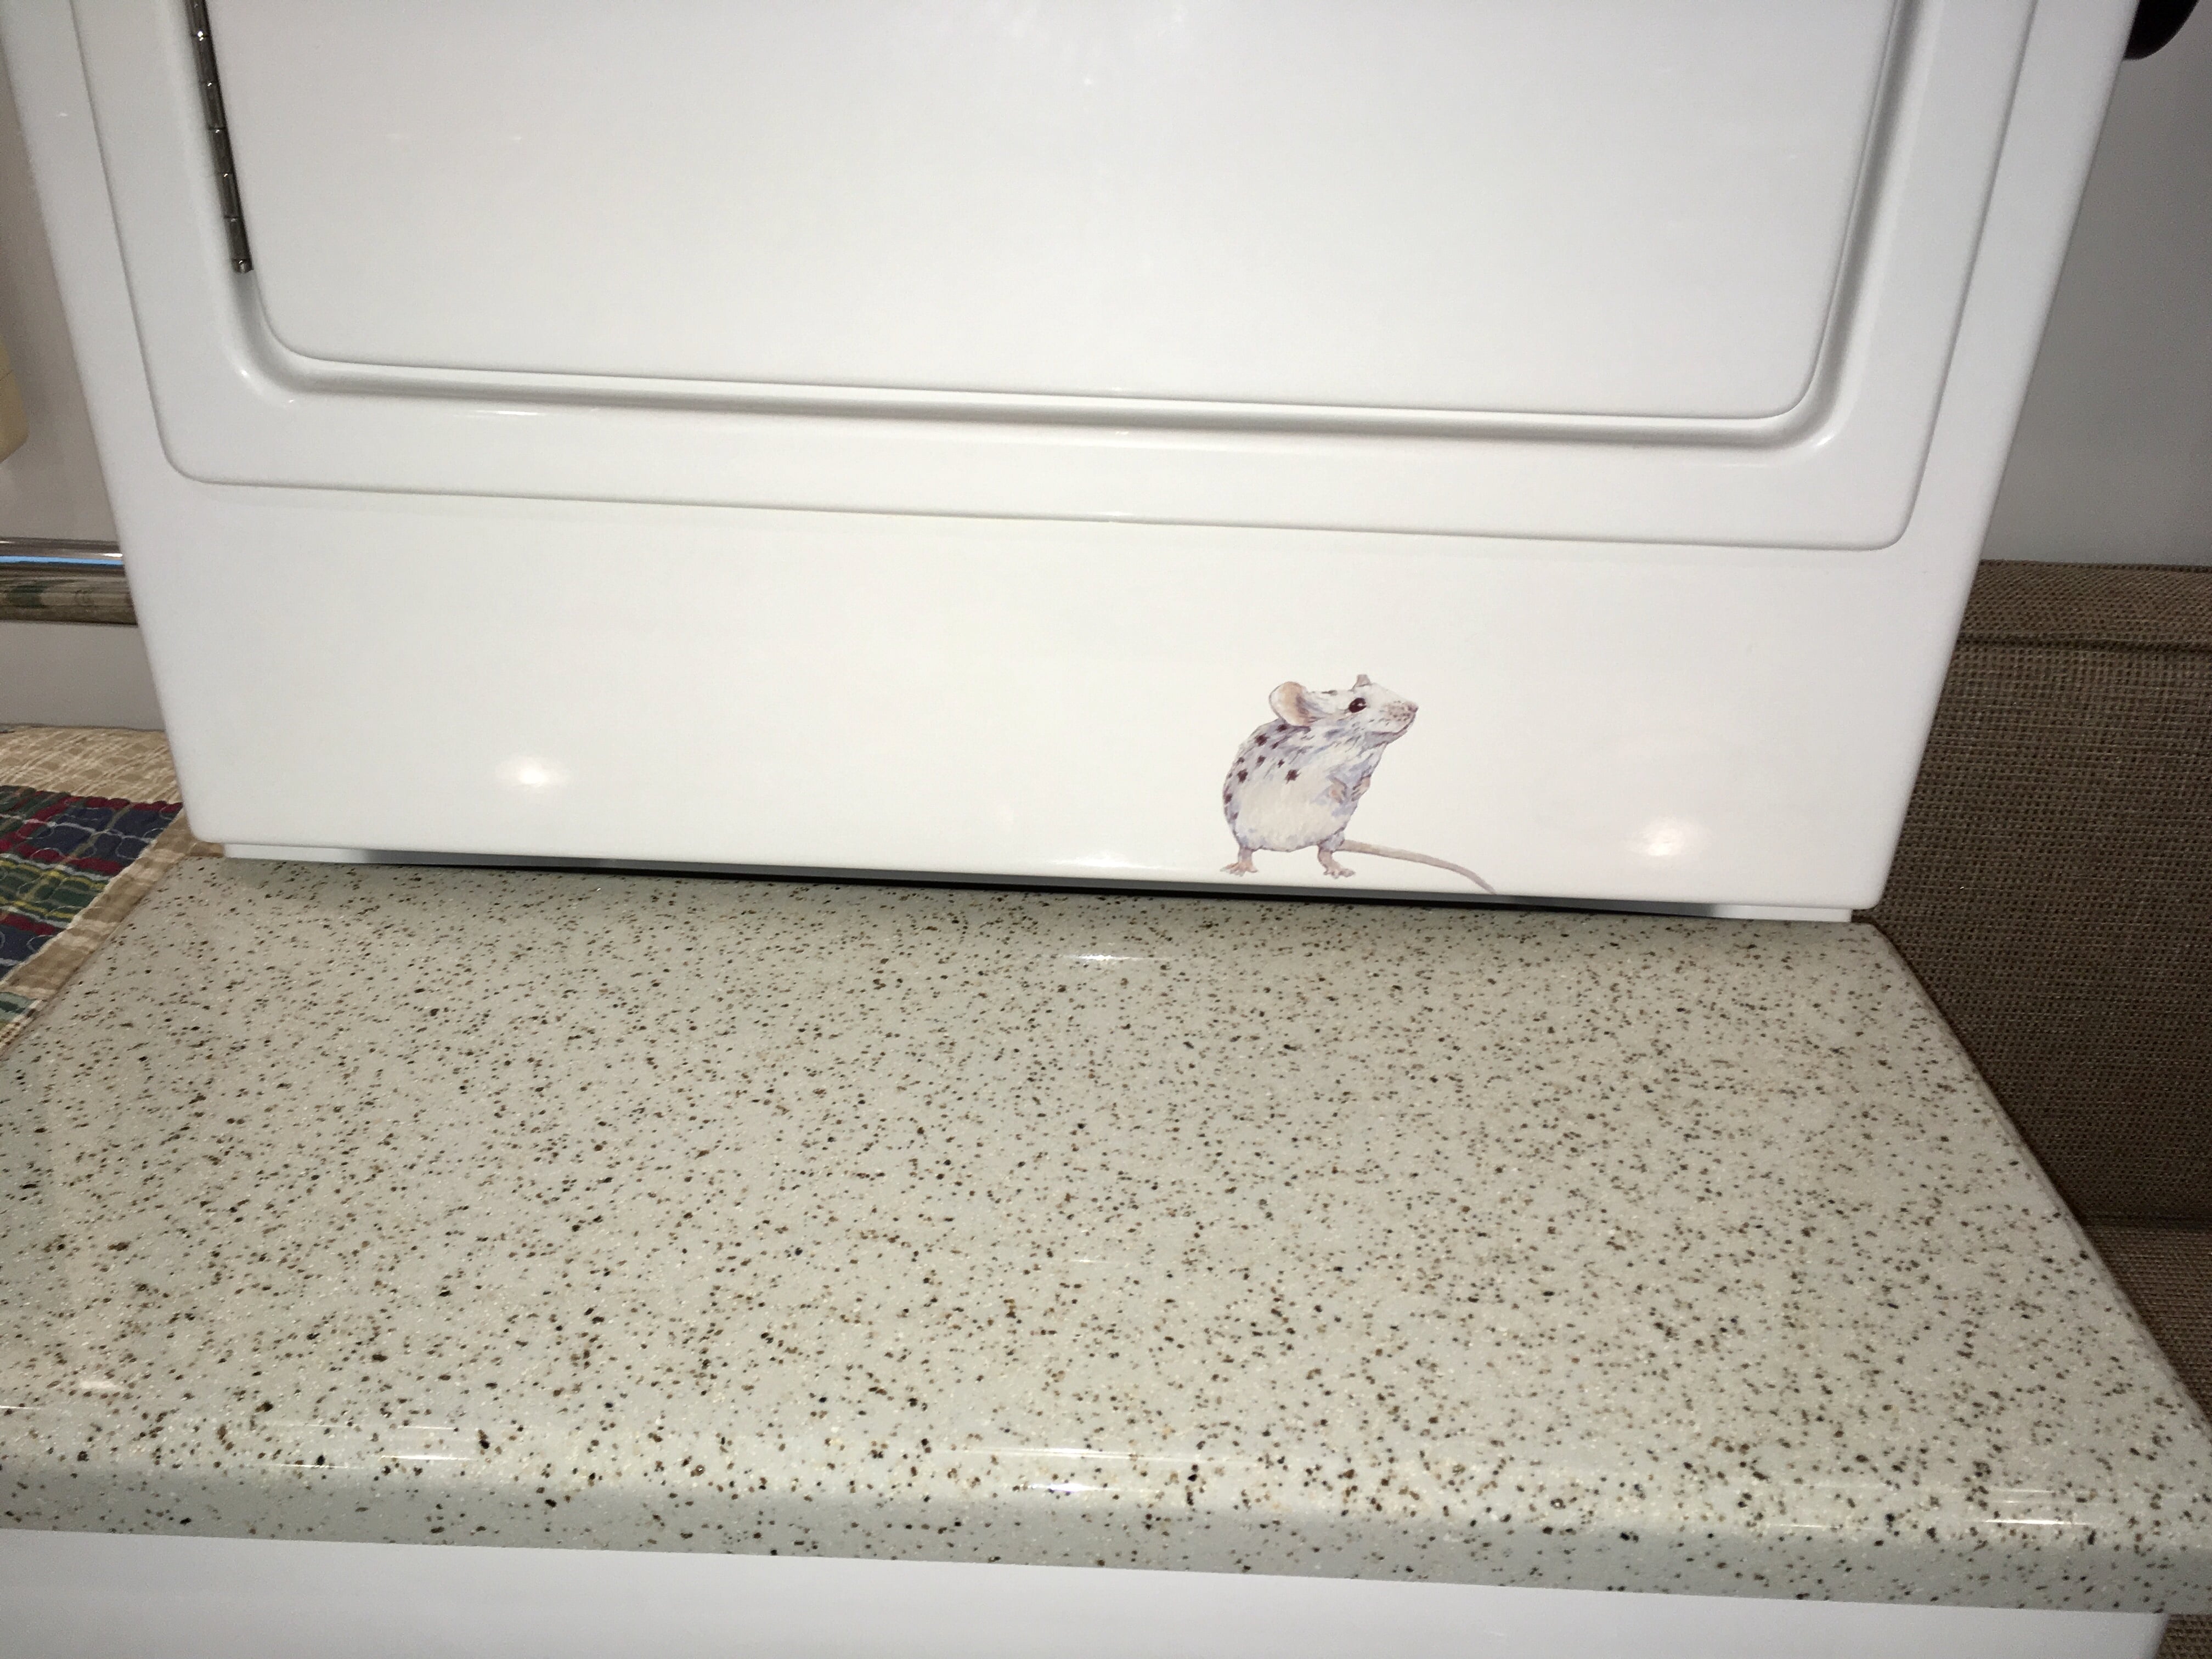
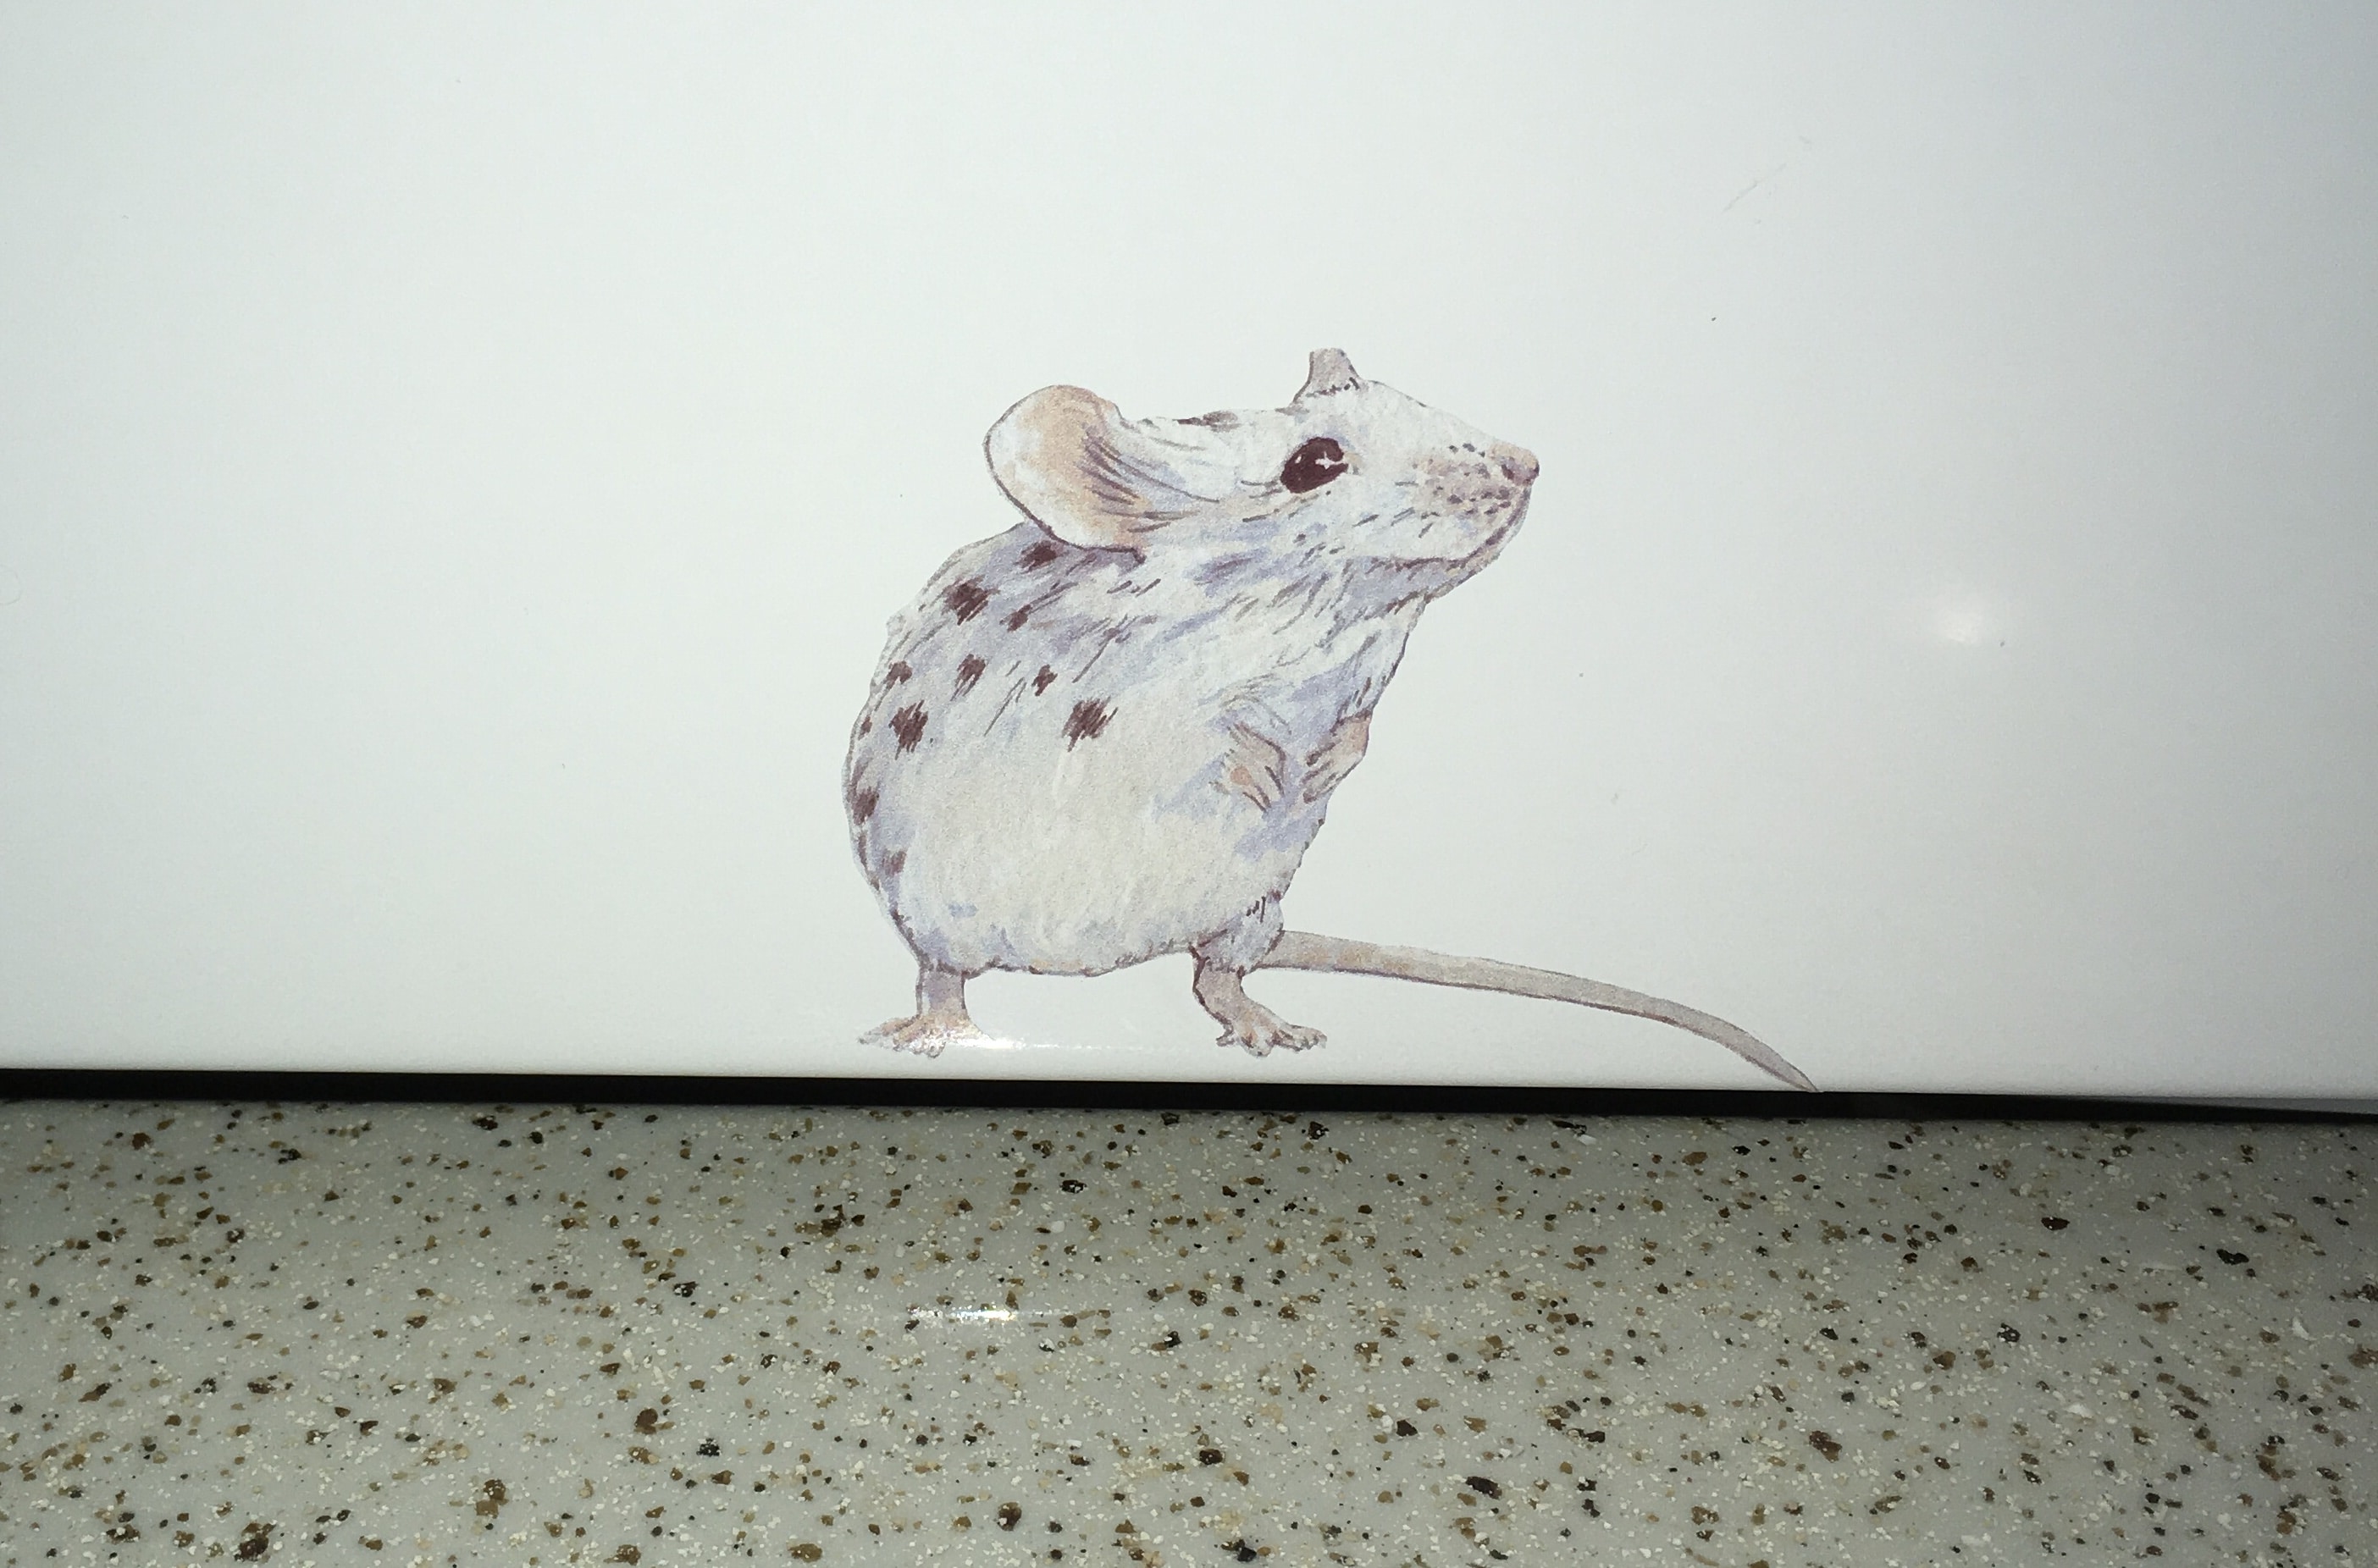
My wife found a set of four stickers on eBay from the UK..... John Davies Spokane WA
2 points
-
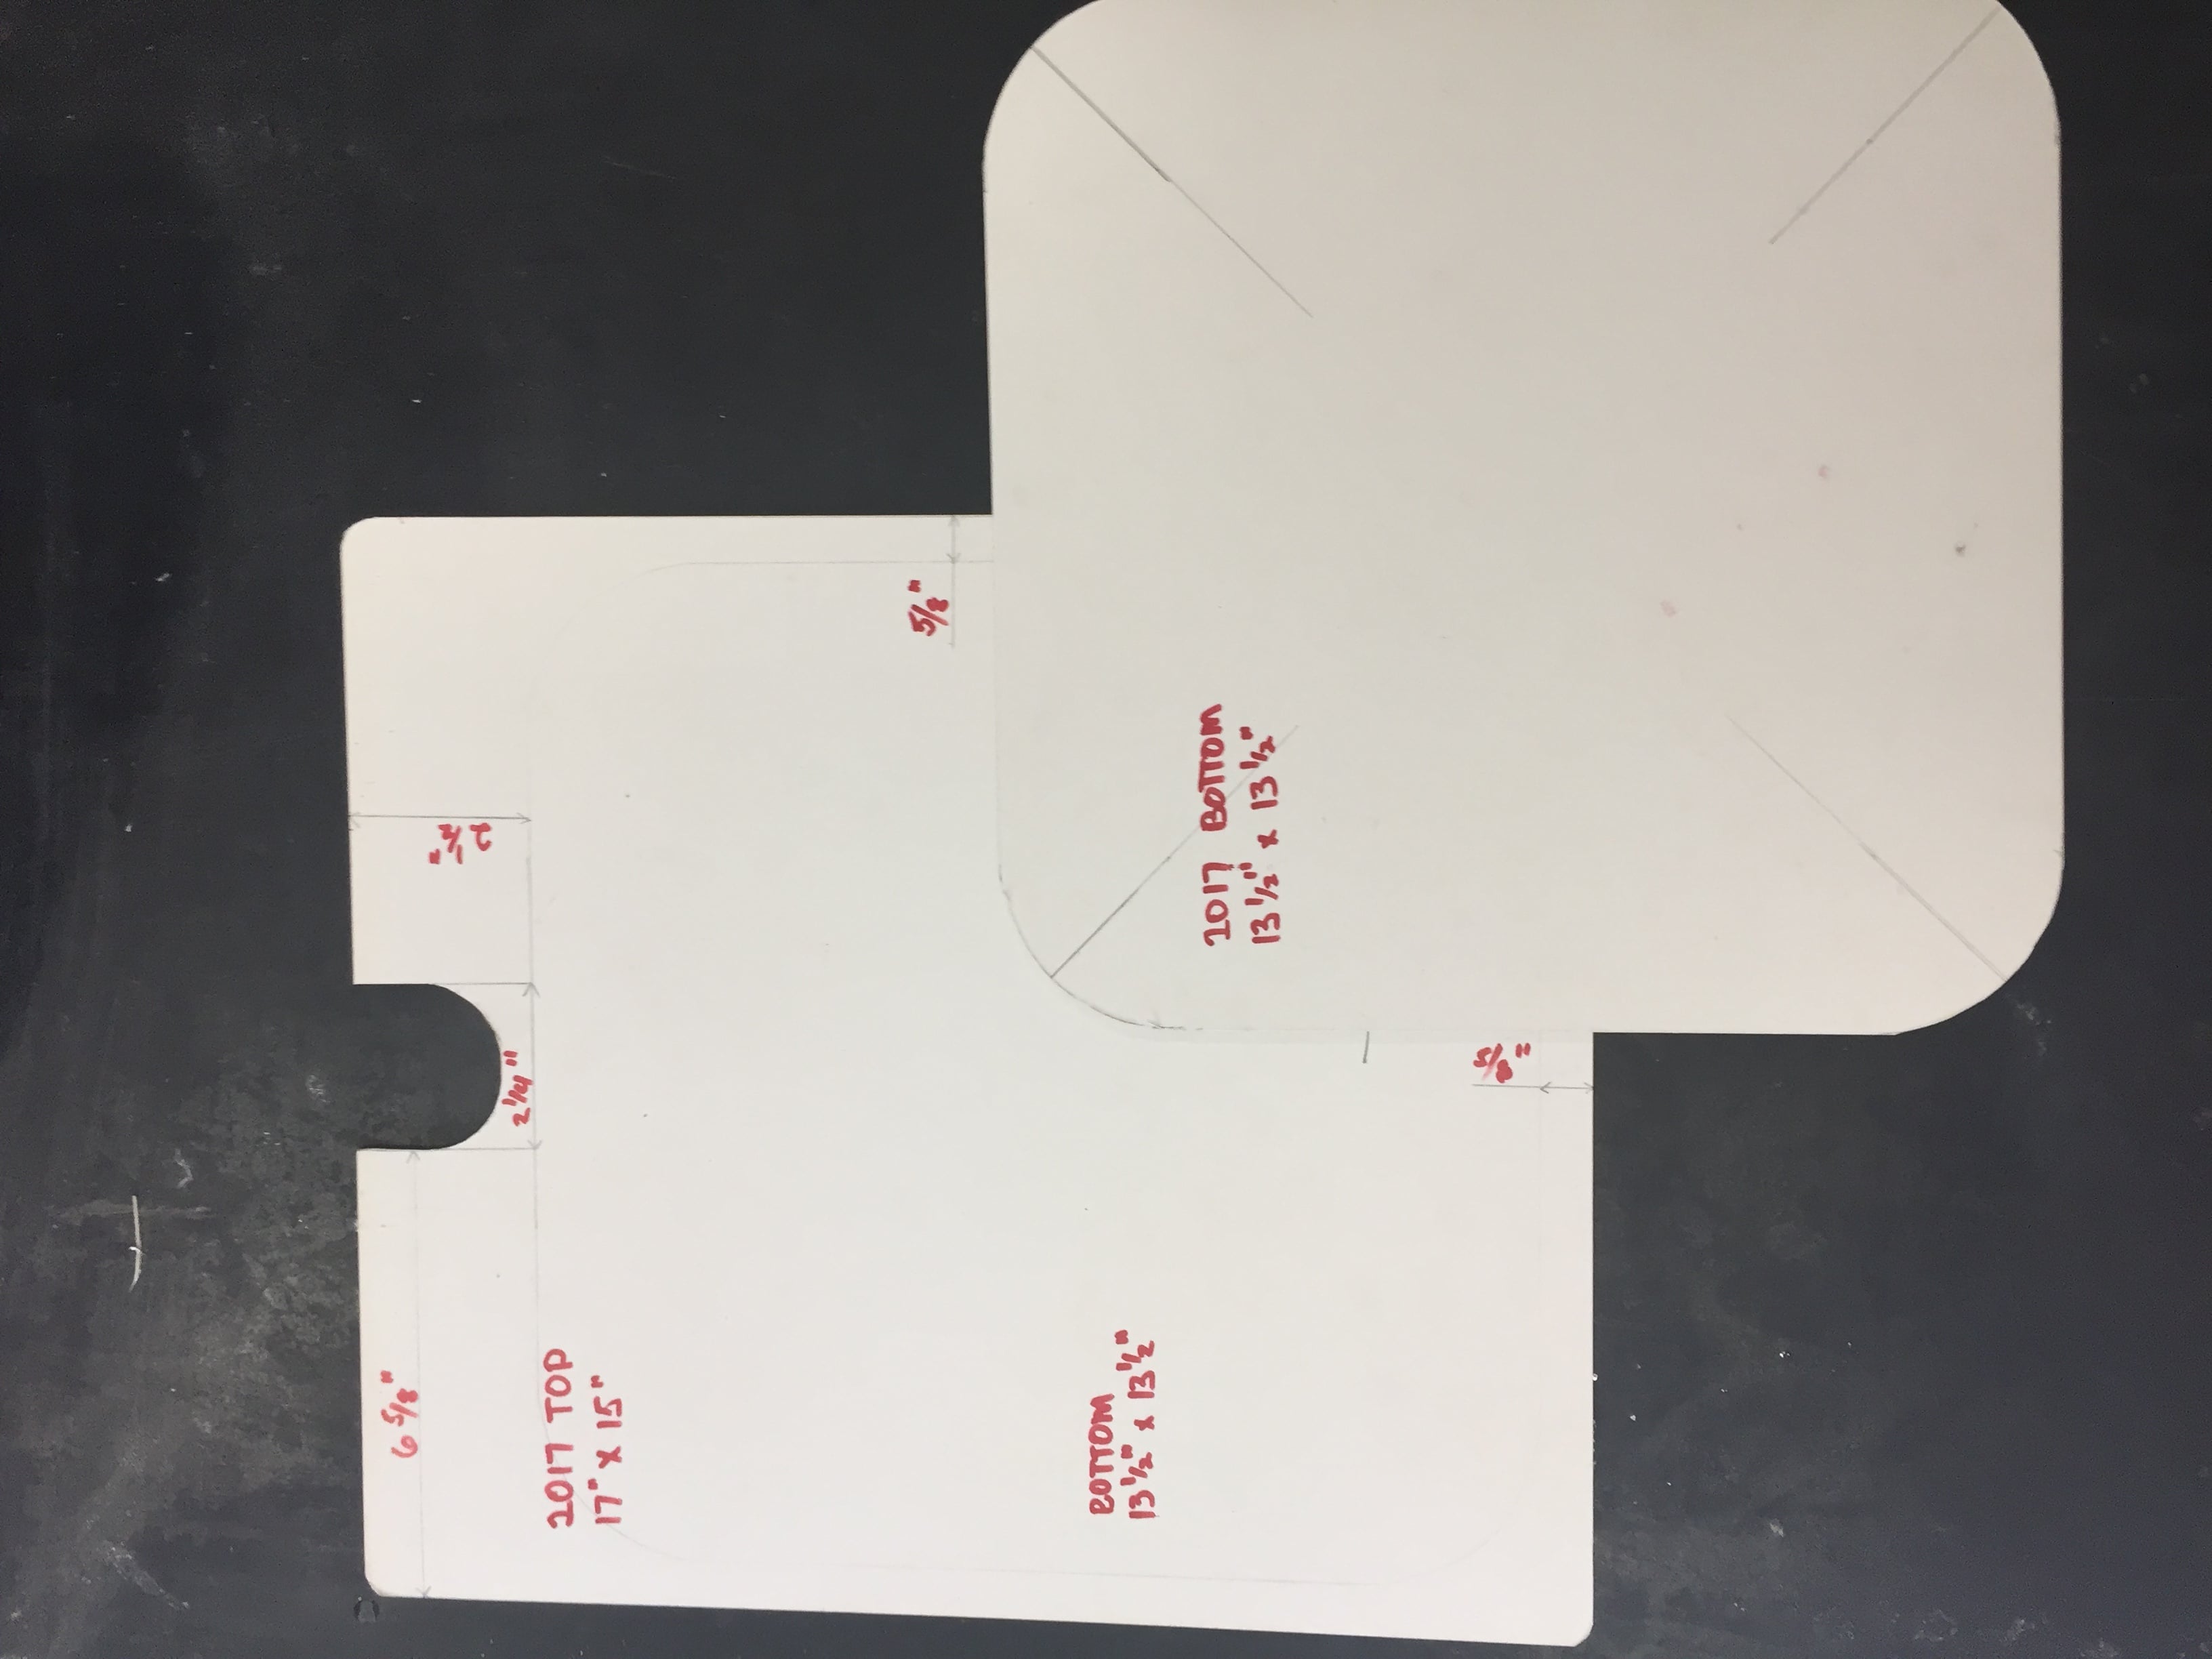
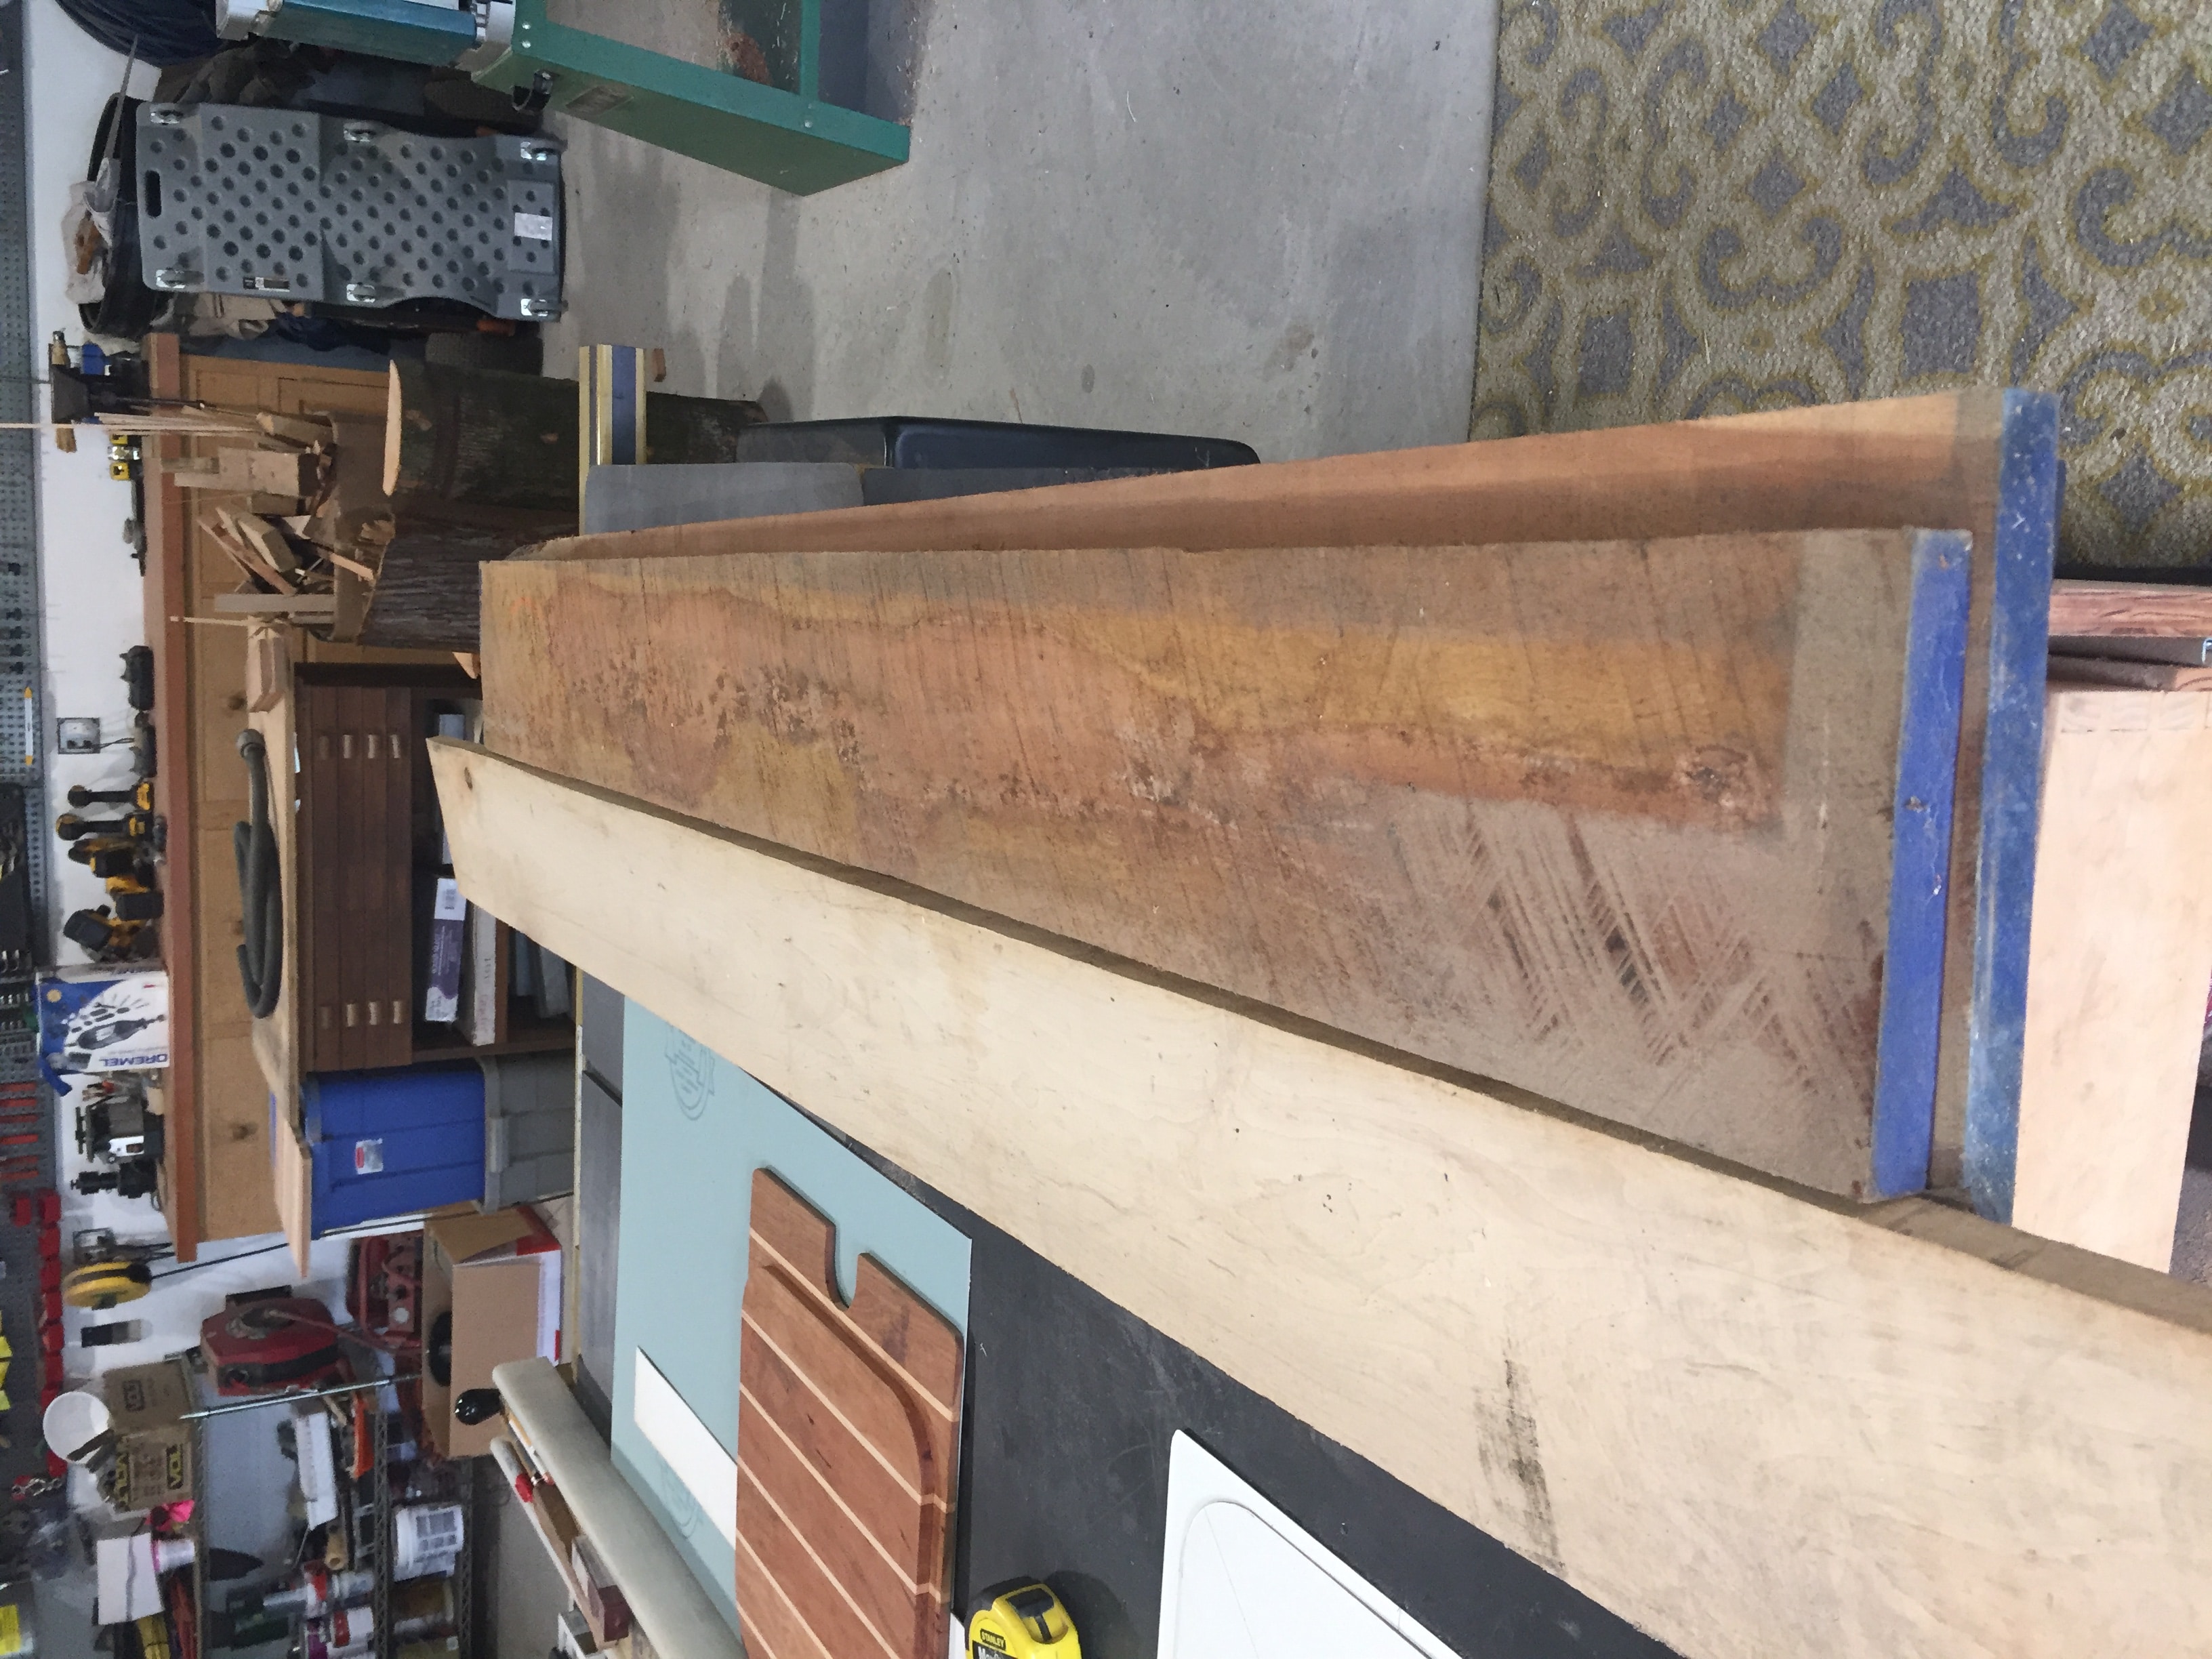
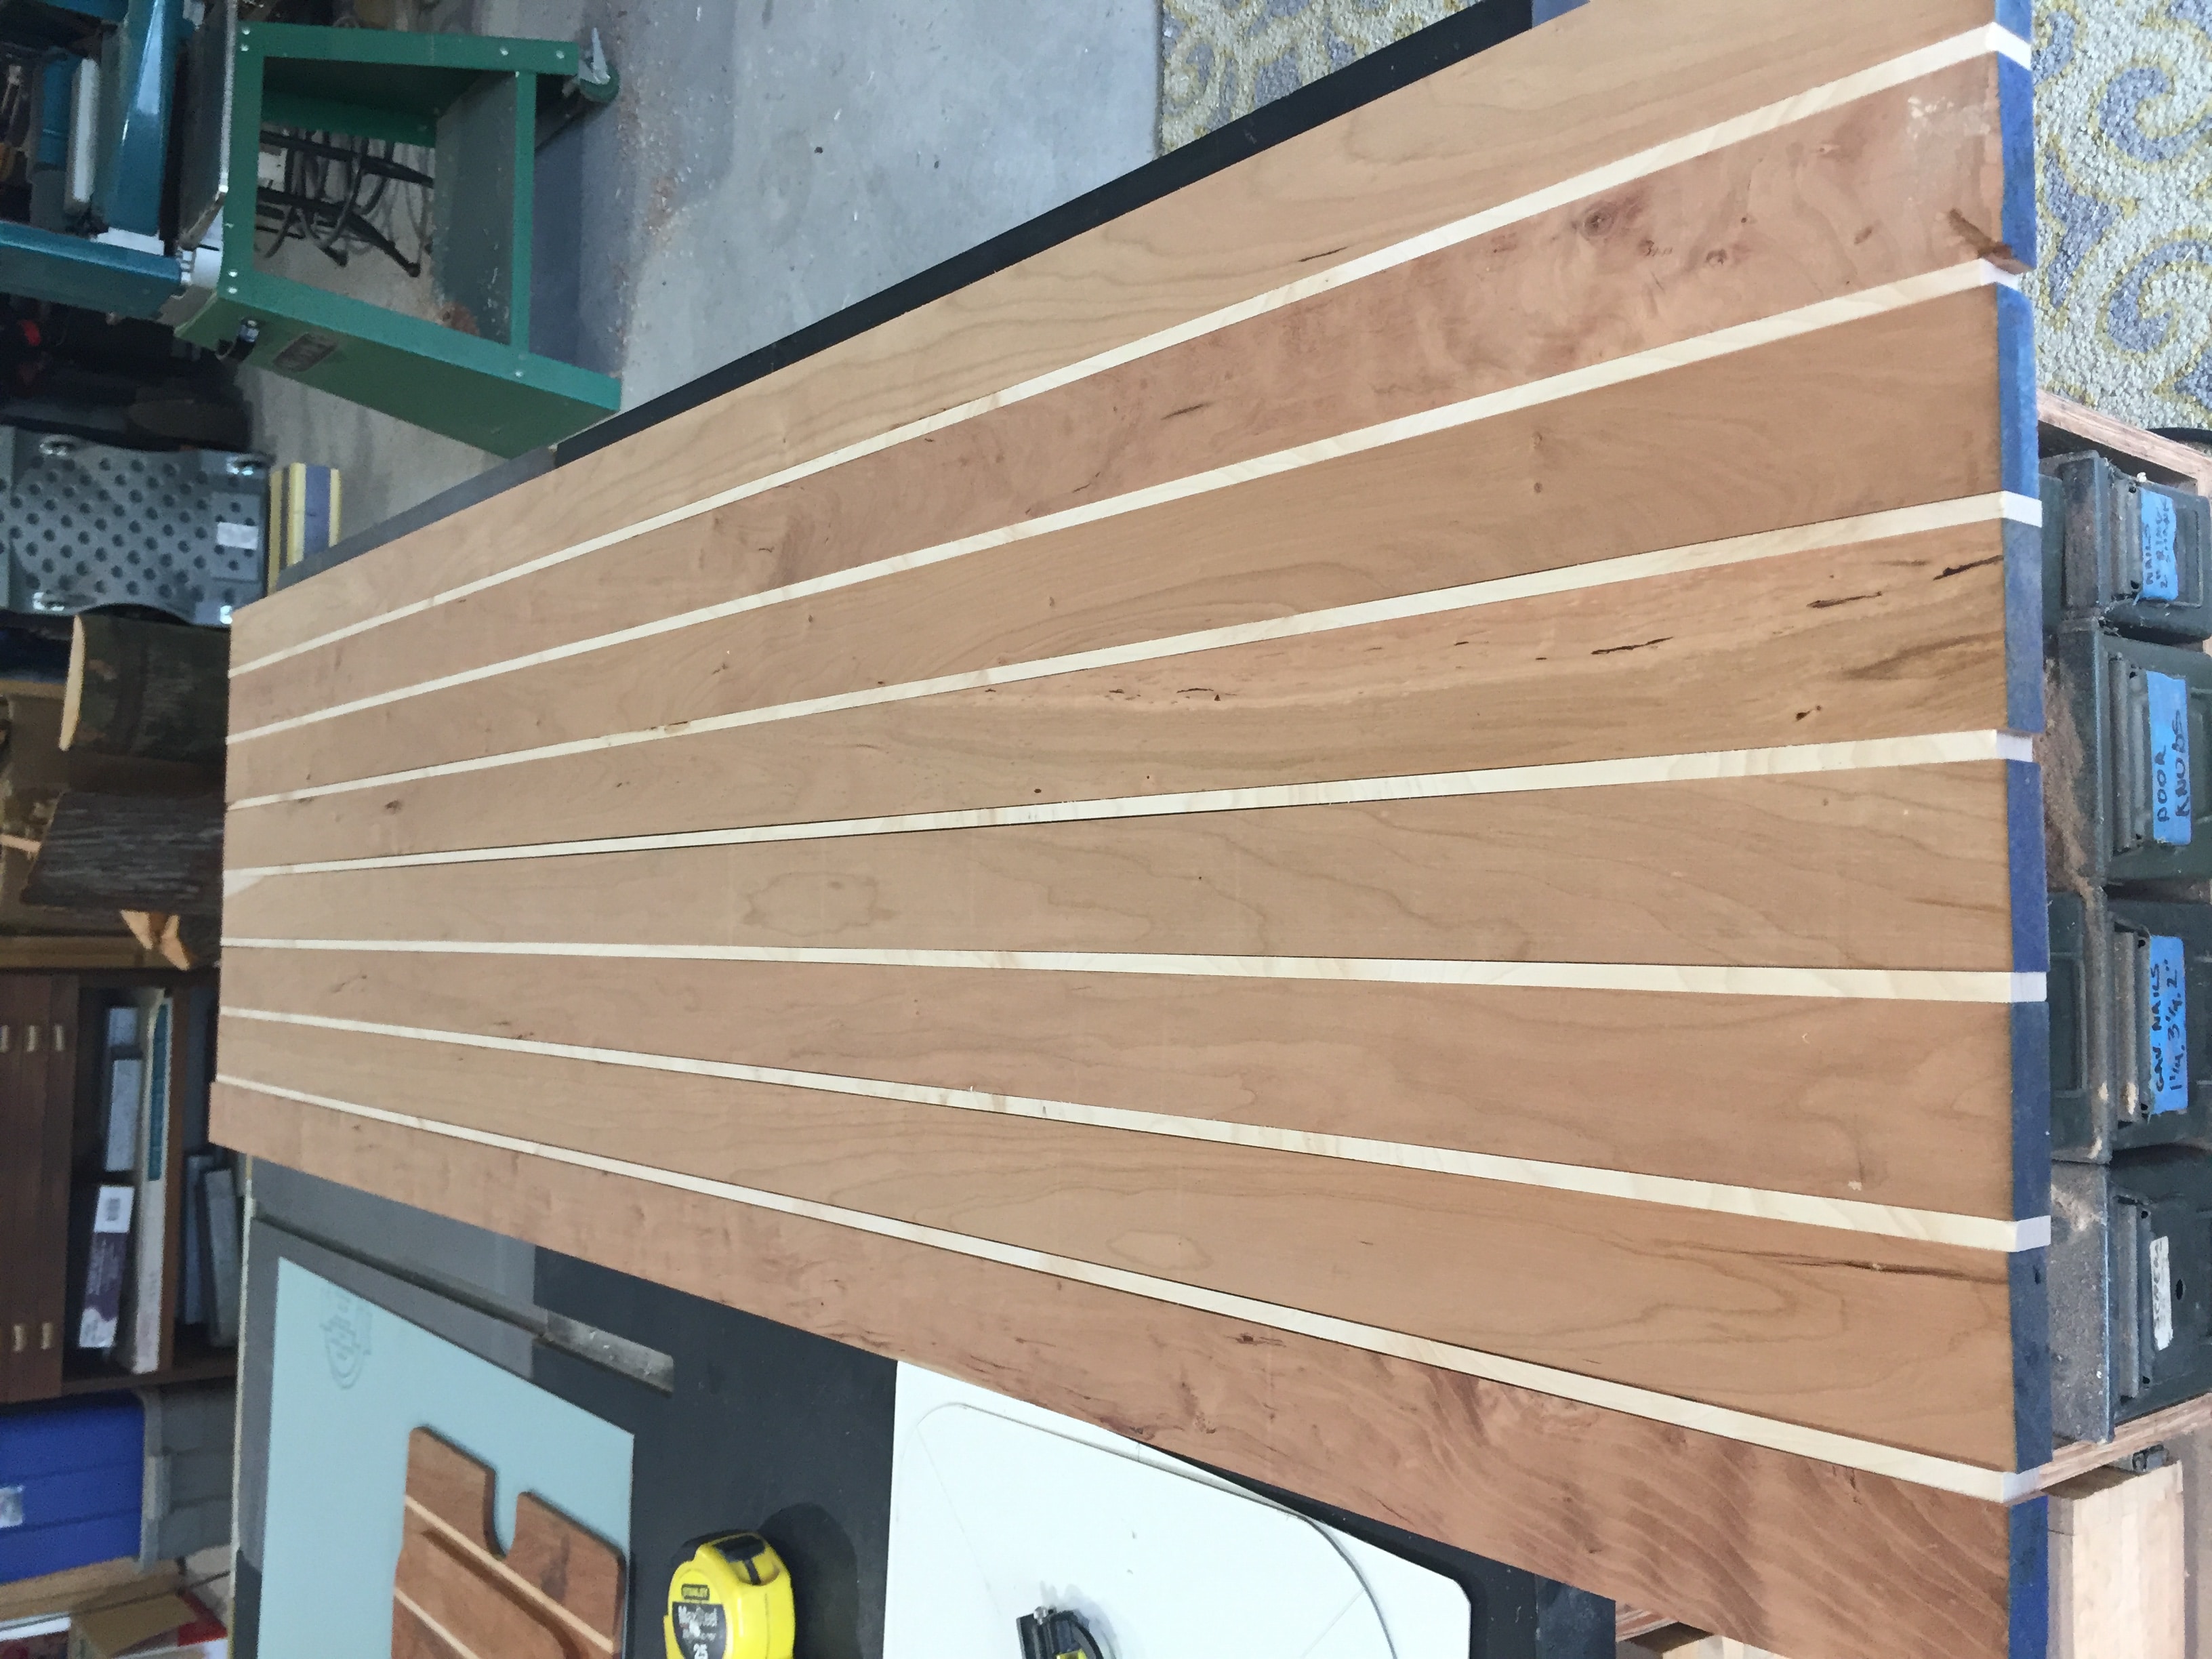
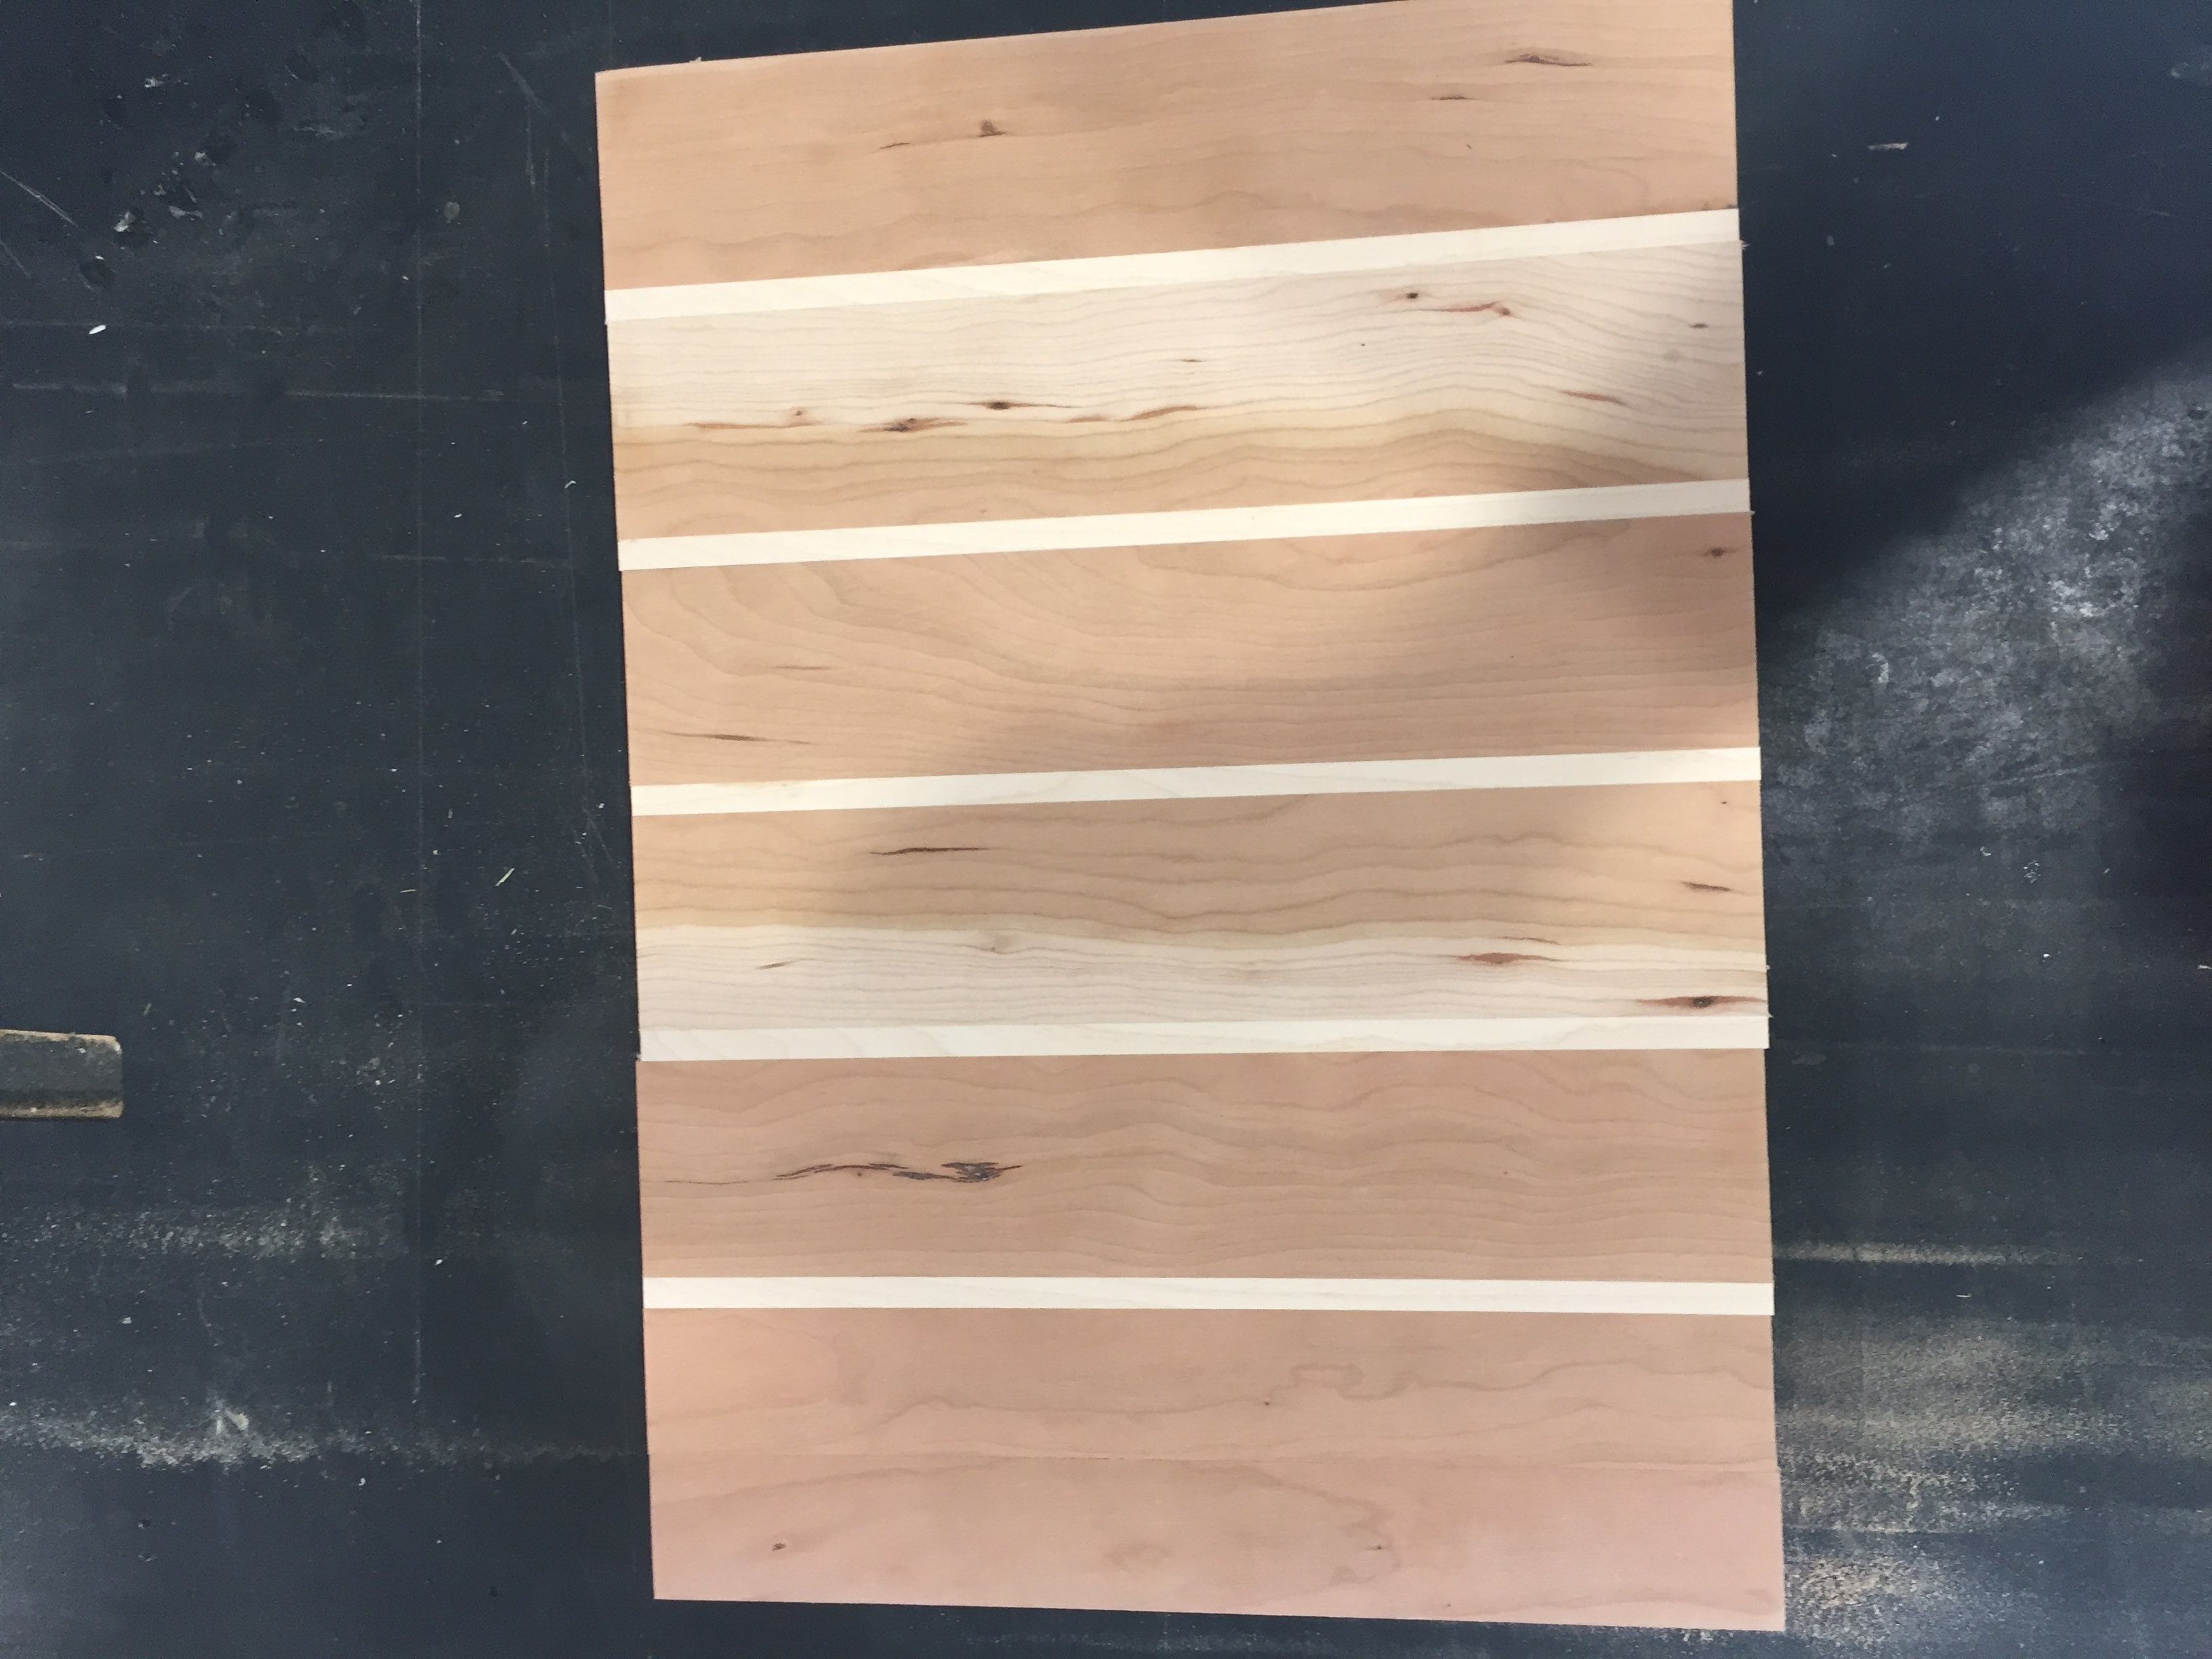
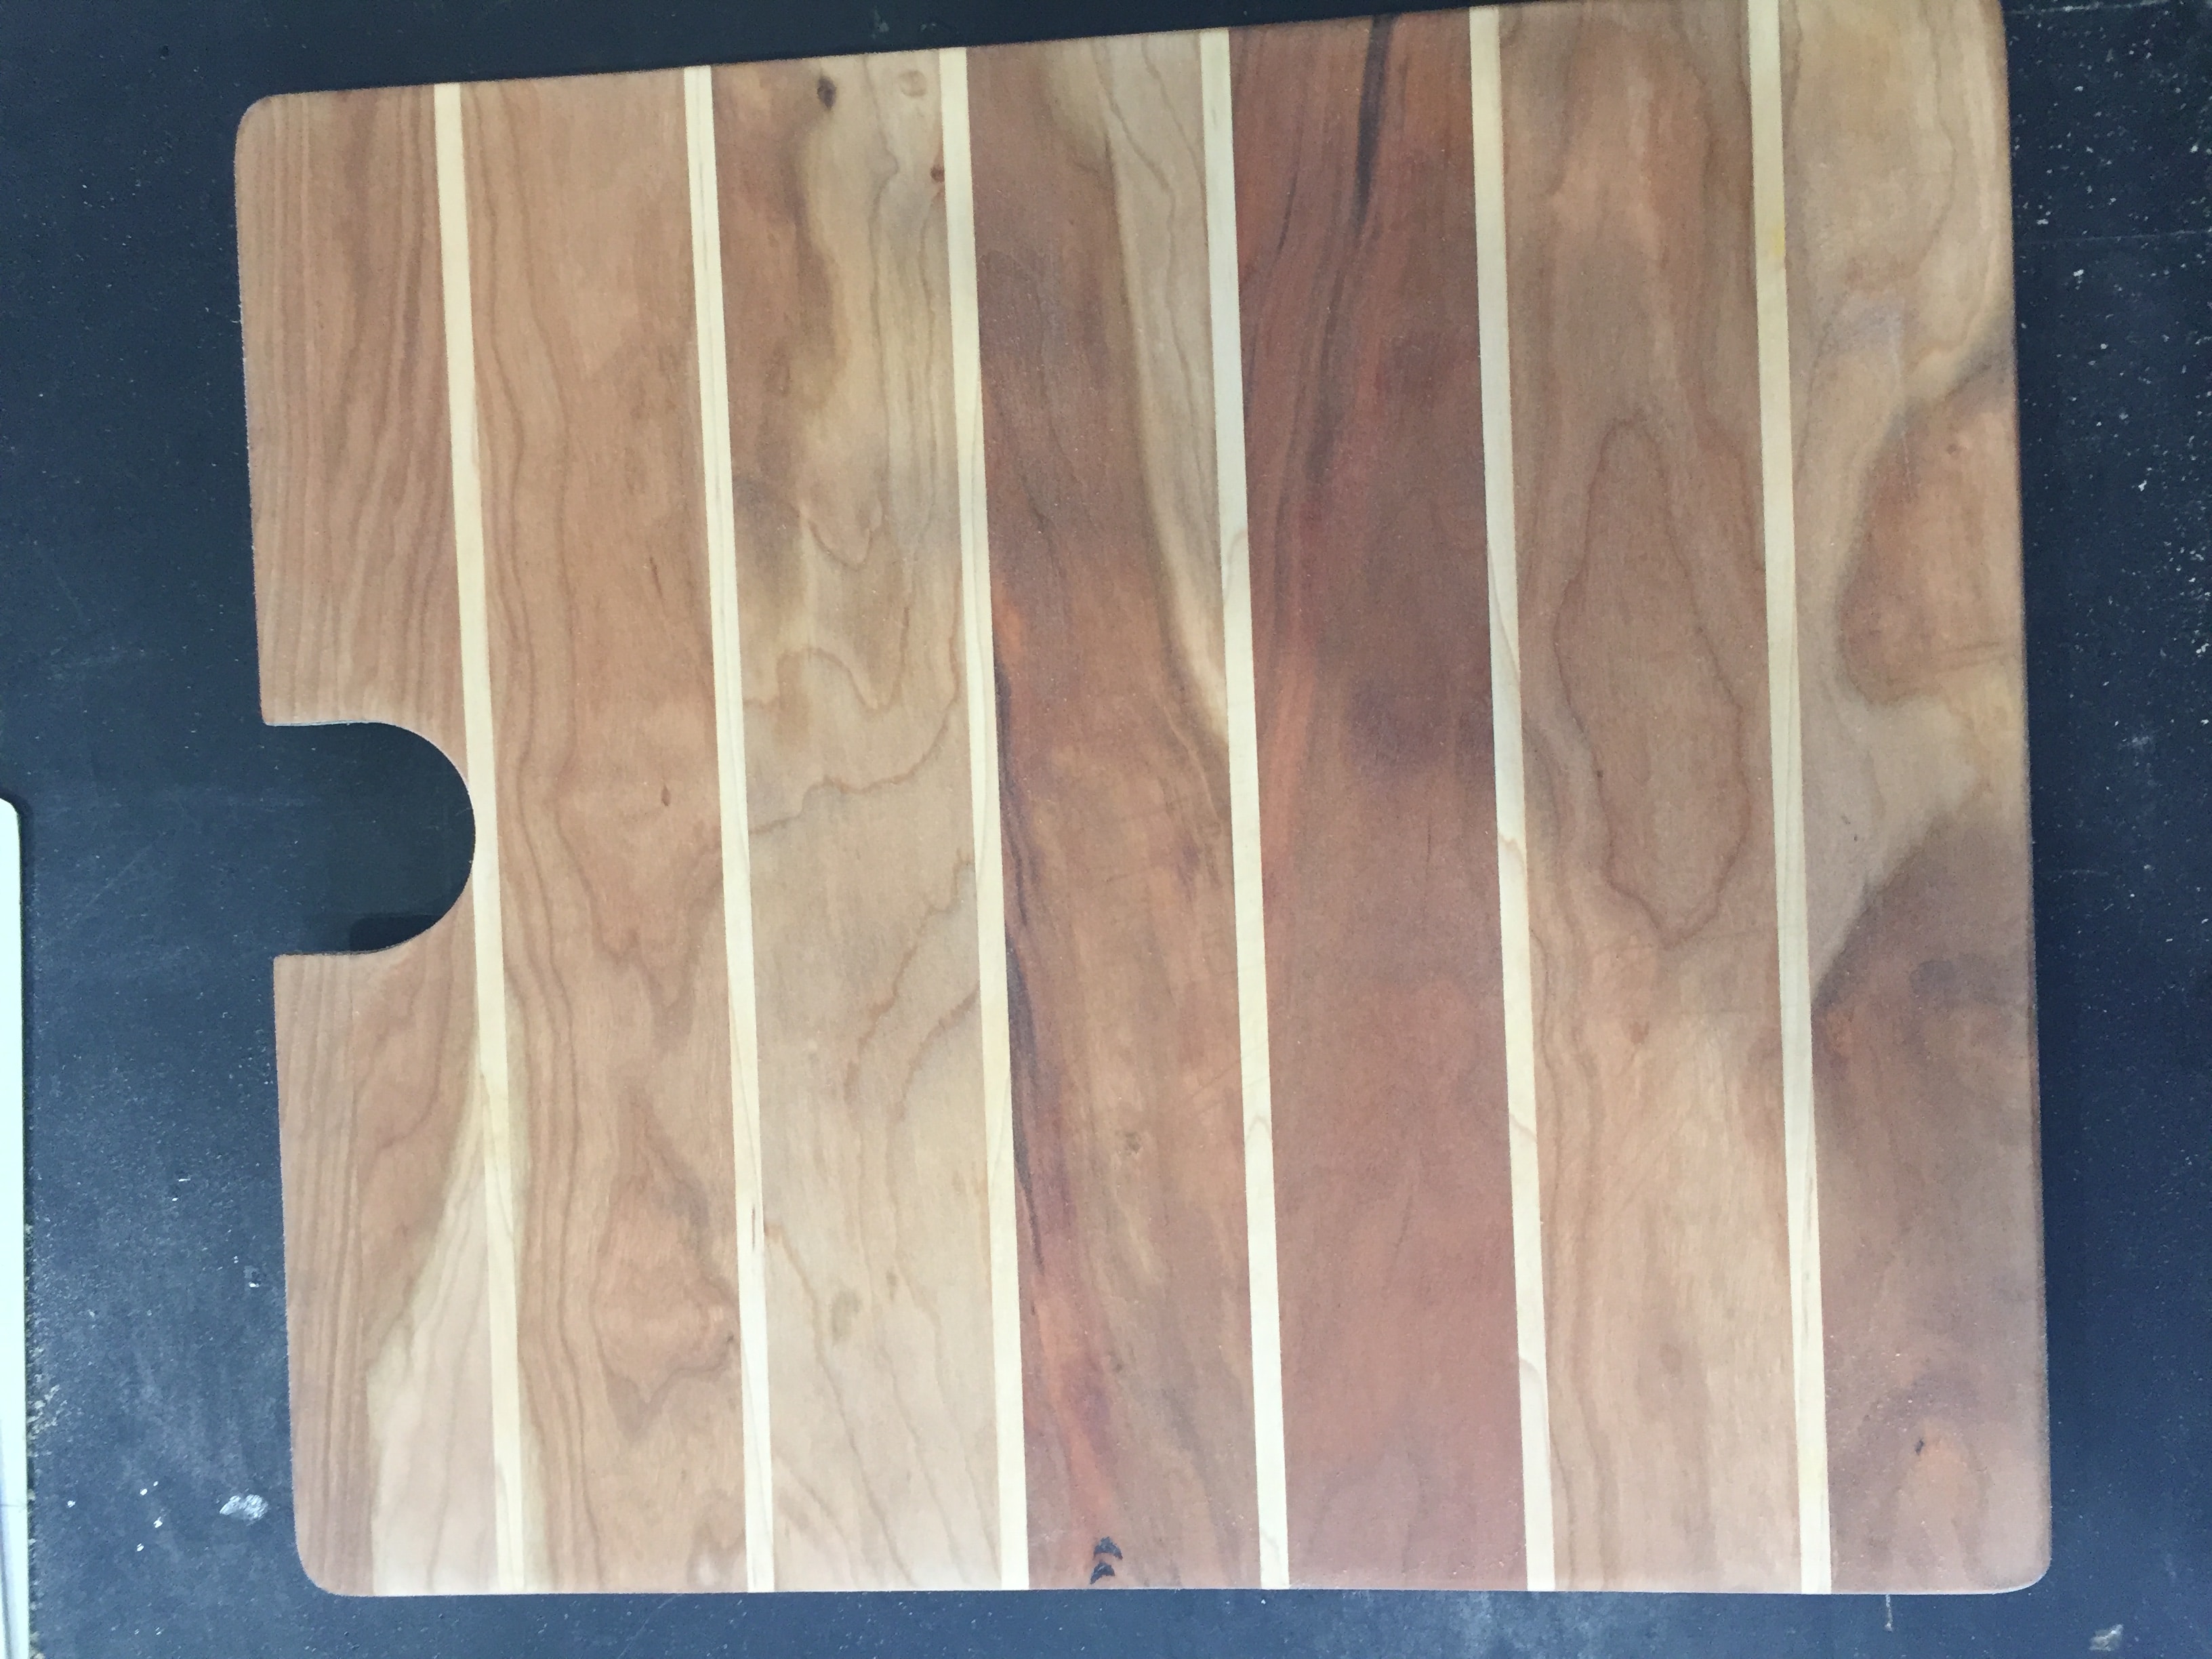
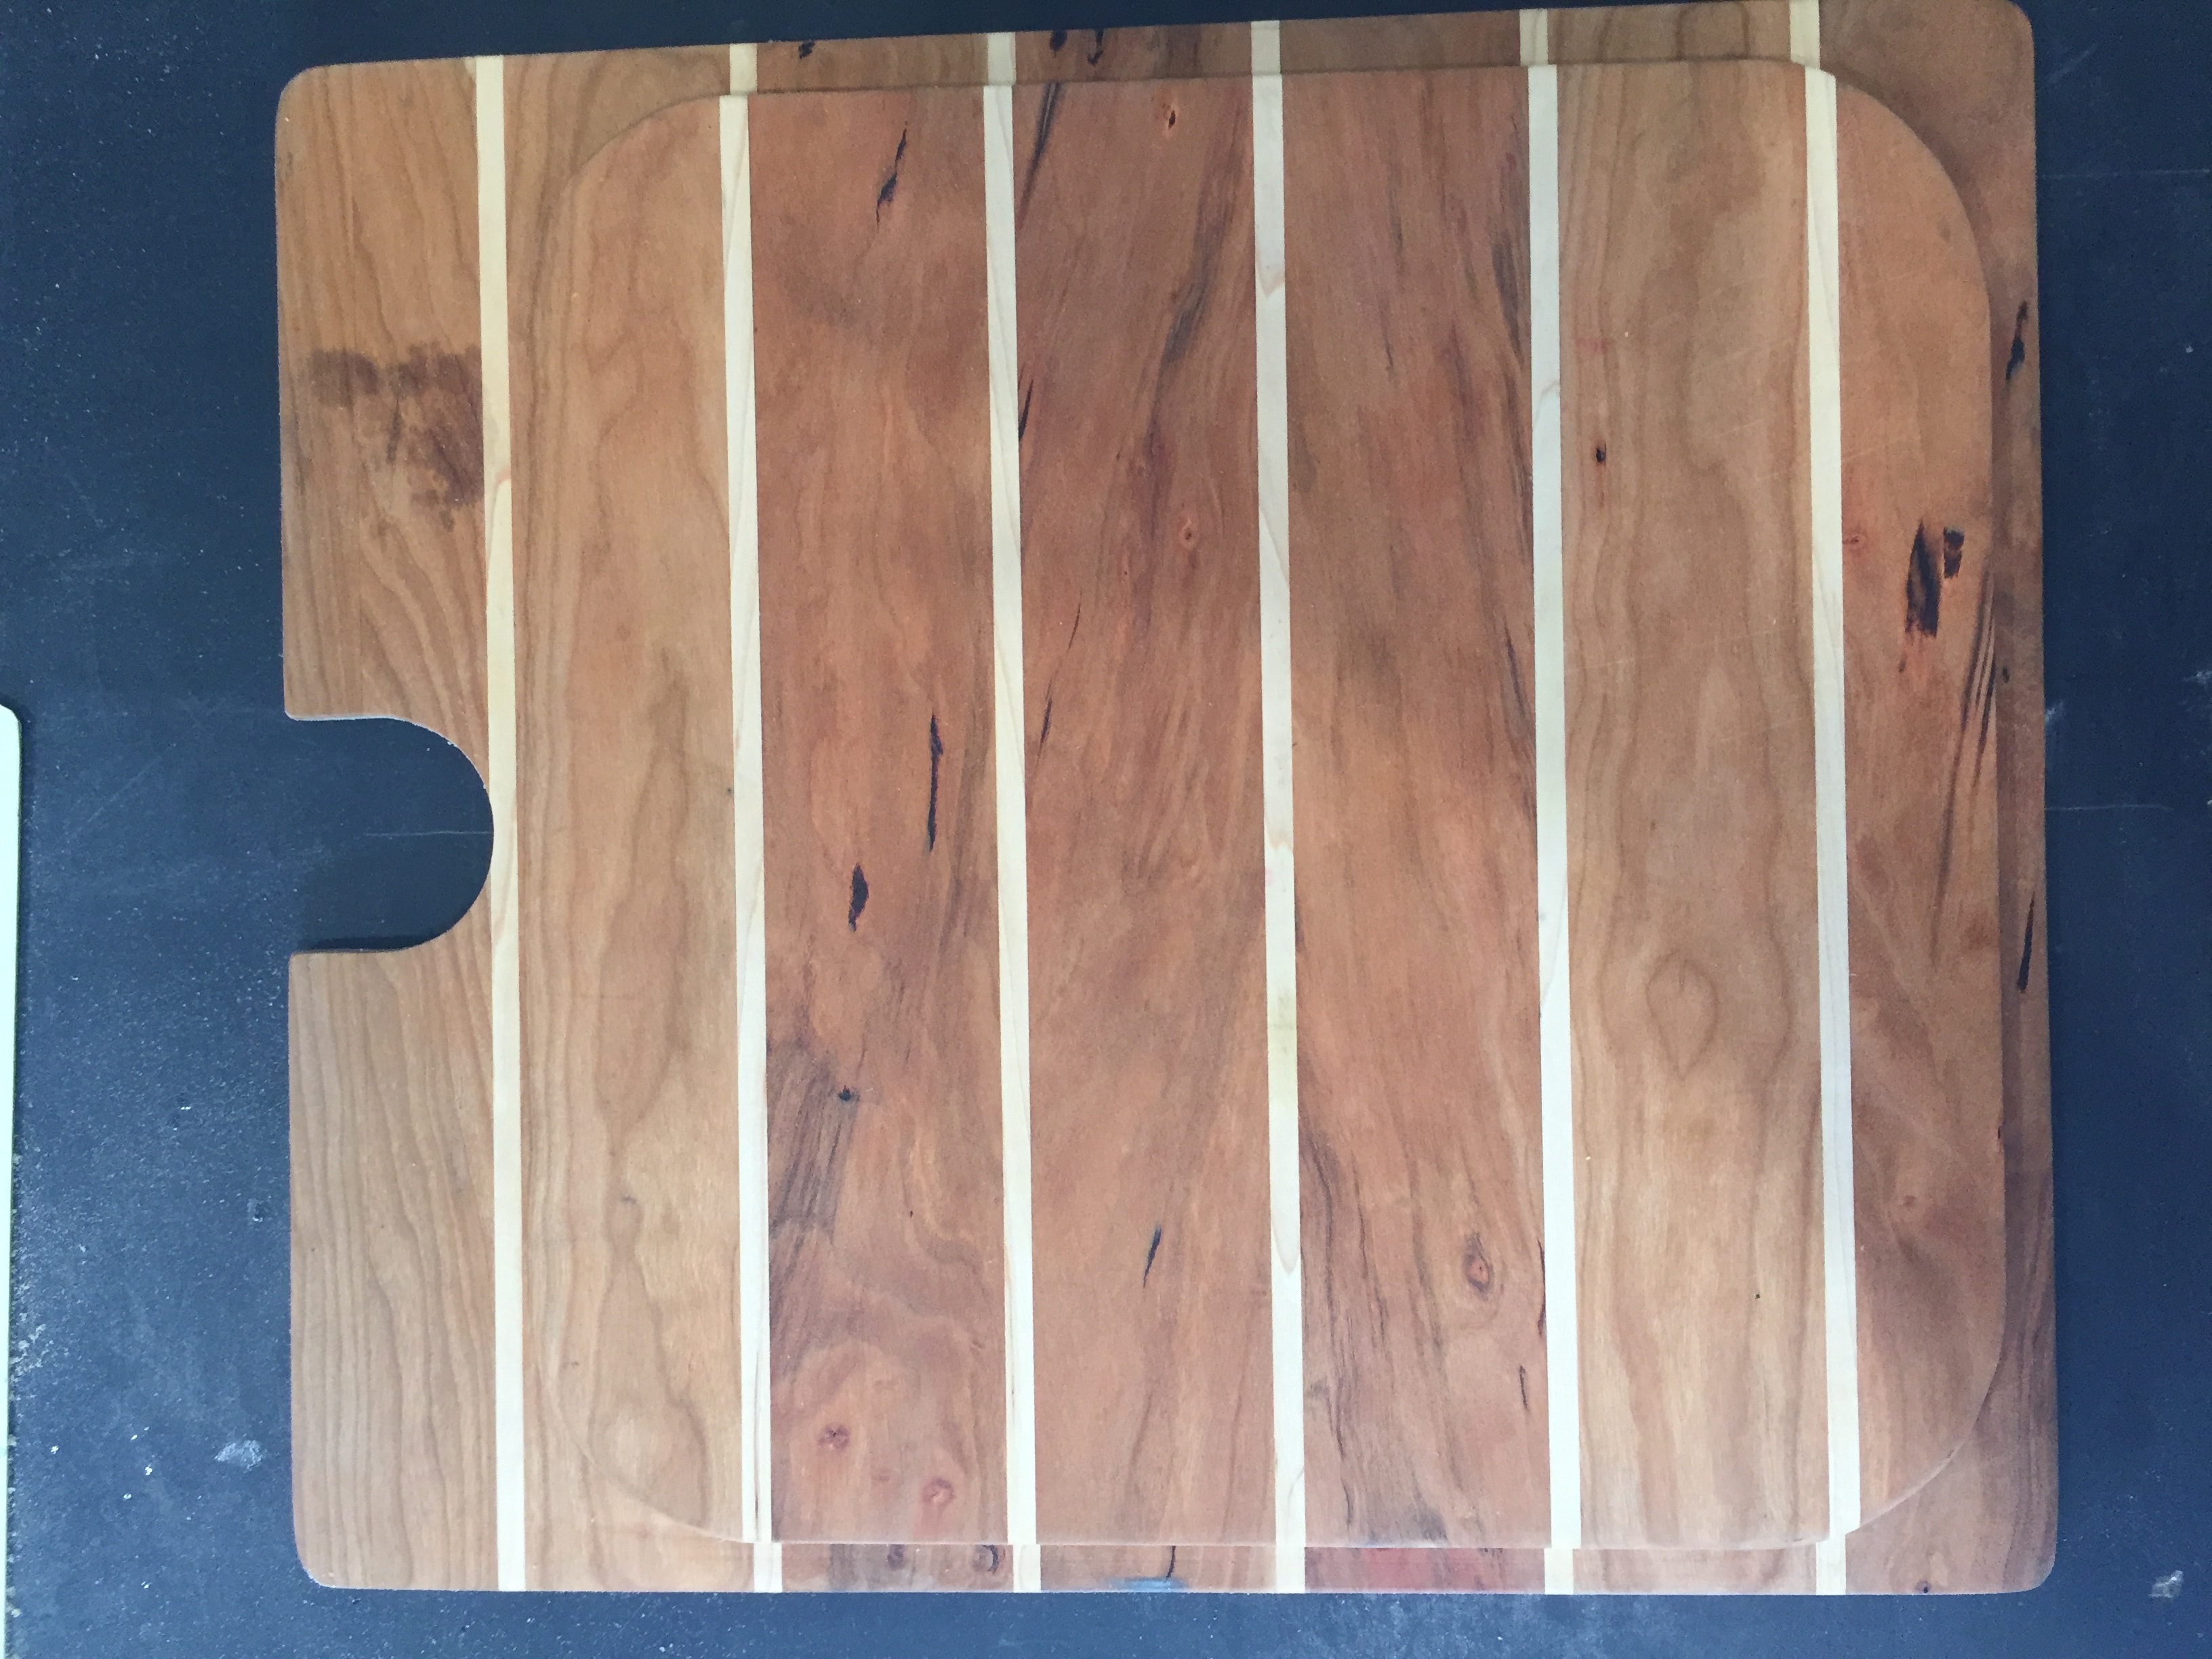
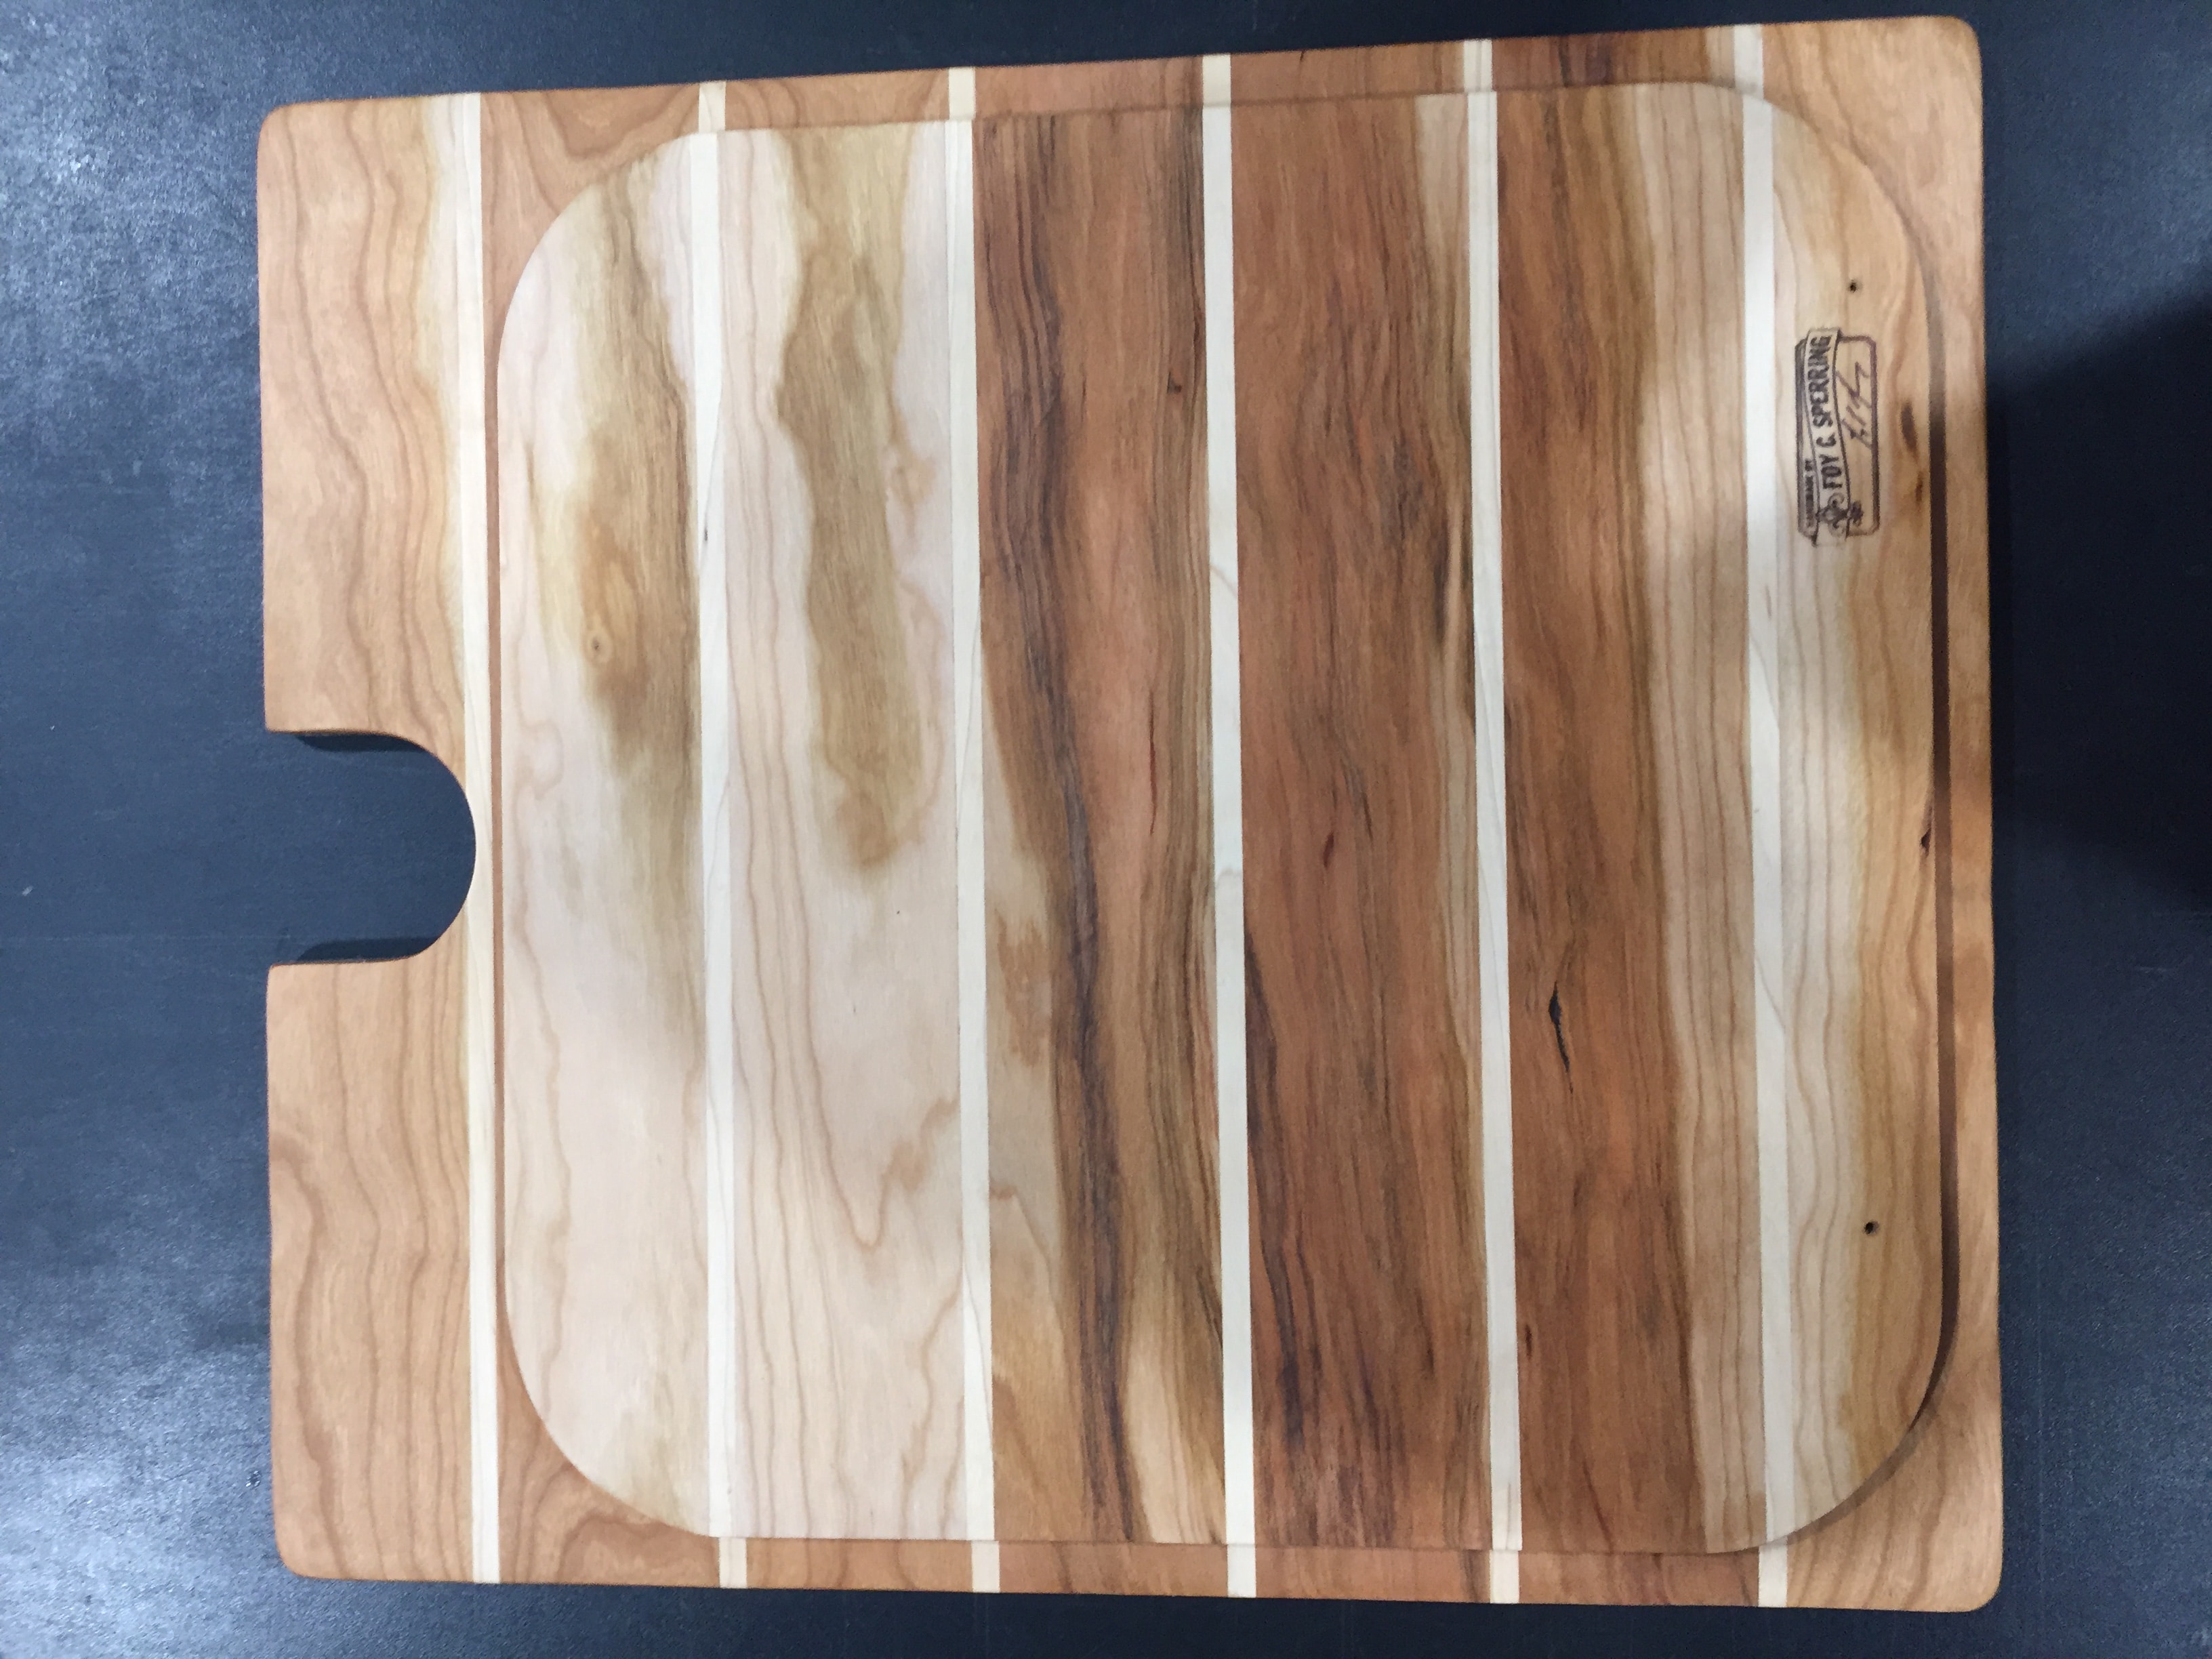
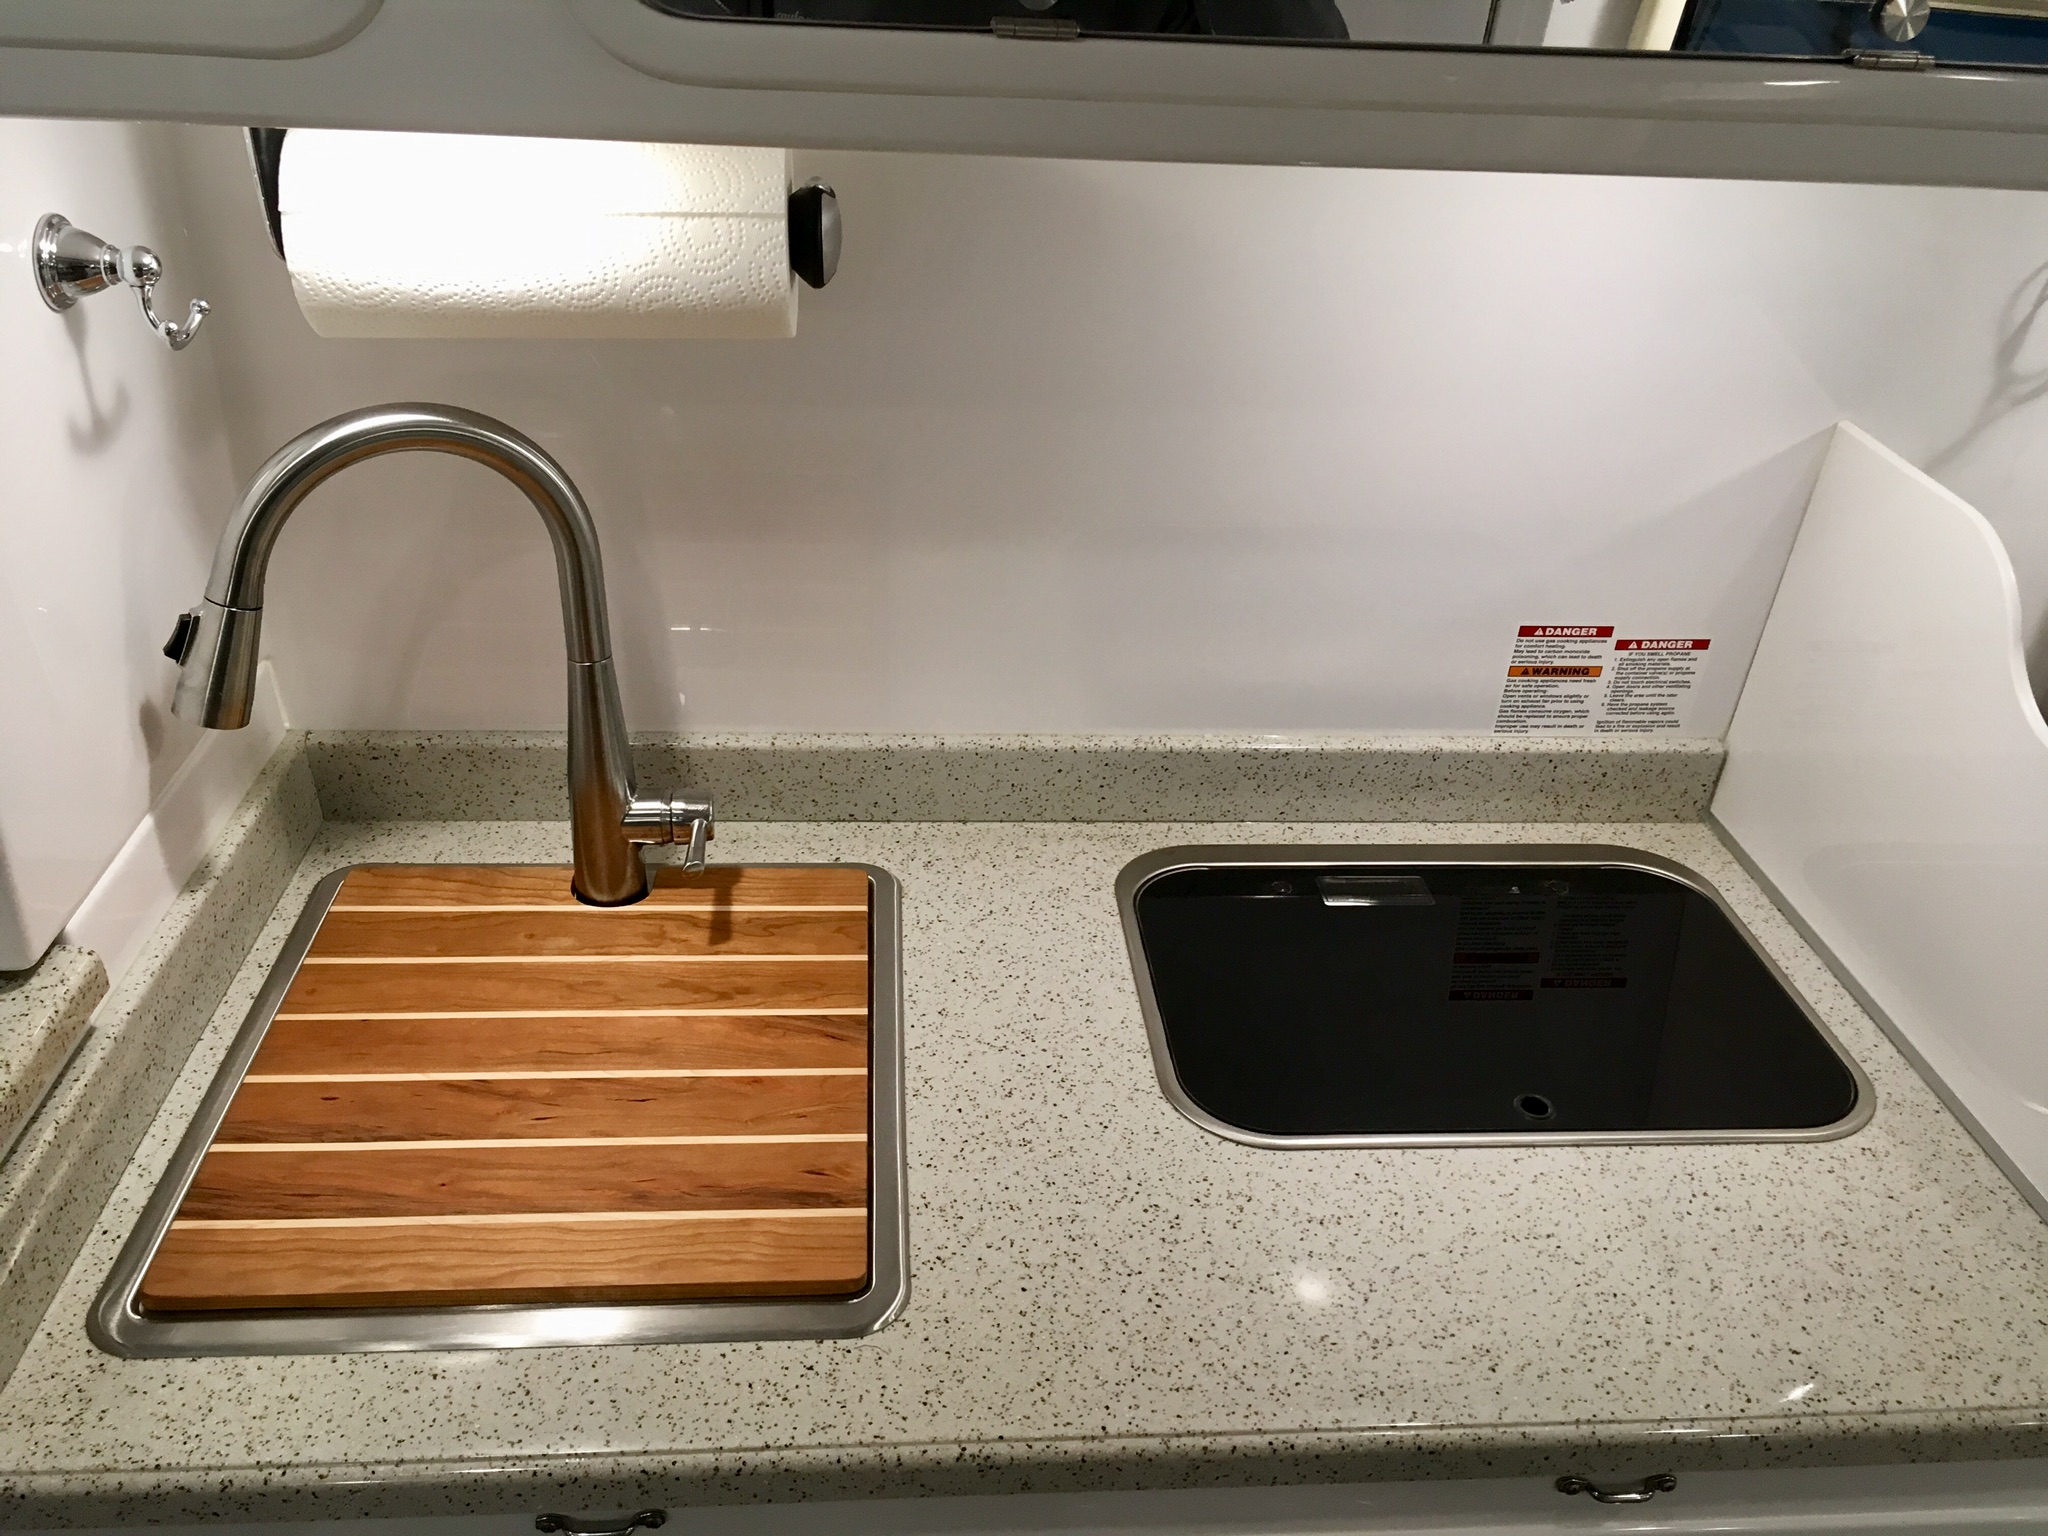
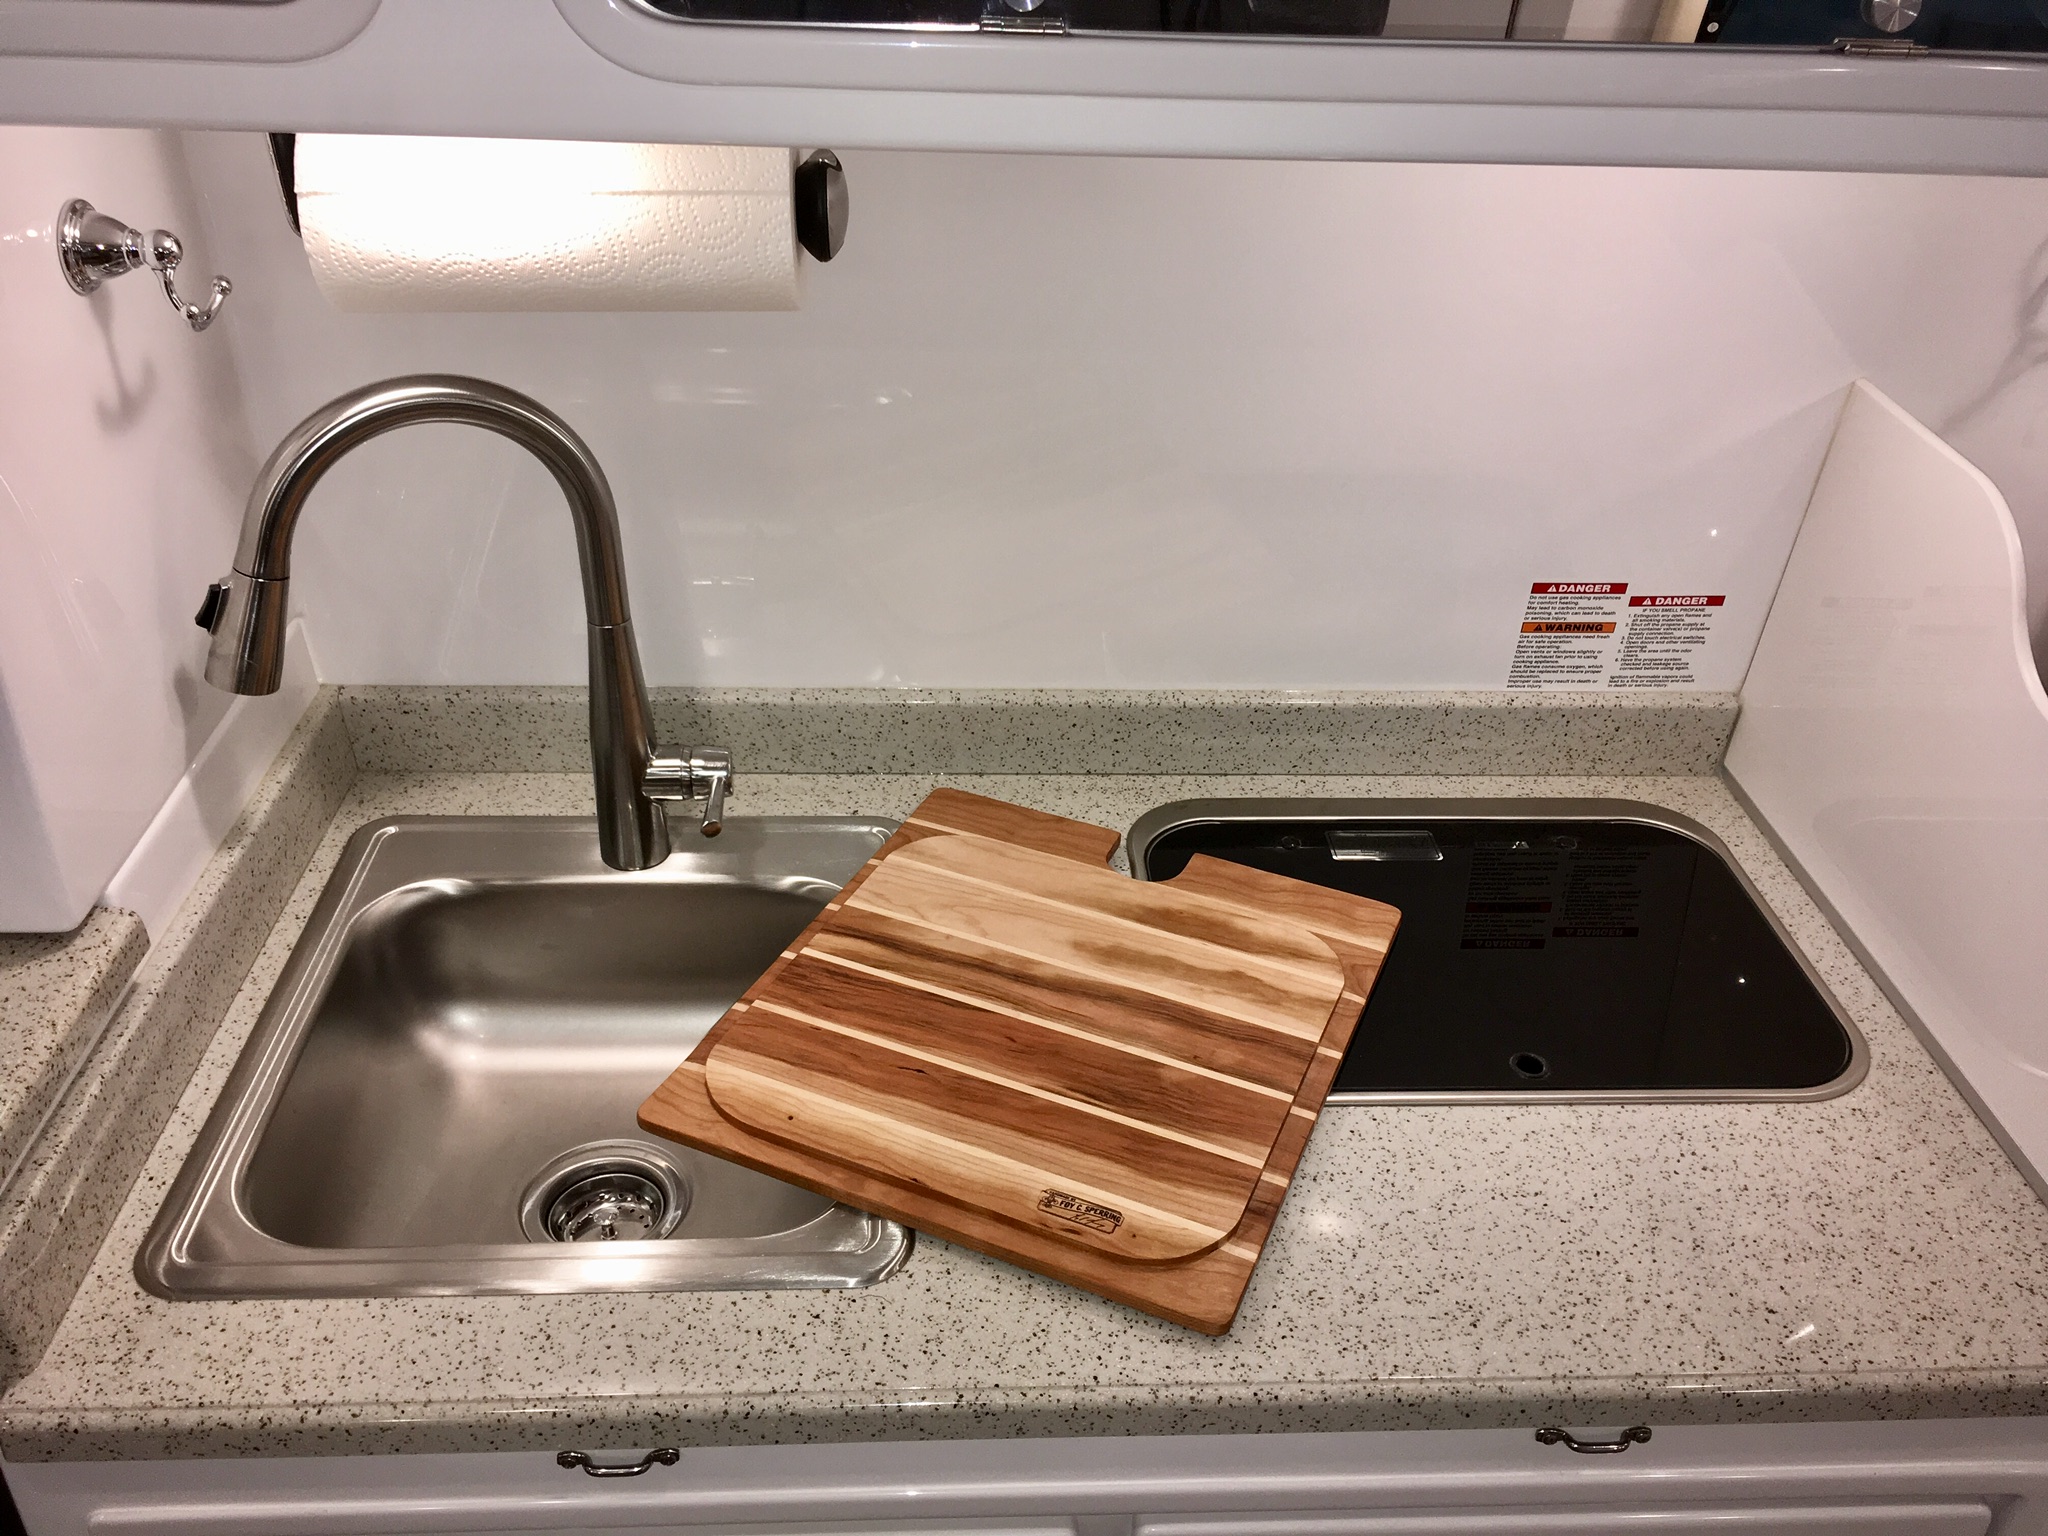
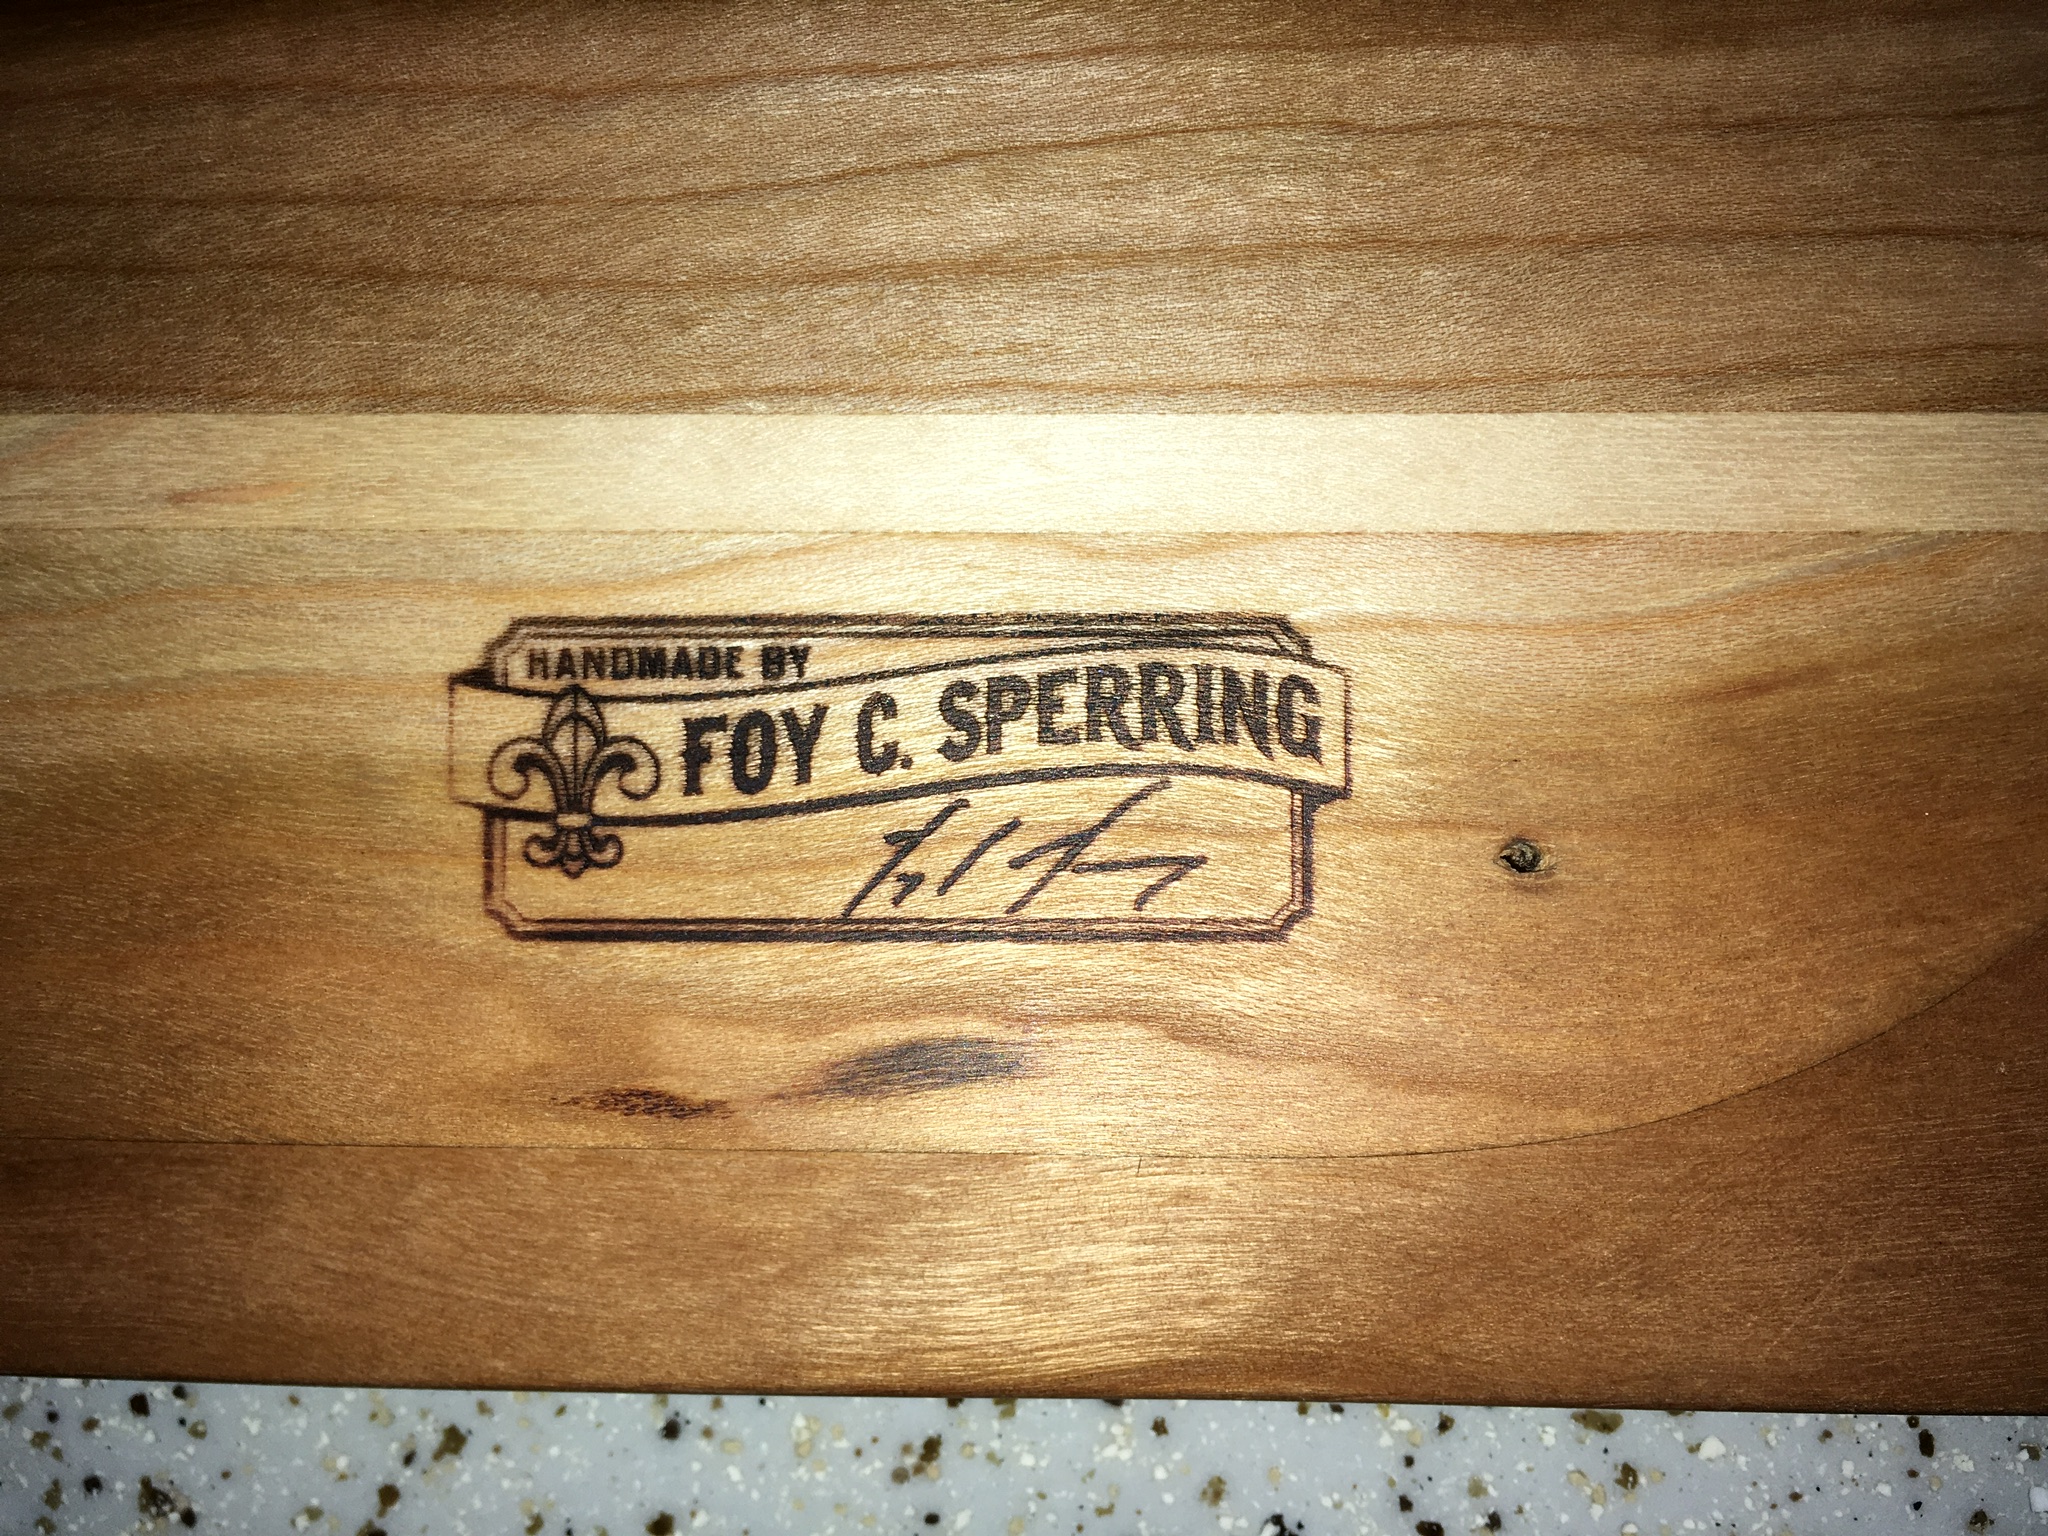
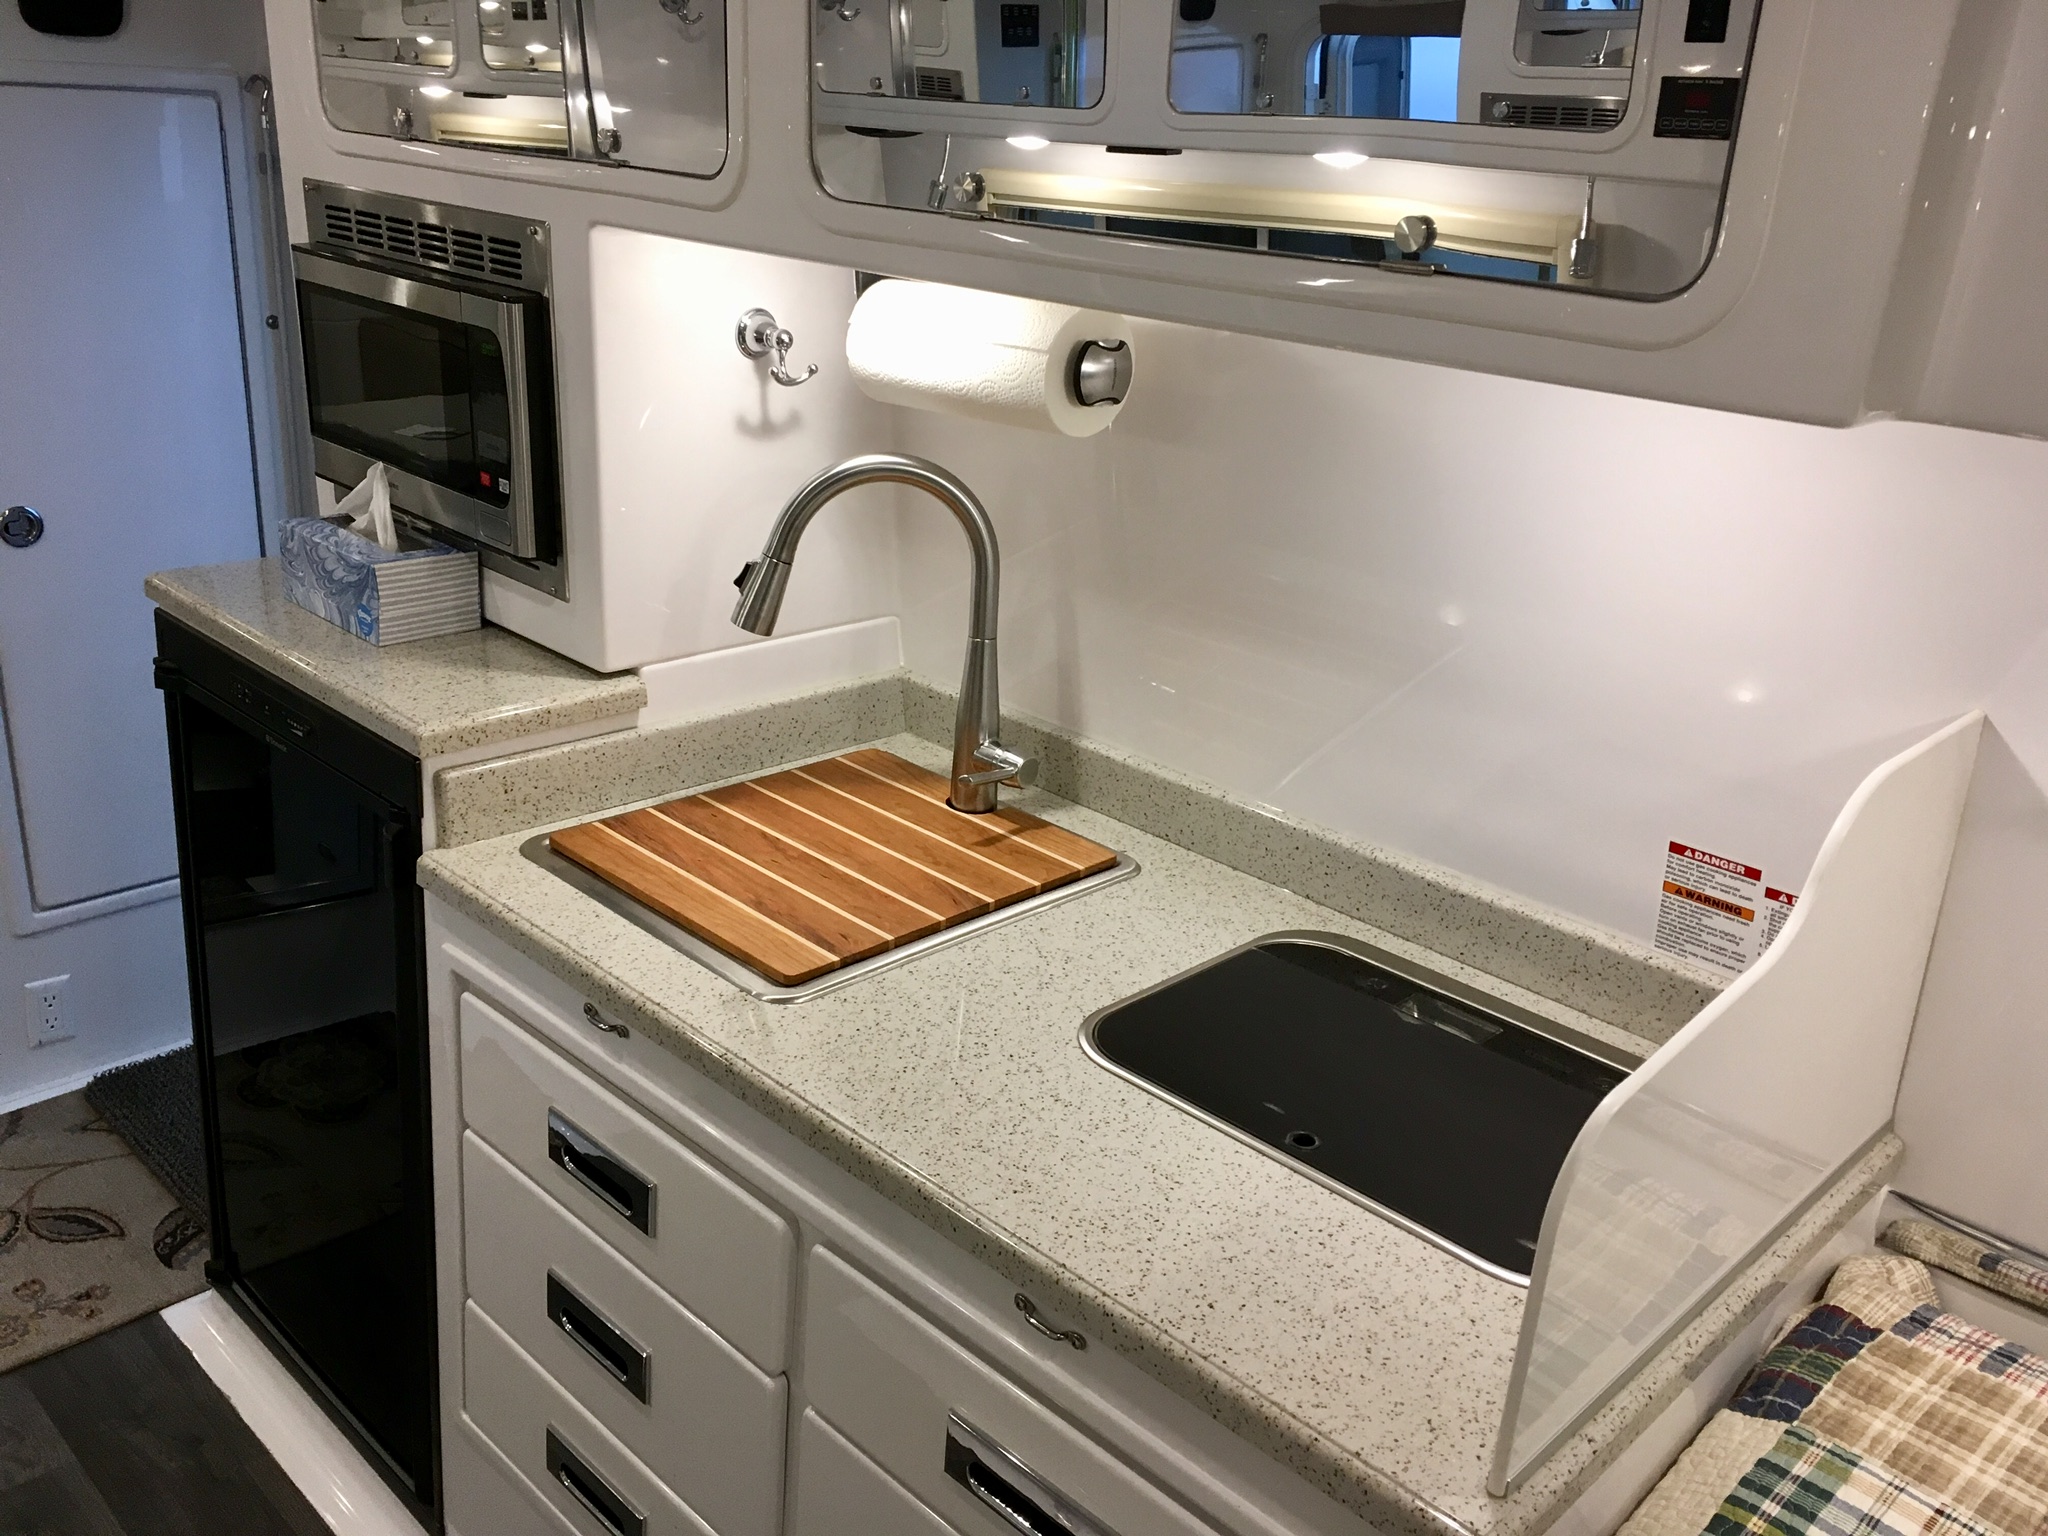
For those of you interested in my craft of making cutting board, I though I would do a quick overview of the process. It all starts with templates for the sink, in this case 2017 Elite II. A top cardboard template that is cut to the finished size, faucet location/cut-out and corner details are establish. I second template is made for the bottom which is use to hold the cutting board in place by dropping down into the sink bowl. Once these are checked for fit, I can make as many as I need knowing they will all be the same. Rough saw 1 1/4” thick Cherry and Maple are select and measured for total board feet need to build all the cutting boards. The board are then milled on the jointer to establish a flat bottom side and then passed through the planer for a perfectly flat board. The final thickness is 7/8”. These are then ripped down on the table saw – Cherry to 2 1/3” and the Maple to 1/4”. [attachment file=IMG_0859.JPG] With all the milling done the boards are then arranged in the ship decking pattern and glued together with food safe, water proof glue. These large panels are then cut to rough size cutting boards. Using the top template the corners are rounded and faucet location are cut on the bandsaw. The final size is cut on the table saw for last minute adjustments. The bottom template is then use to mark the bowl location and the wood is removed from around the edges at the router table. This allows the cutting board to sit inside the sink and not move. Last step is sanding and more sanding and more sanding. 80, 120, 220 and 320 grit sandpaper are used. The final step is a coat of mineral oil and they are done. It takes about 3 days to make a run of 4 cutting boards. Some people have ask why I do this? And think I am a bit crazy. It's not for the money for the wood alone cost what I charge. It is for the love of working with wood and created something I can share with others who value my craft. Over the next few week I will begin shipping these board to their new Oliver Owners. I hope they enjoy them as much as I did making them.
1 point
-
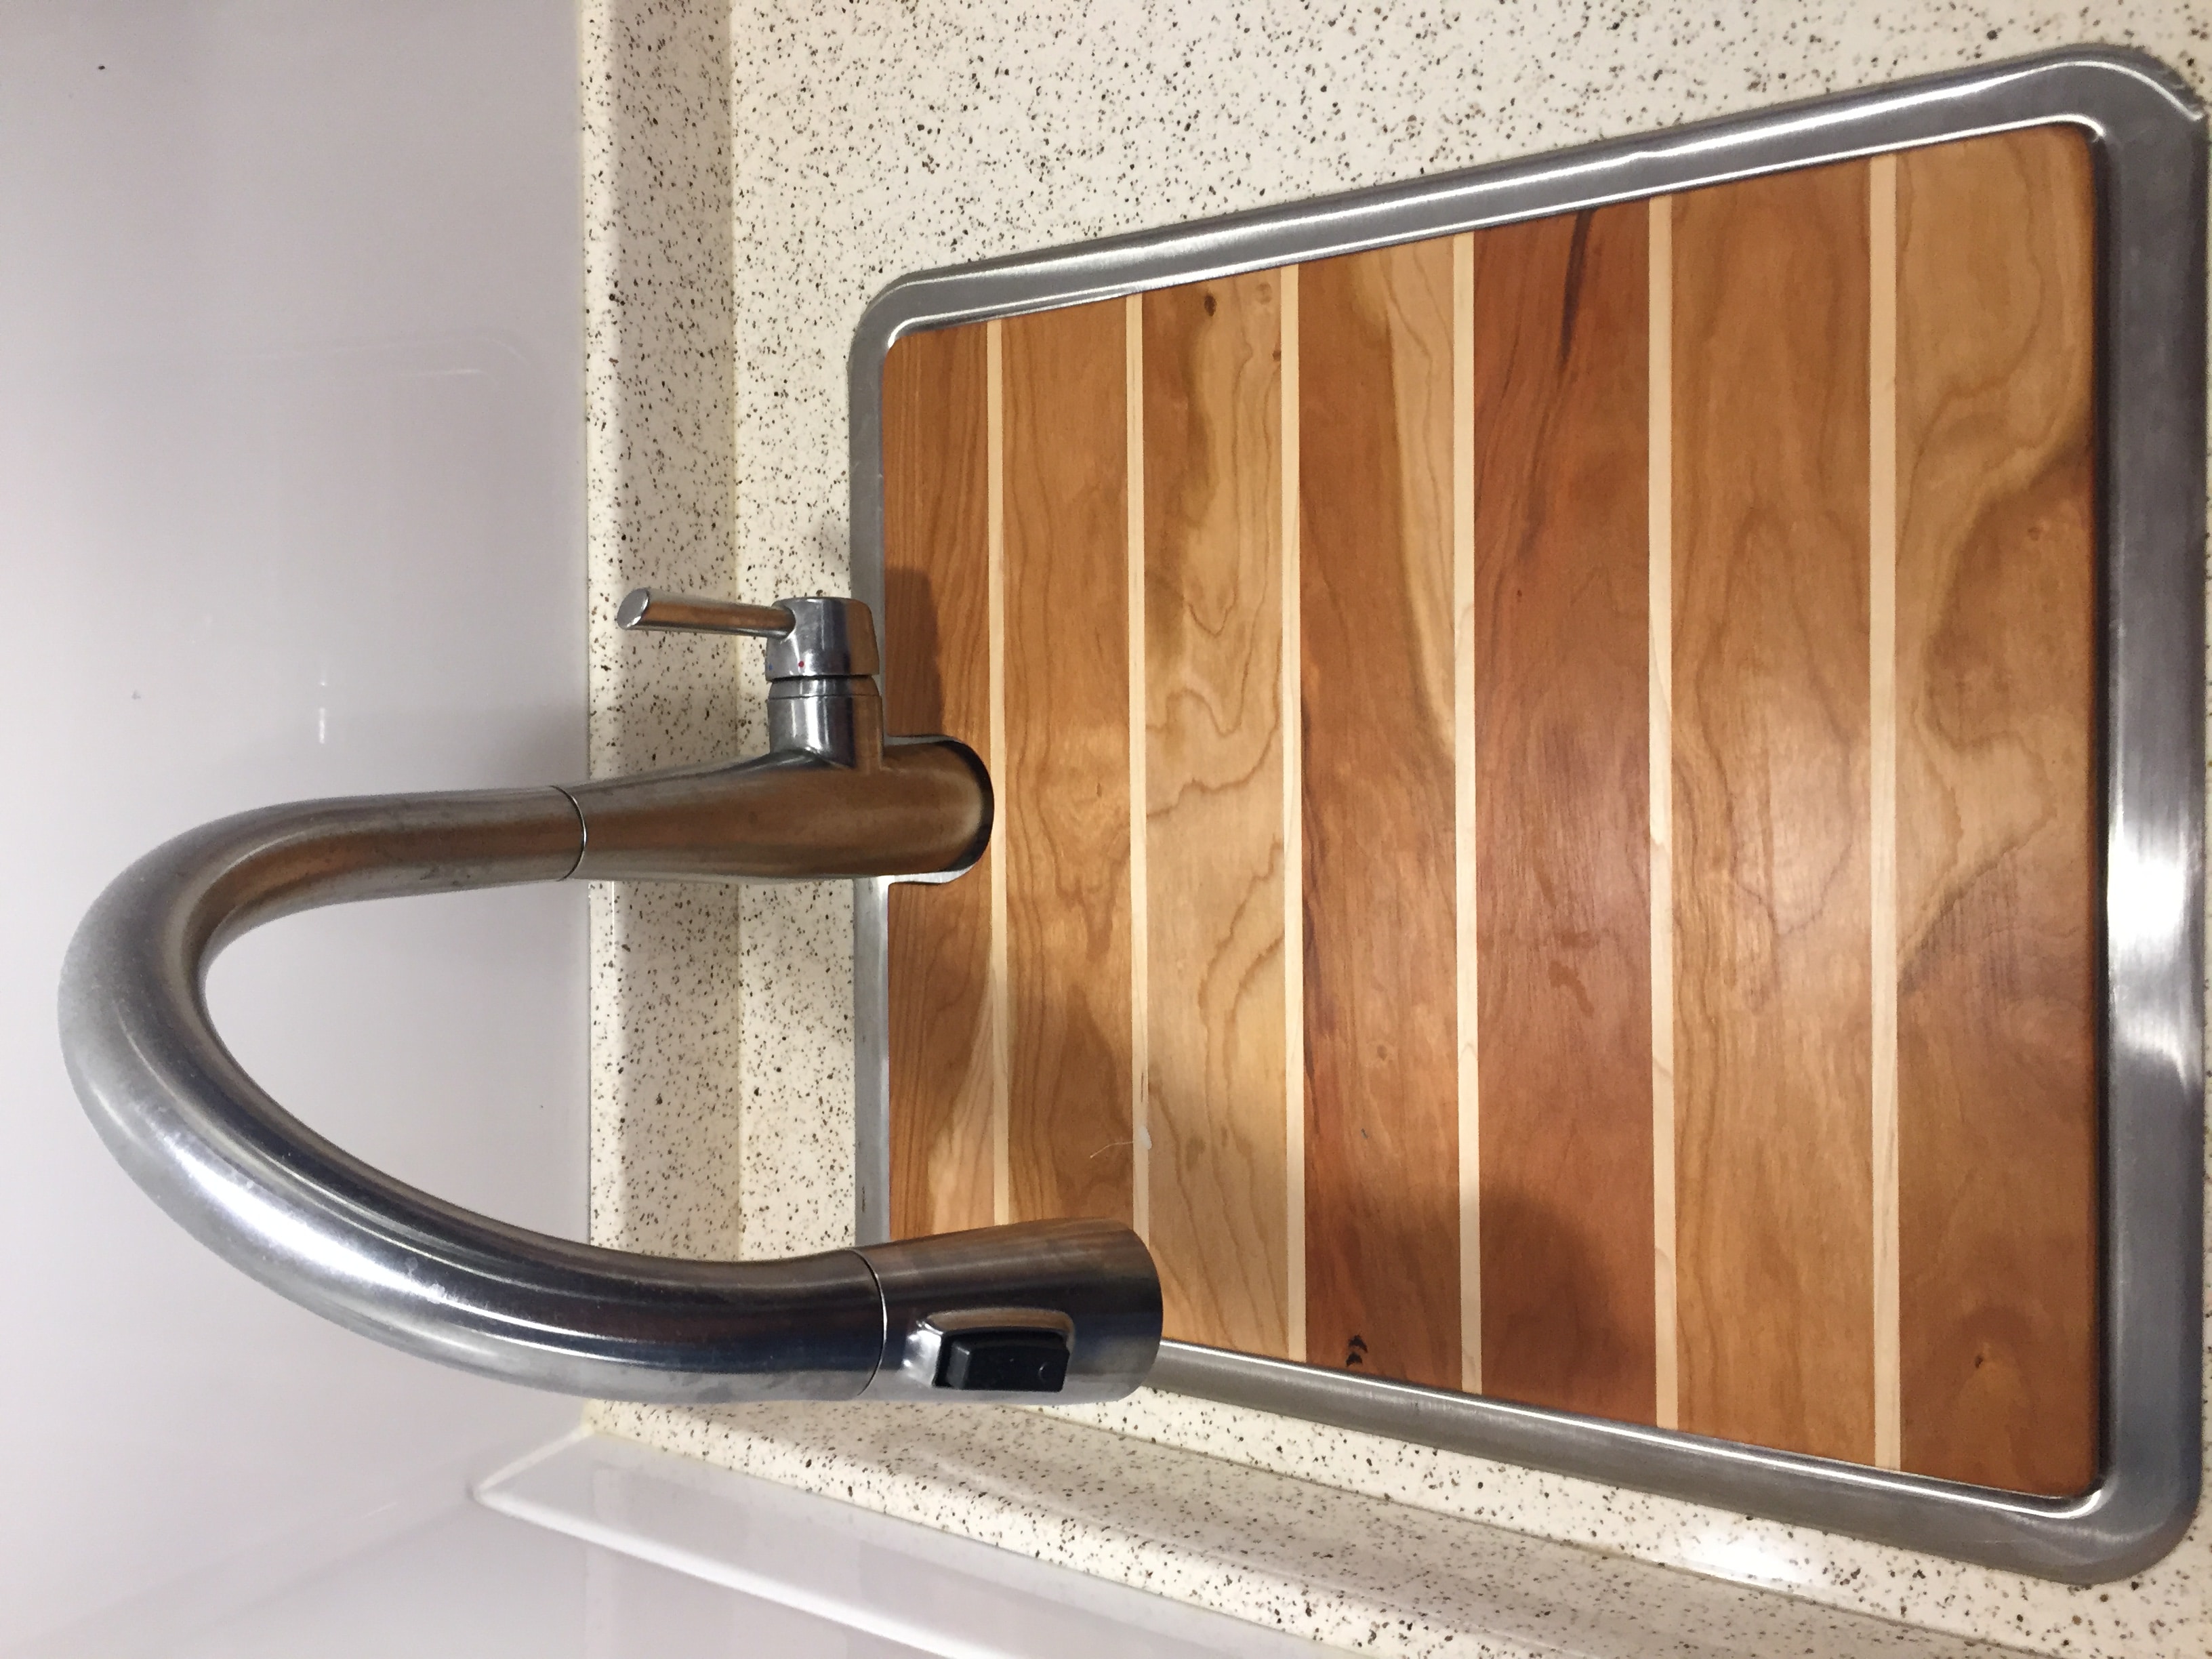
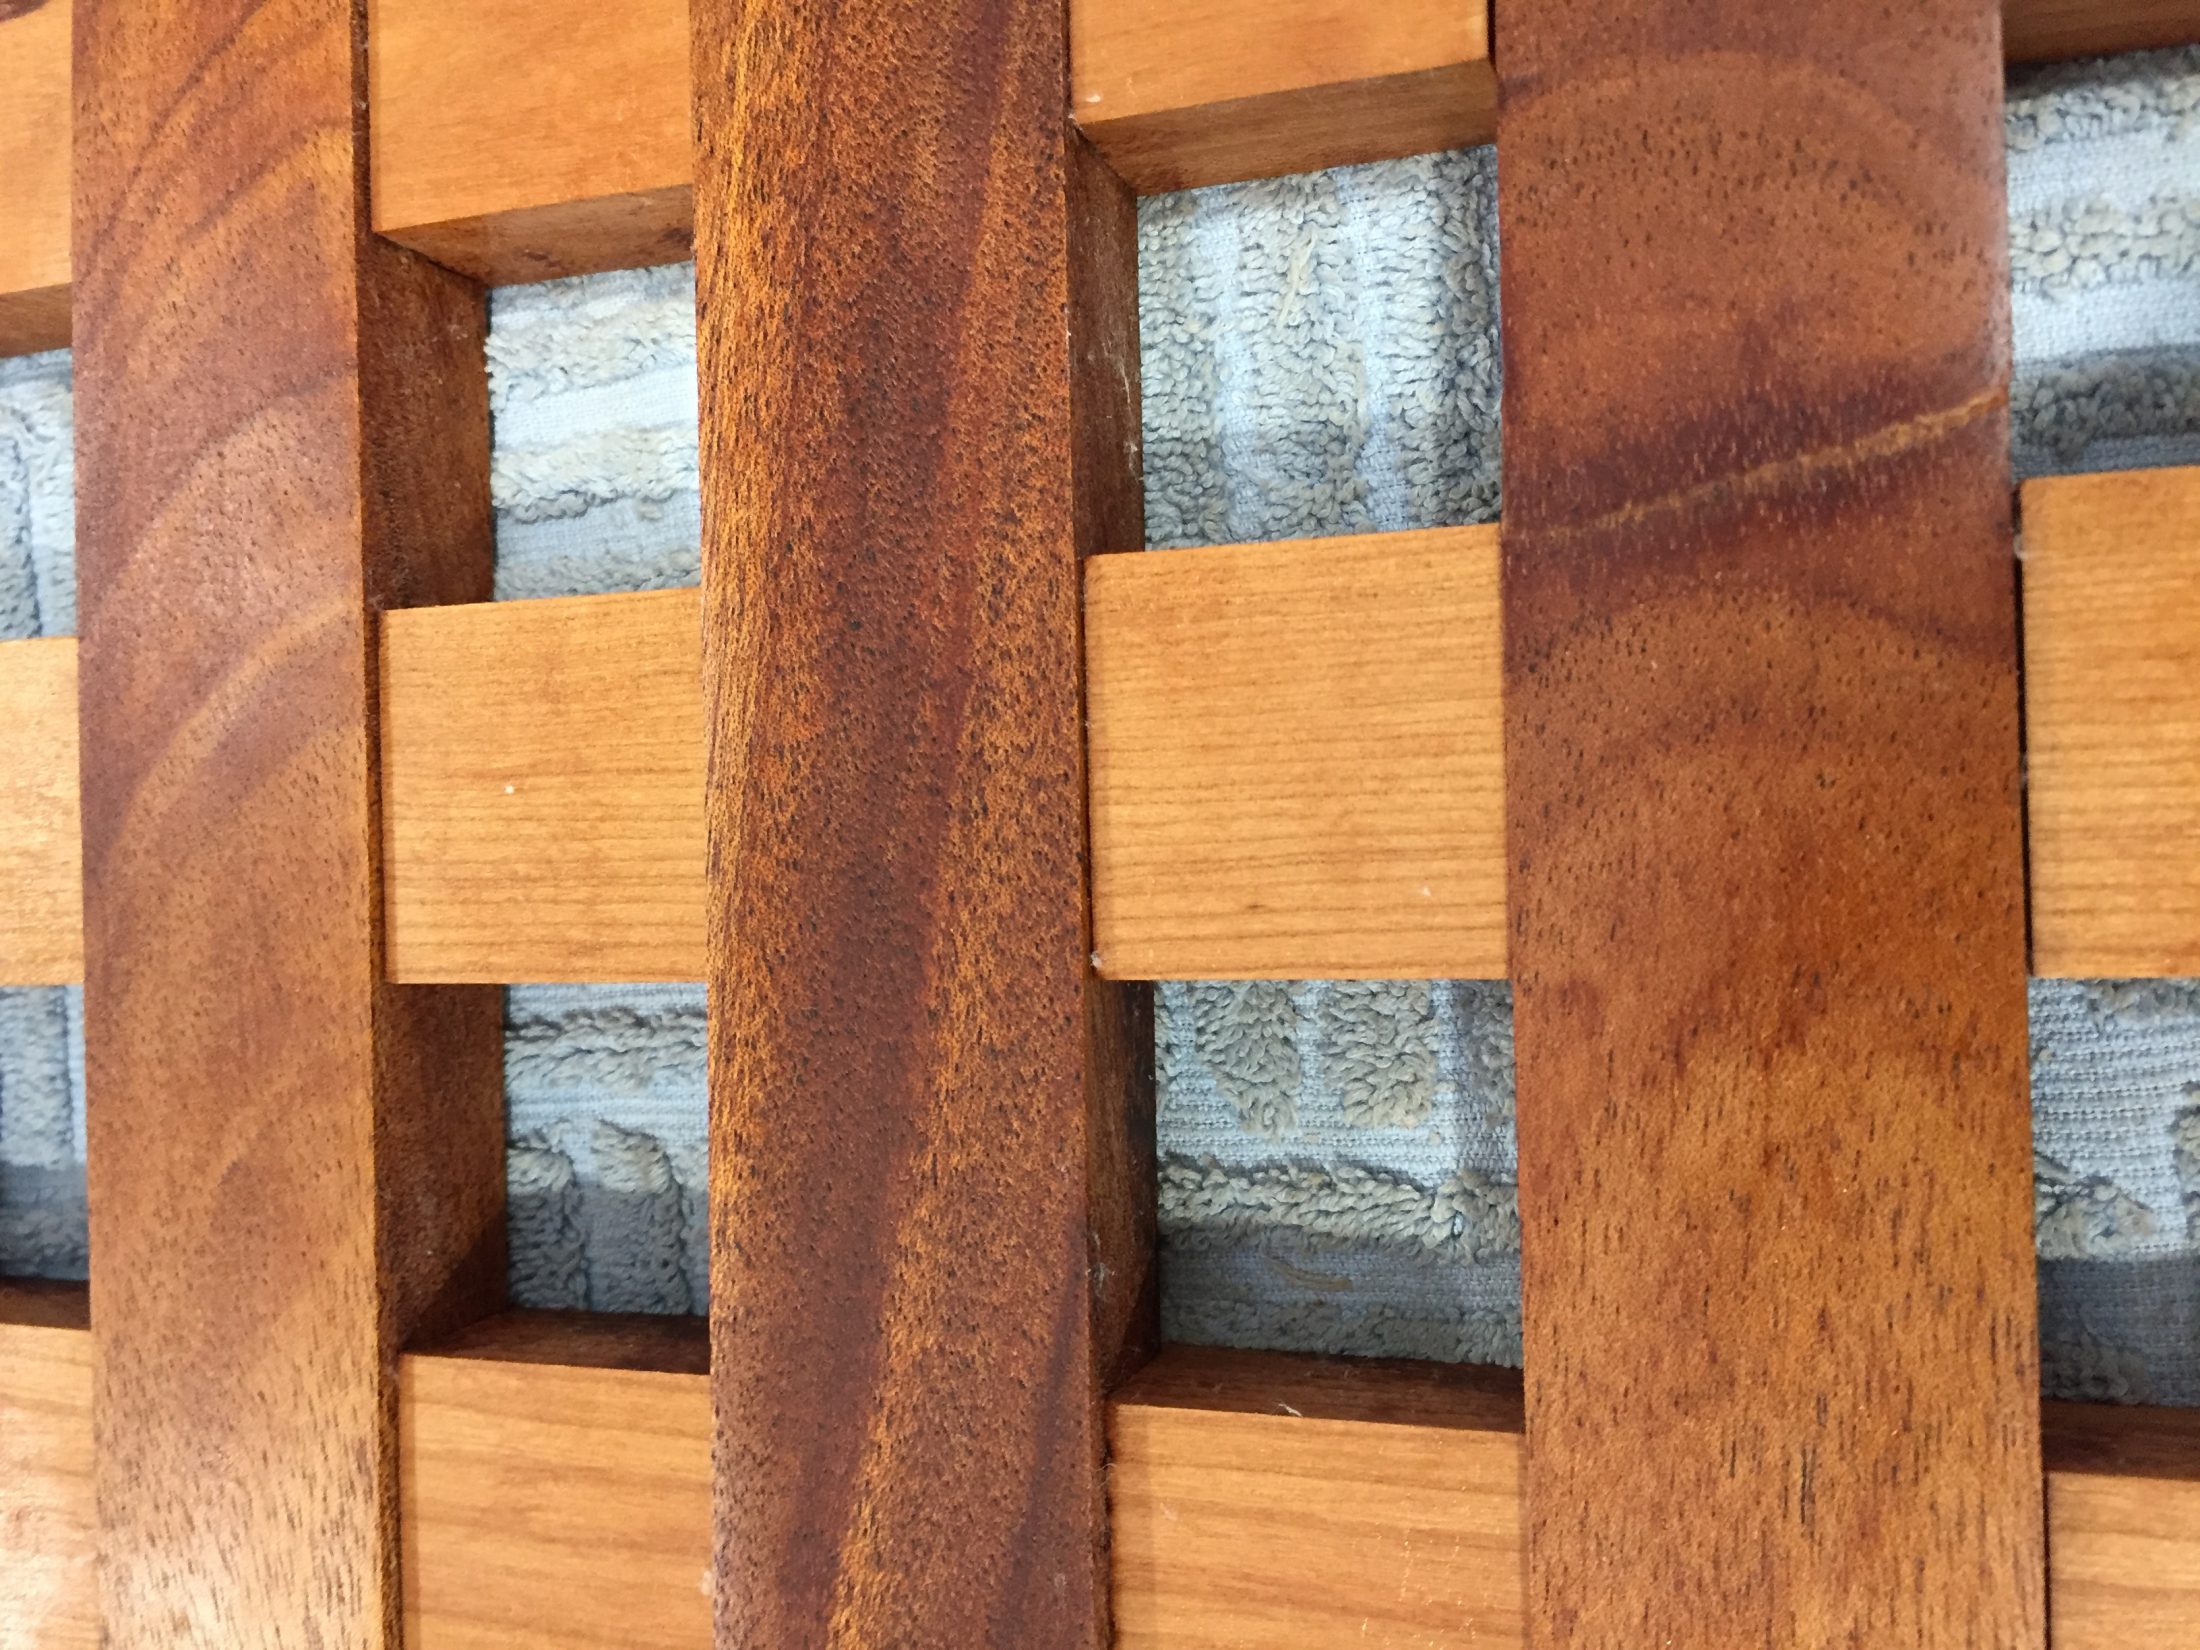
Thanks for all the interest in my woodworking! I have enough requests to keep me busy for the next month. I may open this back up but for now, I am taking NO more orders. It was wonderful to get to know some many Oliver Owner's at the Rally and many of you have asked about our cutting board & shower mat. Lots of you have asked about getting one or both for your trailers. So, this week, I will begin milling the wood to make more. While I have a few confirmed requests, I will open this up to any and all. If you would like one please, let me know as this will be my last run as all good things come to an end. Contact me at 516 635-5656 or 48ocean@gmail.com. Cutting boards are made to your specific sink size. They are American Cherry and Rock Maple done in a ship decking pattern (pictures below.) They are designed to stay in place when traveling and can be used on both sides. Cost $50 plus UPS charges to ship to your address. Shower mats are designed to fit both Elite I and II showers. They are made of American Cherry and Honduras Mahogany in a criss-cross pattern. The construction uses shiplap joinery and brass screws with no glue for long life. Silicone feet keep them off the shower floor and allow water to drain. Cost $150 plus UPS charges to ship to your address. Please note: These are wood and as such will need a little care from time to time. Cutting boards should be cleaned and dried after each use and a coat of plain mineral oil applied once a month to keep up their glow. Shower mats should be stood up after use to dry and a coat of plain mineral oil once a month or sooner if you shower in your trailer often. Happy trails, Foy
1 point
-
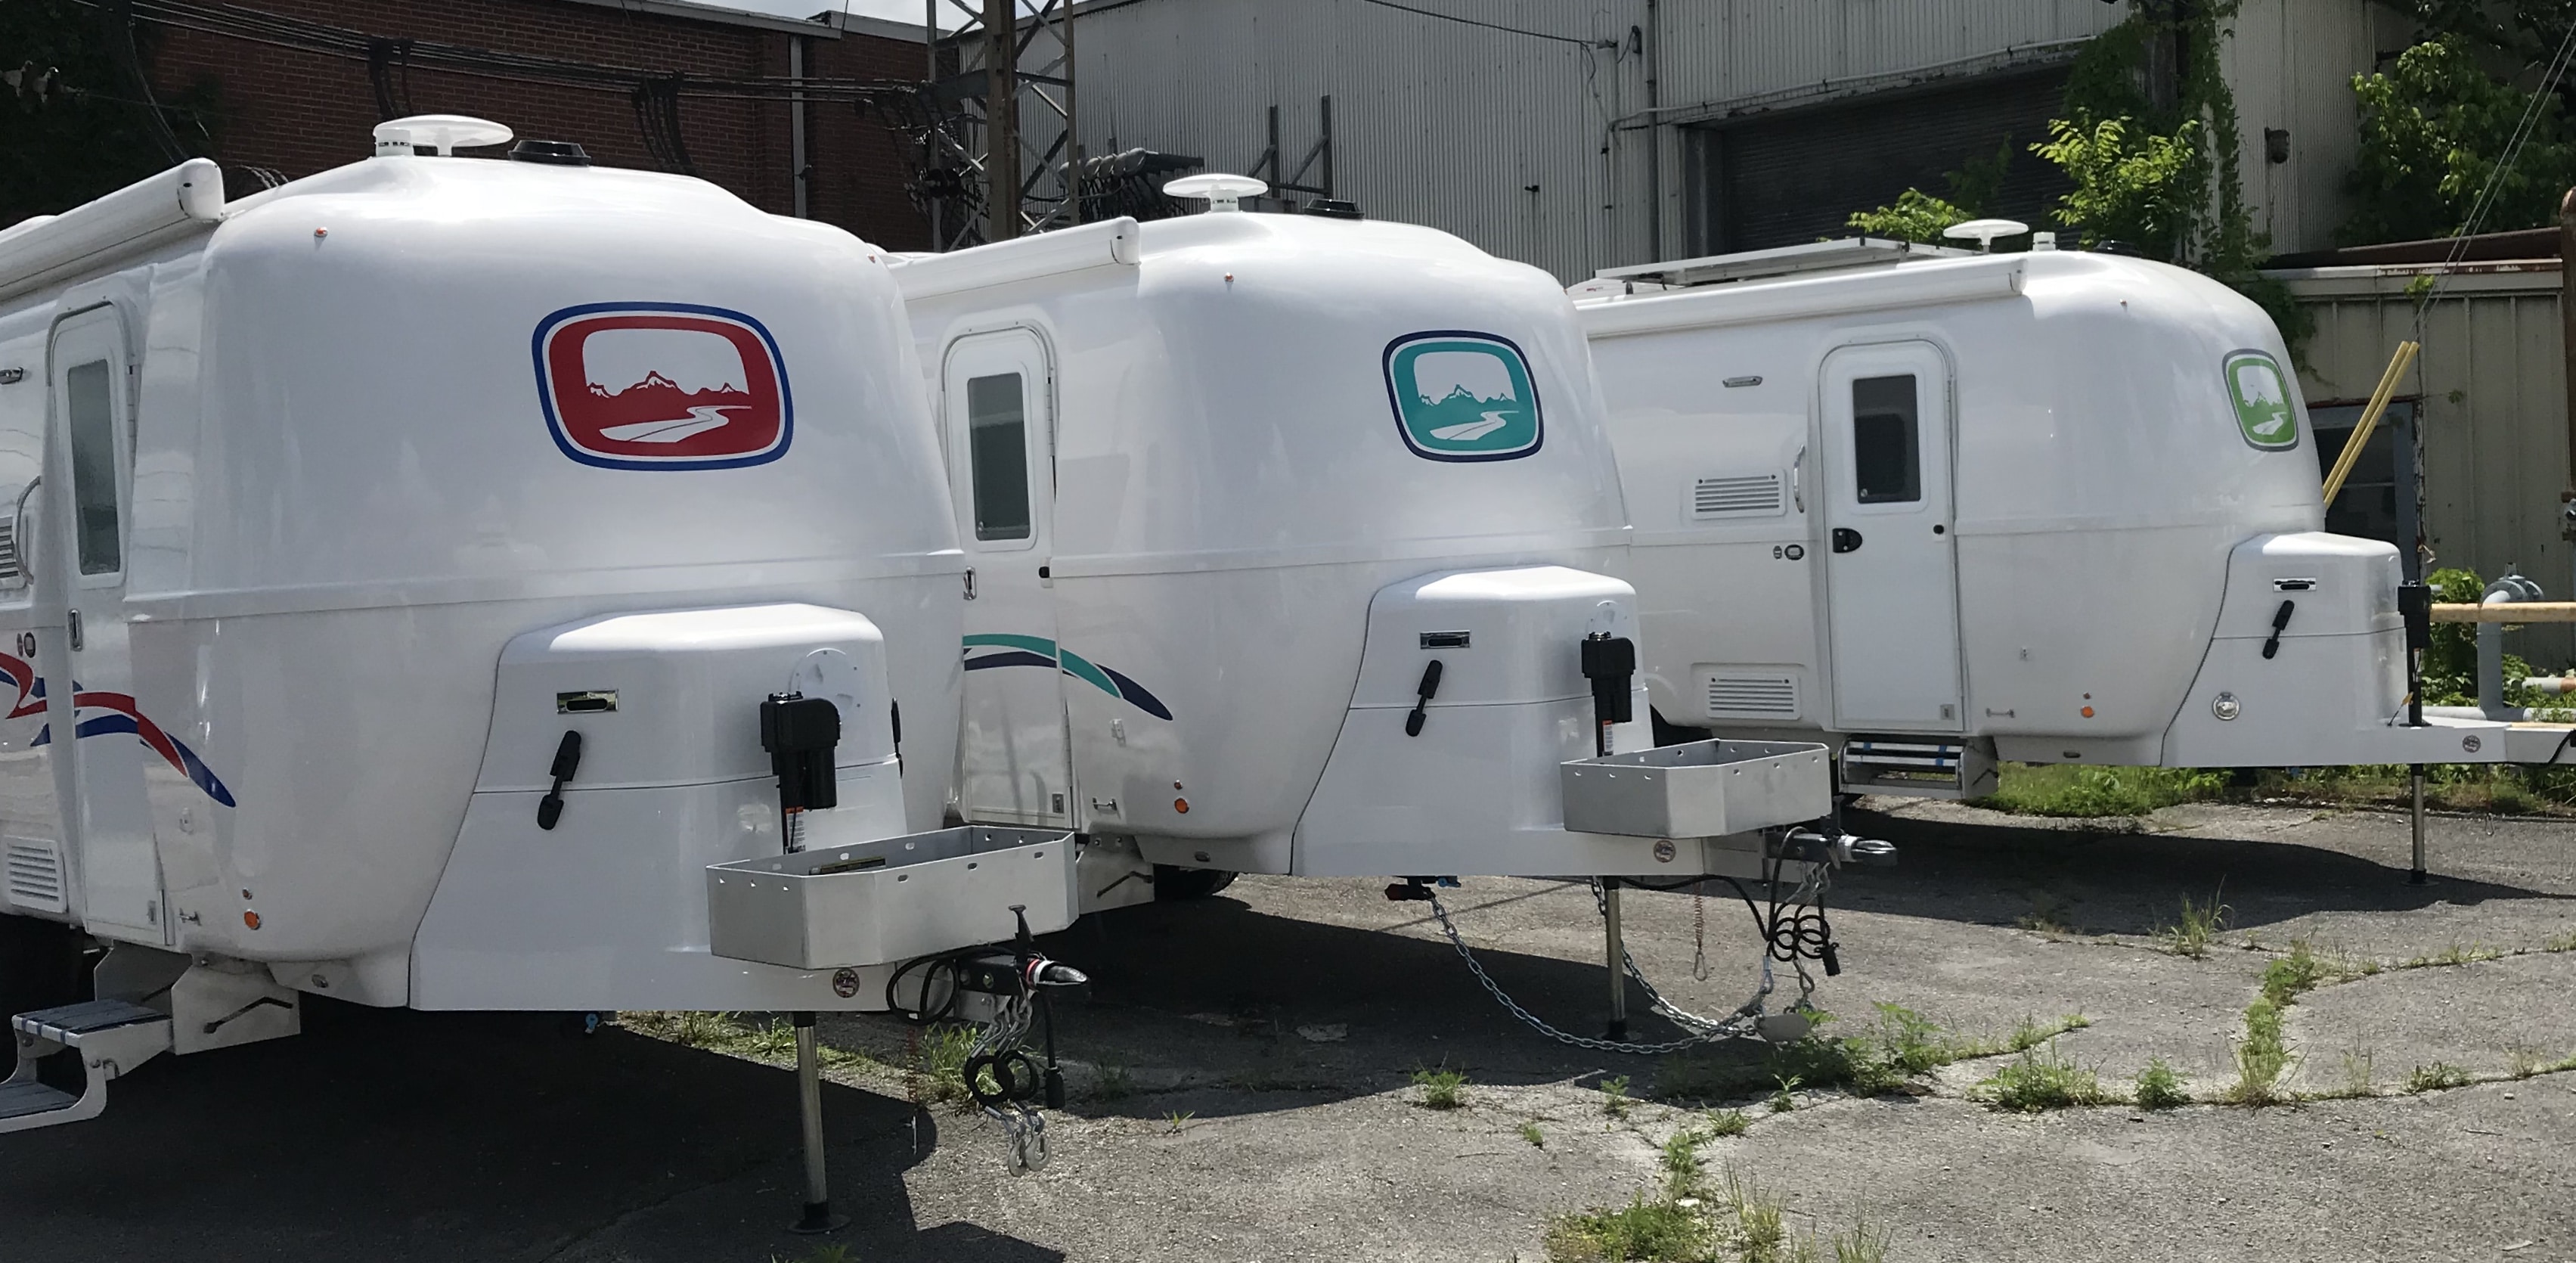
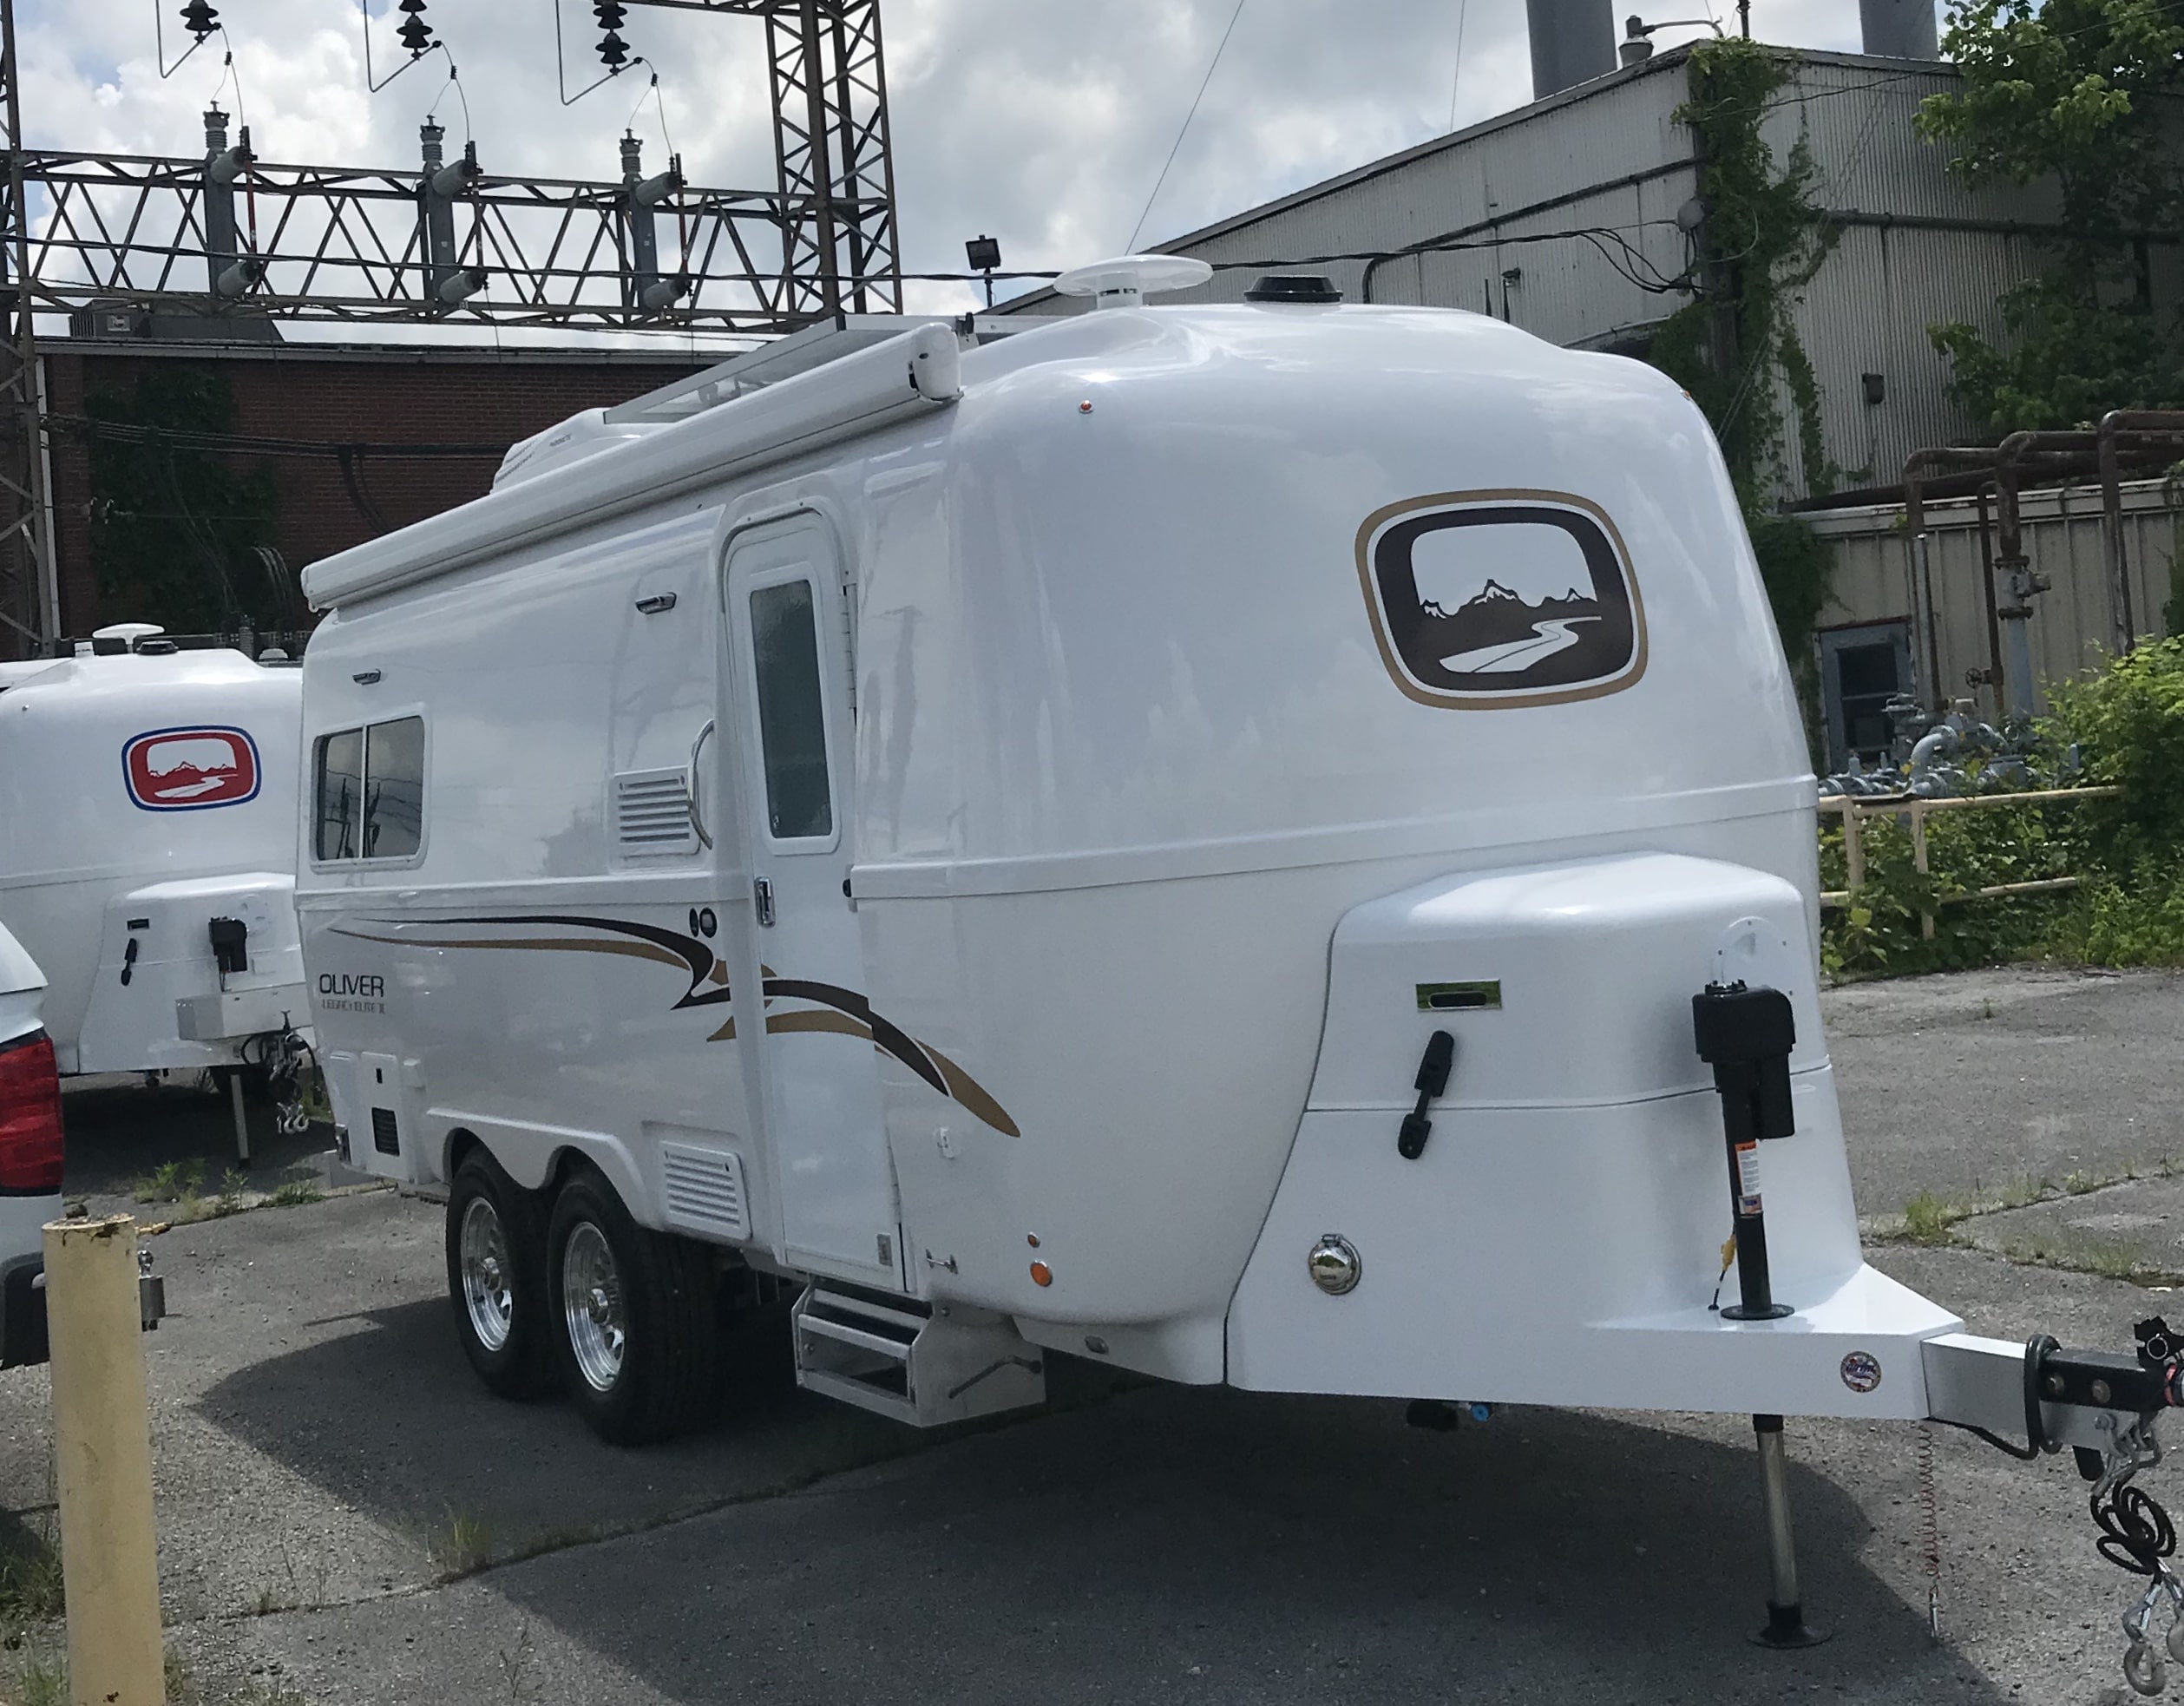
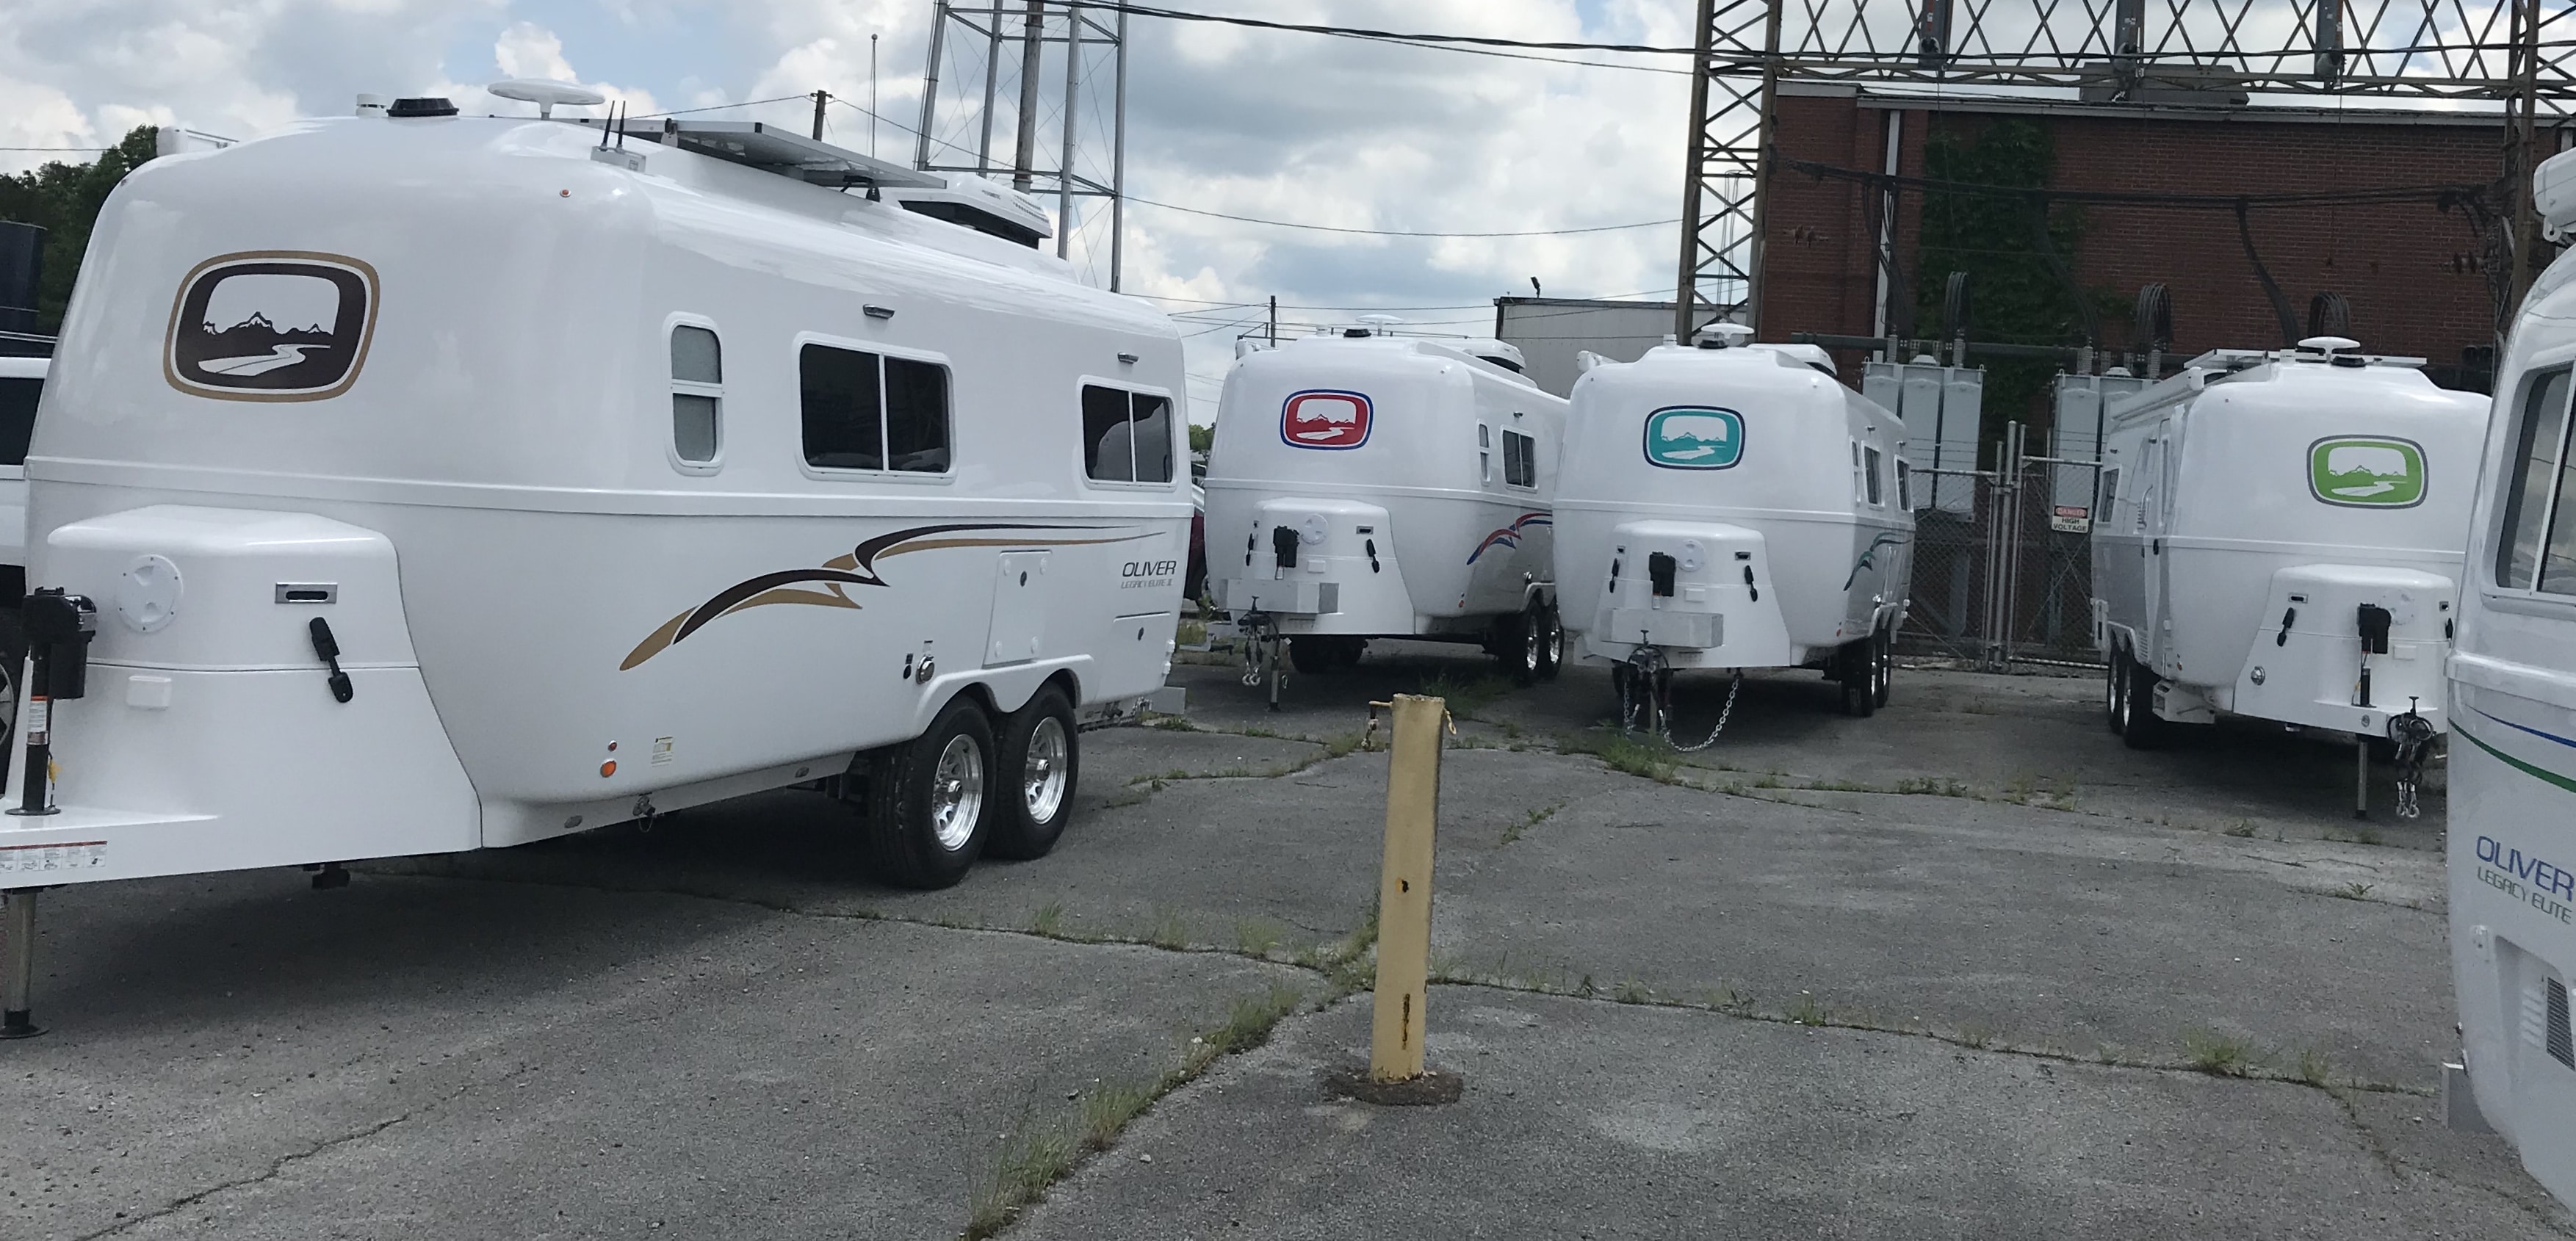
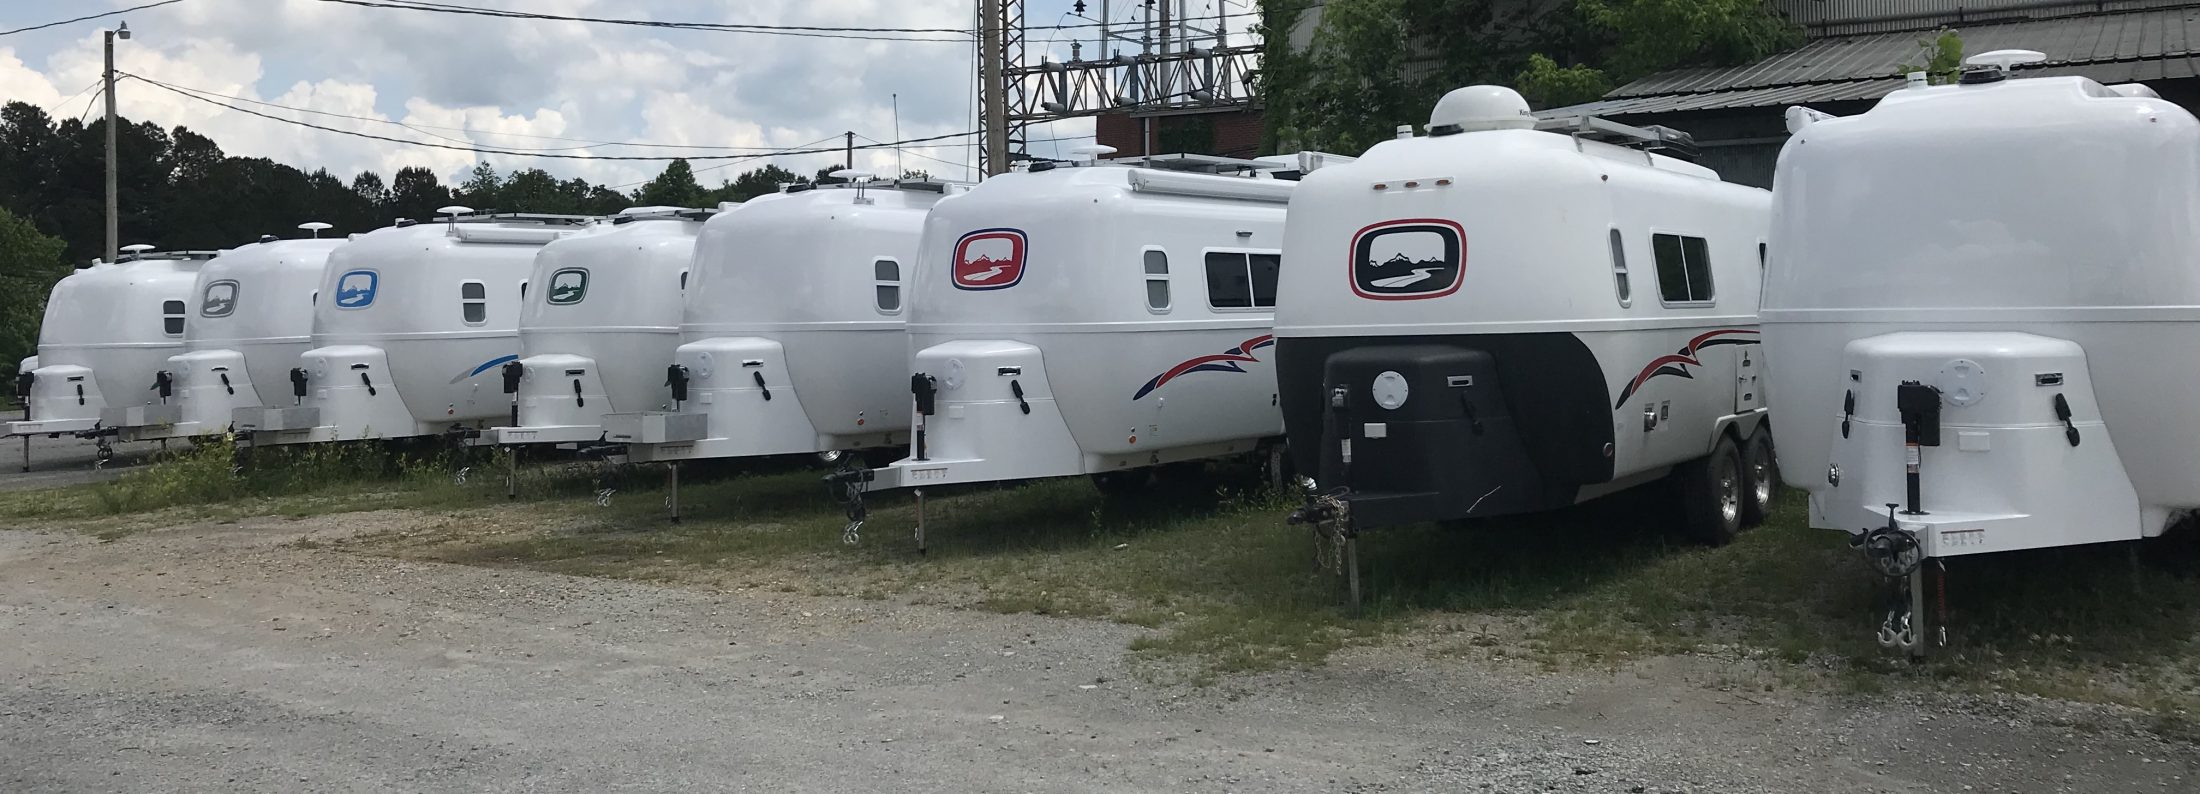
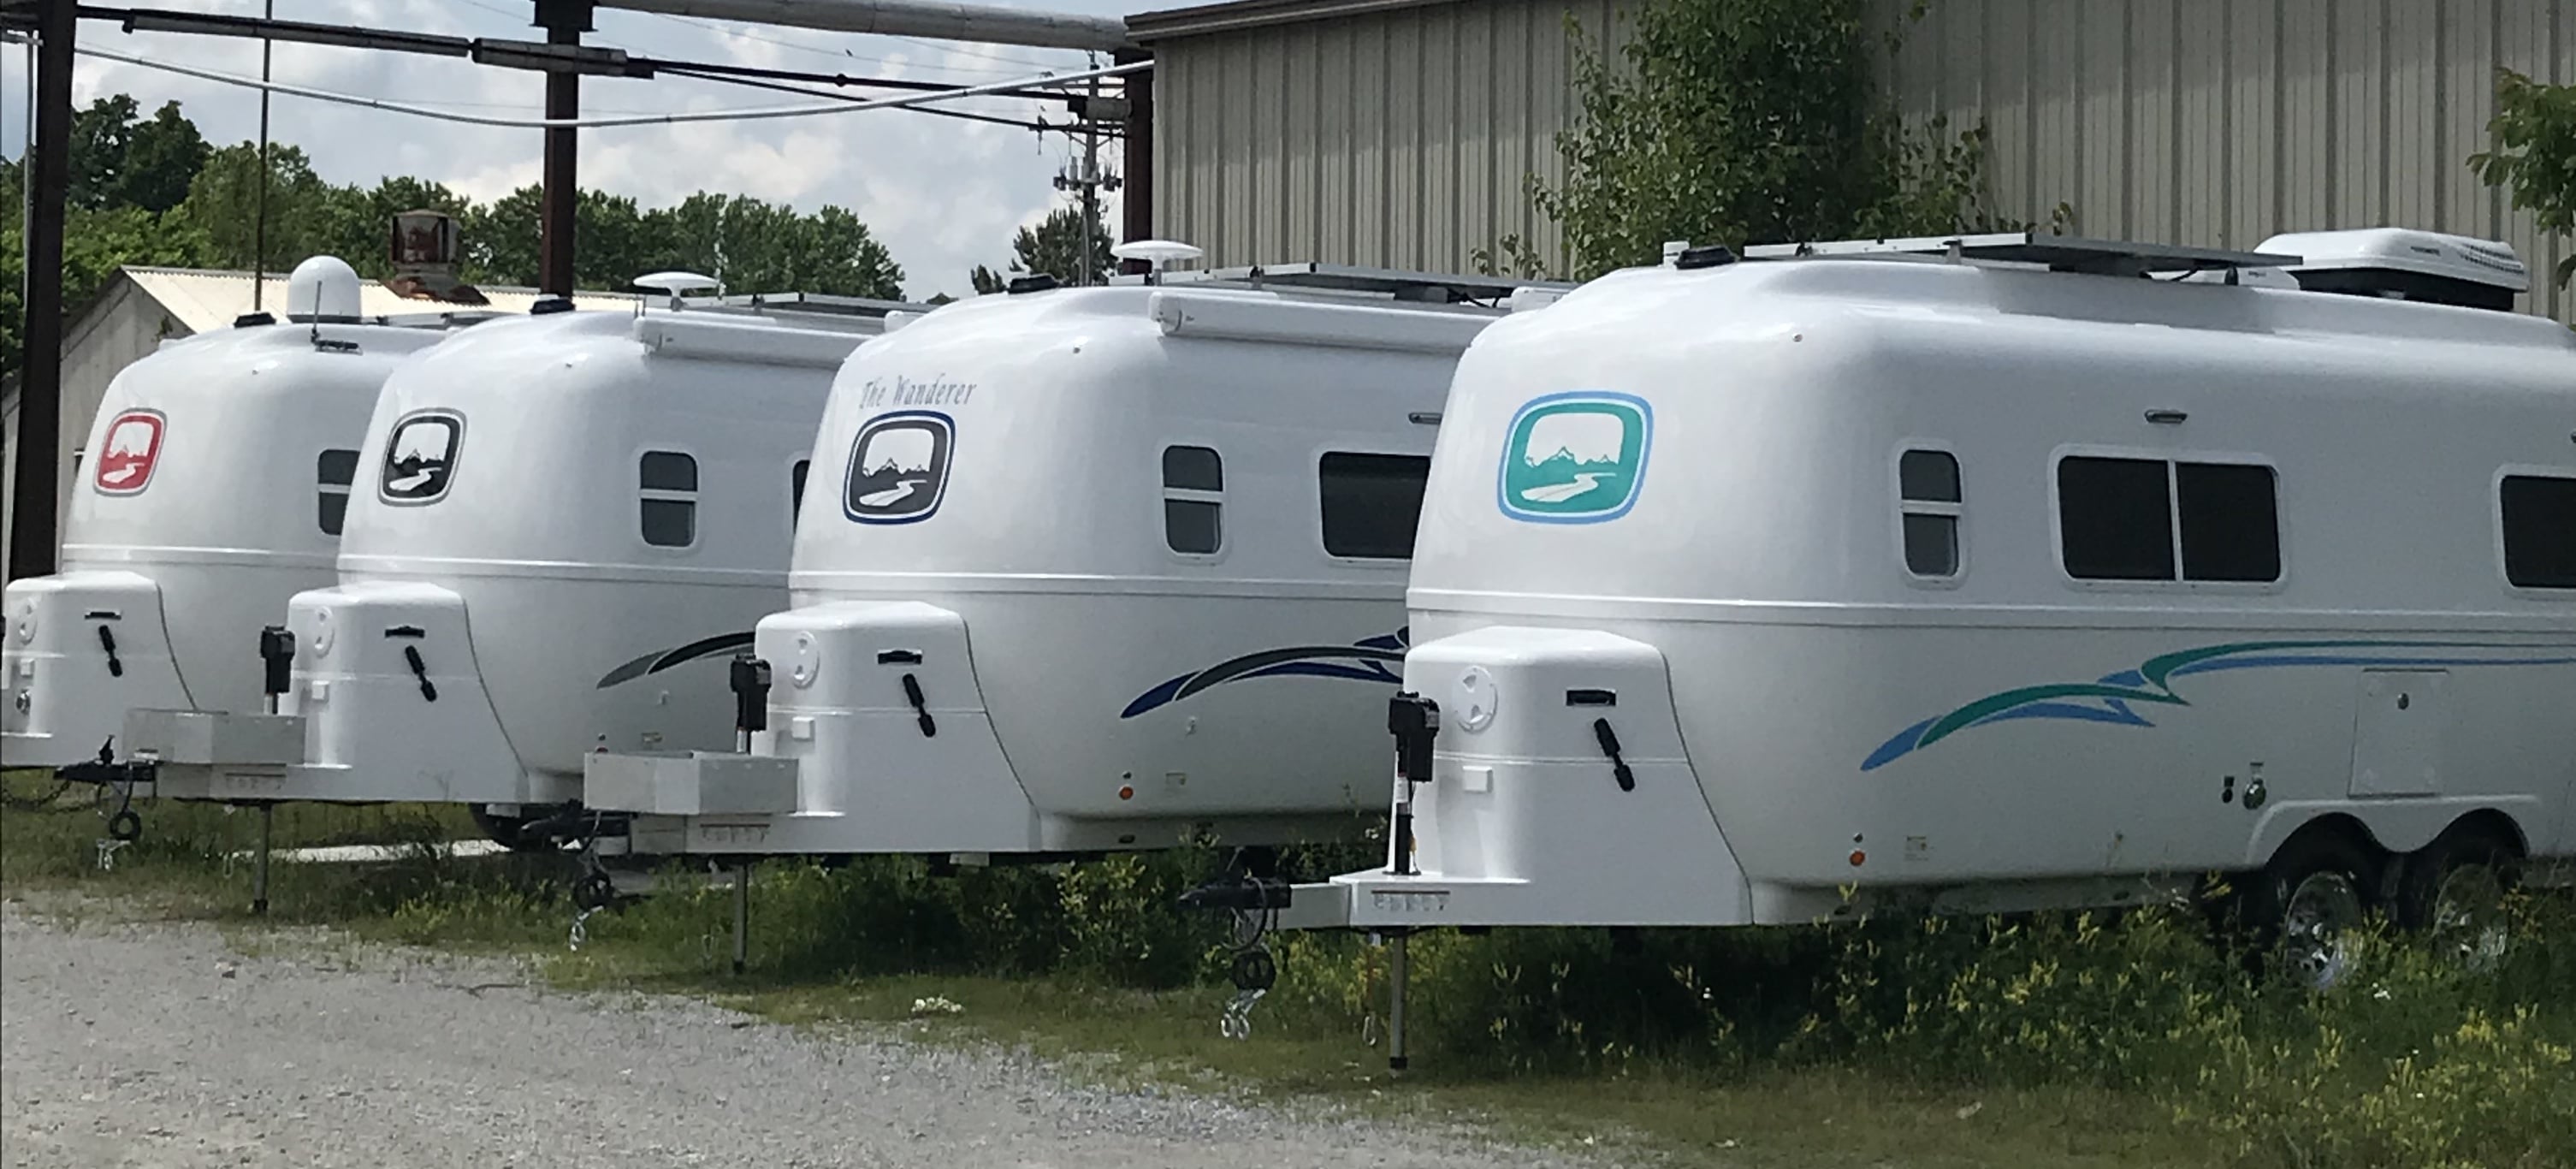
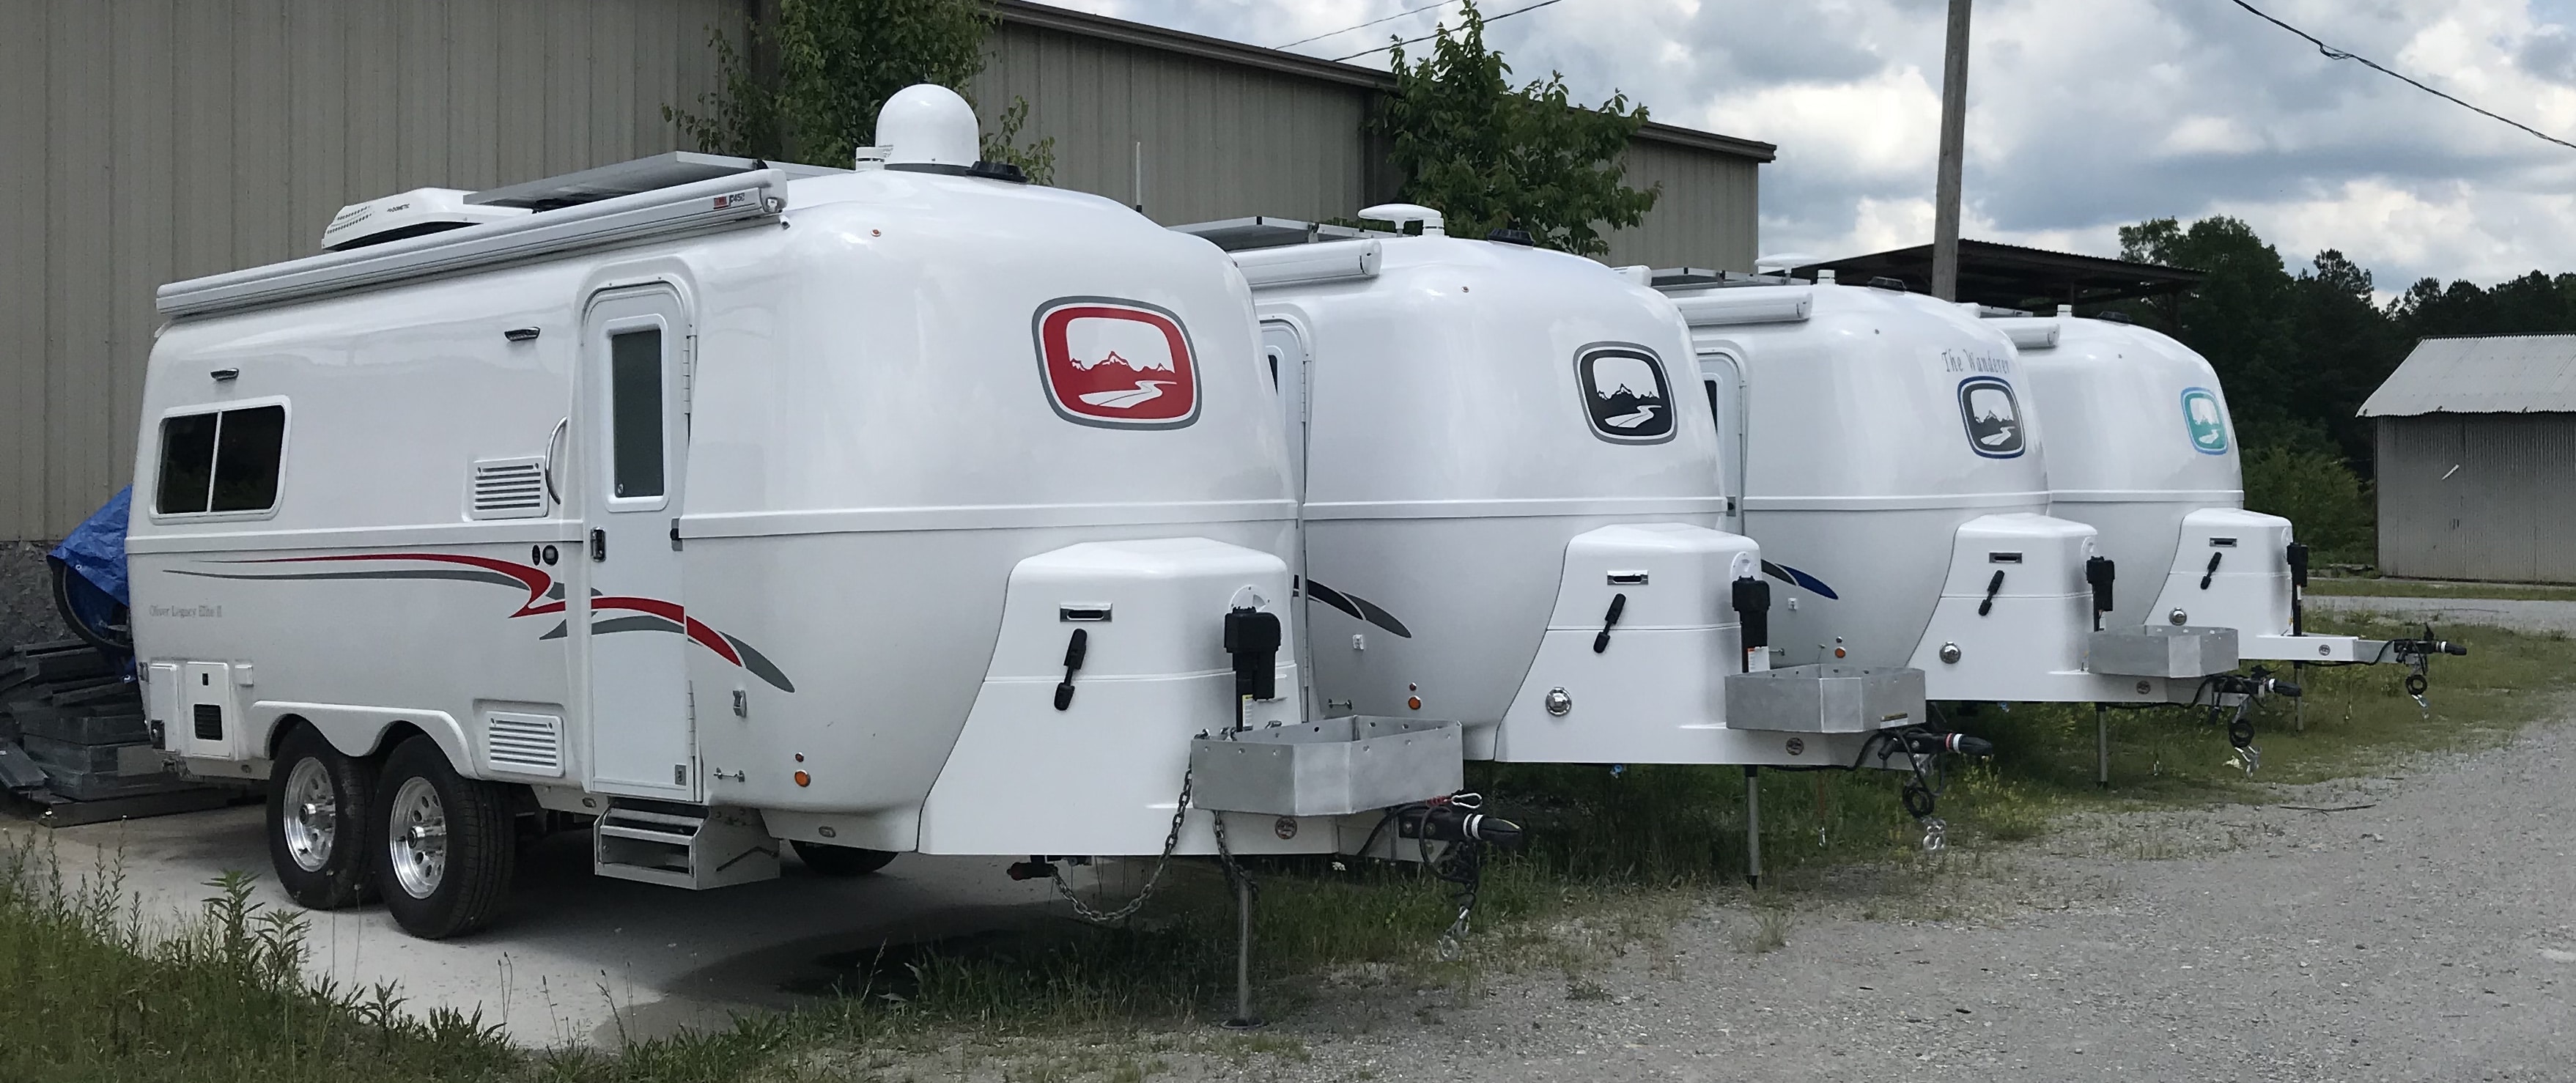
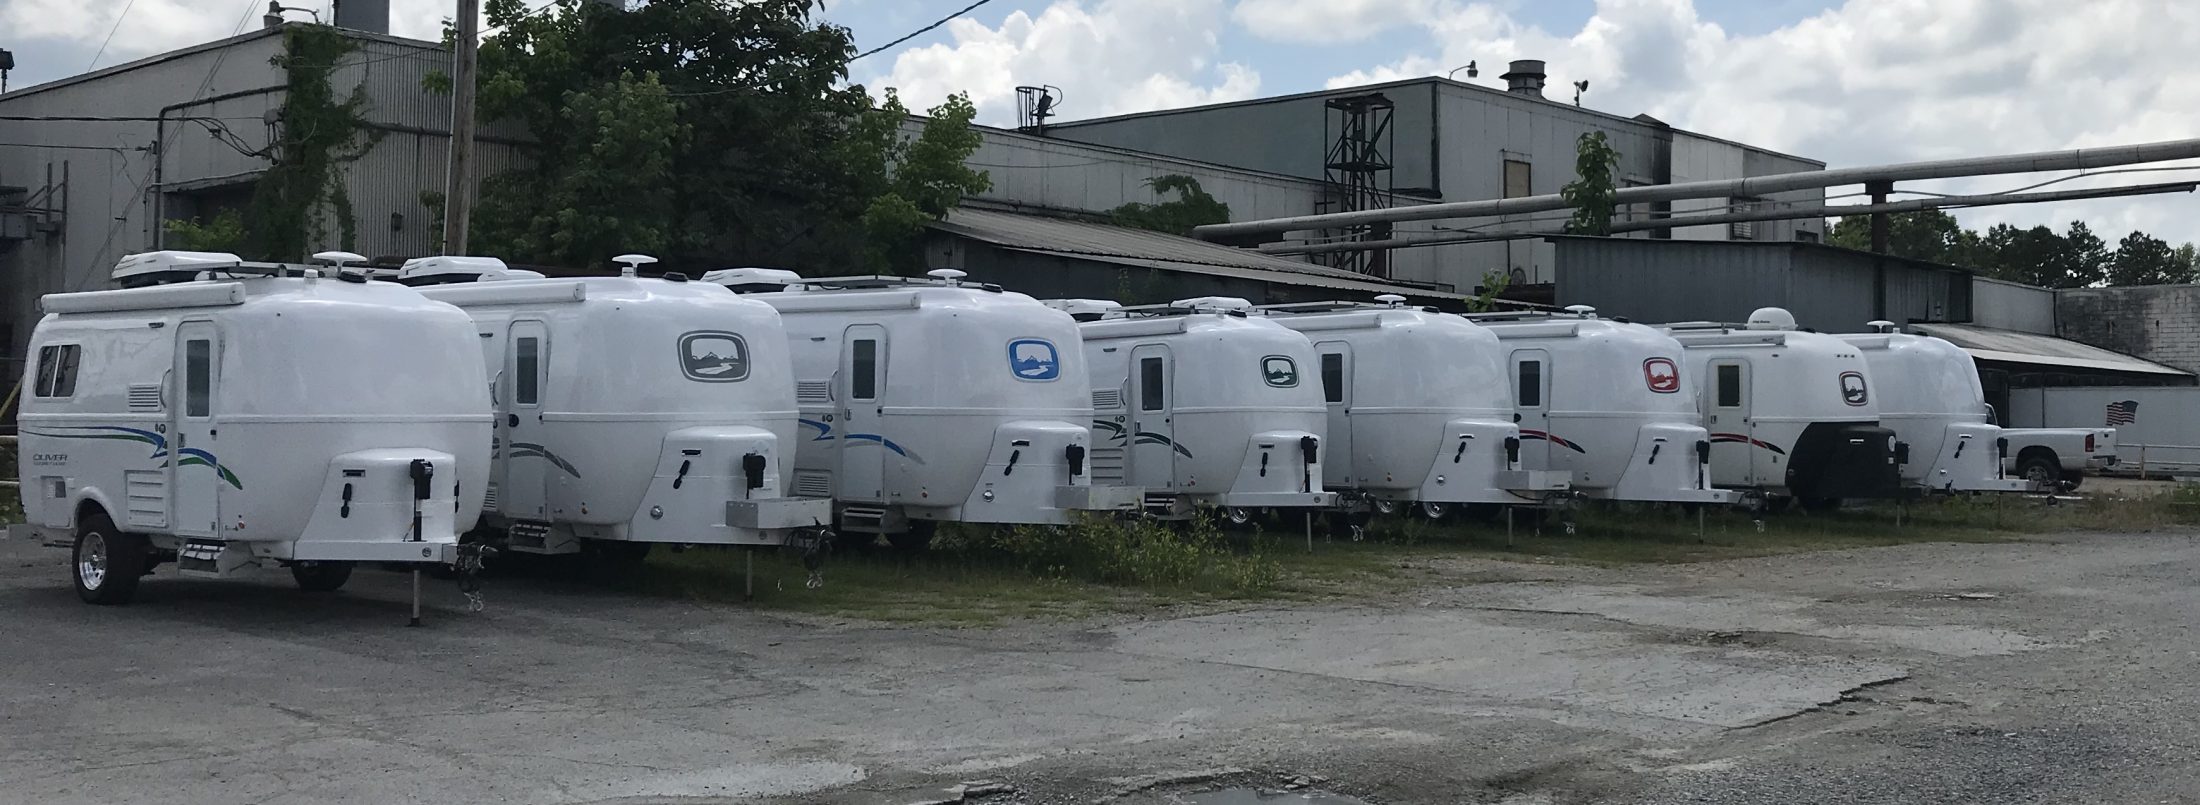
Anyone see theirs? Sixteen behind the factory. Three outside the sales office (300, 302, 333, not pictured). One more Elite just rolled out on the way to the sales office I think.
1 point
-
Here is my new cutting board, it is lovely and it really brightens the interior. I got this in a very roundabout and unexpected way. DavidS won it at the Oliver Rally, and unfortunately for him it is square and intended for the later (large) sink. He arranged for another narrow one to be shipped from Foy, who told him to find another Oliver owner to give this one to. David reached out to me by PM and told me he wanted me to have it. I offered to pay for the shipping and he would not even let me do that. It is a beautiful accessory, and I am unexpectedly touched by both Foy and David’s actions. Thank you both, I will take care of this board and enjoy its beauty for many years. This Forum really is becoming a large extended family. I enjoy participating, sharing and learning here. Thanks again. John Davies Spokane WA
1 point
-
Thanks for this info Bill! I was not aware these came apart. Guess I will need to carry a bolt now on top of everything else. :-)1 point
-
Looking at the EZ Flex I don't understand how it changed the geometry. The front mounting point is the same. I see how the larger tires are a problem if things are not centered.
1 point
-
Foy, that looks just so very wrong to me! And totally unacceptable. Are both sides like that, or just the left one? My suspicion is there is a manufactureing defect in the subframe, one or more hangers are mislocated, or more likely, the entire subframe was positioned too far forward on the frame rails. Either way, Oliver owes you some serious shop time to fix it. On “Mouse” the left jack is positioned almost an inch further back than the right, but the suspension is centered under the fenders. There is zero contact between tire and fender. Please start a new thread about this and report back when it is sorted out. RE the mudflaps.... I sent a link to my install thread to Jason with a suggestion that they engineer and offer a similar design as a factory option, and he agreed that it would be a good idea. He said a few customers have specifically asked, and they are mandatory if the trailer goes to Canada. Incorporating brackets or just pre-drilled mounting holes into the build of the subframes would be dead simple. Then the arms would be plug-and-play. The hardest part of the mod is lying on your back and drilling the steel subframe..... http://olivertraveltrailers.com/topic/how-to-rear-mud-flaps-for-the-ollie/ John Davies Spokane WA1 point
-
Priceless!1 point
-
Easier, maybe, but unless you have installed mudflaps on the trailer you risk damage from stuff thrown by the left rear tire..... I suggest that you keep them tucked away as they were installed at the factory. Or install mudflaps ;) I just finished detailing “Mouse” and noticed how much less crud and dings were in that area now.... John Davies Spokane WA1 point
-
Thank you. We think we might have a 1/2" hex in the shop, we have never used. But the bolt idea makes a lot of sense, and would take up less room in the tool kit. Guess we will check ours. Maybe have to look about adding a brass or chrome nipple and 45* el to set the connection outboard a little further. That might make it easier to hook up the hose, especially if we add a hanger...1 point
-
Oh my word, that is adorable!1 point
-
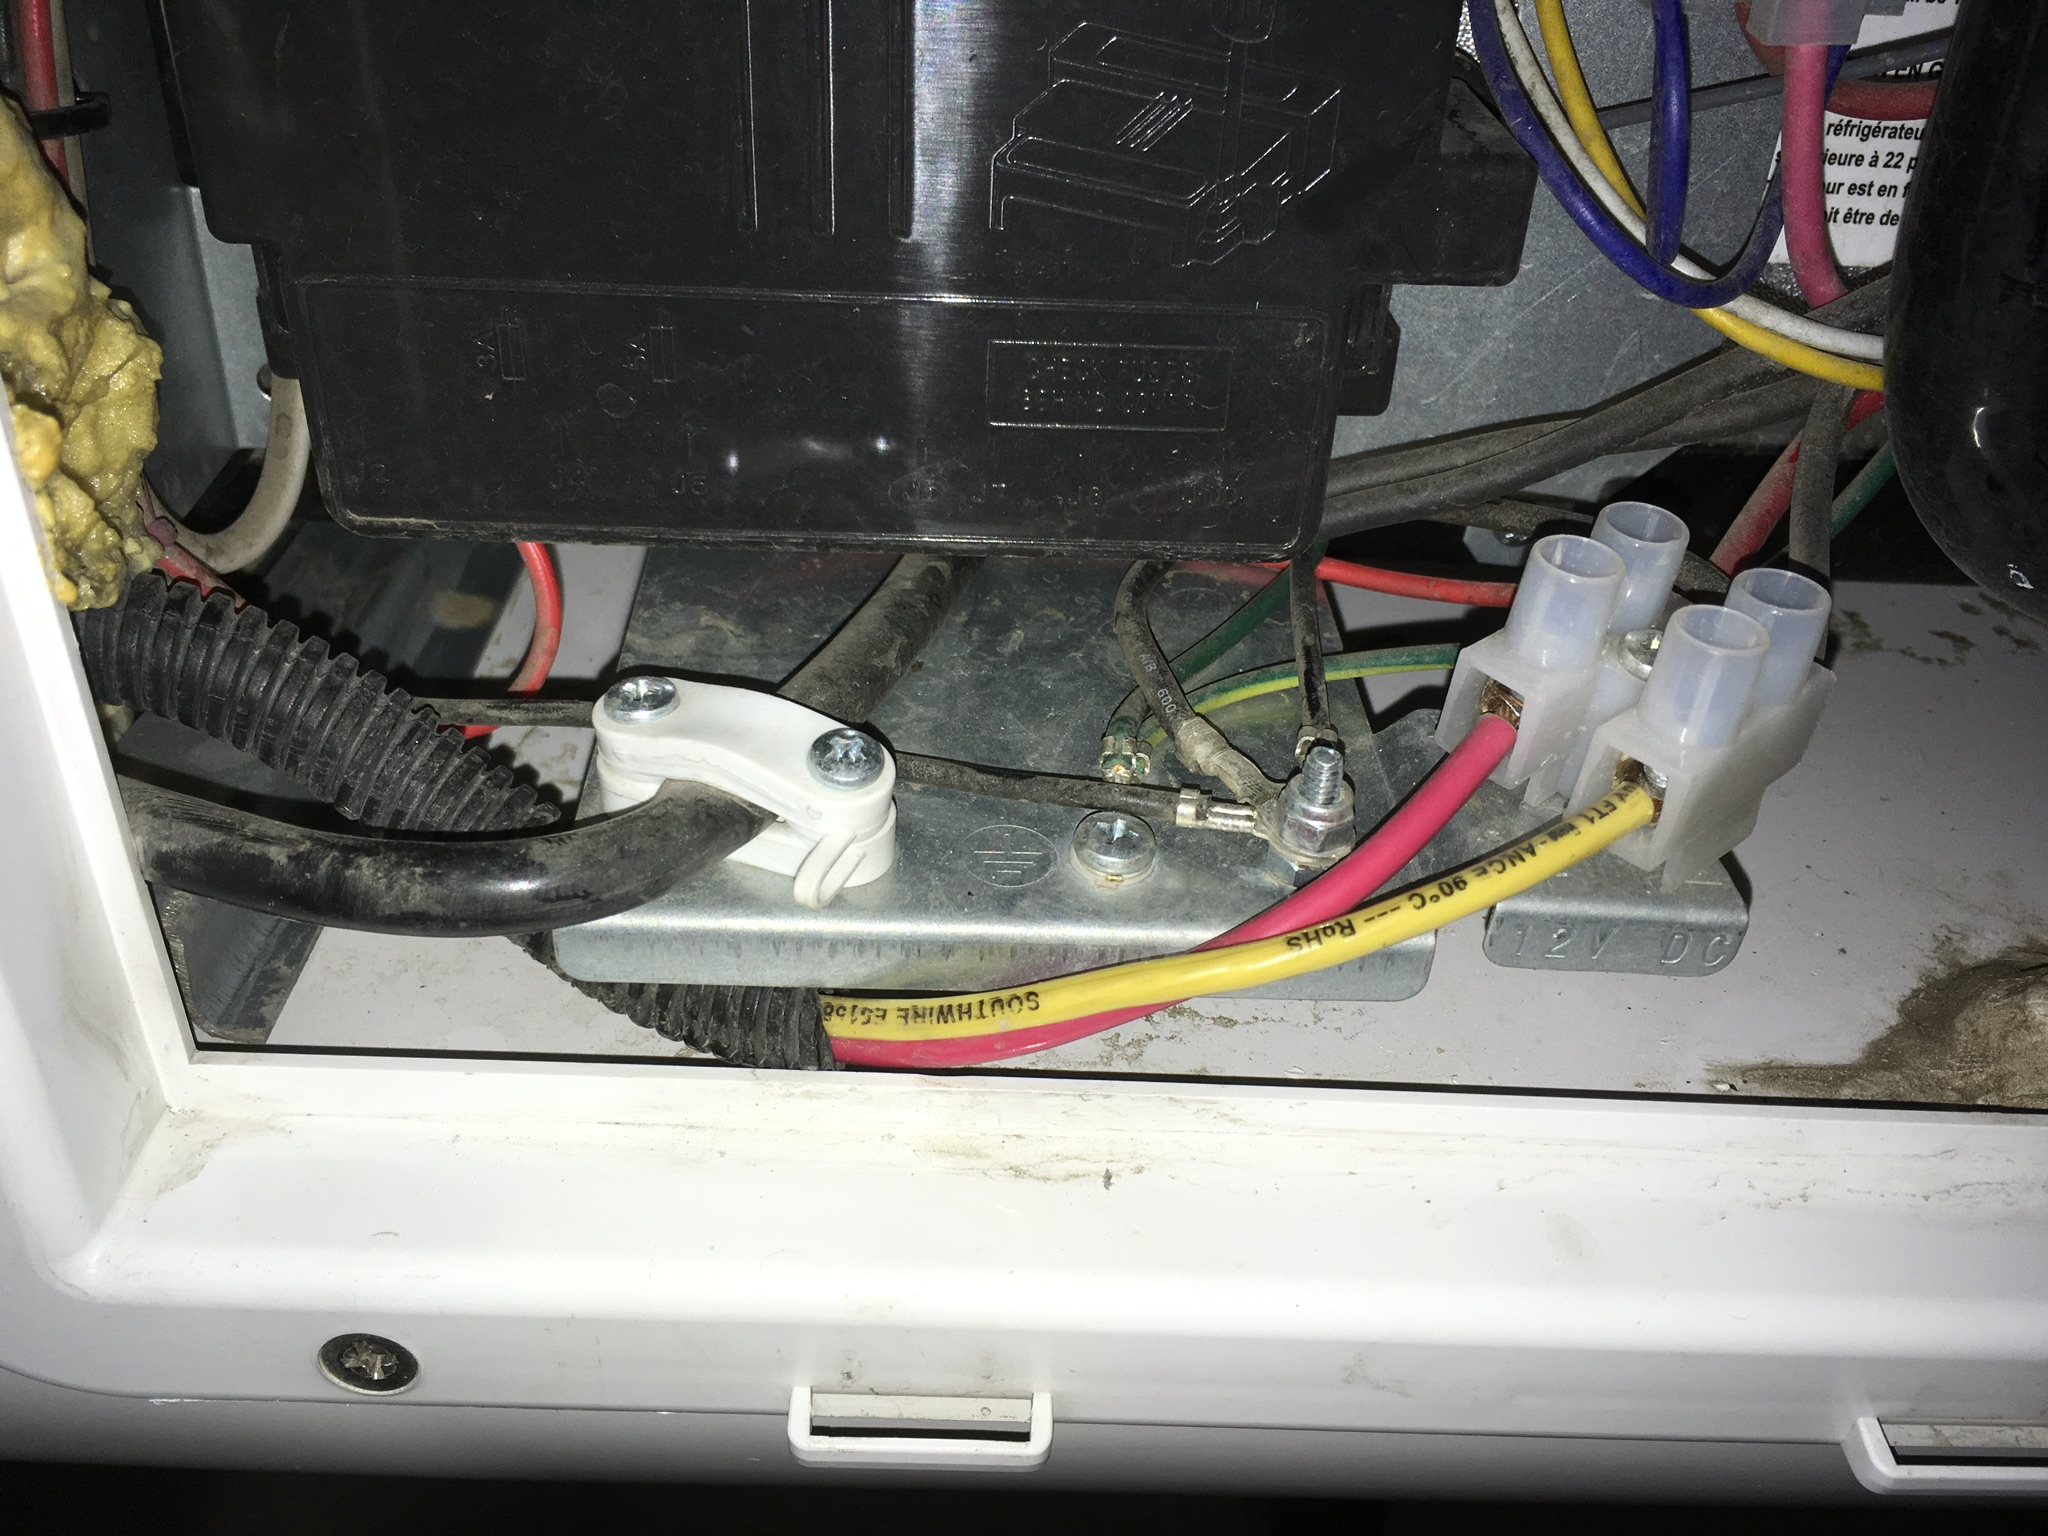
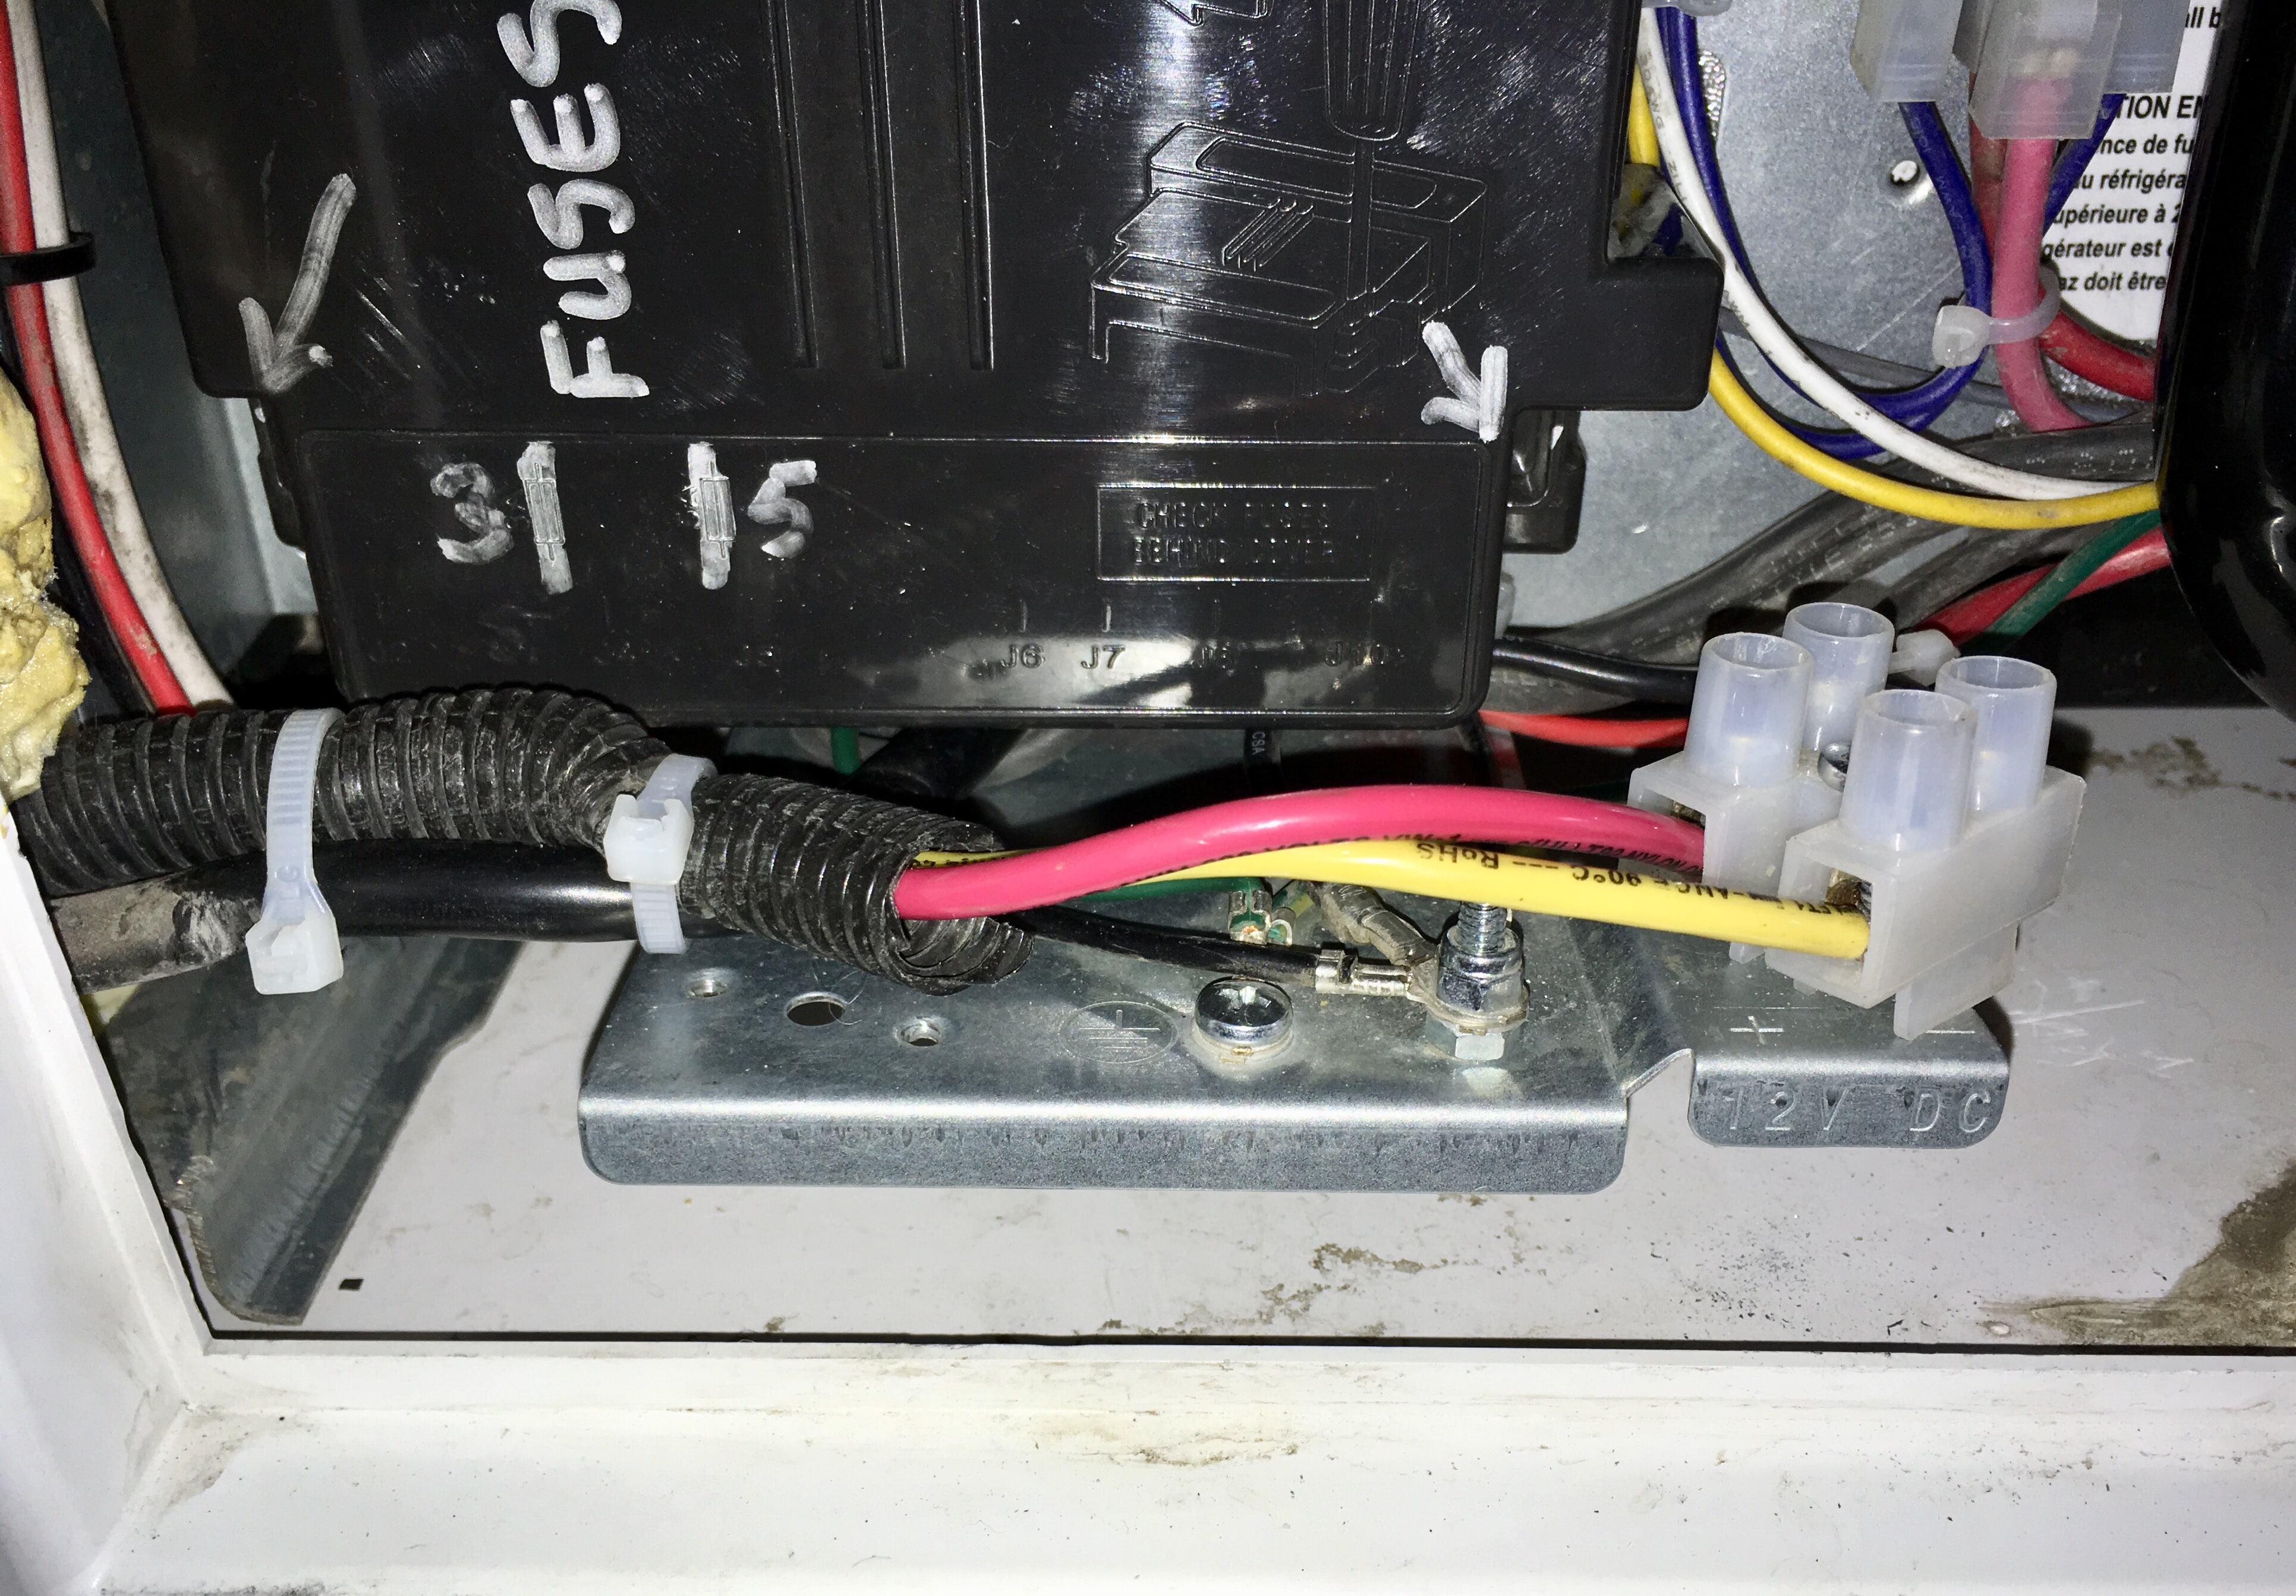
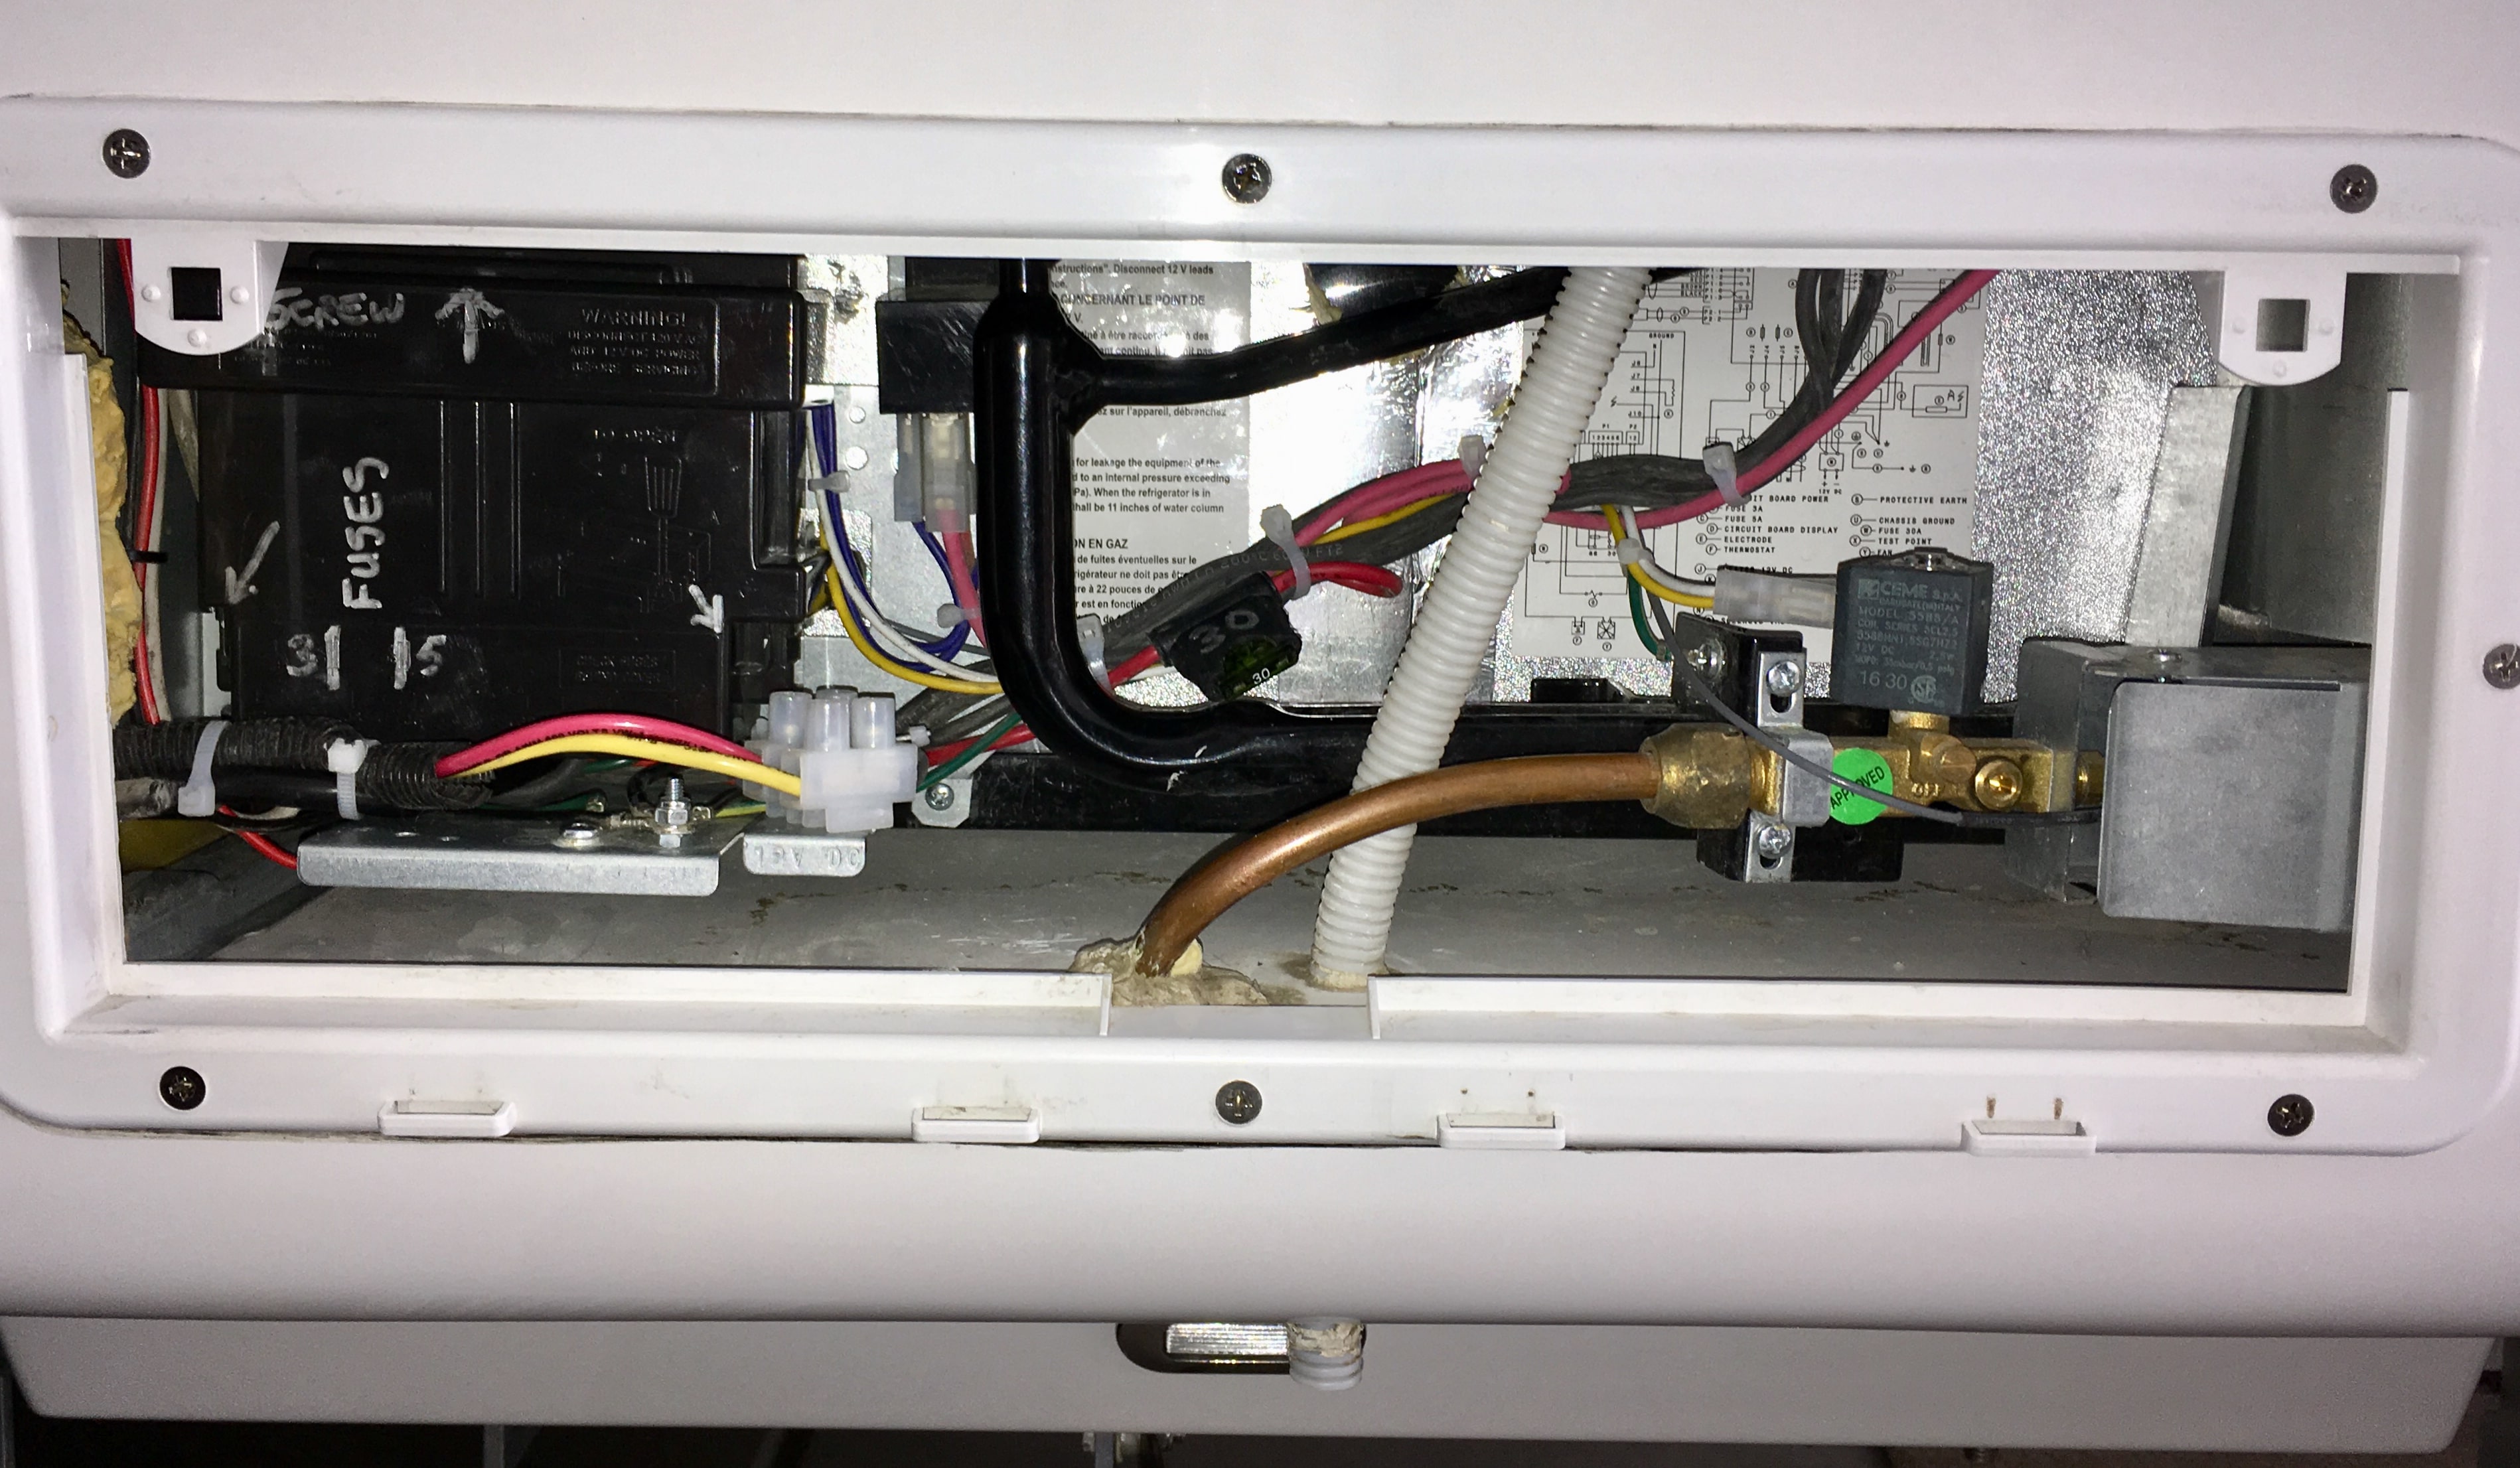
Noticed this in tidying up the wiring in my lower compartment: The fat red and yellow wires are the 12 volt power and ground for the fridge. The white block is a terminal block to join them to the wires coming out of the control board. I did not like to see them chafing on the steel bracket. Remove the 20a fuse for the fridge (under the dinette) and turn off 110vac before messing around in there! Unscrew and discard the white plastic cable clamp on the left, reposition the wires as shown and secure with cable ties. Make sure the wires are clear of the ground stud sticking up nearby. Check the tightness of the screws in the terminal block, one of mine was a little loose. I also looked inside the control box and secured the other wires to make them neater and so they cannot flop around. Check yours, and clean out the dust while you are in there. Remove the 30amp blade fuse from the holder on the red wire, dead center in the above pic. Clean any corrosion and reinstall the fuse with a coating of dielectric grease on the contacts. Secure it with the fuse angled down, to keep out water! This fuse holder really should be a sealed unit, there is no excuse for exposed electrical connections in a completely open outside compartment! Question: I am thinking of a simple way to block off this compartment for travel on dirt roads, to keep electronics and coils clean. How about a heavy trash bag filled with enough styrofoam peanuts to fit snugly in the cavity, around all the various components? The vented cover should hold it tightly in place. Obviously the fridge and propane would be switched off. Thanks. John Davies Spokane WA
1 point
-
John, thanks for the post and the recommendation to inspect the fridge wiring. Your observation gave me cause to inspect our our Ollie, too. Was glad to see our wiring configuration looks almost exactly like your after-picture. It was perfect right from the factory. Why the difference? Well, we can all guess that different technicians on different days are being human and perform at varying degrees of efficiency on any given day. As we all might agree, there is no way around this. Again, thanks for the tip and I'm sure I was not the only one to run out and check their own.1 point
-
Mainiac, Here's where the drain for our Dometic AC is located. It's a hose/tube run from the AC unit between the inner and outer hull shells to the location below:1 point
-
This talk of pressuring the interior makes me think of the bathroom fan. I left that fan on once. When I went back in and opened the door, you could hear the exhaust fan relax. It was getting air from the main cabin and was not having to work so hard. The thought is to put a small pass through vent high up by the left of the door that was always open. Evidently there is not enough air allowed into the room from the narrow gap around the door. This should also allow the heat to circulate better when running the furnace as it doesn't run into a pressure situation, and can circulate freely. This said, wouldn't a small exhaust type fan, maybe installed backward and high up, pressurize the whole cabin? It could draw air through an easily changed filter(s). This would eliminate the need for the snorkle and associated plumbing. Probably pick up the needed power from the existing fan? Maybe swap out the existing fan?1 point
-
Hello everyone, After much um, - discussion - we have ordered an Elite II, should have it in mid June. Looking forward to the next chapter in our RVing life. Once you get over the premium pricing, the Oliver is by all accounts a cut above tt. Will enjoy meeting the family over the coming years. Take care, Russell, Cindy and - Harley, our security system...
1 point
-
Home is TN,, Tim's Ford Lake area, Franklin county. We plan to attend the rally on the Sunday the event. Looking forward to meeting all the Ollie folks.1 point
-
If I could only get him to come up with some $$.1 point
-
Heck, if you guys run up thru Eastern Oregon, we're running an RV park just north of Huntington, OR... Karen wanted a job... Lol. Anyway, we're right off I84 at the Blue Bucket Mining Camp/ RV park South East of Baker, OR.1 point
-
Fort Sill! My dad was artillery and I spent much of my youth at Sill and in Lawton. I was staioned there in the early 80’s when i was a young signal officer. My brother was FA and was staioned at Ft. Sill a lot. Small world. Mike1 point















-
Recent Achievements
-