
Leaderboard




Popular Content
Showing content with the highest reputation on 02/29/2020 in all areas
-
Some videos that I made when testing the operation: Normal operation after lubricating. This shows the range of motion with the rain shroud attached. It moves much further with the shroud disconnected at the rear hinge. 2017 MaxxFan 7000K with rain shroud attached, full cycle bench test, 13.2 volts DC. Rear hinge binding and squeaking. This was causing the jerky operation. 2017 MaxxFan 7000K squeaky and binding rain door hinge Normal play in rain shroud when partially open: 2017 MaxxFan 7000K sloppy at part open ***** NOTE ***** The ONLY positions where the rain shroud is not loose are at full closed or full open. At ANY intermediate position, the entire assembly will flop around in the wind. NOT GOOD - never leave your fan part way open using the black knob, especially in gusty winds or when towing. It can damage the parts. John Davies Spokane WA4 points
-
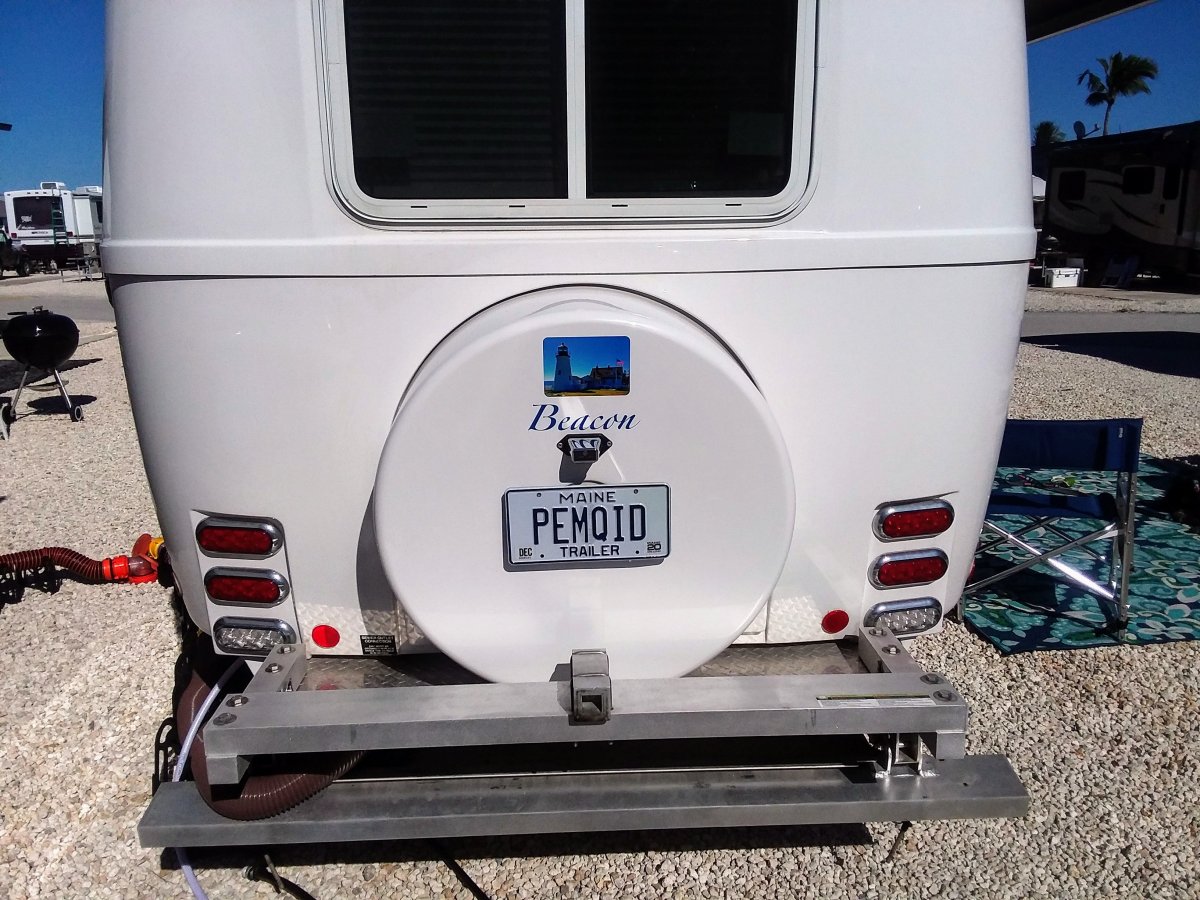
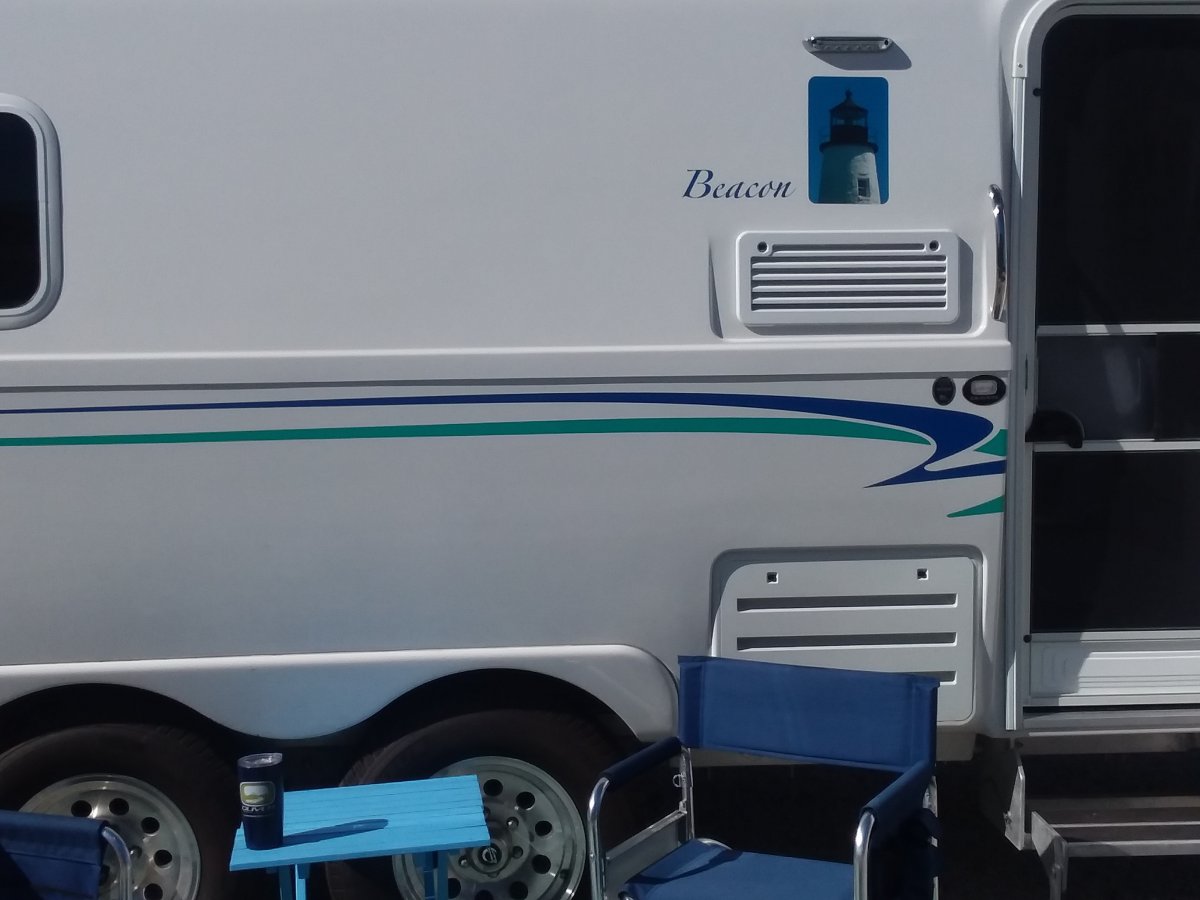
We finally installed our grapics today on hull 537 "Beacon" It was too cold to install them in Maine after we returned from picking the Ollie up in late October. It was warm enough today in the Florida Keys. We have been on the road since February 3rd and will end this year's trip at the Oliver rally. My wife took the pictures and the graphics/vinyl were done by Banana Banners of Bowdionham, Maine. (Thanks for the referral Mainiac) The photos are of the Pemaquid Lighthouse just 3 miles from home. See you at the Rally.
 2 points
 -
Thanks, JD. Excellent write up and pictures. Mossey1 point
-
Yes, excellent write up and repair John. Well done!1 point
-
John, nice write up. I wish I had this when I removed my fan! Mike1 point
-
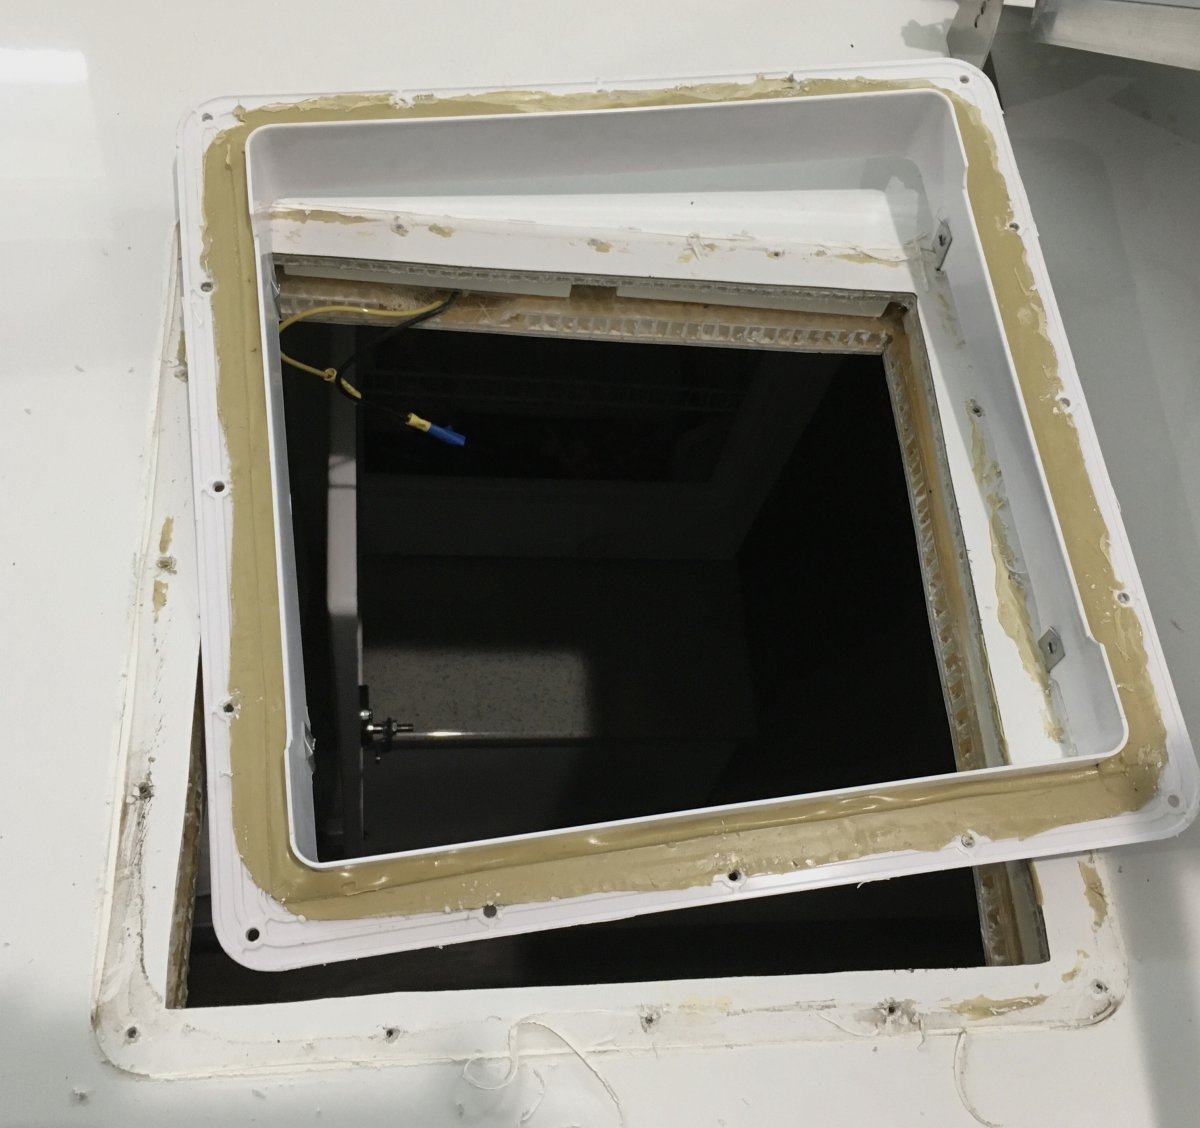
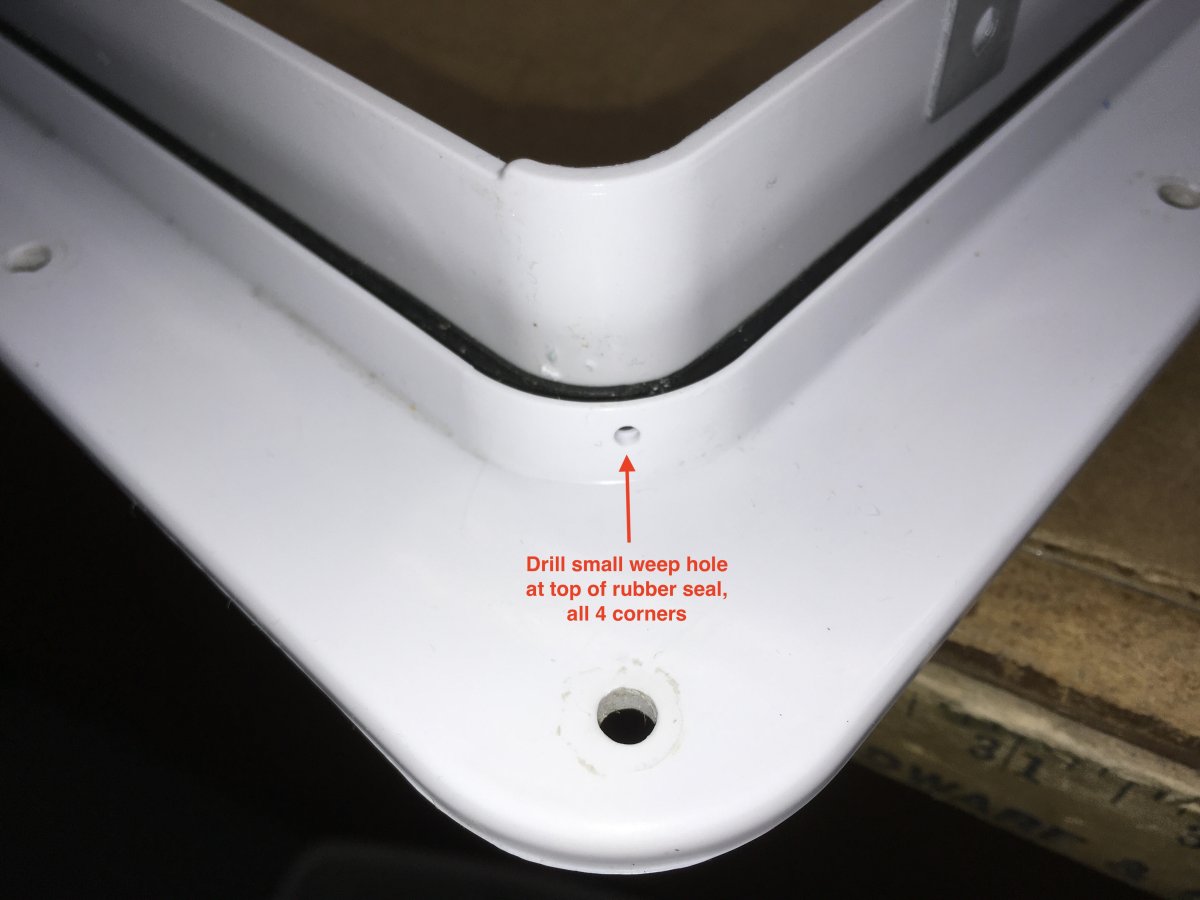
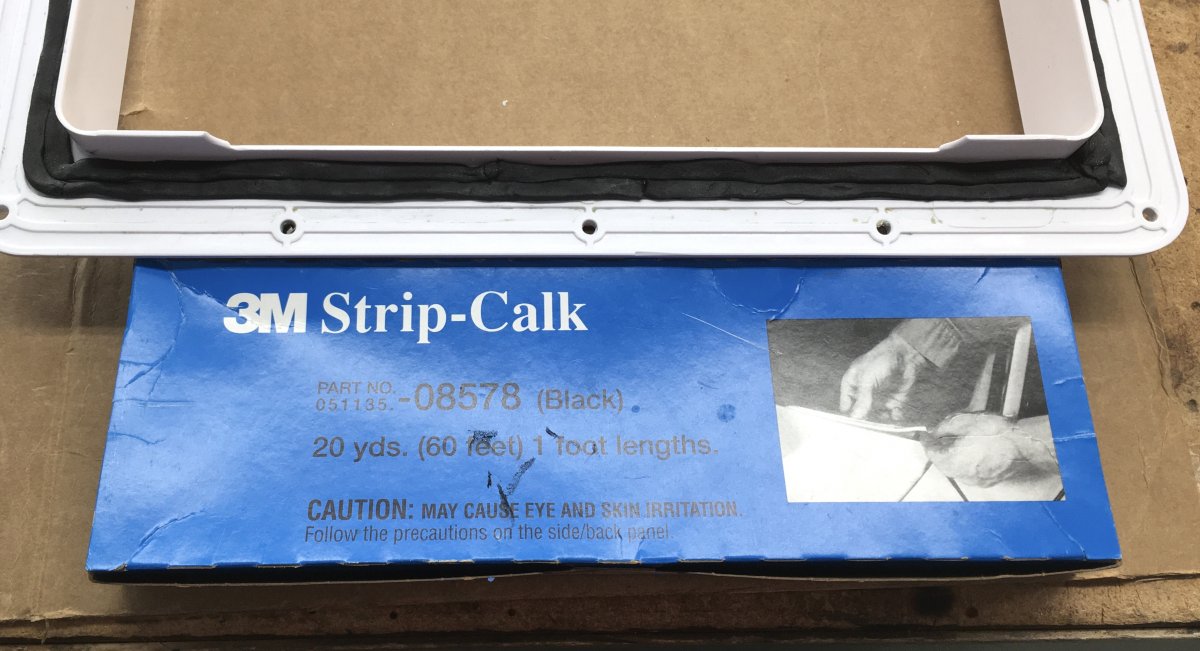
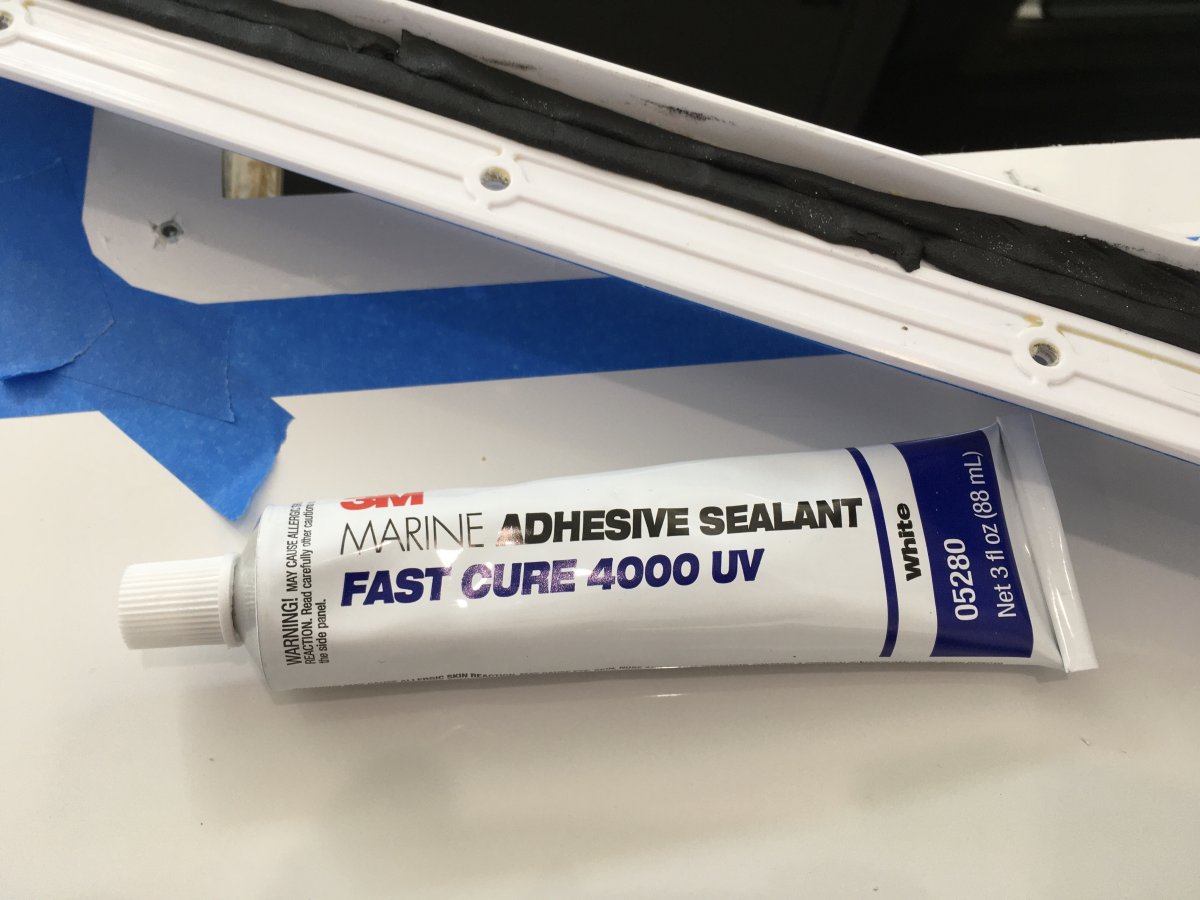
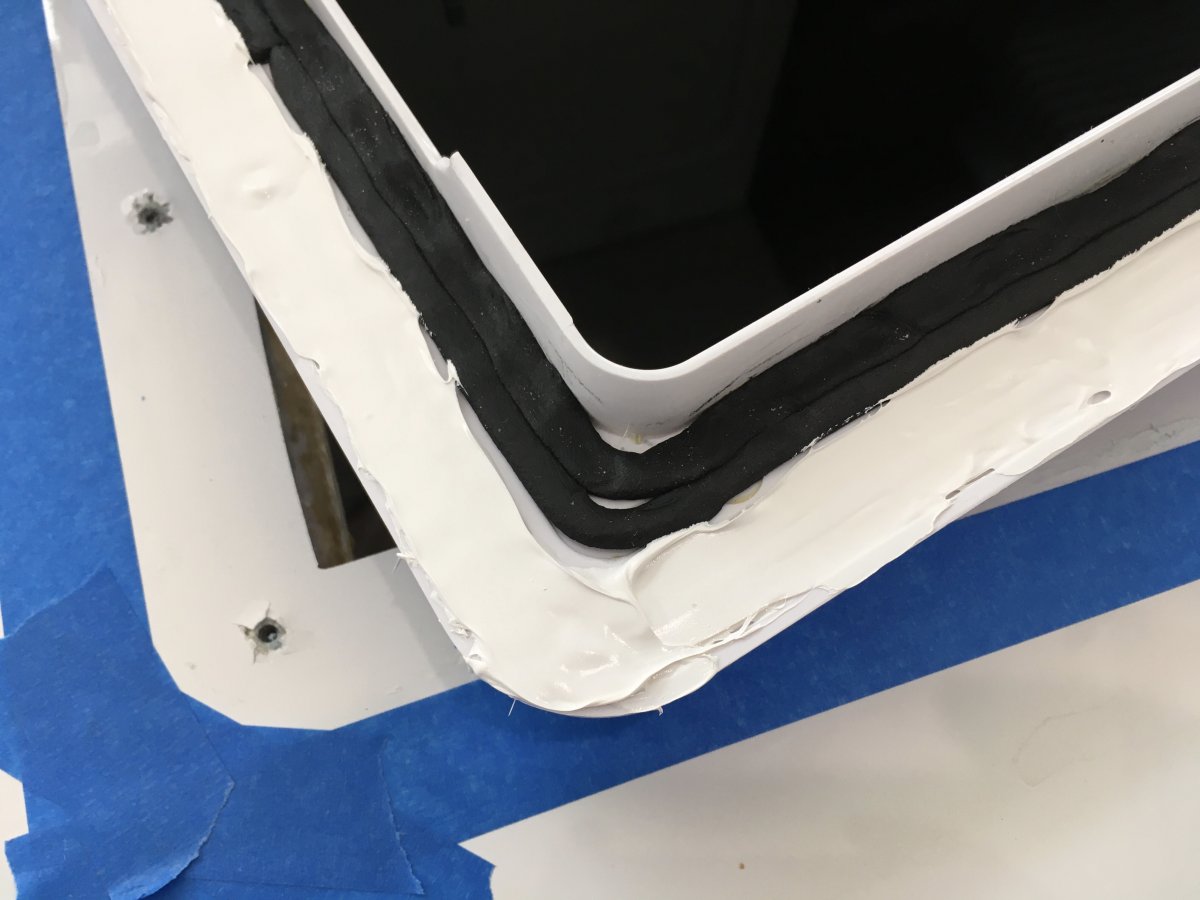
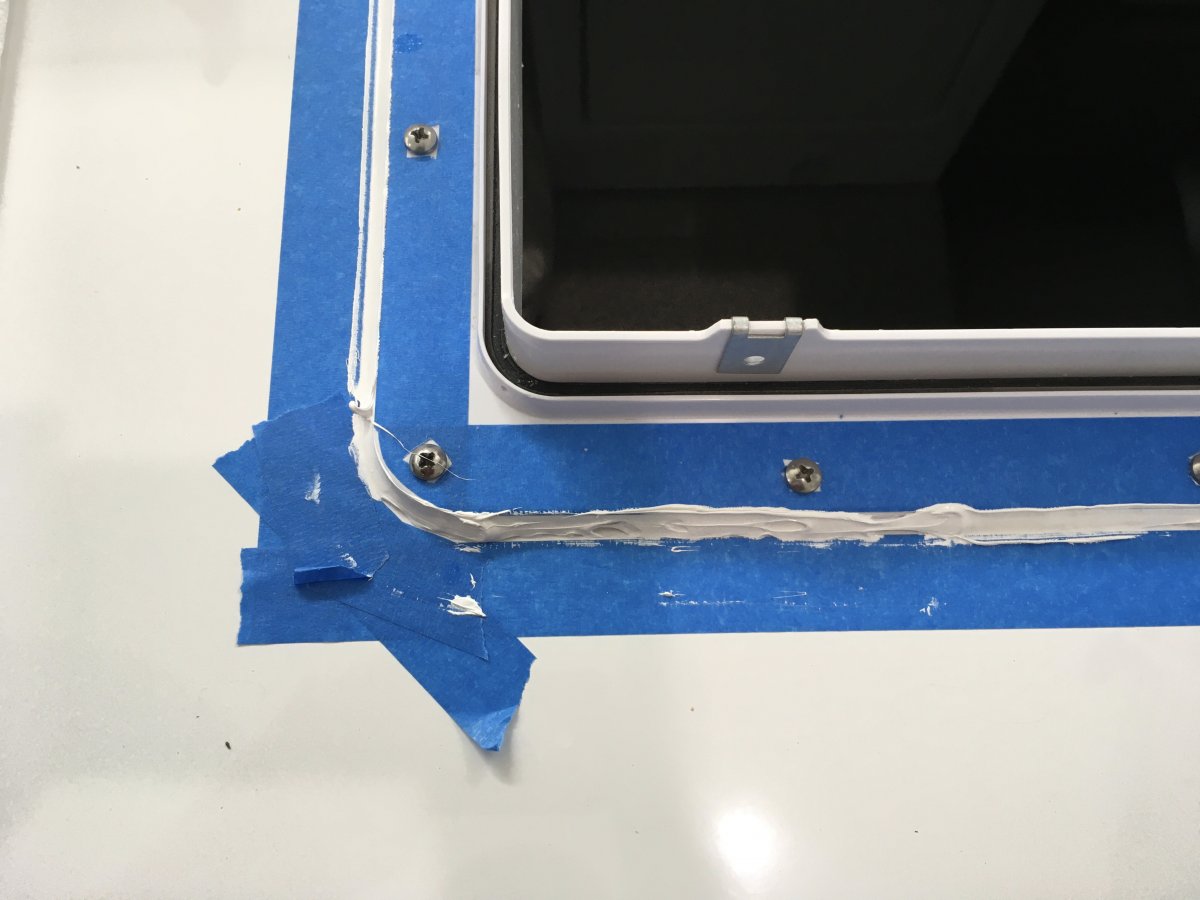
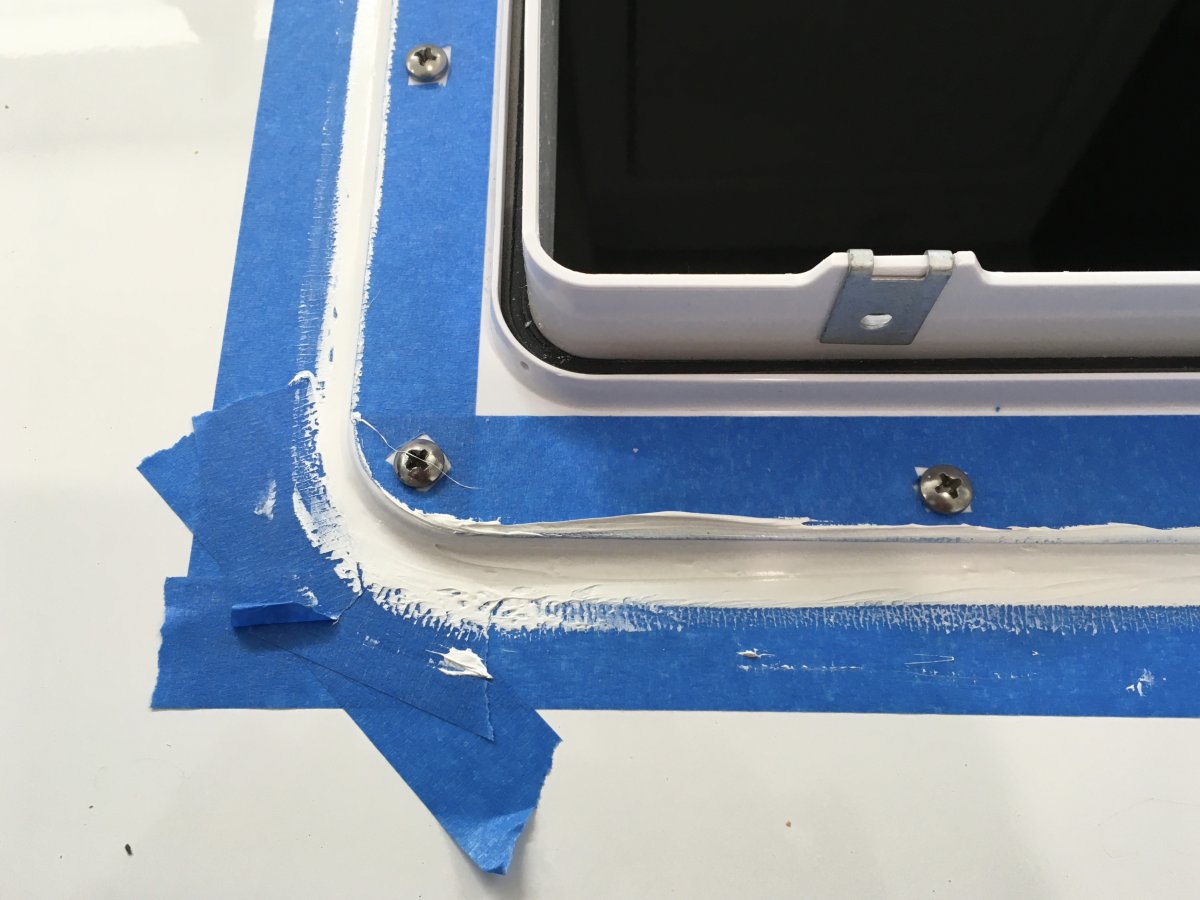
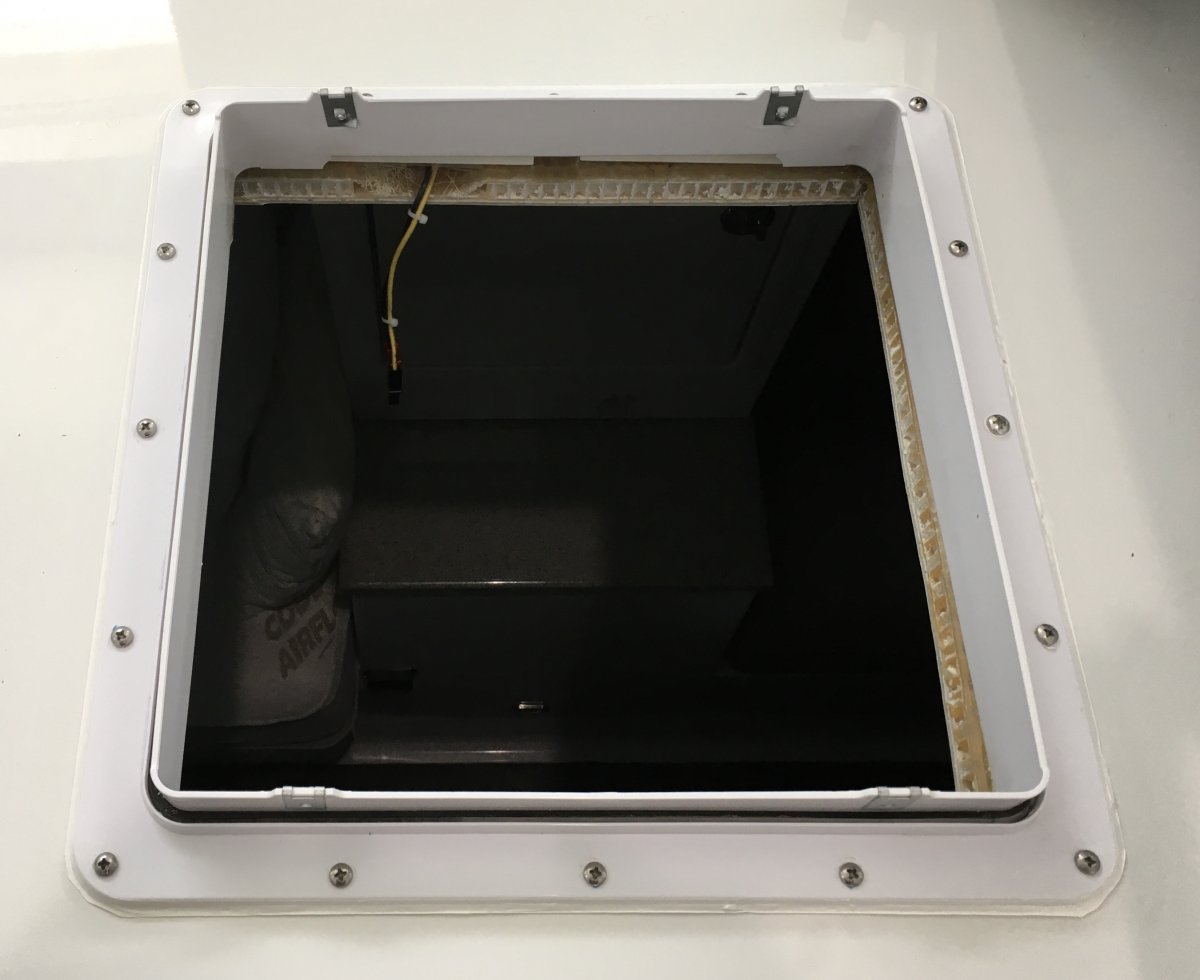
Removing the mounting flange. MARK THE FRONT OF THE FLANGE SO YOU CAN GET IT BACK EXACTLY THE SAME WAY! Otherwise the holes may not match up. This is only needed if you suspect a water leak, or there are obvious signs of distress around the edge sealant. I used a thin stainless putty knife and hammer to shear the factory sealant. My shroud was obviously installed incorrectly, with unsealed screws and plenty of entry points for water and dirt. The sealant should extend all the way to the outside perimeter! Fortunately the Oliver roof structure is robust and can take some water entry without damage. If yours does have water entry, try to blow any trapped water out of the screw holes so it can dry out. Remove all the old sealant using a putty knife and mild solvent. This will take some time. Try to get it all off! The fan assembly sits down into a channel, with a rubber seal at the bottom. It traps water, so drill small weep holes in each corner (4 places). Clean the roof and mask off around the fan leaving about about 1/8" to 3/16" gap. I wanted to use 3M 4000UV marine sealant. It is removable, BUT I really did not want it oozing down into the gap and roof structure. If that should happen, you would never get the flange off again, in one piece! So I used a clay based automotive strip caulk along that area to form a dam. Apply the sealant in two fat beads, and use the putty knife to flatten it evenly. Any excess will ooze out to be removed later. Most importantly - this seals the screw holes and screws! CAREFULLY install the flange. Drive in the screws gradually to bring down the flange fully and let the sealant move around. When they are fully seated, lay a bead around the perimeter if needed: Smooth out the sealant with a rubber gloved finger. Remove all masking tape: Clean up any minor messes with solvent before the sealant hardens. More. John Davies Spokane WA
1 point
-
As I mentioned above, I power it from the trailer when parked more than three or four hours, using a 12 v cable plugged into the solar port. It is much better than running down your TV battery, and much more efficient and safer than running the trailer inverter and using a high voltage extension cord. (When you do that, you are converting the trailer's DC to AC and then back to DC again at the fridge. Each step loses a significant amount of energy.) You need to understand “duty cycle” - it is the amount of time the compressor runs. Typically on a HOT day it runs about 50%. If you are towing and the cab is 70 deg, it won’t run as much. If the cab is completely closed up and 140 degrees, obviously it will be running constantly. At night with a cool cab it will hardly run at all. I try to keep the TV shaded with windows cracked. When parked in direct sunlight, I install reflective sun shields in ALL TV windows facing the sun (and its future path). I also keep the ARB set at around 0 degrees. If it is not too hot at night, even when unplugged the fridge temp only rises to 20 to 25 deg. Lots of thermal mass is very helpful in maintaining cold temperature - keep it full ! I keep a couple of half gallon milk jugs filled with ice inside if there is room. The more stuff inside, the longer it takes to warm up and thaw if it is not being powered. I freeze the jugs at home before leaving, that way the ARB doesn’t have to do that work. ARB makes a heavy duty outside insulation blanket for truly horrific environmental conditions. It is very expensive and I have never felt that it was needed. If I were given one, I probably use it. I hope that helps. PS, once you start using this type of fridge, you will NEVER want to go back to buying ice, dumping melt water and throwing away water-ruined food. Plus you cannot actually freeze stuff with an icebox.... that is the big difference! John Davies Spokane WA1 point
-
I used this one....https://www.amazon.com/gp/product/B07W55FQDL/ref=ppx_yo_dt_b_asin_title_o09_s00?ie=UTF8&psc=1 you just need to remove the regulator and put this onto the threaded pipe on the fire pit. This will provide the quick connect connector that you can then use your gas hose to connect to. Hope this helps.1 point




-
Recent Achievements
-















