Leaderboard
Popular Content
Showing content with the highest reputation on 09/28/2024 in all areas
-
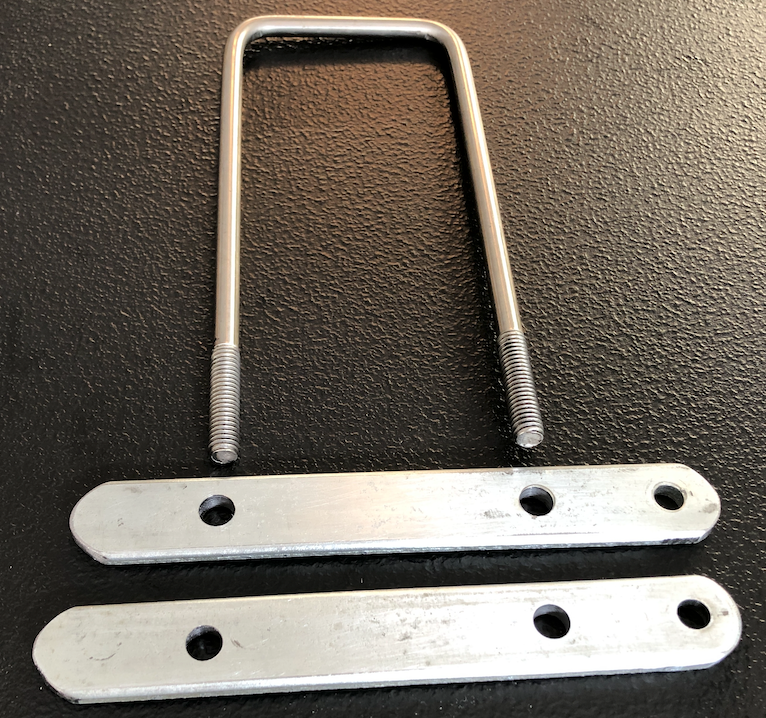
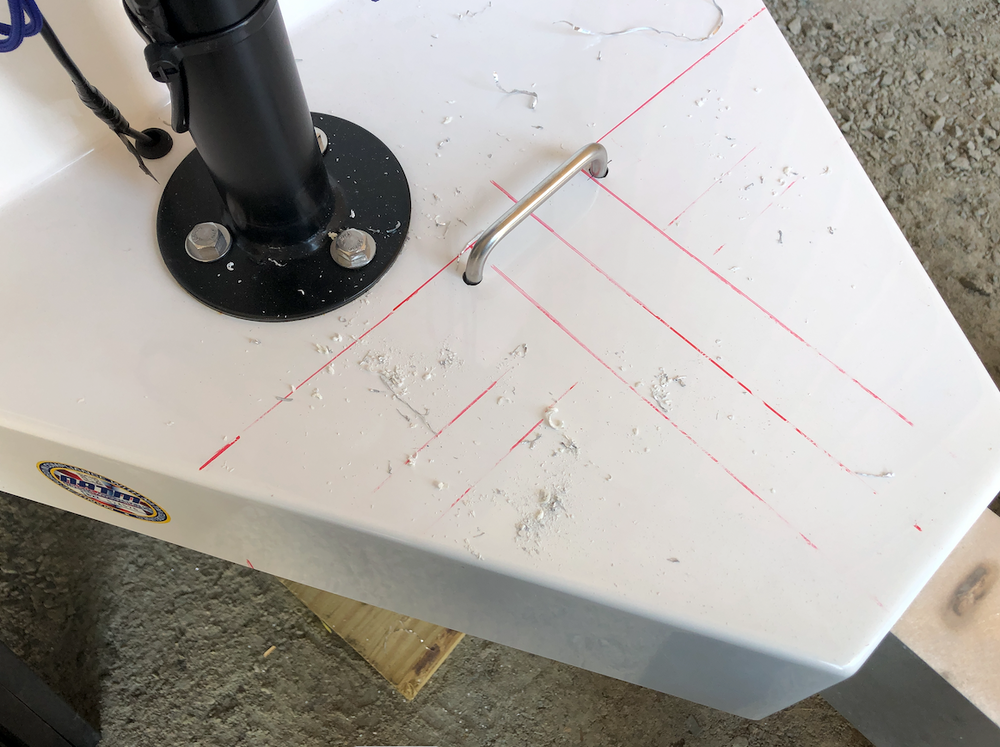
After purchase of our OE II, I realized the first thing that I wanted to add was a cargo box for more external storage. Based on various posts in this forum, I decided to go with either the Arksen 29” Diamond plate (4.3 CF) or the Dee Zee DZ91717P (5.4 CF). While the Arksen has a look that more closely aligns with the Oliver, I chose the Dee Zee because of the larger capacity. As I will explain later, this turned out to be a problem. With regard to any modifications to our Oliver, my goals are to (1) minimize any drilled holes and (2) try to be consistent with Oliver installation techniques. With that in mind, I decided to use the same U-bolts that Oliver uses to attach their aluminum storage basket and purchased two of them from the factory (part #10839). This had an additional benefit since I only needed to drill two holes through the fiberglass (near the tongue jack) - the other U-bolt would be fastened at the tongue. Also, when it comes time to sell, it should be very easy to replace this box with Oliver’s basket should the new owner want to do so. Instead of buying the U-bolt plates from Oliver, I cut and drilled some old garage door hardware that I had laying around (apparently DW is right when she says I never throw anything away). To avoid the possibility of galvanic corrosion I placed pieces of vinyl siding between the steel plates and the aluminum tongue. Positioning and drilling the holes through the fiberglass was a little trickier than I had anticipated. They say measure twice, cut once. Not wanting to screw it up, I think I measured it six times. There isn’t enough space to get a drill directly underneath the fiberglass so I had to use a ¼” x 12” bit to drill the first hole, enlarging it to 3/8” from the top side. Once that hole was drilled, I used the U-bolt to determine the position for the second hole and drilled that from the top, first ¼”, then 3/8”. I then used my Dremel with a pointed abrasive cone to slightly taper the holes as others on this forum have advised to prevent cracking of the gel coat. Now comes the problem with the Dee Zee box. As you can see from the photo, there is an indentation in the rear of the box exactly where the rear U-bolt needs to be! (What did I say about measuring twice?) After considering other fastening strategies, most of which included drilling many more holes, I finally relented and decided to go with the Arksen instead. I trimmed a piece of interlocking foam utility mat (Designer’s Image 765-5058, 0.43” thickness) to use as a cushion between the box and the fiberglass. As luck would have it, I happened to have four 4” x 4” x 3/8” rubber vibration pads (UPE Group) laying around (did I mention that I never throw anything away?). After trimming to the width of the tongue with a razor blade knife I stacked the four pads and secured them to the tongue with 24” long cable ties. The ribs on the pads allowed them to interlock and stack nicely. And four of those pads adds just enough height to make the box level. To beef up the bottom of the cargo box, I added a piece of ½” plywood. To minimize moisture entry from the bottom, I used gasket cutters to make tight-fitting washers from 1/8” rubber packing sheet and placed them on the U-bolts between the plywood and the interior bottom of the box. The U-bolts were then fastened down with the steel plates using SS nylon-insert lock nuts. Permatex nickel anti-sieze was used on the threads to assist future removal, if needed. Overall, I am quite happy with this install. Special thanks to MAX Burner for giving us a tour of Casablanca at the rally in Alabama, including his own Arksen cargo box.4 points
-
@routlaw I will offer my opinion on your questions and I’m sure others will offer theirs. 1. If never plugging into shore power upgrading to a Power Dynamics charger capable of lithium charging becomes unimportant, correct? It would only be important if the Oliver batteries were ever in need of a charge and the solar charger was incapable of accomplishing that for you or the next owner. I believe my lithium compatible battery charging module cost about $150 dollars, a small price to pay for the added benefit it provides to me. 2. Why the need to upgrade to a more powerful PD charger just for Lithium batteries? If a 30 A charger worked for lead acid or AGM's why would it not provide enough current for LifePO? My original PD charger module was rated at 45A which is the same as replacement the lithium compatible charging module. And the reason for the replacement is that the original charging module did not have a charging algorithm that supported lithium batteries. 3. My direct battery measurement is different than what my Blue Sky IPN Remote indicates, or stated more precisely a direct battery measurement with my multi meter at the terminals indicates 13.89 volts, while the IPN remote is reading 13.4 volts which is almost a half volt difference. Is it possible I have another issue rather than dying batteries? When I suspected my original batteries were failing, I removed them from the Oliver, then charged them individually and after a 4 hours resting period, I used a hydrometer to test each cell. This test method indicated that 2 cells of 1 battery were failing. Or you could take your batteries to a battery shop for testing. 4. I don't use an inverter, other than occasionally a small unit rated at 400 watts that directly plugs into the 12 volt ports. Probably will not add anything more in the future either. Put another way we tend to be lightweight campers requiring only lights, water pump etc. Am I missing something else worth considering? Your Oliver already has the ability to charge the house batteries and I think you would be remiss to give up that functionality. Just my opinion! Mossey3 points
-
True that! At times when positioning to dump the back of the Oliver will be a tad higher than the tongue with the TV sloped downward; like the dump point is on a slight peak, perhaps to accommodate runoff. That was the case yesterday at the newly installed dump site next to the new park headquarters at Tyler SP. Typically a lift with 60-70 psi gets it done, but as much as 80 at a few sites encountered.2 points
-
That’s a great solution for all of the dump sites that were designed for dump valves located in the middle of the camper. We Ollie owners have to get creative! Well done! Mossey2 points
-
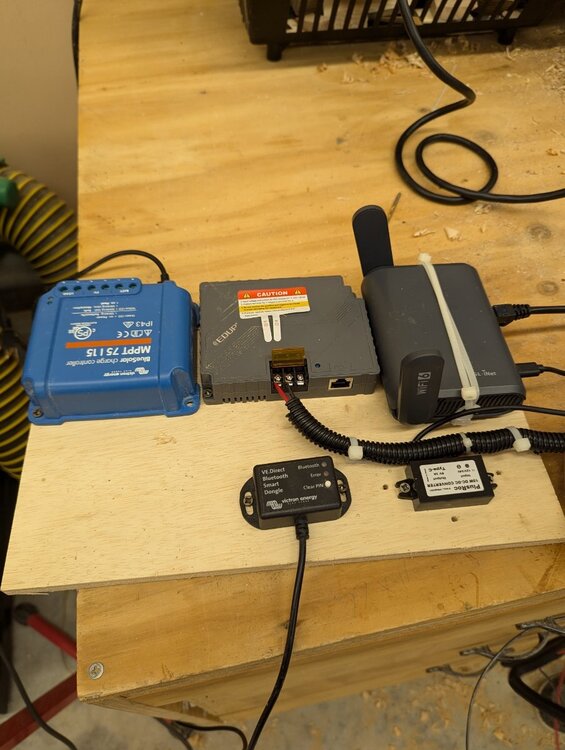
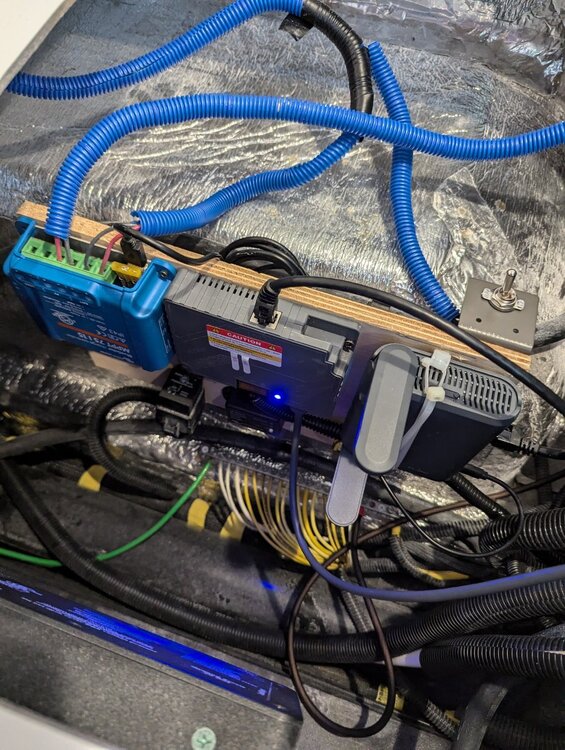
I just received my new Starlink Gen 3. I mostly boondocks and thought it would be a waste of power to convert DC to AC to DC to power the Starlink. I found a device that will convert DC 9-36V 15A to DC 46V 3A through POE. It also has a built in switch to deliver the internet signal to the router of your choice. (XLTTYWL Starlink V3 Poe Injector, 150W 2 in 1 GigE Passive & ESD Protection Starlink 12v Conversion Kit with Starlink DC Step UP Converter DC 9-36V/150W for Starlink Gen 3 Dishy) I am using a mini travel router (GL.iNet GL-AXT1800 (Slate AX) Pocket-Sized Wi-Fi 6 Gigabit Travel Router, Extender/Repeater for Hotel&Public Network Storage, VPN Client&Server, OpenWrt, Adguard Home, USB 3.0, TF Card Slot) uses a USB C power source DC 5V 3A. I wired a PlusRoc Waterproof 12V/24V to 5V Converter DC-DC Step Down Module Power Adapter Compatible with Raspberry Pi 4, Cellphone, Car (USB Type-C Connector) to power the router. I mounted everything on a board and powered it from the DC fuse box under the dinette. I will add a waterproof Ethernet port as shown in many other Starlink threads. It powered up and so far is working great. Even the Starlink mobile app recognizes the signal from the mini router and allows all the Starlink utilities to be used. I had a Victron Solar Panel Charge controller for a suitcase panel in the spot where I mounted the board so I just moved that to the board as well. I love not having to turn on my inverter to run the Starlink dishy.2 points
-
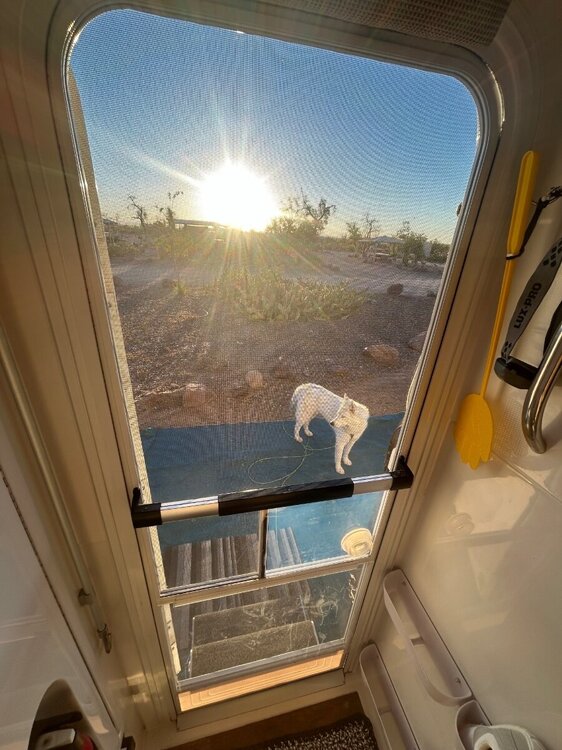
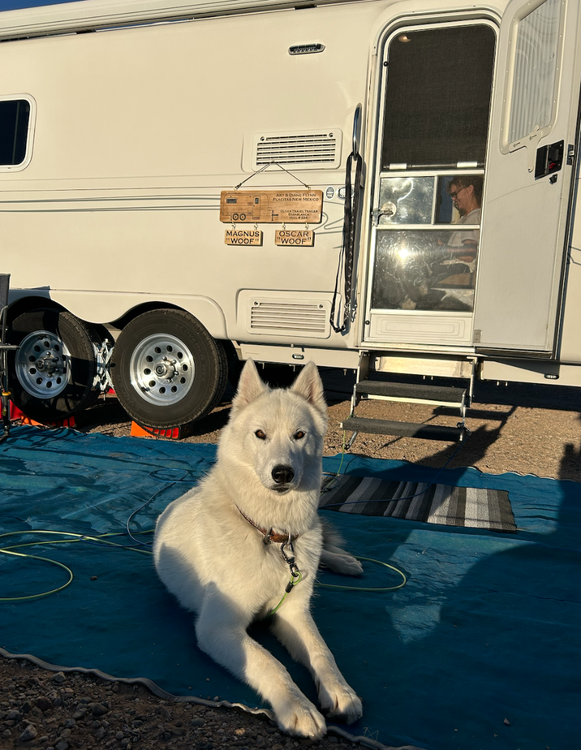
Beautiful sunrise at Pancho Villa SP, Columbus, NM this AM - headed to Old Mexico for lunch today... Magnus guarding the perimeter with D and Oscar inside enjoying their BRCC morning Joe (note our newly minted wooden signage made for us by our friend, Coy): @Patriot - FYI: we stayed at Norris CG and loved it there... We felt it was closer to the sights and hikes we wanted to explore. We've also stayed at Fishing Bridge and Madison and thought they were just as awesome. Enjoy, Explor, and Experience it all, brother! Cheers... IMG_2848.HEIC2 points
-
@thompsonkd My hull #354 is close to your hull number. To get access to the check valves under the basement storage area, I first removed the vertical panel on the back side of the trailer, I then removed the screws on the bottom of the floor and was able to remove the section of floor that is over the top of the valves. the floor panel did come out a little hard but by wiggling it a bit it came up.1 point
-
@Boilermaker Chemist - Great job mounting your cargo box - you;ll love having it, Mike! It was a pleasure meeting you at the rally, brother! Cheers!1 point
-
1 point
-
Mossemi; realized I misspelled your name! I am going to try and post a picture of what our basement structure looks like. We are traveling and visiting family so it’ll be a few days. I appreciate your help. David1 point
-
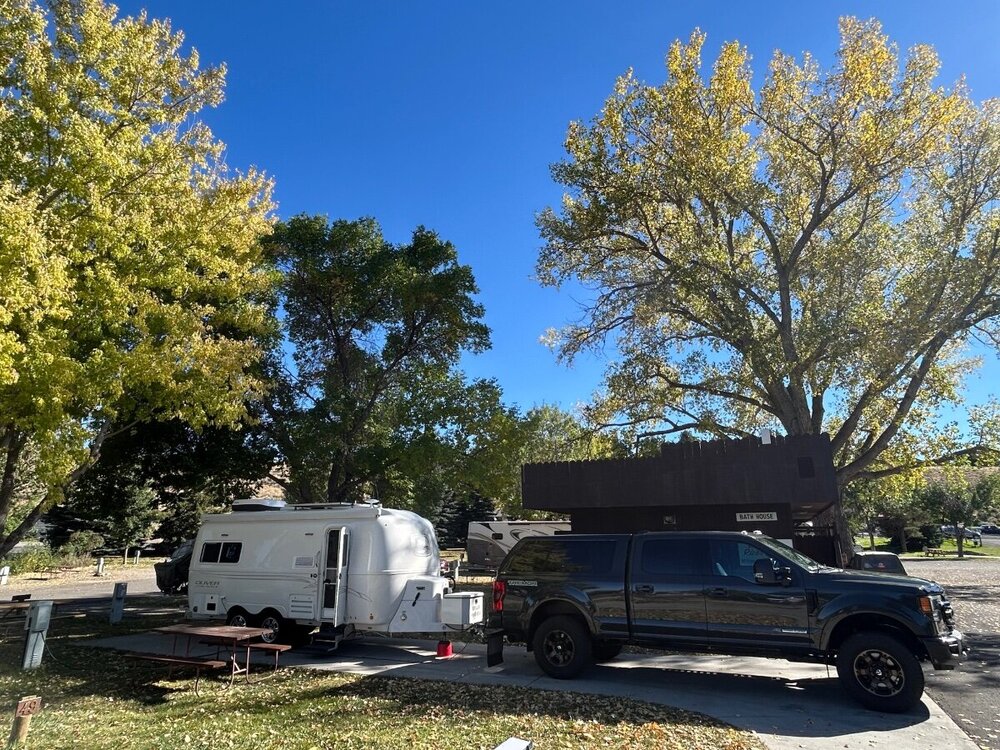
We are based camped at the Ponderosa CG right in Cody. A lot to do and see here and this town has a really nice vibe. Landed another nice FH site and even a little shade. Tomorrow morning we will get breakfast at Roosters and then head out to Bear Creek Pass and a place called The Red Lodge. Safe Travels!1 point
-
1 point
-
Recent Achievements


