mossemi
-
Posts
1,801 -
Joined
-
Last visited
-
Days Won
43
Everything posted by mossemi
-
I am in my natural state of confusion and I was trying to figure out why you have 340W of roof top solar panels. Was your Ollie ordered with solar or was it installed after the initial delivery? I ask this because I am the second owner of #193 and my solar system was original equipment and has a Zamp 30A PWM CC and 2 - 160W Zamp solar panels. I do believe that the panels were re-rated sometime around Dometic's acquisition of Zamp. Mossey
-

Popping coming from Transfer Relay-
mossemi replied to trekhard's topic in Mechanical & Technical Tips
I used to think that a pole mounted surge protector was overkill until I sat in on a Mike Sokol presentation at the Florida RV show in January. Someone in the crowd asked if a surge protector was necessary at the pole because he already had EMS on board and Mike answered that the benefit of a second surge protector at the pole would extend the life of the on board EMS. He further explained that all surge protectors have a life span and every surge takes time away from that, so he suggested that the one at the pole would be sacrificed to save the on board EMS. This made sense to me so I started using a Southwire Surge Guard. Mossey -
@rideandfly Those walking sticks look familiar, did you buy them at the rally?😉
-
As a general rule, any tool that does multiple things or sizes doesn’t do any of them well and adjustable wrench’s have a place, but it’s not for zerk fittings. And that also applies to me, I can break any thing. So my advice and using @Ronbrink information is to go to an auto parts store and see what they have as far as zerk fittings go. I seem to remember that the NAPA store I frequent, has variety packs that have different styles like straight, 45° and 90° and maybe different sizes. Pickup several types and sizes and also check for box end wrenches that fit while you have the zerks in hand. And check their return policy so you can return the wrong ones. Also try some penetrating oil on the zerk threads. Mossey
-
Newbies Looking for an Oliver and Camping Mentor
mossemi replied to Mike Spies's topic in General Discussion
@Mike Spies Welcome to the Oliver TT forum! I think that asking questions here will result in lots of answers to your questions and the relationships will follow. I will say that one mistake new owners often make is the choice of a tow vehicle. I don’t like helping people spend their money, but I think we all spend a lot of time and thought when considering the purchase of an OTT and not enough on how we will use it, so you are off to a great start. It sounds like y'all are very active and if you just hike, you can travel fairly light. But adding bikes and Yak's and the associated equipment will increase the load on your TV. It’s often cheaper and always safer in the long run to oversize your TV. Some OTT owners travel very light and 1/2 ton trucks work well and others live in their OTT'S or they take extended camping trips and their loads are much greater and 3/4 or 1 ton trucks are better choices. Mossey -
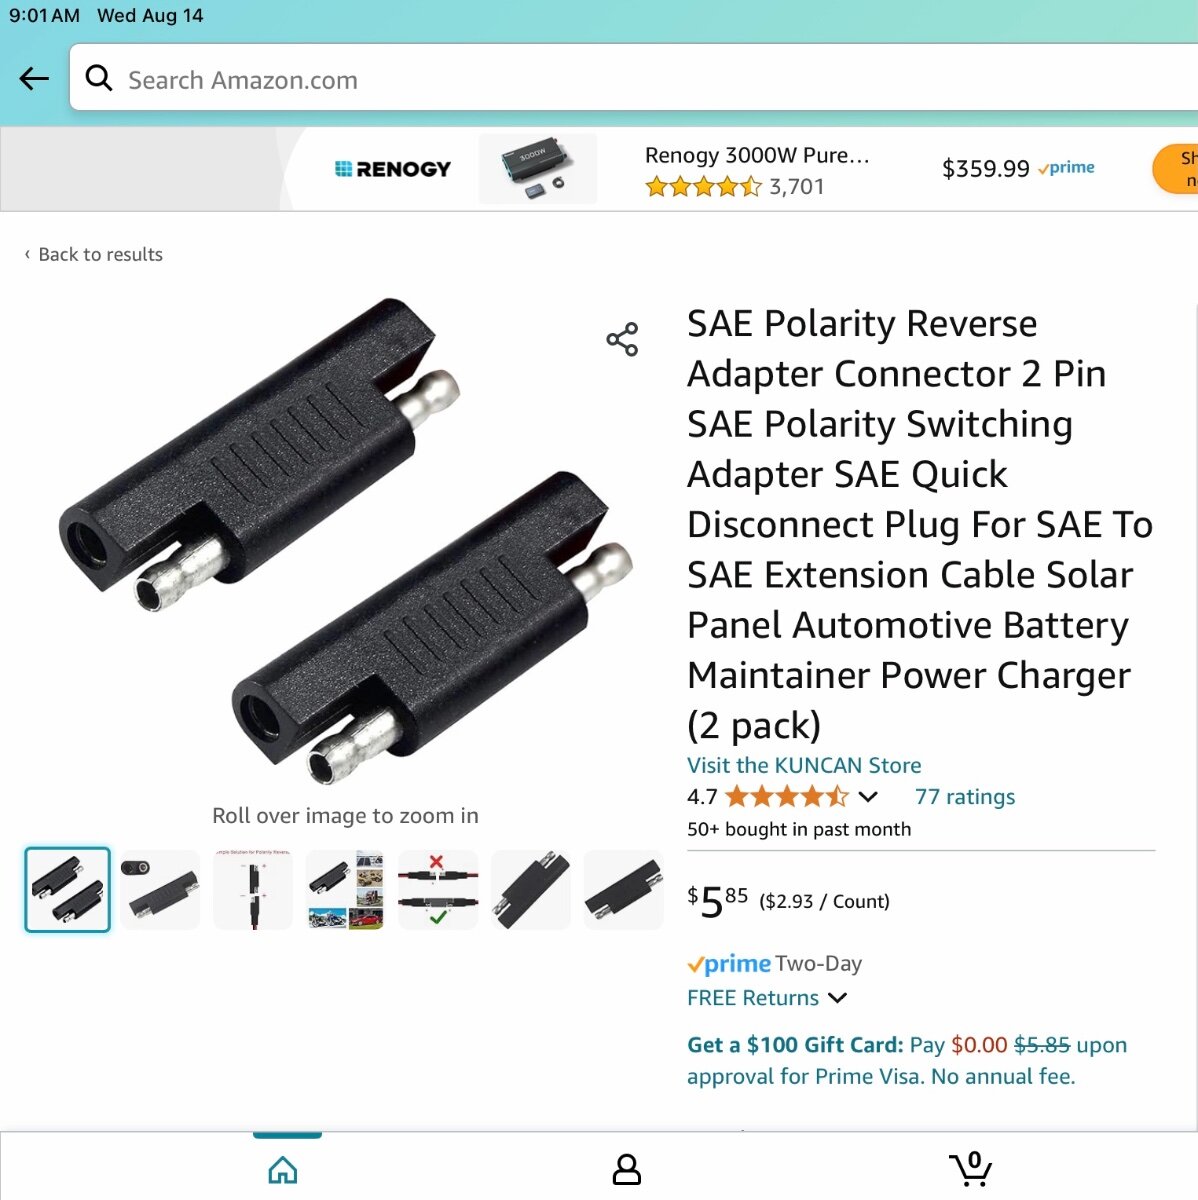
Just a word of caution about the Zamp Solar Port, it is a known fact that the Zamp 2 wire connectors are wired in reverse so be sure to verify to positive wire with test equipment. Do not trust the wire color. There are gender benders available to place inline between to solar panel and the Zamp port. Mossey

-
You can use the solar panel solar charge controller, cable and alligator clips that came with your suitcase solar panels. The suitcase solar panel manual probably has a connection procedure to follow, be sure to verify. You will have to look at the solar charge controller display on the suitcase panels to verify that it is working. FYI, the Zamp port is a simple 2 wire SAE waterproof port. When installed on the side of the Ollie, the wires go directly to the battery positive and negative, with a fuse on the positive wire. The alligator clips do exactly the same thing. It’s is just like jumping your car battery with the positive connection first and then the negative connection. The battery connections usually happen before the solar panel connections. Mossey
-
Victron Multiplus and MPII Feedback Request
mossemi replied to jd1923's topic in Ollie Modifications
I think a lot of Victron's thinking is based upon their marine market. I don’t remember if Overland used 2 x 1/0 or 2 x 2/0 cables with the first MP 3000 installation in a LE2, but I’m sure he doubled the cables. He installed the MP under the front dinette seat so the cable run was a little longer and it was easier to run below the floor. Mossey -
Initial questions for prospective Oliver Elite II owners
mossemi replied to Oliver Tigers's topic in Introduce Yourself
There are a lot of subjective questions which I choose not to answer and I think you will figure it out on your own. I do have a pretty strong opinion on the twin bed option for two adults. Our's was a full bed originally and later converted to a twin. It was extremely hard to make up the bed each morning and leaving the full bed in place everyday really makes the LE2 interior small, as it amounts to about 40% of the interior floor space. Regarding the weight distribution hitch, I think it is a must for any 1/2 ton pickup or SUV available. Your owners manual should stipulate the allowed trailer and tongue weight with and without a WDH. Ultimately the choice is yours, as is the liability involved! I do not know of any LE2 using anything other than an Andersen WDH. The fiberglass on the front A-frame presents a mounting obstacle. I’m pretty sure it could be done but I can’t think of any benefits of using a bar type WDH. Mossey -
@Snackchaser Thank you for the nice write up and excellent installation! Mossey
-
Thanks Mike, but this is one of the times when I wish that I wasn’t right! Great install and write up as we have come to expect from you! Mossey
-
This is the area of testing where I like to use a non-contact voltage tester. Mossey
-
I’m sure glad we added the Lithium Platinum Pro option!
mossemi replied to Steve Morris's topic in General Discussion
Great job making do in a tough situation. Mossey -
Or you could just lift the side of the Ollie that has the troublesome zerk with the rear jack. The idea of lifting the trailer is to remove the downward pressure on the suspension system. And do either of these procedures while the Ollie is connected to your truck. If you are going to be under the trailer and you don’t have any jack stands to support the trailer while working on the suspension, be sure to place wood blocks or what ever you use under your jacks when setting up, under the frame as a safety measure. Stay safe! Mossey
-
If you are just trying to lift the tire that is associated with the zerk that is not accepting grease, the trailer aid will probably work. I wouldn’t take the wet bolt out, but I would remove the zerk fitting for cleaning or replacement. If the bolt has to come out, I suggest going to a trailer shop and letting the professionals handle it. And if you are going to continue doing your own grease jobs, invest in a battery powered grease gun. Mossey
-
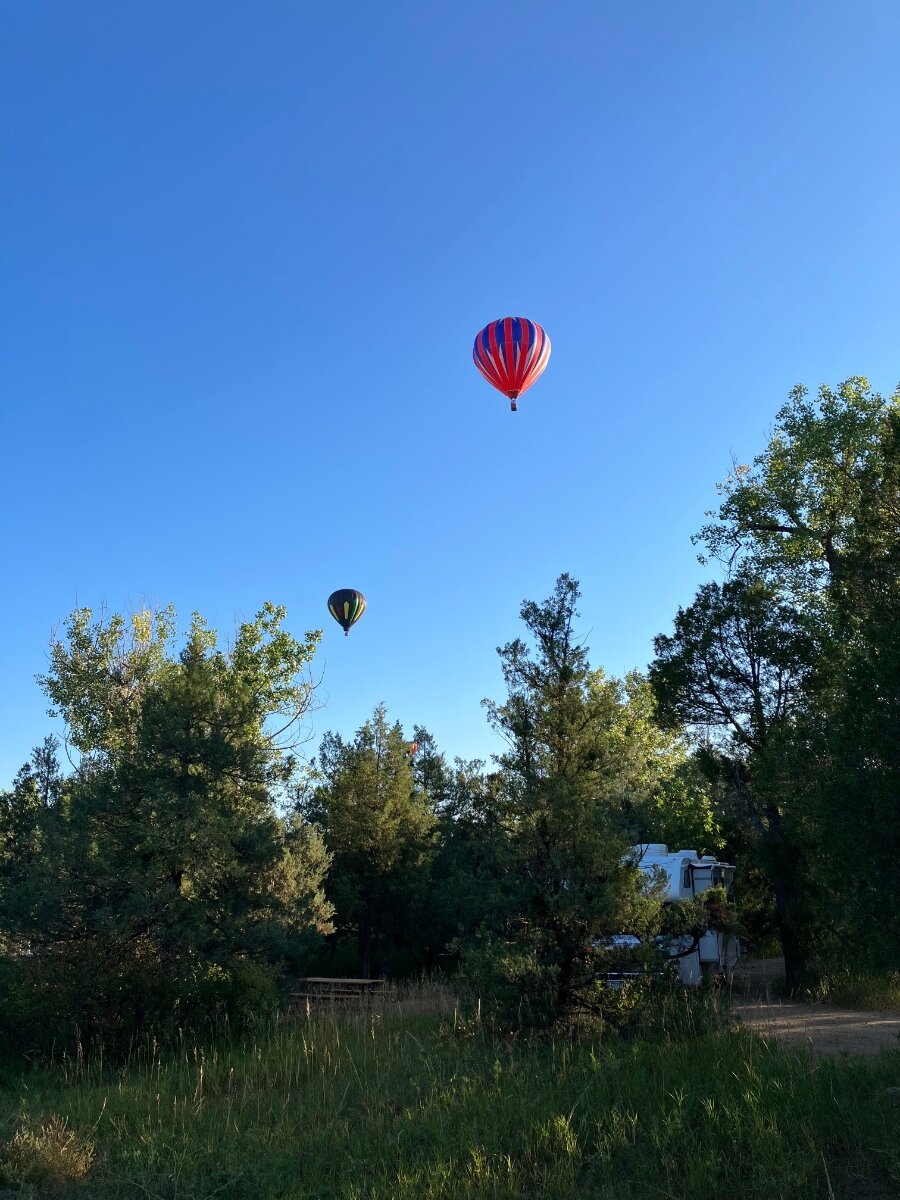
Krunch and I stayed at Cottonwood CG and also had bison strolling through our campsite and horses were also in the campground. But the highlight for us was the hot air balloons that woke us up early one morning. Although we didn’t stay at Juniper CG, we did drive up to visit and we thought that it is the nicer of the 2 campgrounds and had more vacancies. There was a little less to do in the north unit and it seemed smaller that the south unit. Do both if you have the opportunity!
-
Utah's Mighty 5 next spring (from FL)
mossemi replied to Dennis and Melissa's topic in General Discussion
I believe that hiking poles are extremely useful. They really save my knees on the downhill portion of trails. And they add to my stability. Have you ever seen a goat fall down? I haven’t! Mossey -
My experience has been that almost any campground that has weather cold enough to freeze water pipes will not have water at the site, but usually has community water located and multiple spots. I carry a full 5 gallon water bottle from home and when it becomes empty I can use to transfer water to the Ollie if needed. Mossey
-
Heads-up, the sites at Camden Hills are listed with the site number and either an S, M or L. We reserved site 47M and it was pretty difficult to spot the Ollie. If possible try to get a L site. Mossey
-
The question I have at this point of your troubleshooting is, have you verified that there is a HDMI plugged into the DVD player. The reason for 2 HDMI cables near the tv from an Oliver historical point is for a third video source for the tv. The first video source is the coax cable, the second video source is the DVD player in the stereo system and the third video source could be a stand alone DVD player, a VCR, a Roku/Fire stick device or a game console that would be placed in the attic above the tv. When I switch between the video sources, I have to change the signal source setting on the tv to match the input device. You may have input choices such as HDMI1 or HDMI2 or antenna or cable. Good luck, Mossey
-
That rules out the tv DVD player. I would verify the tv wiring first as it’s easier to get to. Next compare the tv wiring to the stereo wiring, which should be accessible through a port hole in the upper street side cabinet. I’m not familiar with your equipment, but the video signal is probably a HDMI cable. Mossey
-
The antenna should not have anything to do with the DVD player. It is a little difficult to diagnose without knowing more about your tv and stereo equipment. I will add that my LE2 #193 has 2 DVD players, one in the tv and another in the stereo and we can use either to watch a DVD on the tv. Mossey
-
I don't know if you ordered directly from Dexter that it would be considered a custom order. They may or may not be cheaper directly from a Dexter distributor. You won’t get a straight answer from anyone until you have your as built information. Mossey
-
@Wayfinder I thought you wanted Oliver to install 5200 LB axles. You should check with Dexter about the availability of 5200 LB axles to replace your OEM axles after you get your as built documents. Mossey
-
Don’t take my word for any electrical source in your Ollie, be sure to verify your own voltage source! Mossey