-
Posts
5,759 -
Joined
-
Last visited
-
Days Won
243
Everything posted by John E Davies
-
If I rotate a pic on my iPhone 13 Mini, it then uploads in the original sideways position. I have not quite figured out why, maybe because it always saves the original so you can Revert back to it? It did not used to do that…. If I open and edit it on my iMac, the change is forever. As the years pass and I become More Senior these tech mysteries become deeper. John Davies Spokane WA
-

2022 Tundra Hybrid drive test review
John E Davies replied to John E Davies's topic in Towing an Oliver
VERY long and boring comparison between the both generations. Start at 15:00 for the new hybrid review. I don’t care much for the guy. ”Feels like a supercharged V8”…. That will do for me. In a Sequoia TRD Pro. Video - 1st Drive Impressions Of A 2022 Toyota Tundra TRD Pro! John Davies Spokane WA -

2022 Tundra Hybrid drive test review
John E Davies replied to John E Davies's topic in Towing an Oliver
Can anyone comment on that weird dyno/ power chart? John Davies Spokane WA -
That was a great post. Thanks! FYI if you buy the special tool needed to remove your standard water heater pressure relief valve (which also works on your home WH) that axle cap driver nests beautifully inside it, to minimize space. Wrap both with stretchy mover’s wrap so they don’t rattle around in your spares kit…. John Davies Spokane WA
-

2022 Tundra Hybrid drive test review
John E Davies replied to John E Davies's topic in Towing an Oliver
OK, I guess they don’t want direct links. Try this https://tctmagazine.net/winter-2022/winter-2022-tundra-hybrid-test-drive-javex-2021-ut-spring-fling-misty-s-fjc-2023-sequoia Scroll down a little and hit the “Download Now” button. Let me know if that works. John Davies Spokane WA -
This is from the Toyota Cruisers and Trucks e-magazine.The author test drove three models with this engine, including towing a 5500 pound Airstream. I find the dyno graph to be enlightening, showing how the electric and engine power overlap. 600 ft lbs or torque at about 1300 rpm! 😳😳😳. That is about what my 2006 Ram 5.9 Cummins made at 1800. And the peak torque is 800? I actually find it hard to believe since they advertise 583 ft lbs. Scroll down to page 18. Toyota Cruisers and Trucks Winter 2022. Maybe those power figures are hypothetical, and they dial it way down for longevity…. John Davies Spokane WA
-

HOW TO : Service your rear electric jacks
John E Davies replied to John E Davies's topic in Mechanical & Technical Tips
Keep in mind how these parts are made, most likely an unskilled worker has ten seconds to shoot a measured amount of lube in one place, then the gearbox goes on to the next station. They could not spend the required time needed to hand pack it properly. And think how much money they save by not using enough grease. John Davies Spokane WA -
That is a little odd, I can sign up, yet I live in a metro area with a population of 600,000. John Davies Spokane WA
-
RV Safe describes their gas detector as "battery powered", that is misleading since you must hard-wire it to a 12 volt source. It has no internal batteries. This is what Kidde says, they market it as a portable unit. "Protection Everywhere. This is a battery-operated, free-standing carbon monoxide alarm that can be placed on a counter, nightstand or tabletop, or it can be taken with while traveling or camping so that you can always be sure you are in a safe environment. Additionally, if it is your preference, it includes the hardware necessary for installation on walls." An RV isn't going to hurt it, There are no moving parts except the battery door and the push buttons. I imagine Oliver chose their galley combo unit way back when there were few alternatives. It may also have to do with certification and expected life span of the gas detector part. John Davies Spokane WA
-

HOW TO : Service your rear electric jacks
John E Davies replied to John E Davies's topic in Mechanical & Technical Tips
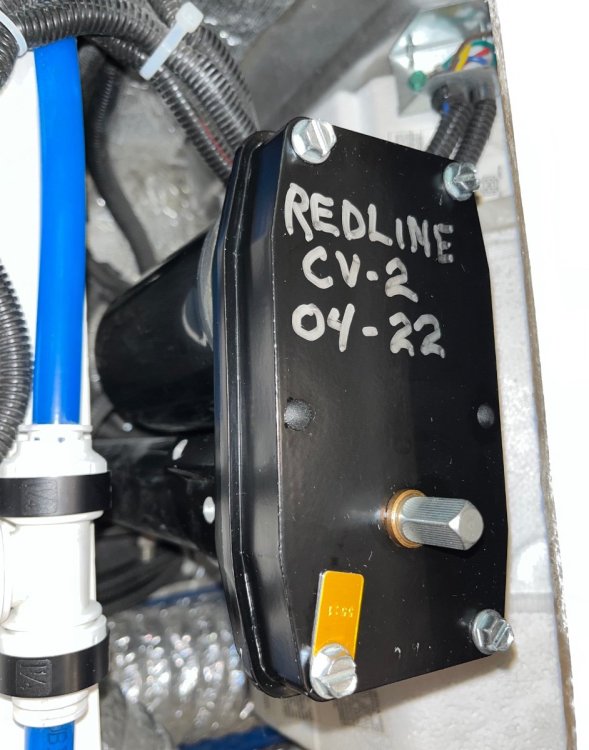
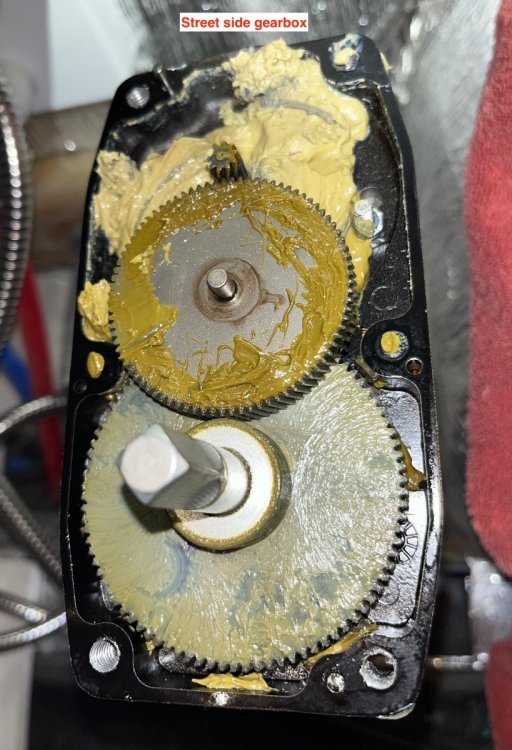
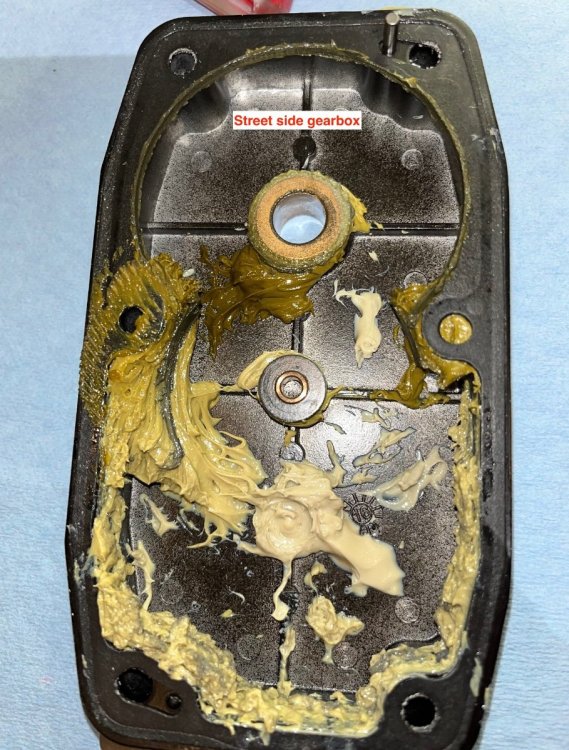
Grease the upper cover: Set the gear and shim down over the lower part, align the gasket and install the cover and the four bolts. Tighten the three set screws firmly, be careful they are steel in aluminum. Clean off the top and make a record of the service: Test the jack for proper operation and shift all your tools and stuff to the other side. My street side gearbox looked very similar - too little lube, some gear wear: Each jack took a couple of hours, most of that time was cleaning out the old contaminated grease. A future service might be a whole lot faster, you could just take a look and add some more CV-2 if needed. I do NOT recommend leaving the old white lithium grease in place, it will not mix well with the full synthetic, and you should get all those black metal particles out!. John Davies Spokane WA- 10 replies
-
- 13
-

-

-
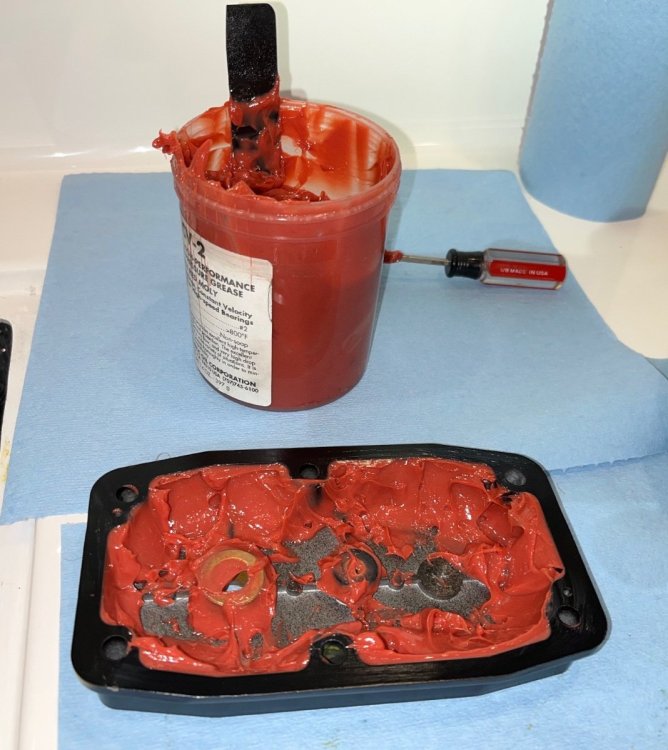
I covered a lot of info here, read this thread first please: https://olivertraveltrailers.com/forums/topic/4094-how-to-vip-3000-electric-stabilizer-jack-service/ FYI I used about 2/3 of a jar on two jacks, so a full one might be enough for all three. I finally got around to doing the rear ones, it is not especially hard but it is a little nasty. For the tongue jack, I removed the entire head unit and took it to the workbench. It is possible to remove the head on these rear ones, if you don't mind cutting and re-splicing the power wires. I chose to do the job in situ, with a couple of foam pads to cushion my knees. I wore a headlamp so I could see better. Loosen the three set screws a couple of turns, with a 3/16" Allen wrench. Once they are loose, the gearbox/ motor assembly can be swiveled around for better access to the top bolts; This is the CURB side one, the STREET side one has a lot more room around it: Remove the four bolts, tap the side of the upper cover carefully with a soft mallet to break loose the gasket. If it doesn't tear, you can reuse it, be careful. Both rear gearboxes looked a lot like the tongue one, except that the grease had not hardened in these. It was however contaminated with metal particles. There was not nearly enough grease installed at the factory, and there was some obvious wear from "dry spots". By lifting off the unit you can access the drive pin and the top of the jack screw. Clean off all the old stuff there with paper towels and a light dash of a solvent like brake cleaner. Lube with CV-2: Set the unit back in place and clean out the old glop. The top cover and big gear can be taken away and blasted hard with brake cleaner. Do NOT try that inside! Lube the bottom part. I used a small plastic piece as a trowel. Try to get the lube under the big gear and apply it liberally around the outside. Wipe off the gasket surface. Be VERY careful not to lose the little stainless shim that goes against the small gear face. When you reinstall the gear,use grease to capture the shim. John Davies Spokane WA
-
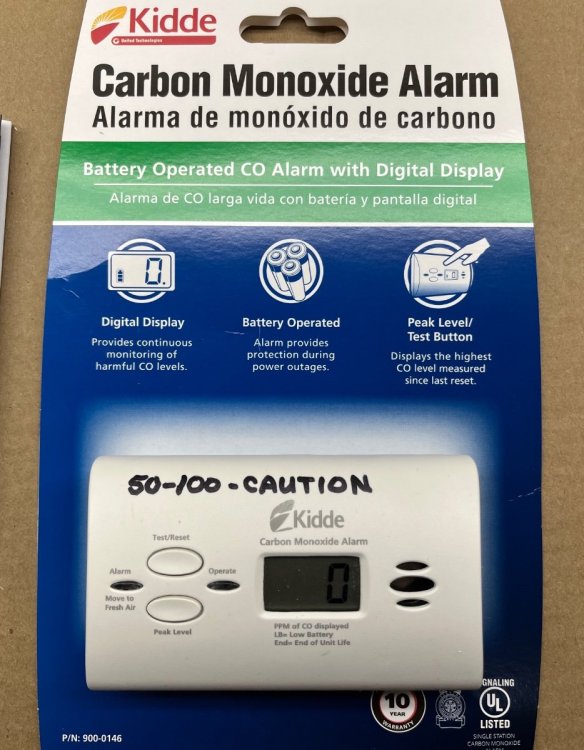
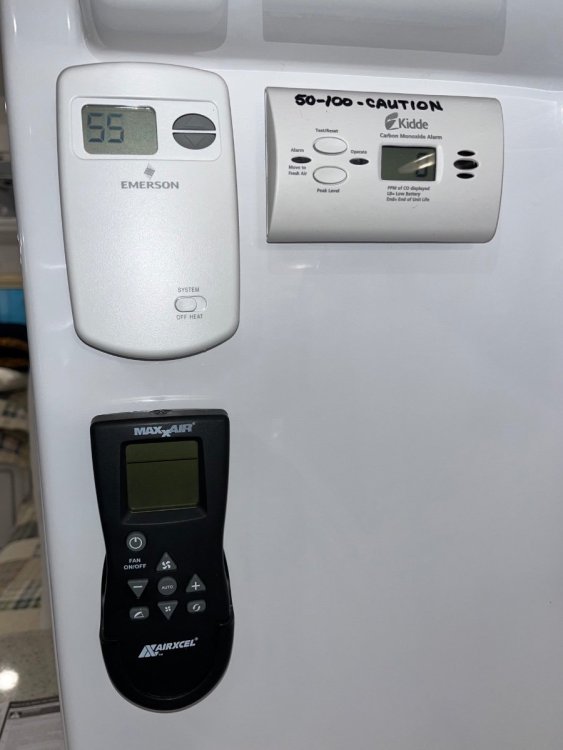
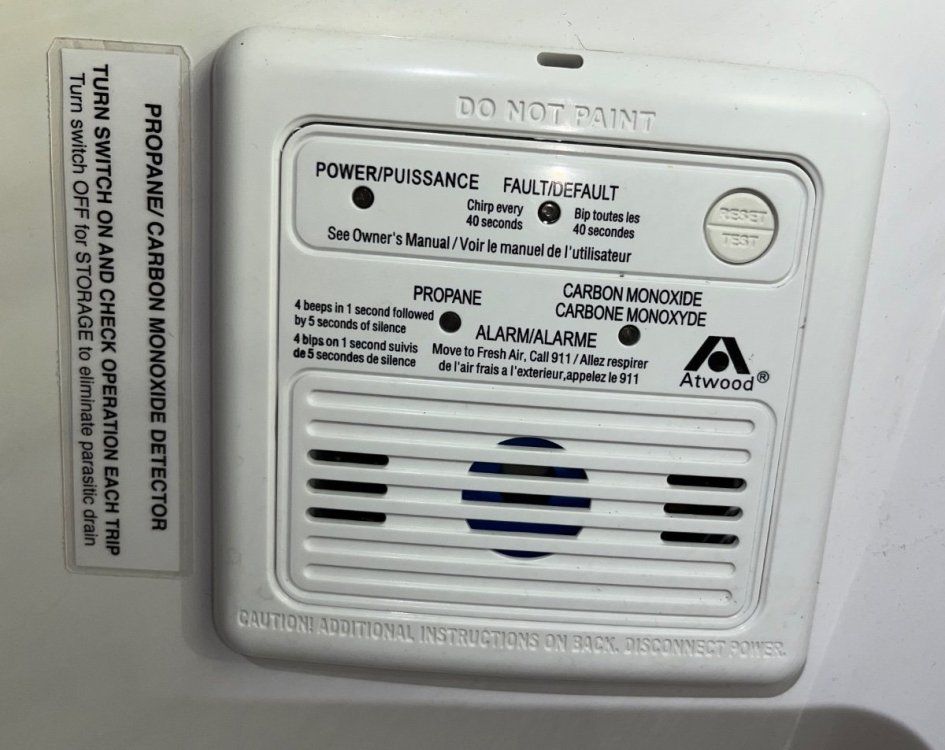
I really like the Kidde unit, I have one in my garage and one in my house next to the thermostat. The big deal about it is that it records the concentration level history, and you can push the button to see the peak level and erase it. A dumb detector is just YES or NO, which tells you nothing at all until it alarms. Anything up to 50 ppm on the Kidde can be ignored. 50 to 100 is getting hazardous, you should investigate. My garage unit peaks at 55-60 when I run a car engine nearby, that doesn't worry me any. Repeated high levels might mean the furnace or water heater is acting up. I screwed it to the wall next to the thermostat, for easy visibility. FYI, Ollies come with two detectors, a Smoke/ CO unit in back, and a Propane/ CO detector near the galley floor. John Davies Spokane WA
-
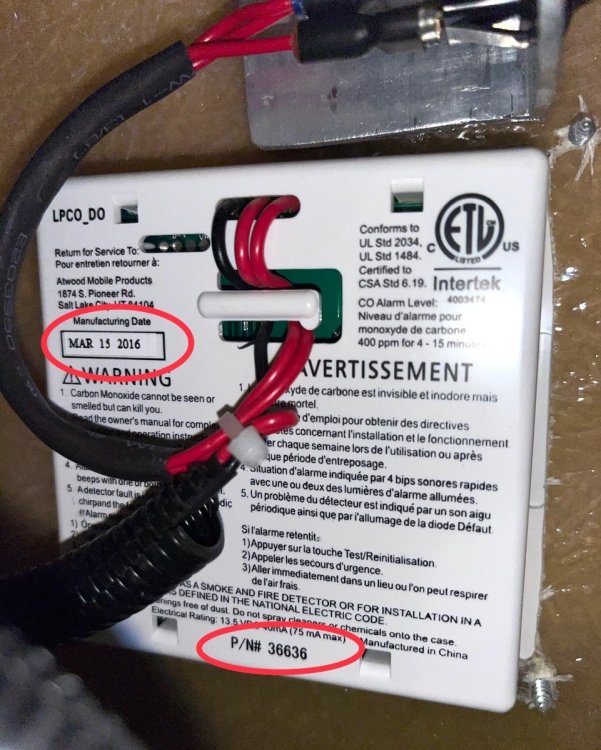
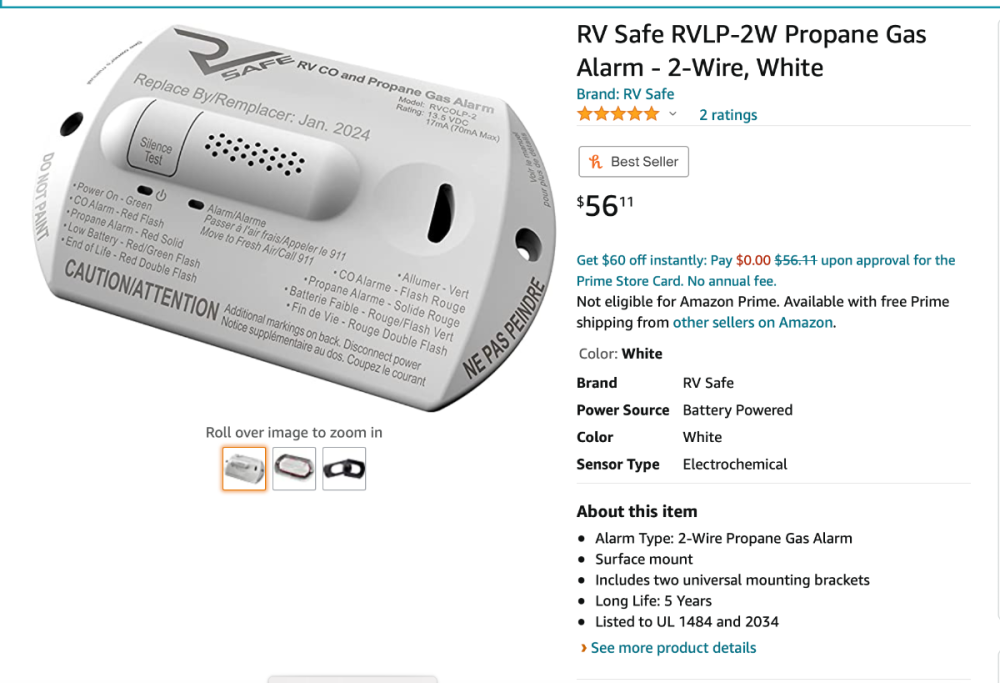
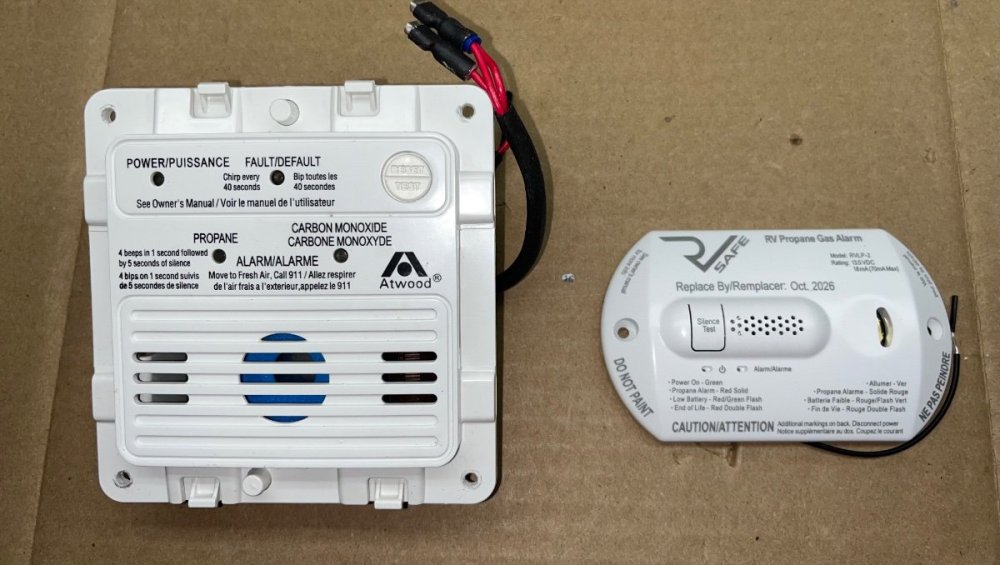
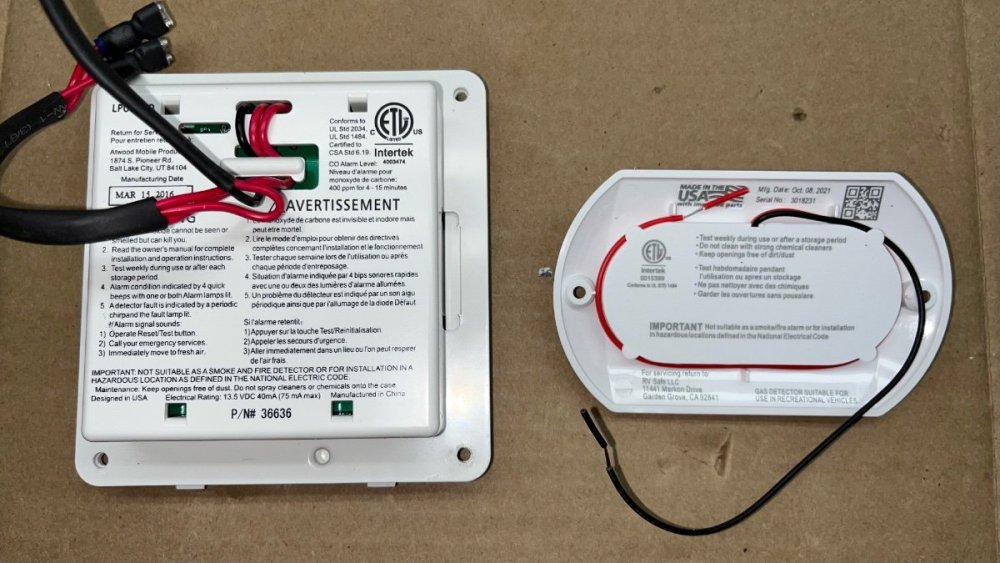
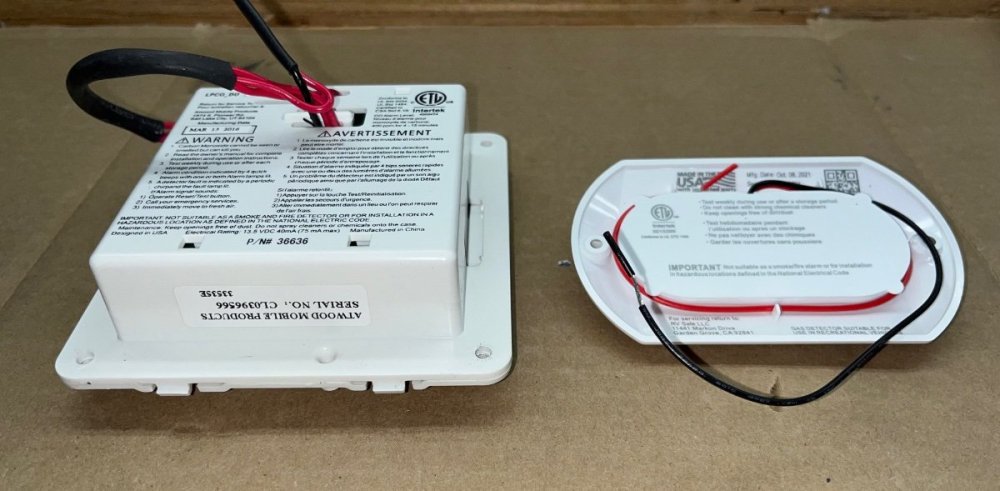
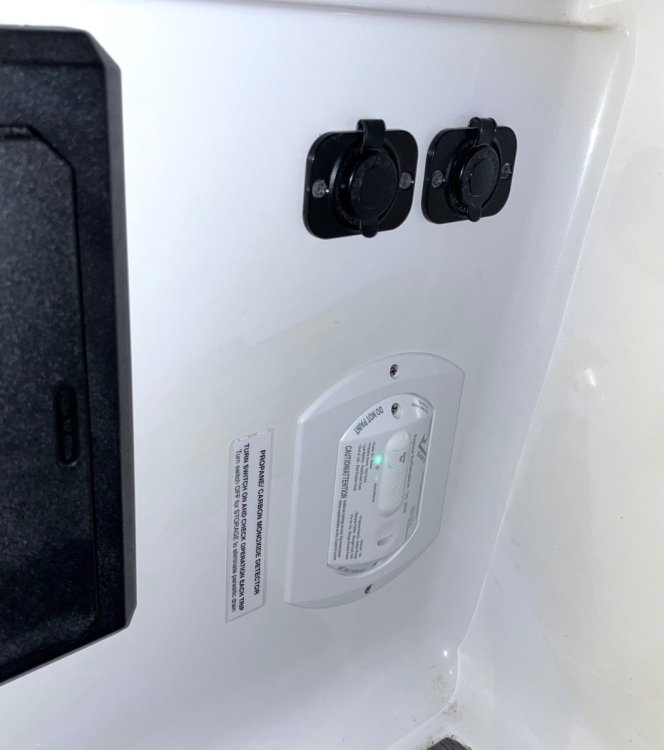
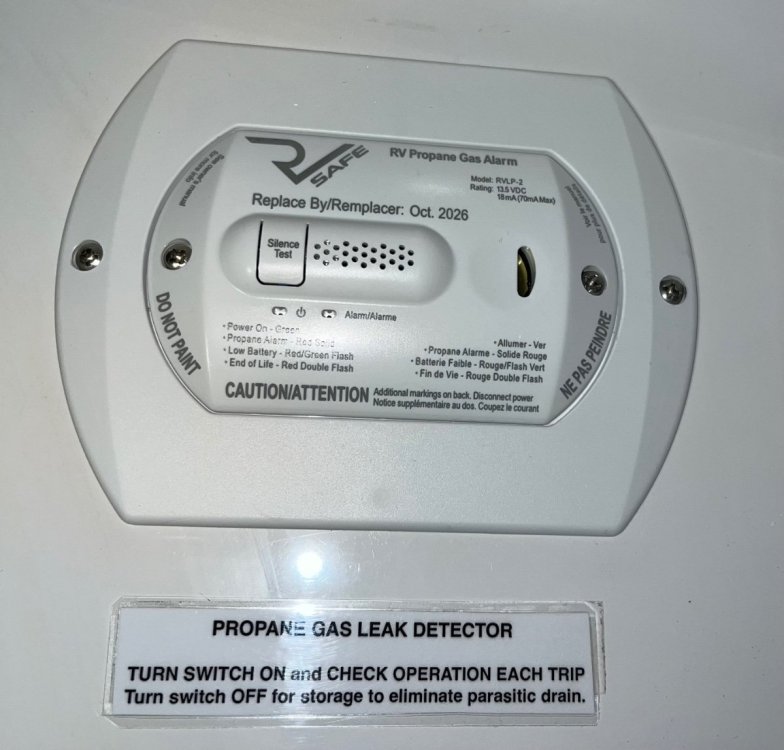
My original combination detector was getting close to retirement (72 months). It is a really expensive unit ($90 to $160 online) and a little hard to find in stock. I bought these units: The propane detector has to go near the floor, because the gas is heavier than air. Here is the Oliver installed one: Size comparison: The difference in thickness and weight is enormous, too bad Oliver doesn't use these from the start. The RV Safe unit comes with two big bezels, to cover up the big ugly hole when you remove an older unit. The small one worked fine here, positioned vertically. This position makes it easier to read the label when crouched down under the table: It uses the same amount of power as the old one, about 50 milliamps. The big difference is size and (if surface mounting) the need to only drill a 1/4" hole for the wires to pass through. My detector has a power switch: https://olivertraveltrailers.com/forums/topic/5330-how-to-propane-co-detector-on-off-power-switch/ John Davies Spokane WA
-
New WA law - no new internal combustion cars and trucks (“all vehicles”) for sale in 8 years. https://www.nbcnews.com/news/amp/rcna21683 😳 There are going to be a WHOLE lot of unhappy rural farmers, truckers and RV owners, John Davies Spokane WA
-
There is your answer, putting in non-ethanol gas will wake up most engines, it has a higher energy density. I really notice a difference with my LC200 when towing. If I could reliably find it in long trips, I would run it all the time, in spite of the extra cost, but there isn’t much point in doing a few partial fillups here and there with it. Most Maverik stations out west have it at each island. I use it exclusively in my small engines.. When the stabilized fuel is old, say 8 months at most, I put it into the truck. John Davies Spokane WA
-
Oiled filters do NOT provide nearly as much protection as a quality pleated paper one. This has been proven with oil analysis tests. I use OEM Toyota paper engine air filters only, and change them often. I can’t comment on your performance claims, but I can state that with some vehicles a properly calibrated cold air intake (with ECU tuning) or a snorkel will noticeably improve power. My LC200 has a snorkel, I do not see any improvements at all and it is noisy and whips road spray onto the passenger side glass at highway speeds. My 1996 Series 80 had a snorkel, and it really woke up that engine, probably because there was an up to 40 degree drop in intake temperature (recorded with an OBD2 monitor). One great thing about a snorkel, it makes it really easy to find your white SUV in a sea of white vehicles at the box store…. Do you intend to keep towing with your 4.7 Toyota? That is a very marginal power plant for a 6000 pound Ollie.. It is a tough little truck but IMHO that is definitely abusing it. John Davies Spokane WA
-
The NextBase cams use a suite of Mac MyNextbase software and apps. You can view and transfer files to an iPhone by wifi, email them (in low resolution) or connect your iPhone to a Mac computer with a cable and use their program to import, view and edit files. You can remove the memory card and insert it into a card reader and copy them. You can upload them to Cloud storage. Or you can use the built in settings in the cam to do a lot of stuff rom the rear screen. I am not a big fan of the software, it could use some refinement, but it works well enough. Go here to the MyNextbase box part way down, click Learn More. https://nextbase.com/dash-cam-features/ It can get quite complicated, it is best to just watch a whole lot of videos for different brands, to see what appeals to you. It is really important that you use a very fast memory suitable for HD video, or the camera will freeze and crash. This is what I have, the Class 10 V30 (or higher) symbol is what you look for. It depends some on if you have a 1080p cam or a 4k cam….. John Davies Spokane WA
-

TPMS sensors and valve stem failures
John E Davies replied to Frank C's topic in Mechanical & Technical Tips
Going on six years, and no issues with my TireTraker sensors, they do hit the rims, just like that top picture, it never bothered me any. I worry a whole lot more about busting off a steel TPMS stem on my Land Cruiser. John Davies Spokane WA -

water pump chattering at end of cycle
John E Davies replied to nrvale0's topic in Mechanical & Technical Tips
Mine failed unexpectedly after five seasons, I have the old one, I will open it up to see what happened, but its is a low priority. https://olivertraveltrailers.com/forums/topic/6732-weird-water-pump-failure-no-pressure-and-motor-just-hiccups-any-idea-what-is-wrong/ John Davies Spokane WA -
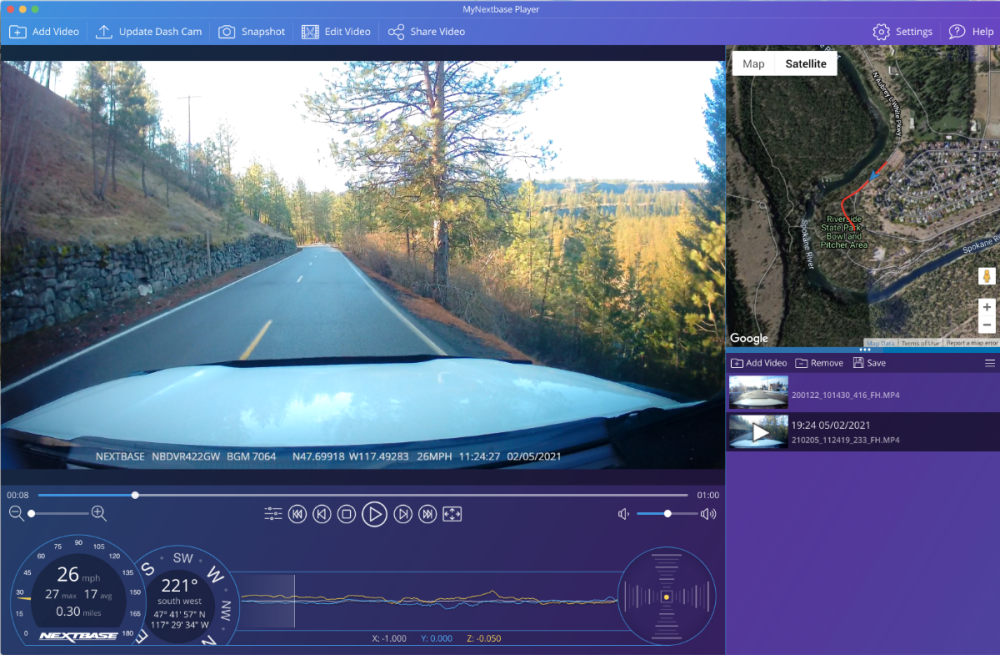
You need to read some dash cam comparison reviews, and decide how much you want to spend and what features you would like. Where and how you park your car is important too! This would be a good choice, I have had one on my TV for three years and just bought a hard wire kit for my wife's new Acura RDX, so I can swap it easily to her car. I will probably buy another cam for that car when they are on sale. https://www.amazon.com/Nextbase-522GW-Dash-Cam-Kit/dp/B07PV2RX57?th=1 Nextbase 522GW price history You need enough image quality to read license plates at NIGHT, and a polarizing filter to cut glare in sunlight. Everything else, like rear view cams, are optional features. I really like how this cam captures all the speed, location and G force info, and can overlay it onto a Google map. This is a screen cap of a video using their desktop application. I have to admit that I feel naked and unprotected driving without one. 😉 John Davies Spokane WA
-
Very true! Also be very aware that there are many fake/ counterfeit/ expired ones for sale, if the price is too good, they are suspect. I try to be ones fresh off the rack at a box store, or from a non-Amazon vendor. John Davies Spokane WA

