Leaderboard


Popular Content
Showing content with the highest reputation on 08/28/2018 in all areas
-
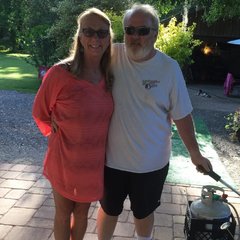
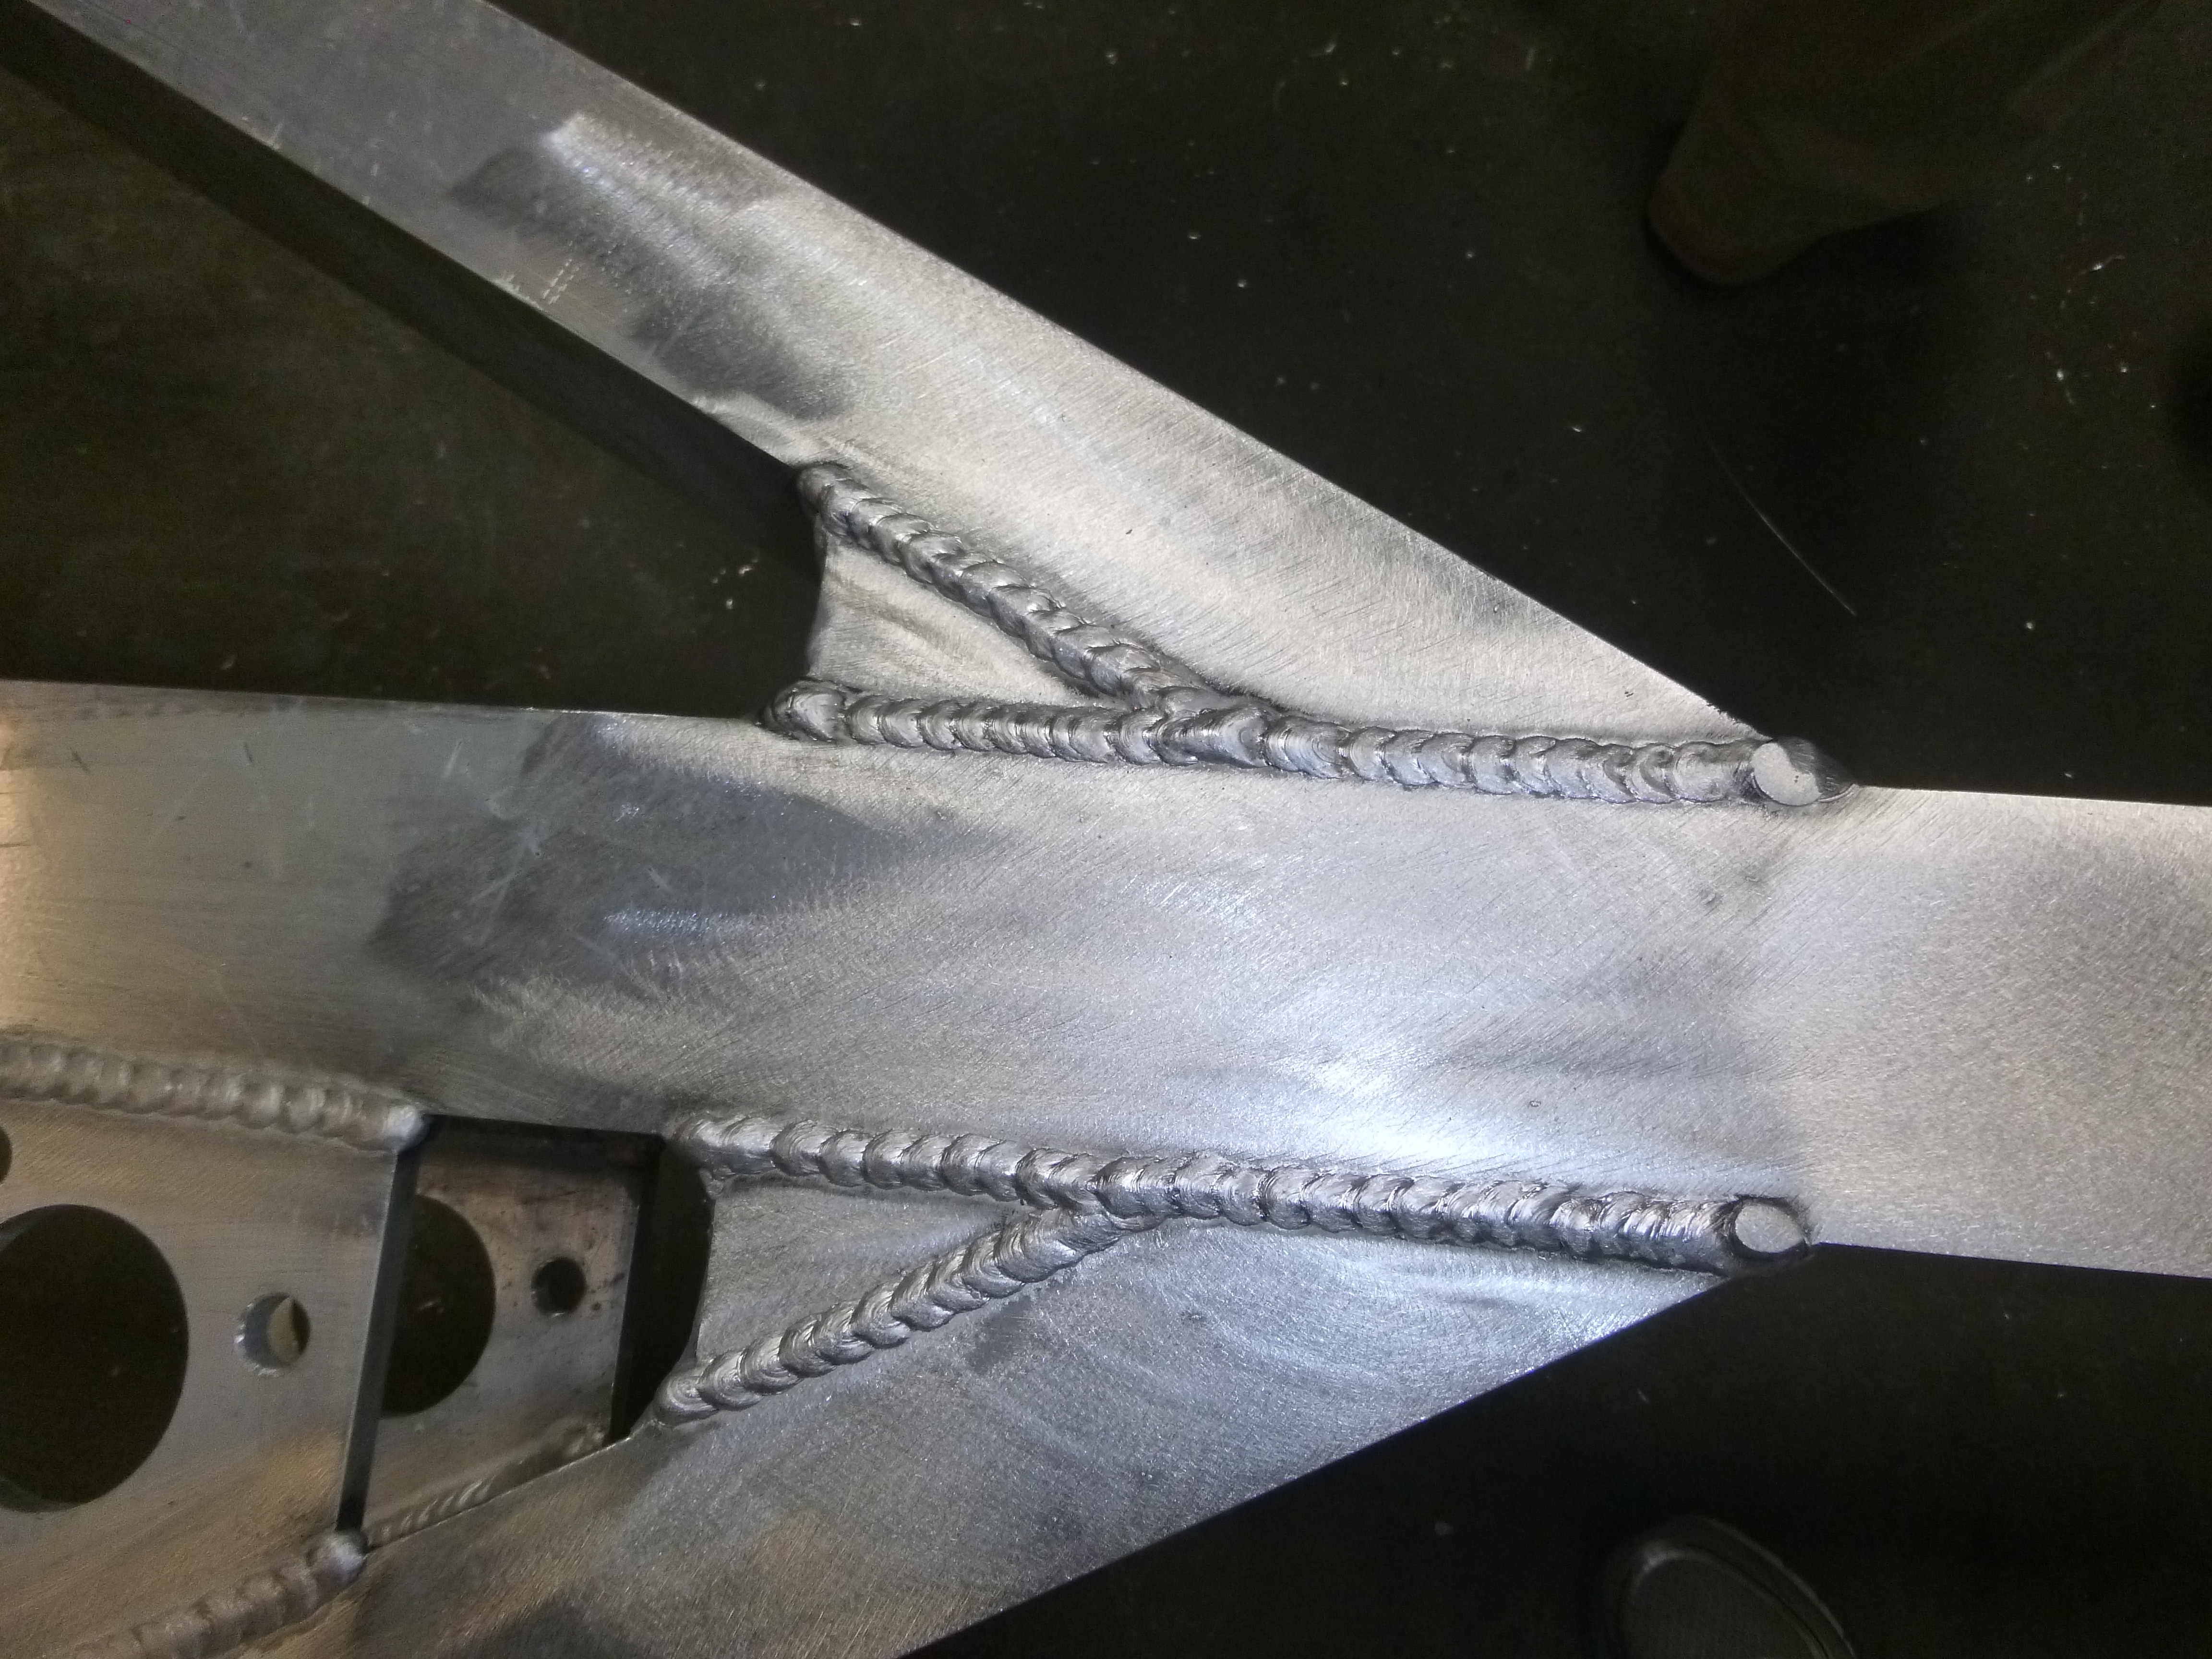
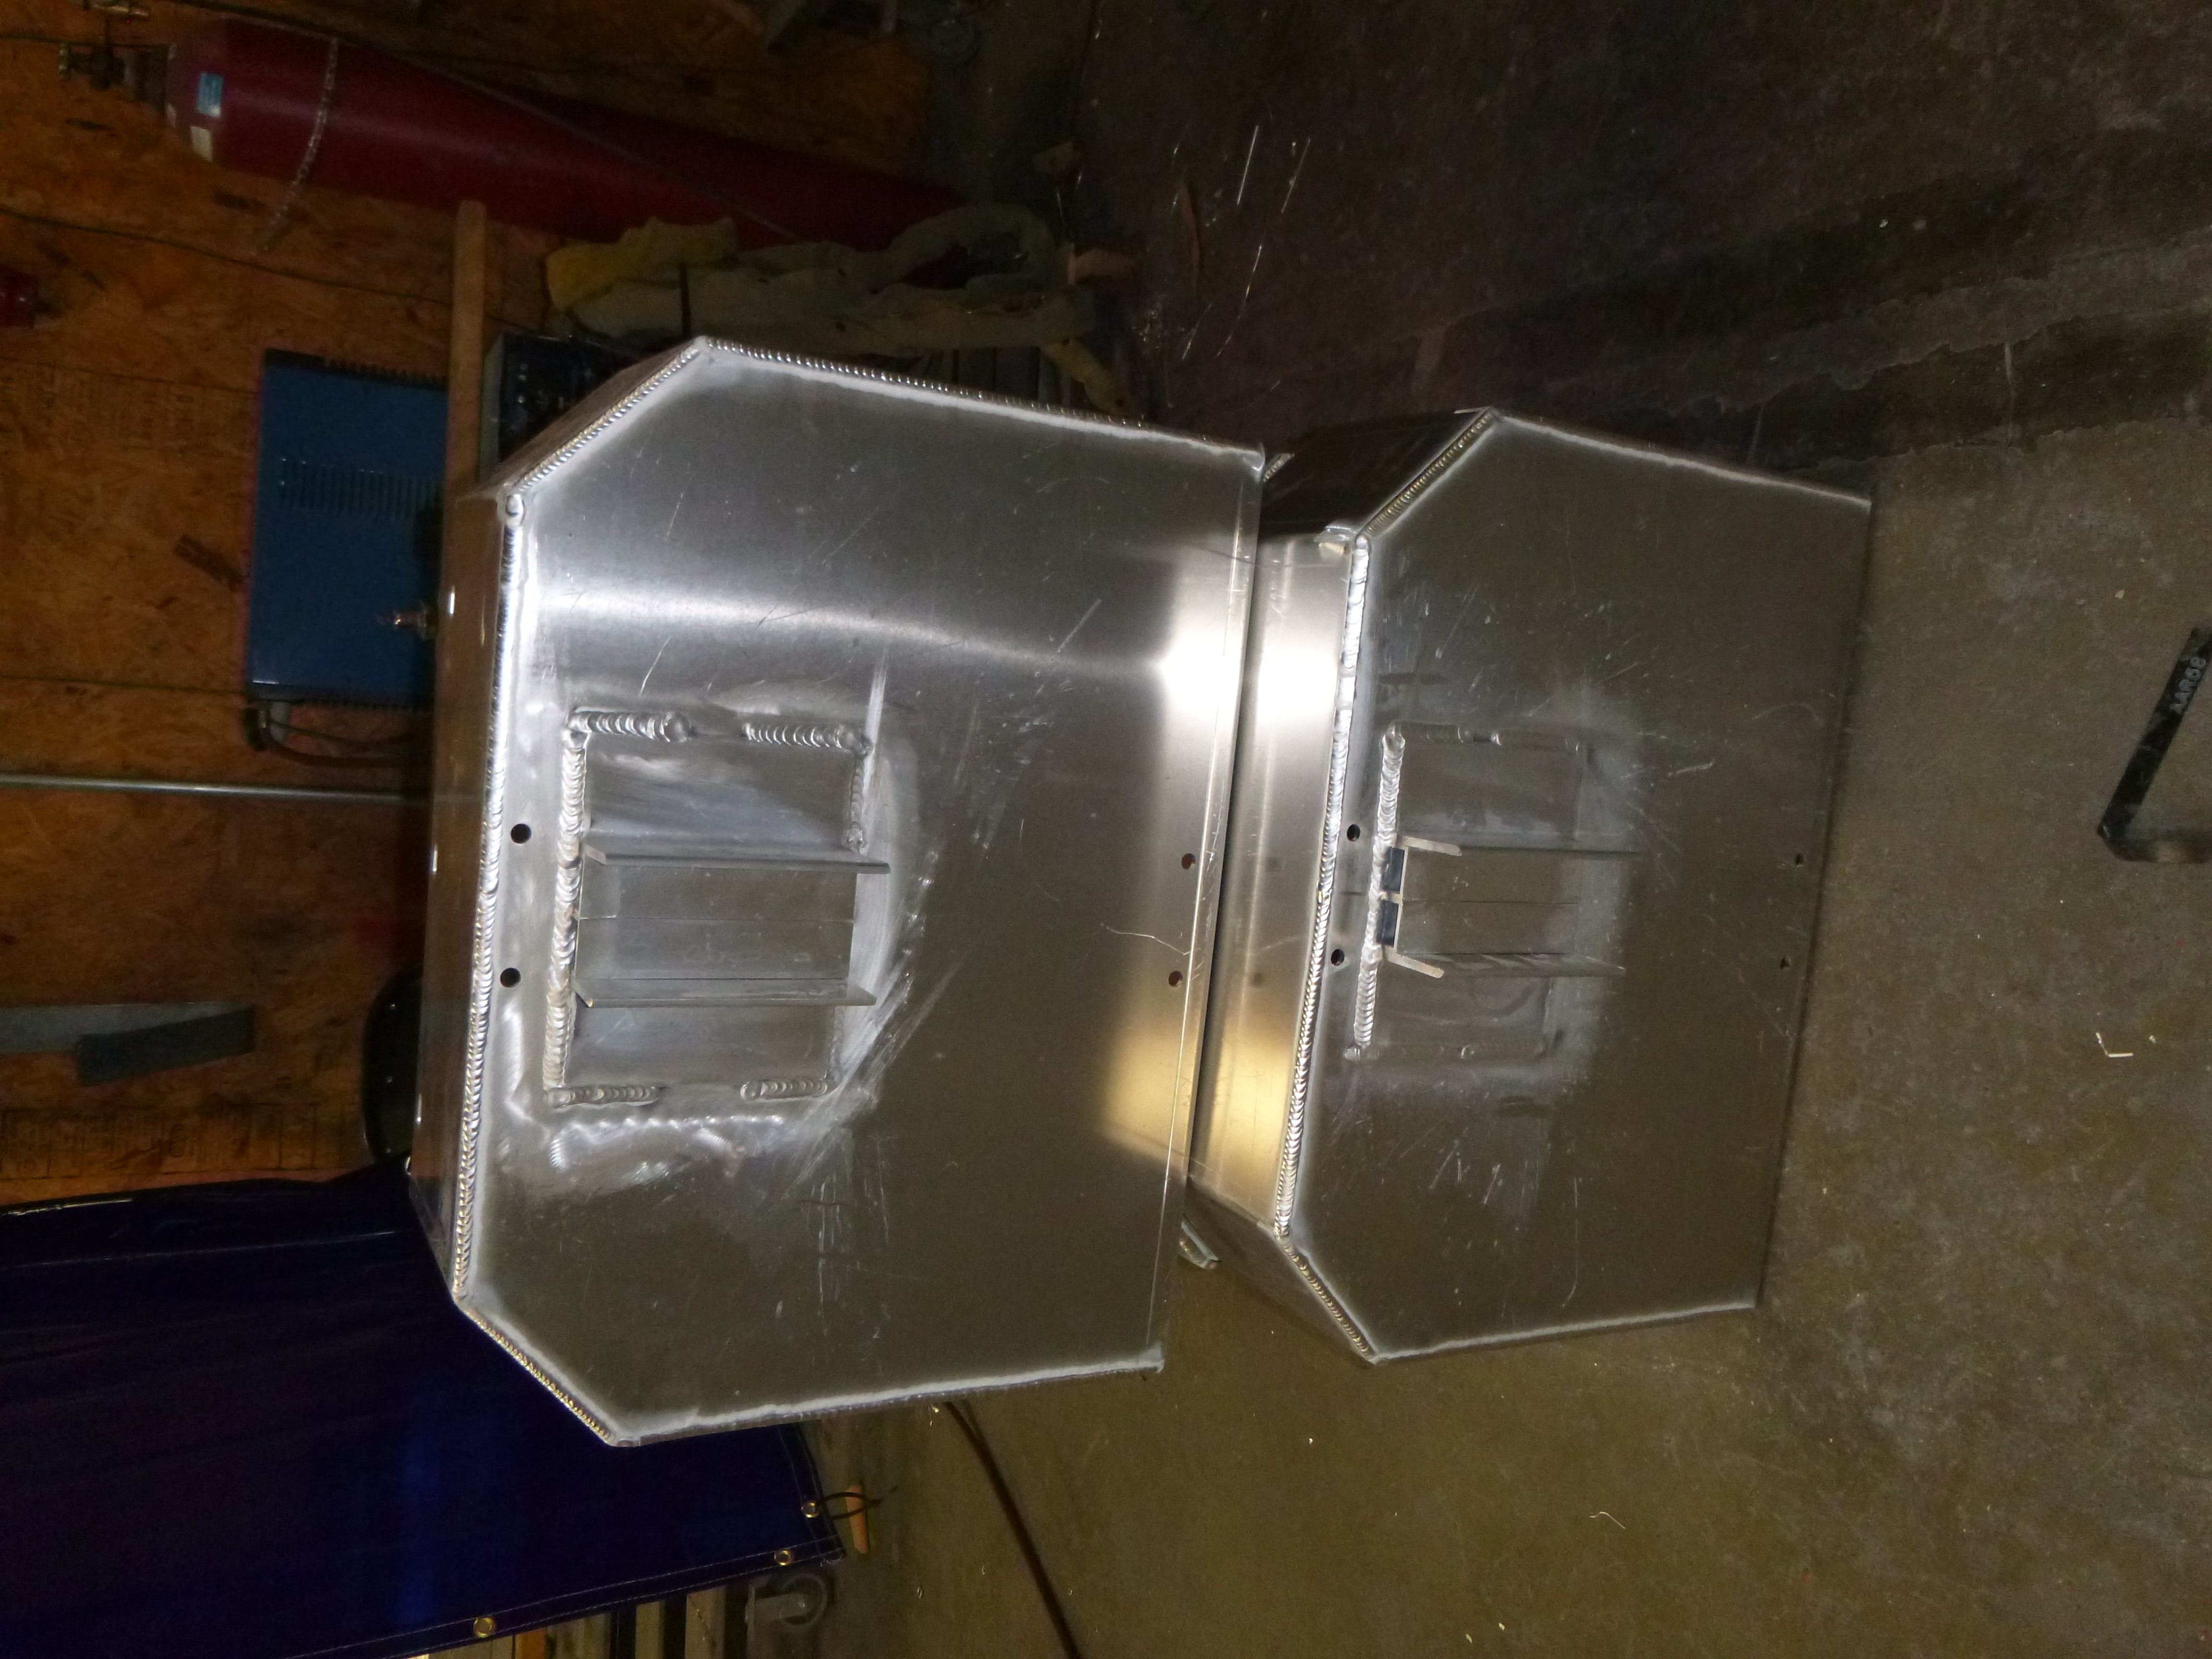
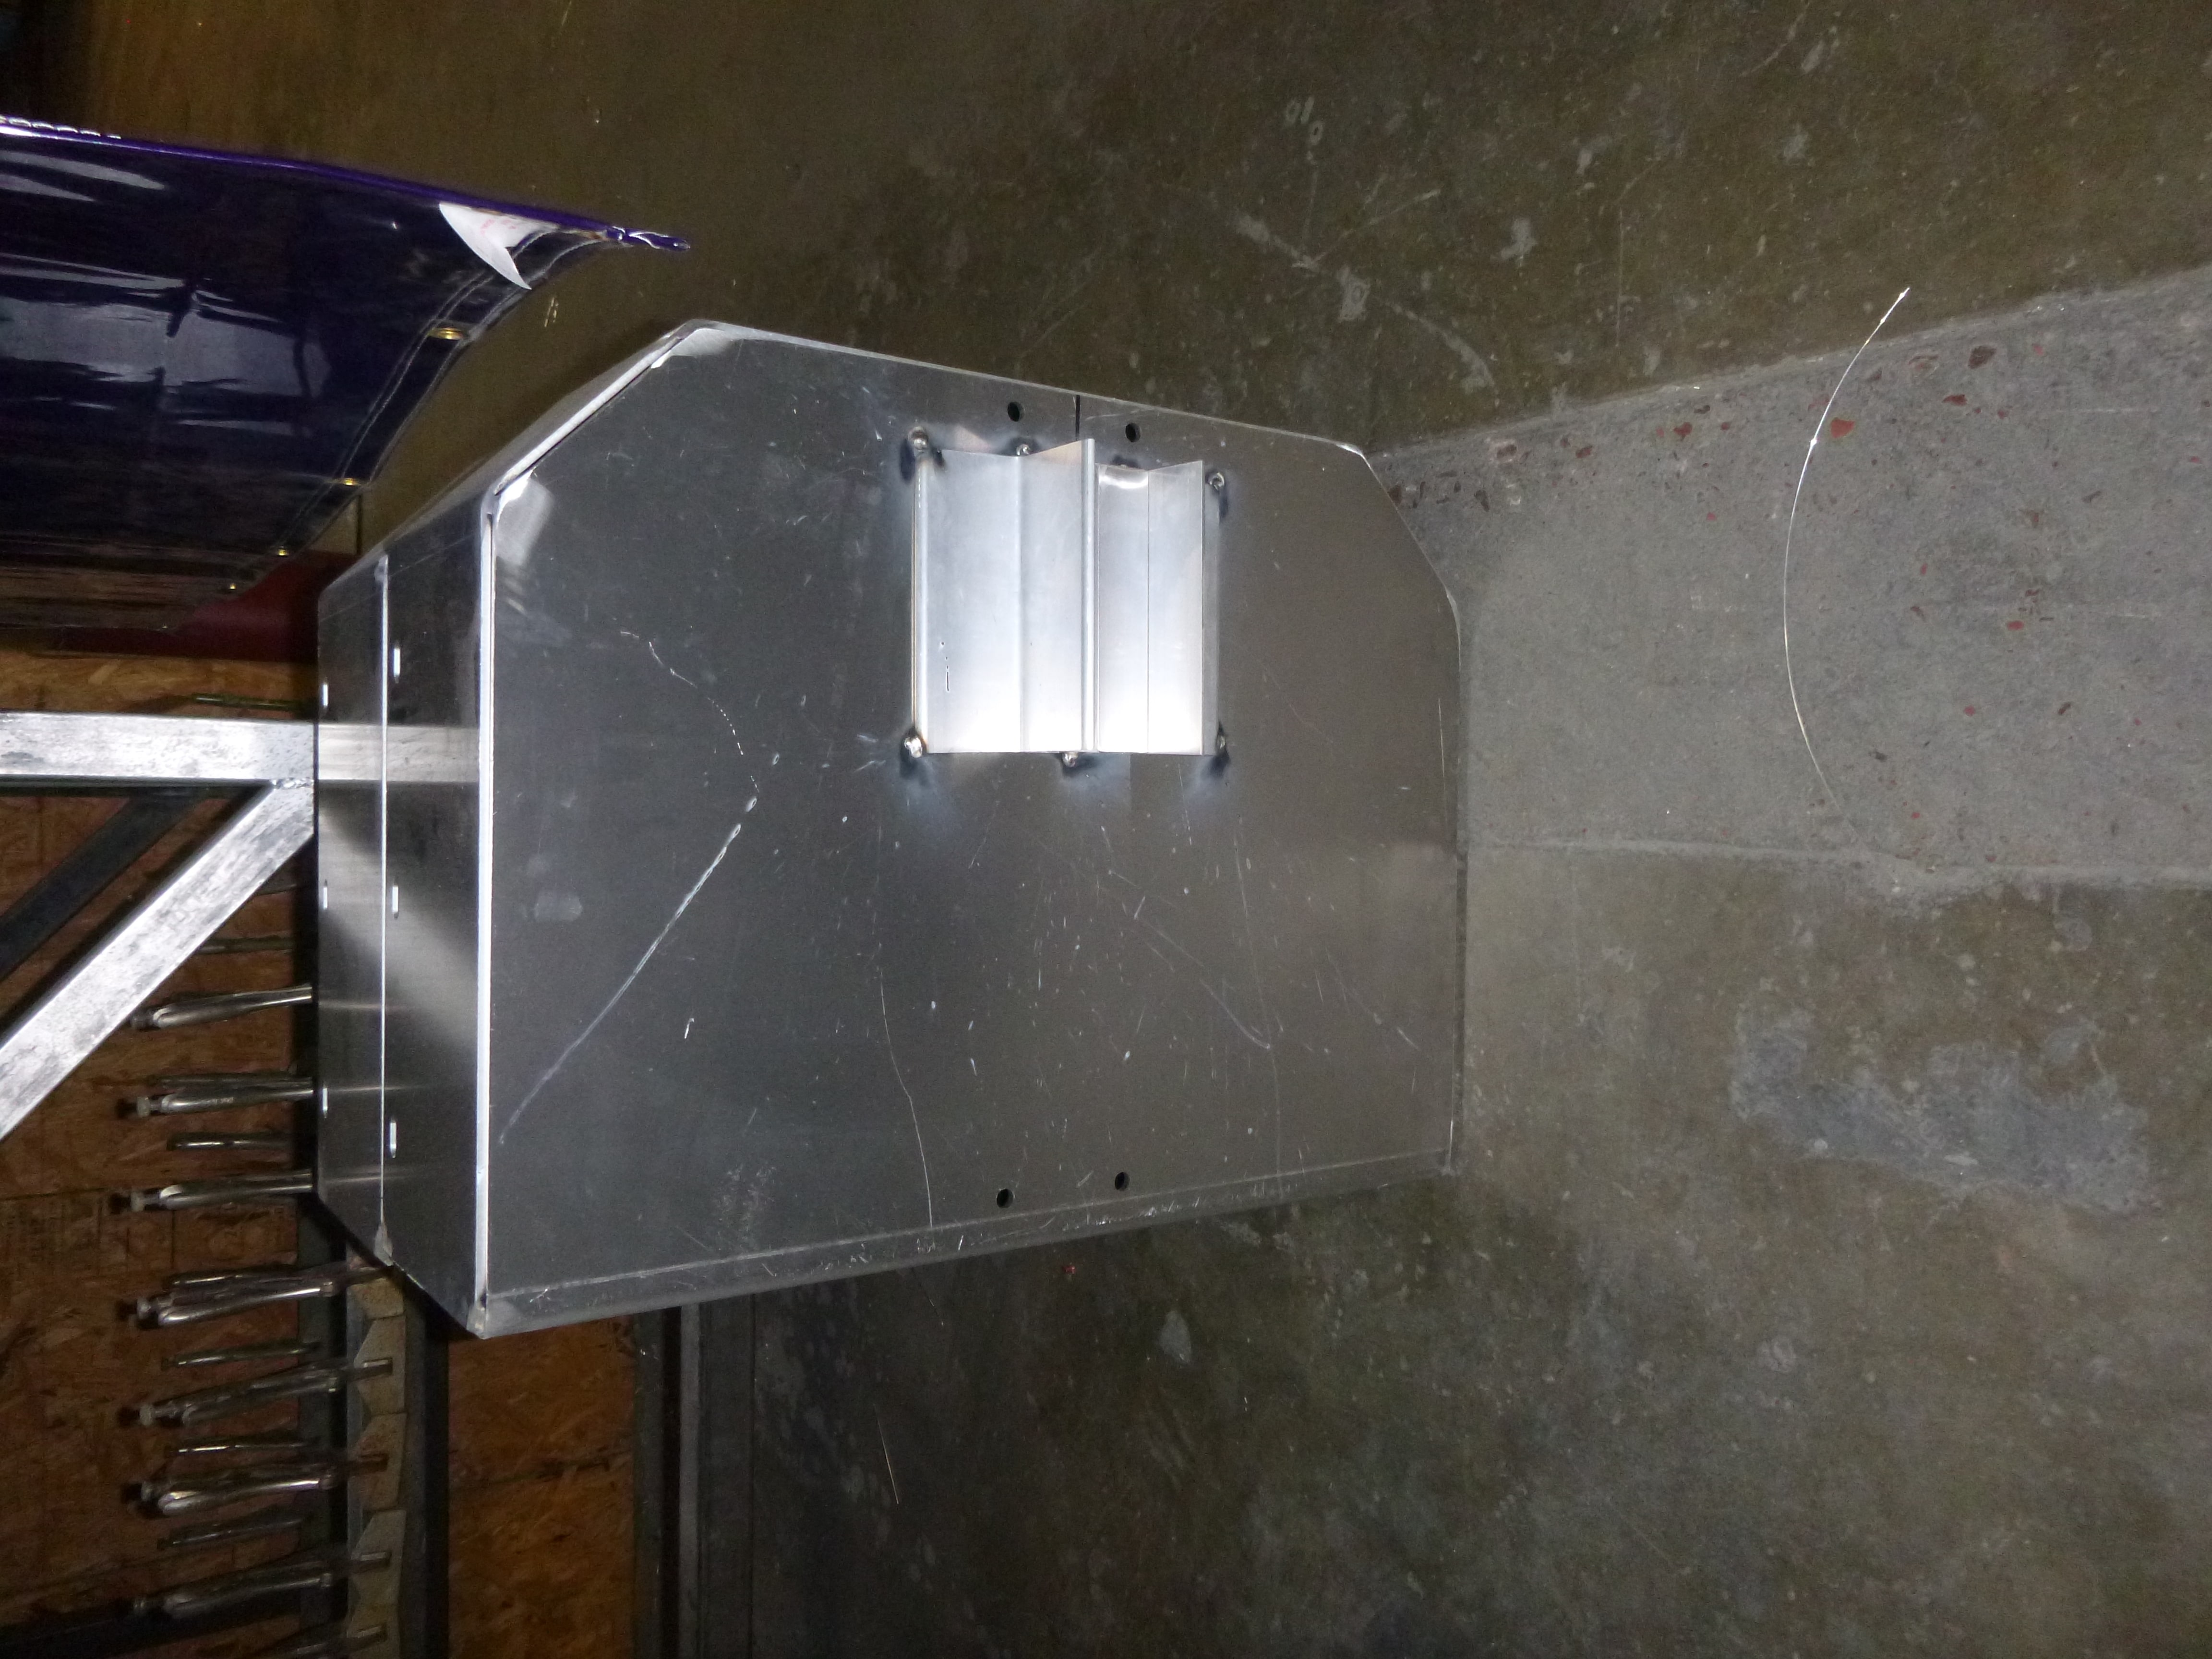
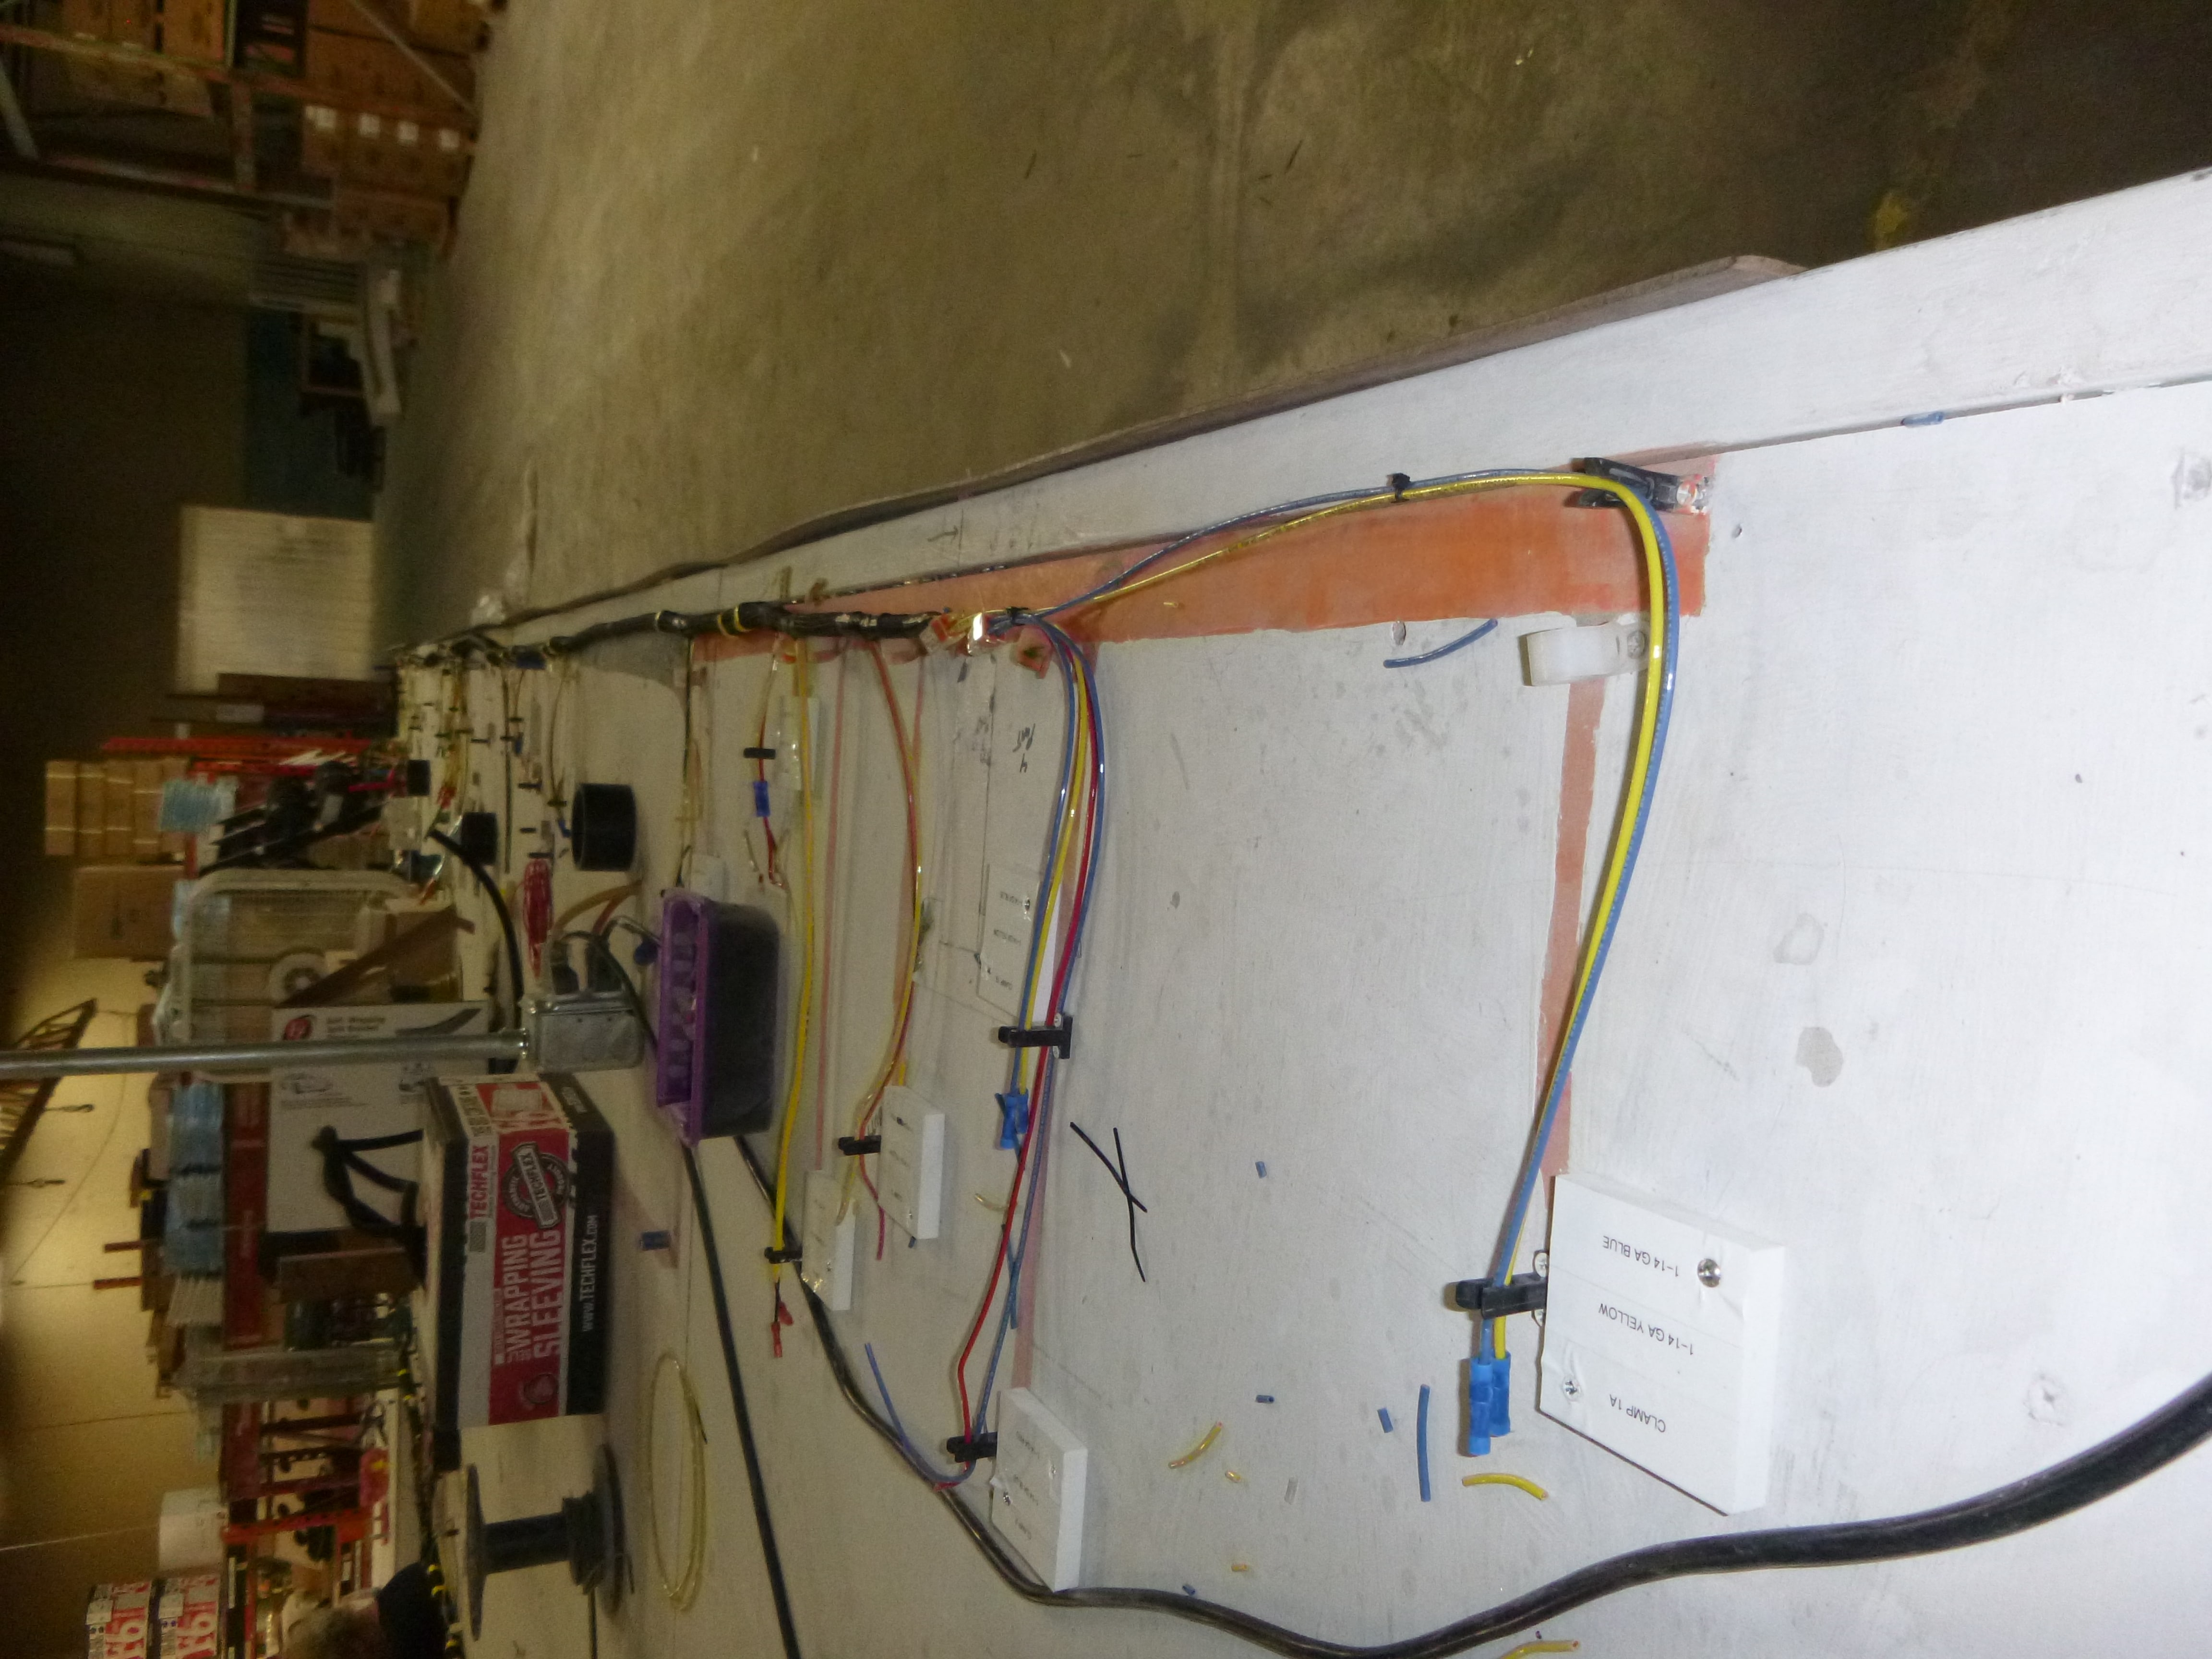
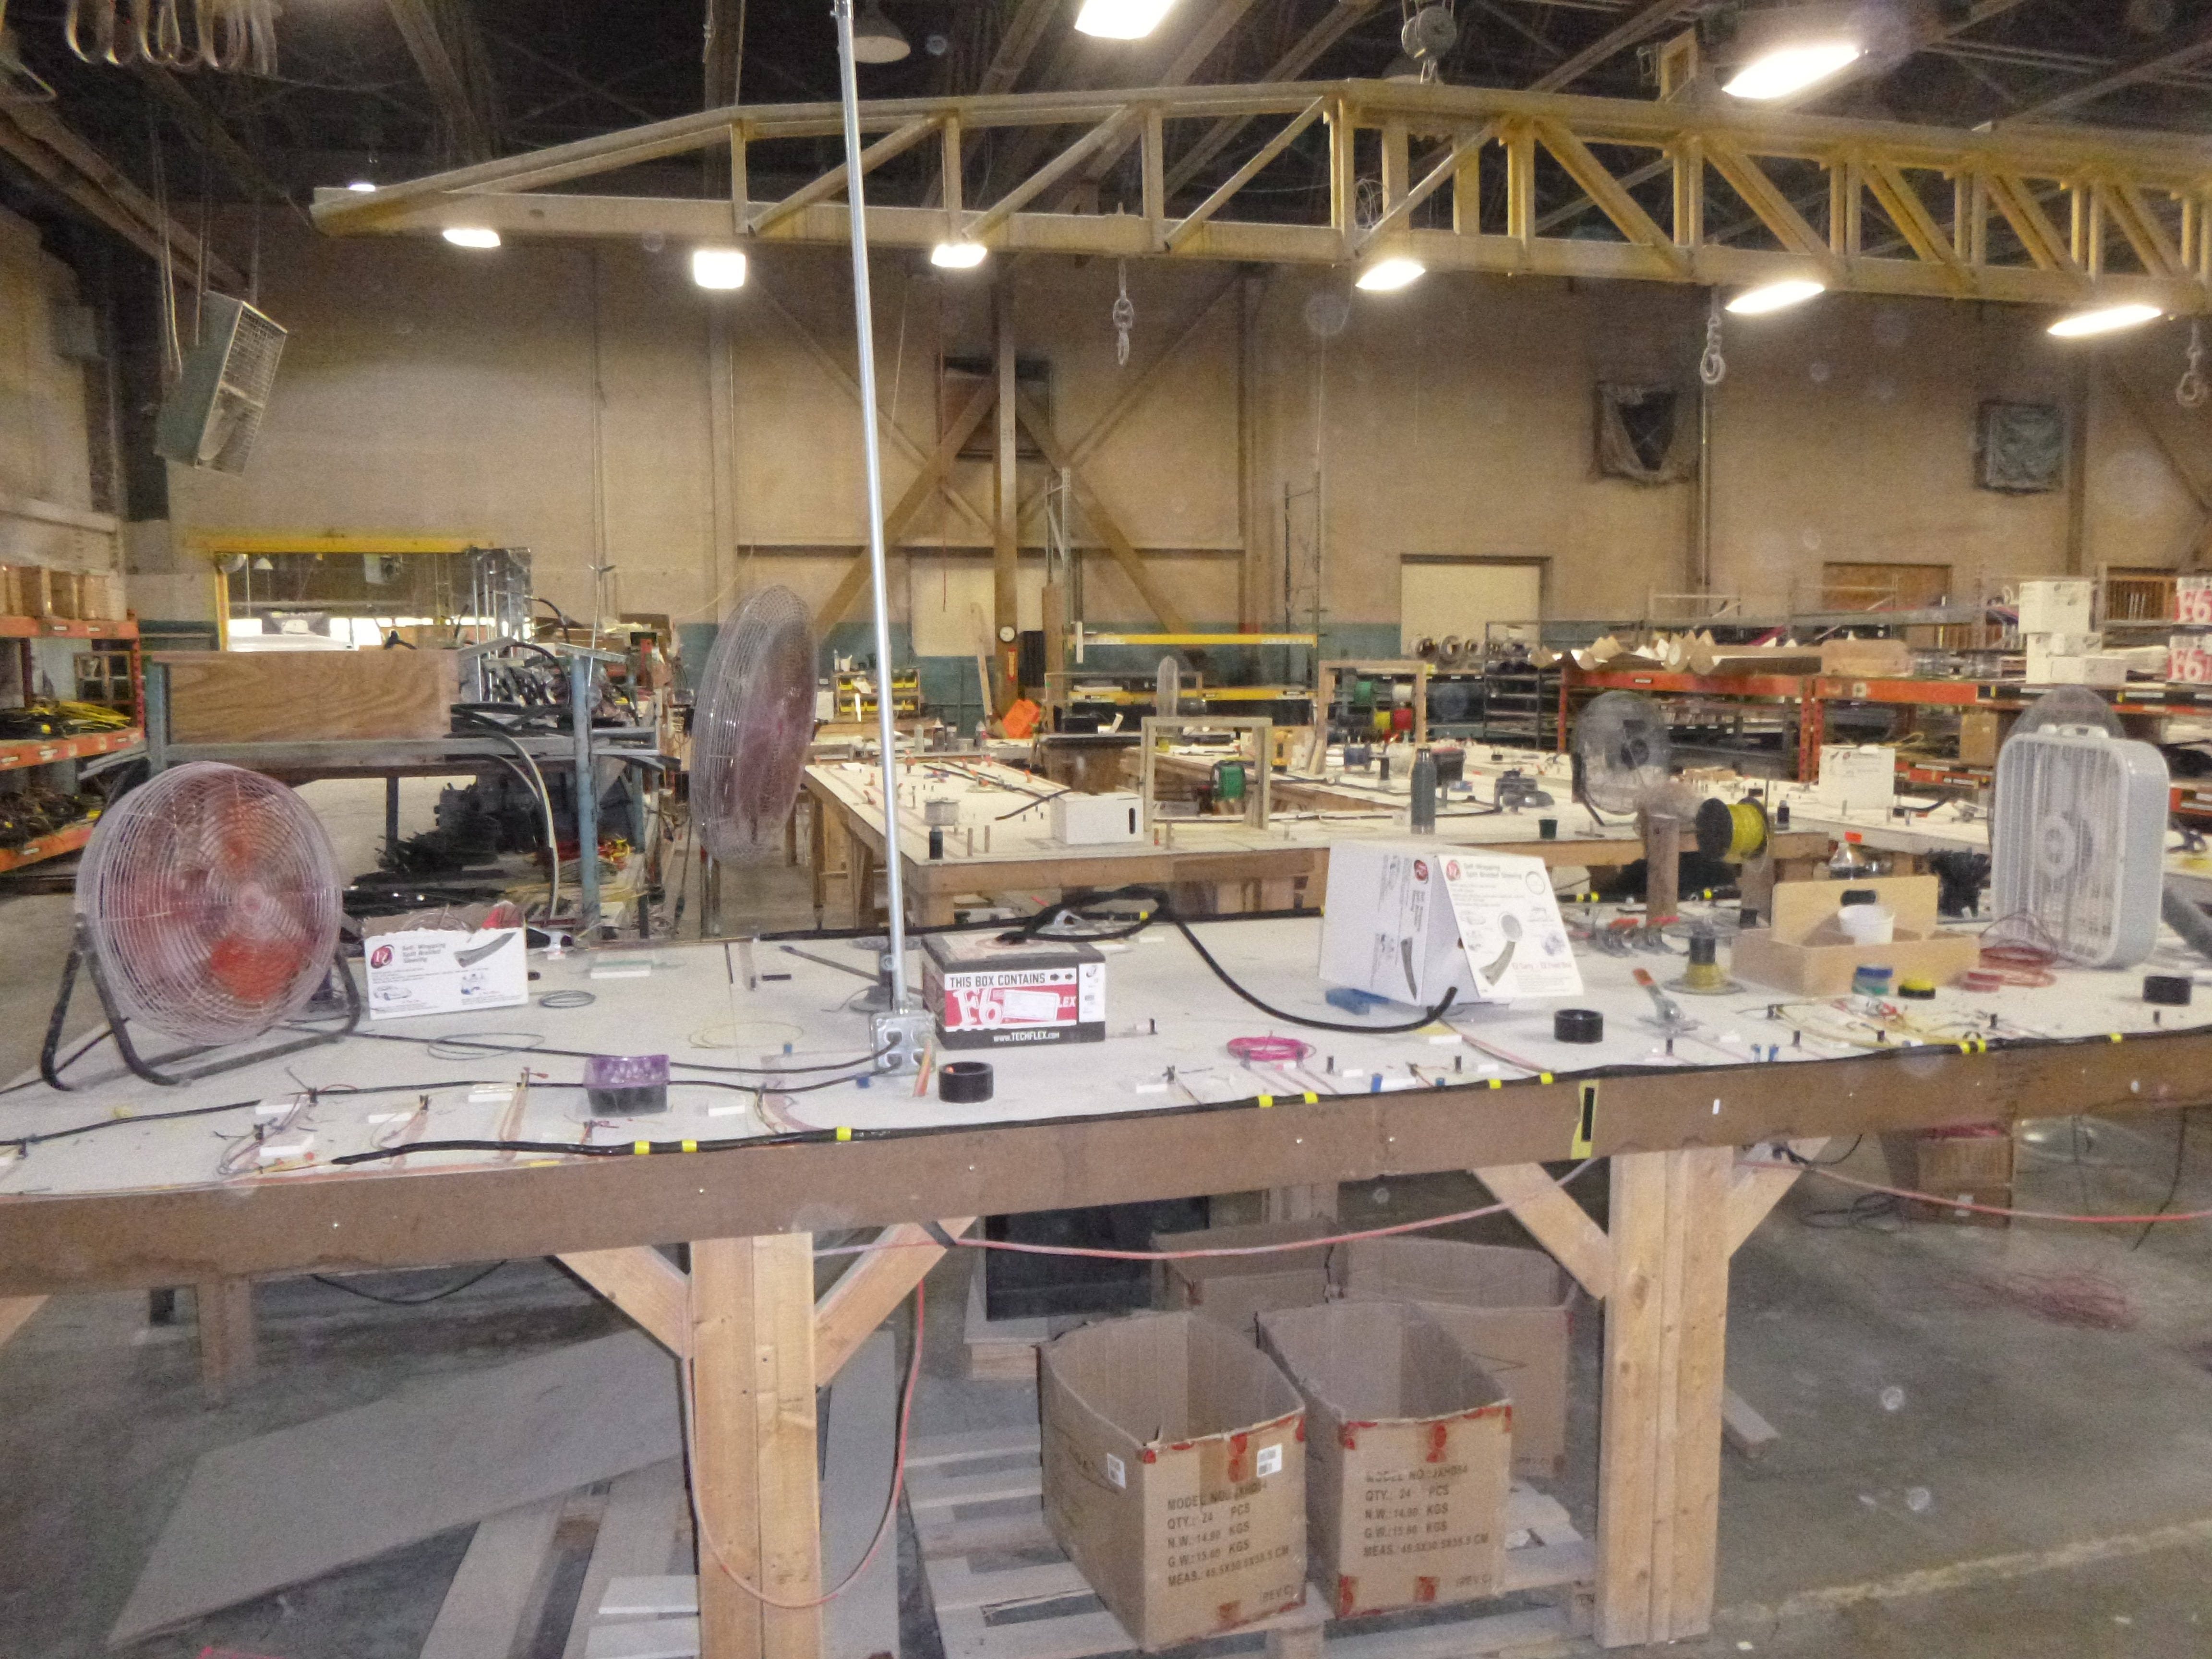
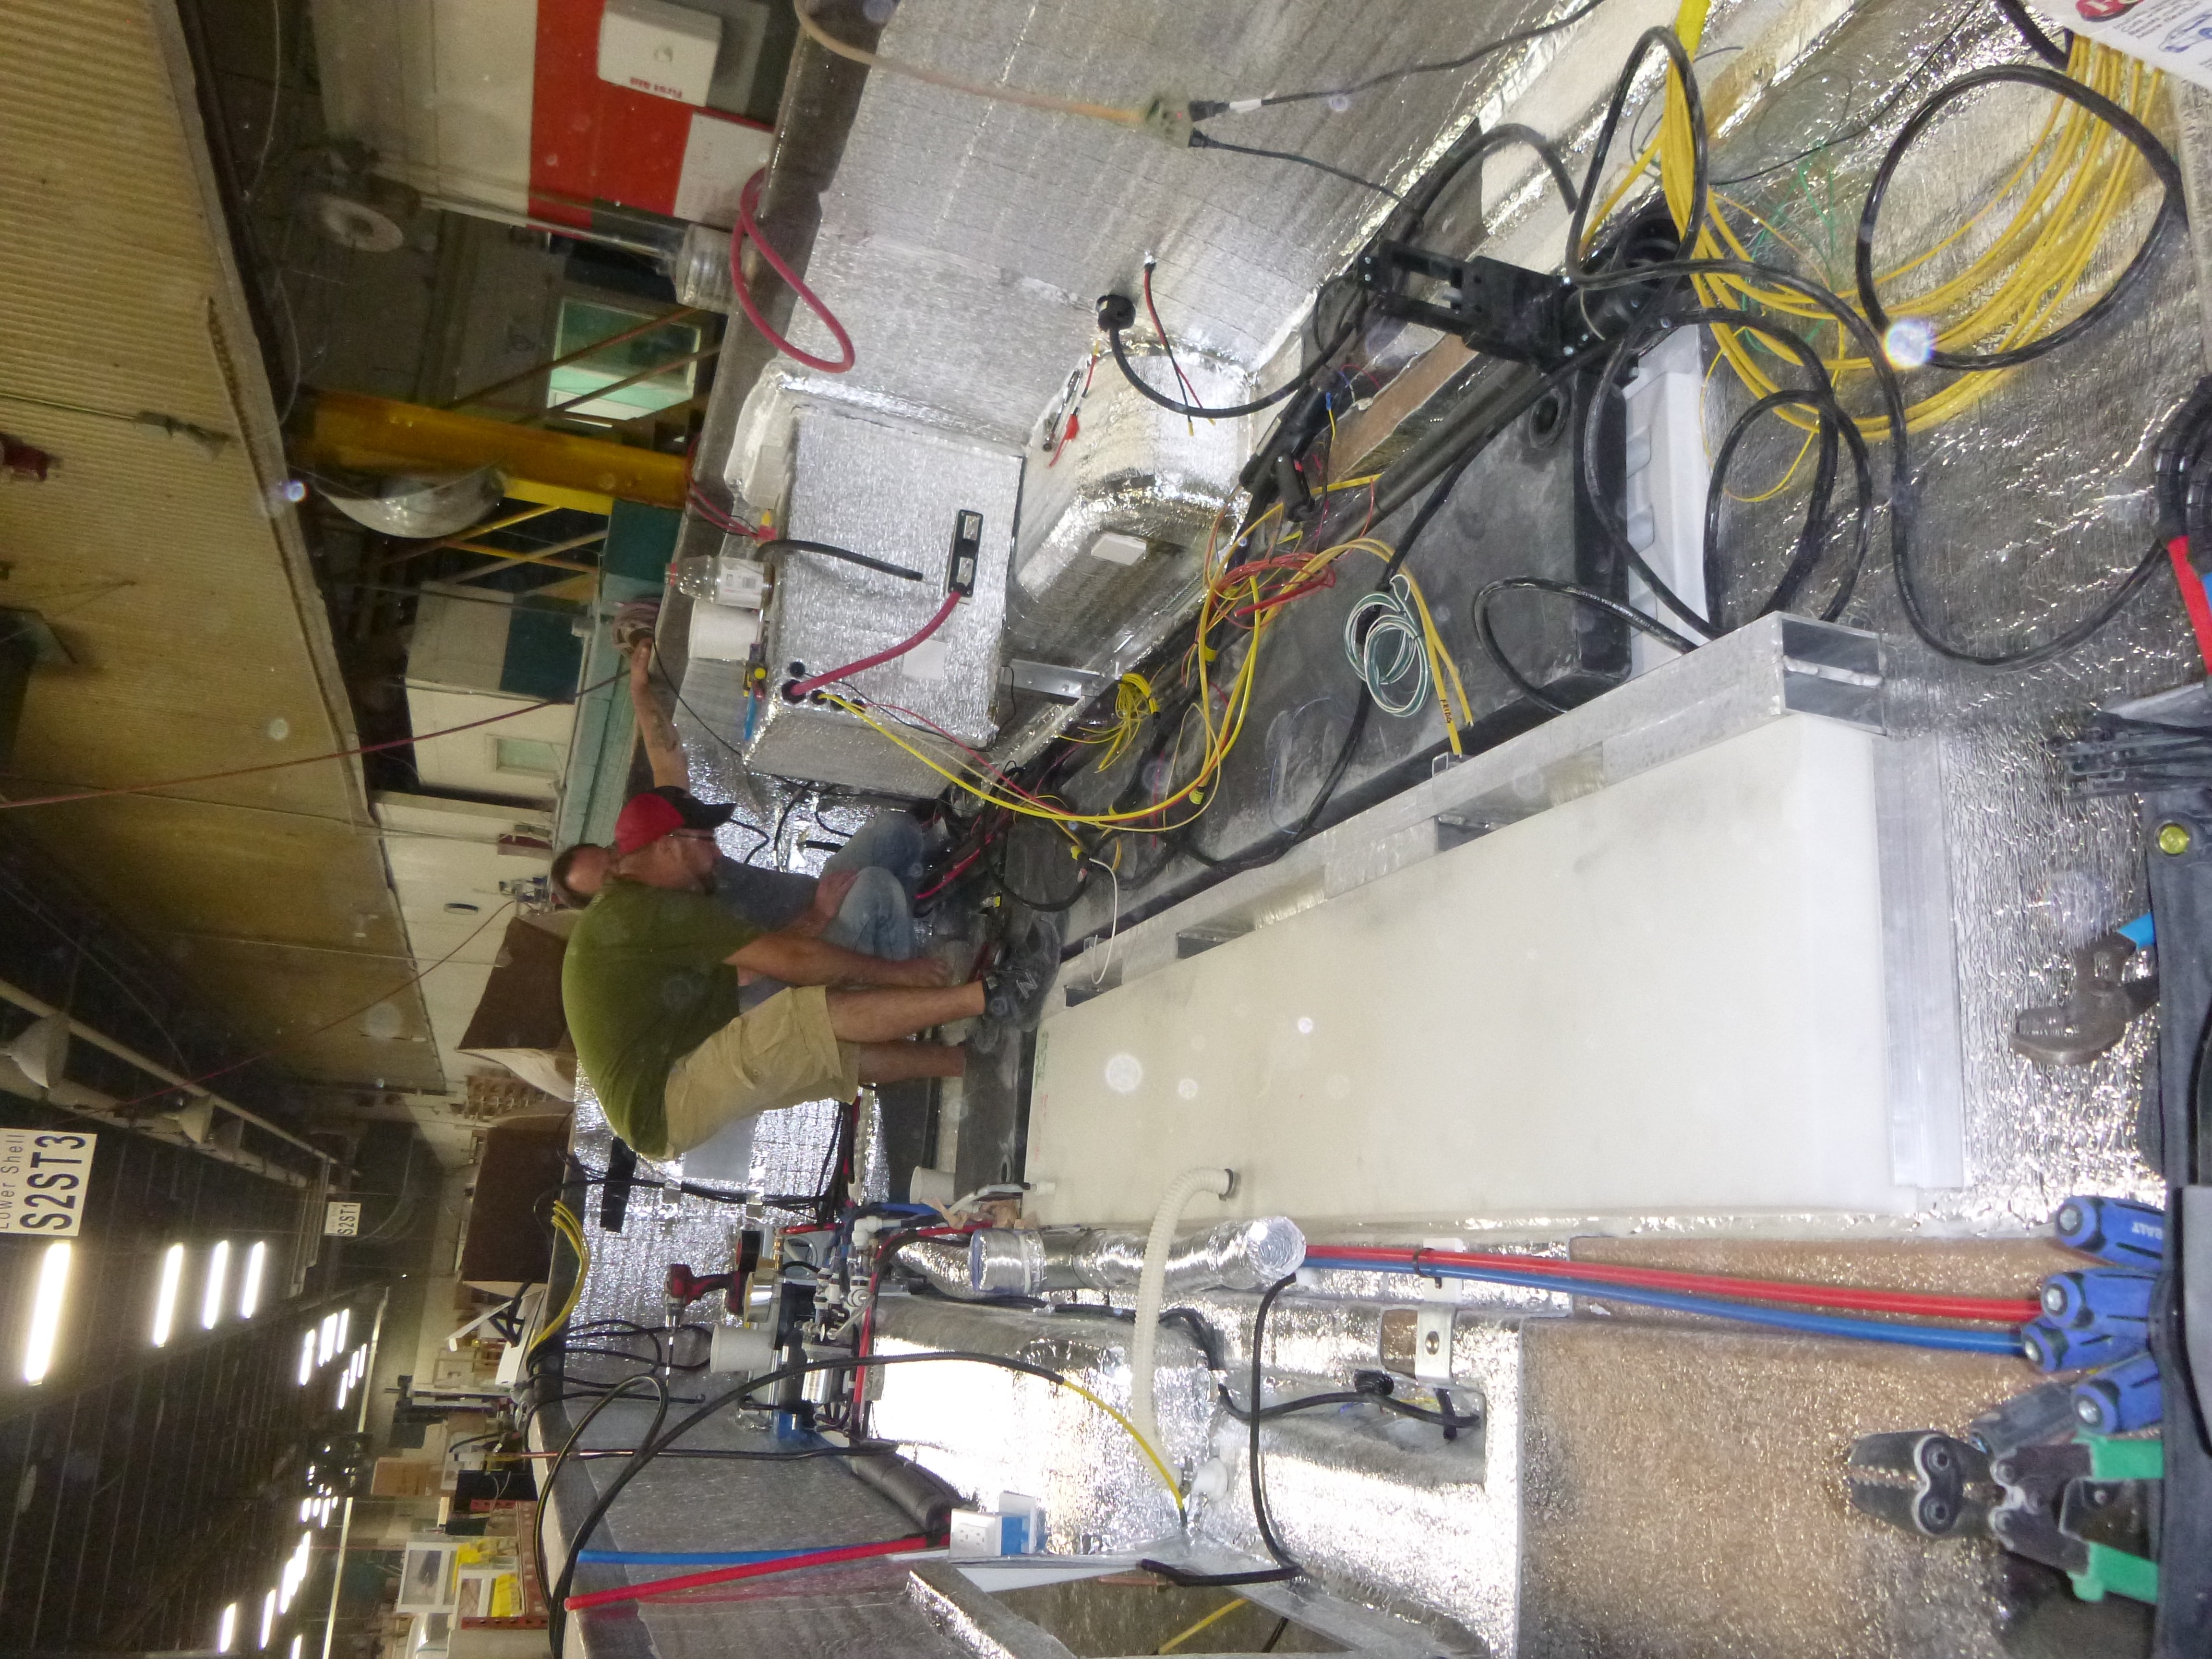
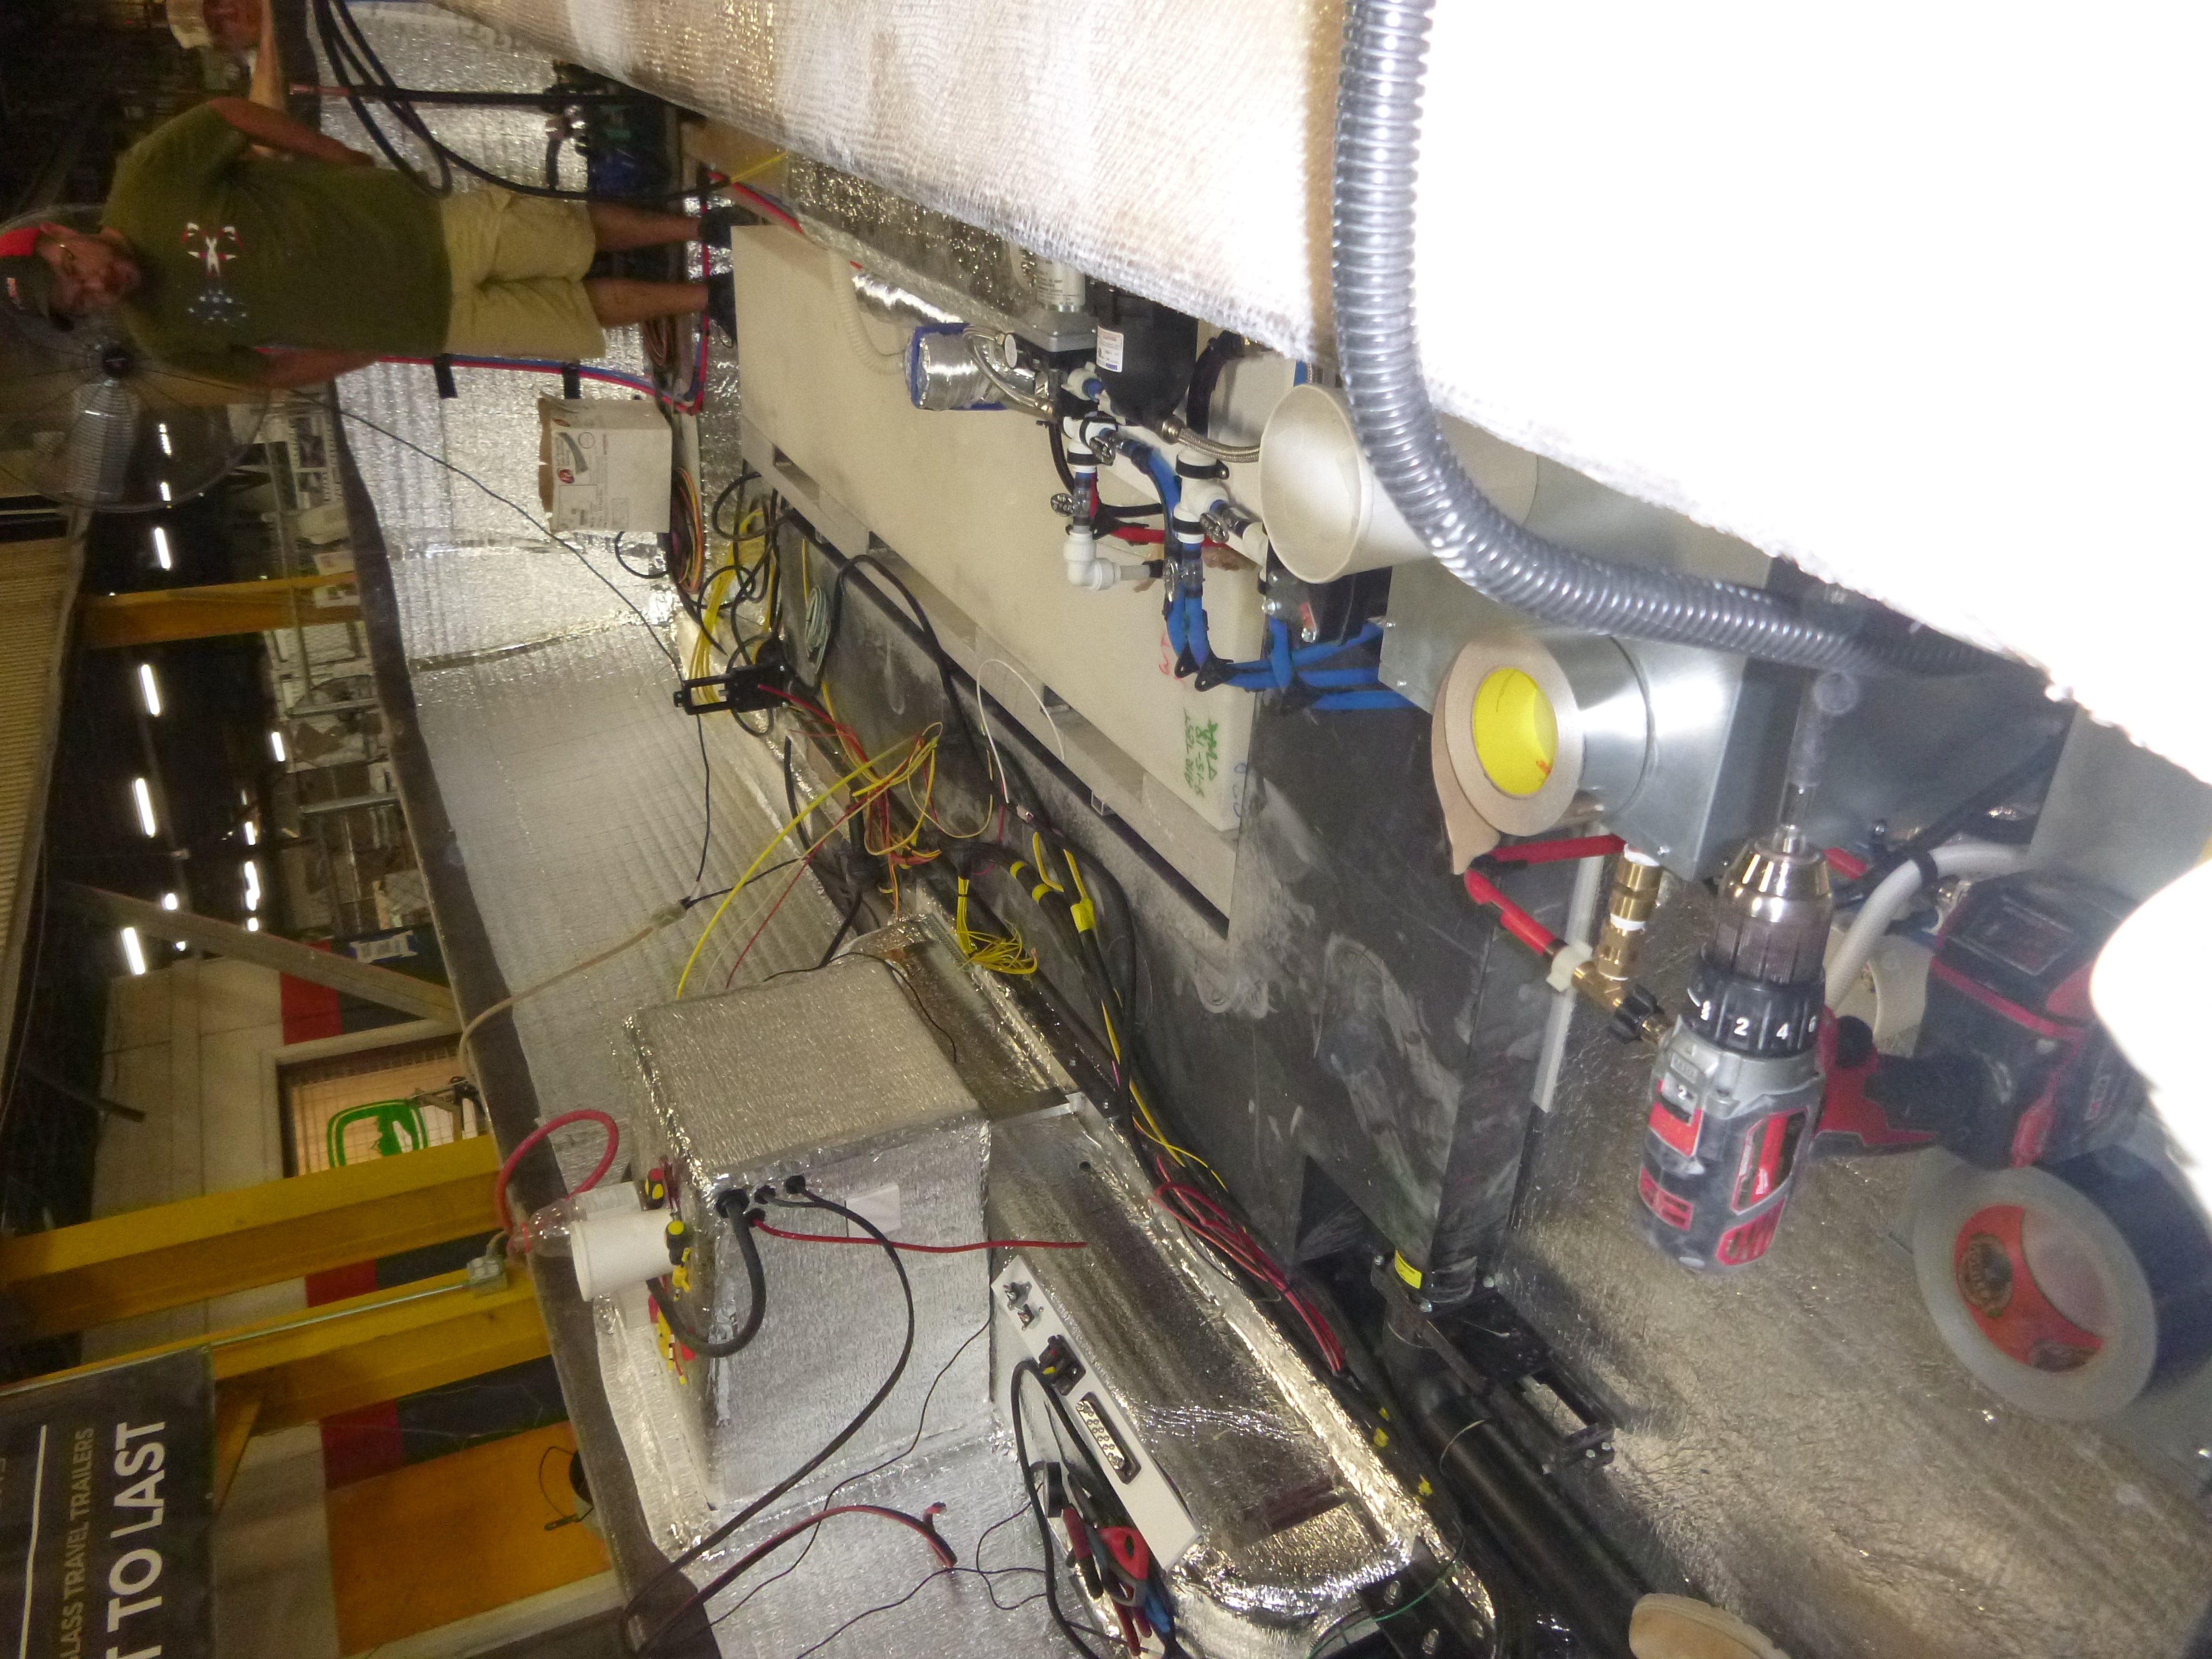
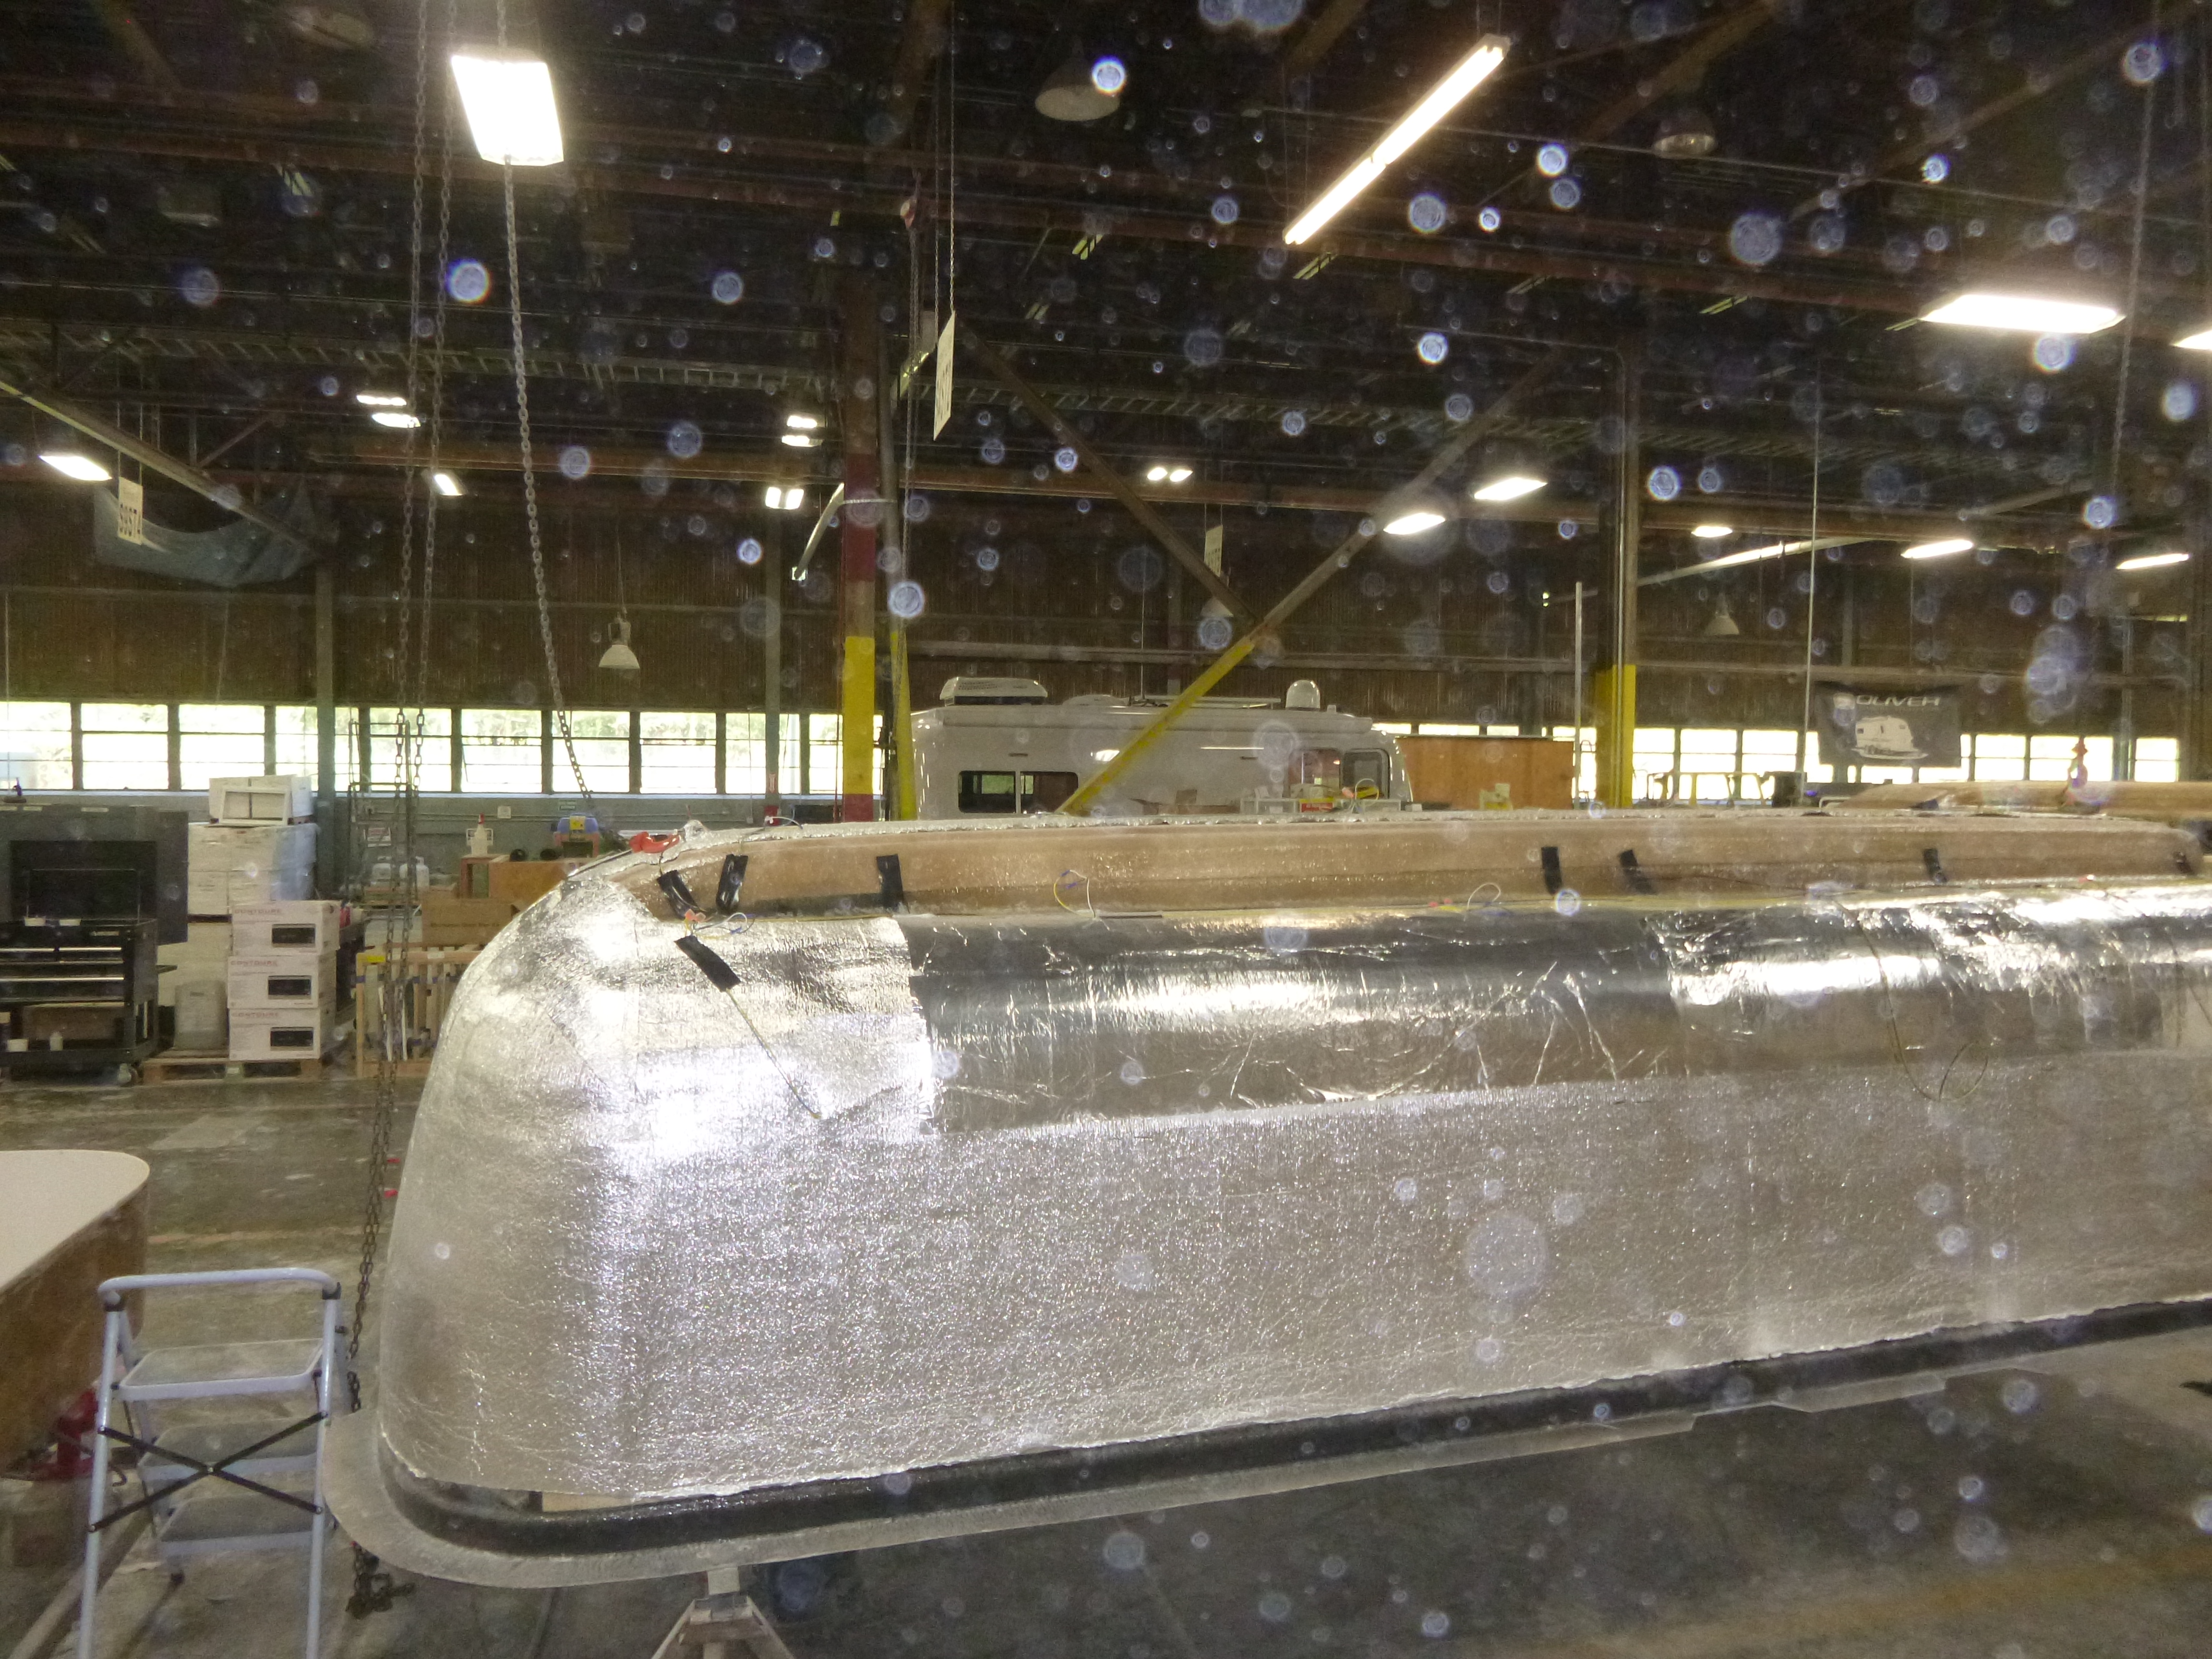
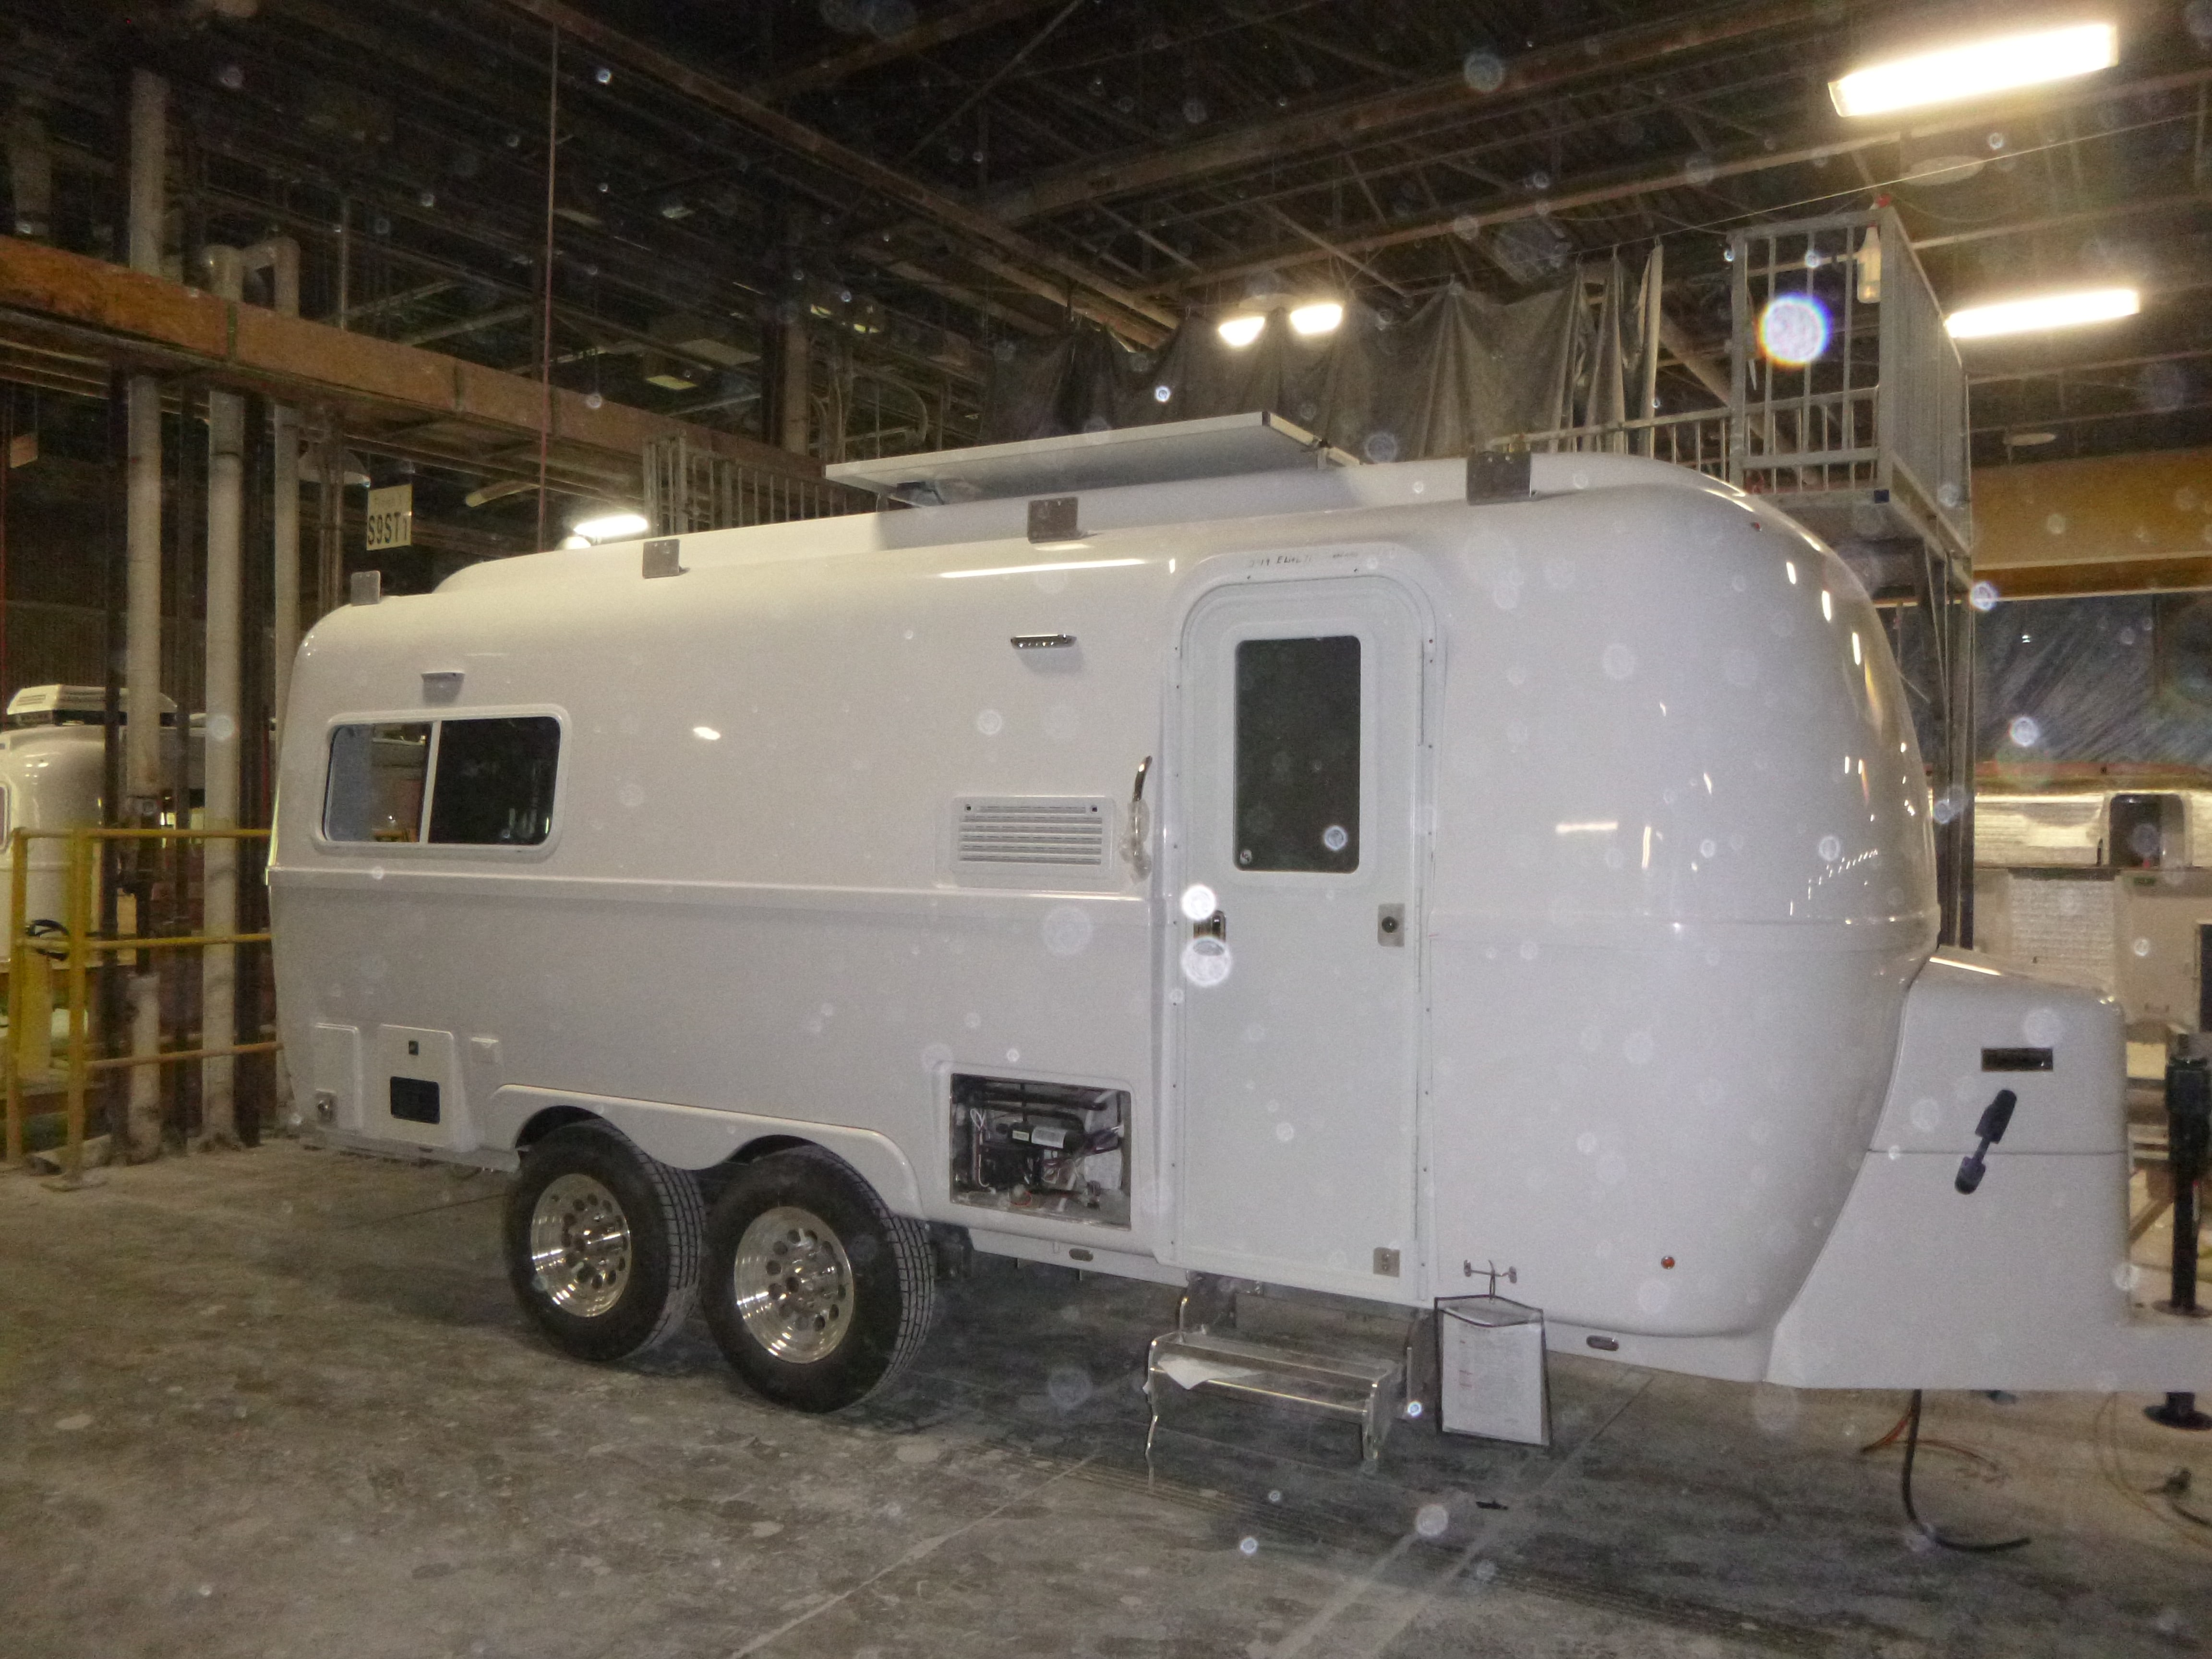
While at the "mothership" last week I was fortunate to be able to join a couple from Dayton, Ohio on their factory tour. Certainly much has changed since I last toured the plant over three years ago. Below are some of the pictures I took while there: hand rolling some of the fiberglass. Those frame welds are still beautiful. For those that have the front basket option - ever wonder what the bottom of the basket looks like? A "wiring harness" under construction. Each connection, length or wire and color of wire is labeled by a block on the table. Poo happens! Note the grey water tanks on the left and the fresh water tanks on the right. The "height" of the fresh and grey water tanks.
 6 points
 -
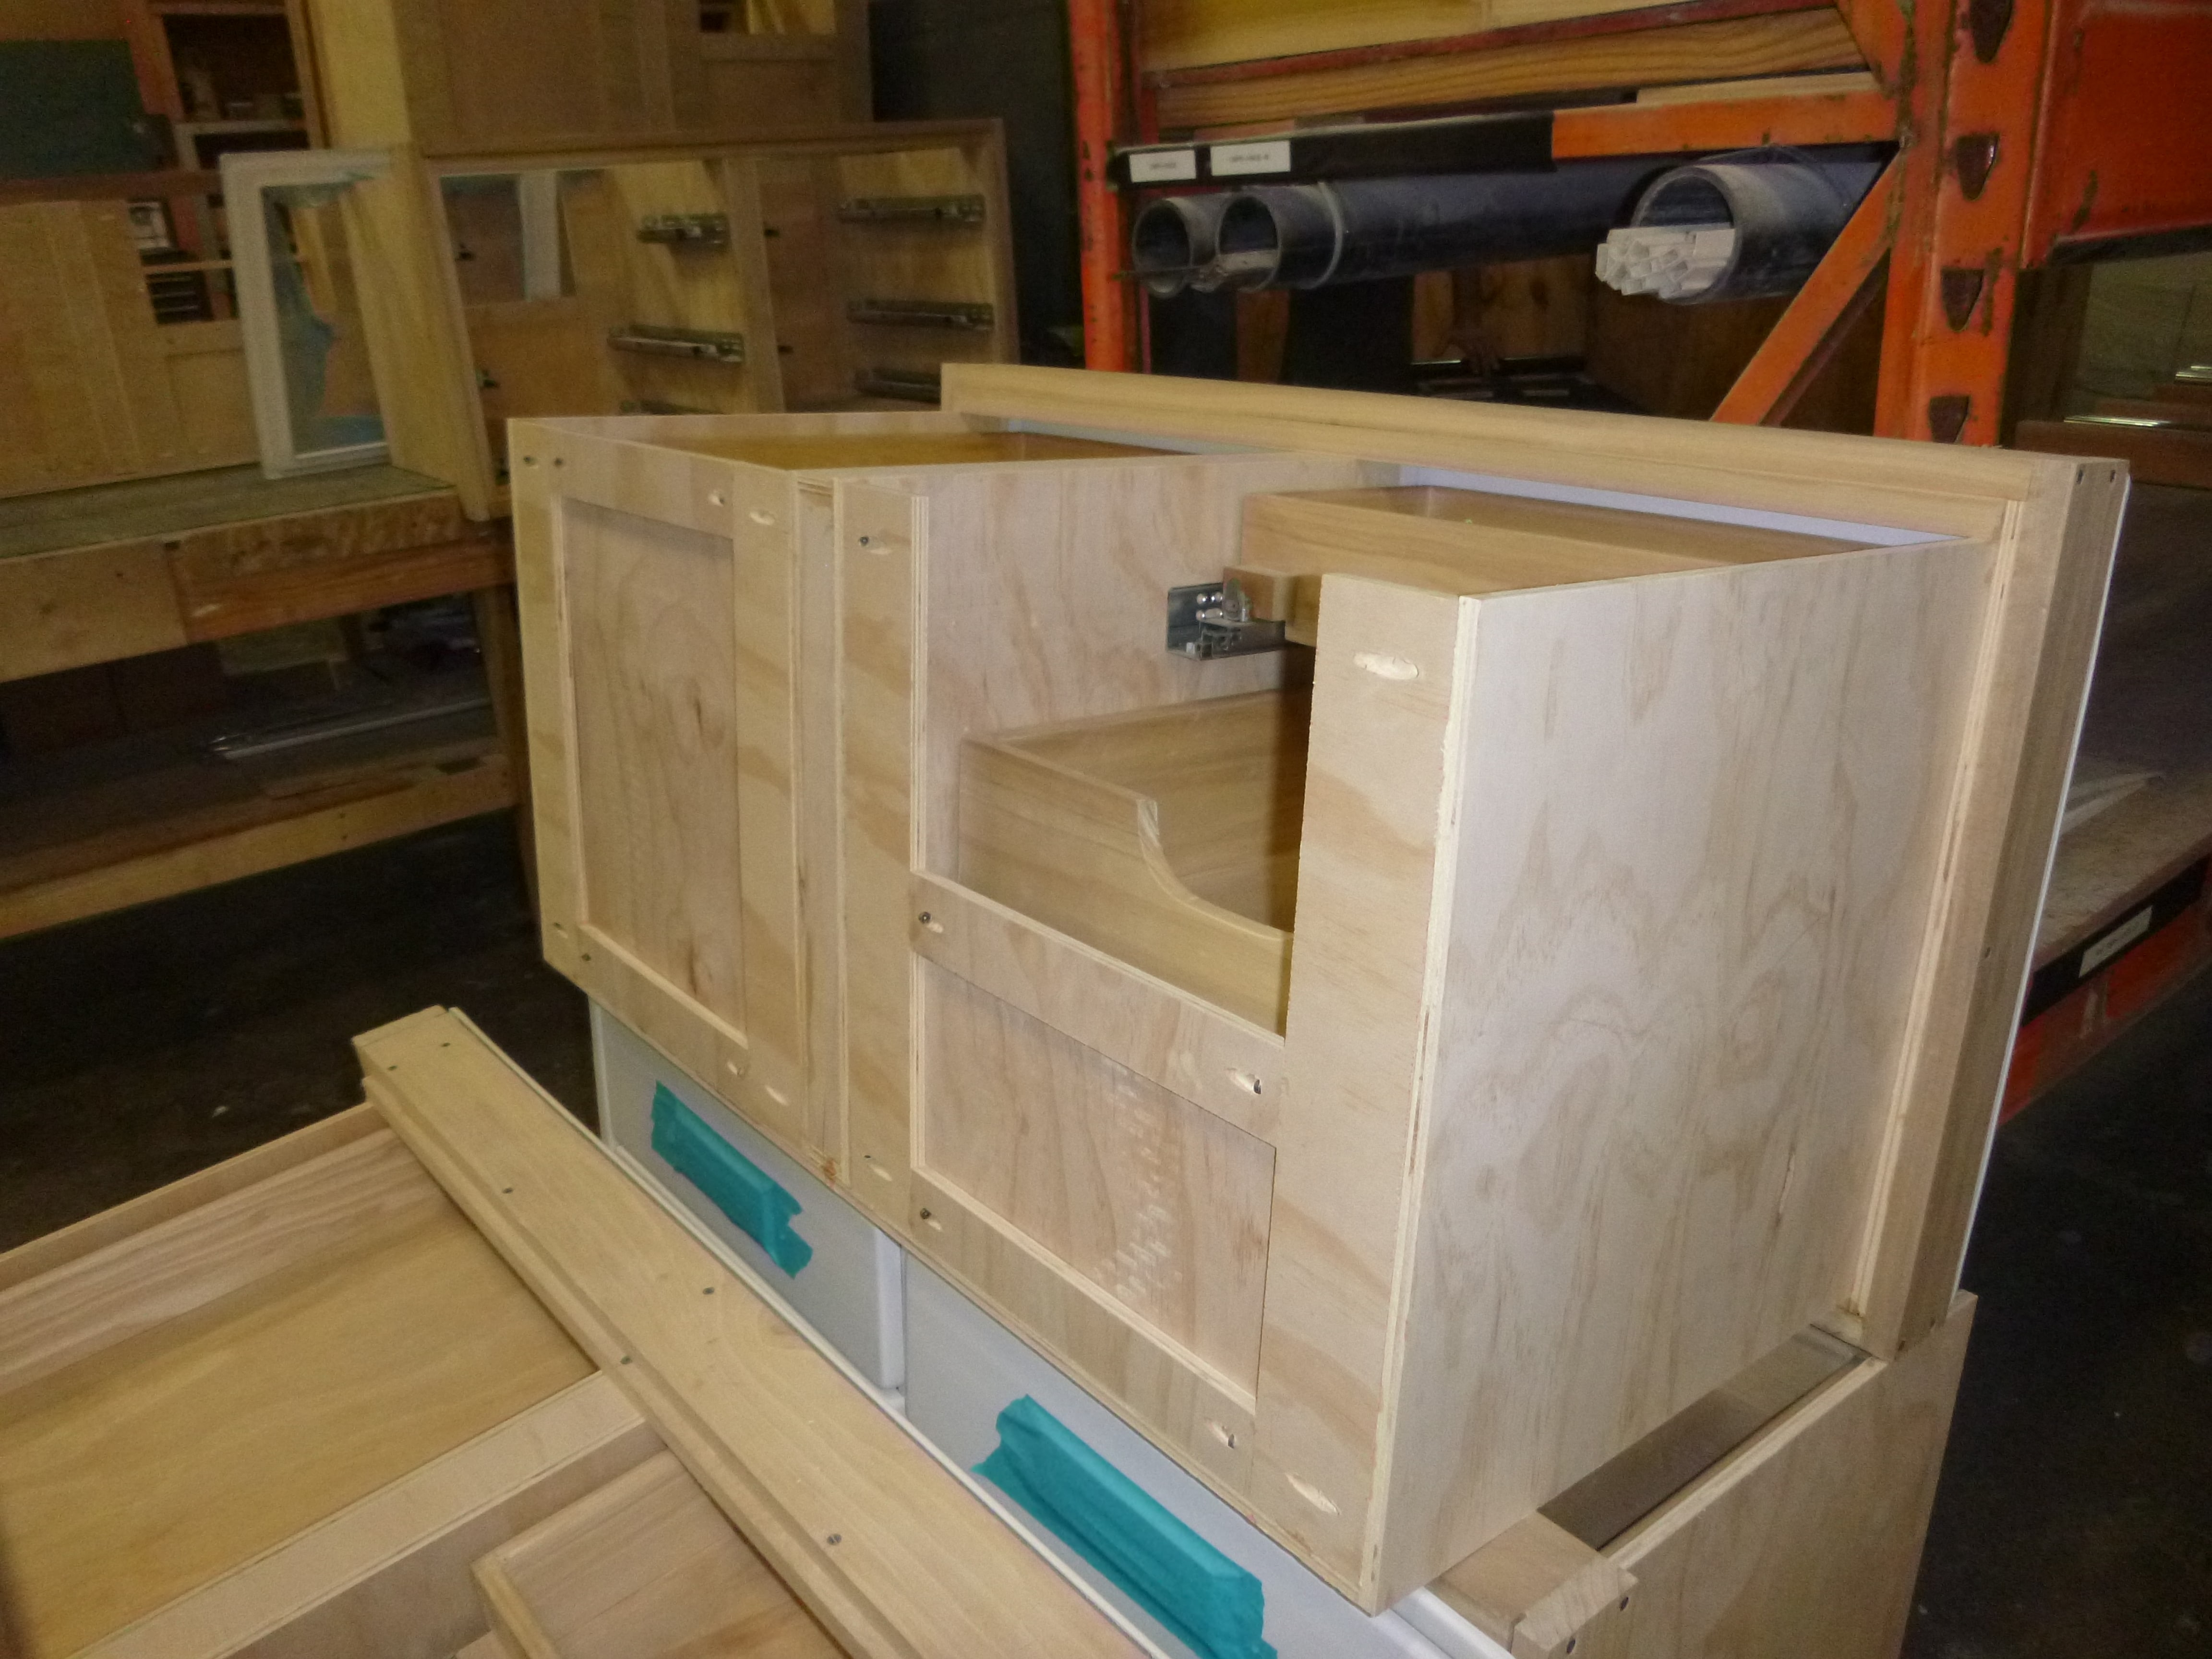
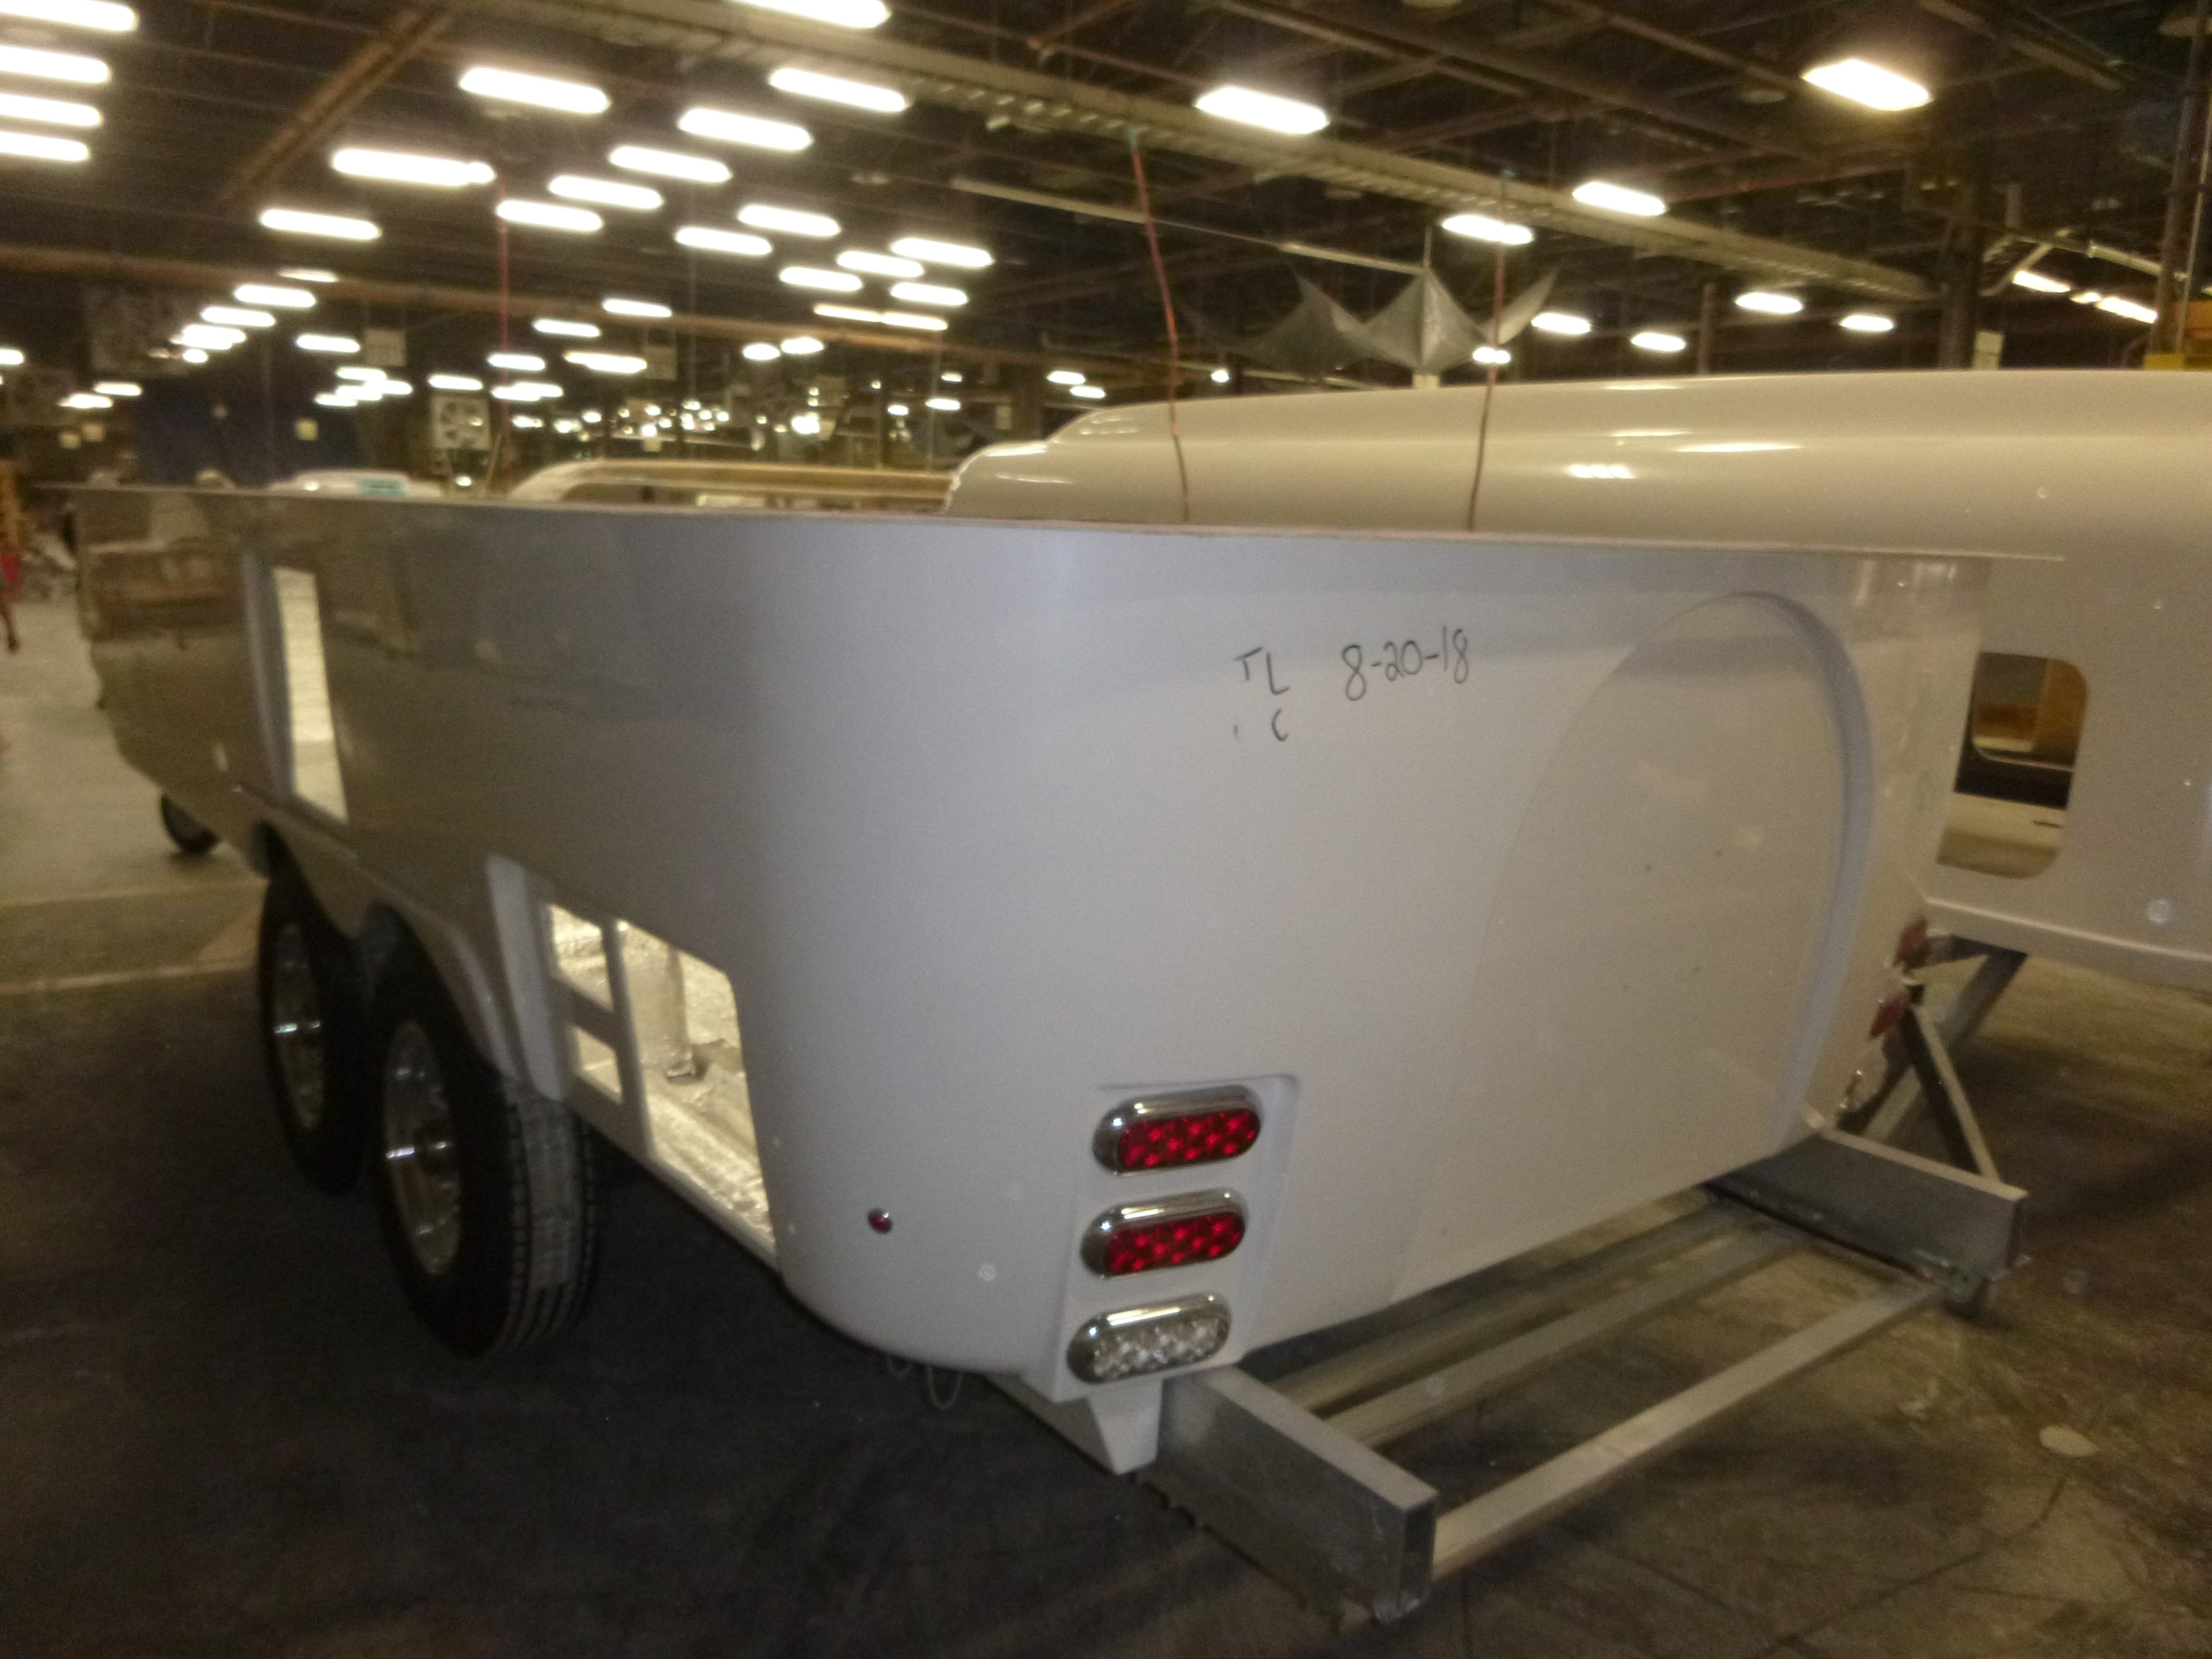
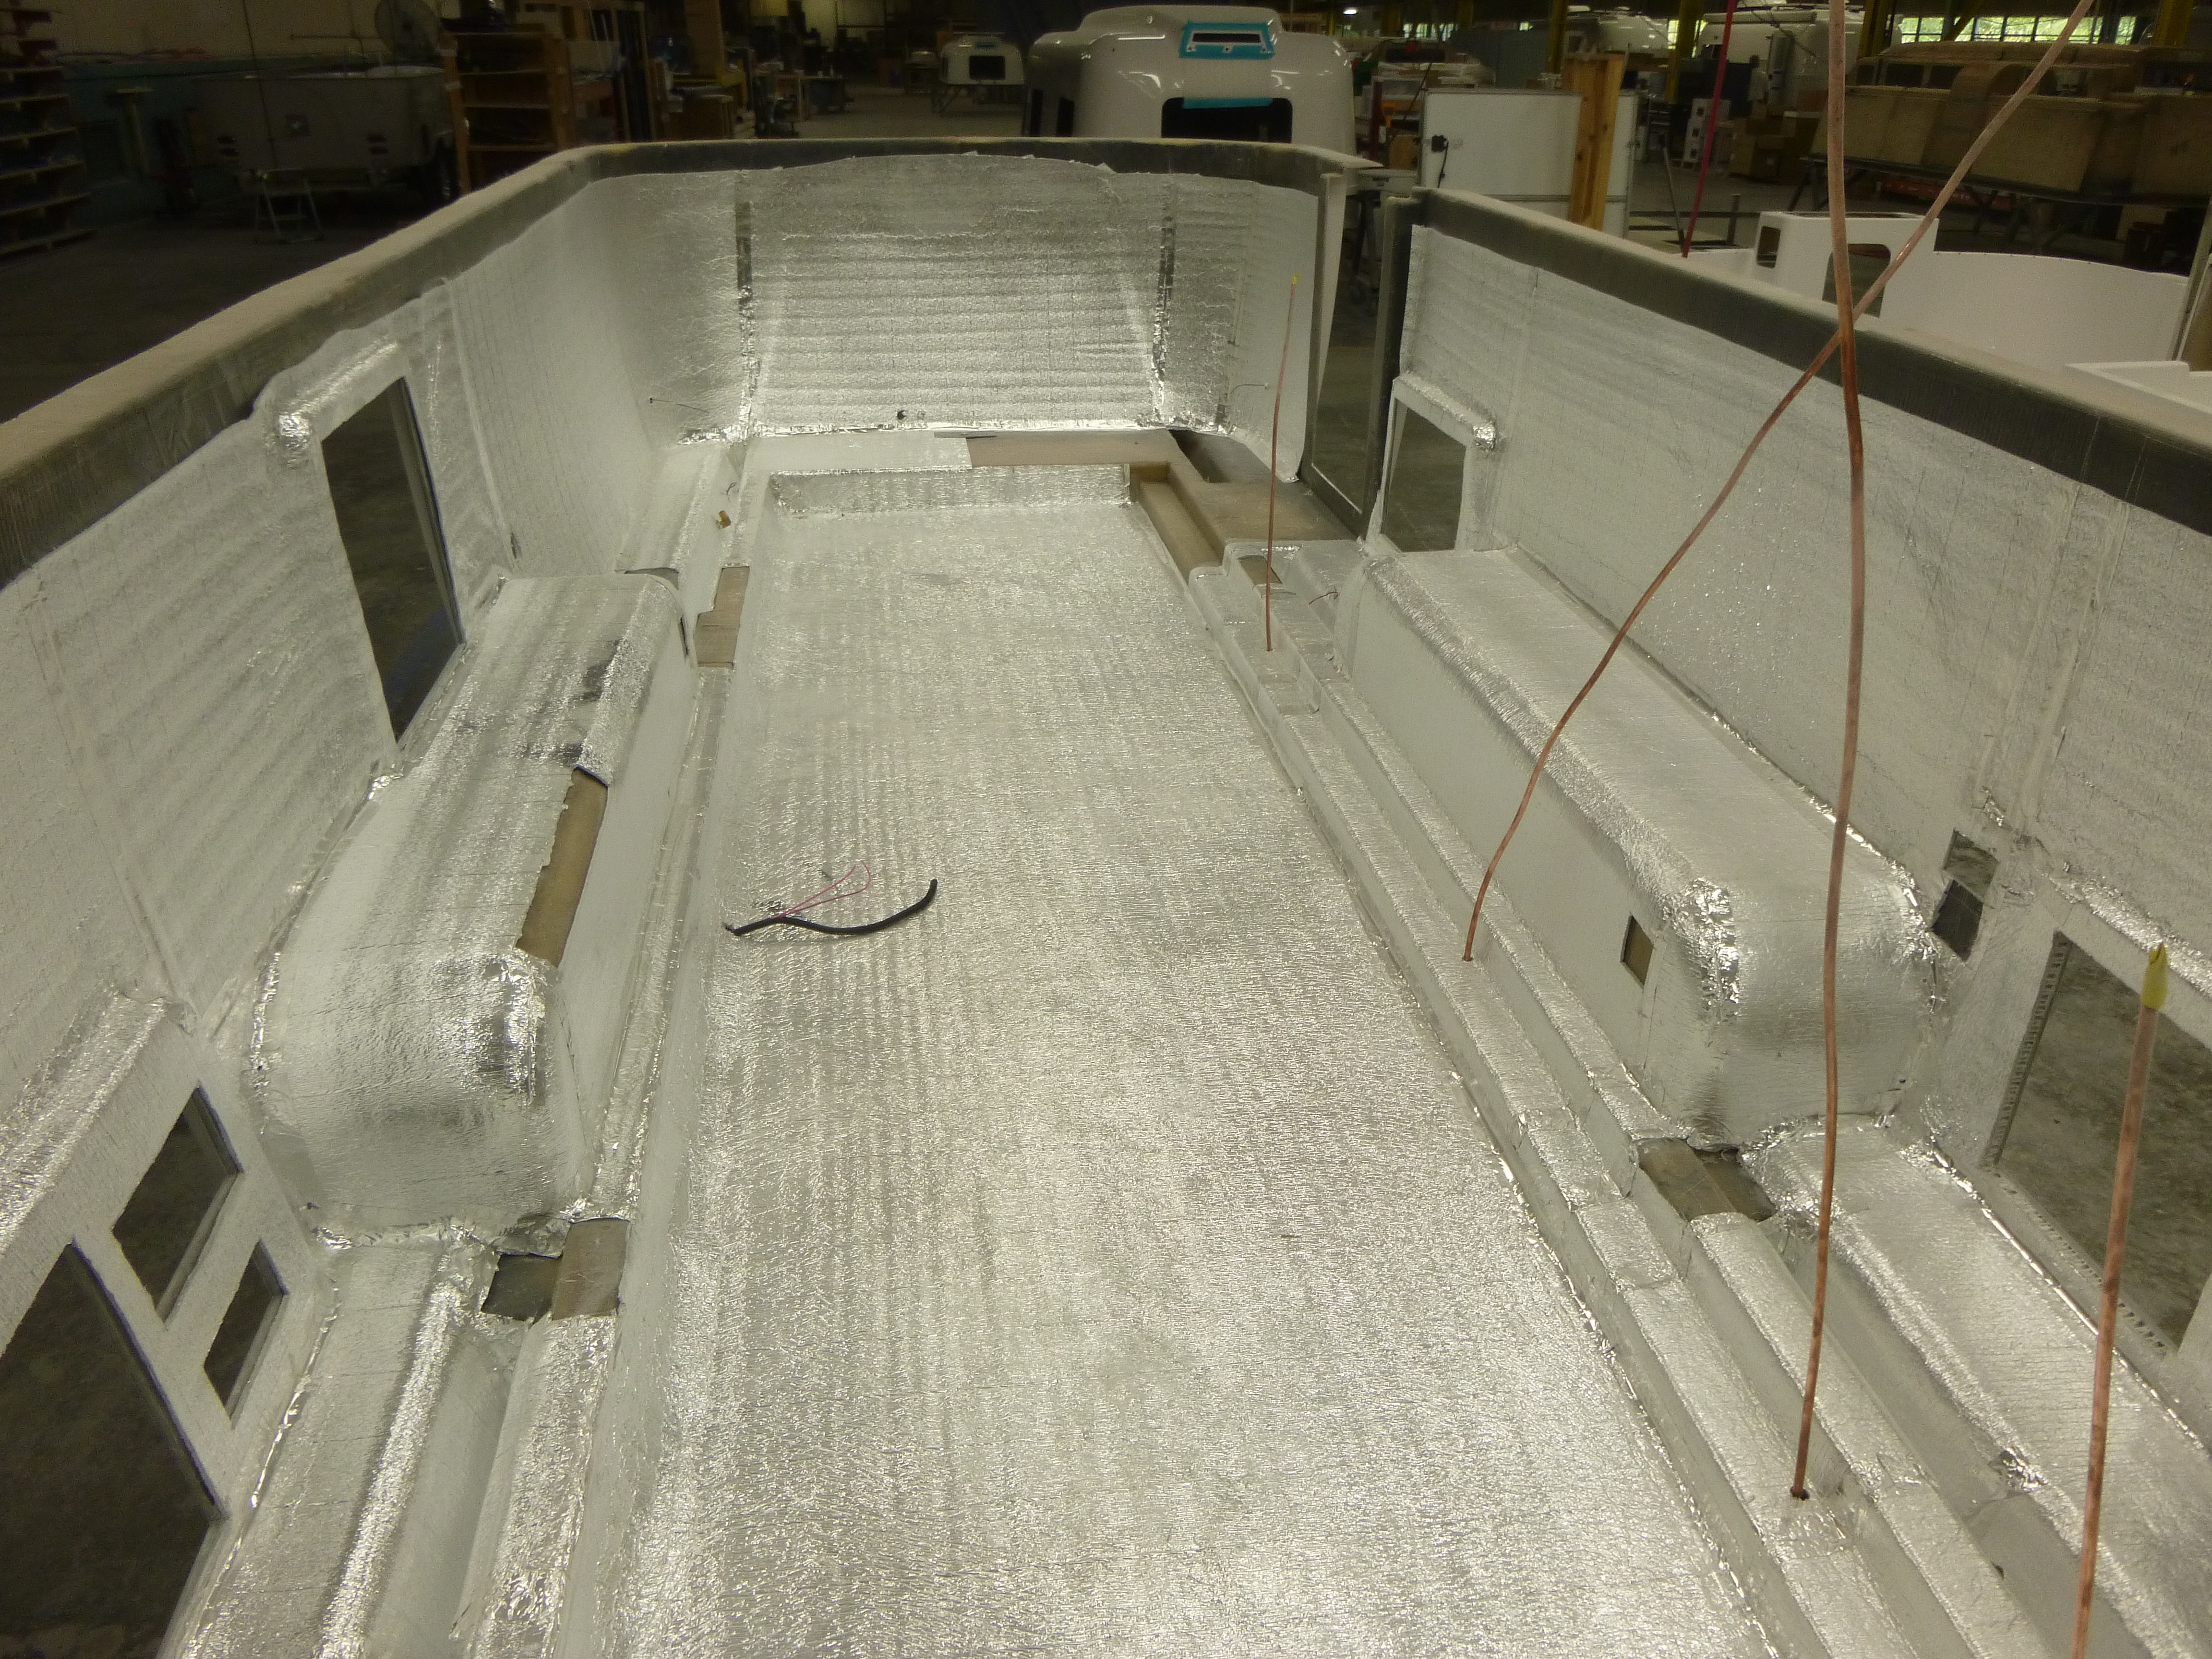
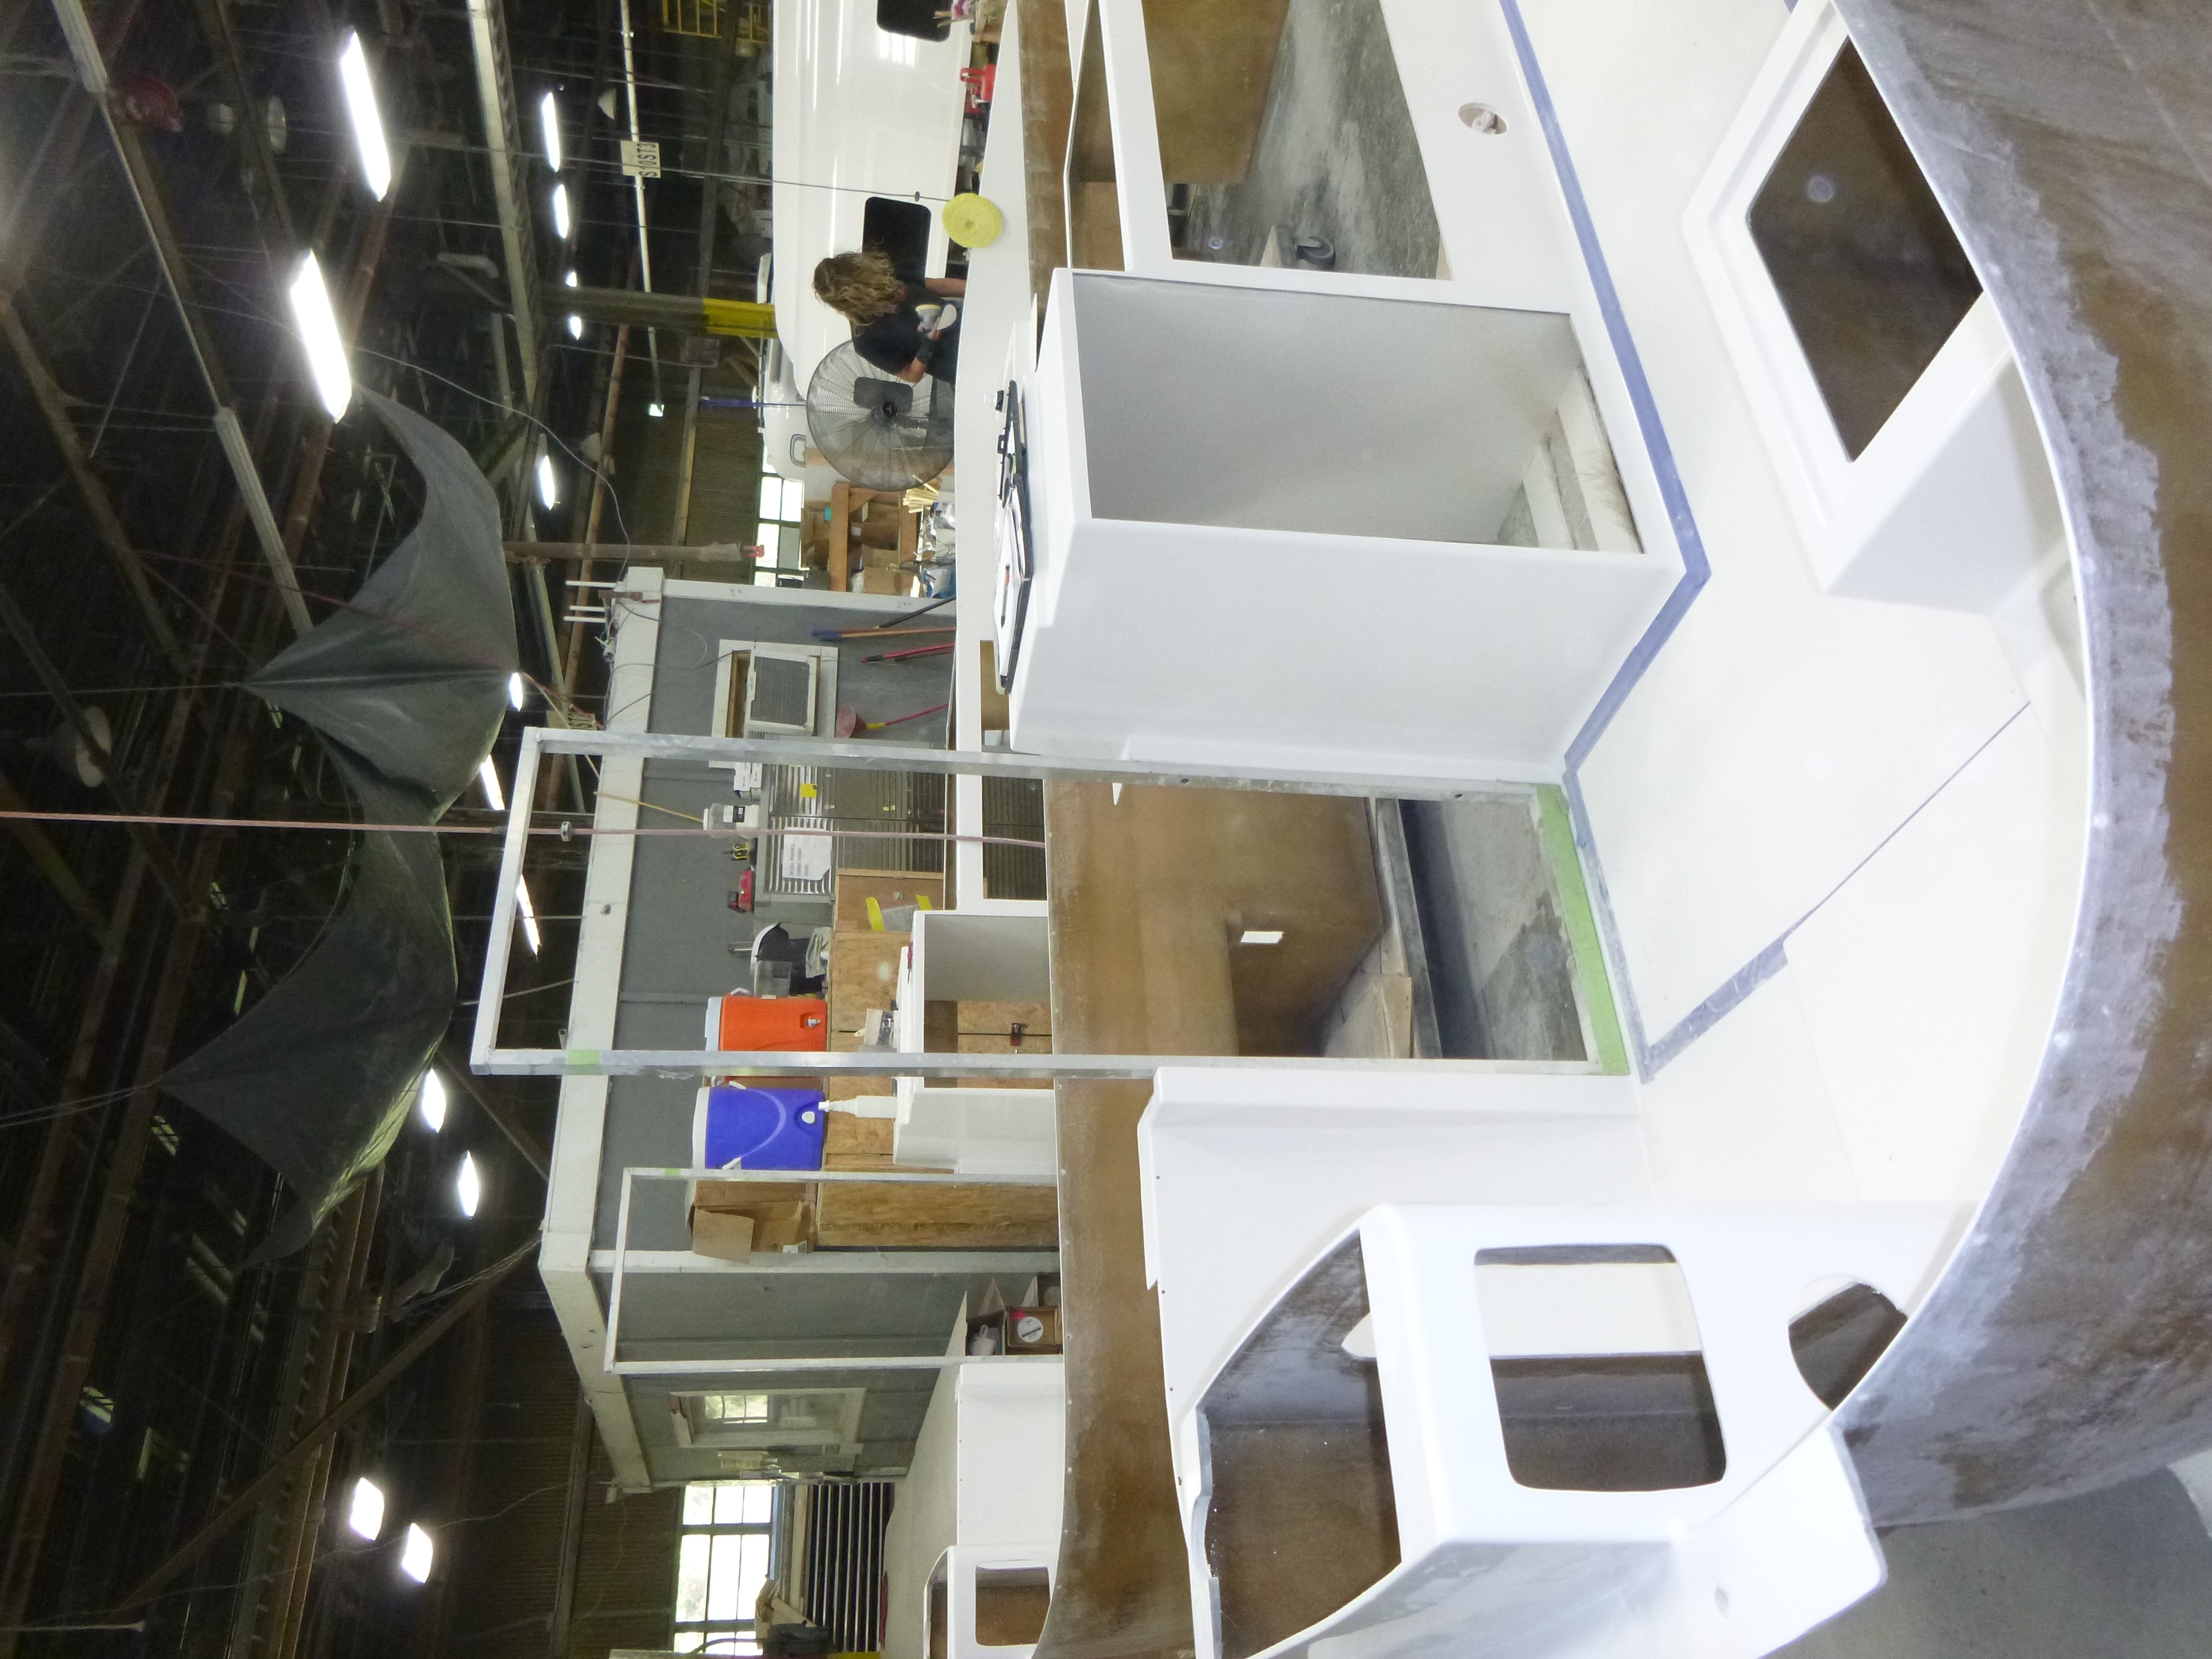
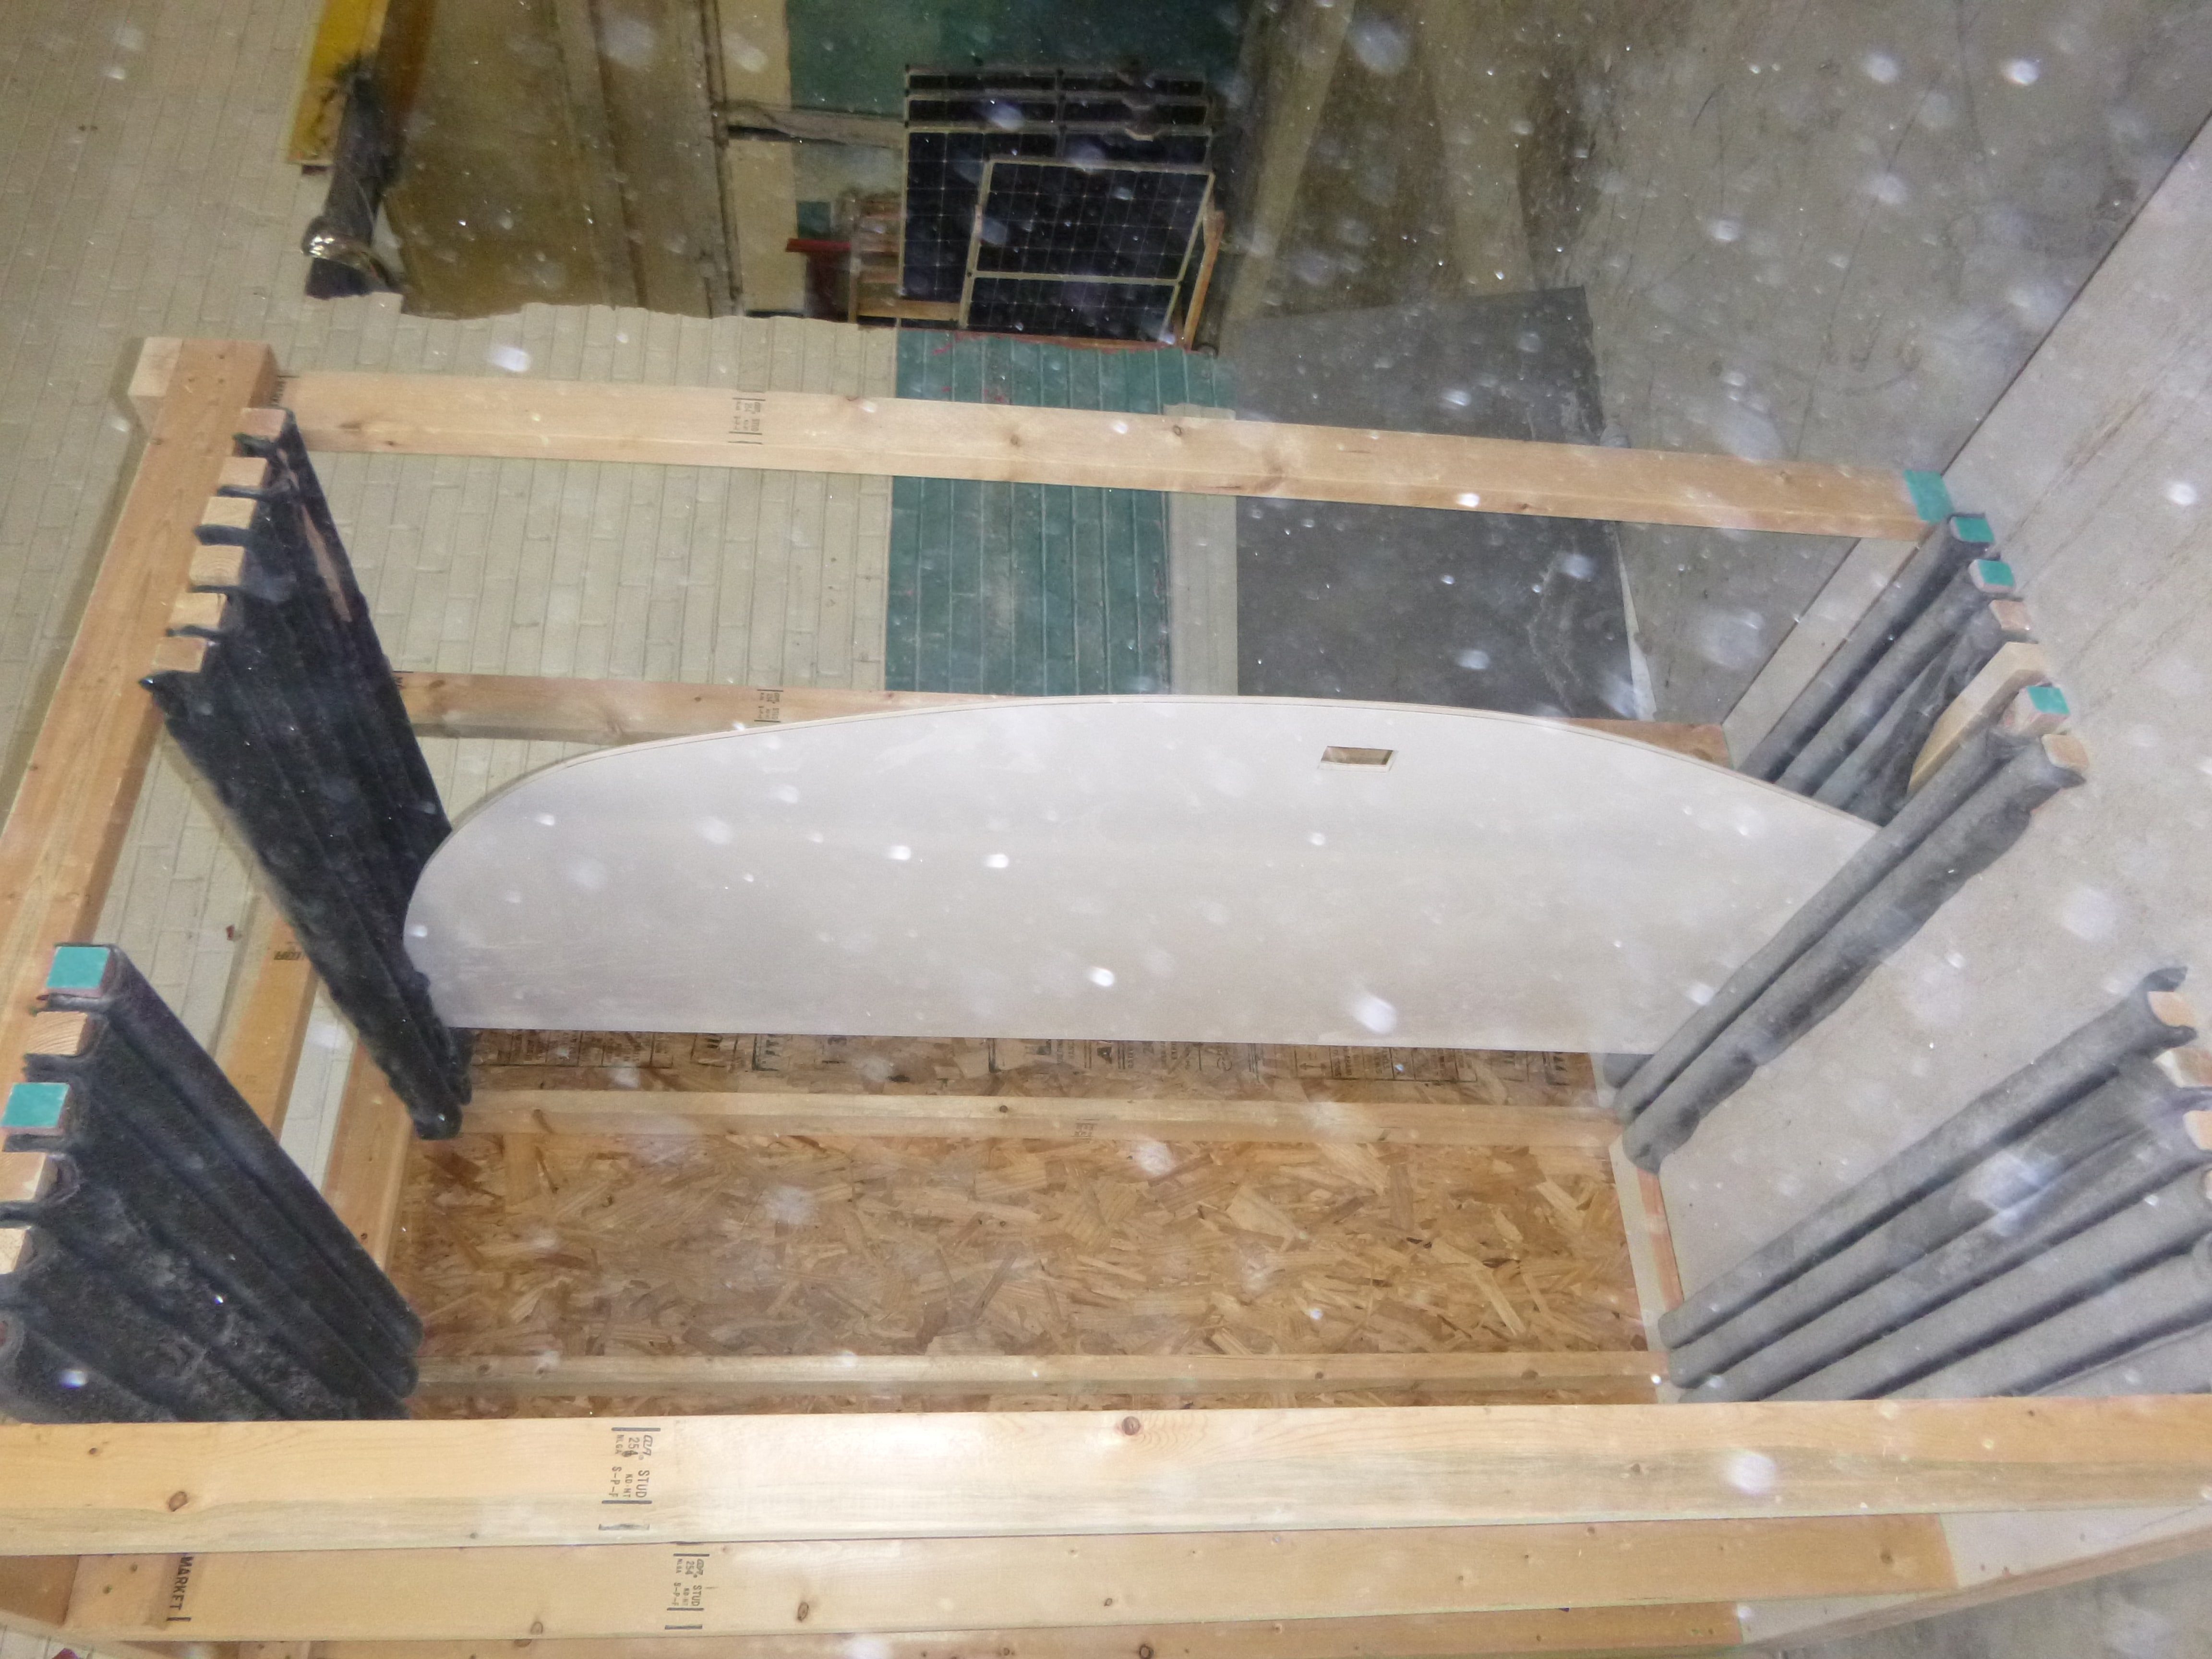
Picking up where we left off on the tour: backside of the cabinets - over 90% of the wood contained in an Elite II is right here. Bottom outside shell already on the frame. Quality control. Insulation is only the start of "stuff" going into the bottom. Getting there. lower bottom inside shell about to be placed inside the lower bottom outside shell.
4 points
-
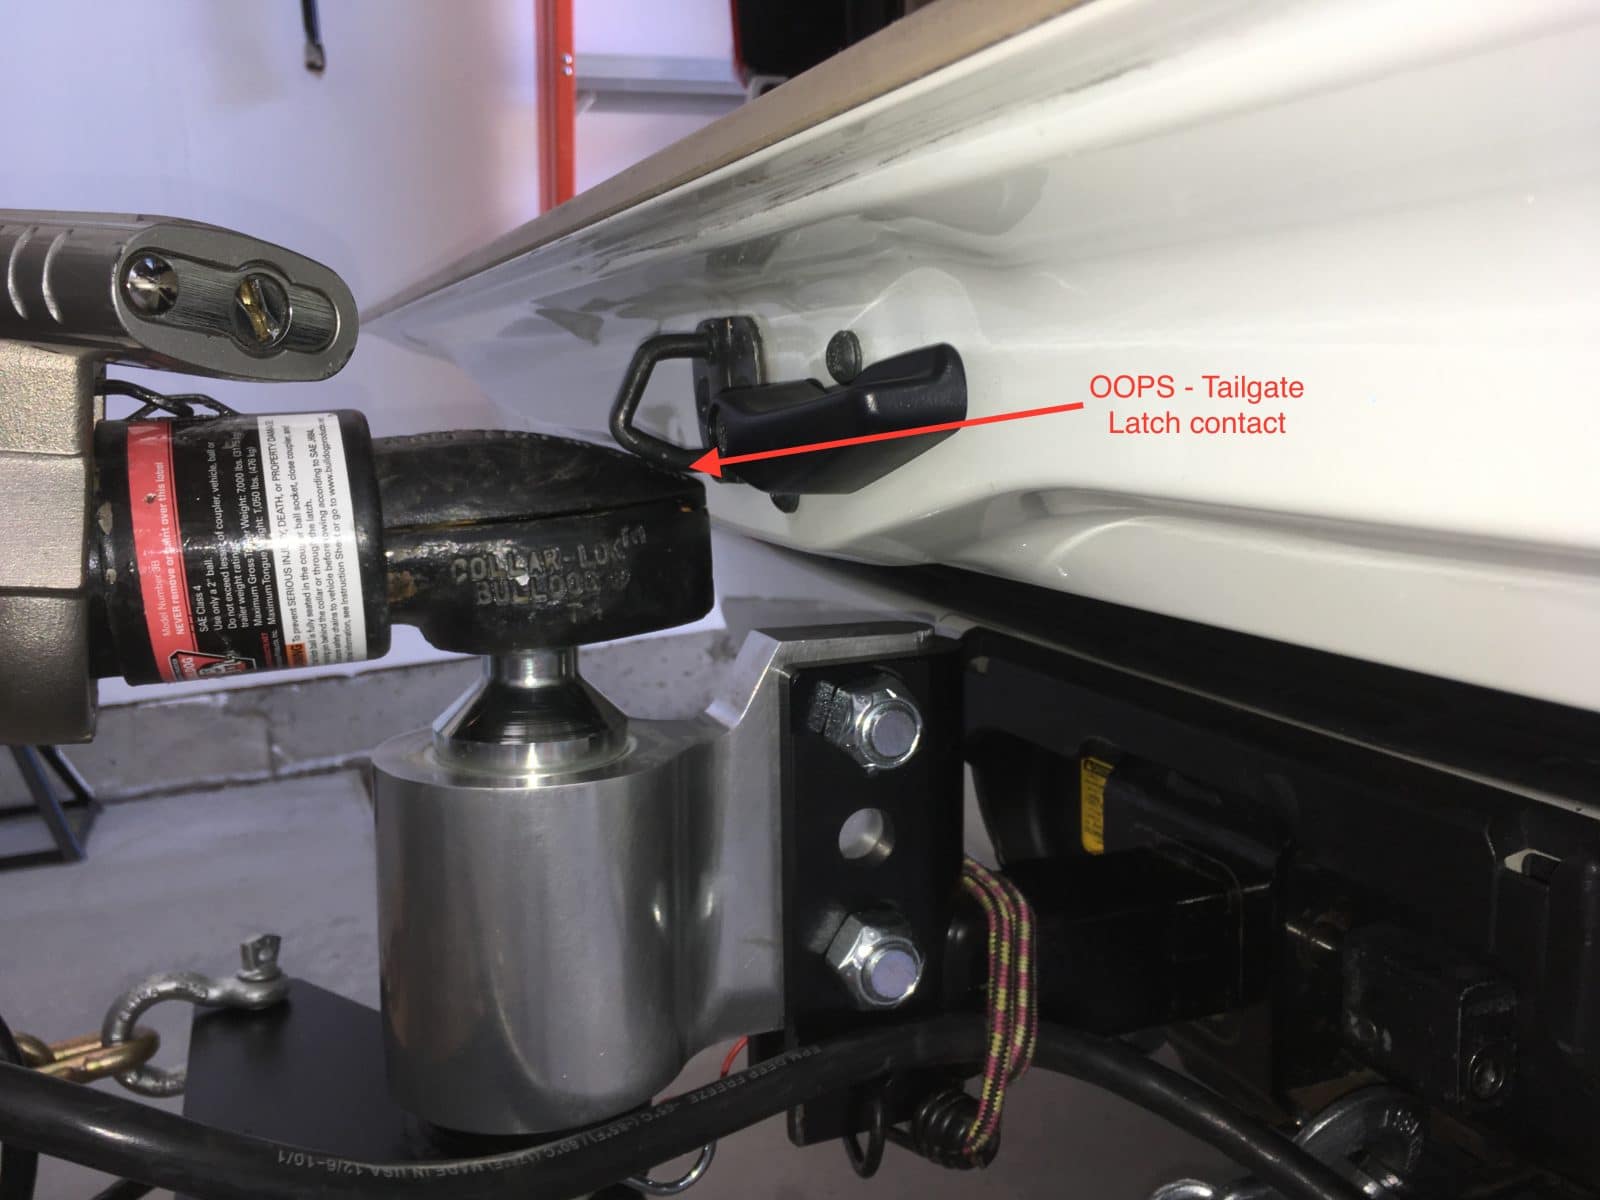
You can get an extended “stinger”, AKA Rack, from Anderson. It is 3 inches longer and may be enough to allow enough room for your tailgate. The decal can be moved, and the basket will clear the tailgate. It is 14 inches back from the ball, how long is your overhang? https://andersenhitches.com/Products/33734-custom-4-wdez-hd-rack-with-3-extra-shank-length--2-shank.aspx I use one on my 200. It works great. Here is the before, I can’t locate an after pic. After I added airbags, I was able to drop the mount one hole in the rack, which gave even more clearance. If your 150’s butt is sagging, even with the Anderson, airbags are a great option to level the bed. John Davies Spokane WA
2 points
-
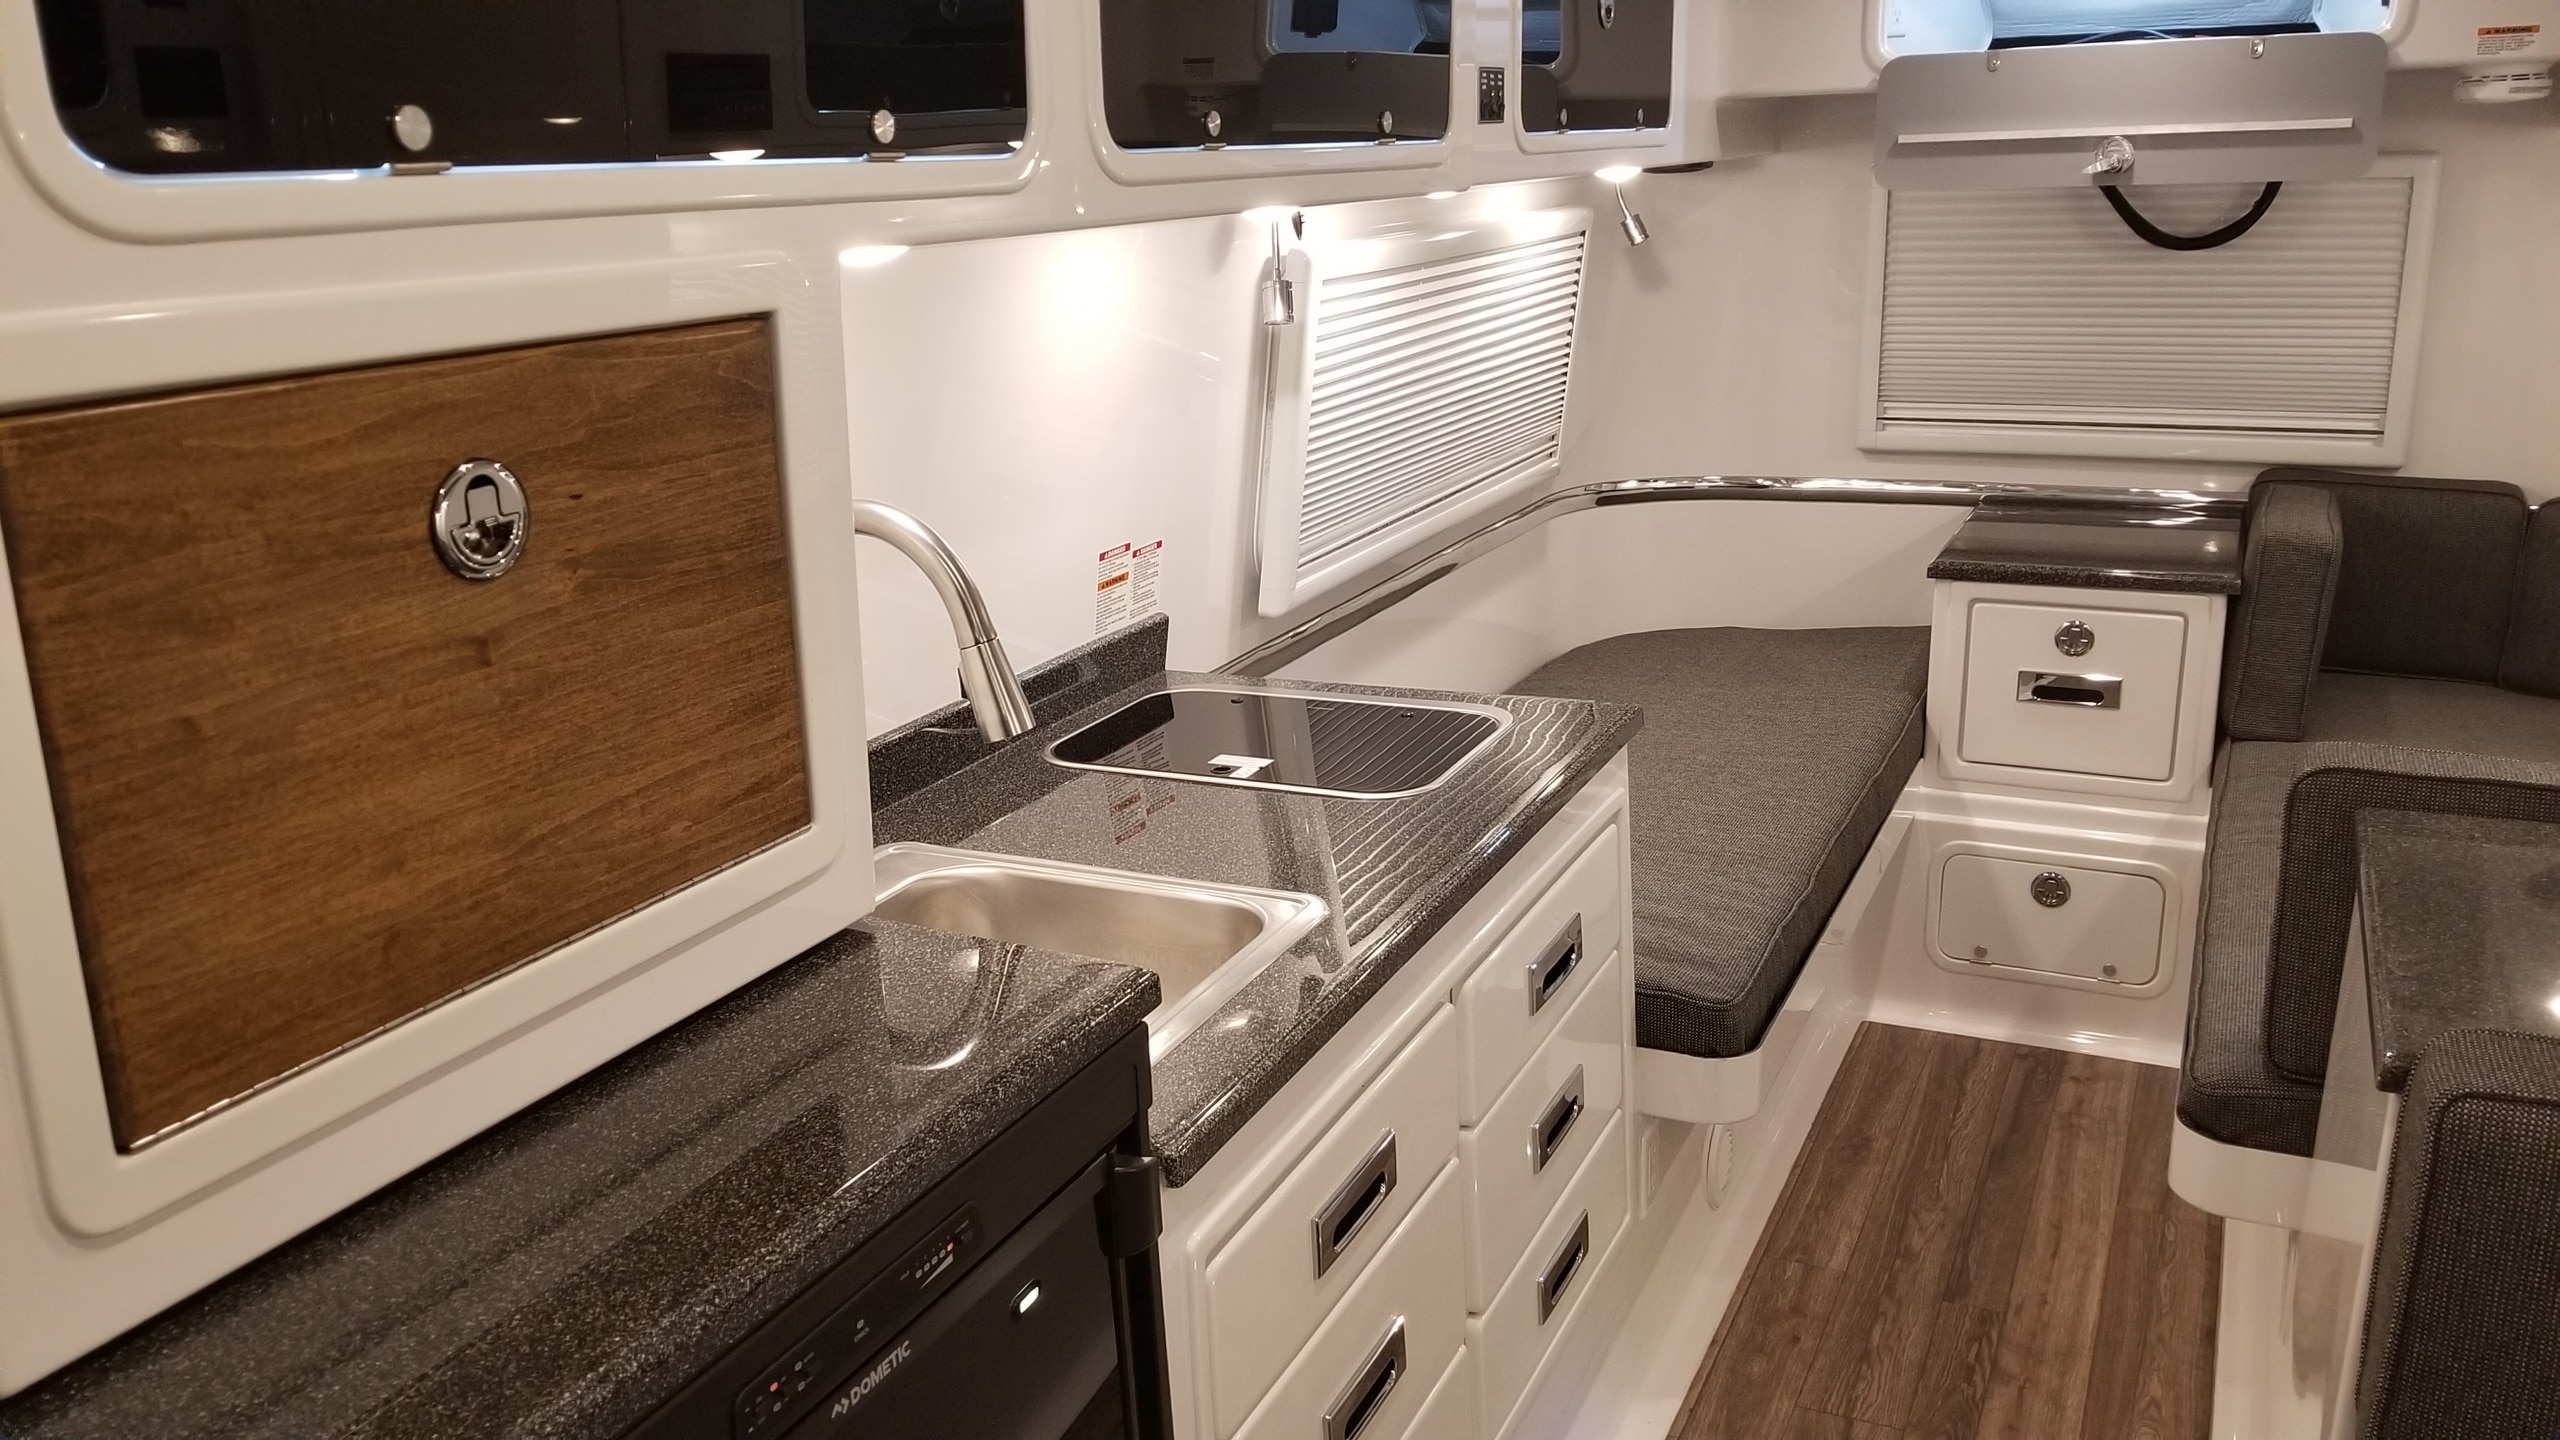
We picked up our twin bed Legacy Elite II just over 1 week ago. Has the AGM's, solar, Truma AquaGo® Water Heater , fiber granite, etc. - really everything but the Wi-Fi, Satellite stuff, camera's, table, upgrade bedding and cell booster. (5200 lbs. sticker at delivery) I added to my build a spare set of axle replacement seals and bearings, and a complete tire/rim (yes that makes two). So far I have been impressed with the overall integration of the sum of its "parts" into a very functional unit that is well executed. I've run everything but the heat system, plenty of that naturally right now. It is very impressive that Oliver has thought through the process and has included in the delivery the various items needed to actually use the unit - the hoses, adaptors, water pressure reducer, etc. There is a lot to like about the unit, many of you, as owners, know what that is, so my few "complaints" are as follows: 1.Don't understand the shower curtain process - it just doesn't work. Will find a better answer - probably figure out a way to keep water off/out of the Natures Head, and call it a day. 2.Had a small area of unfinished exterior surface prep (about palm size). A little elbow work. 400/600/1200 sandpaper and polish took care of it. 3. After one week of airing it out - the fiberglass and resin smell is still there - I expect this to diminish over time. Yes the AC is loud - but that was expected. The "22” Flat Screen LCD TV, Radio with FM & AM Dual Zone Audio Output, CD/DVD/MP/WMA/MP4, USB, Bluetooth & Remote Control" - whew -works much better than I expected, and the lighting and switch options ae really well done. The DC/usb port lights are annoying if you don't plug in the rubber cover. That's about it - so far. I have installed magnets to keep the bathroom door open, used 3m double side tape - works great. Re engineered my Thule bike rack to install on the rear of the Ollie. It works well and looks very similar to the former factory option. As they discontinued the factory option. Interesting that the tow cable hooks are too large to fit the hitch attachment locations on my GMC. Had to buy some heavy duty large carabiners to make the transition. I Amazoned a box of the recommended grease, a new dedicated grease gun, the Anderson wheel chocks, and the door magnets. Still have to source spare fuses - by the way, Oliver is now putting 2 amp fuses in the Natures Head circuit. I purchased a Gushill lock for the bulldog hitch, and also lock the leaver - thus theft now represents to much trouble - the thieves will move on to the next rube. Or unbolt the Bulldog…. Did you know Dometic fridge/freezer maintains 40 degree at setting 2. Inquiring minds and all. And the Heat/cool T stat is accurate - within reason. Towing was fine, The Anderson worked as advertised, but I have sourced a new TV, perhaps overkill with the 2500, but hey, a man and his toys. (Cindy likes the truck - a bonus) That's it - a satisfied owner - to date. As an aside - the purchase price for these units is hard to justify - unless and until you go through the details of the build, the standard options, and the execution. Take it home, crawl around, crawl underneath, poke it, pull it, use it - the value becomes much more compelling. With that - to all a good day!1 point
-
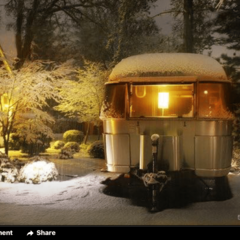
I was at the Mother ship much of this past week and had a chance to take a tour of the plant. While there I snapped a bunch of pictures of Ollies in various states of birth. If you currently have an Oliver in production and wish for pictures of it - I probably have one or two. Just PM me with your email address, and name and I'll send you what I have. Bill1 point
-
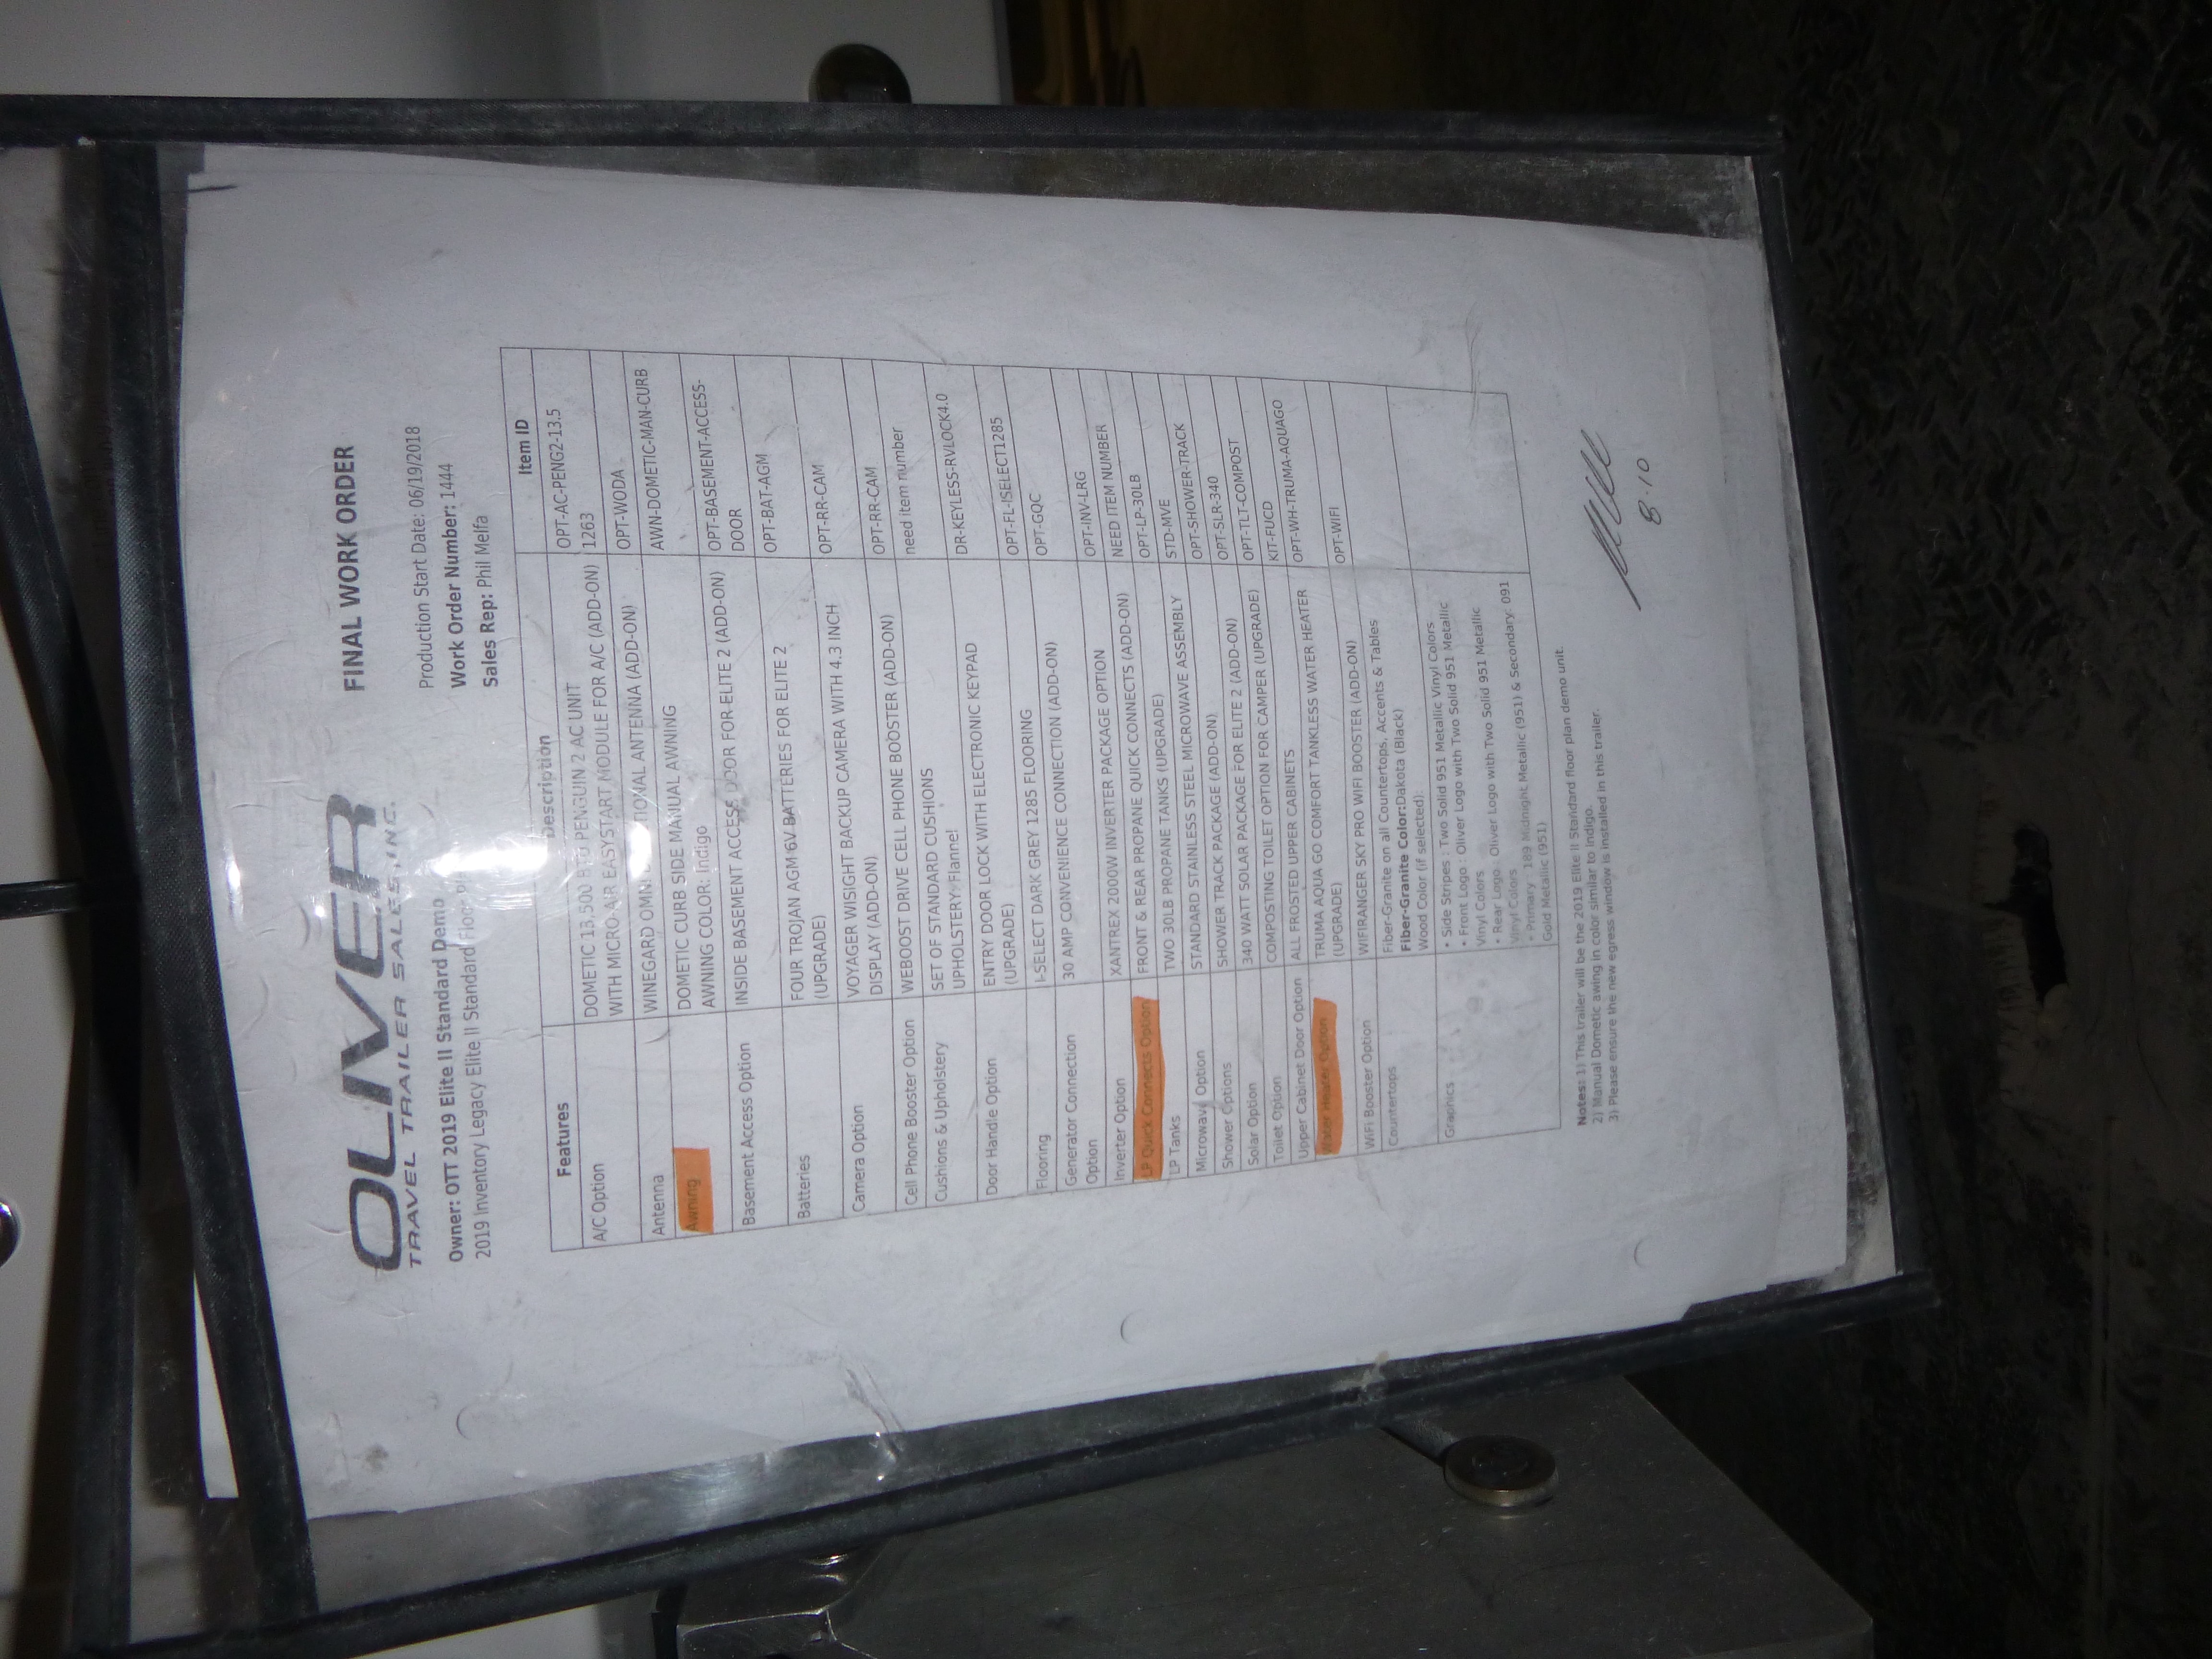
And the tour continues: The wall between the bath and the dinette - has a thin wood core. The inside top shell is just about ready to be placed on top of that lower inside shell. A 2019 Demo unit in production. 2019's don't look much different! Note the mounting brackets for the awning in place on the roof. Let's fill it up with pretty "stuff". I do have more pics if anyone is interested in anything not shown on this tour - just PM me with your email address and I'd be happy to send them along. Special thanks go to Rod Lomax of the Oliver Sales Team for conducting a great tour! In fact, the tour was so good that couple that let me join them on their tour actually went back to the Sales Office and placed a deposit on a 2019 Oliver Legacy Elite II. Bill
1 point
-
Bill, nice photos.... looks like you were having fun! Mike1 point
-
Thanks John'' The last time i was hooked up i had major concerns with screwing up the camera. It hits right on the tailgate lens. thanks I will give them a call.1 point
-
You guys are killing me. I am all excited to pickup my first travel trailer (EII) in April2019 and now you guys are dreaming of a larger size? But, for only the two of us soon-to-be retired couple, an important consideration (in my mind) is ease of towing, setup, handling, and off-grid enjoyment. A larger (wider) travel trailer, especially 5th wheel, might be more than I want to handle. I did look seriously at Airstreams and thought much about the extra room, but, complaints about quality and the slightly larger towing burden were factors in deciding to purchase an Oliver. I can see where a "family market" would be served by a larger design. Seems the Oliver Elite II is just right for what I need at this stage of life.1 point
-
How about wrapping the entire Ollie in solar cells and adding electric drives: like this one: <p style="text-align: center;">https://www.engadget.com/2018/08/27/dethleffs-camping-trailer-ev-tech-reduce-towing-strain/</p>1 point
-
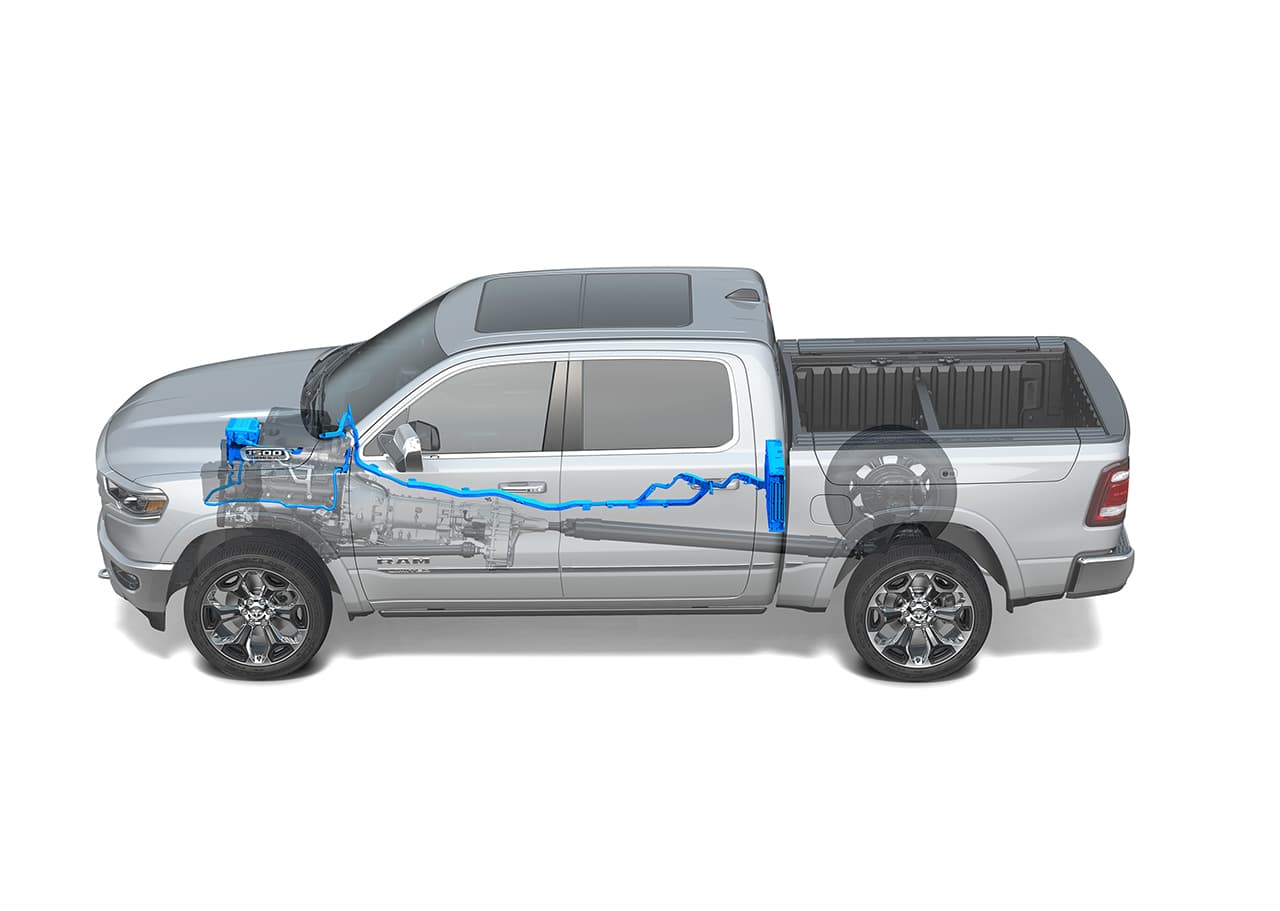
Cool, I like the newer Ram 1500 trucks. Diesel? Or are you considering the V8 Hemi with the new mild hybrid eBoost? It gives about a 10% increase in mpgs and helps make the transition from stopped to running engine transparent, and smooths out shifts. OTH I am a little leery of a big lithium battery pack mounted on the inside of the rear cabin wall. That seem like a fire hazard. https://www.forbes.com/sites/samabuelsamid/2018/01/15/2019-ram-1500-gets-standard-48v-mild-hybrid-on-all-gas-engines/#3f93c16e7e9e John Davies Spokane WA
1 point
-
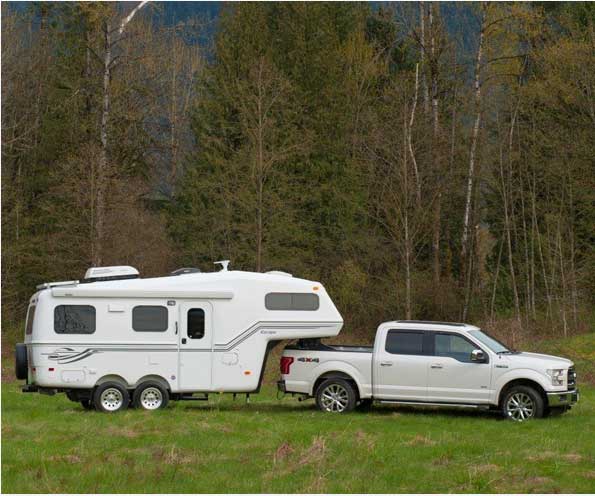
I have spoken to several potential owners. they all indicated that a little extra volume would be welcome. One suggestion was to design a mini fifth wheel with a queen berth on top. It would be ultra maneuverable and a lot of folks just do not want a bumper pull trailer. I think a hull the length of the current II, with a little extra overall width and a high sleeping area, would be extremely cool and sell like hotcakes. Like this Escape but a little longer. It would need to use the area where the rear bed used to be for cargo, since you lose the use of much of the truck bed. A full width, double access storage area right aft would compensate for the lost room. You could have another outside access storage area up front, to help balance the load. John Davies Spokane WA
1 point
-
Tom & Marie - no problem at all. Once I get some time I'll be posting some pics here on the Forum of some of the assembly line just for general interest. I do have pics of Olivers that had the names Bass, Freeman and Gossett on them. If they belong to you and you would like copies, just PM me with you email address and I will get them right out to you. Bill1 point
-
Just a FYI. We had a problem with the built in microwave in our Casita 4 years after our trailer was built to find out the microwave was discontinued and there was no replacement that would fit. It was a major job to convert it back to a cabinet. We deleted the microwave in the Oliver and love the cabinet we got instead. Depends on how you plan to camp.
1 point
-
Hi, We bought 007 or the 7th one made. We saw it in Oregon over 10 years ago. It was a demo driving around the country. It wasn't really finished. Lots of wires/etc not in finished places. The Oliver company paid to have it finished here in Seattle. Now 10 years later it is still in mint condition despite living outside in 10 months of rain. The Oliver Brothers started an excellent company and they make the best travel trailer on the road. NB and CJ Seattle1 point
-
When on the road I use nothing other than the UV coating (333) that I apply before I leave home. However, while in storage (outdoors) and covered with a canvas cover on the main body of the Ollie, I again use the UV 333 let it sit overnight, then cover each wheel with one of those commercial covers and then place a 1/2 sheet of plywood over the two wheels on each side. Perhaps a bit anal, but, the covers were given to me and the plywood was also free. At least when it is time to take Twist on the road again the tires and wheels really don't need very much cleaning. Bill1 point
-
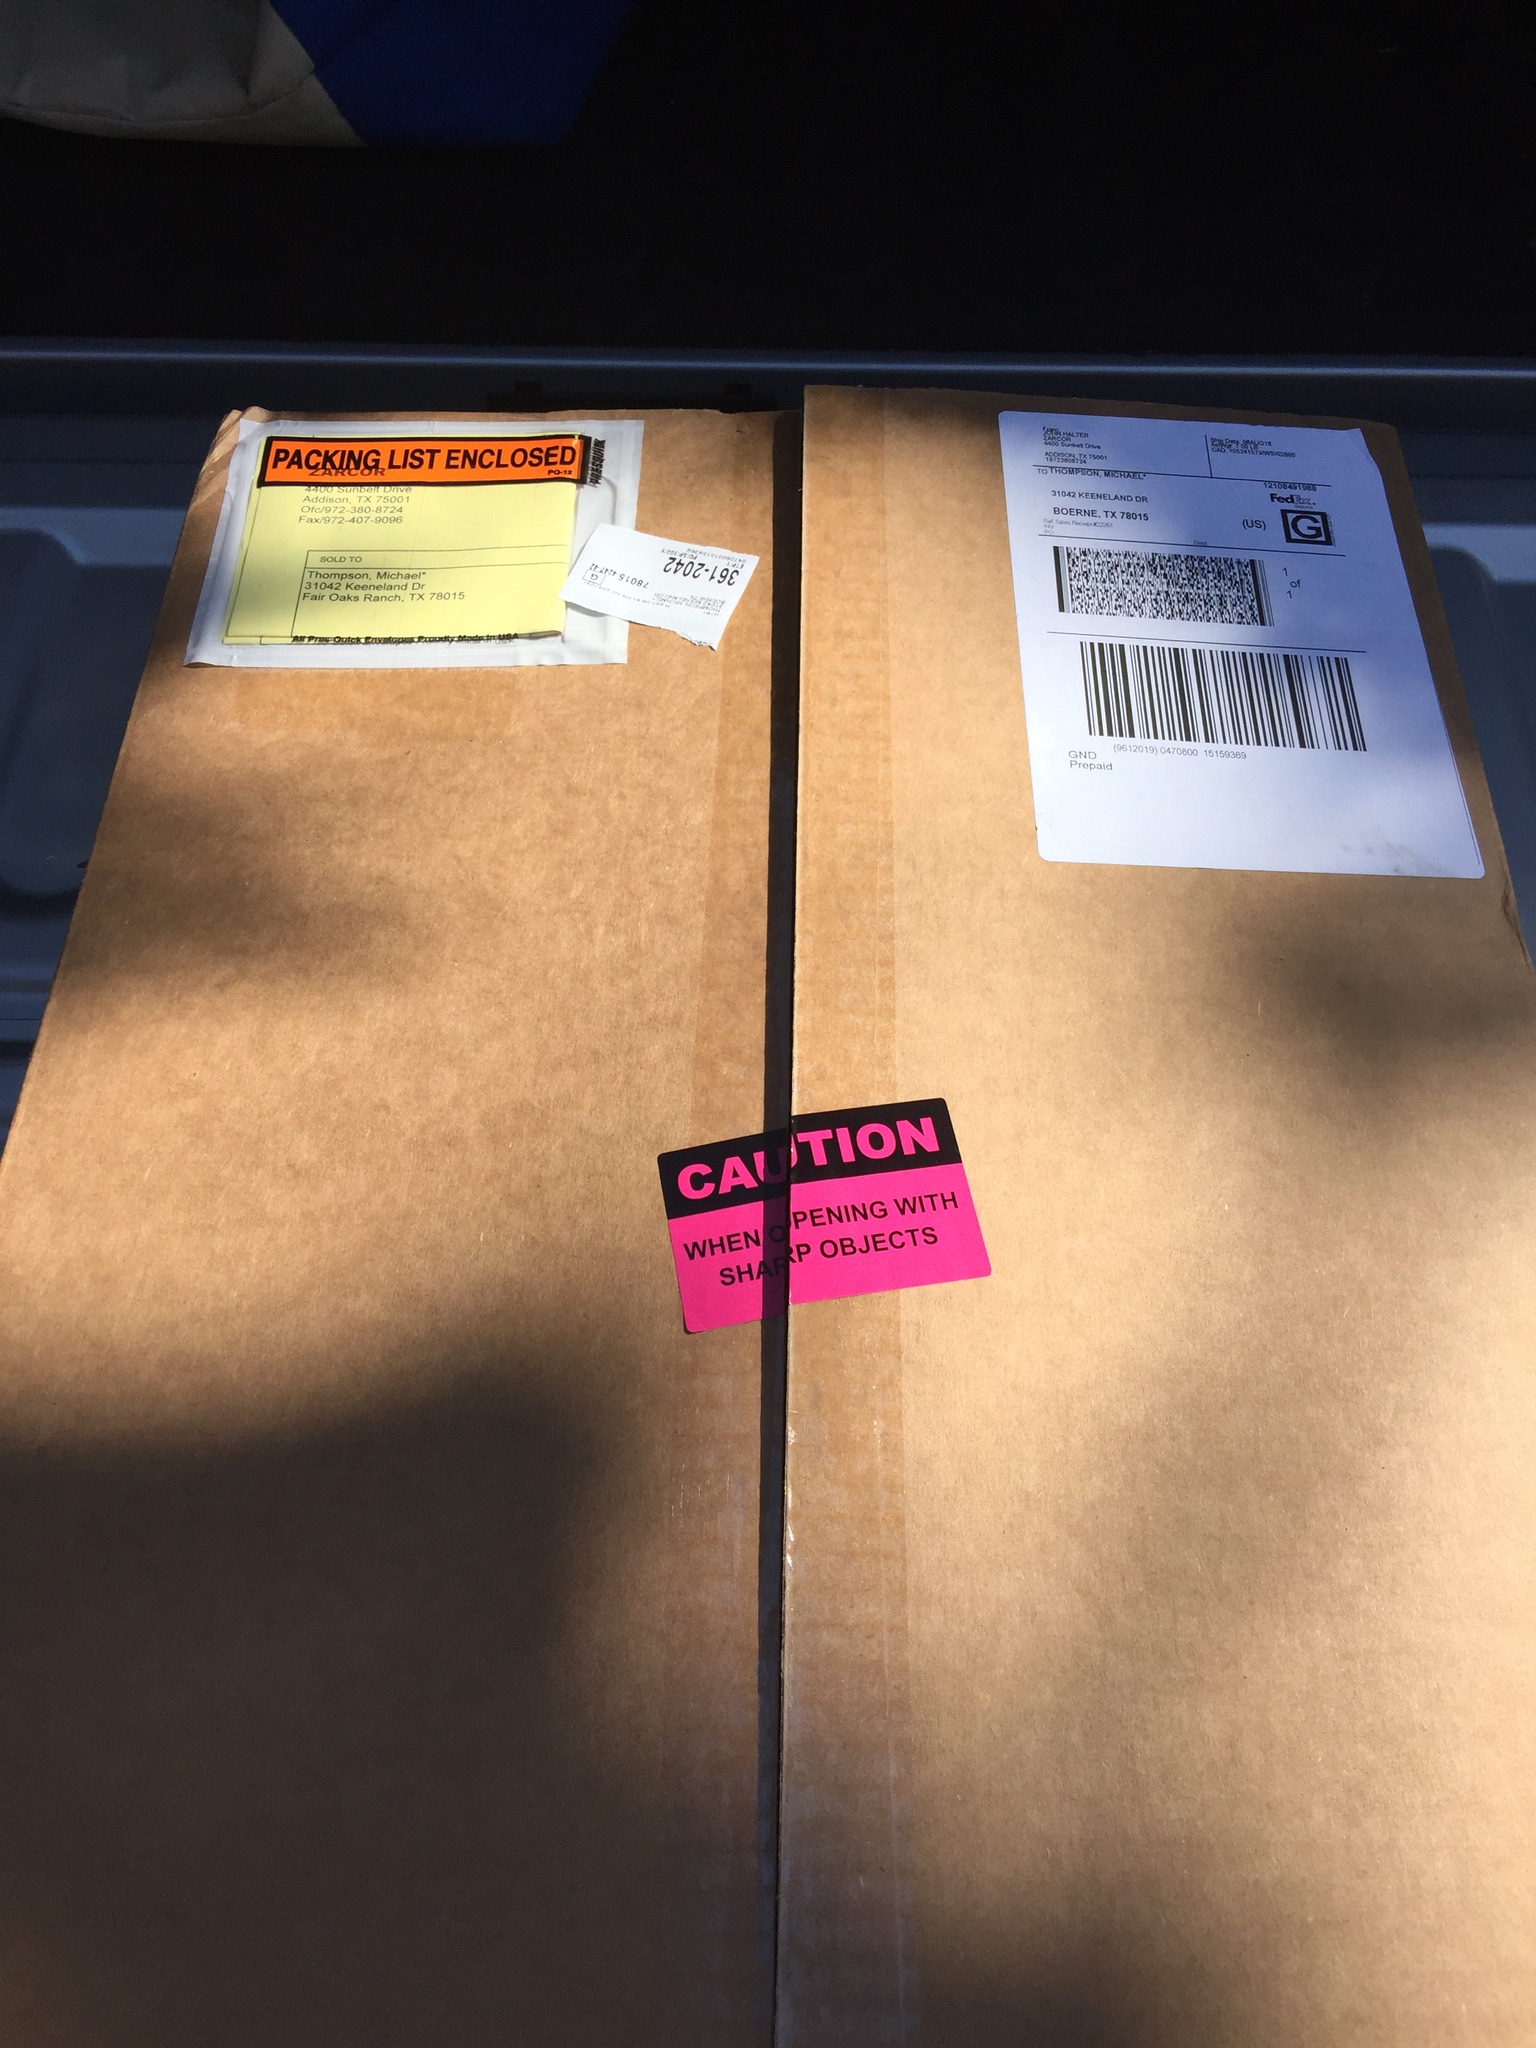
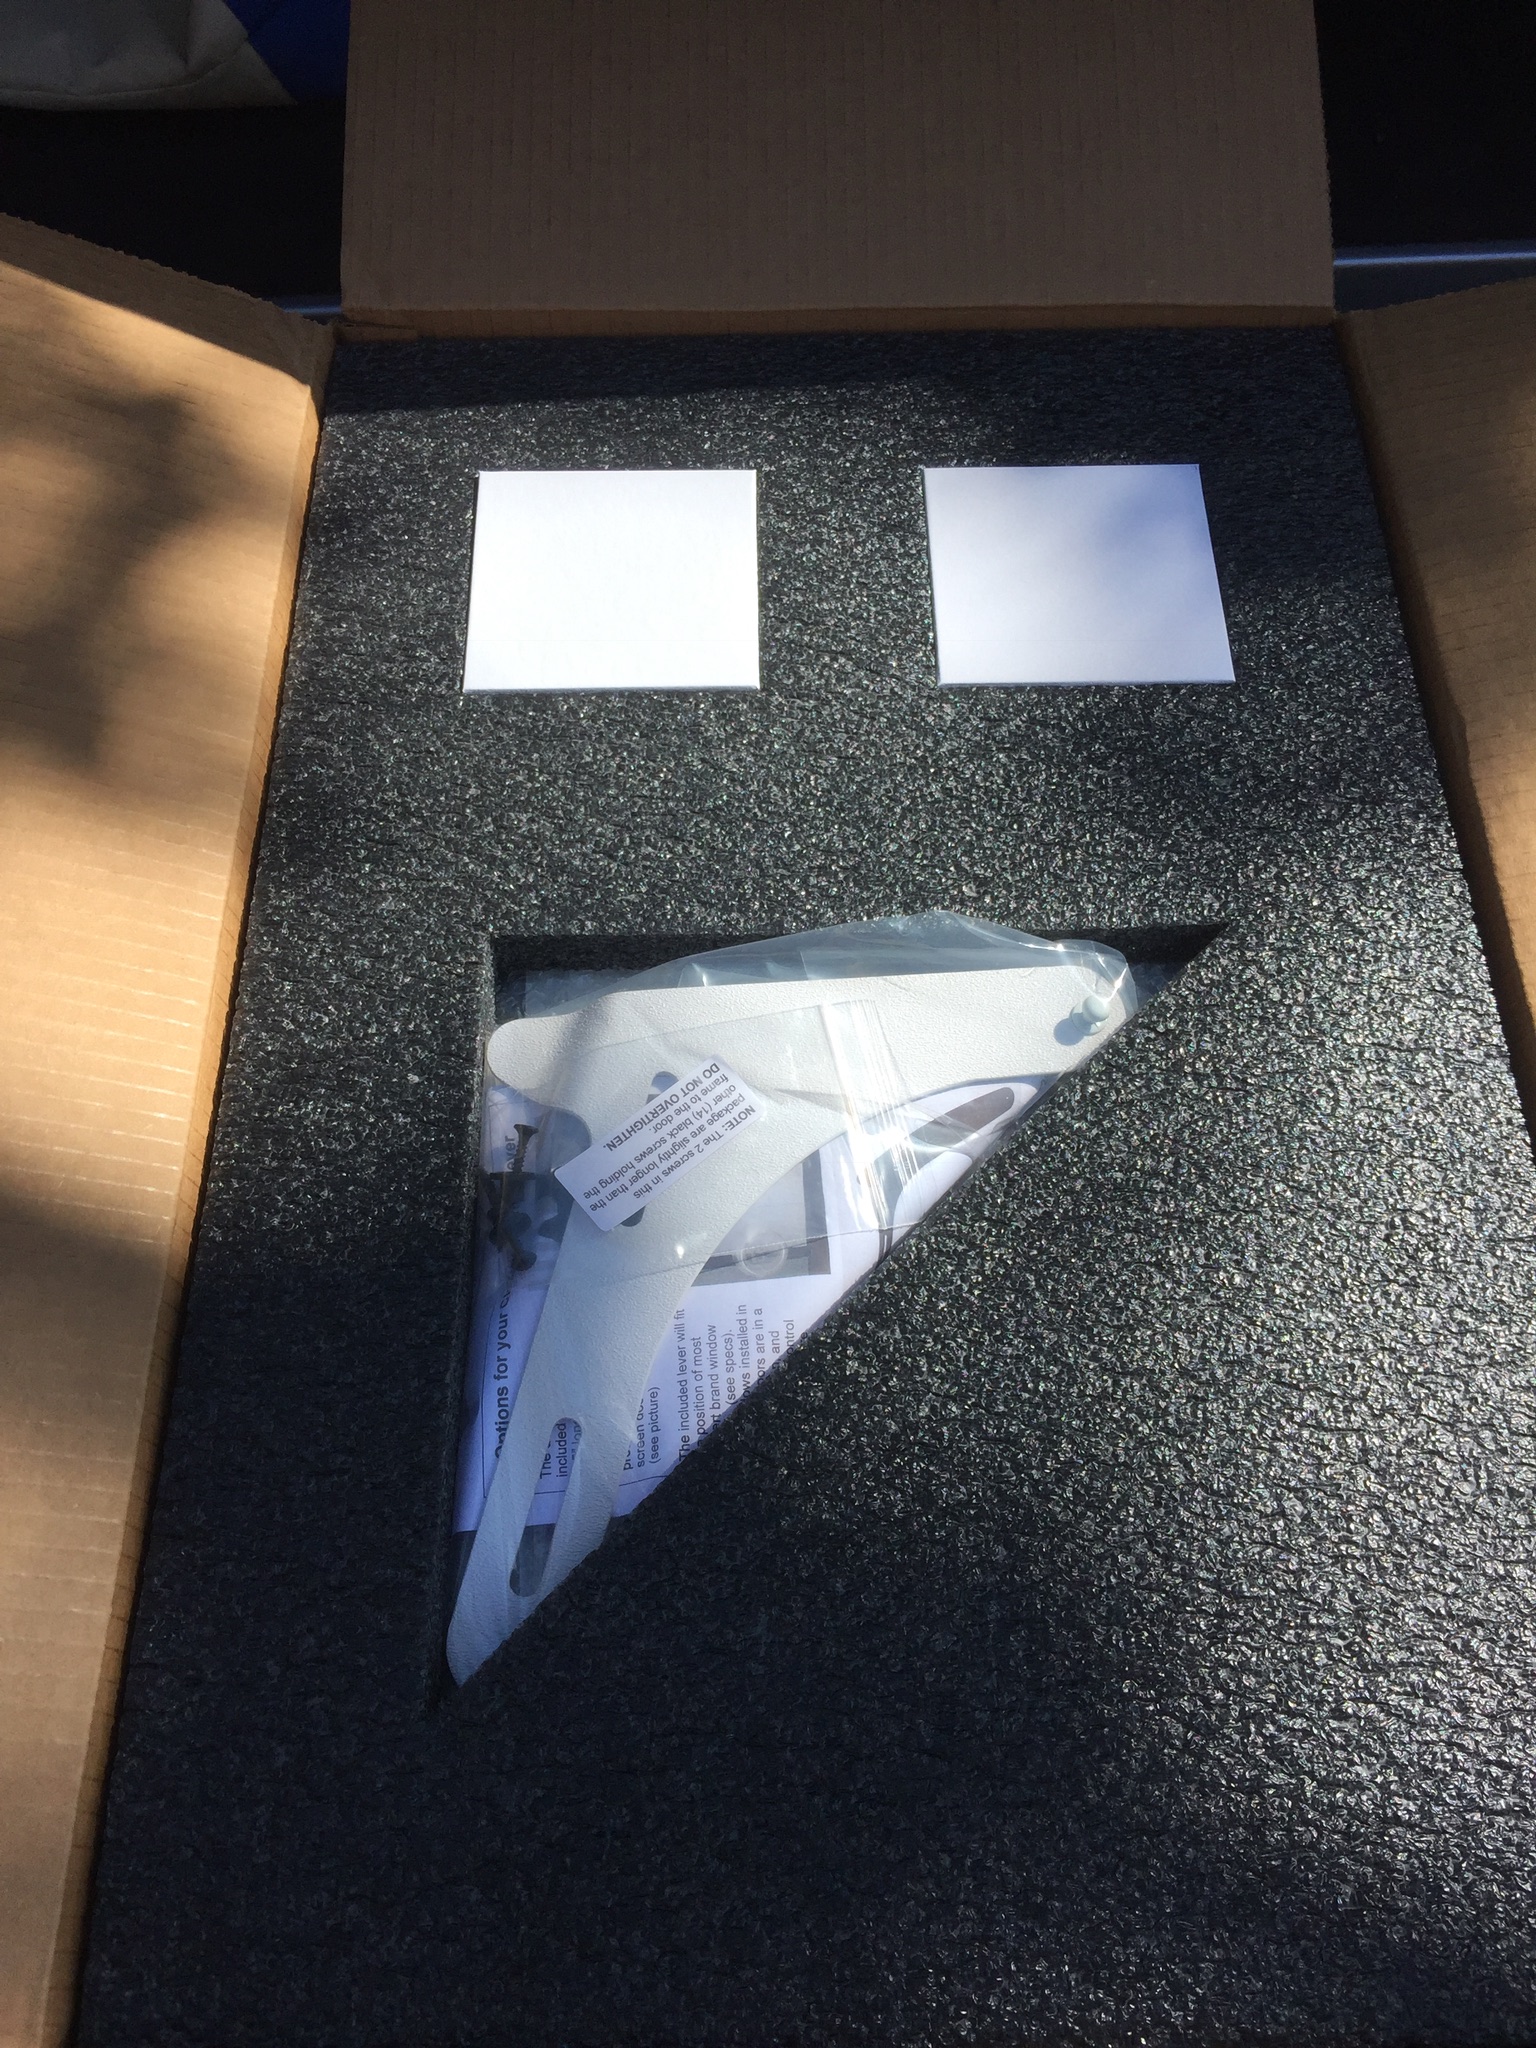
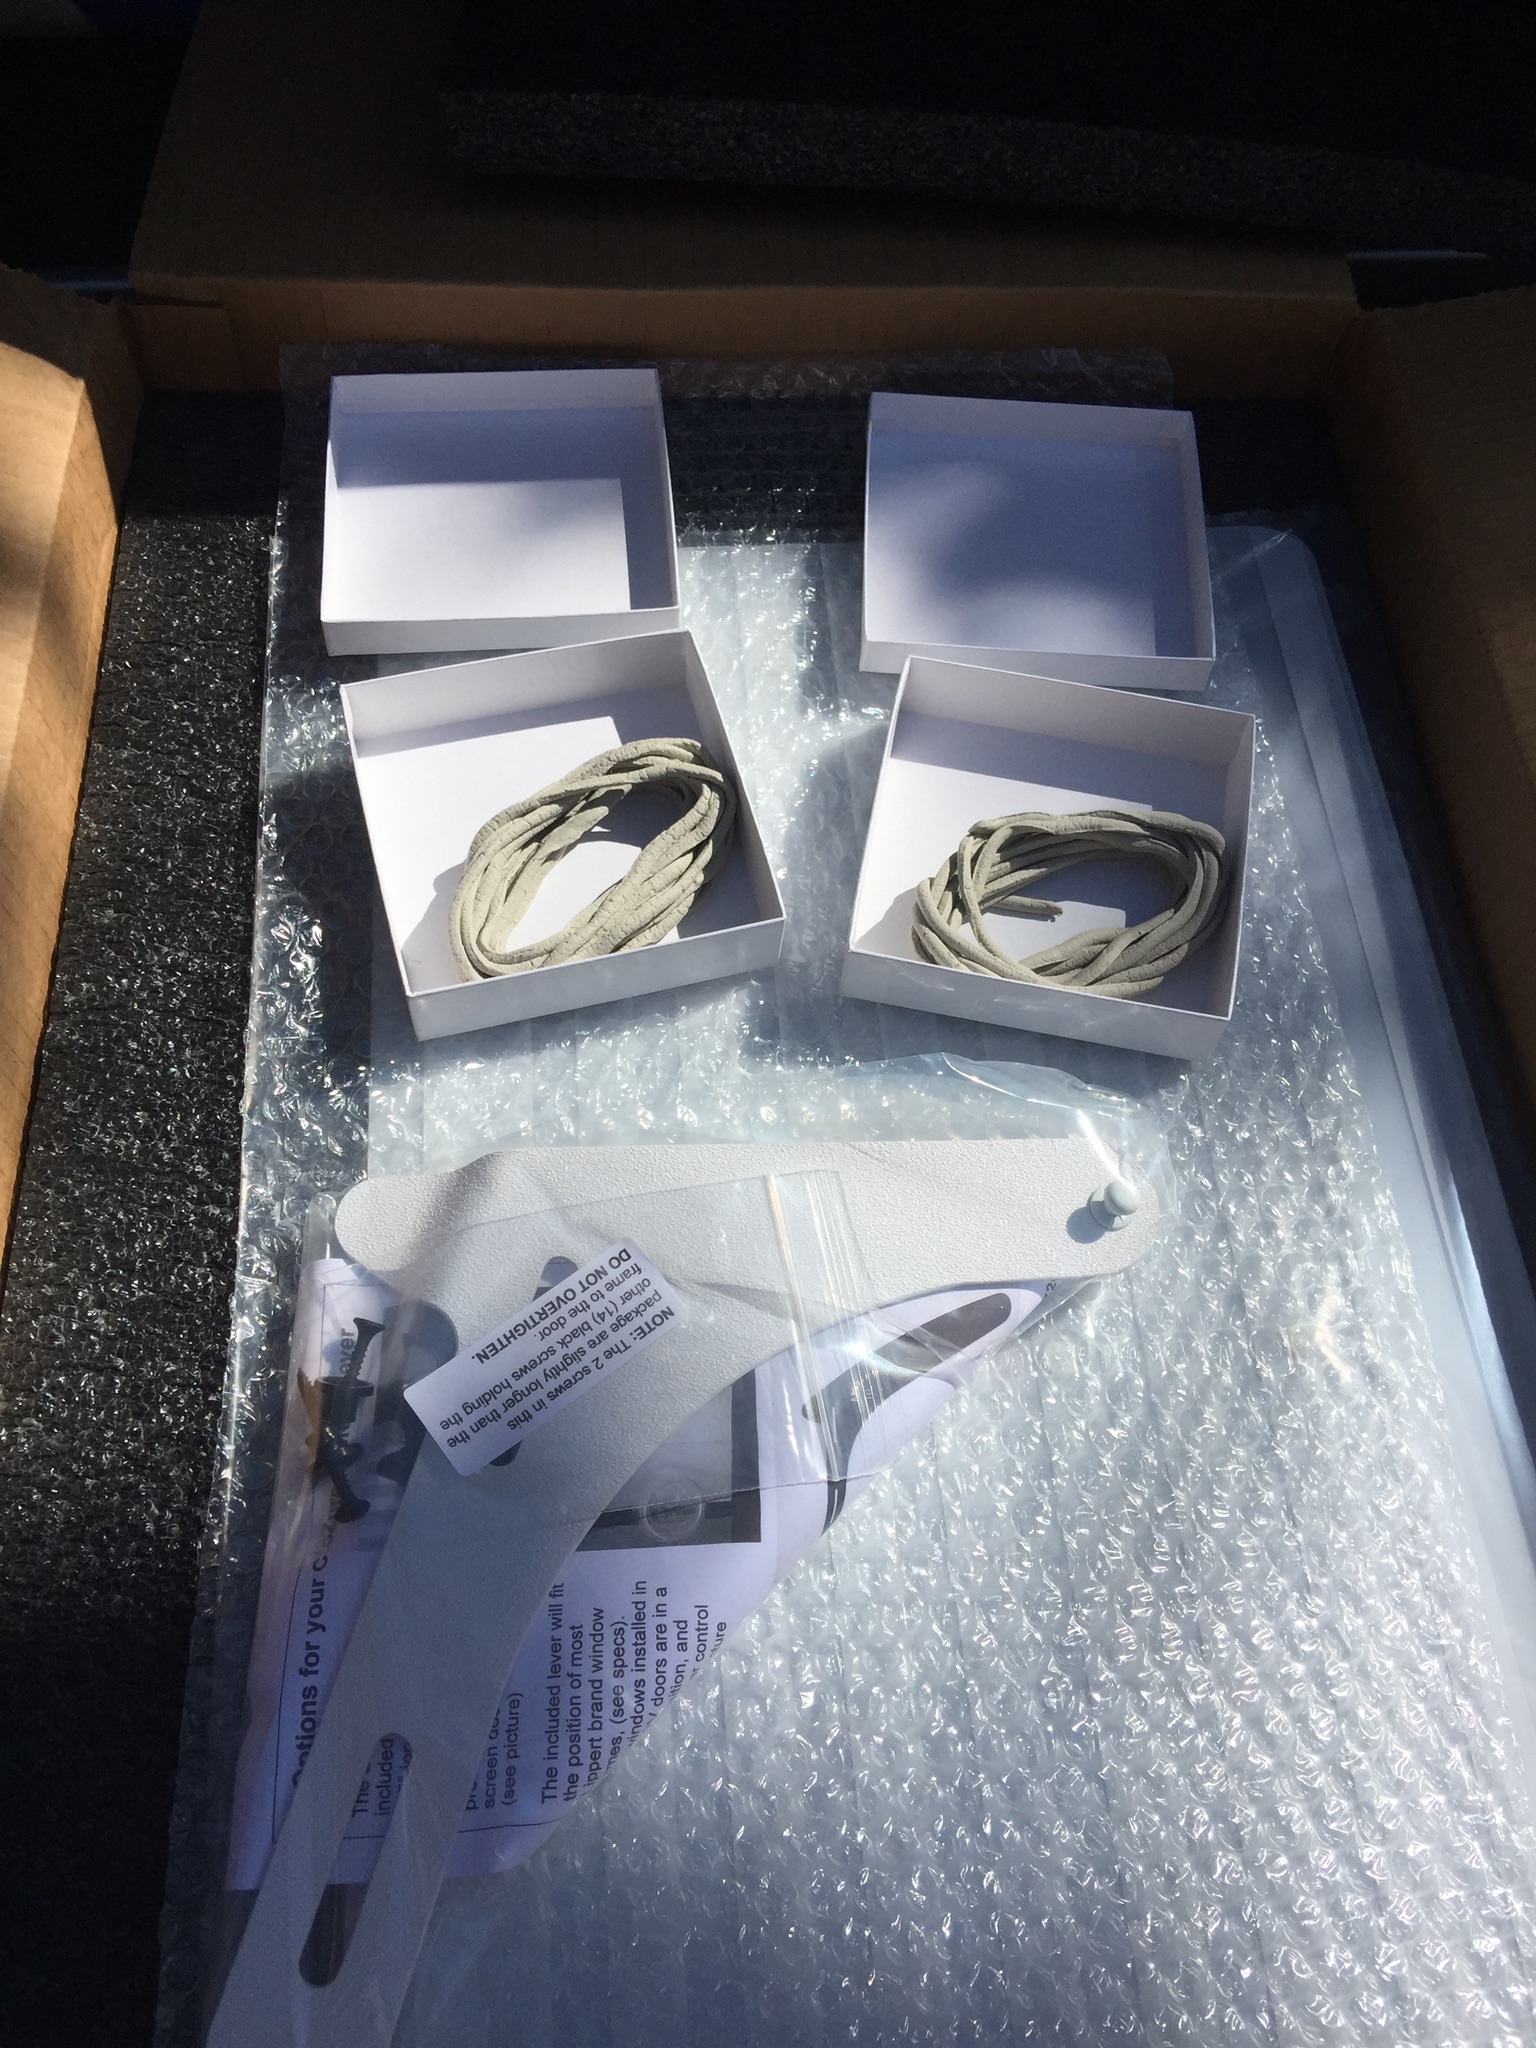
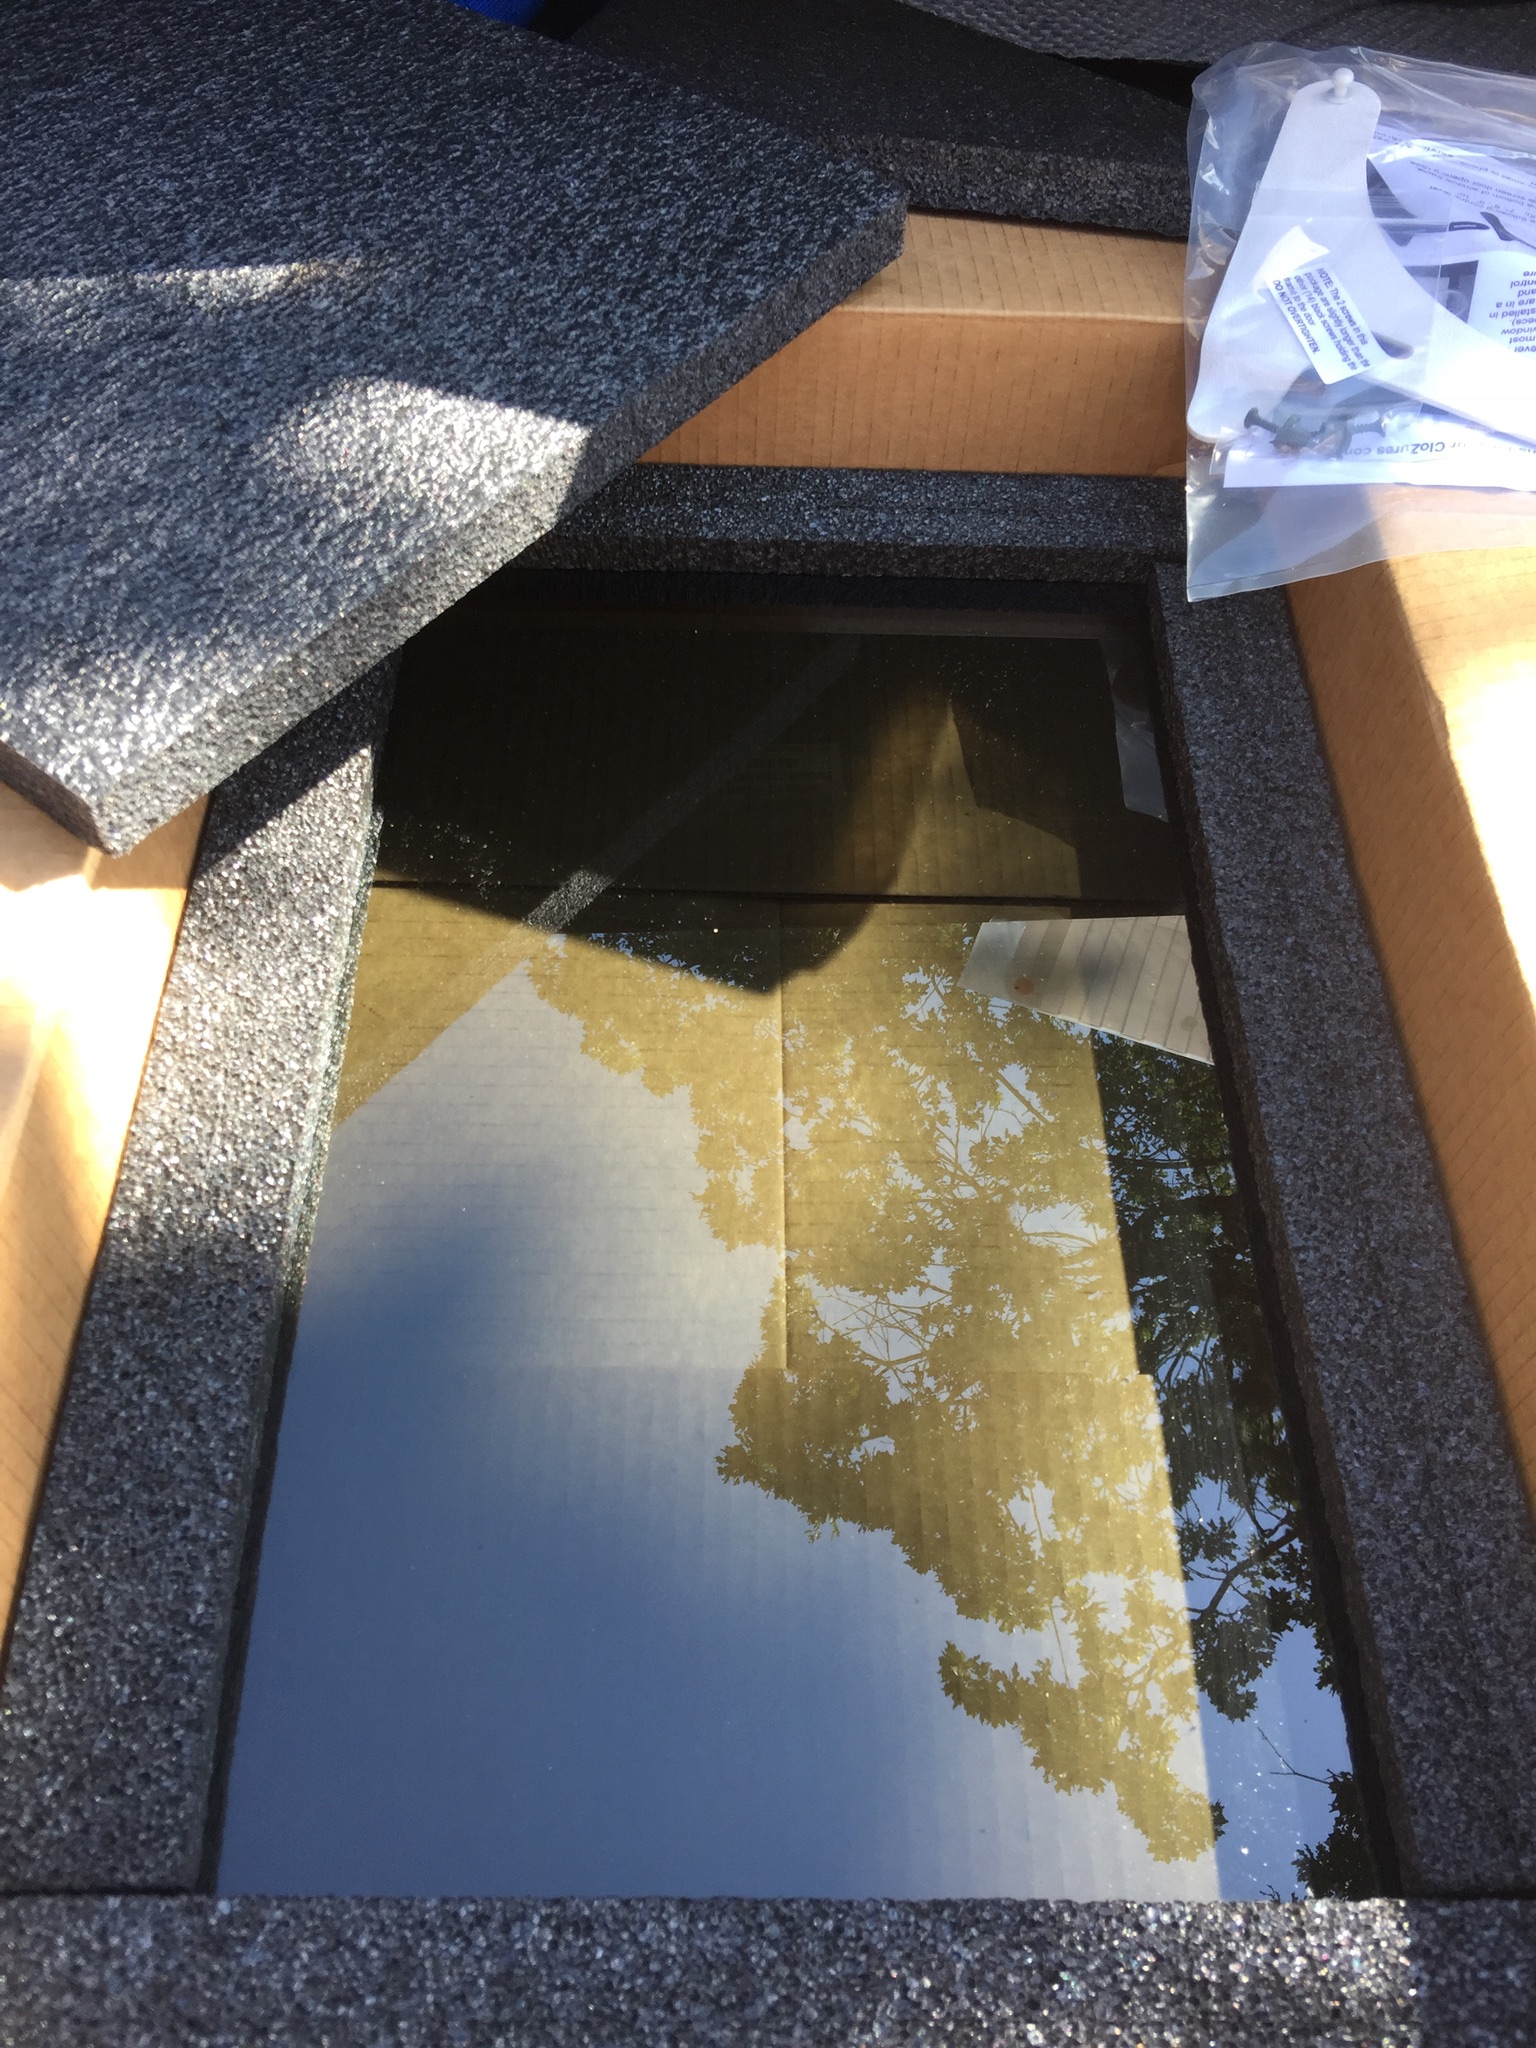
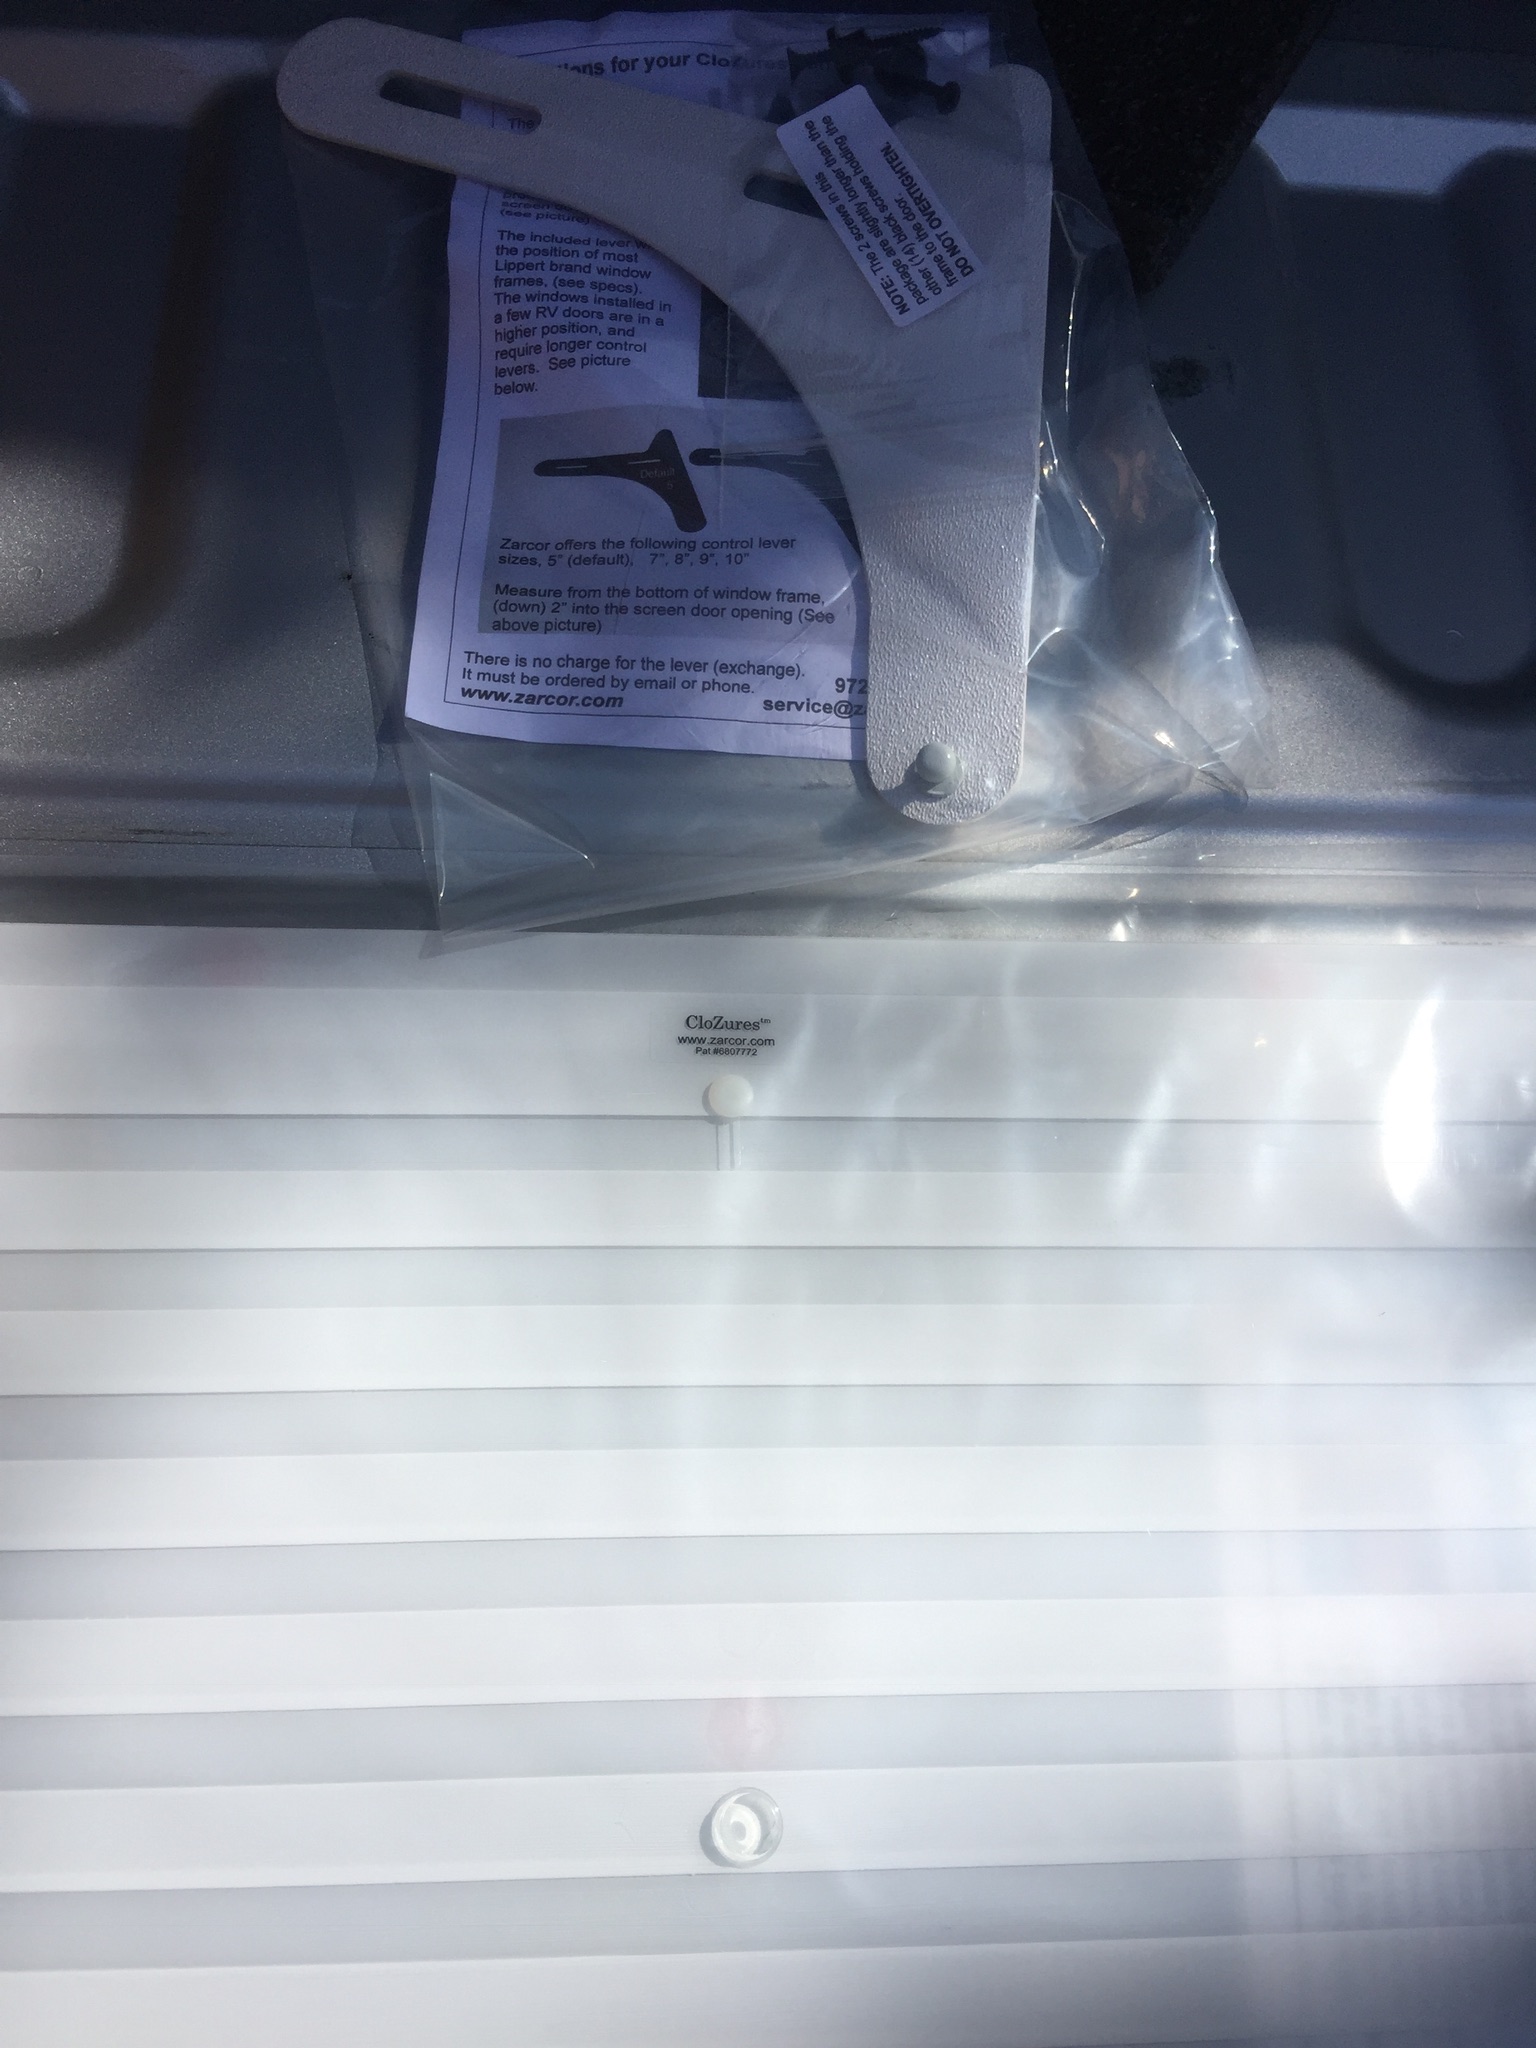
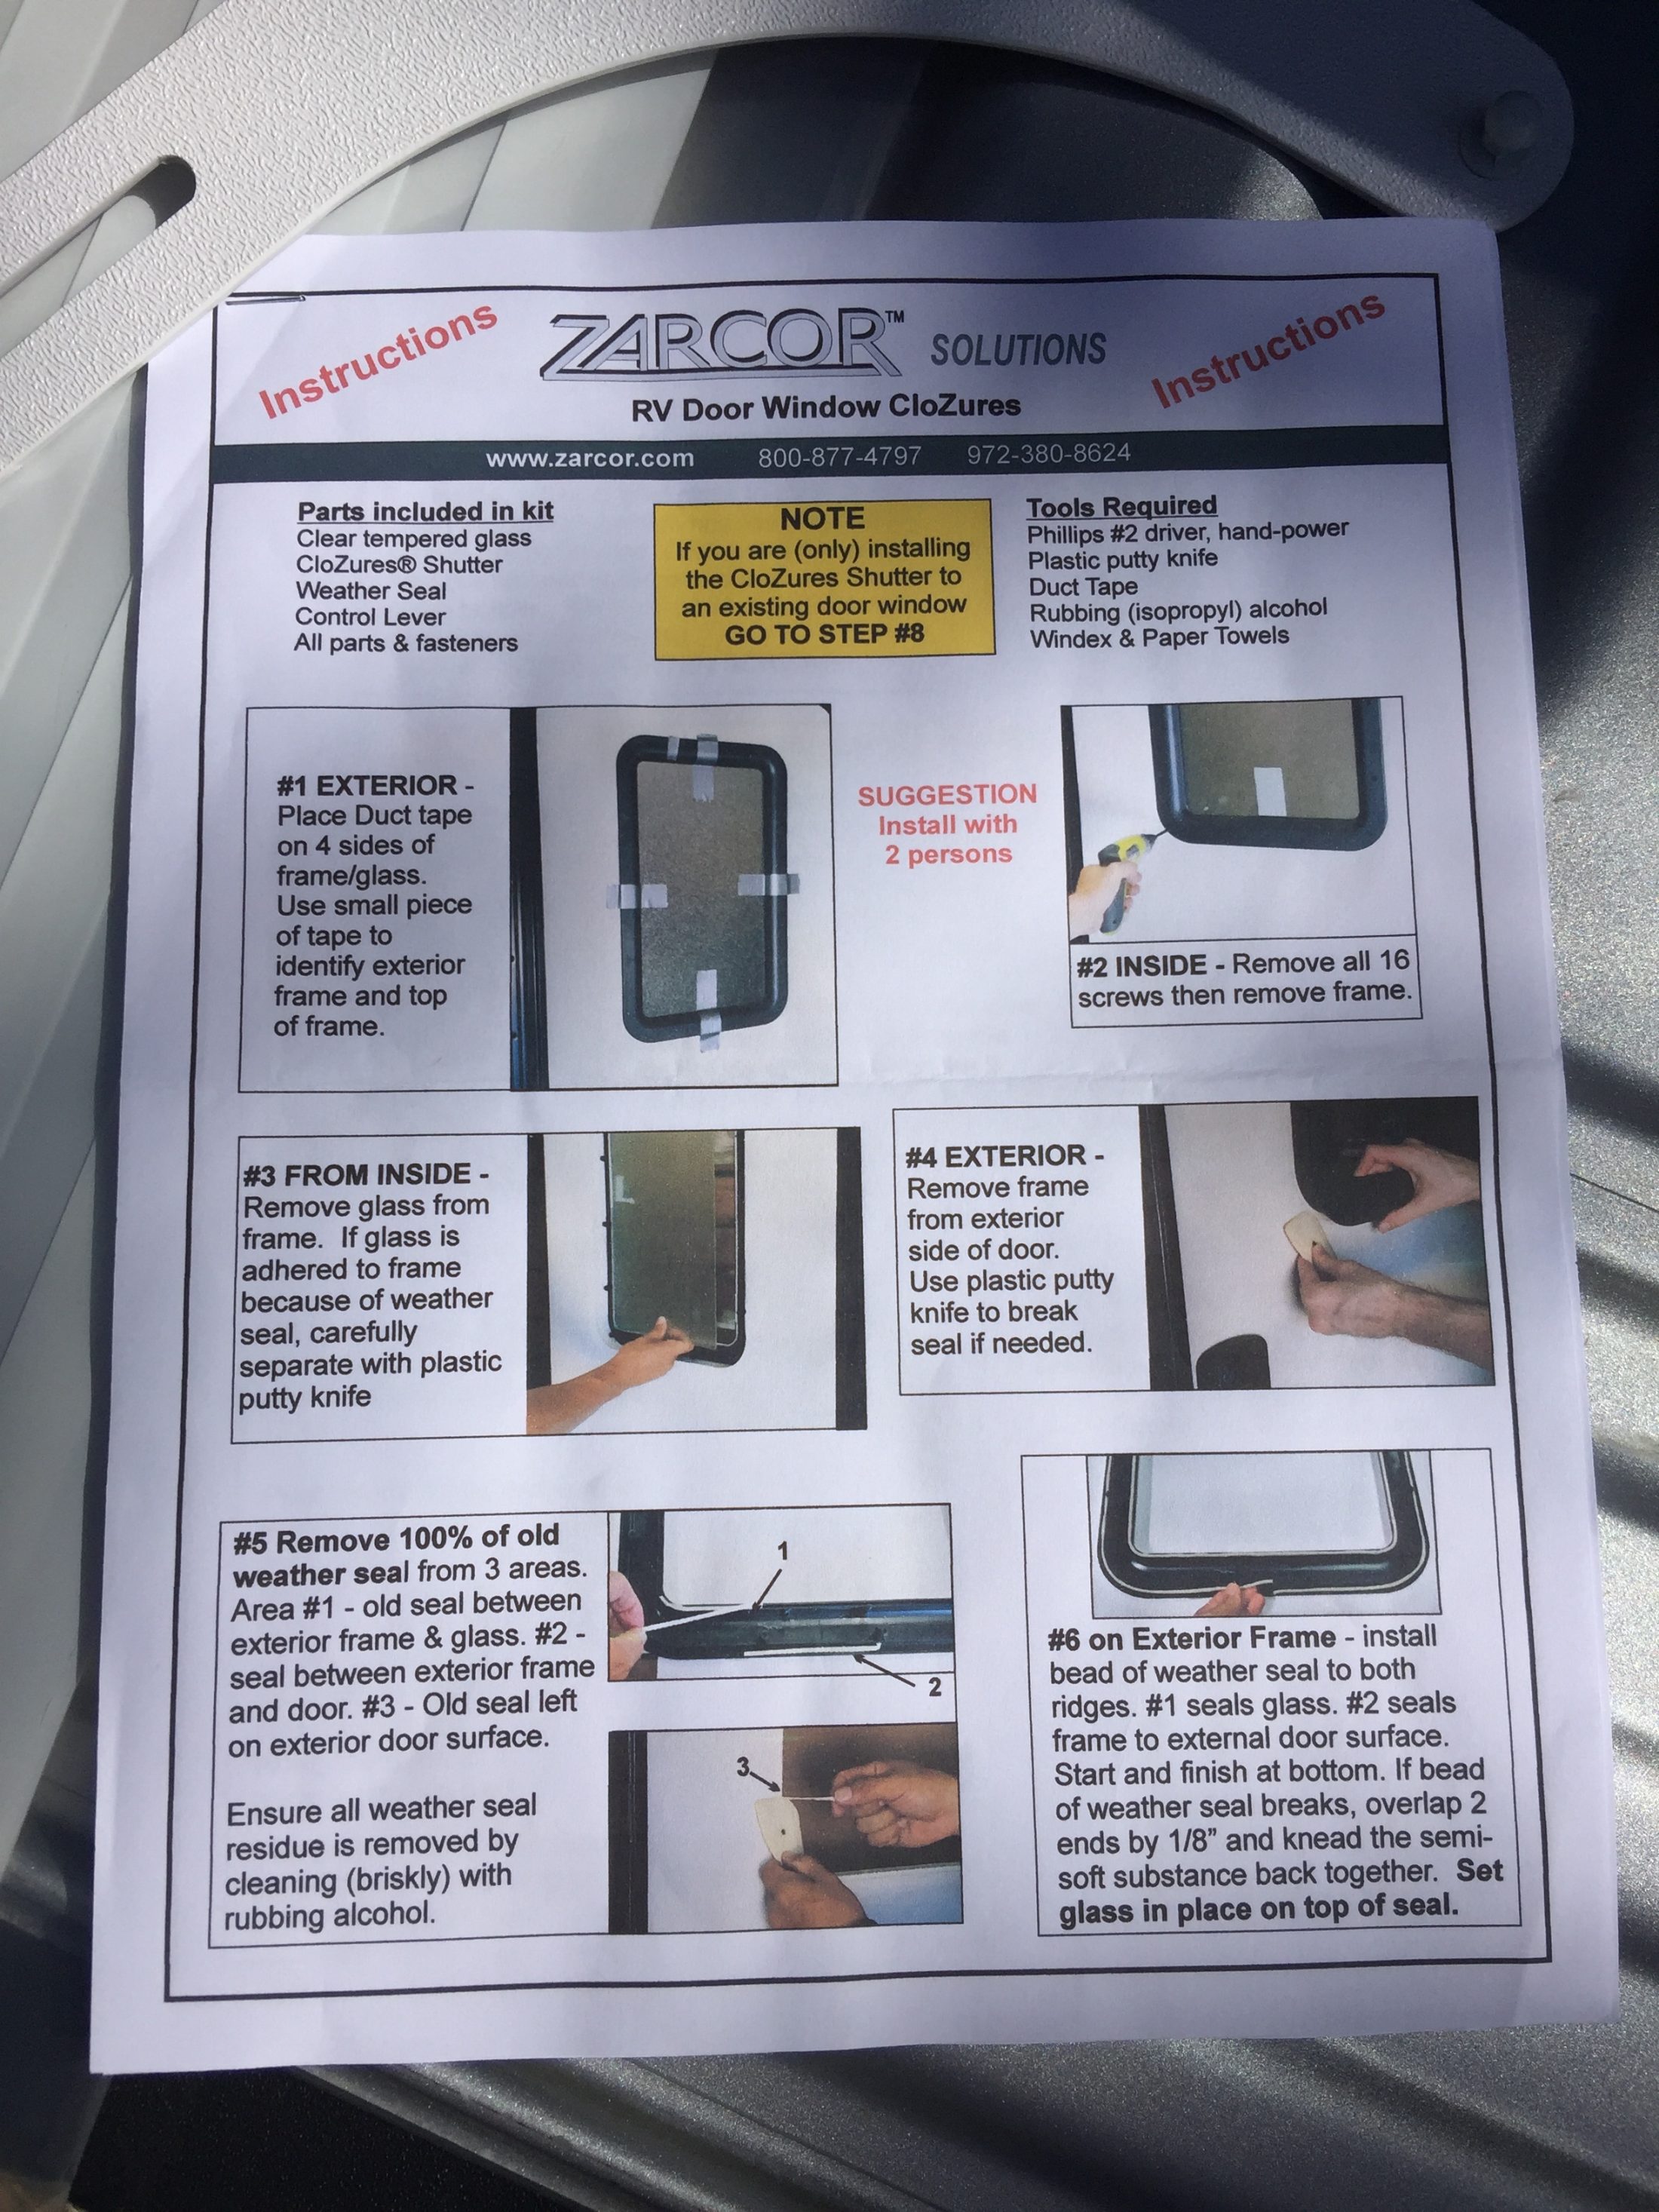
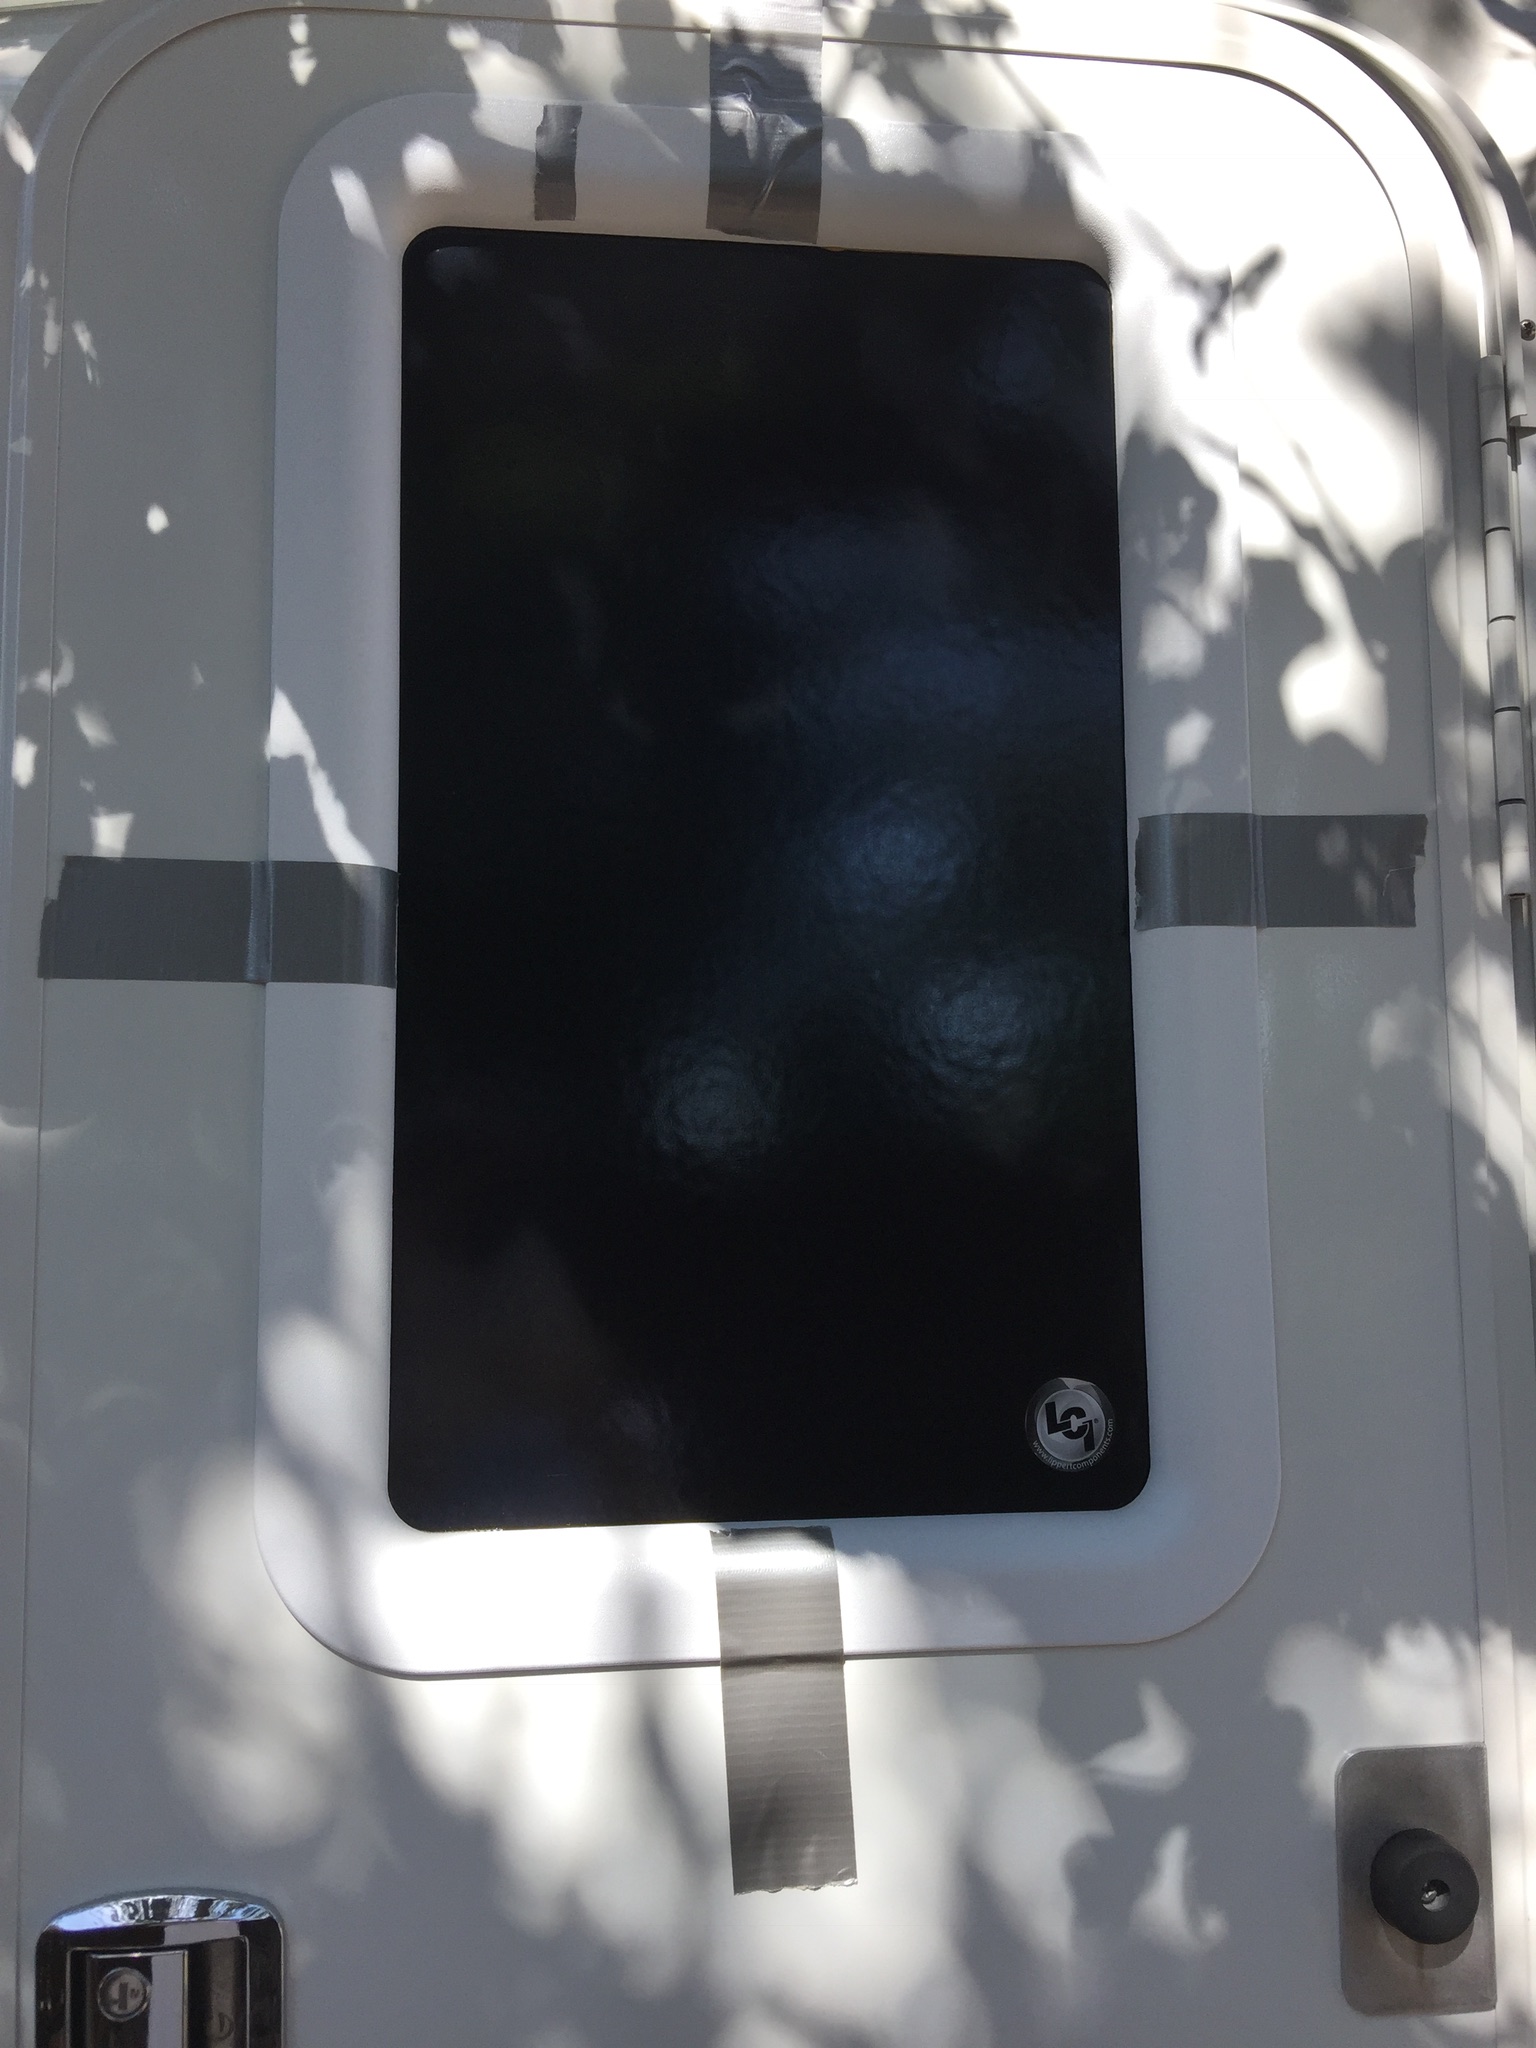
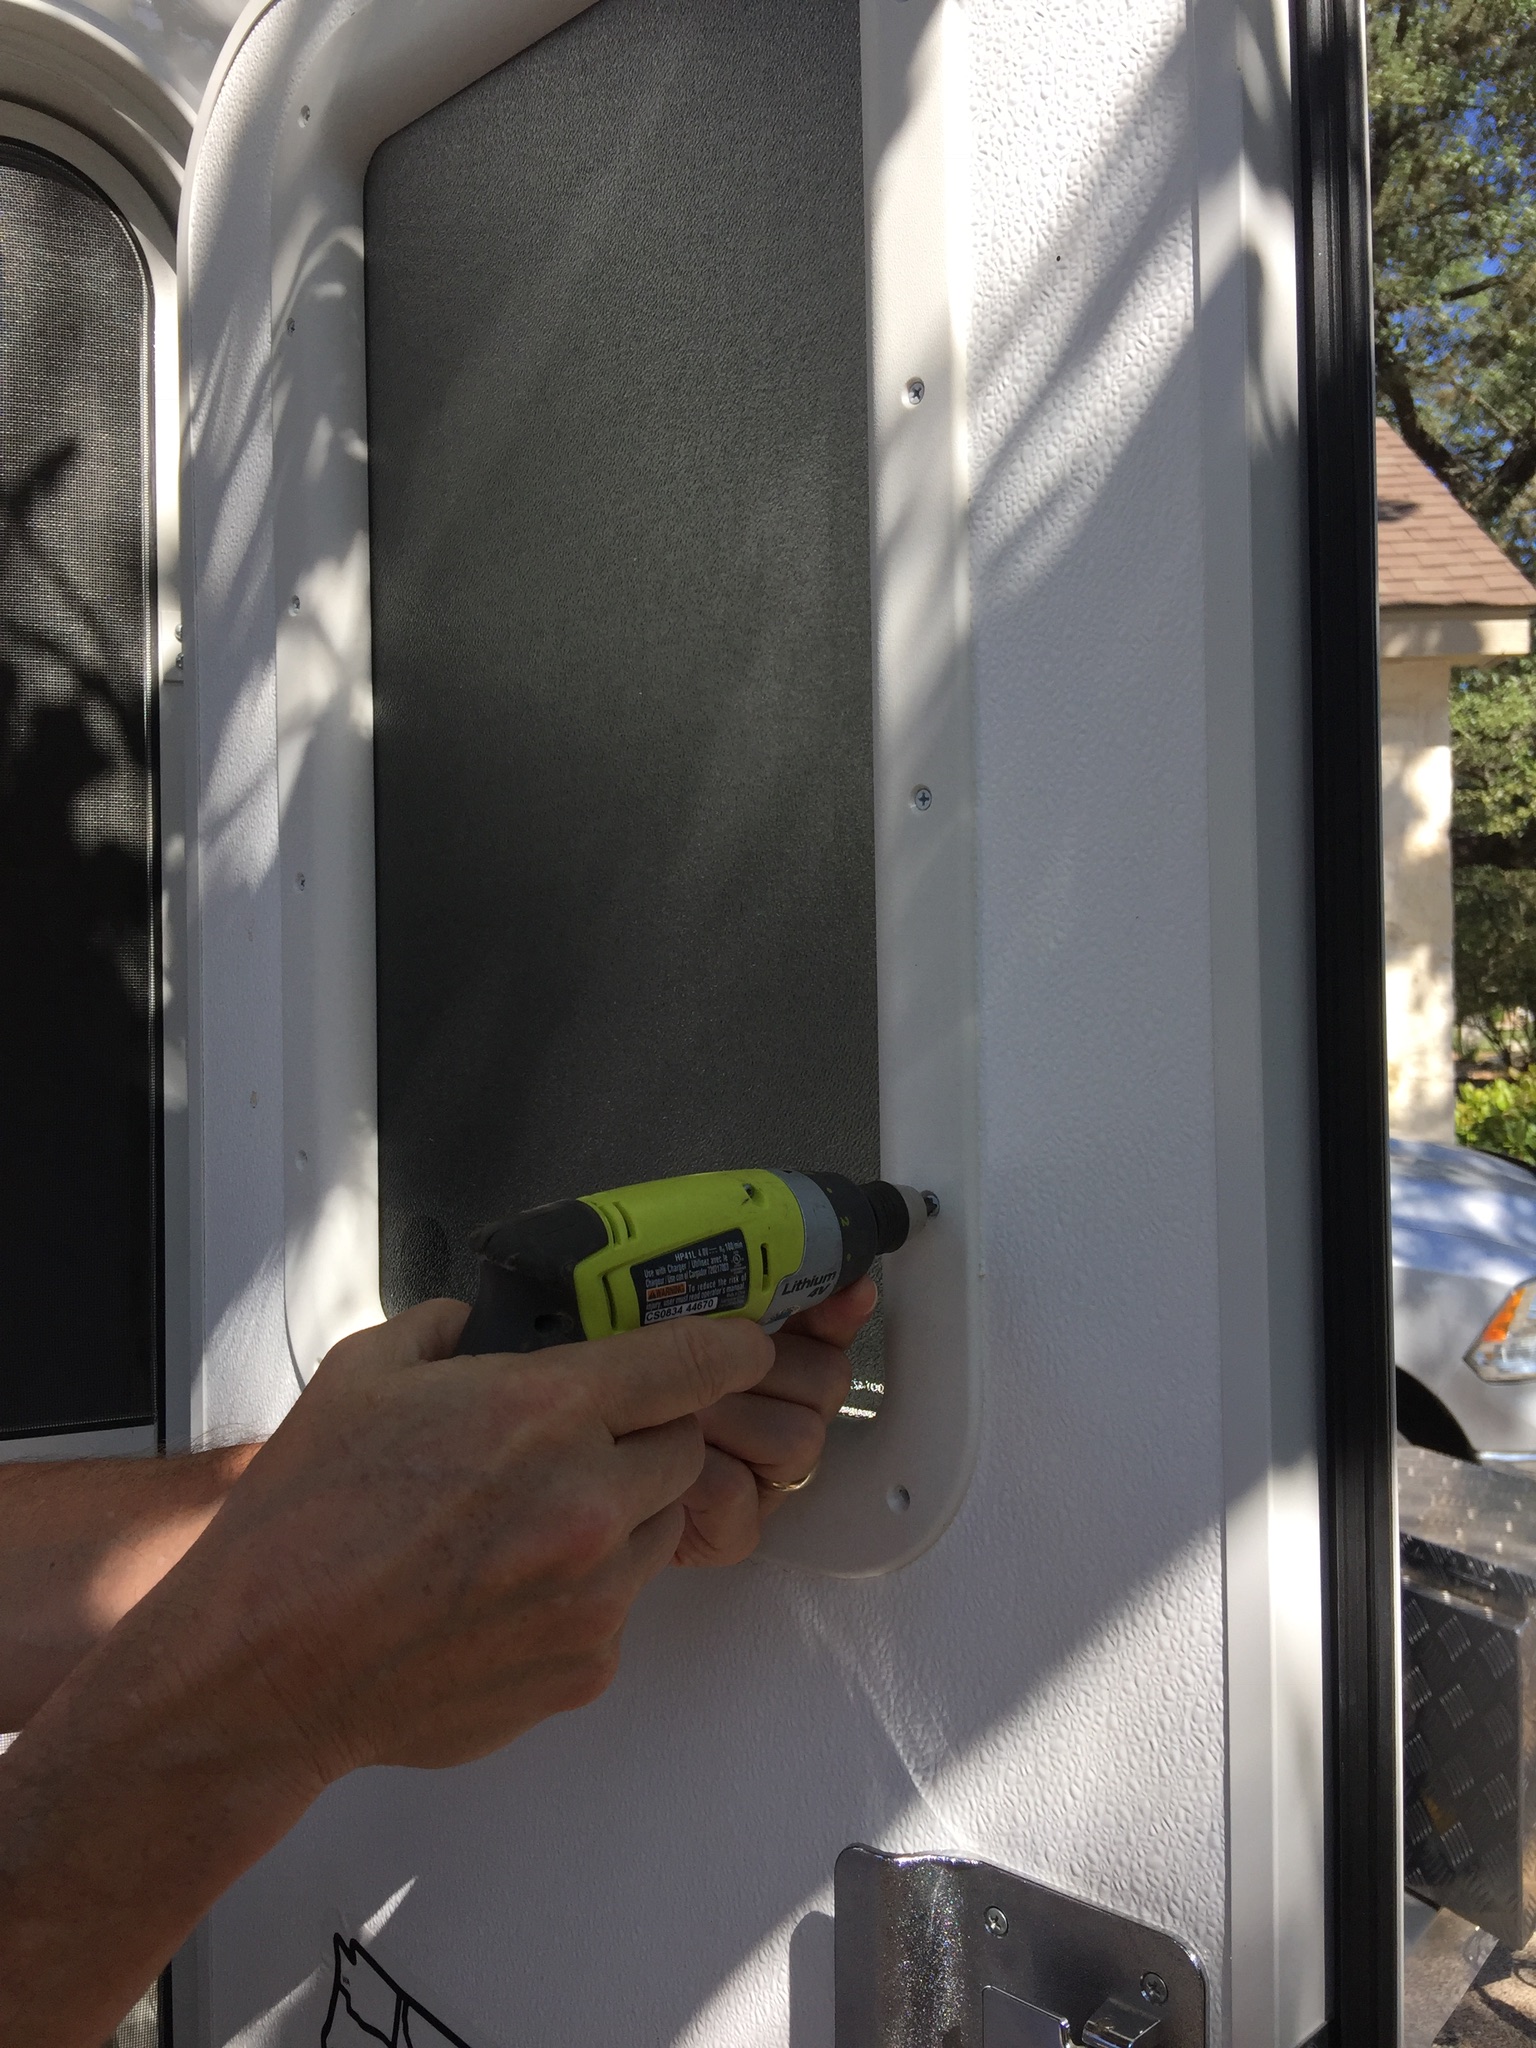
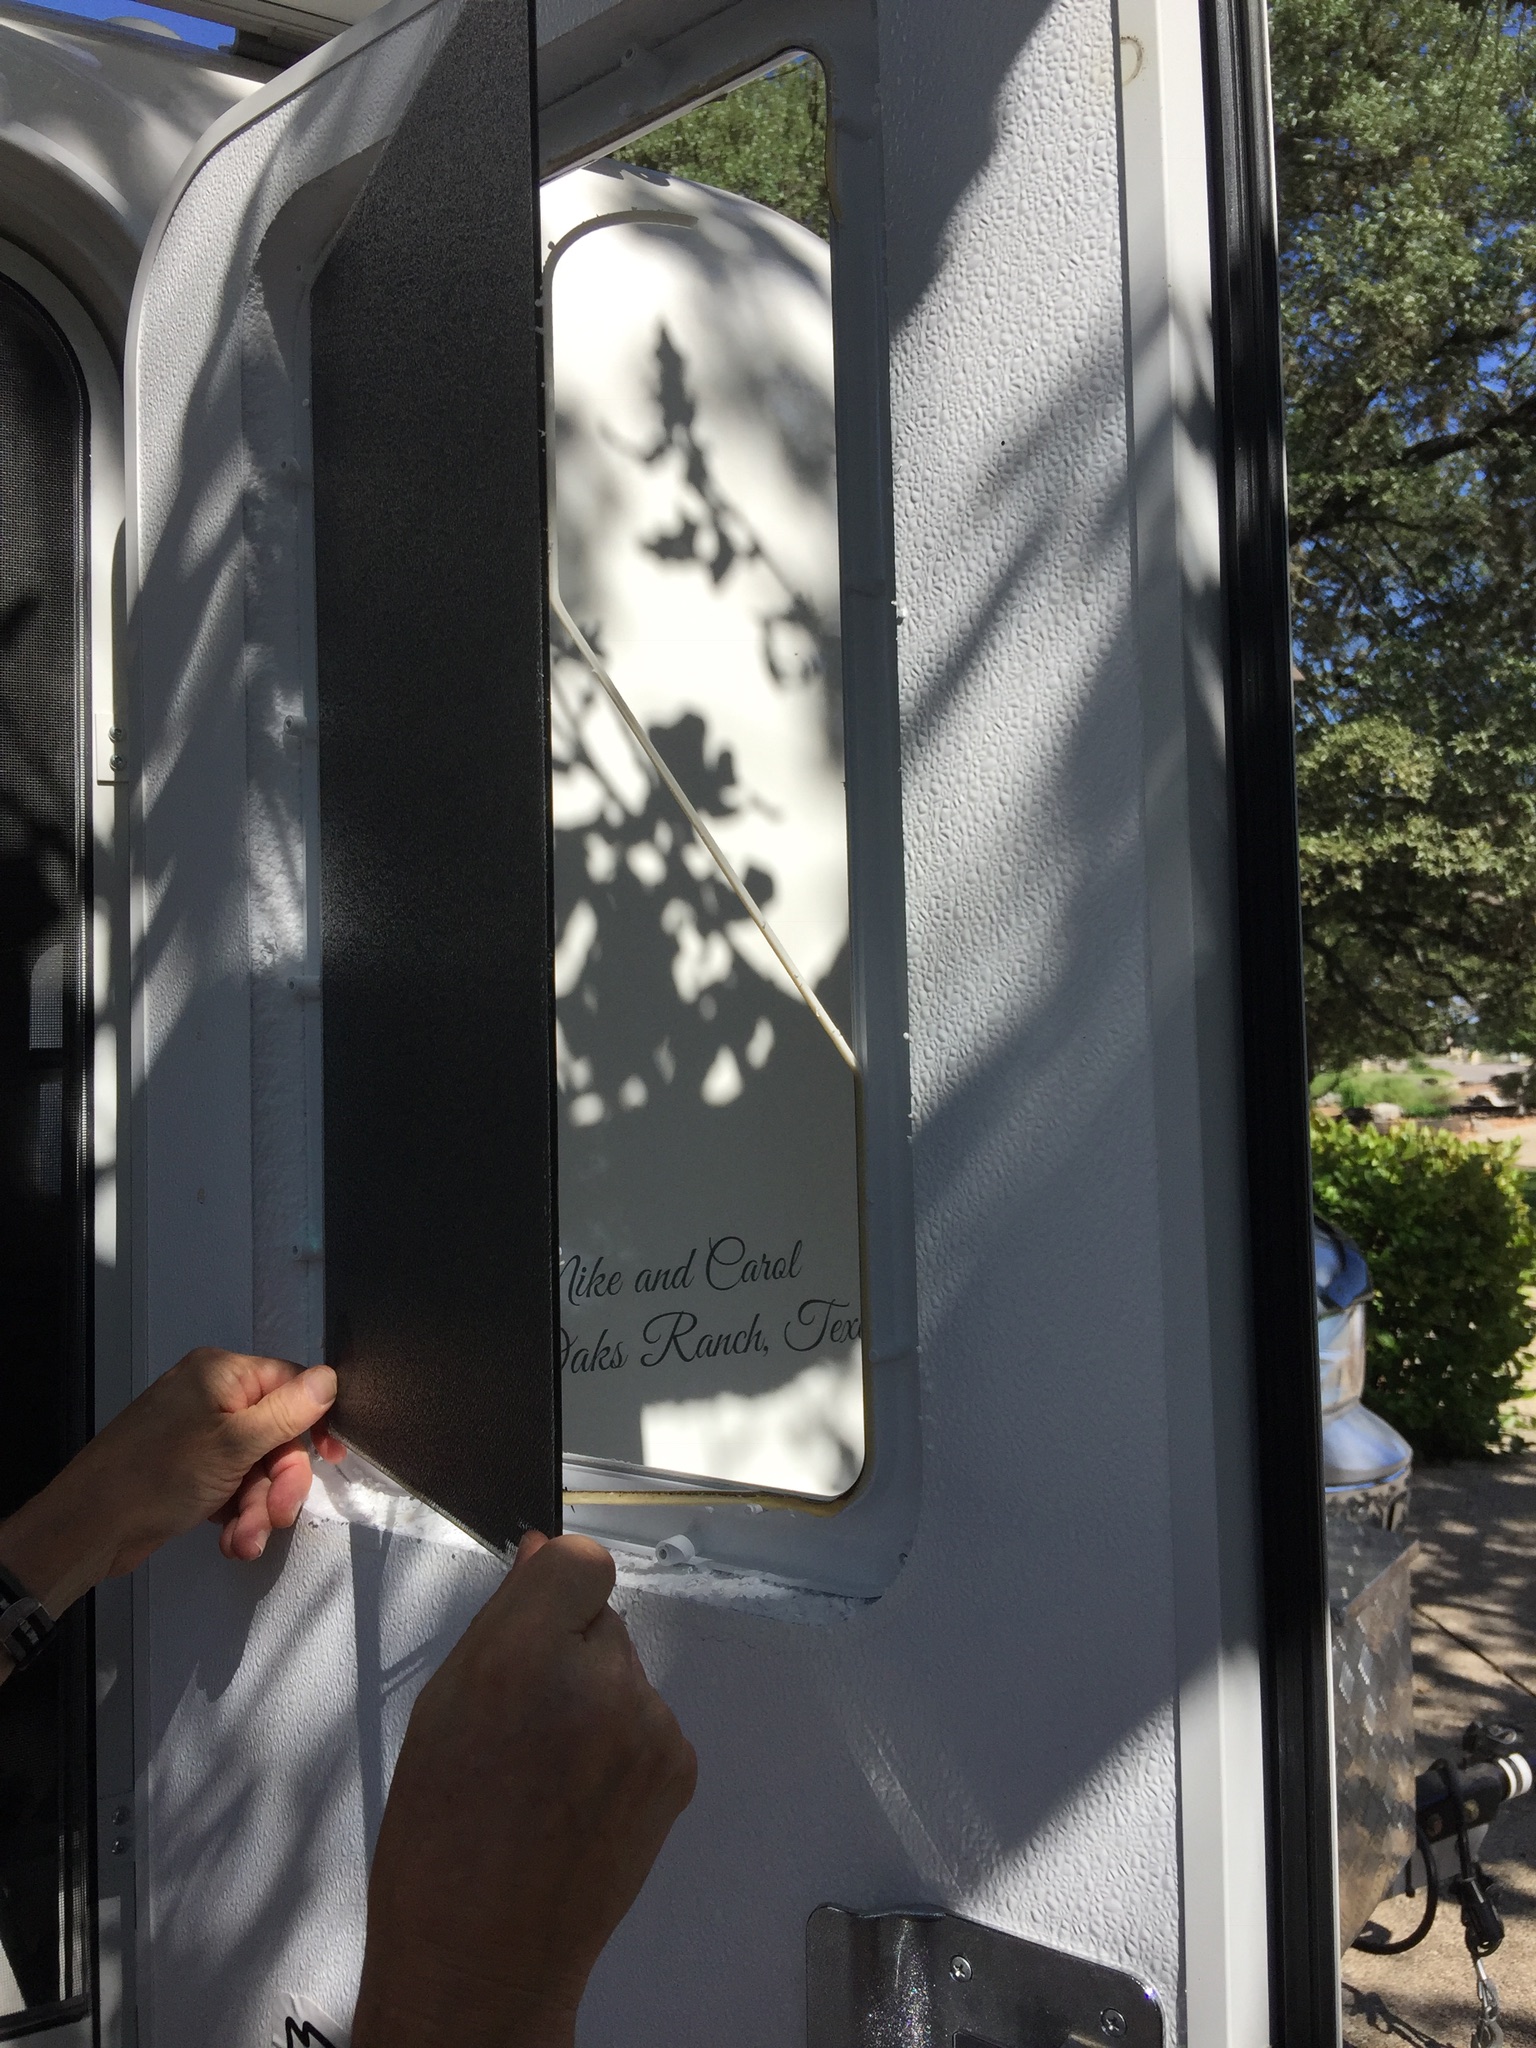
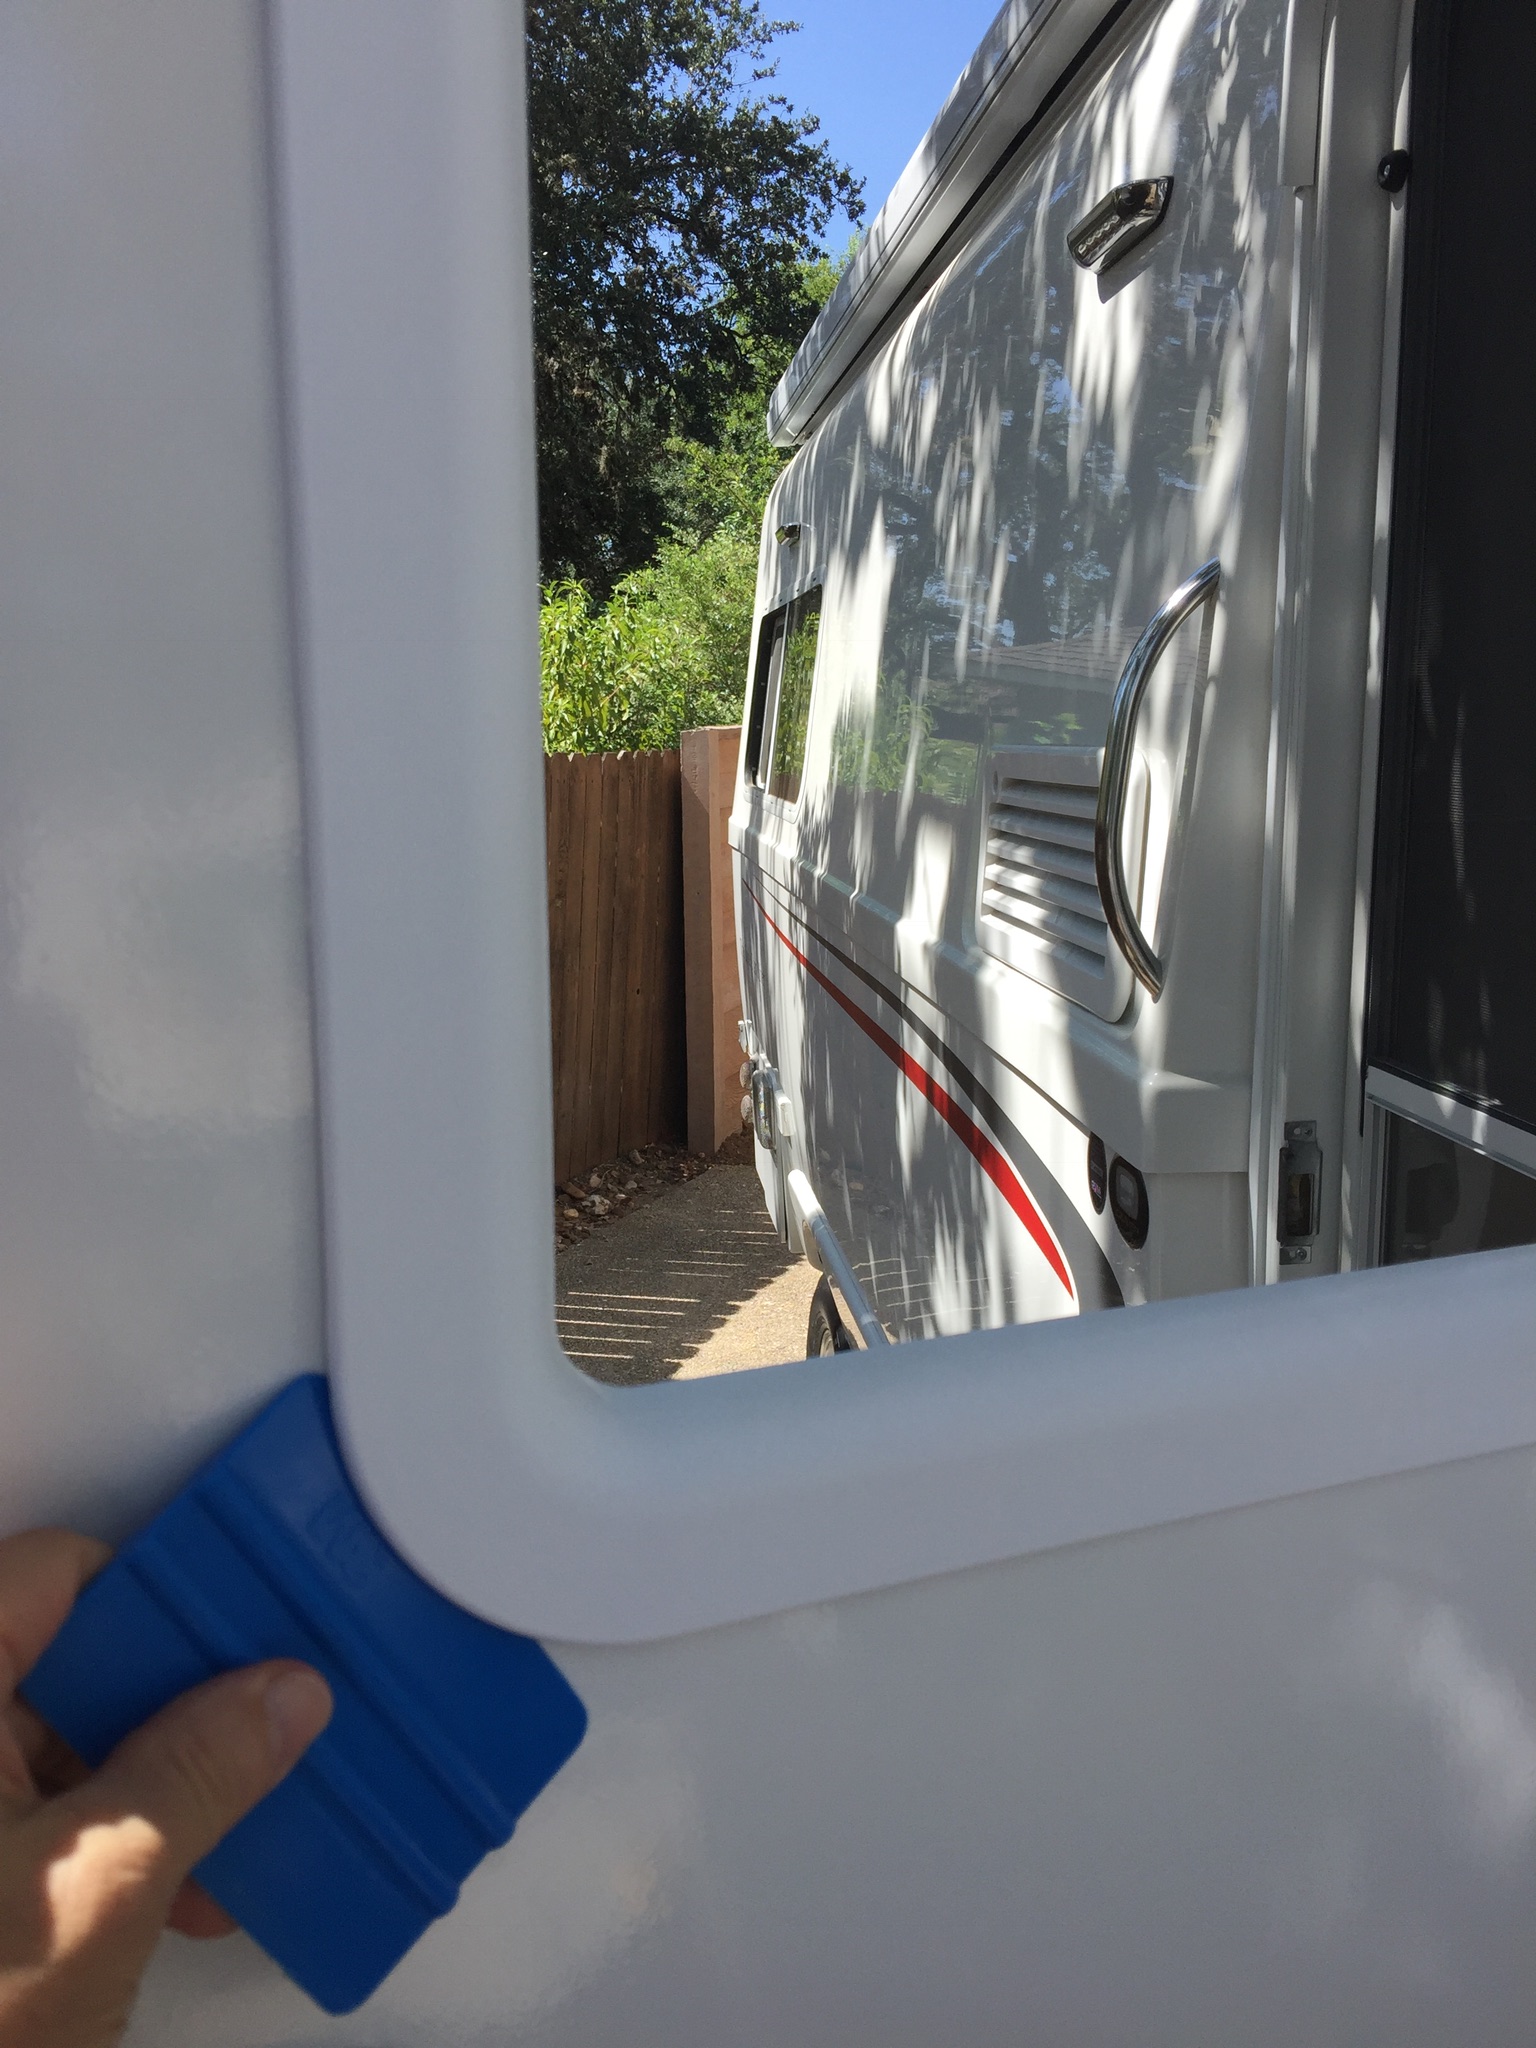
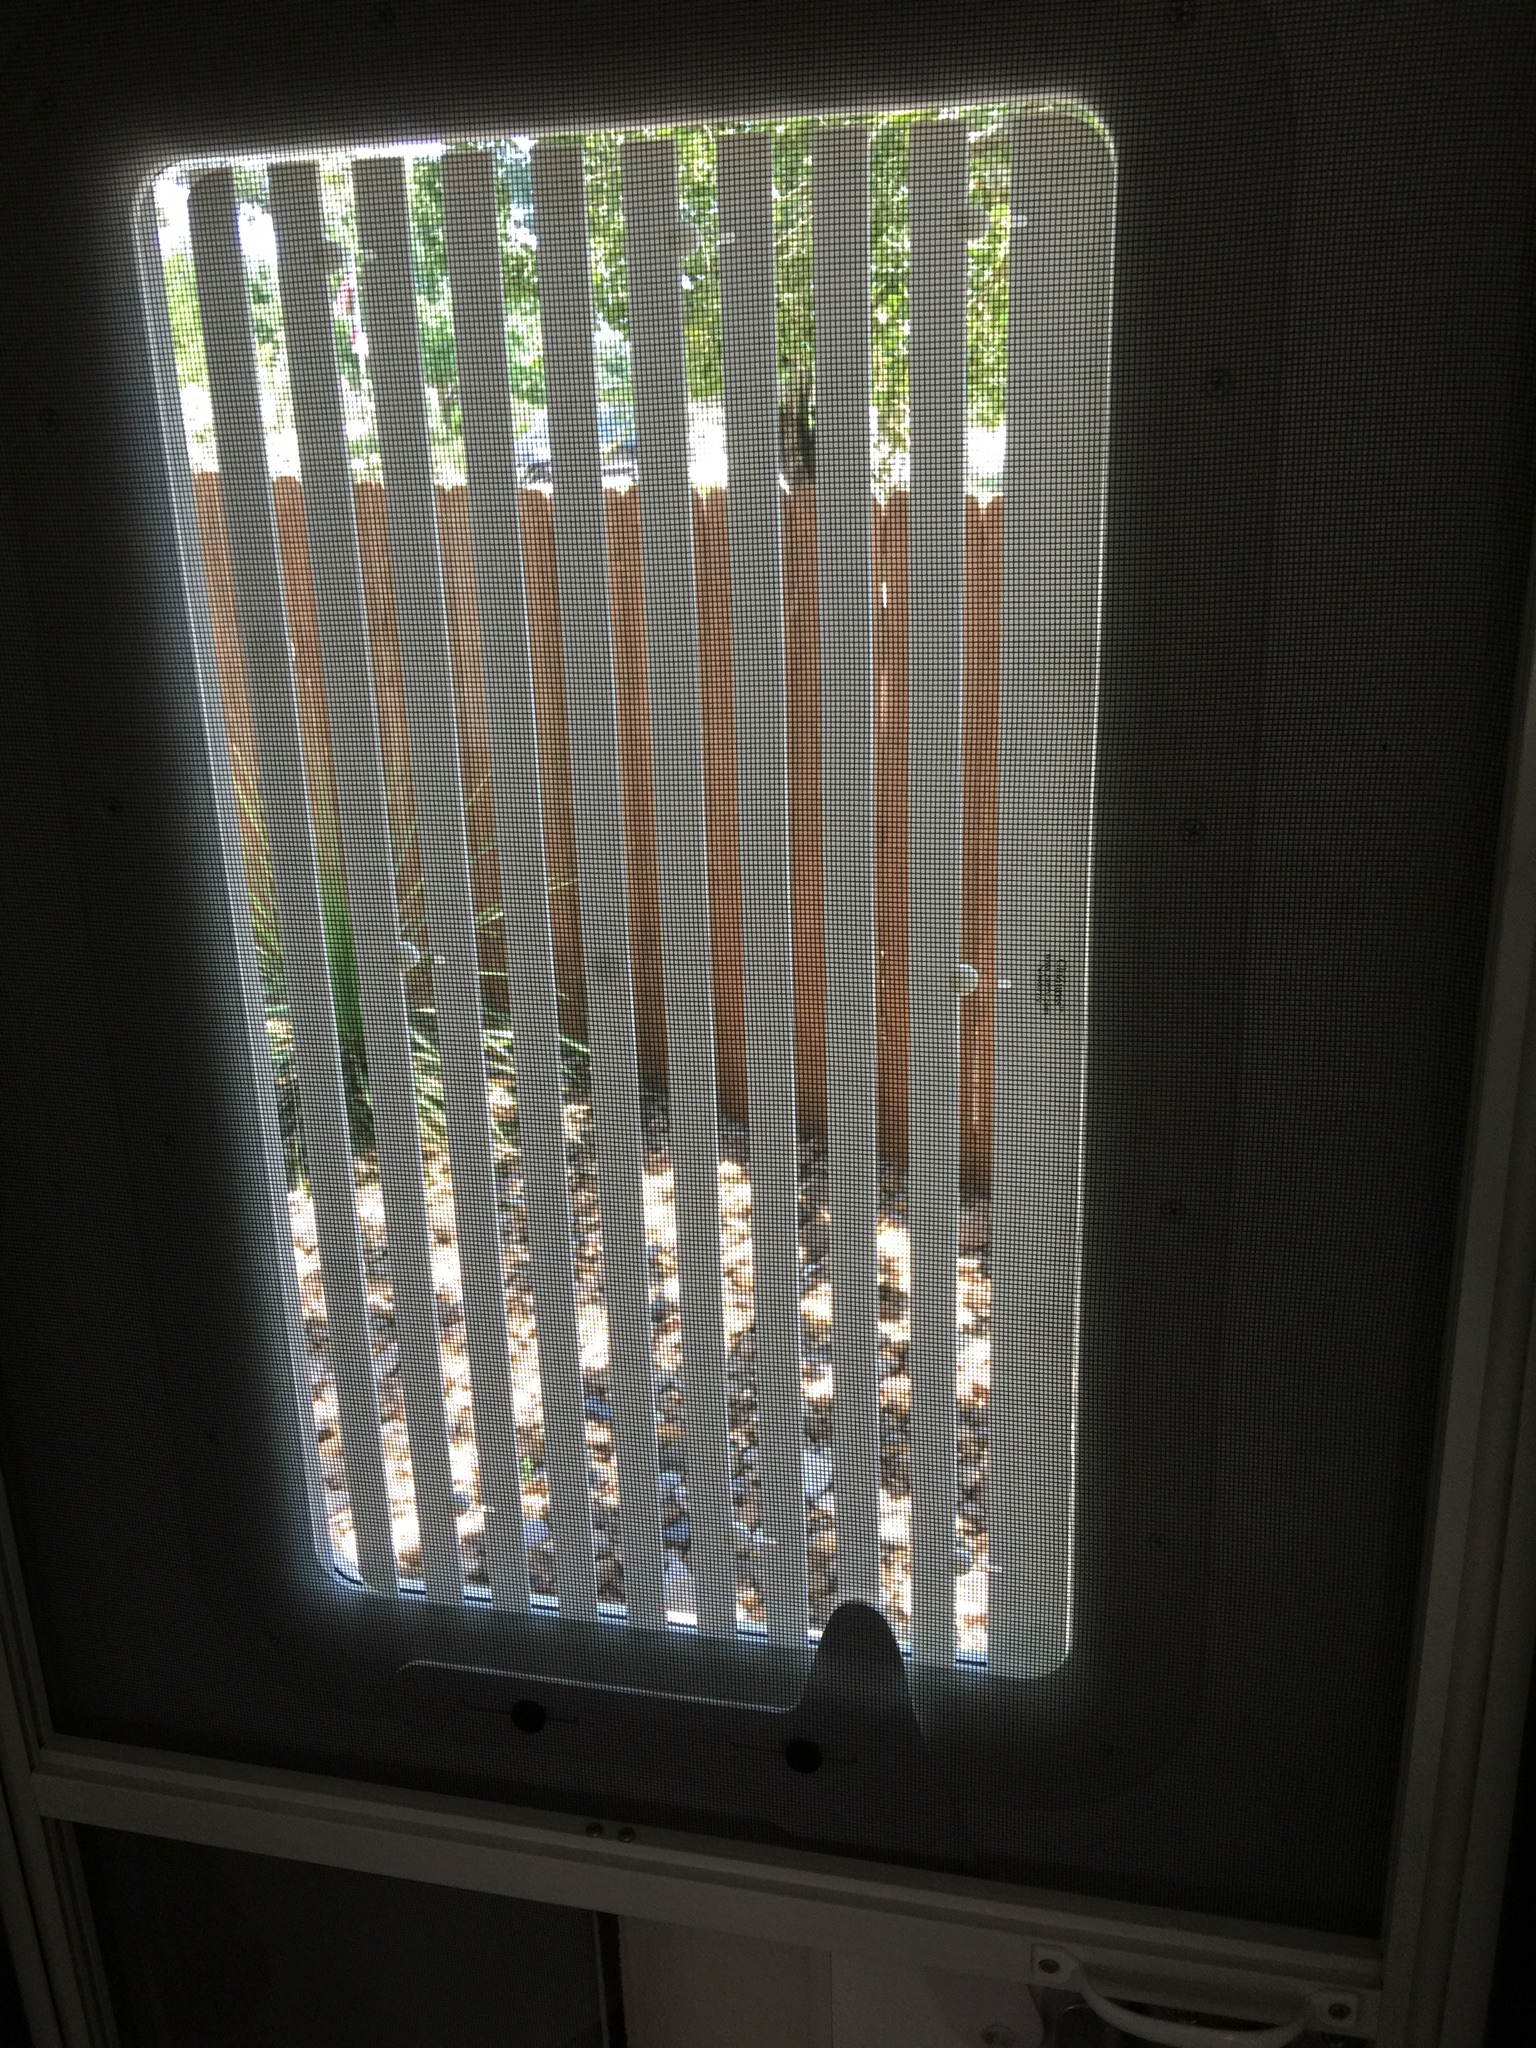
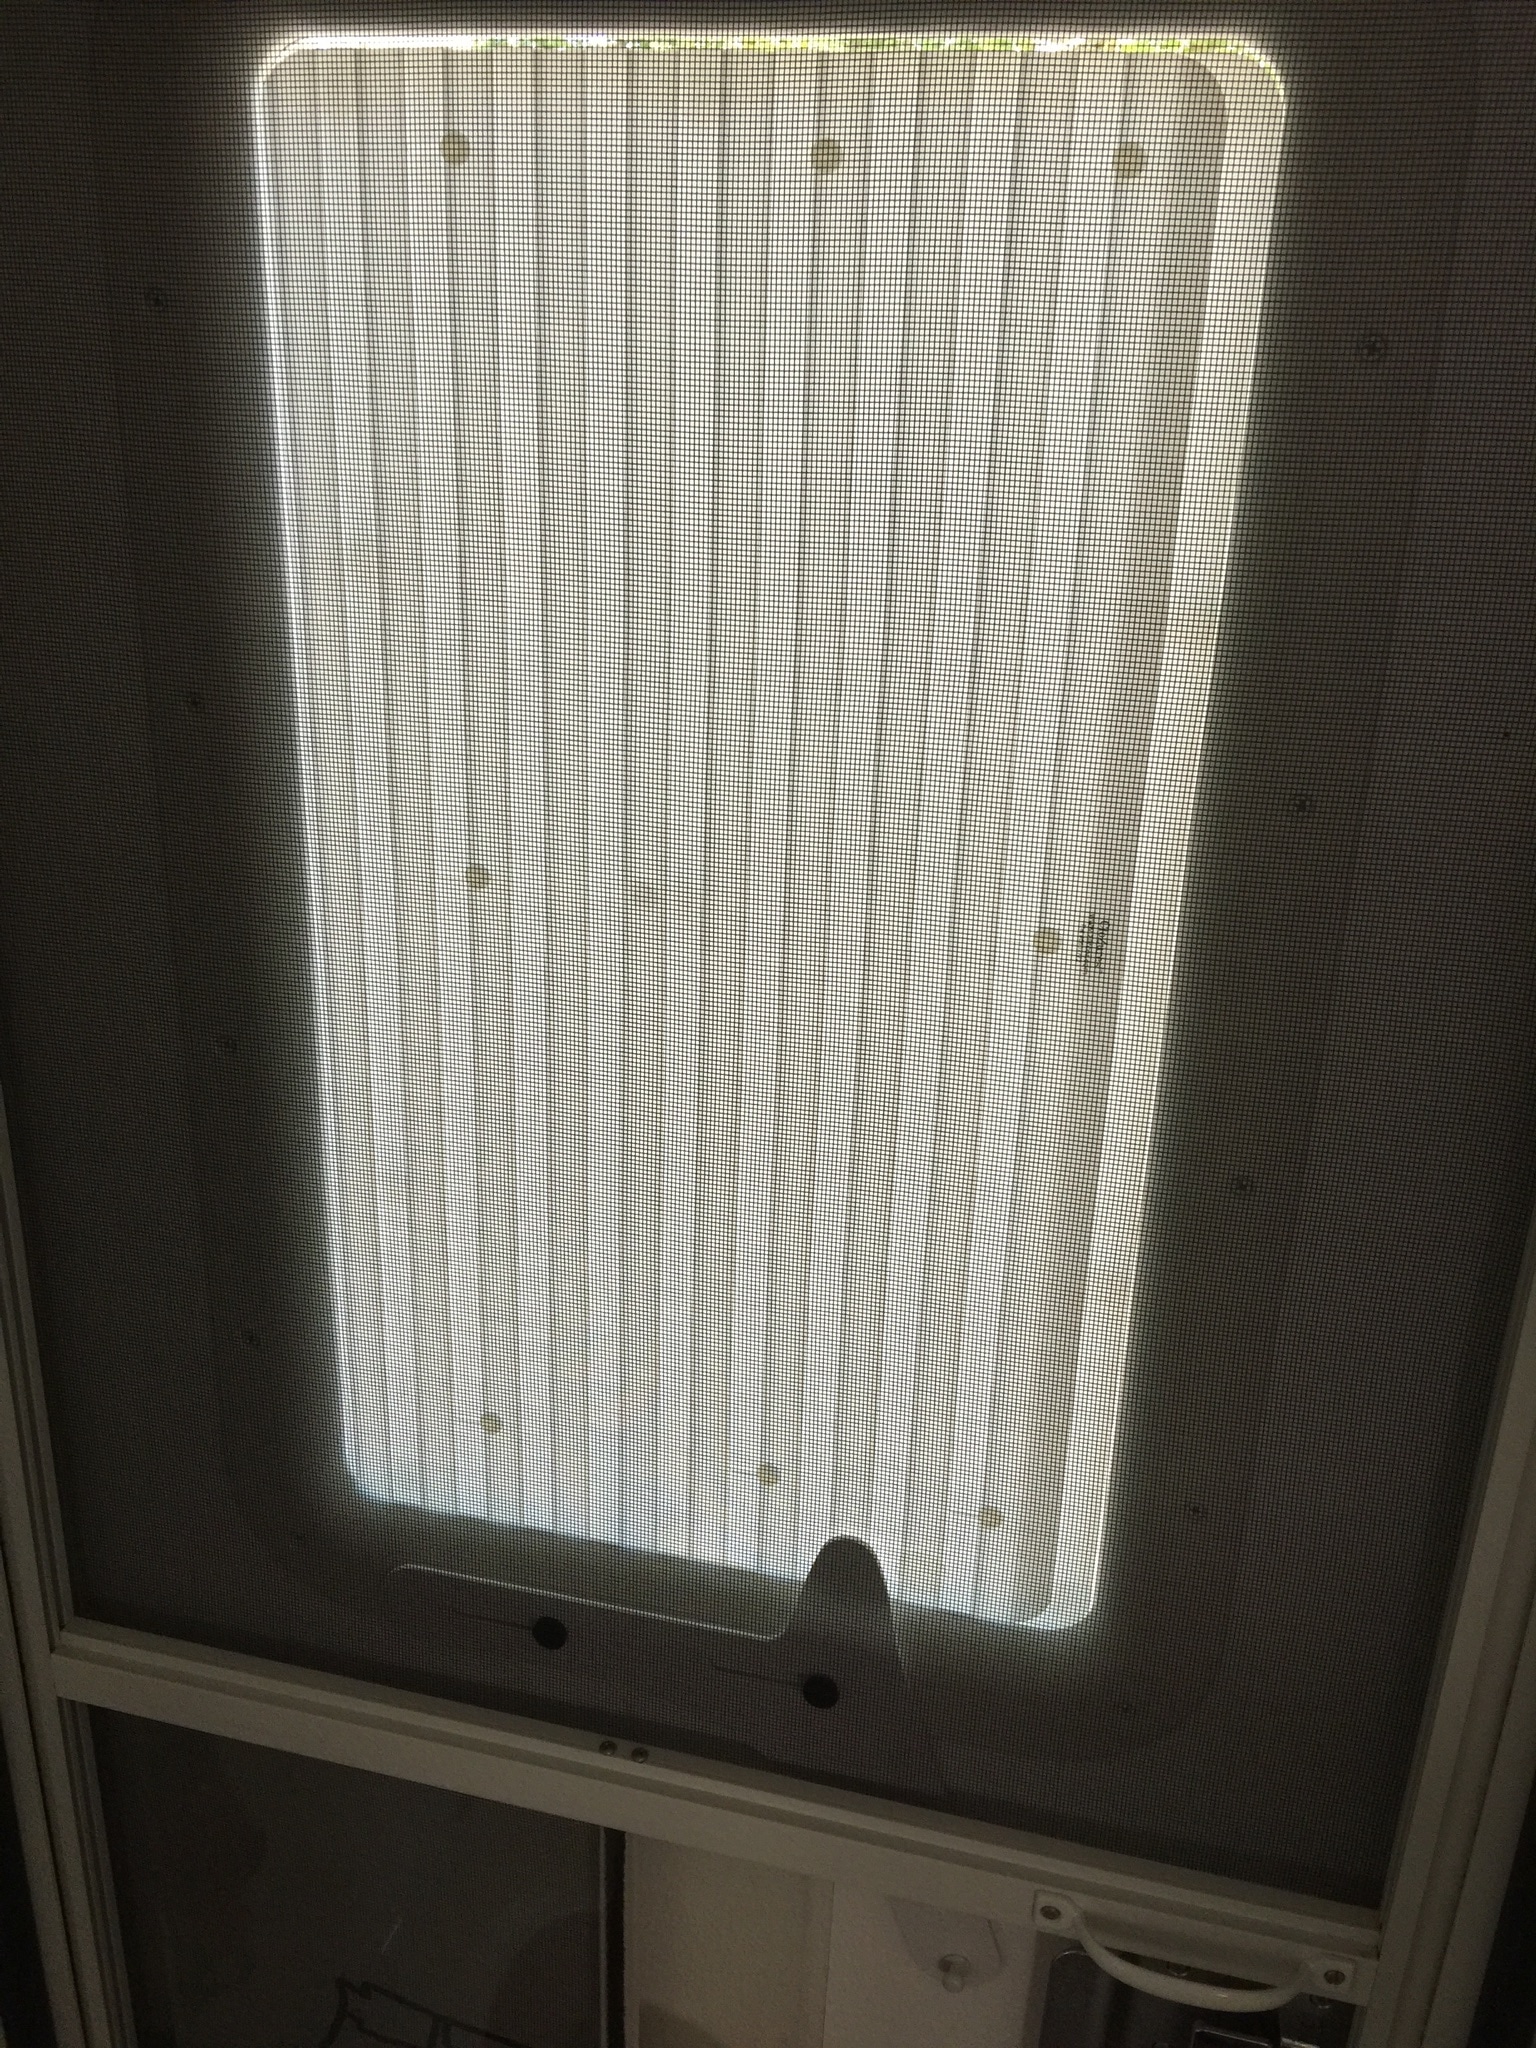
We installed our shade last week. It took a couple of hours, we worked slowly. We are happy with the results. The box from ZARCOR was delivered less than 24 hours after we ordered. It was well packed with clear instructions. Everything was well protected with foam. Two boxes with new gasket material. We ordered the tinted window, they also have clear. This shows the shade and white handle. A black handle is all that is on their web site. If you call you can ask for a white one. The included instructions were very clear and easy to read. As instructed, we taped the outside frame with duct tape. Once the screws are out of the inside frame the only thing holding the window and outside frame on the door is the gasket material. I think masking tape would work just as well. There was no residue left when we took off the duct tape. I should have extended the tape onto the window and then taken both the outside frame and window out at the same time. I removed the 12 screws that are on the inside frame. Both frames and all screws are reused. Inside framed removed. At this point only the old gasket material holds the window in. I’m taking it out and some of the gasket comes with it. As I mentioned earlier, it would have been better to have tape on the window too and then remove both the outside frame and the window at the same time. The outside frame was stuck on the door with the old gasket material. I used a plastic squeegee to lift a corner, then it came off pretty quickly. Here we are putting the new gasket material in. It’s easier with multiple hands. It makes for a better installation if you can get the material into the grooves as evenly as possible. There are two gaskets to apply, one just inside the window opening for the window and one on the outside of the frame that seals the frame to the door. I’m setting the new glass onto the outside frame. The gloves are just to minimize finger prints. The one disappointment with the kit is that the new window is slightly smaller than the original. Maybe 1/8”. On the outside frame there are plastic pegs all around the window opening that should hold the glass securely. I tried to position the glass so that it was centered on the opening and then pressed it into the gasket material. This is where the actual installation pictures stop. We took the outside frame with the glass and put it into the window opening on the door. We thought we had done a great job until the weight of the window caused it to slide down so that it was setting on the bottom pegs leaving a very small gap at the top. We gently pulled the frame back off but some of the gasket material stuck to the door and some stuck to the frame. It was a small crisis. We got it off and back into a horizontal position. Carol reworked the gasket material that was pulled off and I fabricated a couple of very small shims to sit on the bottom two pegs to lift the window 1/16” or so. Once that was all done we put the frame and window back into the door. The shade attaches directly to the window with some heavy duty Velcro buttons. It is positioned over the window then pressed tight. The inside frame is reinstalled and that’s it. Inside with the shades open. They can be opened or closed with the door and the screen door shut. Shades closed. I think we will enjoy being able to look out the door window with the shades open. When the shades are closed you can’t see in at all. The old frosted glass was a little frustrating at times because in order to look outside you had to open the door. Mike
1 point
-
No regrets. But being a first-time travel trailer owner was a bit overwhelming to say the least. I am of the opinion that you cannot study, read, and learn enough of everything about travel trailers before making the plunge. But there is not enough time to do it all the way. At some point you must pull the trigger and let the bird fly. The forum here has been extremely helpful and important to me. Oliver's service support (especially Jason Essary) has also been willing to handle any problem in a kind and fair manner. I was warned before purchasing a trailer that there will always be problems. That nothing is perfect. I have found that to be true. Oliver Travel Trailers factory is not exactly easy to get to or even a smart idea as a service center for probably most of us who own one. That makes learning how to do the maintenance and simple repairs even more important. I believe I can handle this. Because we sold our home in Florida and our cabin in northern Michigan, all I have to take care of now is this trailer. We built a garage/base camp in the panhandle of Florida and are heading there now. I look forward to washing the Ollie, waxing it, and learning how to do the basic maintenance required to keep things running smoothly. I also have to replace the water pump (I am not a plumber) due to a problem of my fresh water tank filling up when on city water connection. I opted to just replace the entire pump instead of fooling around with check valves, cleaning, flushing, and whatever else is necessary. I am hoping that afterwards I will be a water pump expert with pics to prove. We love our Oliver. It is our new cabin on wheels.
1 point
-
I like the Magnum hybrids because they will kick in just enough juice if the generator is not quite powerful enough. This will save batteries when dry camping. They also have great chargers built in.1 point


-
Recent Achievements
-


")


")


