Leaderboard


Popular Content
Showing content with the highest reputation on 02/08/2025 in all areas
-
@Tideline77 it is best practice to set the Xantrex breaker setting to the max current your source outlet can provide. (Actually a little less. Note that Oliver's default setting for a 30A campground outlet is only 25. It's not great to run electrical components at full load.) This is to prevent your trailer from over-drawing power and tripping the breaker on your power source (or worse). Your generator may have a 30A outlet but a 2200W generator can't actually provide the full 30A, at least not continuously (2200W / 120V = 18 Amps). You can go to the max available output of the generator (probably 18A in your case, check you manual) as long as the trailer is the only thing plugged into the generator. One advantage of setting the Xantrex to lower Amps (say 10A) would be that the generator wouldn't be screaming at max RPM the whole time. However charge time would go up. If plugged into a household outlet, I go at least 5A below the circuit breaker for that outlet. When in storage and I need to charge, our trailer is plugged into a 20A household outlet. However, that same circuit might also be used to run power tools on different outlets, so I actually set my Xantrex breaker setting down to 5A. This causes the trailer to charge more slowly, but allows me to use other outlets in the garage at the same time without tripping the breaker. Also, if you're using a regular extension cord to connect to a household outlet, you should lower the Xantrex setting to no more then the cord is rated to handle. If you attach your trailer to a 20A outlet, set your Xantrex to 20A, but then use an extension cord rated for only 15A, you run a risk of melting that extension cord and starting a fire. In summary, never set the Xantrex higher then the breaker on the supplying outlet and consider going even lower if you don't need absolute max charging speed.5 points
-
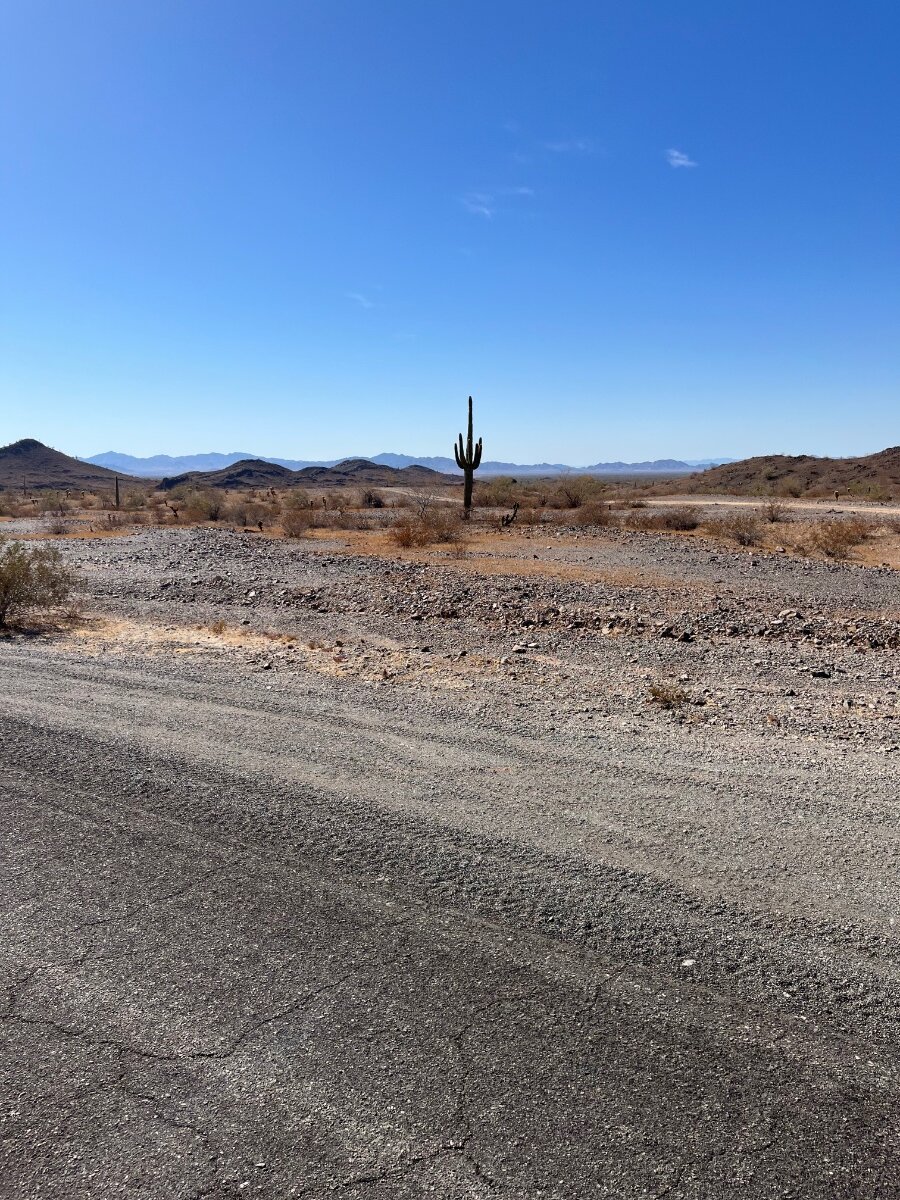
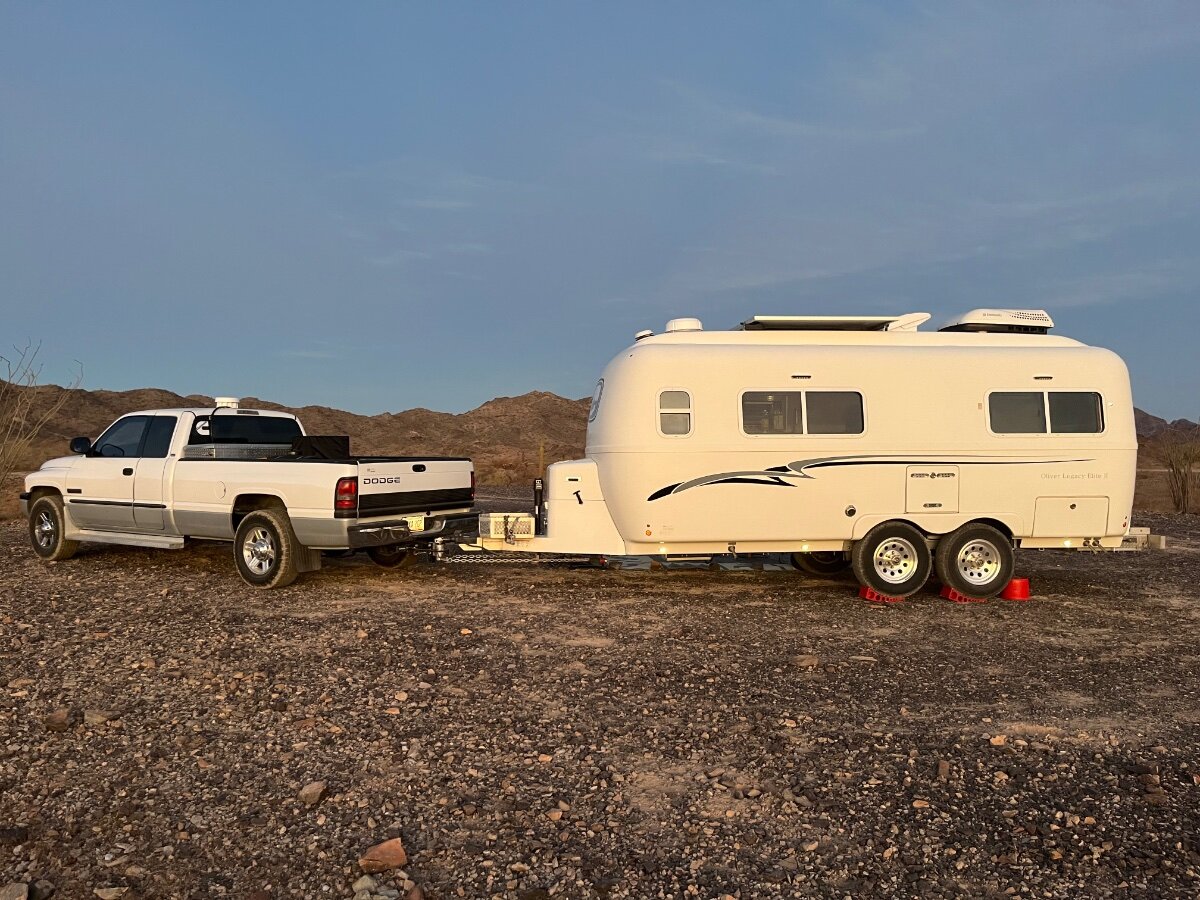
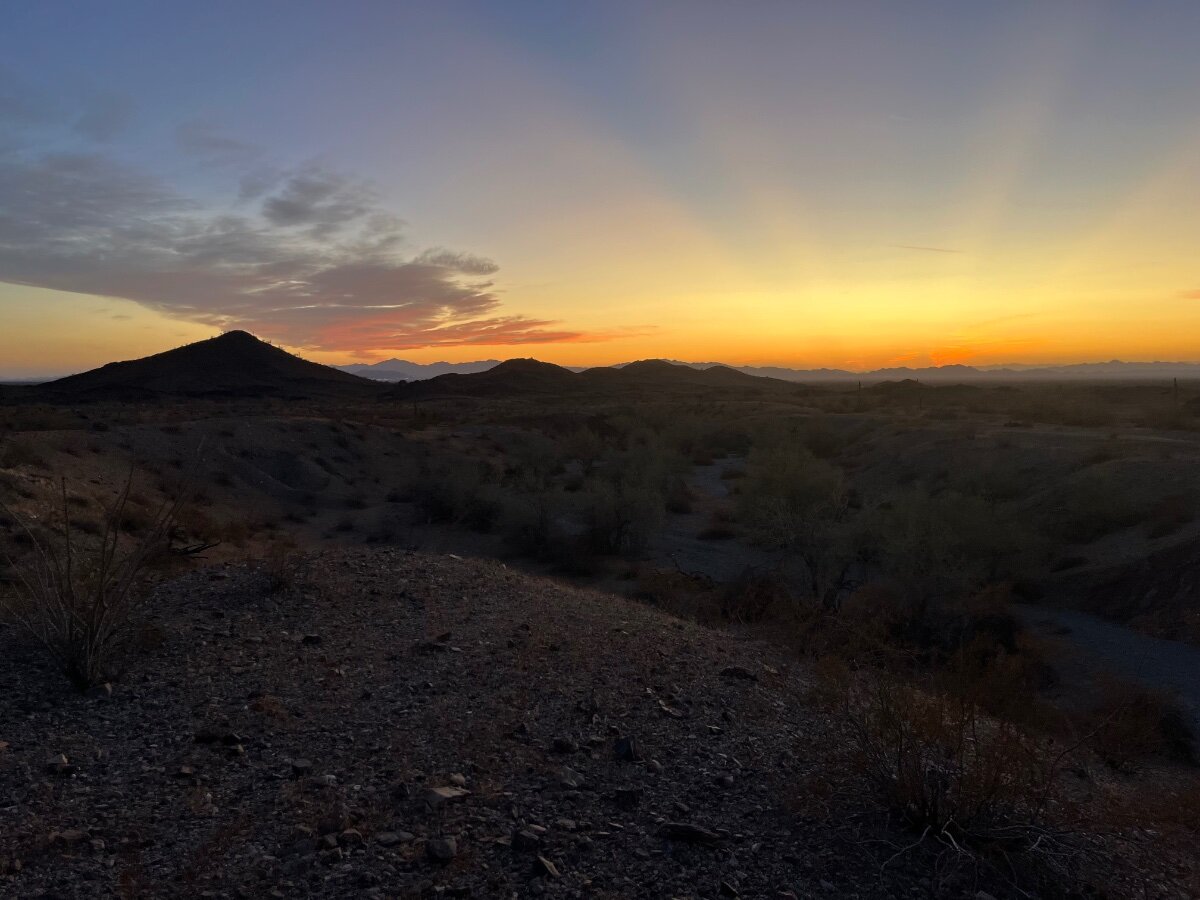
Spent our last two days up Plomosa Road a ways. Maybe next year we can start our own Oliver Rally out here! Quiet and beautiful up here, 14 day BLM, great views and sunset. Richard and Thea came up for an afternoon visit! We hit it off and didn’t stop talking for a couple hours!
 4 points
 -
Message modified @TxMN2020 If you add your trailer information to your siginature, it would help for people to provide you answer's based on the year of your OTT.3 points
-
I renamed my batteries in the app, FRONT and REAR. You could do OUTER, CENTER, INNER, etc. Makes it easy to identify them.1 point
-
Just in case ! I will mention this you should be in close proximity to the batteries and the batteries need to be turned on or the APP cannot connect to the batteries with batteries turned on and you phone within say 15 feet distance open Lithionics APP and allow it to search for the batteries It takes a few minutes the first time you do it after the APP searches and finds the batteries then you will put in the password this is how it worked for me (using the owner’s manual for instructions) then , using the serial number on the actual batteries match it to the serial number on the APP and you can mark the batteries with a sharpie 1,2,3 this way in the future you know which one is which !1 point
-
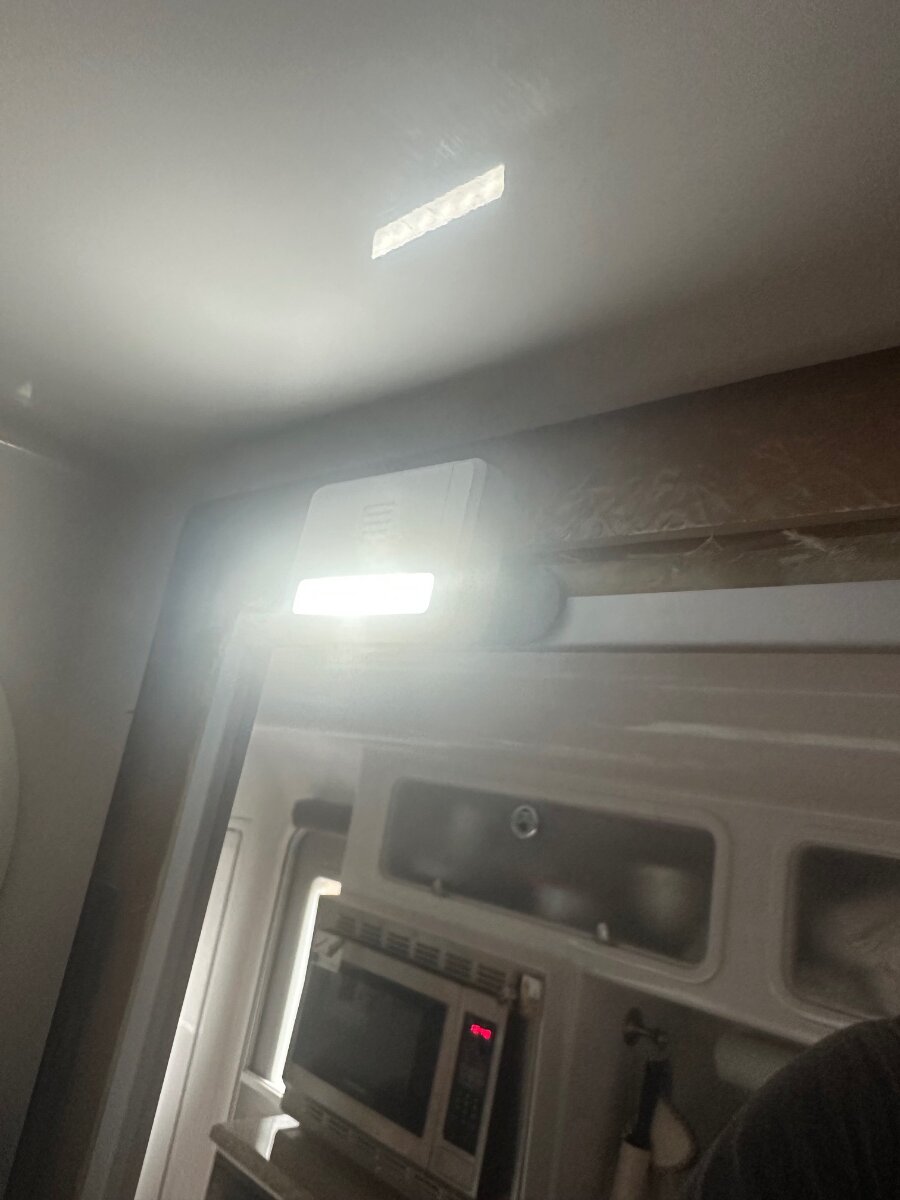
The lack of light in the pantry has always bugged me. I suppose if you’re a weekend warrior and only have a can of beans, burger buns, and a bag of marshmallows in the pantry it’s fine as it is. Since we pretty much live in our Oliver for three months at a shot - and we like interesting food - then finding anything in a fairly well-stocked pantry with no light - is a challenge. Initially, I was using a little “Nebo” LED light that you can get from most hardware stores. It has a motion-sensing feature that is an improvement. I’m still using one of these in the Norcold fridge. One night, I saw the light in the pantry was coming on without the door being opened. Not sure why, but I think the passive infrared sensor was picking up movement -through- the pantry door or wall. Still dunno why. At any rate, I found another solution that’s been working well and isn’t subject to being triggered by things moving in the pantry as you drive or other false movement. Amagle 4 Pack Door Open Automatic... https://www.amazon.com/dp/B07NVCJLF5?ref=ppx_pop_mob_ap_share These are inexpensive enough to not fret over if they don’t work or if one quits on you. The only real challenge - after trying to figure out the best location(s) - is to line up the magnet with the sensor on the light. Due to the design of the door - and without wanting to design and make custom spacers - you need to mount the magnet close enough to shut the light off when the door is closed. I used a dry erase marker and Post-It flags to help me do this. Below are a couple of pictures that (hopefully) give you a hint where to mount the magnets once you choose where you want the lights. I placed two in my pantry, but I may go to three or even four. You’ll need to mount the lights as close to the edge as f the pantry opening as possible. Magnets need to be set back away from the edge if the door to clear the frame opening. Reviews on Amazon state that the foam tape supplied is too weak. They’re correct. I replaced mine with 3M “Command” foam mounting tape as I like the option of not leaving goopy adhesive behind if I change my mind. Finally - since you can’t tell if the light(s) are shutting off when the door is closed, I used my iPhone video camera to monitor it - and verified they DO turn off when I shut the door. (You could also do that with your home fridge if you’ve always been curious if that light turns off!) (I’d show more pics - but my pantry’s a bit of a mess at the moment…)
1 point
-
Hoping you do your list again. Great having other owners site info. Always appreciate your time doing that😊👍1 point
-
Only two weeks of “normal” then a week in the Santa Catalina Mountains with some pickleball at Saddlebrook Ranch. We’ll just keep the Oliver on standby!1 point
-
Was great meeting you and Chris, save travels back to Prescott and “normal” live!1 point
-
Use 4/30, Oliver is interested only for the official dates of the Rally and especially for the banquet head count.1 point
-
We've experienced the same results with the Calgon/PineSol practice. We keep a container of the solution under the bathroom sink storage and add it on each dump - about 1.5 - 2cups. After adjusting the blade valve cables and using the C/PS solution we've yet to have leakage in the dump hose.... It appears that the cables operate a bit smoother especially when almost in the fully closed position....1 point
-
I find myself stepping up on the top of the rear wheels to grab stuff from the front of the truck bed -- I'm getting a wee bit "long in the tooth" for those operations, and may need to get a hoe, I'll check with D and see what she thinks.... HA!1 point
-
Just spent half an hour looking for "Rally Registration". Here is a shortcut: https://olivertraveltrailers.com/events/oliver-owners-rally/ GJ1 point
-
Geronimo John and Ollie will be at F-251 point
-
Thanks for the update. I’m going to do both, so if/when you replace the gray tank valve, the included harness will be long enough there. Yes, good to replace the full length of wire.1 point
-
Casablanca will be in E-06 this year, FYI....1 point
-
Thanks, @John Dorrer -- for tracking this one! See y'all there!1 point
-
Glitch has been repaired and Rally Registration is ready.😊1 point
-
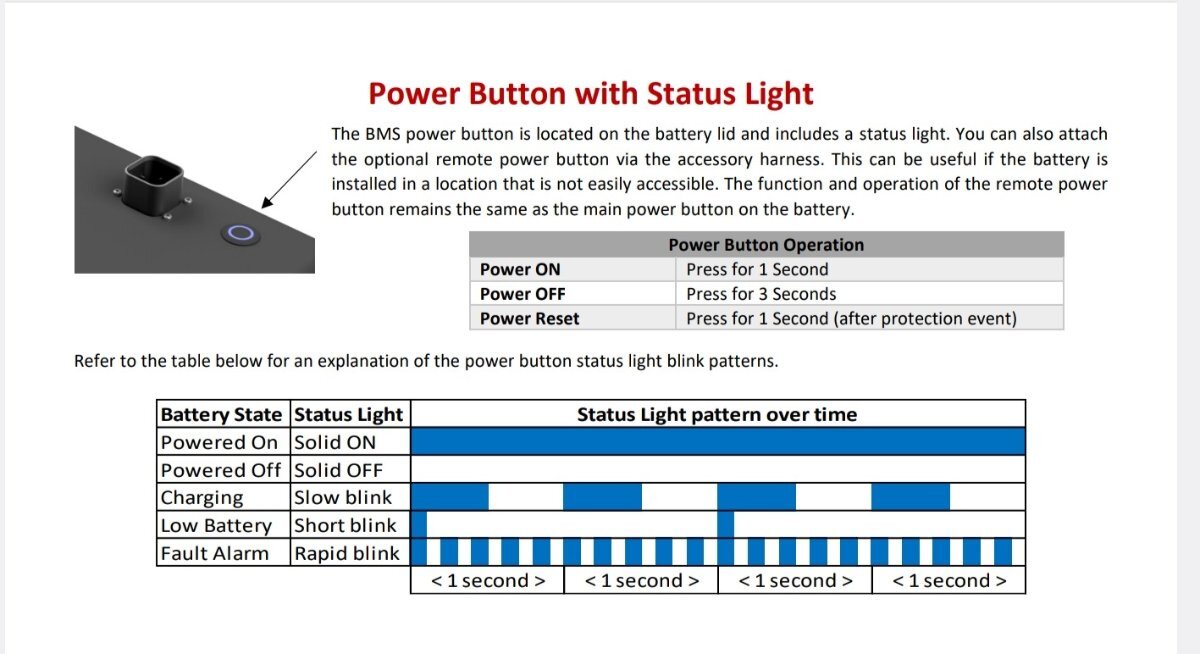
Ok. Lithium batteries. Do you have Lithionics batteries? If so, do you have the Lithionics app installed on your phone and linked to the batteries? If you do, what does the app say about your batteries' state of charge? No app? Our Lithionics batteries have power switches on them which glow steady blue when the batteries are on, turn off when the batteries are off, and can blink error codes. What do you see on your battery power buttons?
1 point
-
So, you have interior lights when the generator is connected, but no lights without the generator? If that's the case, I agree with @jd1923 that it sounds like your batteries are disconnected somehow. Could be a cable, cutoff switch, or 12v circuit breaker. More details needed.1 point
-
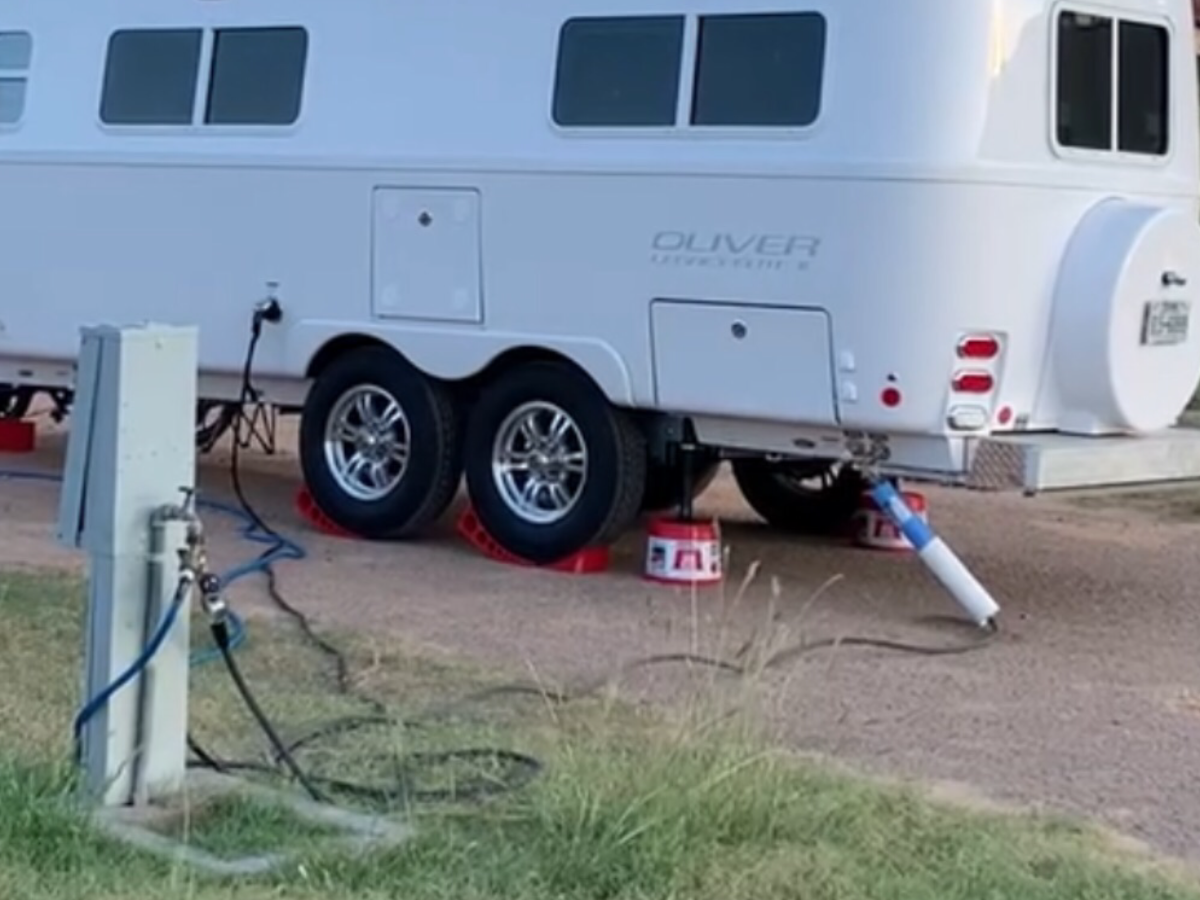
Same here, the Y valve with Eleys for an extra ‘camp hose’ is a very handy addition with many uses. There are times when I prefer not to use the rear bumper as a support for the blue water filter, so I carry a short section of PVC pipe as a ground standoff, works great. Also, the bumper protrusion on either side can be used to hang coiled excess water hose and even propane hose at the rear port, if equipped. Some pics for you and others:
1 point
-
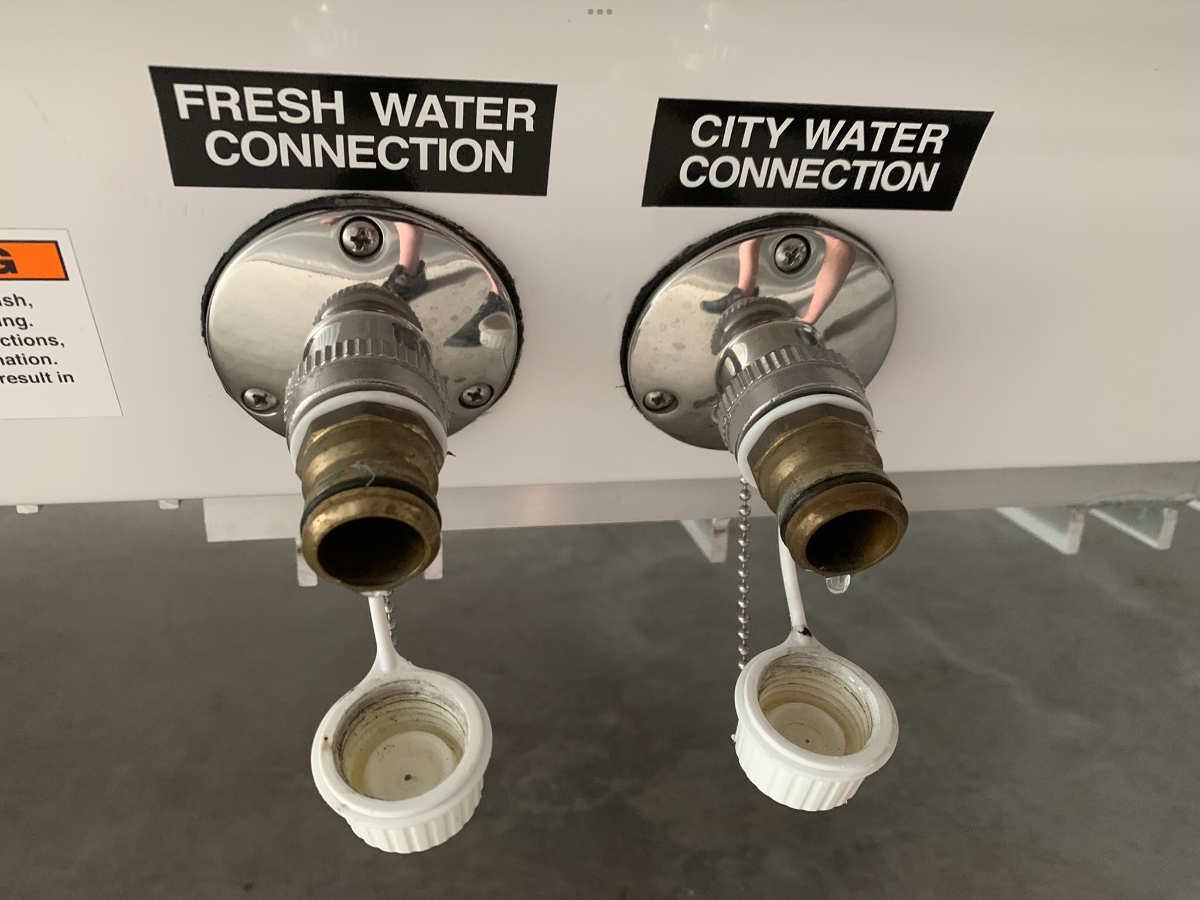
Many camping spots have water that is delivered to the spigot at pressures that are higher than you should - safely - use in your Oliver - as @dewdev mentions above. Another thing you could try would be to "open" that pressure regulator - simply lift the grey tab on the top of the regulator. This relives the pressure in the "tank and water lines" inside your Oliver. It also can serve to clear any deposit or debris that may have caused the leak. Then close the grey back to its original position - note that this relief valve tab is most likely "spring loaded". Therefore, it should simply "snap" back into place. Bill1 point
-
That won't help you to get the the back of the Oliver trunk (rear basement)! Three weeks ago I took a fall, and on the way down I cracked a rib, hitting my lower back on the arm of a chair. I was so hurt and stiff, I used this "hoe" to lift the toilet seat and about anything else I needed to reach below waist height! 🤣 Five days later, I did very slowly install LCAs on my '92 SC400, but my injury did delay my DC-DC charger installation! Nothing like crawling under a truck with a bruised rib, ouch!0 points


-
Recent Achievements
-


")


")


")


