Leaderboard


Popular Content
Showing content with the highest reputation on 11/10/2025 in all areas
-
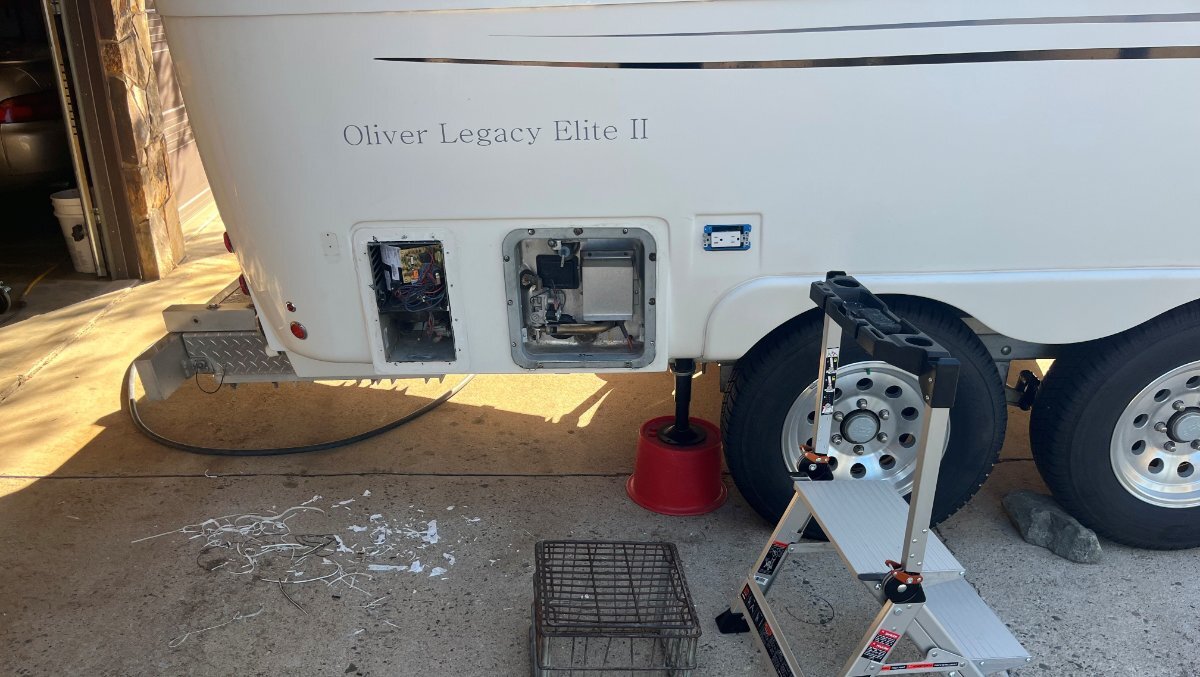
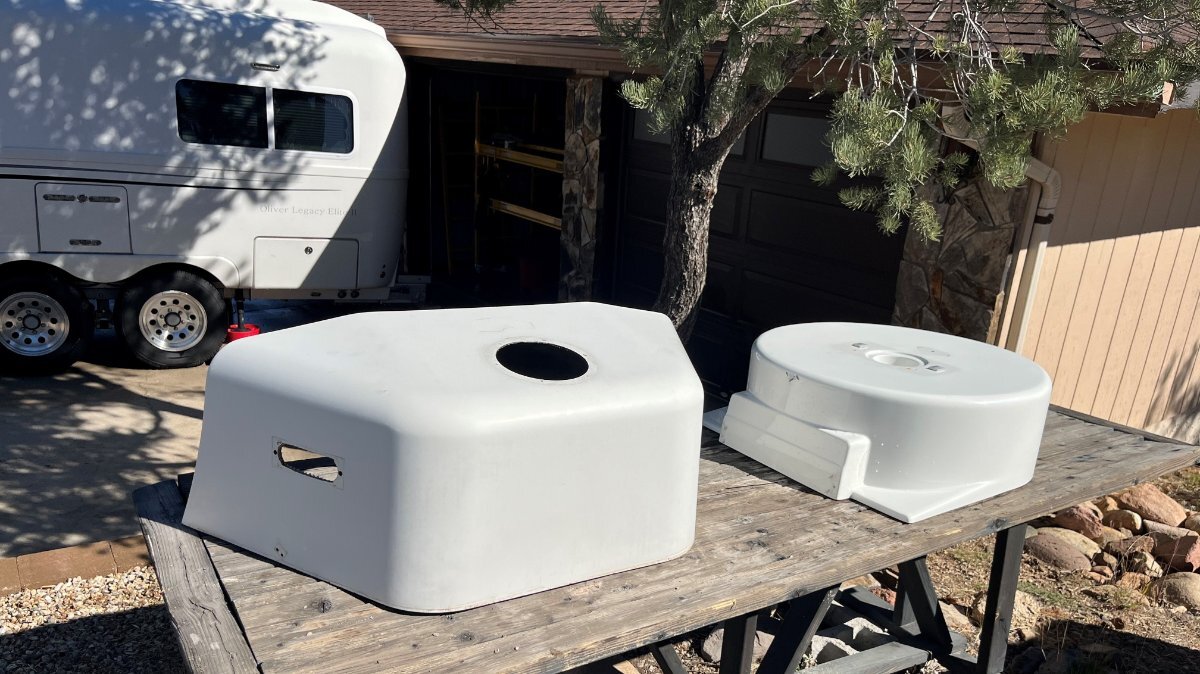
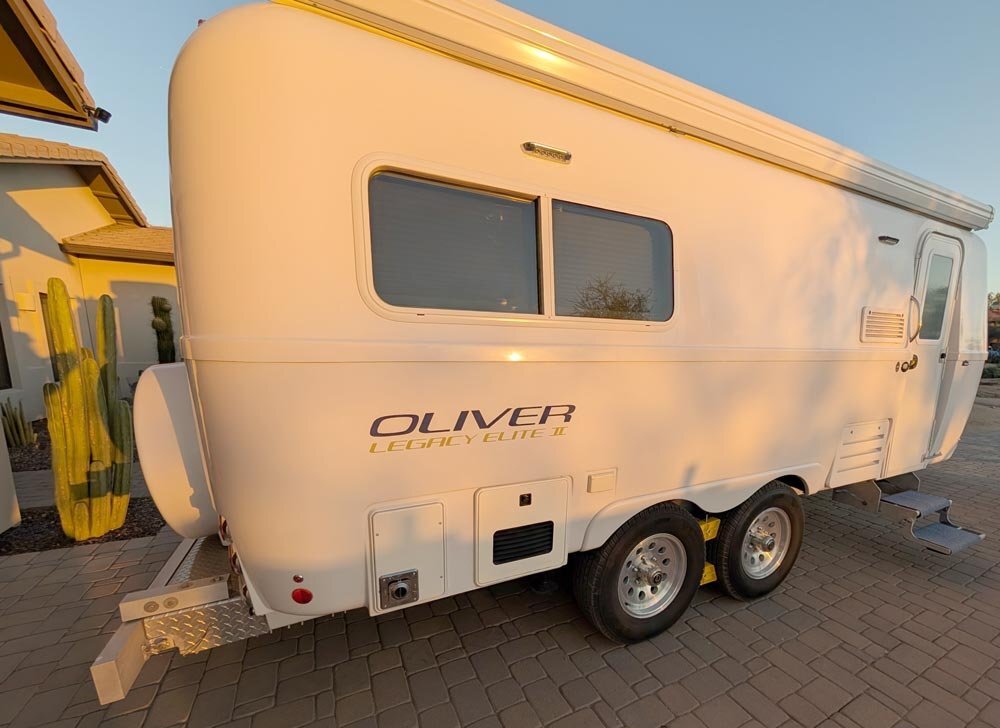
Funny that GJ revived this thread today. Coincidence given this morning I had an auto-body/detailing professional come to our home and quote finishing our Oliver. Old hull #113 will again have a shine on her! 🤣 Scheduled for the week after next, I’ve been busy removing items like all the covers, furnace, HWH, fridge vents, outlets, awning lower mounts, etc. Everything possible to make for a better detail job. Doghouse and spare tire covers completely stripped down. I’ll post a new thread with pictures in a couple weeks! Almost forgot, I’ve also removed about 2 LBS of silicone caulk!!! (see driveway in first pic)! First time I restored a vehicle, every nut-n-bolt removed, was an Alfa Romeo Spyder, Spring of ‘78. This is the way I work! Tear everything, clean and condition each and every part. 😎 For 2 1/2 years we’ve just gotten our Oliver sun-baked and dirty, now time for some love! Thanks for posting John! 🤗
 2 points
 -
Really, Really nice installation. And you can't beat the price. Very good work!2 points
-
I drove to Tallahassee yesterday and left the Oliver at Vinnies Northbay. They are going to put the ceramic coating on it and I will pick it up after working the tornado relief in Dawson City, Kentucky next week. The process takes about 3 days.1 point
-
JD: You sure don't fool around when doing a project. Congrats! Looking forward to the finished project this summer. GJ1 point
-
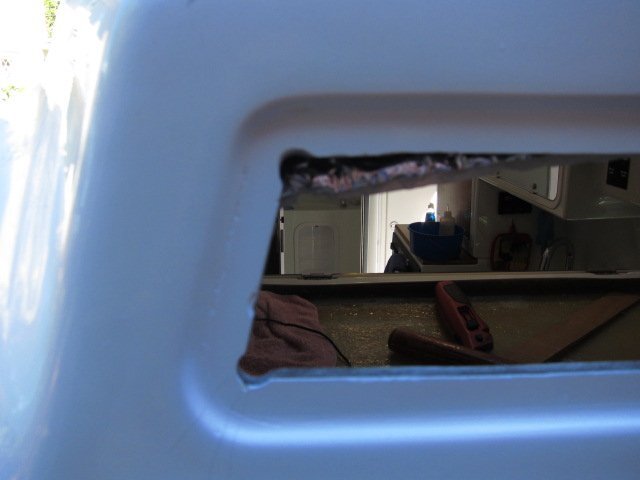
OK, I will give you my 2 cents on this. I have a 10 year old hull, so don't know how Oliver is currently dealing with their hull cutouts. But I can say with some certainty that square inside corners in a fiberglass layup is just poor detailing. Especially in a RV that is subject to all kinds of stresses and vibration. All corners at the very least should be drilled out with a hole saw to a diameter that is compatible with the appliance (or whatever) being installed. Then the straights can be cut out with whatever tool: angle grinder, router, jig saw etc. seems best. The hull on my rear Oliver lense had square cutouts, and I have similar spider cracks at two of the corners. I checked my HWH yesterday and the hull was also square cut under the rounded metal flange. Last year my friend had to pull his HWH and his hull was also square cut (pretty badly as we recall). No spider cracks yet on ours but.... Look up in your attic at the back side of the Oliver light. If it was square cut, then that is a good indicator that your HWH is the same. You can also look from the inside at the HWH and see what the corners are like. If it is square cut, then the only repair I know that will last is to create a radius at the corner to spread out the stresses that concentrate there. This is what I did on my rear lense in the pic. For you, that will be a real PITA as the metal trim ring has to be removed and who knows what else. Mine is set with butyl tape and pop rivets. As I mentioned, your crack is probably just in the gelcoat and not structural. But it shouldn't be there in a trailer of this caliber. Any repair that doesn't address the root cause, will be wasted effort and money IMHO. Wandering Sagebrush's idea to drill a hole at the end of the crack could work. I have used "stop drilling" to stop cracks in fiberglass layups from migrating, but then you have a hole that needs to be gel-coated and polished out. Not sure if it would work for just a gelcoat fracture. Maybe a good solution? It could be! In the end, a good fiberglass technician will know what to do. But I think it will not be a quick and easy fix. Please post up what you find out. Good luck. Dave
1 point
-
I ASSUME that the cost would be for two. Regardless, a 50% discount would make the advertisement more likely to be replaced over time. Also improves the look of the fleet as it ages. GJ1 point
-
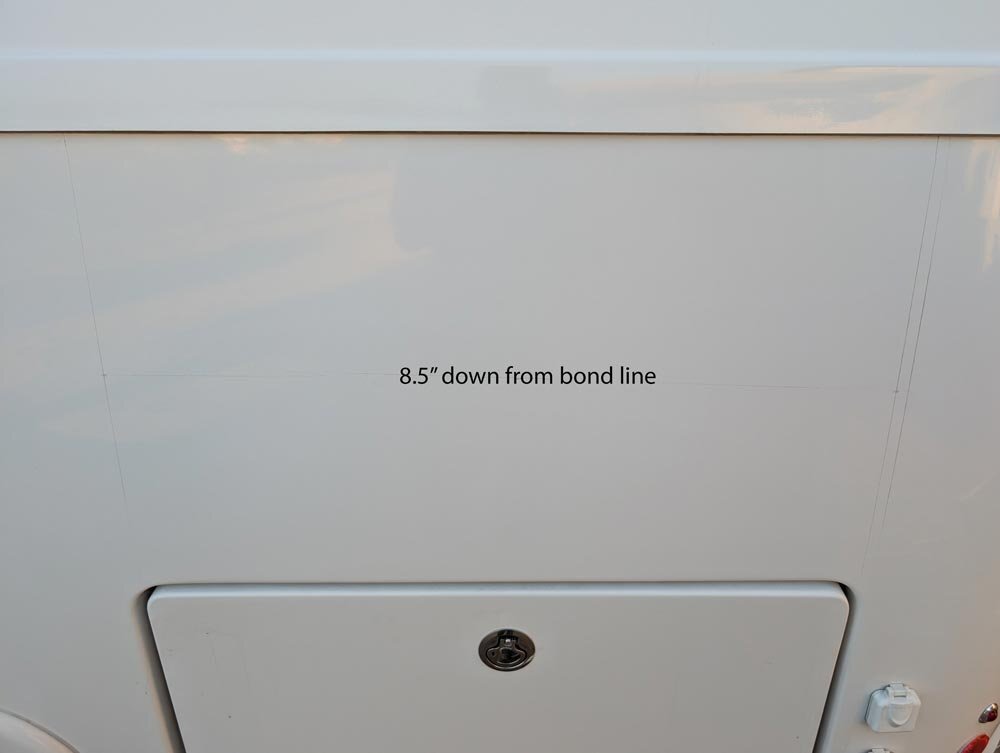
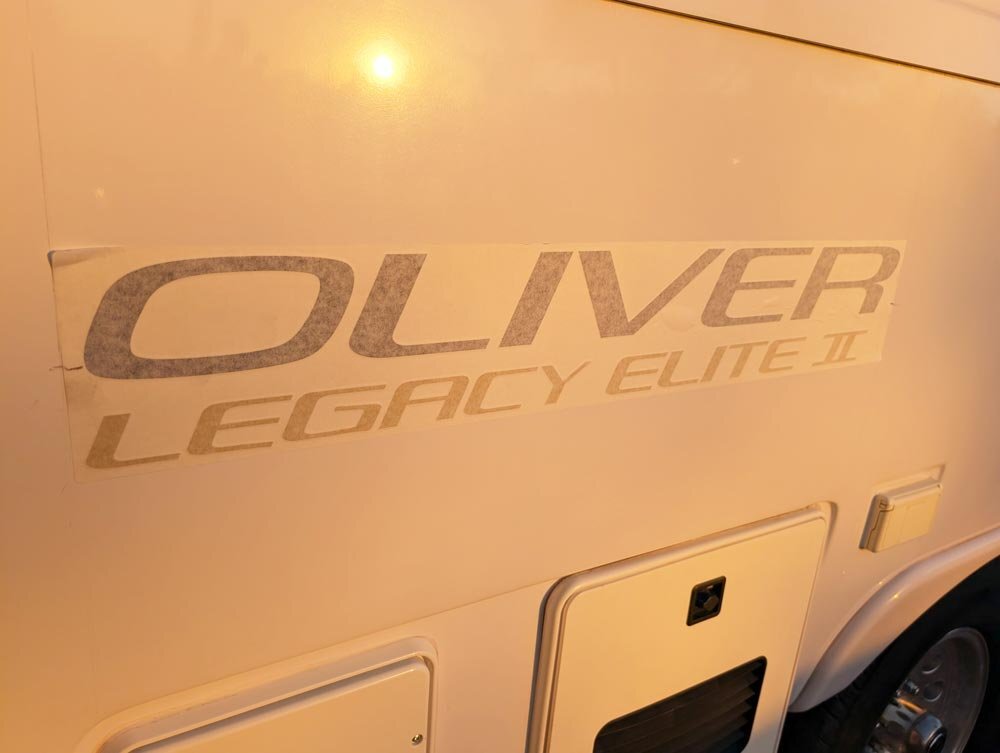
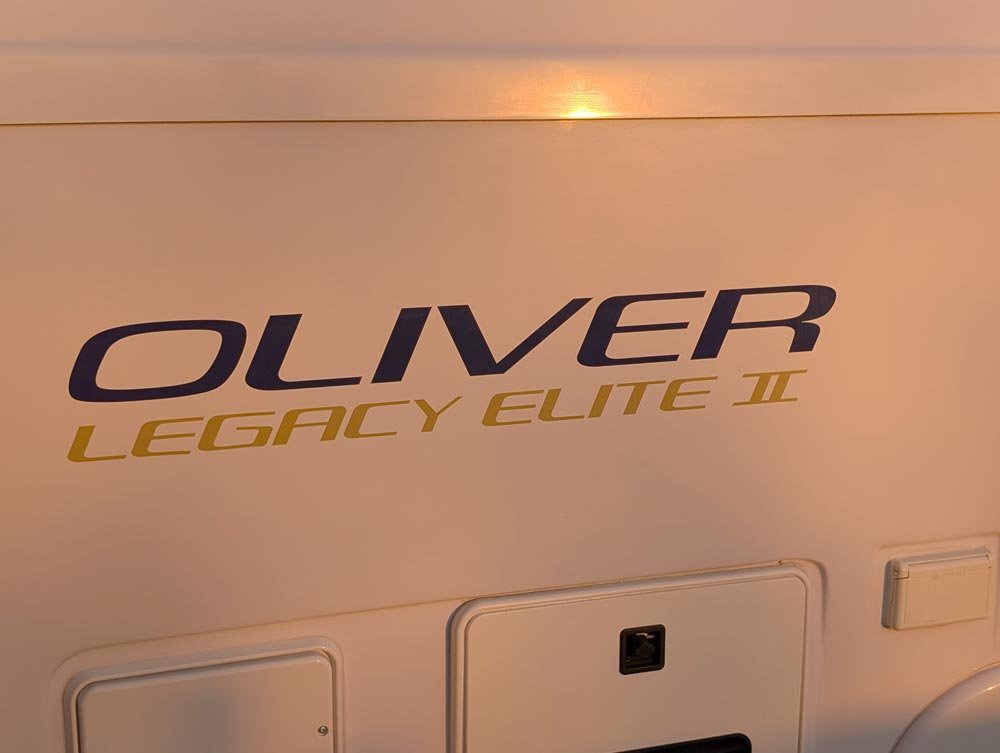
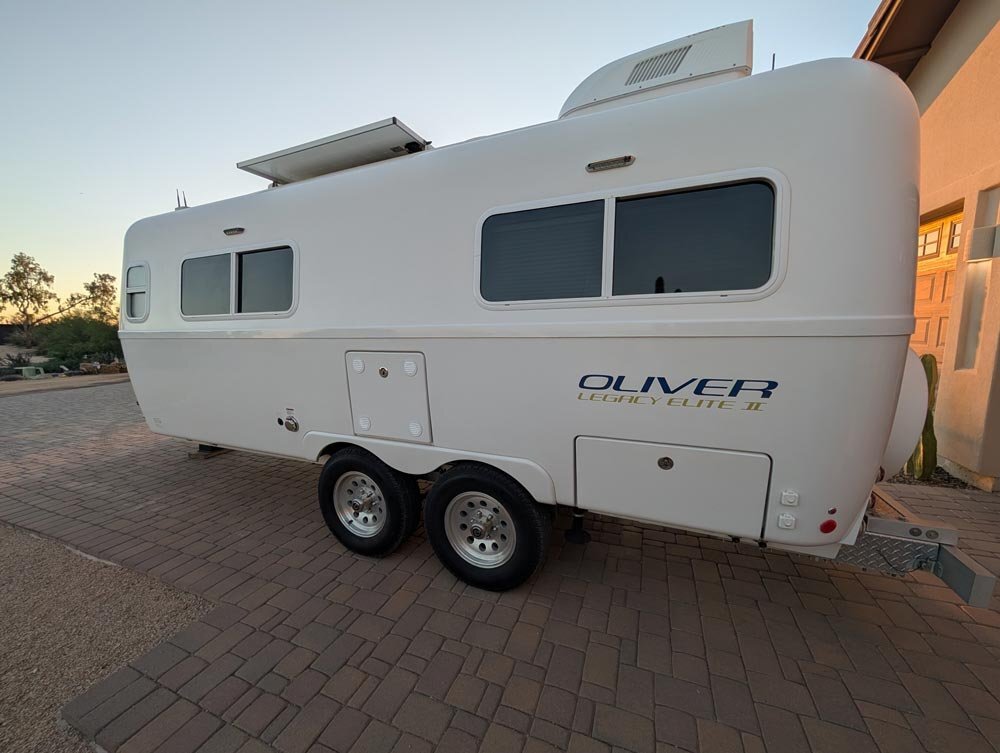
Put the new side decals on. Looks like nice quality decals and went on easily. I clay bared the sides first, then hit them with a 3M 1 stage buffing compound, then wiped and cleaned it before measuring it out. Drew vertical lines about where the doors are below where it goes, then measured to the middle of the bond line and door. I came up with 8.5" down from the bond line and that was the center of my decal placement. $73.71
1 point
-
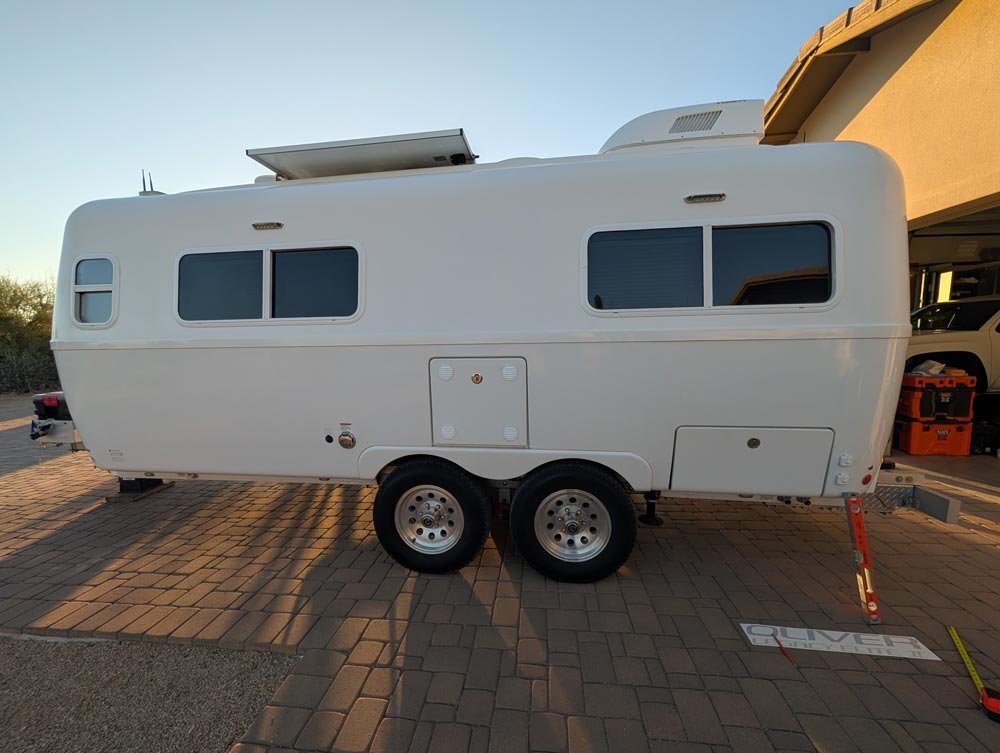
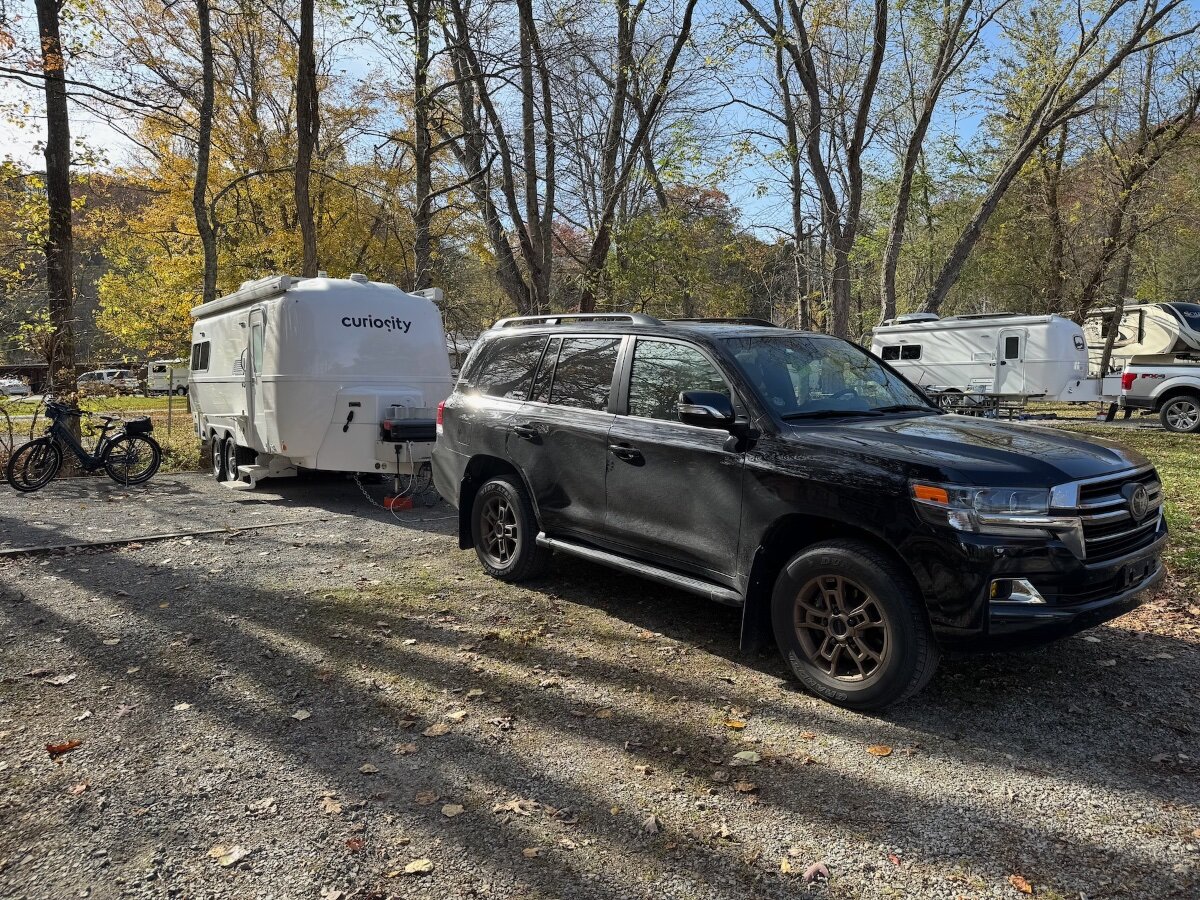
No Oliver logo on the nose would look really strange! We ordered our 2023 naked, and added our own graphic. We've had a lot of people ask what a "Curiosity" trailer was. We've heard "Is that some kind of Casita?", or the guy in Florida who looked it over rally well walking by, but wasn't inclined to chat. He returned the next day to tell me that he'd looked up Curiosity trailers, and that it was a really expensive trailer! No Oliver logo on the nose would certainly seem to cut down on random inquiries and potential sales! Here's a Curiosity brand trailer next to an Oliver at the Hungry Mother Fiberglass Rally. You can barely tell the difference! 🤣
1 point
-
One should not have to pay for their advertising, at least not that much!1 point
-
$24 for qty 10, too bad it's not for the dozen (qty 12) required, so total with Grainger would be $48 plus shipping. I'll stick with $10 and Prime shipping for qty 50 zinc-plated steel! First 2 Oliver friends we run into this winter in the Arizona desert... Just ask me and I'll have a dozen free 45-degree Zerks for you! 😎 (for those with Alcan wet-bolts) I'm going without the rubber caps this time. The ones I took off seemed to be dirt magnets! I'll do what I've always done, use a brass brush and paper towel, clean them before lubing! I've never seen Zerks capped on a car or truck suspension.1 point


-
Recent Achievements
-


")


")


")

