Galway Girl
-
Posts
804 -
Joined
-
Last visited
-
Days Won
25
Everything posted by Galway Girl
-

Truma Aqua Glow Comfort Hot Water Heater
Galway Girl replied to Brian Z's topic in Mechanical & Technical Tips
There is a green LED light directly above the Truma Exterior switch. That LED glows green when all is ok. It flashes a code if something is wrong. You could then look up the code in the Truma manual or here: truma-operating-instructions-error-codes-water-aquago-us-en-ca-fr-mx-es.pdf If your LED is glowing solid green and you're only seeing very lightly warmed water then the issue could be as follows: Check: Make sure the street side outside shower valves are both actually turned all the way off. The shower head has a on/off push button so while it may appear the water is off, if t's simply off at the shower head and those valves are on the hot and cold side water are mixing in the lines and the water heater will not heat up the supply. Reason this happens: Often this happens when owners flush the system of the winter antifreeze or after winter storage. They forget to turn OFF both valves on the shower because there wasn't any water coming out of the shower wand. (Because it's locked in the off position). Craig Short Galway Girl - Hull 505 -
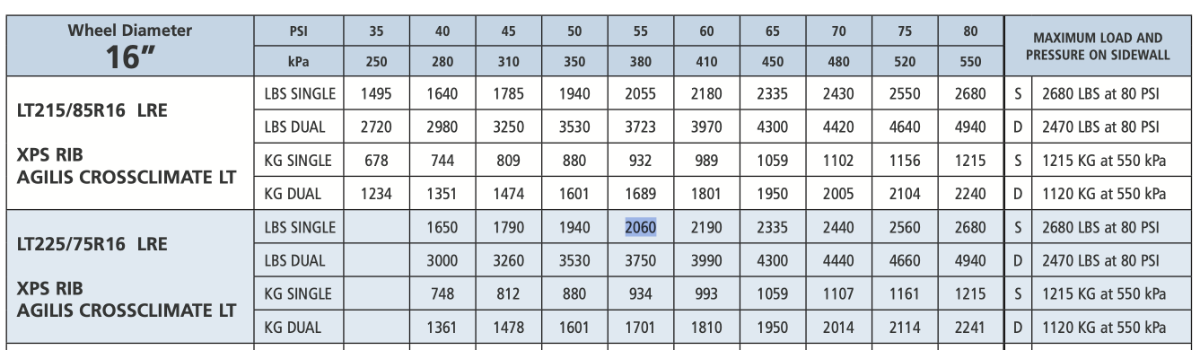
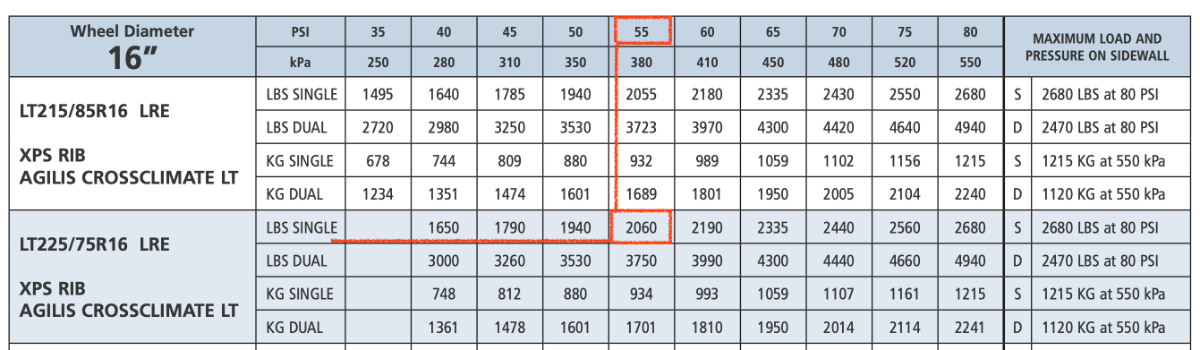
I'll drop it to 40-45 then for the next trip and see how it feels. I know the original ride home when when we picked up New was very bumpy as they had 65 psi in those original Michelin's.
-
We just picked a mid point on the chart as a starting point. What would you run them at? I may lower the pressure on the next run, but expect some extra heating effects on the tires at that lower psi.
-
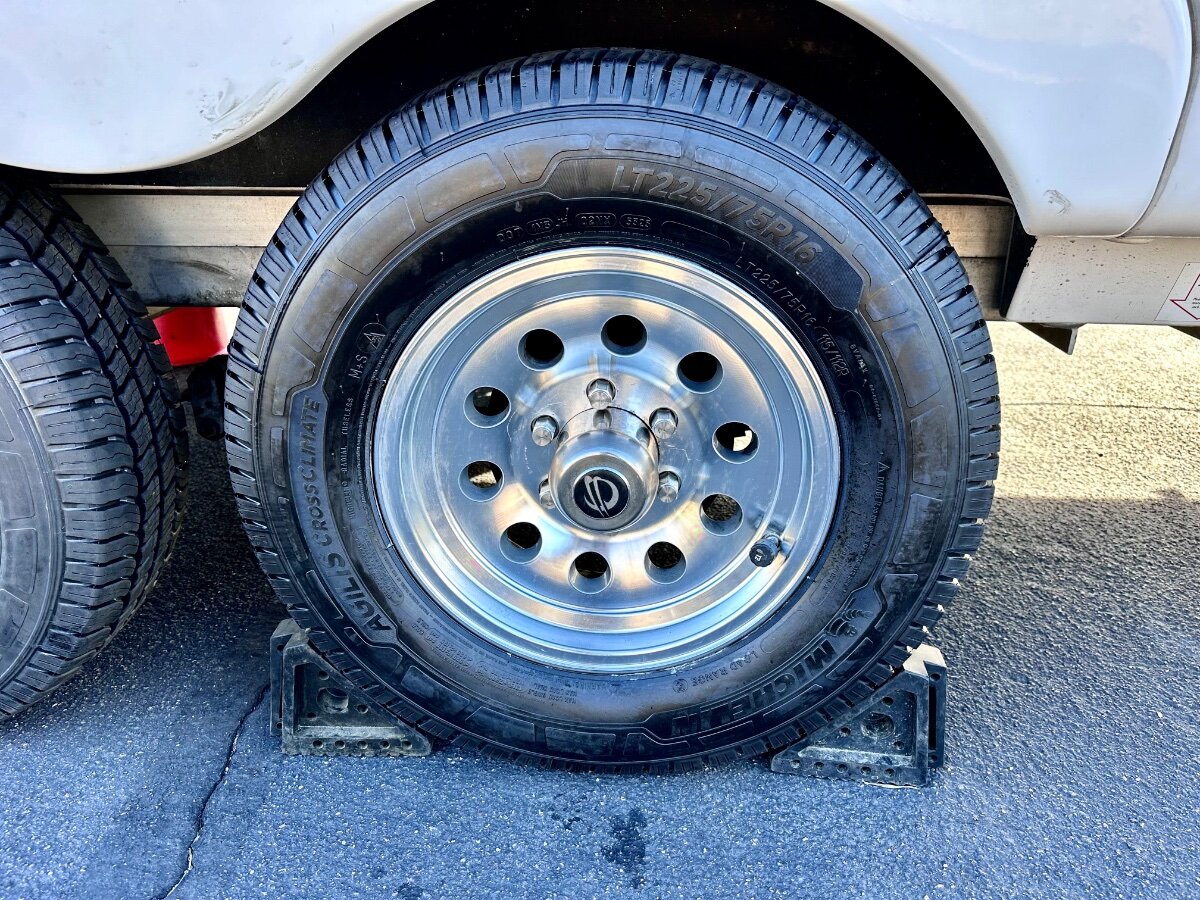
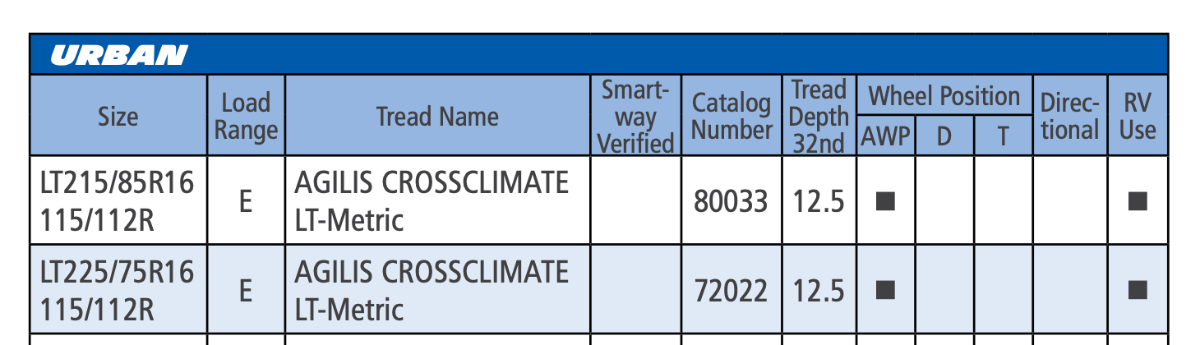
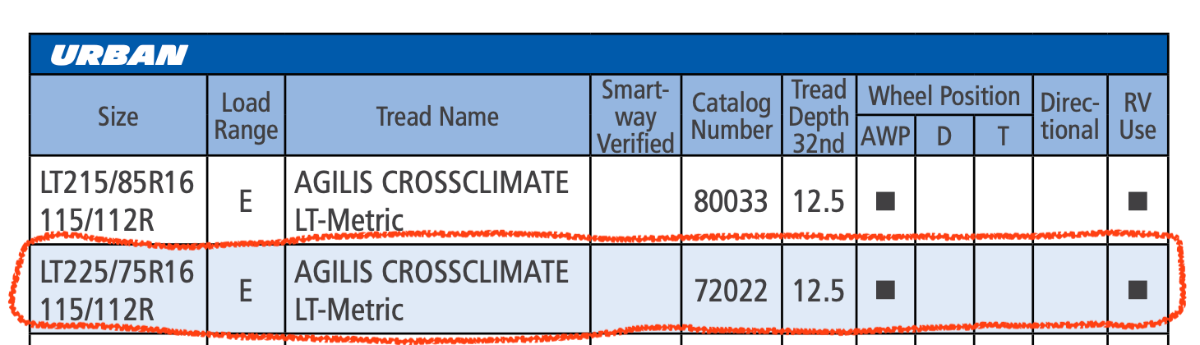
We put New tires on our 2019 EII in Jan 2024 after 50K miles of use, and the tires were about to age out. (Still had a lot of tread.) We went to Discount Tire (also called America's Tire) and we put on new Michelin's. Tire Selected: Michelin Agilis Cross Climate - LT225/75 R16 Load Range E1 Black Sidewalls Discount Tire had no issue with these on our trailer. The tires are great so far. We run them at 55PSI and they have plenty of load capacity. \

-
What else for the Renogy suitcase?
Galway Girl replied to GlacierGirl's topic in Mechanical & Technical Tips
Here’s what we have for solar external that uses the Oliver Zamp Port: https://4-ever-hitched.com/ggs-blog/f/here-comes-the-sun?blogcategory=Electrical+Upgrades Craig - -
Truma decalcification process rinsate
Galway Girl replied to Townesw's topic in Mechanical & Technical Tips
Thanks for sharing that. It's definitely something you want to dispose of properly and make certain you rinse out of your system completely after the cycle completes. -
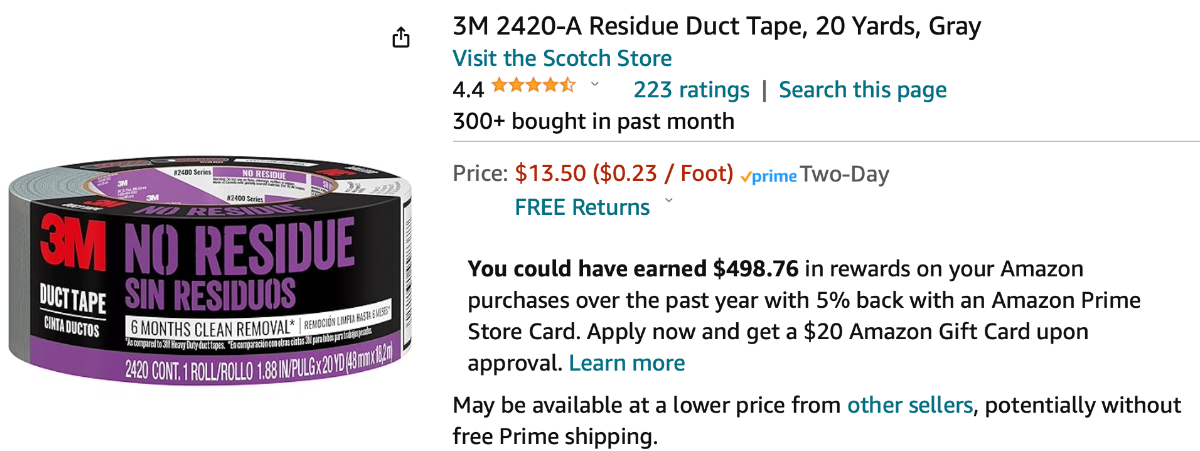
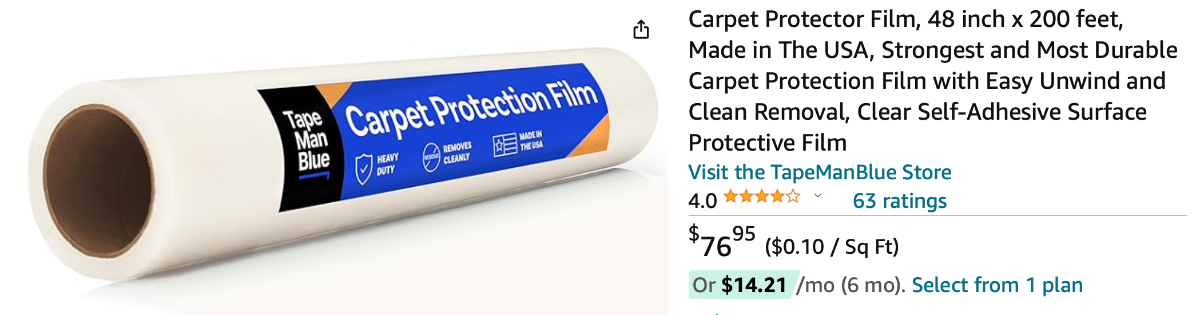
This tape really worked...it left NO residue after 9 weeks of being on the road holding on the yoga mats. This carpet protection film that I had from a remodel was put on top of the the yoga mat and made it more waterproof. If we hadn't covered the yoga mat it would have absorbed a ton of water and likely fallen off.
-
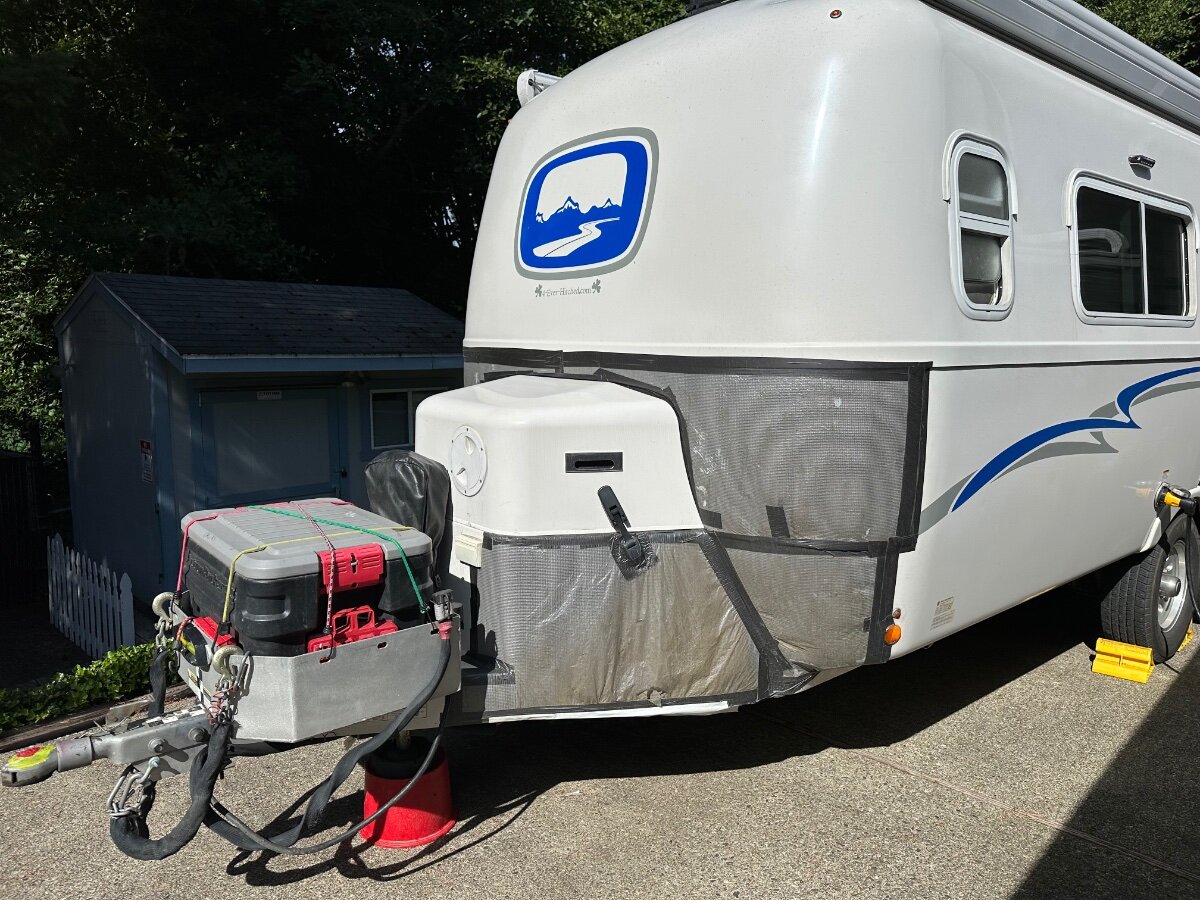
@rideadeuce - A tip...Last year when we went to Alaska we bought some yoga mats and used some 3M no residue tape to attach them to the lower front of our trailer. They worked like a champ at keeping gravel from the Yukon highways from chipping the body of the trailer. We also used a roll of clear rug protection plastic from Home Depot on top of the Yoga Mats to keep them from absorbing moisture. Below: First week of the trip and the yoga mat's are doing well...tne extra coat of vinyl floor protection film is holding water at bay. F Below: After a full 9 weeks on the road the yoga mat's took the beating, but our trailer was protected. Below - After yoga mat removal and quick wash...
- 46 replies
-
- 12
-

-

-
Trailer batteries not being charged by TV while under way
Galway Girl replied to DavePhelps's topic in General Discussion
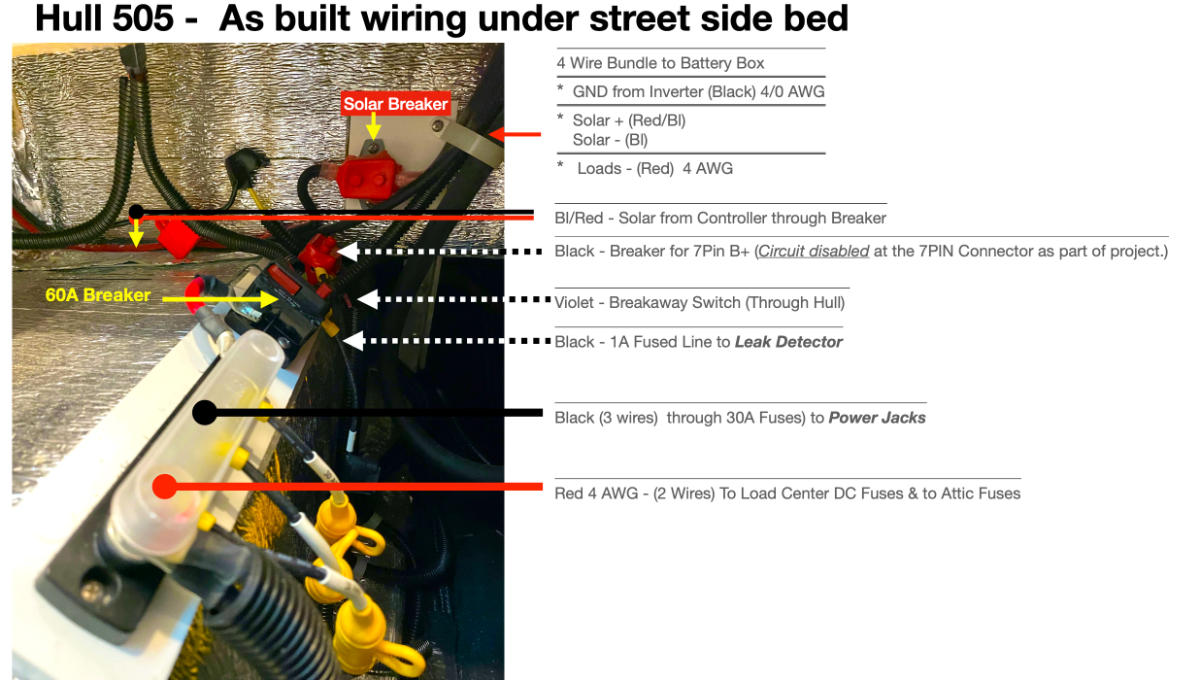
I have a 2019 and there is a re-settable fuse between the 7 pin and the +12v buss. You may see if yours has one. here is a pix showing the 7 pin line
-
If you get a dometic 311- suggest the one with the upgraded slow close seat/lid. It's a residential lid made of heavy material. The default from dometic is a plastic lid/seat with no slow close and it is rather flimsy.
-
We replaced our 2019 EII standard toilet with a Dometic 311 (due to broken foot pedal.
-
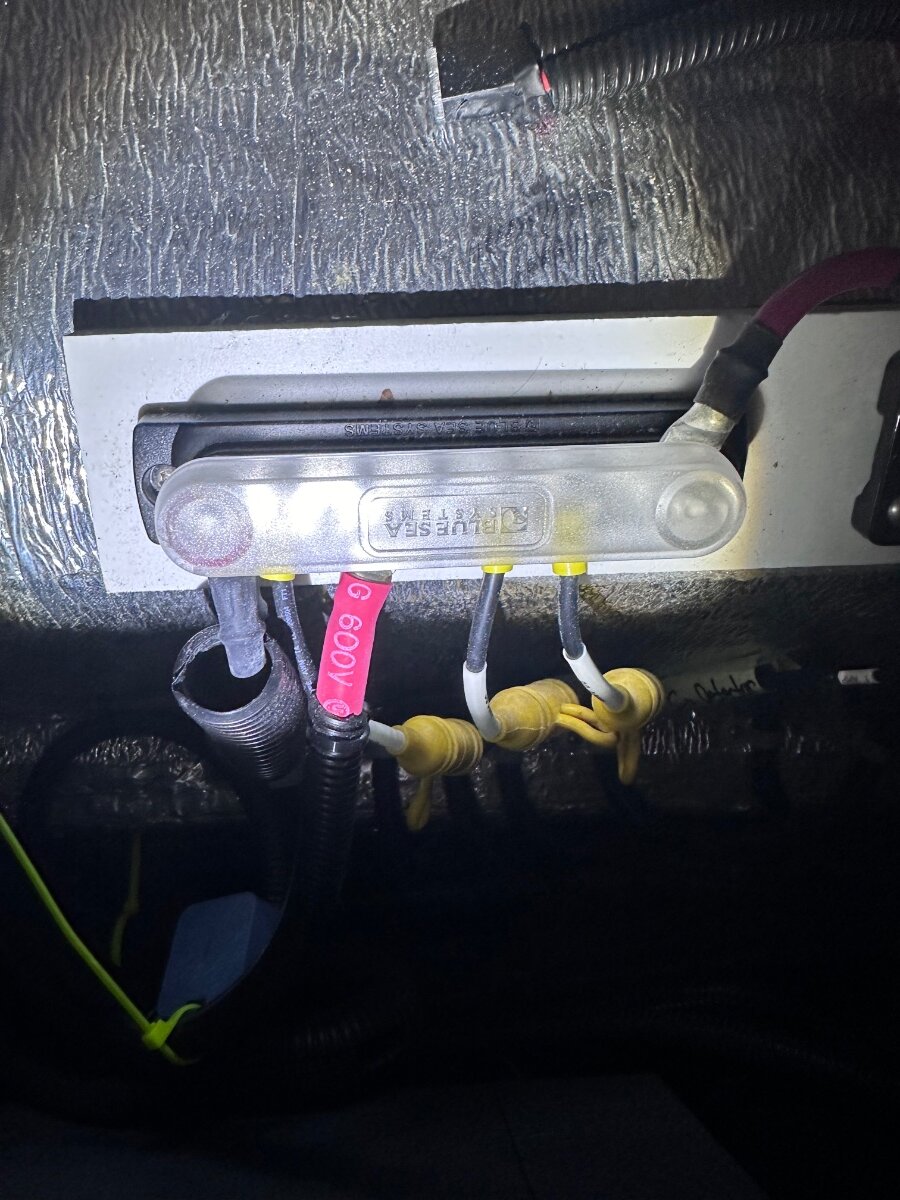
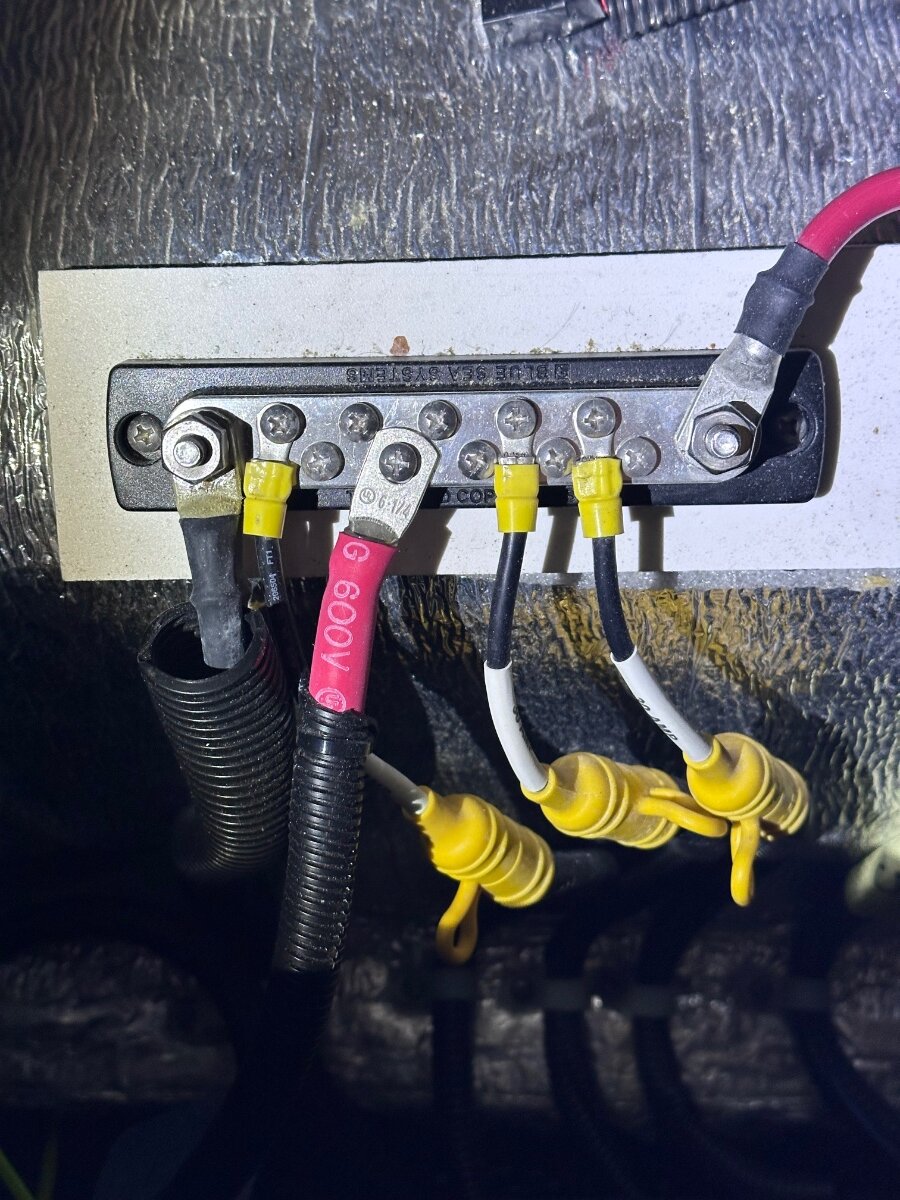
@rideadeuce here’s how the wires looked after installation: The dc/dc charger output wire is the one with the red heat shrink on the end. The trick was to use the right size lug on the end to match buss bar bolts. The run was very short , < 2ft so a 6 x1/4” lug was used.
-
Does it fit the original hole from the older model fan?
-
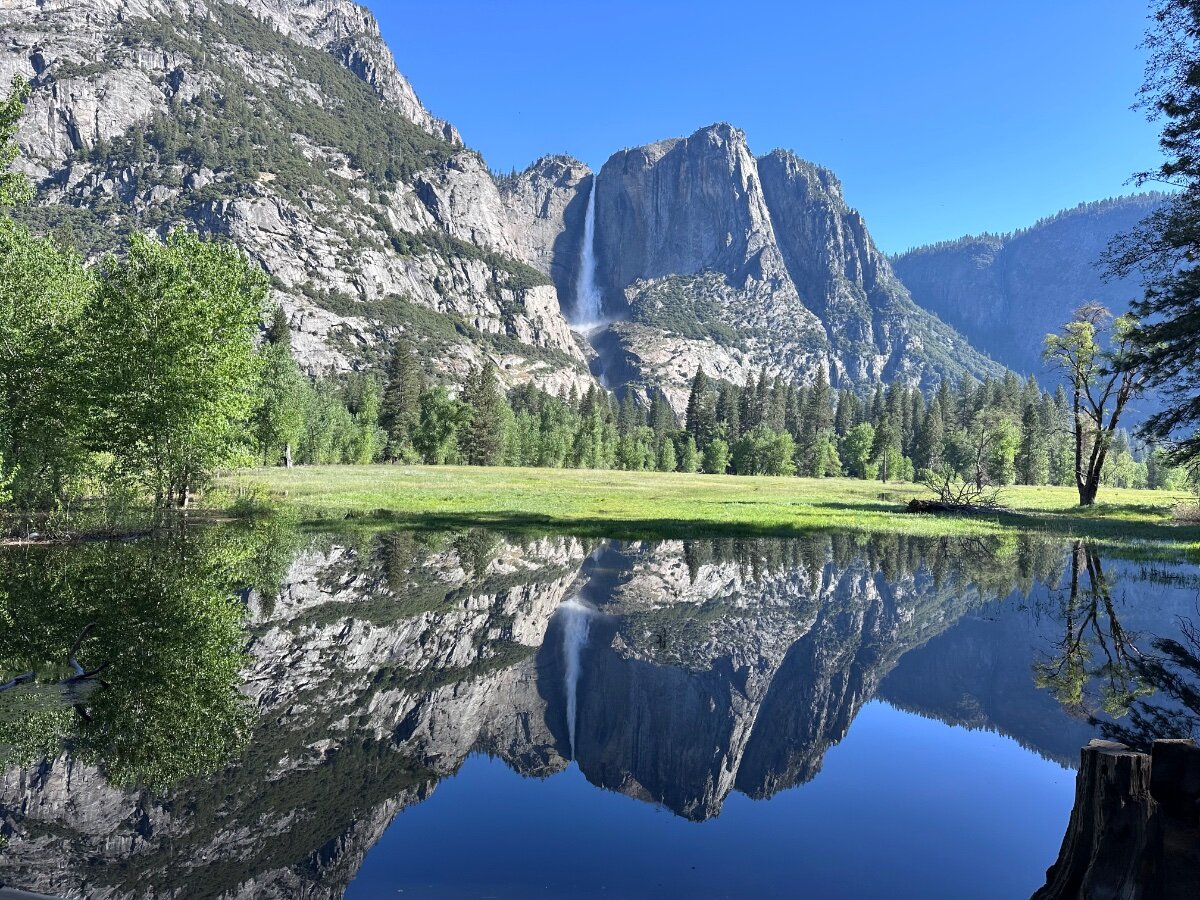
Yosemite today: The pond near swinging bridge was dead calm.
-
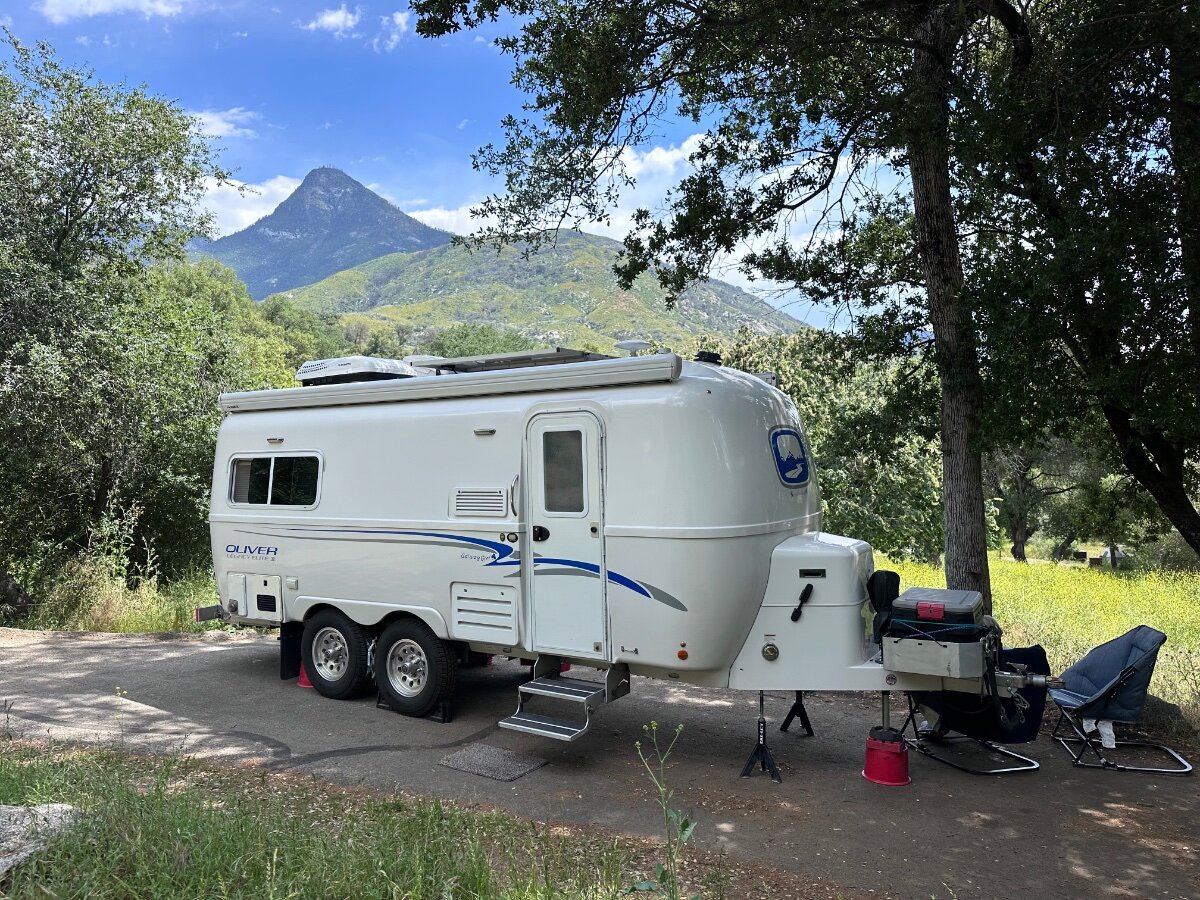
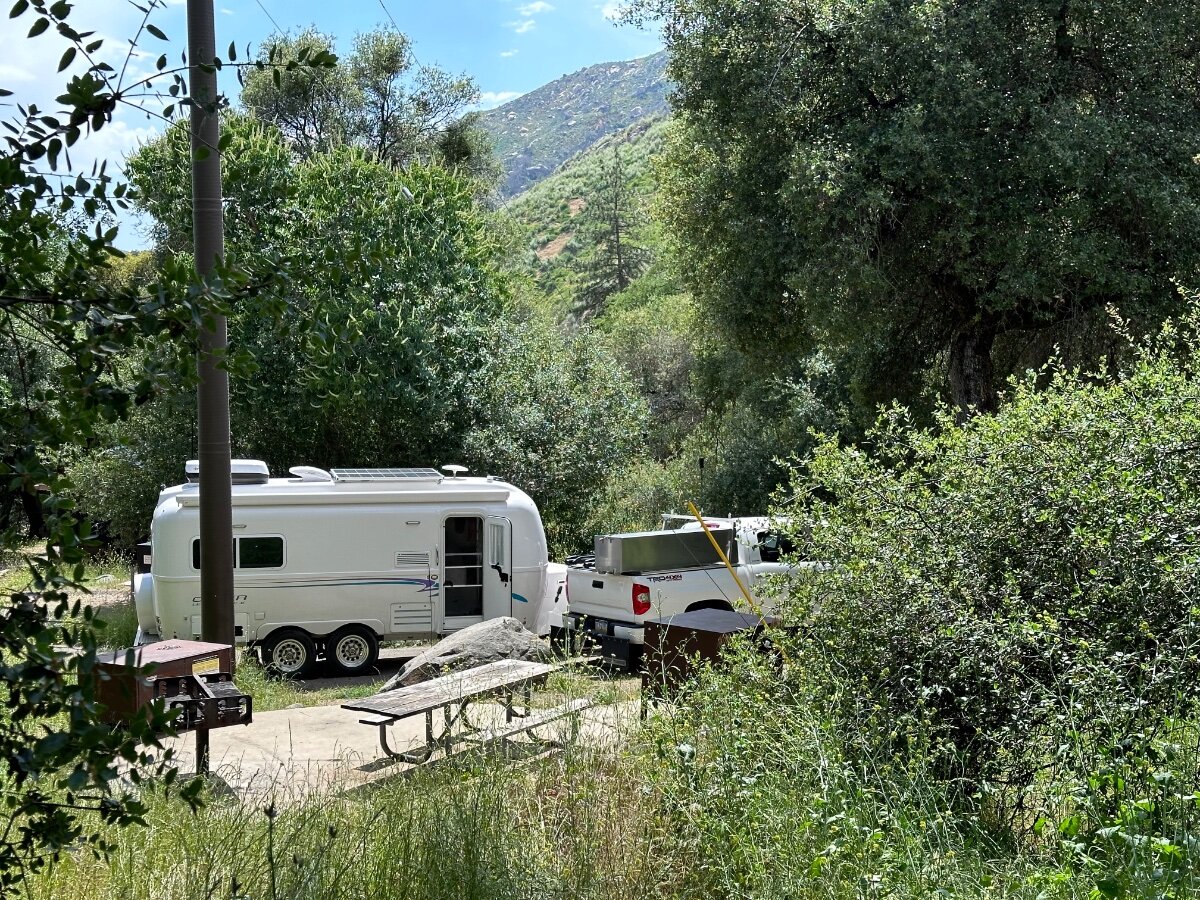
Two site pix from this week. Sequoia NP - Potwisha CG -Site 11 we saw another Oliver at the same campground. Hi to Marybeth & Neil pix below. Yosemite NP - Wawona CG -Site 74
-
Starlink router and antenna (version 2) draw 60-70 watts. Don’t know about newer versions. Since we have 640ah lithium’s so for us we just turn on the inverter . I could see that 12v direct could help a bit on energy usage. Our 2019 has a dc tv .
-
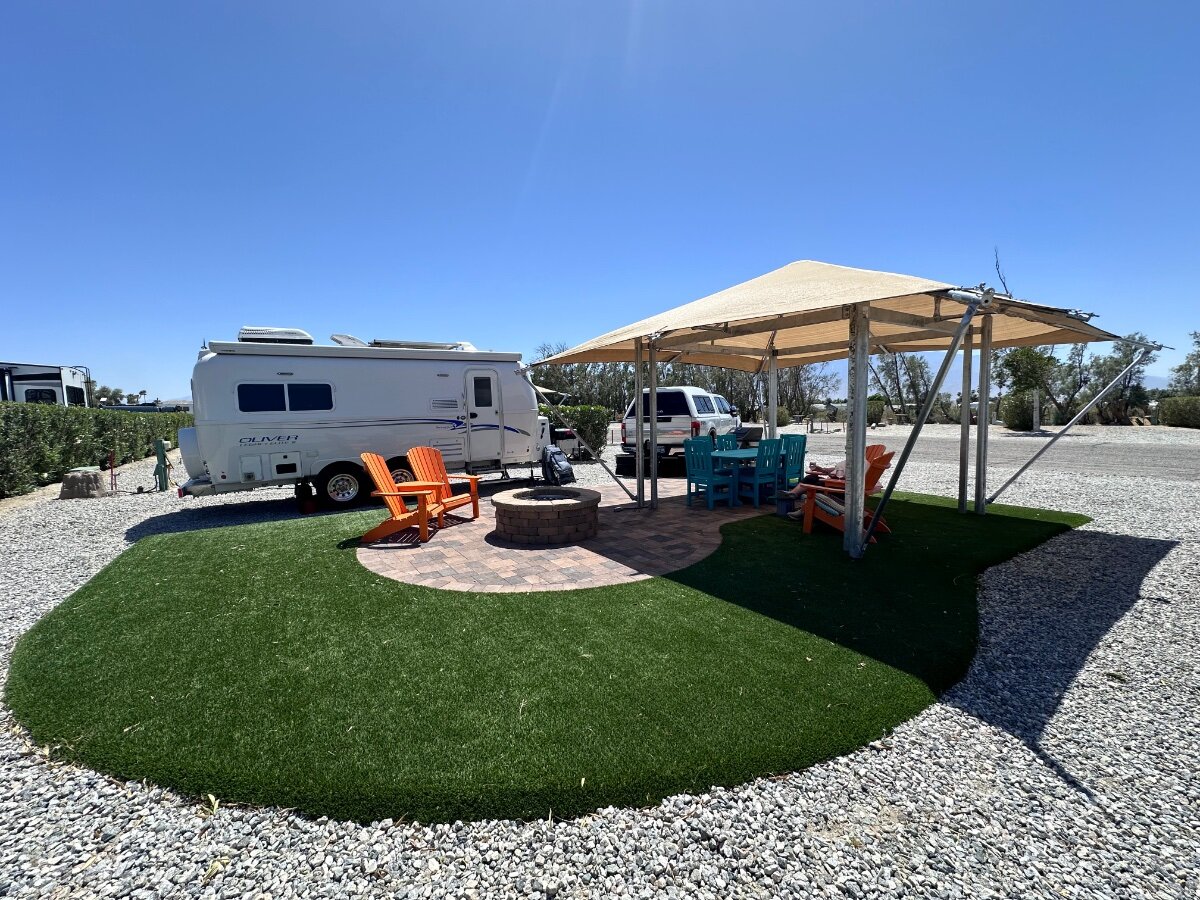
At Palm Springs KOA. Next stop is Disneyland for Mother’s Day weekend.
-
Truma Water Heat Fire in the Hole
Galway Girl replied to AlbertNTerri's topic in Mechanical & Technical Tips
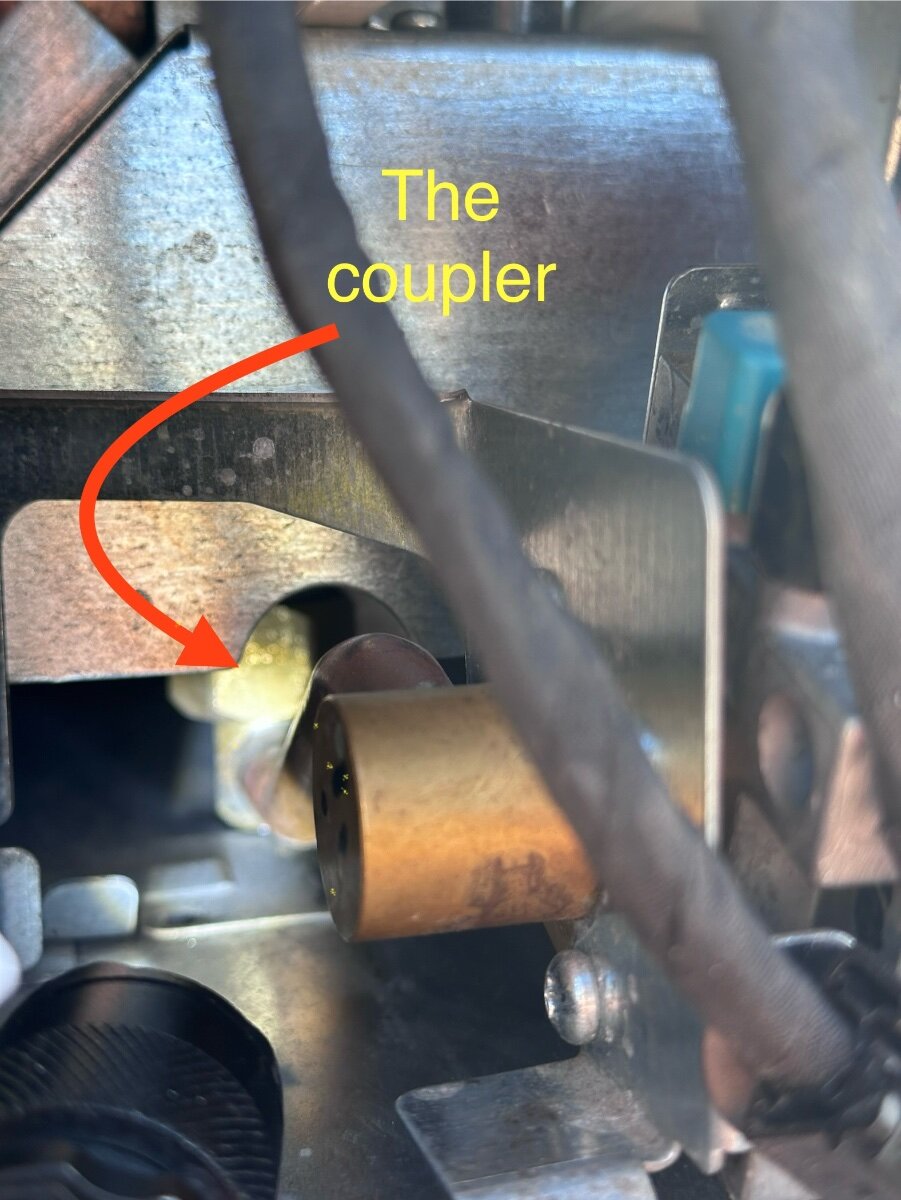
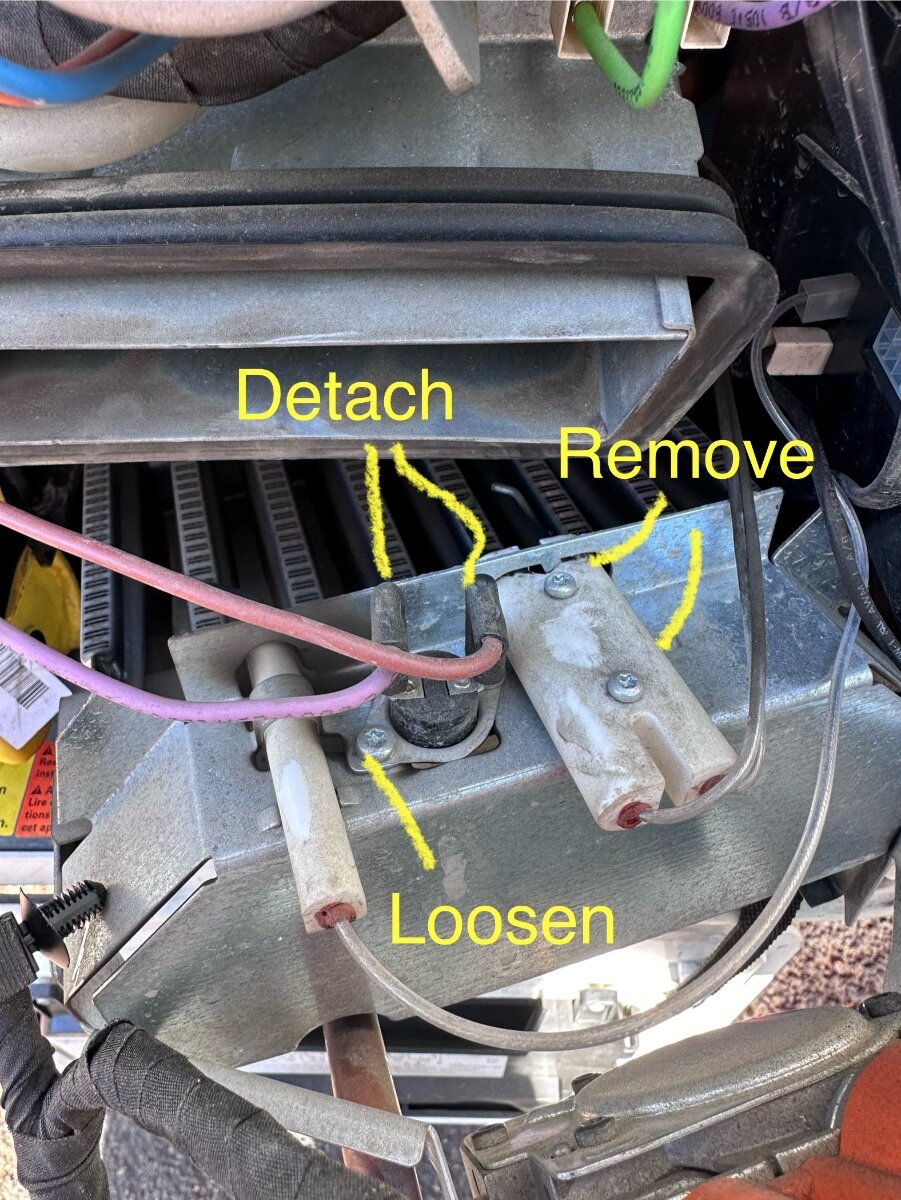
You could maybe reach in with some long needle nose pliers or a screw driver to see if it's loose. The picture below is looking into the burner assembly for the coupler you seek. CAVEAT - What I'm describing below is not an official repair guide. It's a description of what will be done by a qualified repair technician. It takes about 30 minutes to remove the burner assembly, tighten the coupler and re-assemble. If a qualified service technician needed to remove the burner they would first take pictures of all the wires before disconnecting anything. Then the technician will: `) Turn off gas to the trailer at the tanks. 2) Burn off what's in the gas lines by lighting stove until burners go out. 3) Make sure the Truma is OFF, and pull the 12V device Fuse. 4) Disconnect the gas line from the Truma. Use a backing wrench on the gas coupler. 5) Take Off 2 Torx screws that hold the burner box down in (they are below the control valves.) 6) Disconnect wiring harness, and other spade lug wires. The bundled black wire harness has an automotive style plastic tie down that can be pulled out with pliers. (Bottom left yellow circle) 7) Once the wires are loose the technician would gently wiggle the burner out part way to expose the igniter and sensors. (Note- the gas line has a bit of flex/tension pressing inward and needs to be held out of the way a bit to the right side while removing and re-installing the burner. An extra hand is useful to hold that gas feed to the right side.- With the burner part way out (shown below ) next loosen the hold down bracket Torx screw (don't remove fully) for the single (White) sensor and then remove the 2 Torx screws that hold the dual wire (White) igniter. The technician will need to remove the purple and brown/red spade lug wires from the sensor. Once the igniter, sensors and wires are detached the burner assembly can be removed to a workbench. 8. Wiggle the burner the rest of the way out and check / tighten the burner feed coupling that is shown below: Note- the gas line has a bit of flex/tension pressing inward and needs to be held out of the way a bit to the right side while removing and re-installing the burner. An extra hand is useful to hold that gas feed to the right side. 9) Reassemble reversing the process making sure to be gentle while replacing the burner. The copper chimney/heat exchanger is delicate so be slow and steady when replacing the burner assembly. After the technician gets everything back together...they will to check for any gas leaks at the main connection (soapy water, and gas sniffer). Turn on the gas and run the stove for a bit to make sure gas is back in the lines. Finally they will put the fuse back in and test the Truma for function. Craig
-
Our most recent sightings: Thur May 2 - Target - Eastbound I40 Location: 20 Miles East of Santa Rosa NM (MP 255) Description: Oliver EII - White Truck / All White Oliver no front Logo Sun May 5 - Target - Eastbound I40 Location - Between Flagstaff and Winslow MP 218 Description: Truck (Blue?) Oliver EII - Blue & Gold Logo on Front Craig & Rose Galway Girl - Hull 505
-
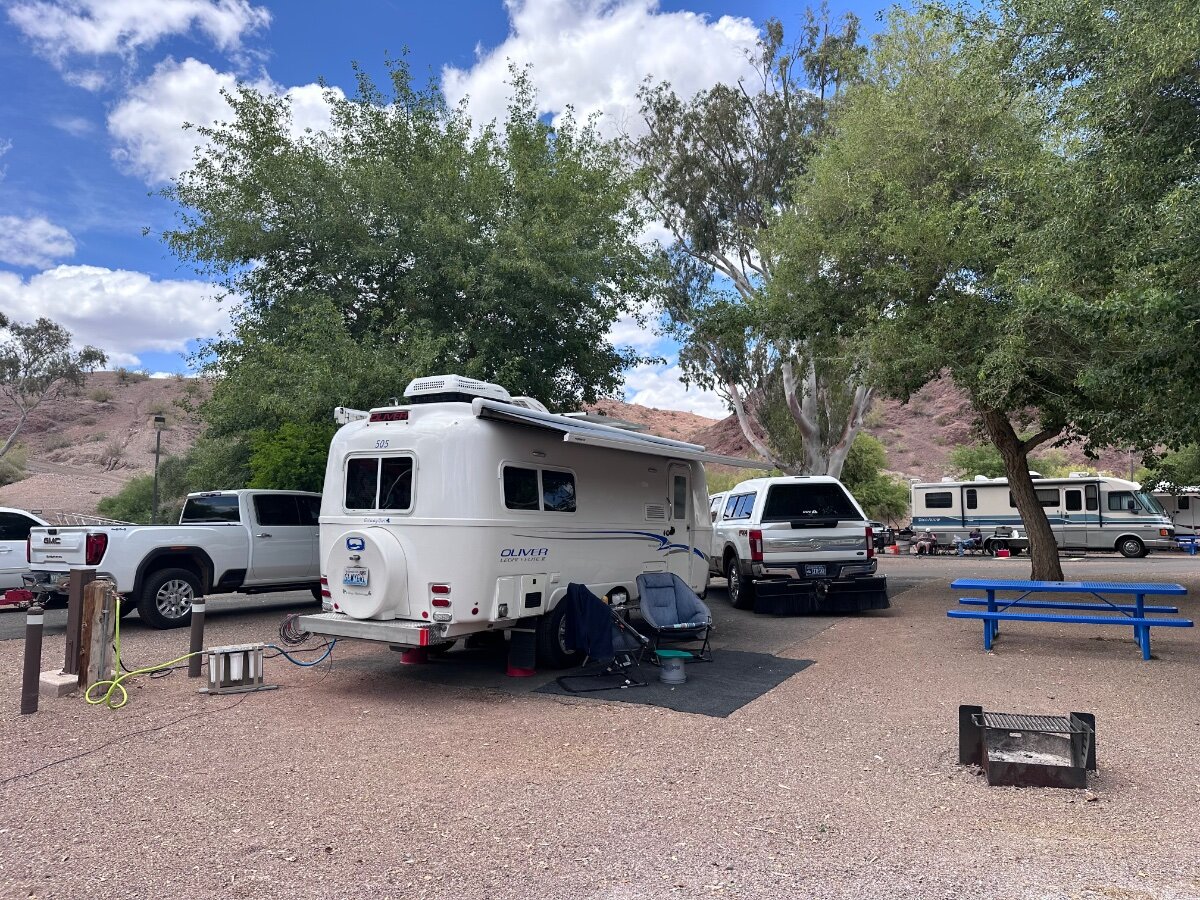
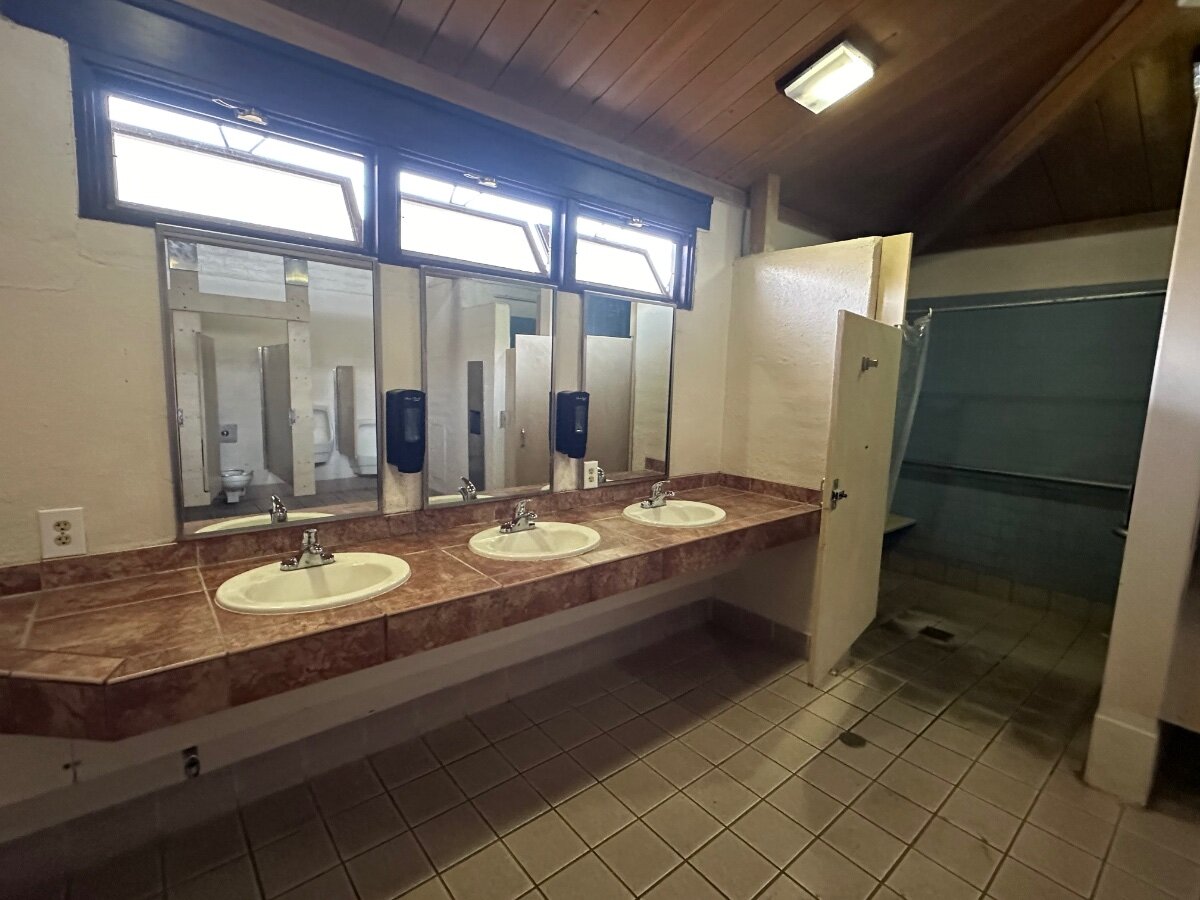
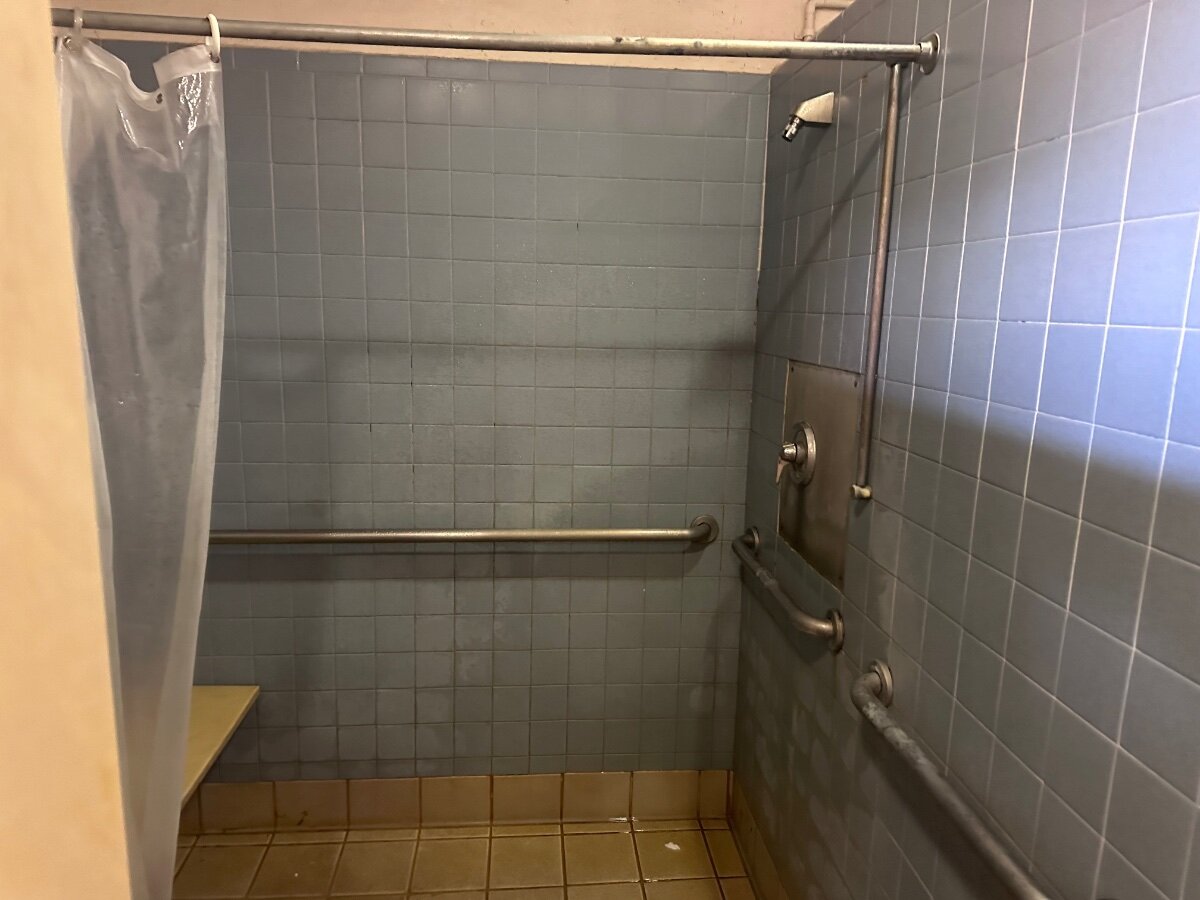
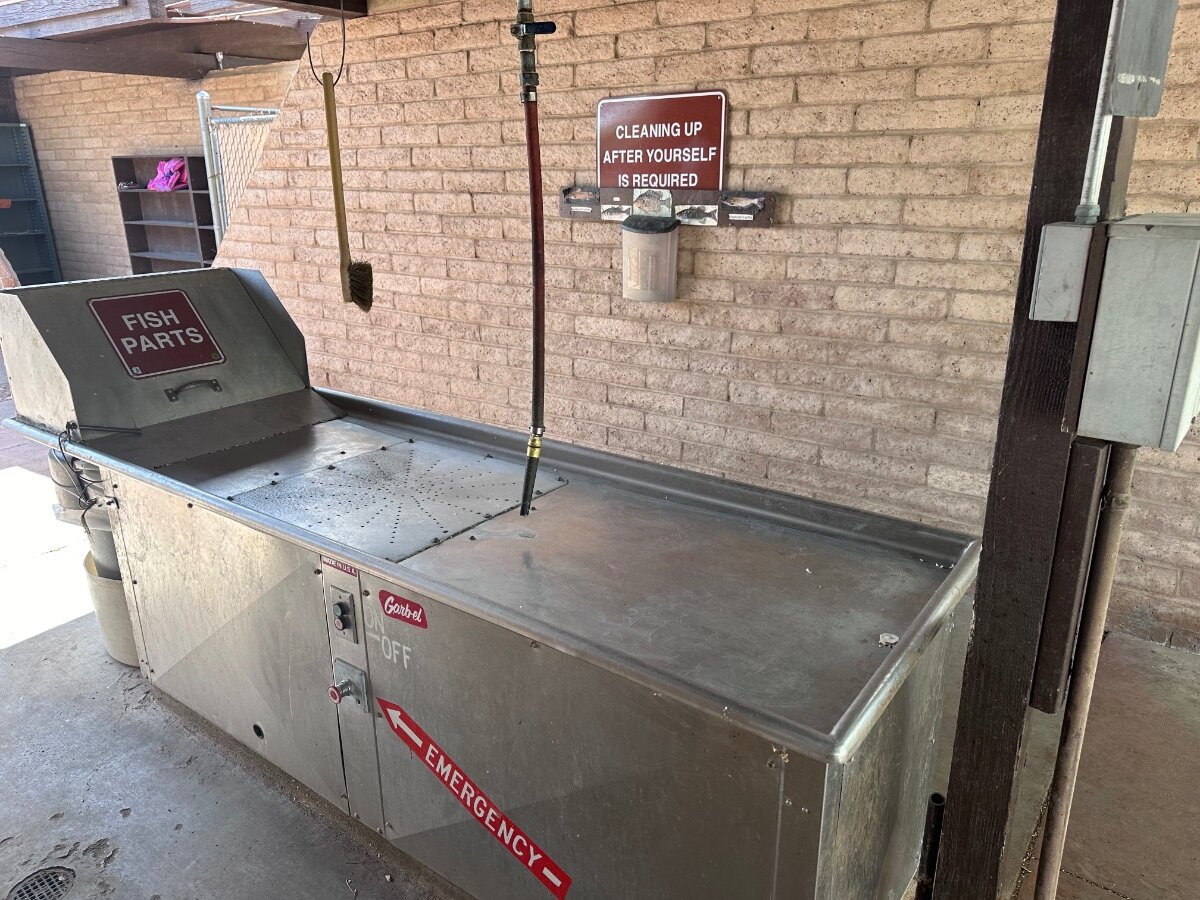
At Lake Havesu Az at Cattail Cove SP. Nice level sites with Wafter & 30 amp. Thd park he’s a beach, boat launch , small visitor's center and fish cleaning station. Bathroom and showers are clean and modern with high pressure hot water. We are in site 15.
-
Truma Water Heat Fire in the Hole
Galway Girl replied to AlbertNTerri's topic in Mechanical & Technical Tips
Thanks to @AlbertNTerri I was able to field repair the truma unit. Their note described the specific burner feed line that was loose. I removed the burner assembly and found the main connection inside the burner was loose. The connection is the brass fitting in the pix. That connection was loose, not even hand tight. I tightened it back to spec and checked all wiring for any burns and they were all ok. IMG_7603.mov Tested gas pressure and it was correct. Cleaned soot from burner Assembly and reinstalled burner. Checked for gas leaks then lit off the Truma. No more whoosh/boom. This was made possible because an Oliver forum person posted the repair steps that a Truma tech did to repair their unit. I asked Jason to let truma know about this unit failure, and suggest they send out a service note on this topic. I ask those going to the rally to point out this issue to Truma Reps at the event. I will submit this as a new incident NHTSA as it was dangerous. Unit info: Model Serial No: DLE 60G 32123091 direct vent automatic instantaneous water heater Regards, Craig Short Hull 505
-
Truma Water Heat Fire in the Hole
Galway Girl replied to AlbertNTerri's topic in Mechanical & Technical Tips
I’ve just had my second truma unit start having the same issue. timeline: Delivery of Trailer: Aug 2019 Failure of Truma: Jan 2022 New Unit in Service : Jan 27,2022 Failure of unit 2 : May 1, 2024 (One week after Oliver completed yearly service.) New unit failure is Model Serial No: DLE 60G 32123091 pix video IMG_7543.mov Any names of contacts and email at Truma would be a big help! I’m in contact with Oliver and will update as the service ticket progresses. craig hull 505 Galway Girl
-
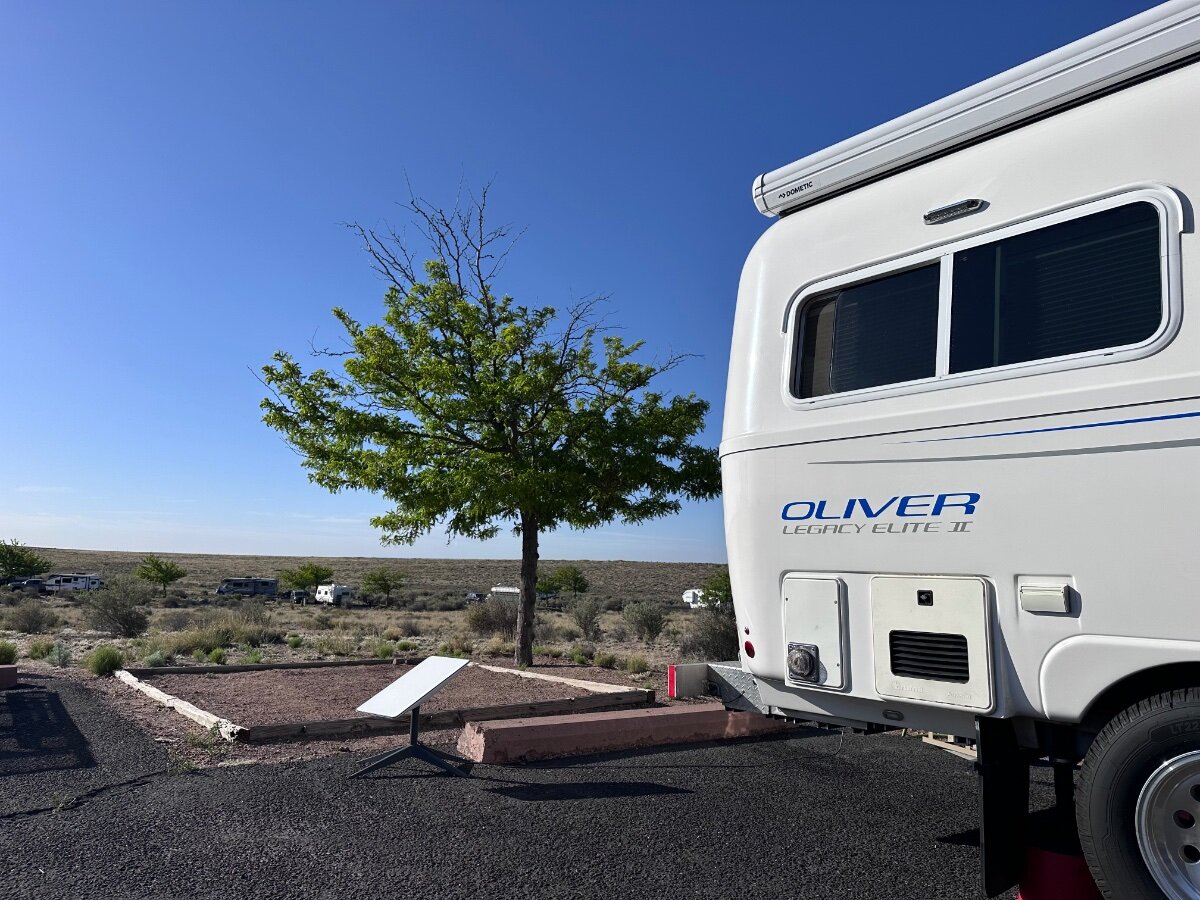
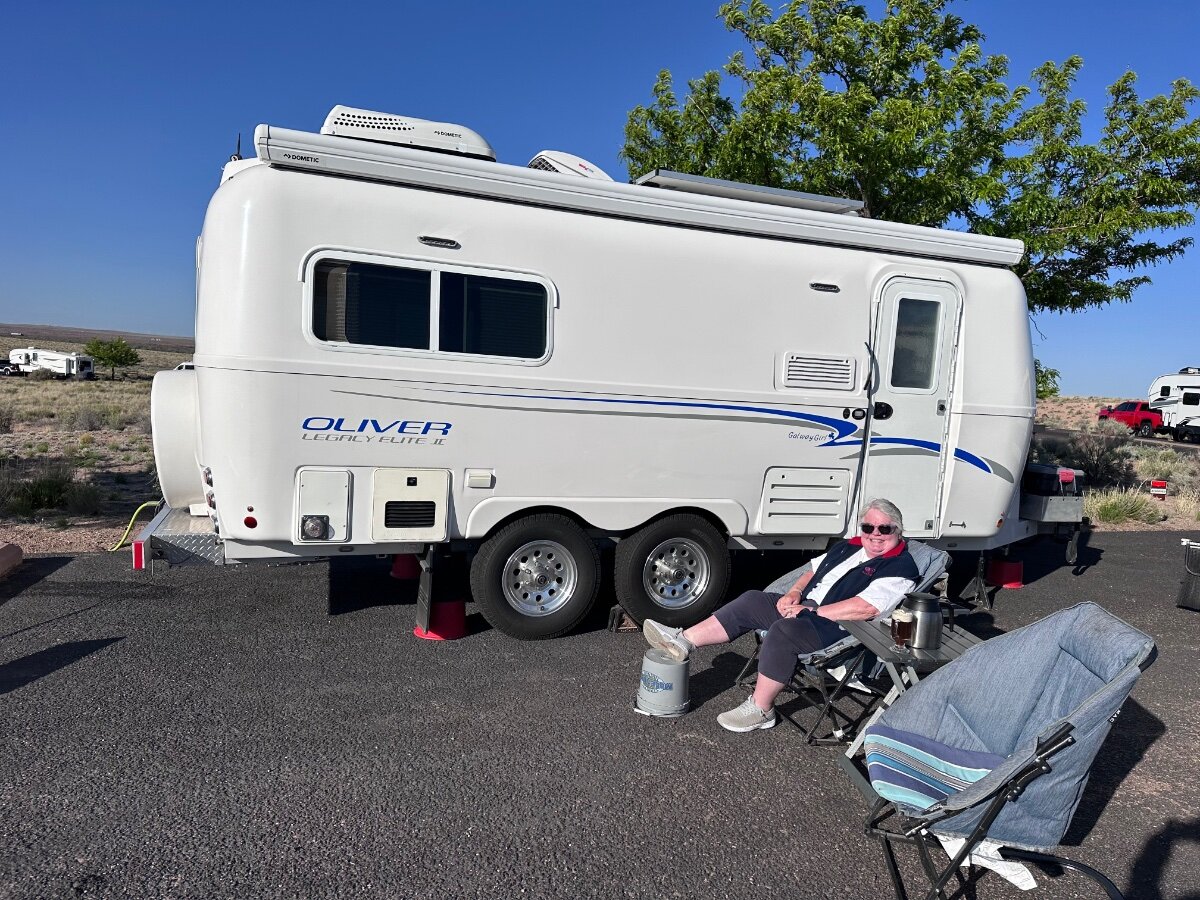
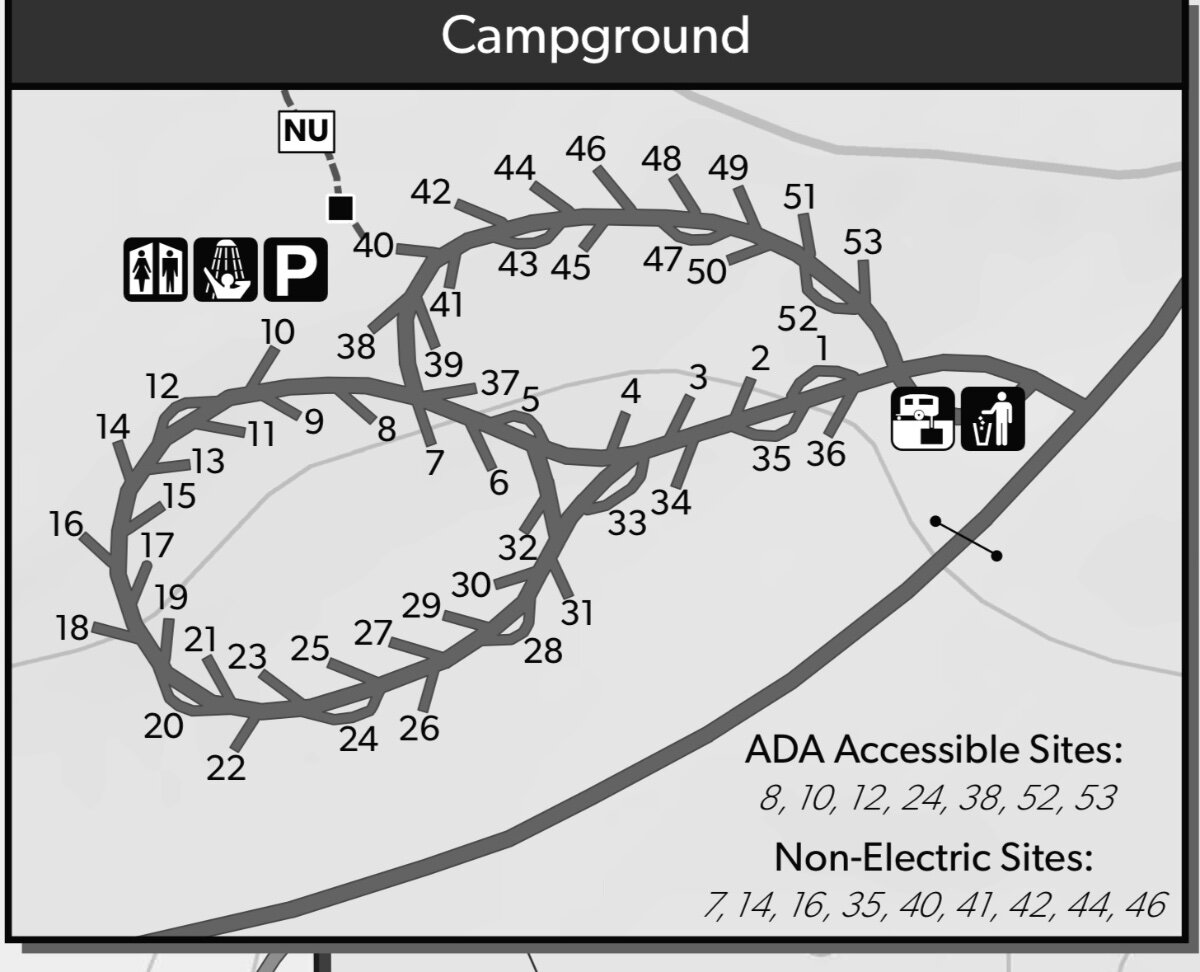
In Homolvi Ruins SP near Winslow AZ. Heading toward Disneyland. This park has water & electric and baths with showers. An RV dump is available by the exit. Pix of trailer from site 9. ‘
-
Had the trailer in for yearly service, which included Dometic A/C service. At a campground a couple days later a gust of wind blew the cover off and cracked on the ground. The two rear shroud screws were missing , the front ones in place but broken out. I did a basic repair with white epoxy and the added 6 new self tapping screws around the perimeter. I’ve asked if service would ship me one of the used covers from their pile. If not I’ll go find the part online. craig Hull 505 - Galway Girl
-
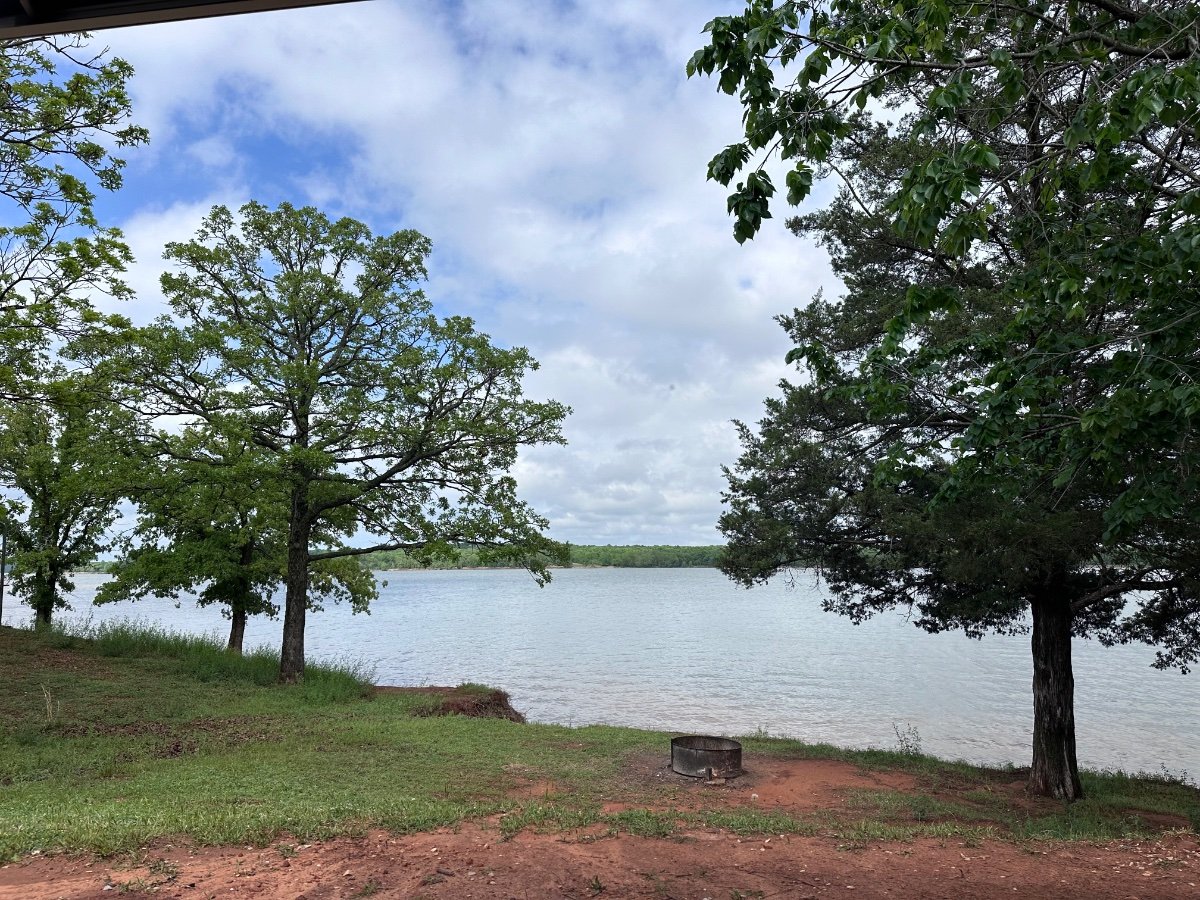
Enjoying Lake Thunderbird SP site 19 near Oklahoma City 30amp full hookup site in Hickory Hill loop.