
Patriot
-
Posts
2,110 -
Joined
-
Last visited
-
Days Won
79
Posts posted by Patriot
-
-
Craig,
Excellent attention to detail in these instructions.
Thank you!Patriot🇺🇸
-
 2
2
-
-
16 minutes ago, MobileJoy said:
Thank you all for your help. I will keep my Truma appointment due to the things you have said. Once I have used it for a while, I will post a review.
When you get to Oliver talk with Jason Essary he was great answering all of our questions about the install.
Safe Travels!-
 2
2
-
-
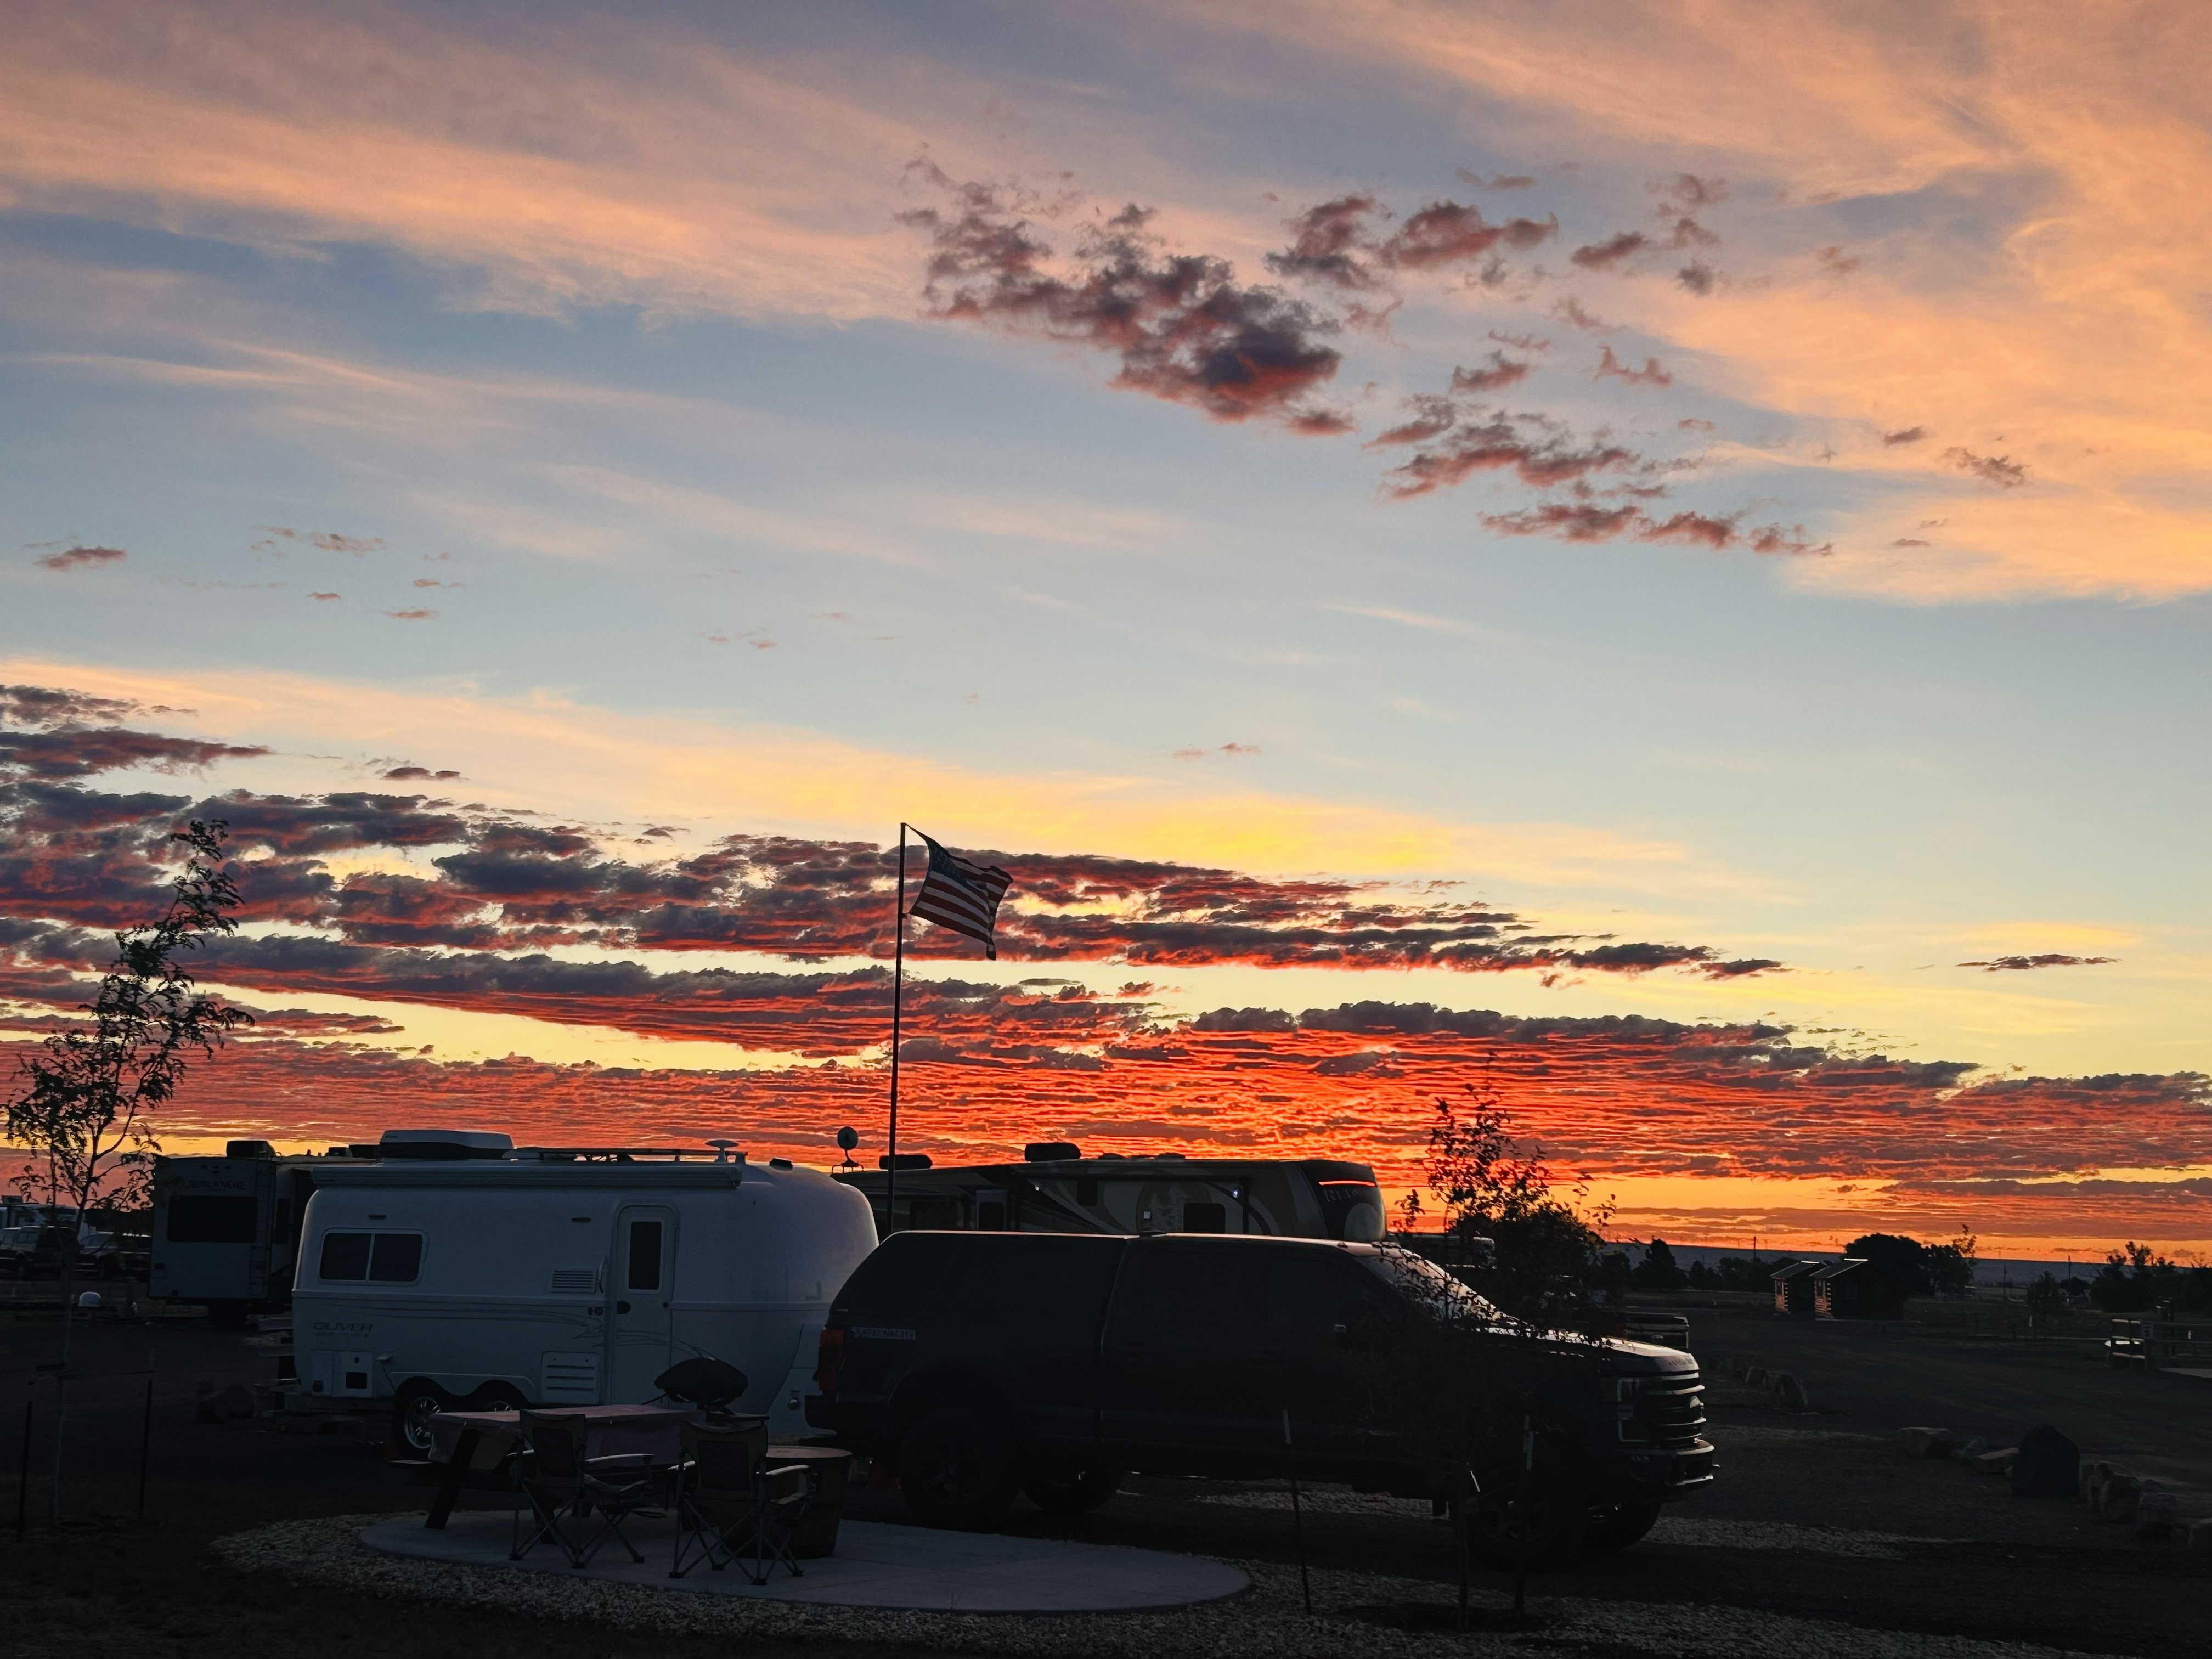
If the smoke forecast gets so bad that should we would ever need to place filters in our windows, our traveling adventure is temporarily over.
We are likely headed back to Blueberry Hill and parking the Oliver until it clears and blows over.Just me.
Patriot🇺🇸
-
4
-
-
4 minutes ago, Ollie-Haus said:
It likely needs to "see" the signal from the remote, but I found the remote works fine in this mounted position. The shape of the fiberglass probably works to reflect the signal in a way that both the fan and AC respond when you just push a button while mounted in the holder. Easy to reach and remove the remote if you want it in hand for any reason as well.
I like it! A little smoke and mirror action with the IR! 😅
-
1
-
-
21 minutes ago, Paul and Santina said:
Oliver’s replacing our Dometic A/C with the Truma this week 🤗. Thanks for the info about how inviting the Truma is for bird nesting. I found a lovely Carolina Wren nest in my Dometic just a few days after parking our Ollie near some trees, and decided to screen in the large intake holes. Do you think there’s any way to fit a screen on the “bird nesting” holes on the Truma?
Ah those industrious Carolina Wrens strike again! 😄
Congrats on your new Truma, you’re gonna love it. I gave some thought about screening the holes. The Truma base is molded or formed with a robust tough black styrofoam material likely for weight reduction. Not saying you can’t mod a screen as anything is possible. There are multiple air intakes and it would be an ambitious undertaking to screen all areas in my observation.
With the Truma under a 2 year factory warranty I opted not to modify the air intake holes with any mesh screening that could possibly reduce air intake and potentially void the warranty. The custom cover is easy on and easy off.Patriot🇺🇸

-
4
-
-
@Wandering Sagebrush
Congrats on your new to you Ollie!! And a TV with all the power and cargo capacity you could ever need.Well done! 👍🏻
Patriot🇺🇸
-
1
-
-
5 hours ago, Ollie-Haus said:
Regarding the remote controls for both the Truma AC and the Fantastic Fan, I wanted to mount the remote holders in a location that was easy to reach, especially while working in the kitchen, that you can operate while in the wall mount without removing them. This location works perfectly every time and is easily reached while working at the sink/stove. I mounted them with two sided tape.
Neat install!
The Truma rep at the Rally mentioned to us that we needed to point the IR remote directly at the little round flashing IR receiver on the Truma for it to receive the signal. So the Truma IR remote does not need to be pointed directly at the unit? Good stuff! @Ollie-Haus-
2
-
-
We have only had our Truma Aventa since our install on May 8th. We have had to use it approximately 2 weeks during our last 18 day trip. So far we are extremely happy with the quiet super cooling performance. We only run ours on low most of the time it really works well cooling the Ollie down fast. We opted for the CP plus panel which incorporates our Truma AquaGo, which is a back up to the remote. So far it’s a great set up.
It was also important to us that Oliver did the install and supports the Truma product line. Another thought is you could possibly wait until the Dometic Freshjet has owner/user time in the field reviews and becomes a “proven” product or go with the already proven Truma. A bird in the hand is worth two in the bush.
All the best in your decision.
Patriot🇺🇸
-
1
-
2
-
-
23 minutes ago, topgun2 said:
Is there a model of the instant Pot that comes with the person that does the cooking? I like to eat but after a day of fishing I'm usually not in the mood for slaving over either an Instant or not so instant Pot.🙃
Bill
p.s. Yes - I know that there are those that use these things like a slow cooker (but faster).
No slaving, just toss the ingredients in the pot let it do it’s thing and in the mean time enjoy a beverage! 😊
-
2
-
-
Thanks GJ,
I will be able to give you a better answer once I receive my 3200i gen cover from made by the same company and put some miles on it. My plan is to cover the 3200i right where it sits in the cargo basket. So we’ll see how it goes.
It will be made of the same tough material as the AC cover, so I am hoping it will last in cargo basket wind blast zone.
If you order a cargo tray cover I would suggest get the brass eyelets on the bottom where you can run a paracord to help really secure it in place. Overall I would purchase again from this company based on my initial impressions. And they ship FedEx.
Patriot🇺🇸
-
2
-
-
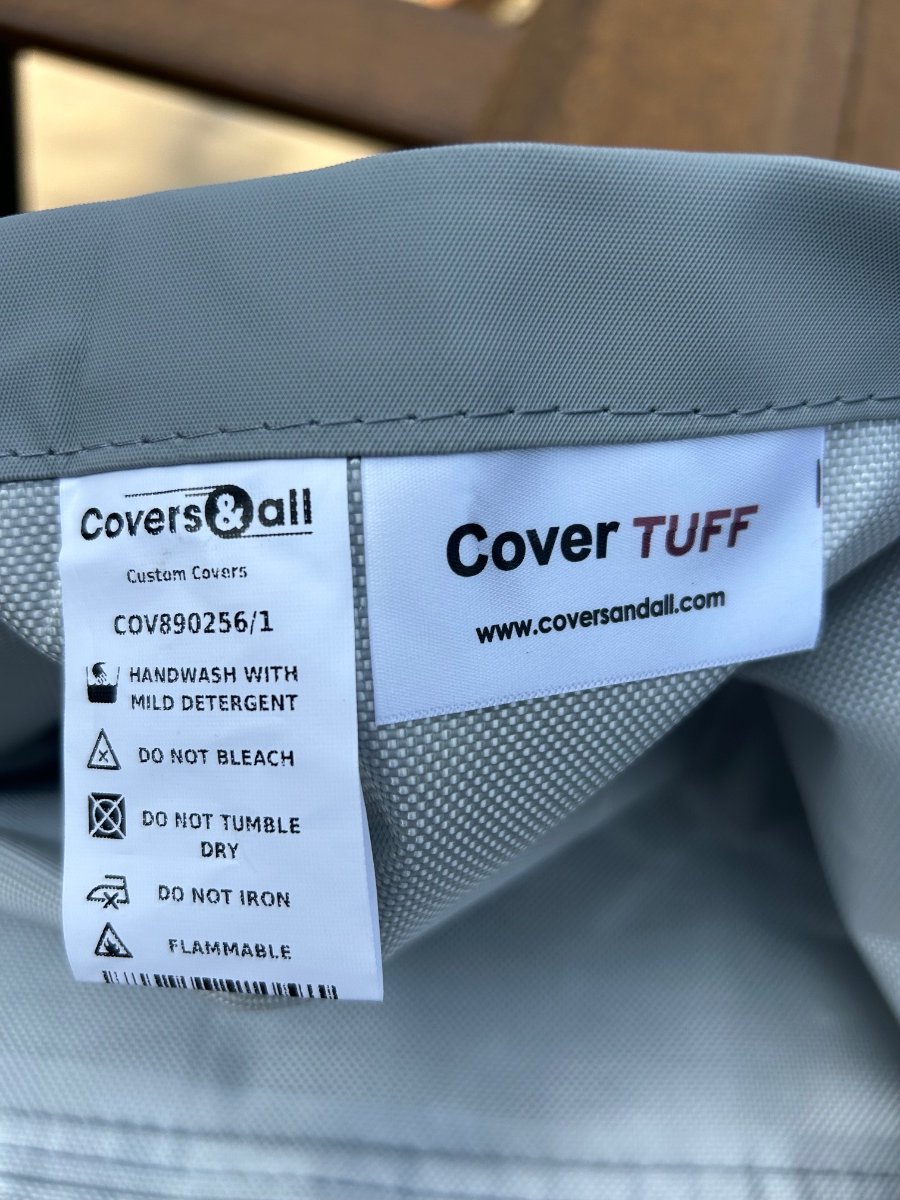
Scouring the net and not finding any covers to fit our new Truma Aventa, I ordered one from www.coversandall.com . The cover arrived today and I am impressed with the rubberized feel of the exterior material used and the overall fit. The fit being a little loose was fairly easy to install standing on my ladder. I am glad I ordered it a little larger rather than a tight fit. The loose fit allows me to toss the cover over the AC cowling without actually getting up on the roof.
The cover has draw strings on each corner which do help secure it and snug it into place. Based on the quality of the material and stitching I would order again from this company. The cover colors are fairly limited and I did not want white. White AC covers always need cleaning usually with bleach. So battle ship gray was the flavor of the day. The main purpose of this cover is to keep nesting Western NC birds mainly Wrens from crafting a “Truma condo” nest inside the AC when our Ollie is parked. I also ordered a cover for our Honda 3200i from this company and in the same dark gray color. I will post up pics when it arrives.Cheers,
Patriot🇺🇸
Here is the size I ordered. You may want to order a little smaller in size, just know it will be a bit more challenging to install.
A pic of the cover installed -
Cover info -
-
4
-
-
John,
Another thing to consider, if your Ollie is parked slightly nose down a leak anywhere along the curb side plumbing can find its way to those front scuppers. Be sure and check all your plumbing connections under the rear curb side bed. I had a compression fitting come loose and the water traveled all the way up to the front scupper and this is where I noticed the drip. I hand tightened the compression fitting (check them all) and no more drip.
It does sound like your leak is more in the shower plumbing area.
Patriot🇺🇸
-
1
-
1
-
-
49 minutes ago, ShallowGal said:
Chris's favorite on a cold day:
https://damndelicious.net/2018/03/03/instant-pot-olive-garden-zuppa-toscana-copycat/
If kale isn't available or not your thing, we've substituted it with spinach.
That looks like a keeper! Thanks!
-
20 minutes ago, mossemi said:
Duke & Chris's forum name is ShallowGal! They are huge fans of the 3qt. Instant Pot.
Mossey
I knew there was a gal somewhere in the screen name. Thanks Mike!
-
 3
3
-
-
25 minutes ago, Galway Girl said:
Just fyi.. @Galway Girl *Craig & Rose Short* weren't at the rally.
Maybe you meant Duke and Chris who referred you maybe with a different screen name.
Craig & Rose
Hull 505 - Galway GirlMy apologies, I own that one! 🙄😂 Yes it was Duke and Chris!
-
21 minutes ago, MAX Burner said:
...oh, sort of something like this:
We love ours and it fits nicely on the top shelf of the pantry. D's got tons of recipes... Great for our morning oatmeal!
Enjoy!
Max, thanks for the instant pot storage suggestion. We were just thinking about where it would travel best.👍🏻👍🏻
Patriot🇺🇸
-
1
-
-
2 minutes ago, MAX Burner said:
@Geronimo John previously requested in one of our recent thread on "Relocating Bath Water Pump Switch and LED", for us to post a new thread discussing options for opening up storage under the bath/shower (HEAD) sink. In that earlier thread, G-John referred to an insulation modification engineered by @John E Davies which is actually an element of this suggested mod as well. D and I wish to thank both G-John and JD for their combined encouragement for this and other OTT modifications we've logged to date.
FULL DISCLOSURE: We haven't completed the mod, but members should get a good idea of the direction its going - and we will continue to update progress.
1. Background: We mentioned in the WP Switch/LED thread, the PO installed a marine-grade deck hatch on the front side of the sink cabinet after removing the "cubby shelf" which housed the PW Switch/LED package. The deck hatch is available on Amazon:
As shown above, the hatch is configured with 2 "dogs" that adequately seal the compartment within as we have yet to discover water intrusion after showering - believe me, we've checked! Higher quality deck hatches are available at a higher price point than this one, for sure. On the plus side, the rubber seal used in our hatch cover is totally replaceable. In fact, some are available that more closely match the latch hardware OTT uses for the upper storage cabinets in the main area. Here's how ours is configured:
2. New storage area: When relocating the WP Switch, we cleaned up the wire bundles and PEX lines in the void below the sink. JD noted in his "How To" thread about how to better insulate this void - especially since PEX lines are located there. We will do the same insulation upgrade in Phase-2 later this summer. D is calling this a "game-changer" for her because it opened up the space below the forward dinette seat for other items now that the void serves as storage for dry paper goods previously under the seat, as shown below:
3. Path forward: We're planning to add shelving in this compartment for better organization after the insulation upgrade. I'm actually hearing rumblings from D of converting the forward seat storage area into a mini wine cellar - more on that in another update...
So as @Patriot might say, "Mod on..."
Cheers!
Full on prepper mode taking it to another level Max I like it!!
A great use of space. Please keep us posted on the wine cellar!
Mod On Brother!!
Patriot🇺🇸
-
2
-
2
-
-
After learning from @ShallowGalat this years Oliver Rally about how much they use their 3 quart Instant Pot we splurged and ordered one yesterday.
Thank you Duke and Chris for your suggestion to get the smaller 3 quart size based on your experience.
We are really looking forward to using this during our travels.If anyone has a great Instant Pot favorite recipe please consider posting up! 👨🏼🍳😋
Patriot🇺🇸
-
5
-
-
25 minutes ago, topgun2 said:
Unfortunately, my ASA Voyager rearview camera developed a leak which cause moisture to collect inside the housing. This, in turn, caused the camera view to be "foggy" and/or virtually non-usable.
Via email I contacted ASA's customer relations area and they advised me to send the camera in to be examined. I removed it from the Ollie, boxed it up and put it in the mail 6 days ago. Today, I received a new camera via FedEx. That is what I call great service!.
Unfortunately, ASA didn't include a tech in the package to do the re-install! However, that process has got to be a bunch easier than getting the old one off the Oliver in the first place.😊
Like Oliver, these guys take Service to the point it should be and this makes what could have been a very disappointing situation into an almost pleasant one.
Bill
Bill,
That is great news! Now you will be back at keeping an 👁️on things while on the super slab! 😊
Patriot🇺🇸
-
1
-
1
-
-
7 minutes ago, Roadlotus said:
OK, so the tech said drainage lines up. I have ordered the unit so it will be ready when they get to me. So excited!!
Great research and great news! Keep us updated on how the install goes and how you like the Freshjet!!
Patriot🇺🇸
-
2
-
-
@Sofaman
I have AGMs. I just inspected them last evening and all looks fine. My plan is to let the AGMs run their course and take a look at what’s available when the time comes to replace them. I hope I have a few more years until that happens.
If I was unsure about keeping my Oliver or not using it, I would not be spending another dime on it.
All the best in your decision!-
4
-
-
I use a small cordless drill and drill bit small enough to just remove the top of the rivet head and then push the remaining part of the rivet shaft up into the hole with a small awl or finish nail if you don’t have a tiny awl. You cannot drill the rivet out as it will spin in the hole. The extra rivets should come with your new touch lights if you order them from Oliver.
Note: makes sure when you remove all (3) rivets and the light drops down from its mounted location that you cut the wiring as close as possible to the old light. This will give you plenty of extra wire to work with when installing your new TL.If you need further guidance send me a PM and I call you and be glad to help walk you through it.
You need - 3 new TL, a small drill, a small drill bit, electrical tape, shrink tubing, a lighter to heat the shrink tubing, wire strippers, and patients.
Take your time, you can do it!👍🏻Patriot🇺🇸
-
1
-
2
-
-
30 minutes ago, rich.dev said:
Ah yes. On our previous 4 trailers with fan (AC or heat) set to auto, it would actually turn off completely when the programmed temperature was reached, a bummer it’s not the same with the truma running all the time, the auto setting is only to switch between heat/cold!
Yes, I guess there are trade offs for sure. We are really enjoying the Truma and how quickly it will cool our Ollie down. I ordered a custom made cover for the Truma as I could not find one anywhere on line. It’s due in mid week. I will post up a pic for fitment when it arrives.
The design of the rear vents on the Truma are 💯 bird nest condo move in friendly. 😄 Here in Western NC we need to keep it covered when ever we are not traveling.
Patriot🇺🇸
-
3
-
-
21 hours ago, mountainoliver said:
I purchased a generator box from the KSH folks while we were in Lake Havasu this past winter. I particularly wanted a box for my Honda 2000 generator. For the past five years I’ve kept the generator in the Oliver basket (the older expanded aluminum version which weighed 35 pounds empty) and covered with truckers tarp material. This has worked great but the tarp has aged and would have had to be replaced in another year or so. The stock KHS box has three openings covered with removable aluminum plates so that the generator can be used inside the box. This setup is not at all water resistant and I’m not interested in using the generator so close to my trailer. I ended up getting them to make a box without the three cutouts. The box came with two hold down brackets welded in place which I removed because they were exactly in my way where I needed to mount the box. I was able to use the existing holes in the fiberglass cowling and the original stainless u bolts. The back part of the box is mounted to a 1/4 inch thick by 6 inch wide aluminum plate. The front is mounted to a 1/8 wall 1 inch by 3 inch rectangle aluminum tube. This allows the box to be level. I made two 1/4 inch aluminum spacers for the u bolts to clamp against for inside of the box. The u bolts can also be used to strap down the generator inside the box. I made two 3/8 thick by 1 1/2 inch wide brackets for under the frame. As you can see in the photos, the front bracket was made so that I can hang the safety chains on it as well.
I like the way you secured the aluminum box to the Oliver frame it appears very robust vs self tapping screws.
How do you plan to secure your generator when in use?
Can you post up a few photos of your gen inside the box when not in use?Thanks!
Patriot🇺🇸
-
2
-


Fuel Card
in Towing an Oliver
Posted
We use this -https://myopenroads.com and really like the diesel fleet discount. We paid $2.92 @ a Travel America for a diesel fill up on one of our pit stops heading to the recent Oliver Rally. That’s our lowest price to date.
I also like using the high flow volume pumps and easier maneuvering our TV and Ollie into the trucker diesel stations.
The free Open Roads app is very user friendly and there is no annual card fee. Check it out.👍🏻
Patriot🇺🇸