Ronbrink
-
Posts
1,192 -
Joined
-
Last visited
-
Days Won
38
Everything posted by Ronbrink
-
Bummer! I referenced the aforementioned Cielo link to check remote compatibility for Turbro branded units (the link actually shows ‘Turbo’, but certain that is in error) and saw only one remote model (being either Celsius or Fahrenheit specific) listed, wherein there are 32 remote models listed for Pioneer products. When contacting support you may want to ask, if by chance, there is a universal aftermarket remote available that is known to work in a Turbro/Cielo application.
-
Nor I and furthermore, I honestly believe the Cielo to be much smarter than me when it comes to air conditioners!
-
I remain optimistic! Prior to total shutdown (“killing power with every cycle”), the compressor first turns off when a temperature set point is reached, the air supply fan will continue to run thirty seconds or so before turning off, the condenser fan will continue to run an additional thirty seconds, then the unit is totally powered off by the Cielo. I think this staged shutdown is by design, perhaps to prevent perceived damage(s); by no means a sudden ‘hard stop’ of all said components at once. At a predetermined set point the compressor will turn back on as power is restored via the Cielo, followed by startup of the air supply fan; by no means simultaneously and thus, allowing time for the compressor’s soft start device and respective run capacitors to engage the individual start sequences and not overload the unit’s control system. Once again, all by design. This is why it is highly advised not to use a circuit breaker to cycle an A/C off and on to help regulate temperature and/or humidity issues, in which a “Cold Started” situation will occur and likely cause damage(s) to said components. I’m a solid year in and counting!
-
In an effort to address @Geronimo John’s concern, “So the real question that it does not answer is: Was the start/stop impact of the Cielo system cause any harm to the A/C in the process?”. Based on findings thus far, the Cielo can be programmed the turn off the supply air fan soon after shutdown of a compressor’s normal operating cycle. In this process, AC power to the A/C unit is totally turned off. The Cielo will then cycle the compressor back on in typical fashion, at which time AC power is immediately restored and the supply air fan subsequently turns on in sync. It is my understanding that use of the Cielo in this manner does not significantly alter the normalcy in compressor cycling and thus, is of no detriment to the compressor; and turning the supply air fan on and off as described, only mimics an A/C operating in AUTO Mode, wherein the supply air fan runs in sync with the compressor in both cooling and heating settings. However, if an A/C unit is prone to short cycling (for varied reasons), continuance can lead to wear and tear, and premature failure of components.
-
I think it is important to run the vent fan when showering, as well as post showering for a while with the door closed, to remove as much moisture possible; even in cold weather conditions. While running with the door closed, the vent fan creates a negative pressure within the wet bath and draws heated air in through the vanity HVAC duct and any installed lower vent from within the under dinette area for that matter. Once the wet bath is completely dried, the vent fan can be turned off and door left open, whereby conditioned air entering the under dinette area via an installed lower vent is less likely to cause adverse effects and possibly improve return air ventilation.
-
When I got the Starlink Mini, I ditched the weBoost and now rely on Wi-Fi rather than a cellular network in areas with poor cellular service.
-
Great looking restoration and appearance upgrade, and looking forward to details of the new air conditioner install and first impressions! I have a feeling you will be using that scaffolding more often now to keep your Olie lookin’ purdy!
-
Both @topgun2 and I have installed dual 230Ah LiTime (w/o BT) LFPs and I myself am very pleased with the performance of these batteries. We both have posts of our respective installations for you to glean.

-
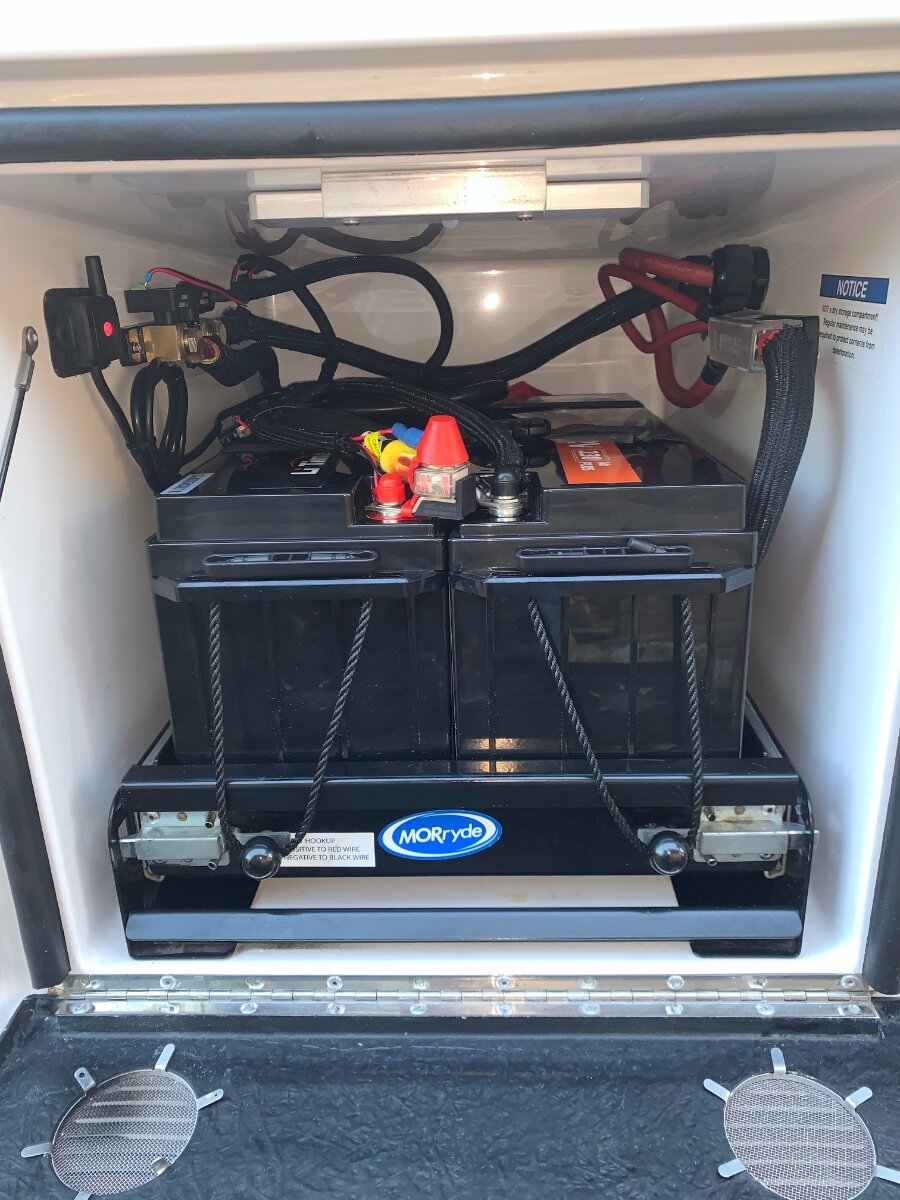
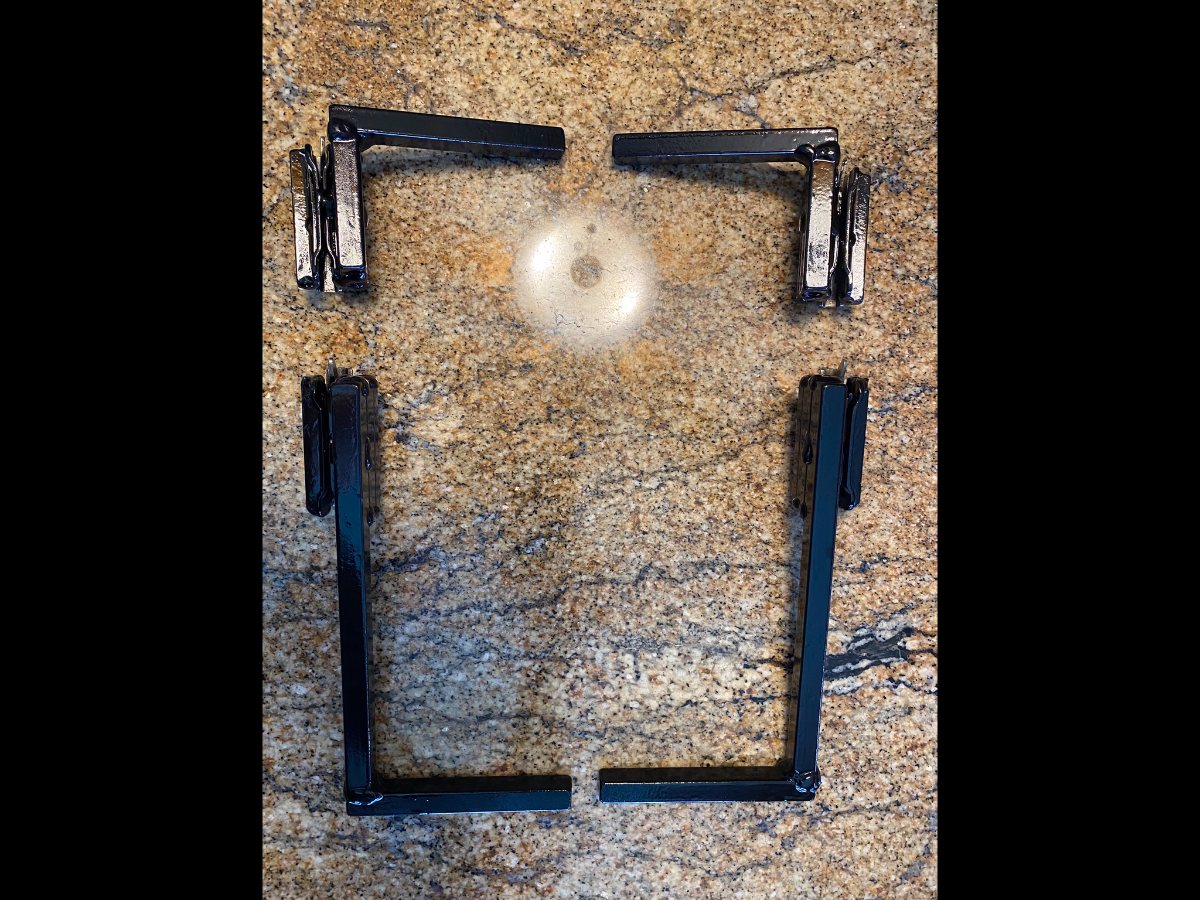
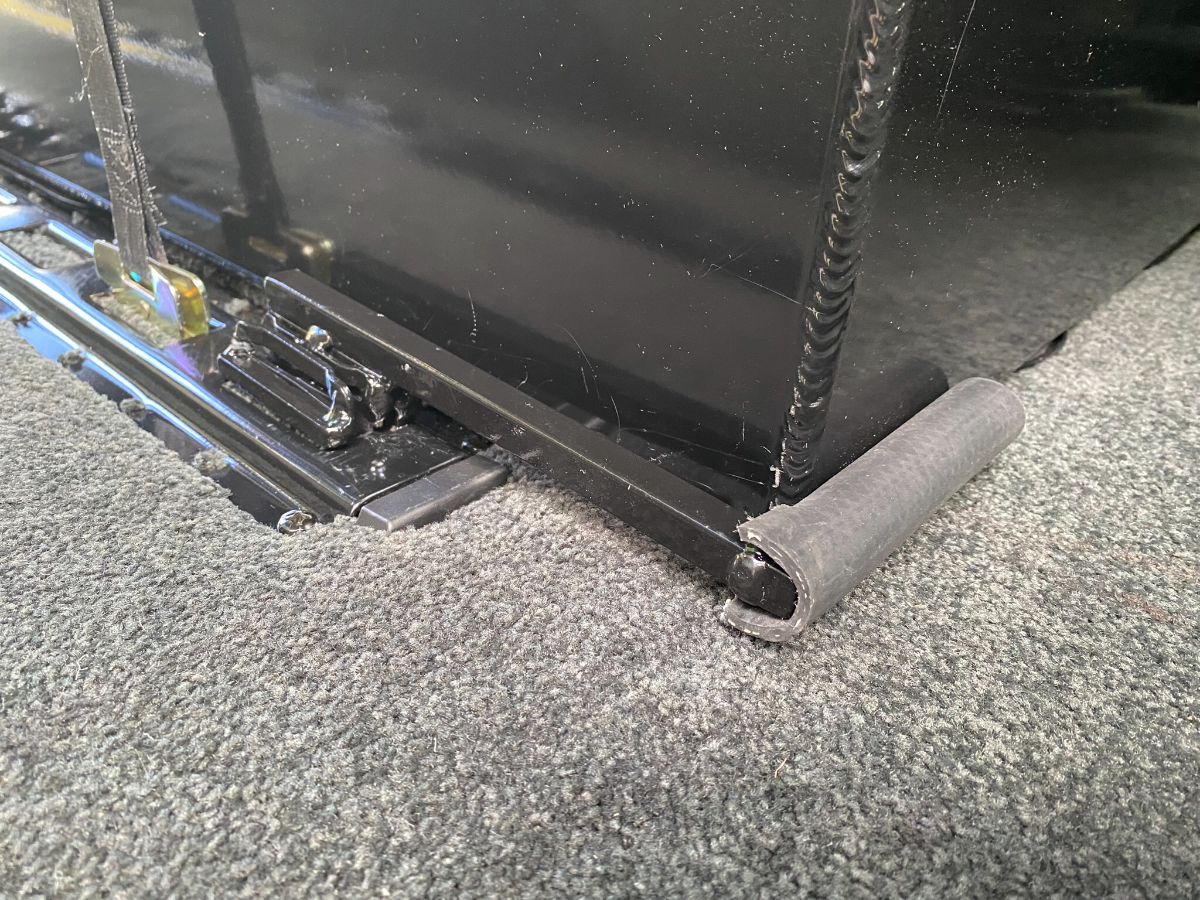
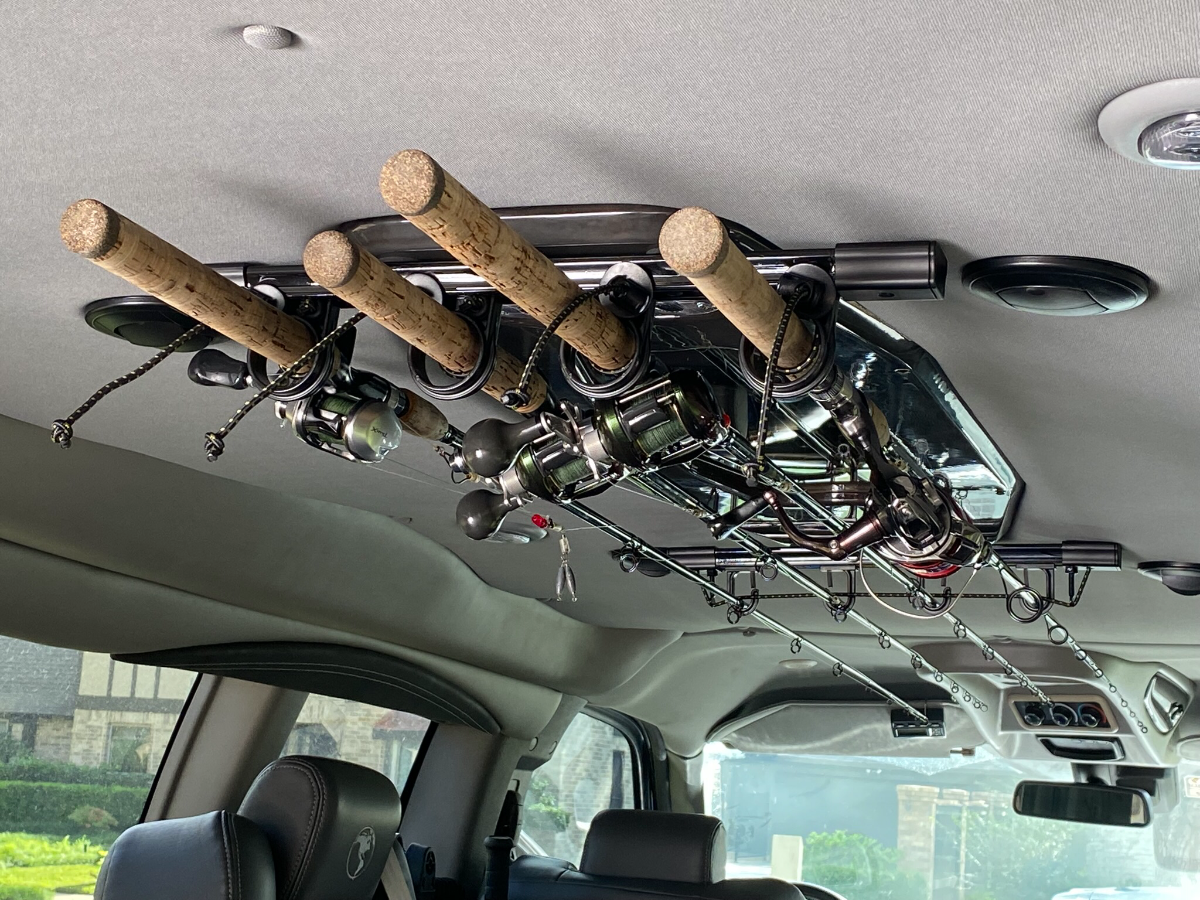
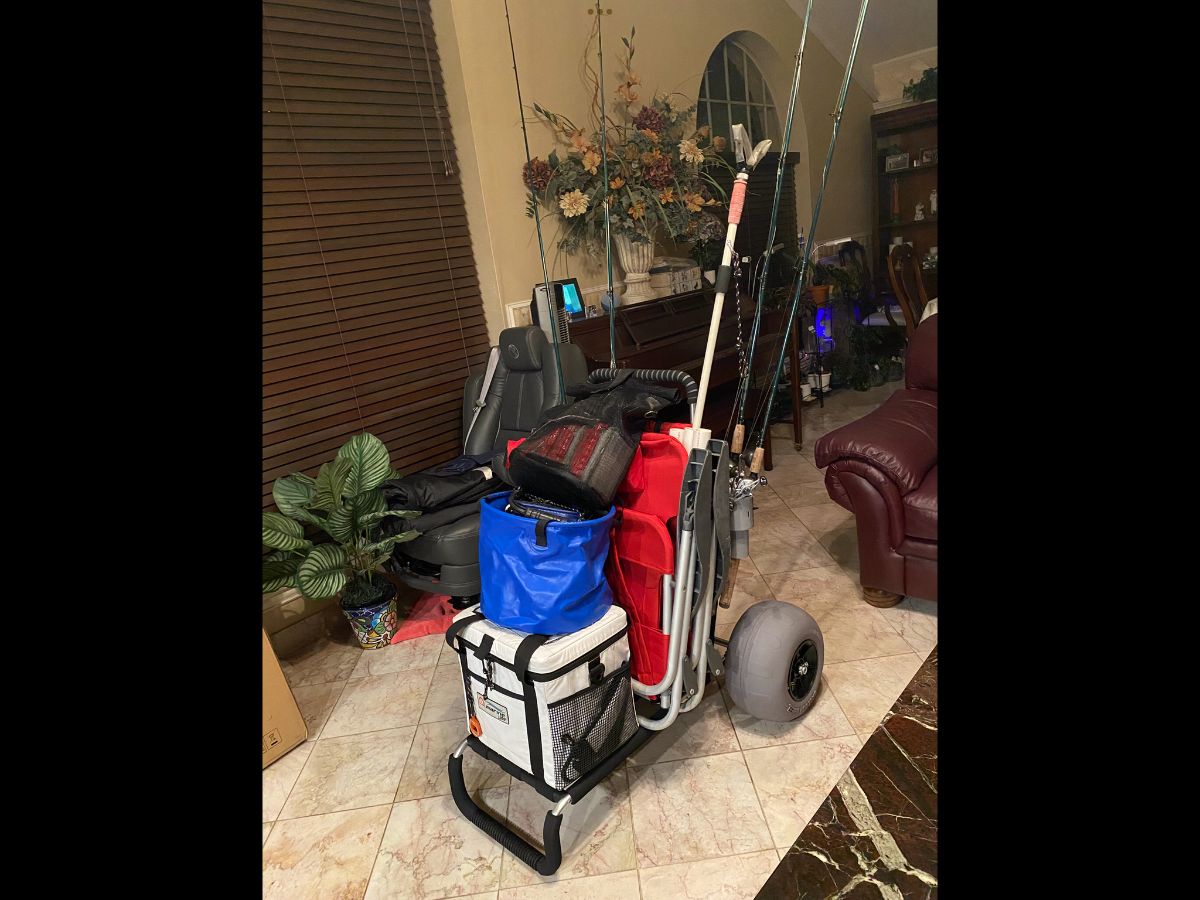
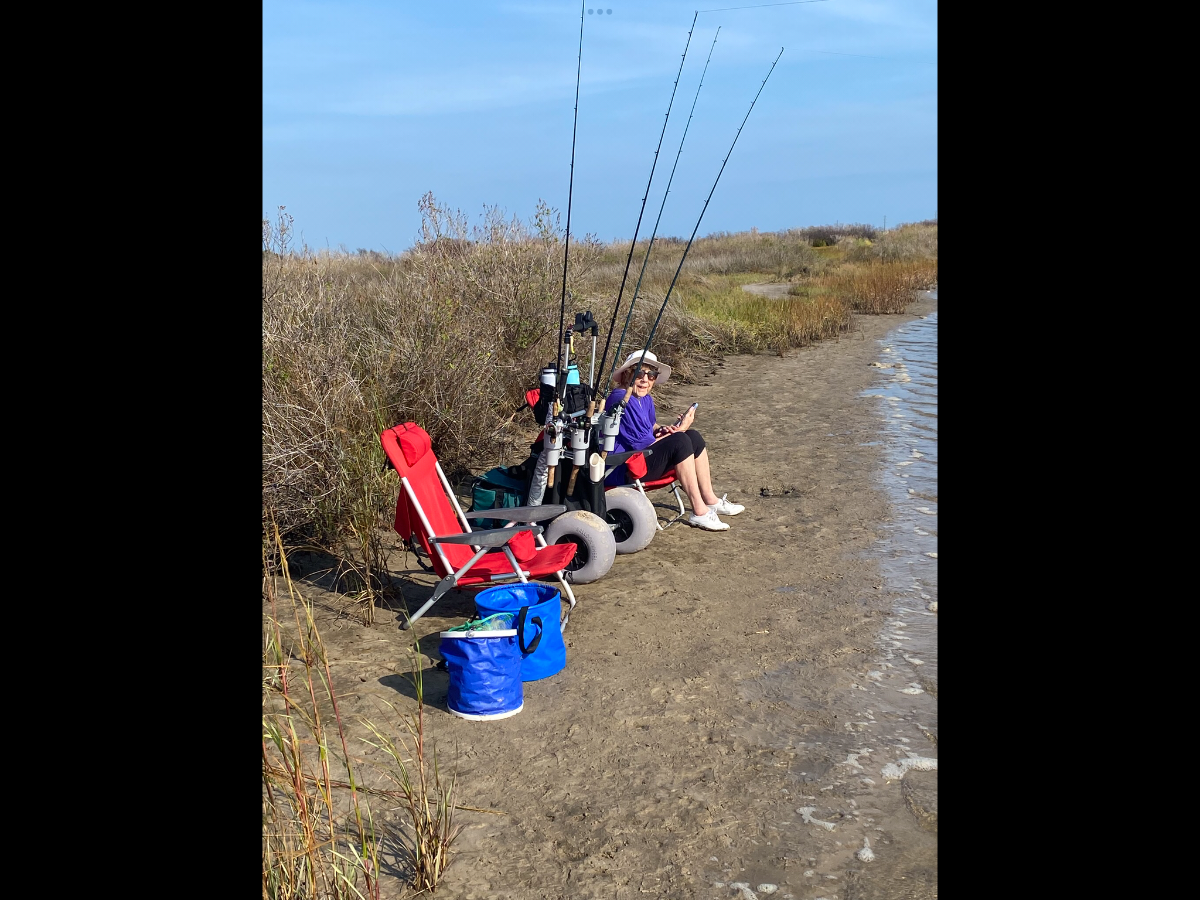
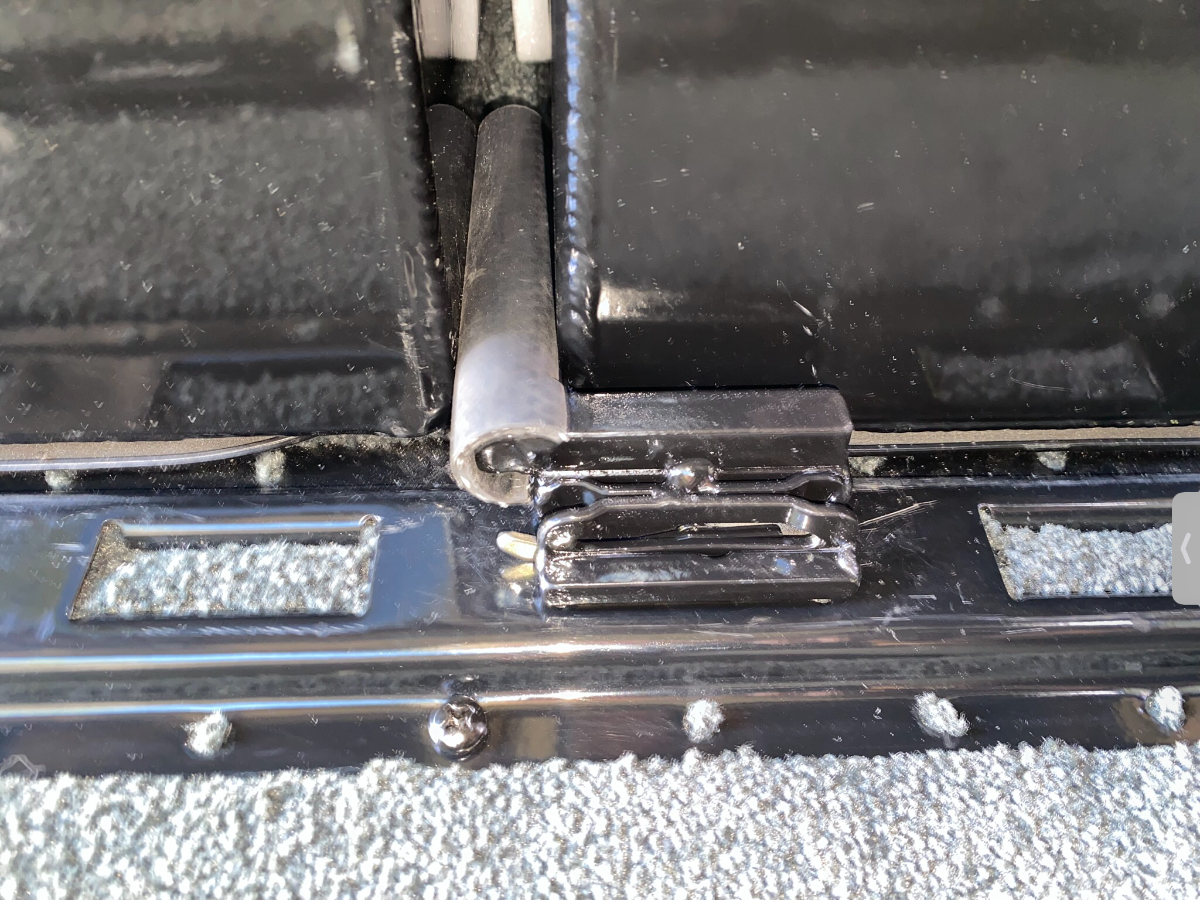
Lessons learned from our previous trip to Galveston Island SP, better cargo securement and improved fishing equipment handling. In an effort to better hold the two cargo boxes in place during transit, I welded some adjustable stops to mitigate movement. Although the ratchet straps are still necessary for hold-down securement, they allowed said boxes to slide a tad. I simply modified some rail system fasteners to make stops, which worked great in application! I also wanted to incorporate fishing into our coastal trips to share the same joy of angling I’ve had most of my life with my wife. During a prior trip we had to carry all of the equipment to fishing spots, a burdensome task for these elders. Upon return home I ordered a beach cart, problem solved! Our last trip proved much easier and enjoyable, wherein the cart could be loaded for fishing connivence or for a relaxing evening just sitting on the beach to watch the moon rise and sun set. I also addressed an issue in transporting my rods and reels in the Savana. Here are some pics: Set of stops readied for installation. Forward cargo box stop in place. Rearward cargo box stop in place. Beach cart mockup. Dismantled cart and fishing equipment staged for transport. Fishing spot setup. Rod and reel holder in Savana.
-

Greenland Turbro 13.5k Inverter AC / Heatpump install.
Ronbrink replied to CRM's topic in Ollie Modifications
Creating such a space will likely impact the return air filtration aspect of the unit and thus, require further modification to compensate. -
Regarding Turbro branded units, there are only two results listed. Although the Turbro and Pioneer inverter RV rooftop air conditioners are both deemed ‘smart’ units, there are distinctive differences in the two to be considered when selecting one over the other. Aftermarket control devices such as the Cielo, may not be able to interface with the proprietary control systems of these units and thus, looking forward to @CRM’s findings.
-
I recently saw on LinkedIn that the Dreiha Atmos 4.4 is still available, SDG only switched to TOSOT due to tariff cost-related issues. When last checked they install the 15000 BTU unit. I see that the 16000 BTU ‘Go Cool’ model is currently listed for $902 (White) and $1300 (Black) on Amazon!
-
Changing tires in the wild - lessons learned
Ronbrink replied to John and Jodi's topic in General Discussion
Regardless of where you buy, be sure the valve stems are compatible with the internal tire pressure sensors on your TV to ensure proper fitment. I purchased mine at tpmsdirect.com. Took them to Discount Tire and they installed them free, probably since I’ve done business with them for years. -
As previously posted in the Cielo Breez Max thread: Device works with more than 175+ AC brands covering 1800+ remote controls. To check your air conditioner’s compatibility with the device, go to the following link: http://remotes.cielowigle.com/and choose your brand and remote model number. There are 32 results listed for Pioneer branded units, if your remote is shown it may boost any hope of it working in your application.
-
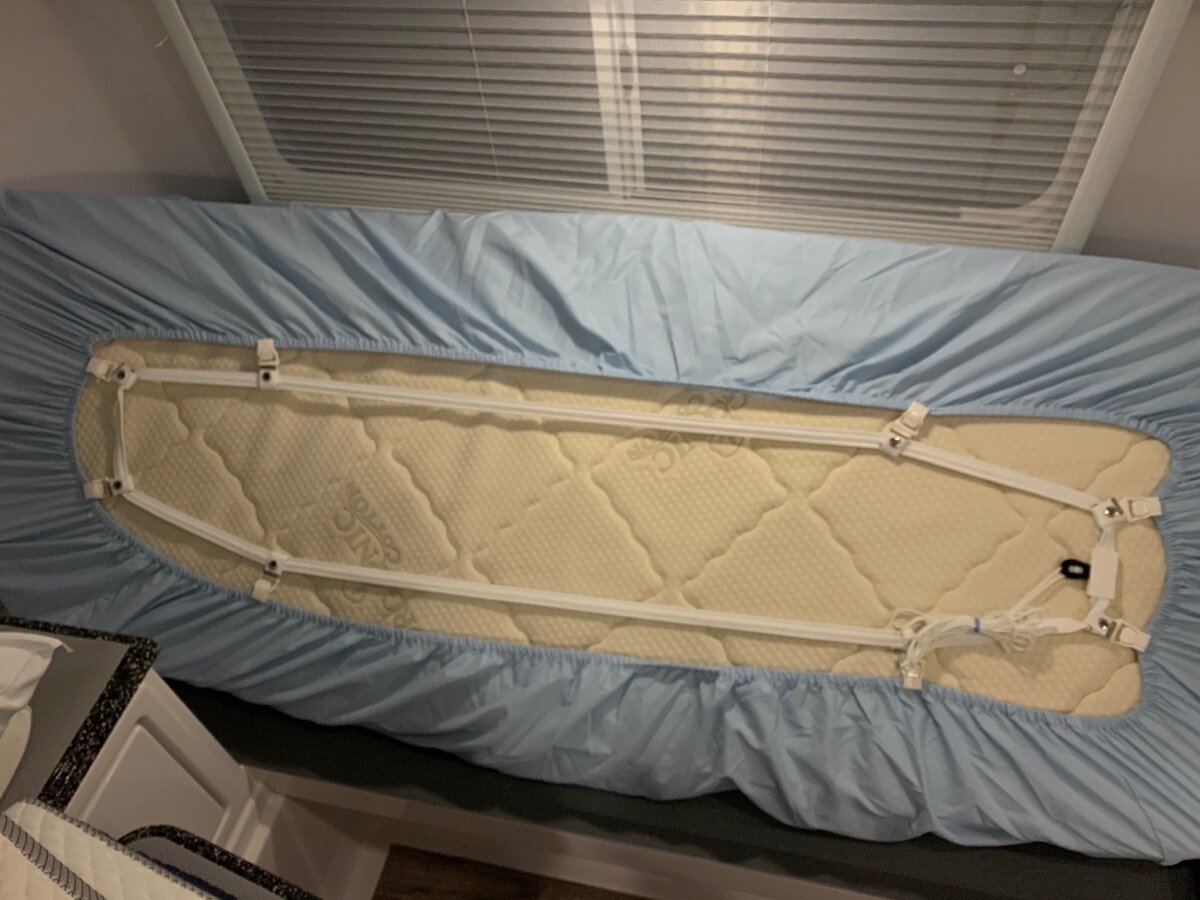
I too have the KTT twin bed mattresses; and yes heavy, but manageable. I simply stand them on edge when securing the fitted sheets with Bed Scrunchies or to access the hatch areas, I use the hatch doors to prop them up. I also place them on edge when in storage to prevent mildew.
-
Run 12v System w/out Batteries in Oliver 1
Ronbrink replied to GeoffChapman's topic in Mechanical & Technical Tips
If that 12v circuit breaker with manual reset trips again, plan on replacing it! I replaced the cheap, low quality stock breaker in my OLEll with a high quality Blue Sea Systems breaker. Problem solved! -
I’m not aware of any Oliver owners applying the Cielo to an inverter a/c install, but reference was made in the below post that those units do not have variable speed air supply fans and the Cielo may provide benefit. I do know that the Cielo thermostats are primarily marketed for mini-split units, many of which use inverter technology. As for your questions, TBD! Installing Pioneer Inverter AC By Treasure Coast Vault June 3 in Ollie Modifications
-
When ‘inquiring minds want to know’, ask AI! My question: Will the Starlink Mini support use of two laptops streaming TV content? AI response: Yes, the Starlink Mini can support two laptops streaming TV content simultaneously, and often even more devices. The built-in Wi-Fi router is designed to handle up to 128 devices, and real-world tests show it works well for multiple streaming sessions. The main factor influencing performance will be the available bandwidth at your specific location and time of use, as speeds can vary. Performance and Considerations Speed: The Starlink Mini typically delivers download speeds over 100 Mbps, and users have reported speeds over 200 Mbps in optimal conditions. This is more than enough bandwidth for two simultaneous high-definition streams. Reliability: While generally reliable, speeds may temporarily decrease during peak network times or due to minor obstructions, which could cause a brief glitch in a stream. However, in most scenarios, users report no issues with multiple concurrent streams. Data Usage: Be mindful of your data plan. The Roam 50GB plan has a data cap, and streaming TV content consumes a significant amount of data. The Unlimited plan may be more suitable for frequent, heavy streaming use. Built-in Router: The Mini has an integrated Wi-Fi 5 router, which is sufficient for a campsite or small area. If you plan to be further away or want maximum performance, some users suggest adding an external hardwired router.
-
Brilliant!
-
Following installation of the Atmos 4.4 last year, some may recall I replaced the stock Dreiha remote with a Gree aftermarket remote; primarily due to its backlight feature. Here is the pic posted October of last year: Upon installation of the Cielo Breez Max, I immediately resorted back to using the Dreiha remote thinking it to be the only one compatible with the Atmos and said device. However, I was experiencing a programming issue regarding that remote’s timer, which was turning the air conditioner on unexpectedly. In toggling through the remote buttons I was inadvertently setting the timer, which became a hassle and very frustrating. Hence, I resorted back to the Gree remote and turns out it too is a listed compatible remote for the Cielo. I’m posting this for other owners with Gree branded air conditioners that may be experiencing a timer issue and affirm the Gree remote’s adequacy and compatibility regarding the Cielo.
-
Gonna keep the Jensen TV for those few times when need be, but agree the SLM and iPad (in our case) are a better and more convenient alternative for viewing pleasures!
-
Changing tires in the wild - lessons learned
Ronbrink replied to John and Jodi's topic in General Discussion
Good point, and it’s even harder pushing the plug in as far as recommended. I ended up using liquid dish soap to lubricate, did the trick! Some kits come with either a lubricant or a sealant, which serves as the lubricant. -
Changing tires in the wild - lessons learned
Ronbrink replied to John and Jodi's topic in General Discussion
So true. The former are solid plastic and better suited for the passenger tires on the SUV. The new tools are solid aluminum and a much better fit for the intended purpose. Definitely shy away from the cheap plastic ones that can’t withstand the excessive forces needed for our trailer tires! -
Changing tires in the wild - lessons learned
Ronbrink replied to John and Jodi's topic in General Discussion
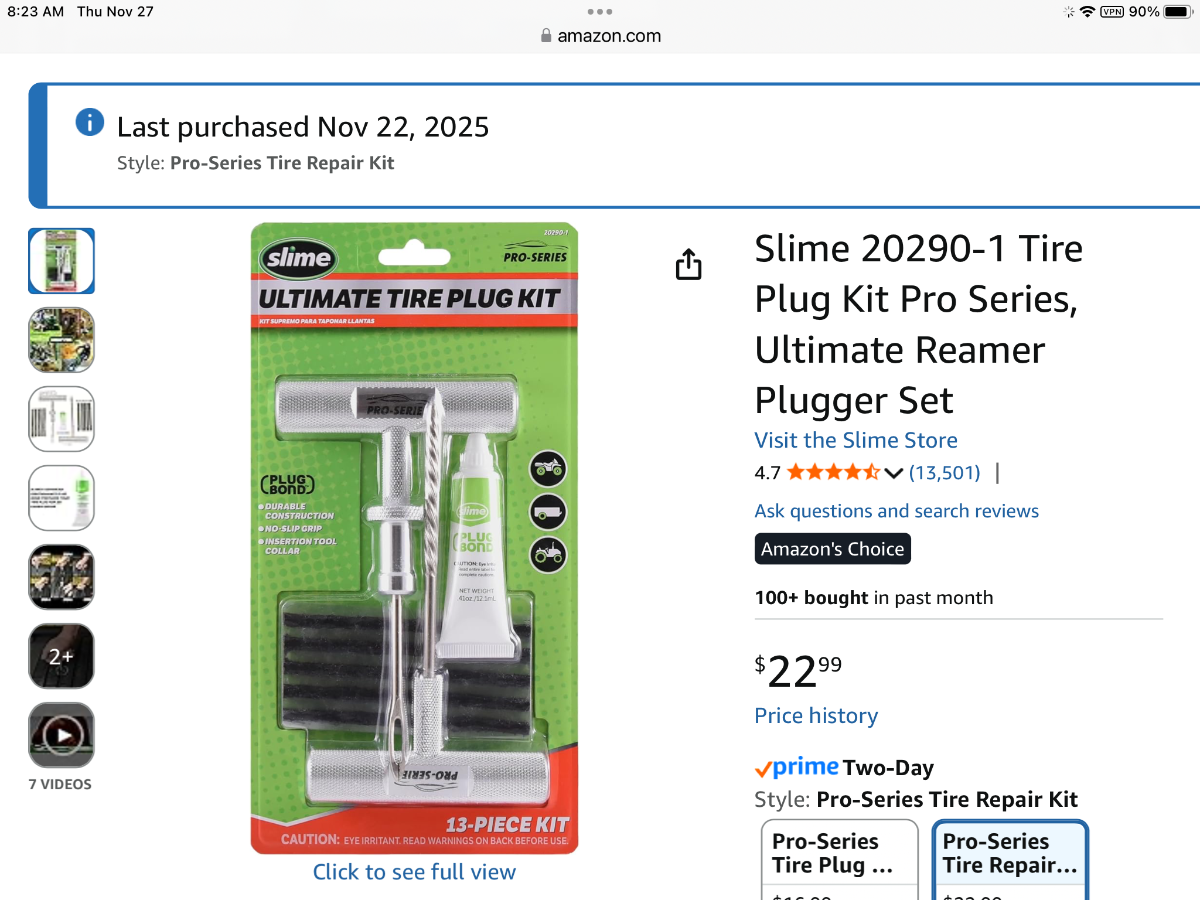
Last week at Galveston Island SP, used my tire plug kit to repair where a screw was causing a slow leak. Tried doing it with the tire still mounted, but those Load Range E tires are really stout and ended up having to remove to get more leverage. The Bottle Jack/Jack Stand, VIAIR, DeWalt impact wrench, assorted lug nut sockets and torque limiting impact extension bars all came into play! Upon return home I ordered a heftier tire plug kit and will put the former in the wife’s SUV. Bottom line, BE PREPARED!
-
Alcan spring kit sprung stiffer or is it bad roads?
Ronbrink replied to taylor.coyote's topic in Ollie Modifications
No Alcan upgrade, but kinda recall owners saying there is a reduction in the initial spring stiffness over time as they wear-in. I did however, recently install new Bulldog shocks and first go had things shift more than the prior; like hangers off the rail and propane housing dislodged from the center hanger mount. Luckily, all mellowed out in short order as the shocks quickly broke-in.