MAX Burner
-
Posts
1,681 -
Joined
-
Last visited
-
Days Won
68
Everything posted by MAX Burner
-

Made in USA leaf springs
MAX Burner replied to Mountainman198's topic in Mechanical & Technical Tips
As mentioned in an earlier rant, we did the "ride-along" test before and after replacing the spring packs... Over a 3+mile course over improved but rutty country roads, there was no "felt" difference at speeds up to 25mph, before/after. Higher speeds may show different results. Riding back there wasn't anything like the difference riding in our 2016 (stock) RAM 3500 and our 2022 (almost stock) TUNDRA. Huge difference between the two. Although the RAM rode like a "buckboard" (I don't think it would scramble eggs) but the TUNDRA rides like a car, soft yet sure footed. Actually, I was somewhat impressed how stiff the ride felt before changing spring packs. DBo (Dusten Bowden, an 18-yr OTT Veteran) has concluded that OTTs are way under sprung for their construction. JFTR: He was very impressed with the Alcan upgrade and would recommend them for any owner, especially for those that have experienced 4-pack spring failure - as its a perfect time for upgrading. Someone correct me if I'm mistaken, but I believe Mr. Oliver insisted on 5-packs and 5.2k# axles on both his rigs... FYI and as it may be known, OTT is no longer installing 3.5k# axles on their new LE2 rigs (LE1's have alway had 5.2k# Dexters) - so, like Steve mentioned above, perhaps 5-packs may come in the future. We believe that will be an overall improvement to what we consider an already well engineered product. At the end of the day, the "spring-pack/axle" discussion boils down to individual camping style and personal preference, IMO. The probability of us breaking one or more of our previous 4-pack leaf springs, I'm sure, is a low one. However, I know how we roll - I'm the guy that would break a Chinese 4-pack halfway out on the 14-mile washboard road to Chaco Canyon or on the way to "Moving Rocks" near Furnace Springs, Death Valley. I'd have a spare 4-pack with me, of course - but another one would break on me on the way back after swapping! The discussion does not have a "go/no-go" solution set - it's an "it depends" solution, IMO. Like @Patriot sez, "Roll-ON", regardless... Cheers, All! -
...and another one's down, another one's down, another one bites the dust! Hey, hey, hey" Lyrics from some random song from the '70's?
-
Well, this one probably doesn't count then:

-
Excellent point, brother! I'm thinking why not turn the OEM crossbar upside down so the receiver is on the bottom - that way one could access the spare w/o taking apart the rear assy. But then the bumper may not clear the receiver - need to look into this.
-
Actually, I'd consider a Honda Trail 90 or 110 for that rack.... How cool would that be on the dirt with that insanely low gear? It's probably about the same weight as a couple Ebikes, right?
-
Guys, what about going with a 12vDC unit? Gulp! Check out the price point... https://www.heatso.com/nomadic-cooling-x2-12v-air-conditioner/?sku=NOMADIC-X2-AC&gad_source=1&gclid=CjwKCAjwi_exBhA8EiwA_kU1MidS24vXj3sqyB_IbNvdypAT2fzLkCpHBNhGwt8ncayck4fxVxYXZxoCV7sQAvD_BwE Nomadic is located in AZ - they've got some great YouTube vids of side-by-side comparison their db levels to other brands powered by AC... just a thought.
-
... @Half Fast Hugo - I'm thinking I could get my '85 Beemer on that bad boy and nary a wobble going down the roadway!
-
Ouch! Concur...100%
-
Can you send some pix of your challenging issue - it's not quite clear what the fix might be without more information/photo to ponder. Thanks! Art
-
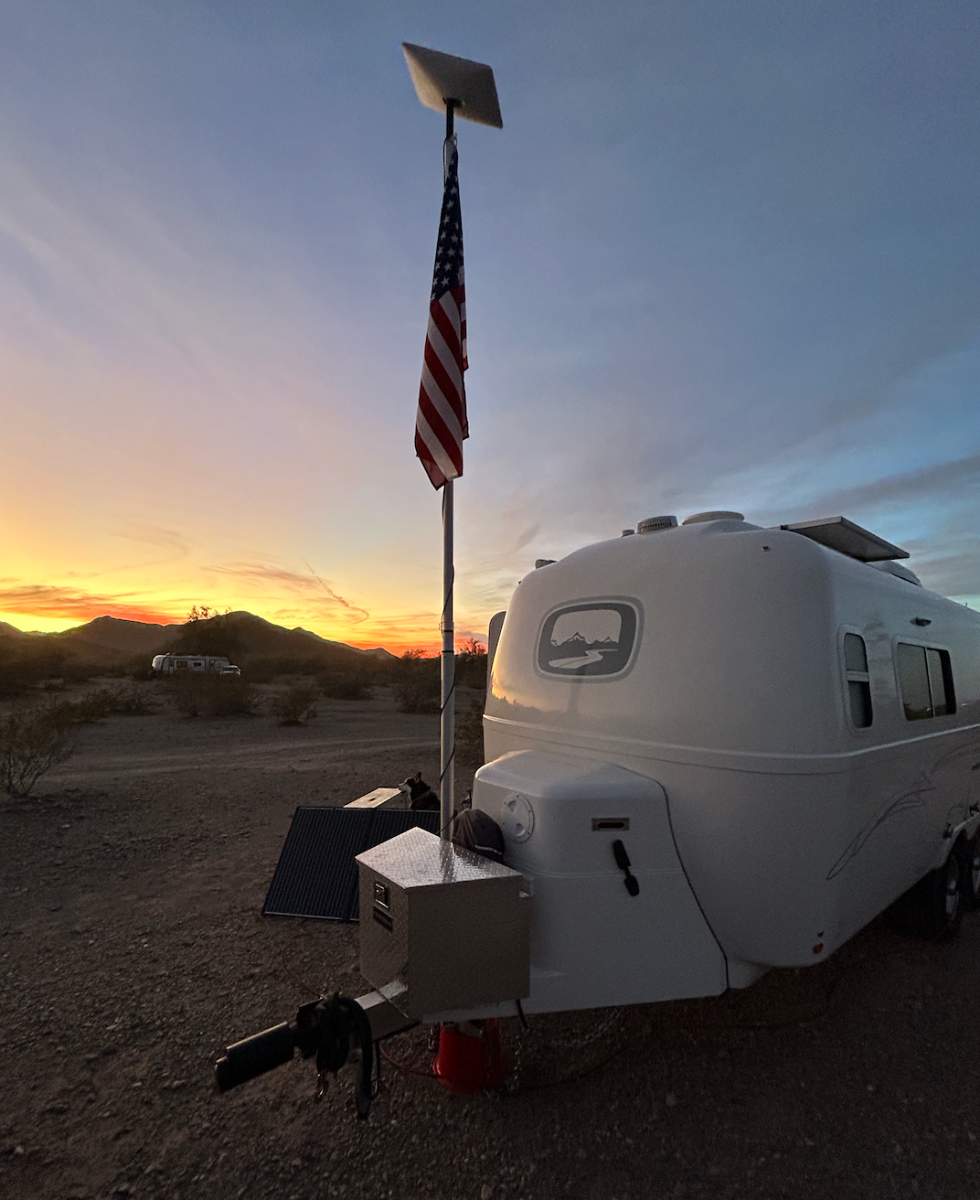
For SL users and potential users - there's literally a dozen or so ways to convert SL to a 12vDC kit. Pick one that meets your camping style and you're comfortable with - you'll never look back. We converted ours earlier this year and still have the capability of using the original SL router and cable should we need to use it at home or elsewhere on 120vAC - just left us with another option. We didn't have to take any OEM equipment apart, except for cutting the ethernet cable and installing CAT V plugs on either end (piece of cake, BTW). There's definitely a power saving advantage by converting over to DC - we figured 20 - 25% less power than running it on AC. FYI: this message is coming to you via our kit running directly off our Battle Borns from the middle of TN somewhere! Roll-On, regardless...
-
Made in USA leaf springs
MAX Burner replied to Mountainman198's topic in Mechanical & Technical Tips
Yeah, the one's I got from DBo are the older yellow ones. But hey, I'm checking those bad boys every 2,500 miles just to see how they're behaving. Looking forward to hearing from @rideandfly about the Bulldogs... Good point, JD, about the heavier springs taking more load off the shocks - these may work OK after all, we'll see when the jury comes back... -
...and maybe a Pulaski or two?
-
Where is the Dometic/Atwood furnace electrode?
MAX Burner replied to Steph and Dud B's topic in Mechanical & Technical Tips
Dusten mentioned that he'd removed several FWTs and it usually required a forklift to pull it out after the bumper assembly is removed - that operation.... is way outside of my wheelhouse! A 1" or greater (if possible) drain tube would be a great mod - gets more plastic shavings and debris from the tank when performing the annual flushing. -
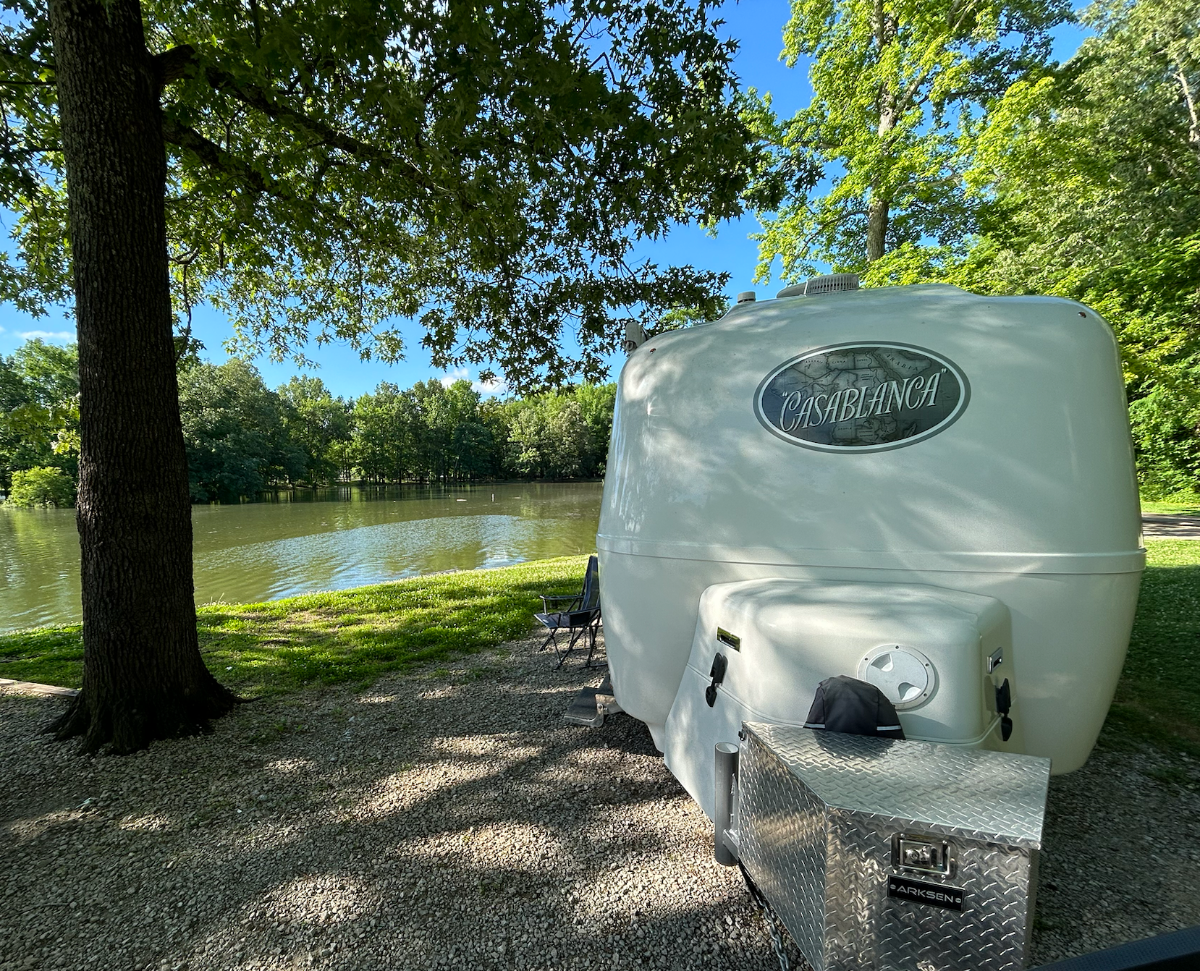
Casablanca found "akeside Wild", too! We're at Mouse Tail Landing SP just north of Linden, TN and about 10 miles south of I-40 right on the beautiful TN River: ...all for strength, honor, and freedom! Travel safe, rally go-ers! Cheers!
-
Made in USA leaf springs
MAX Burner replied to Mountainman198's topic in Mechanical & Technical Tips
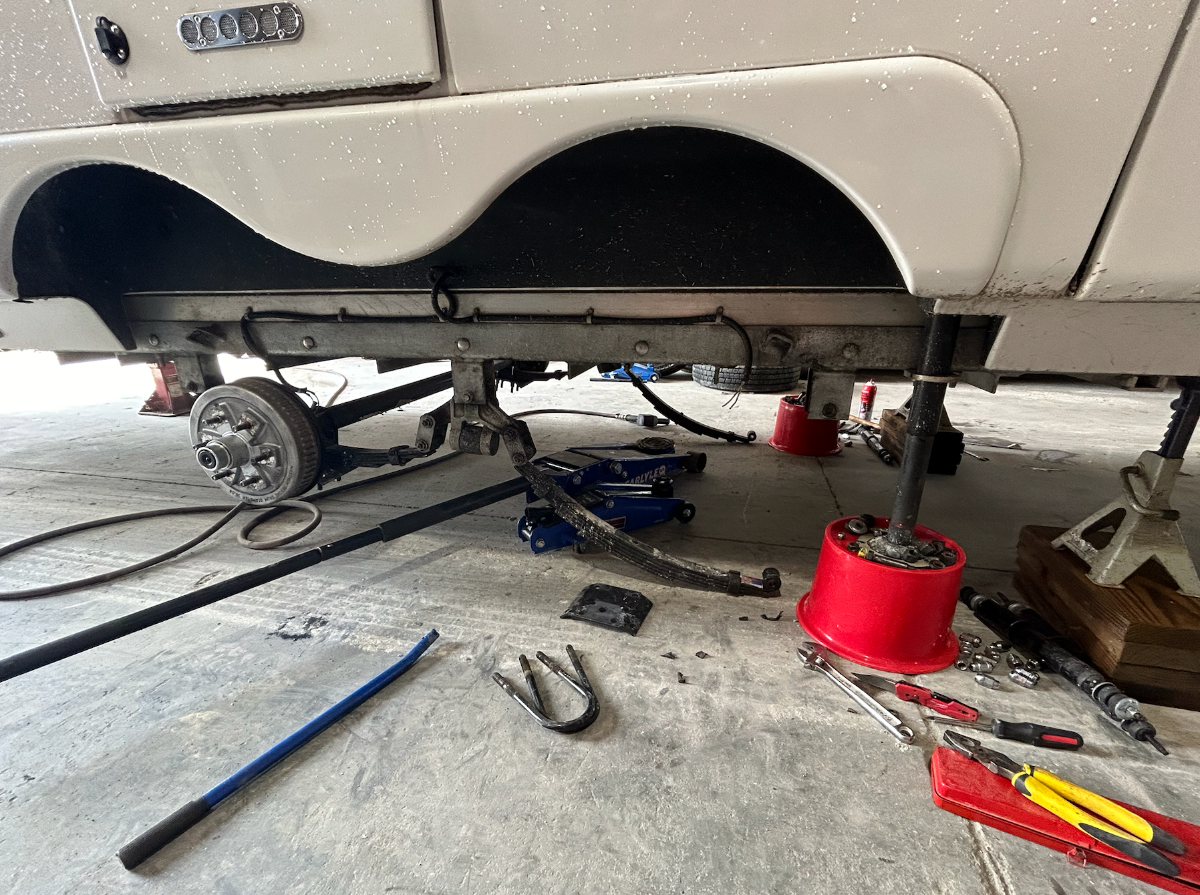
So, here's an interesting data point... While installing the 5.2k# Dexter Nev-R-Lubes yesterday, we discovered all but one of the Monroe 550001 Shocks (installed new 11APR23) were INOP. What a bummer. Fortunately, "DBo" had 4 new-in-the-box Monroe's which he gave me after buttoning everything up on the axle job... I'll be installing them today at Mouse Tail Landing SP on the TN River in middle TN. The point being, for those owners that R&R'd shocks last APR/MAY timeframe, strongly suggest removing that upper nut and testing each one. Doesn't take long, and just for the peace of mind - well worth the effort. We may have bought a bad lot of Monroe's last year, but I'm thinking they should have lasted more than the 14,000+ miles we've logged since installing them! Roll-On, regardless... -
Still a bit of the white stuff in Prescott? Cool project, for sure... We've got dibs on that spot, ha!
-
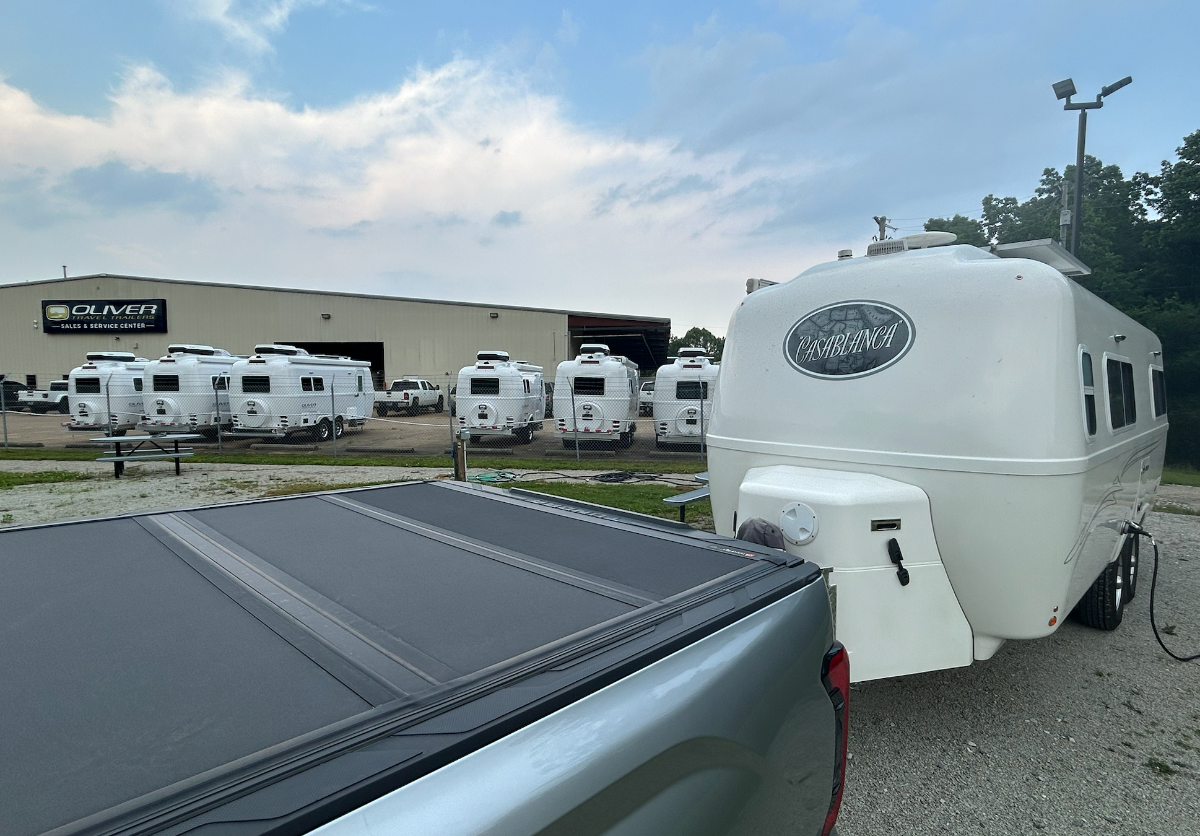
Made it through last night fairly "high and dry" - although there is a slight after-smell of wet huskies in the camper... Oh, well, it's how we roll. T-storms started again early this AM (0230) through about 0445. Nobody slept - coffee came early and prep for R&R operations with Dusten Bowden (18-year veteran of OTT). The Dexter Nev-R-Lubes swapped without even a hiccup... ABOVE: Removed and replaced the rear axle first then attacked the front... ABOVE: Note the size difference between the 12" and 10" drums... about 19% more braking surface area. ABOVE: Took about 3.5 hrs for the axle R&R, back on the road now and headed toward Nashville over the next several days. Had to stop for this pic - here's "3 hearty cheers" to Jim Oliver for designing what we consider the best TT for the money in the US RV market! Roll-on, regardless...
- 909 replies
-
- 13
-

-

-

-
This is a game changing plan you've got! We did the same thing - just make sure you've got good quality dump hoses. After a couple of disaster dumps at our place, we've got the CAMCO Rhino hoses and haven't looked back ever since. We can dump from either inside the shop or from the driveway - no issues. Plus the 30amp service box on the outside shop wall allows visitors to use their AC in during warmer months in Placitas. You'll be a happy camper when this plan is executed, brother!
-
It's doable, Steve -- let's compare notes at the rally. I've got some ideas to float by you...
-
We're headed along that path also - I'm not even going to think about it until the 2kW Xantrax dies its slow death. But for now it meets all our boon docking needs. Granted, we're not in the southern states durning summer when AC is needed at times. In the summer Rockies -- all one really needs are good window screens or maybe a CLAM. Running the AC off the battery bank is definitely appealing - but for us, only after we've used up the the 2kW inverter and he's totally given up the ghost... Then we'll look at the inverter/charger option with our Lithiums.
-
Just some random thoughts: 1) The roofline is designed for the storage lockers, electrical chases, and headroom down the fore/aft passageway. But, how about a more curved roofline to accommodate future efficient flexible solar module? Massive investment required for designing and making new body molds. 2) Right now, the current size battery compartment can hold 2 x 200A-Hr lithiums (I'm thinking there was recently a post on this 400A-Hr upgrade). The question is, "how many A/Hrs of storage do I need?" That's an individual decision - some camping styles are met with a single AGM w/95A-Hr capacity and other owners need 600A/Hrs to meet their camping needs, neither one is right or wrong -- "if it fits, wear it!" For us, 300A-Hrs works perfectly well for the camping style we practice. A larger battery compartment sounds great, but, like a new roofline, means designing new fiberglass molds - a huge expense that may not yield a return Oliver's investment unless that "600A-Hr market" is bigger than one could imagine. Obviously, more battery capacity can be gained by solar generators or using space in the TV for more lithiums - to make up for the current compartment size if someone's style of camping needs it. 3) We're 100% onboard with a full-on Victron package - but, again, that's for our style. We learned just yesterday from Josh, OTT sales manager, that 2024 models now have an available DC-DC charger. That upgrade was a game changer for us. The point being, OTT may be listening to owners and their needs through these forums. It appears that someone in the OTT decision chain keyed-in on this need - and it's now a reality. As we know, Victron, Renogy, Xantrax, and others have integrated suites (controlled/monitored by a single mobile device app) of smart solar MPPT controllers, shunts, inverter-chargers, touch screens, tank monitors, etc., that can bring the basic OTT well into the future of RV'ing. 4) Built-in water filtration would be nice. There's a rather large list of options from in-line activated charcoal filters to whole-RV reverse osmosis systems - goes back to, y'all know by now, "individual camping style." For us, we keep a Travel Berkey in its carry case under the front dinette seat. Deploys to the nightstand and out of the way of the flat screen. We disinfect the fresh water tank and plumbing no less than 2x/annually, always fill the FWT at the start of the trip with "softened" well water from the house (keeps mineral buildup lower). 5) OK - sometimes size matters, right? A 28 - 32 footer wouldn't fit in our shop, so for us, that's a no-go. A 27'ft- OTT would fit if my storage racks along the back wall were removed - not happening. However, think of what a 28 - 32 foot OTT would look like - would it still be 7 feet wide? That would make it look like an Oscar Meyer Wiener going down the road... IMO! We like the maneuverability of the LE2 - same (basic) width as the TV, great turning radius, great GVWR, and a dream to haul around. Don't even mind the "wet-head." Would a slightly wider (same length) option be favorable? Heck yes... 7-1/2' wide, might be a winner. The LE2 interior length is roughly 18' - that would be another 9-sqft of hard-to-come-by real estate inside! But those new hull molds literally cost in the $-millions to manufacture. So another question might be, "How long can OTT ride the current "RV market wave" using existing hull molds?" Perhaps greater capacity solar modules and a more integrated/higher capability electronics suite could be on their radar - but who knows? End of random thoughts... Cheers!
-
We sure would like to see that catch on across the country....
-
Same here in Hohenwald... Just finished up a rainy dog-walk as the sun set somewhere to the west, not viewable with the heavy cloud formations. We'll sit it out here at Camp Oliver unless the tornado sirens blast us out and into proper cover. Stay dry and sleep well...
-
Right on, Mike. 100%. Turns out that the demand connection fitting from the FWT to the water pump isn't low enough and with a level trailer leaves a goodly amount of water in the tank when it starts sucking air. The fix is done a couple ways - the OTT fix is a plastic thread weld on top of the tank with a fitting for a feed tube/filter & screen right straight down to the tank's lowest level. John's fix was coming in from the side and using the existing tank penetration and a similar feed tube/& screen that's positioned on the bottom of the tank - both are different solutions to the same issue. How sweet it will be to access 95%+ of the tanks volume of water when boon docking, right? Just keep those planets aligned for Friday... HA!
-
Hey, David; Same here, brother! Keep your head on a swivel, you've got precious cargo onboard! See y'all at the rally... Roll-on! Cheers!