MAX Burner
-
Posts
1,681 -
Joined
-
Last visited
-
Days Won
68
Everything posted by MAX Burner
-
 Same here, for sure. We use metal forks under the BS feet to fine tune the slope towards the grease trap. Small plastic wedges would do the trick as well, FYI. @Patriot - your Amazon table is the same dimensions and design as the roll-up table found on the REI site; but a better price point. Good find!
 -
@Ronbrink - very clean set-up! NICE!
-
Battle Borns are a good option - made in USA in Reno, NV. They're an authorized Victron dealer. Excellent "over the phone" product support for integrating future Victron upgrades, in my experience.
-
It's the large one, get 2 - the roll-up storage bag keeps the top and frame nice and tidy, IMO. $129 at REI now, they'll go on sale later in the year for $89....
-
That's exactly what's holding up the BS... Got it on sale at REI - should've bought 2! They're great tables.
-
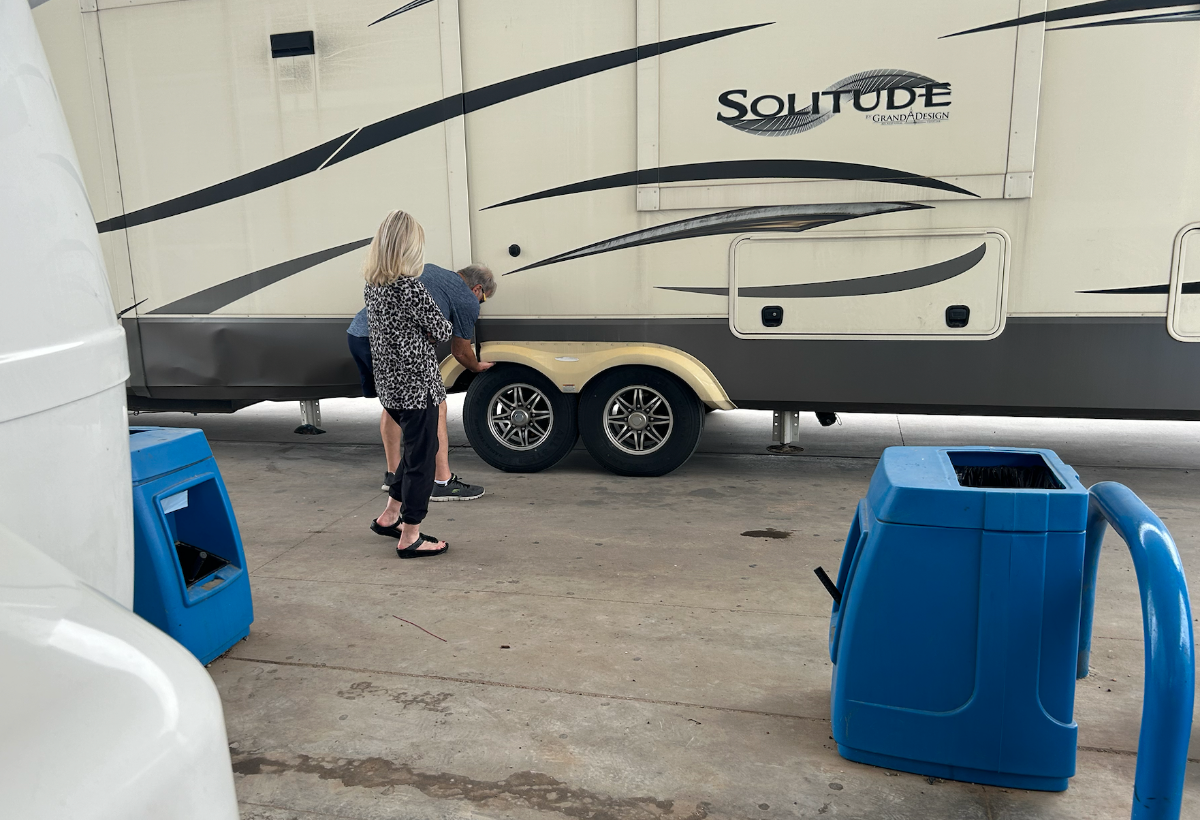
Here's an interesting event we experience on the US287 at a Valero in Childress, TX a couple days ago: We're at a regularly used Valero pumping at island #2 of four aligned left to right. Perfect pull-off/pull-onto the highway option for us. Topping off the Tundra, D's in the right front and I'm inside the store getting some sodas. A couple pulls into island #3 to our right - tons of room as we're in the forward-most pumping station on our island. The dude's TV is a 1-ton dually hauling one of the longest twin-axles 5th wheel we've ever seen. He cuts to the left way too tight and nails the blue bollard protecting the pumps from an errant vehicle or in this case, a 5th wheeler. D observes the entire episode from the passenger's seat - as he is scraping the bollard along the "Solitude" 8 to 10 feet forward of the left-front wheel. He doesn't stop - he continues to drag his RV until impacting the front running gear assembly, bending the axle/spindle to the rear until the front tire is occupying the same space as the rear tire. I'm stepping out of the store at this time finding the wife trying to figure out what to yell at her spouse - I mention to her that her two left wheels are in FULL contact and will not roll correctly in that particular configuration. She says, "NO SH!T" - an appropriate reply to my stupid comment, I'm not realizing what had just happened. At this point, the driver manages to back up and "uncouple" his RV from the blue bollard. I top-off the Tundra and hop in when D explained to me what she just witnessed. Not over yet, it gets better -- (read: worse): The dude pulls forward and attempts a U-turn directly in front of us - way too close, I back up Casablanca allowing him to swing free and miss our grill. The two street side tires aren't smoking but they're squealing loudly and burning rubber is wafting about. Jackknifing his rig in front of us, the Solitude's overhead compartment slams into the TV's left rear cab smashing the rear window, ugh! They come to a stop in the fueling area for island #1 headed 180 degrees from their original direction prior to impacting the bollard. This is the pic of them examining the damage... The wife is not impressed at this time and is using some rather choice words emphasizing her concern... Nothing much we could do but offer an assist to call a tow truck - they just said that they'll handle it. We drove away unscathed and feeling bad for them. Lesson learned? Keep your head on a swivel even if you're not moving!

- 3 replies
-
- 14
-

-

-

-
Replacing corroded tail light bezels.
MAX Burner replied to KenB's topic in Mechanical & Technical Tips
Ditto! We like shiny!!! HA! -
Wildpeak H/T02 LT225/75R16 E/10PLY BSW
MAX Burner replied to rideadeuce's topic in Ollie Modifications
Same here. We're running Defenders on the Tundra with 20k miles on them and still looking great. It's too bad they've been discontinued. -
Alcan + D52 + Monroe Performance Report...
MAX Burner replied to MAX Burner's topic in Ollie Modifications
Hey, John; The D52's use a massive "bearing pack" which is a sealed unit touted to be "good" for 100k miles. We'll see, for sure. Even though they're called "Nev-R-Lubes", owners still need to inspect the sealed bearing packs at 12k-mile/12-month intervals (whichever occurs first). With our current OTT camping schedule for the rest of this year, we'll likely be digging into the new 52's in NOV prior to our "winter mode." We'll report the details of the process afterwards for those interested. JFTR: We've chosen to run the Cooper Discoverers at 45psi cold. The TPMS shows a consistent warm-up (obviously not including the spare) to 52 - 53psi per tire after about 20 minutes of towing. This pressure seems to be our "sweet spot" for the loads we've been carrying for summer travel. We also replaced the curtain clips with new ones before the axle swap because we were discovering random curtains falling down after normal towing conditions. We haven't had one fall down since replacing the clips, FYI. @Patriot - good call posting the Dexter inspection procedure, thanks brother! Cheers! -
Just some quick feedback after 5,175 miles on the Alcan leaf springs, and 1,500 miles on the D52's and new Monroe shocks: 1. We replaced the leaf springs just prior to the Eclipse Rally in TX last MAR and logged just north of 1,900 miles on that round trip from our home in NM. To baseline the structural frame support integrity, we photographed each of the aluminum welds visible from under Casablanca. The welds were in good order/no visible cracks before and after the Eclipse Rally. Nothing unusual noted in the interior of the camper during this first trip with the new springs. 2. We logged another 1,190 miles on the Alcans on our first leg of the OTT Owner's Rally from NM to Hohenwald arriving there 8MAR. We coordinated with Jason Essary to replace the Dexter D35 axles with the D52s Nev-R-Lubes with 12" drums. Dusten Bowden (18-year veteran of OTT and now owner of Dr RV Mobile RV Repair) and I swapped out the axles and mounted new Monroe's on 9MAR without issue. 3. Performed the U-bolt nut torque tightening protocol recommended by Alcan for the 9/16" U-bolts at 50, 100, and 500-mile increments. Arrived at the Owner's Rally on Tuesday last week after logging 265 miles on the D52s/Monroes. No issues noted after checking the U-bolts for proper torque. 4. Arrived home yesterday. 5,175 miles logged since MAR. The trailer pulls well in all the weather conditions experienced including strong cross winds through Amarillo on I-40 and some of the lousiest interstate sections we've experiences through northern Louisiana on I-20. Integrity of frame welds show no change since before changing springs, FYI. We're pleased with the running gear mods as they 100% meet our style of travel trailering... Cheers, All!
- 7 replies
-
- 17
-

-
-
You'll find much faster download speeds in remote areas. SL throttles back and otherwise regulates speeds in high population areas, FYI. You'll love it on the road!
-
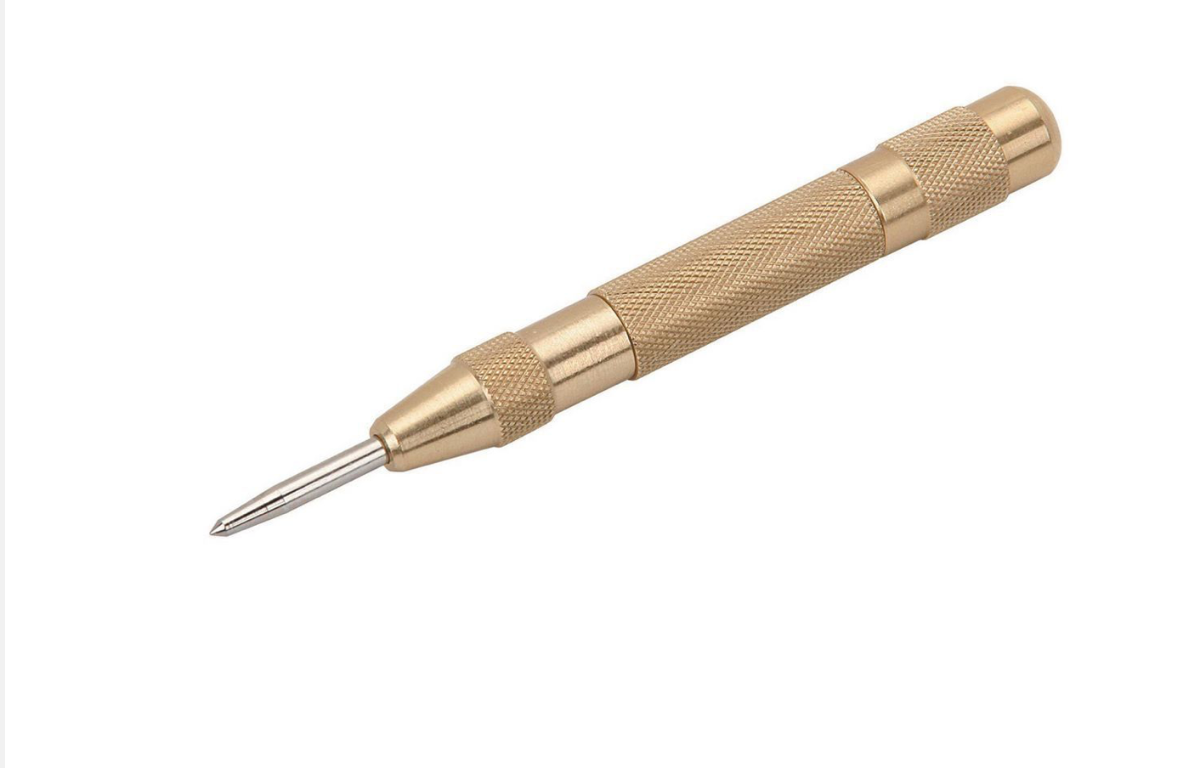
Here's a clean install for your SO-239 and ground connection for your rig on the interior wall... FYI, we always use a spring punch on the gelcoat prior to any drill bit action:
-
....and his brother-in-law smoking a stogie while dumping his Class-A in Griswold's driveway gutter! 😅
-
The Victron 12/12vDC charger totally meets our camping style and needs... When departing after boon docking for a few days during overcast weather - we know that our SOC will be at 100% within a few hours, so we'll start with a "full deck of BB cards" at the next destination. As y'all know, the "non-isolated" version will require installation of a dedicated negative cable from the TV battery/alternator to the rear bumper connection then continue with a thru-hull penetration to the Smart Shunt bus bar. FYI, (knocking on wood) we're 3,000+ miles into an 18-day trip and the Victron suite has performed flawlessly. Glad to hear at LGSP that OTT is considering Victron as an optional upgrade - good stuff along with Renogy, Blue Sea Systems, and others. Cheers!
-
Thanks for sharing, Bill - awesome vid! Cheers!
-
HA! No way, Bill! We'll make good (and it won't be greens)! Best, A & D
-
FYI: We observed our 2nd and 3rd Cyber Trucks yesterday headed eastbound on I-20 in LA -- again, on the back of a flat bed. Will report our first sighting of a Cyber under its own power whenever it occurs... HA!
-
@topgun2 - Good one, Bill! Way to pitch-in and help out... D and I wish we could have shared a proper "farewell" before we departed the area - next time, though! Cheers!
-
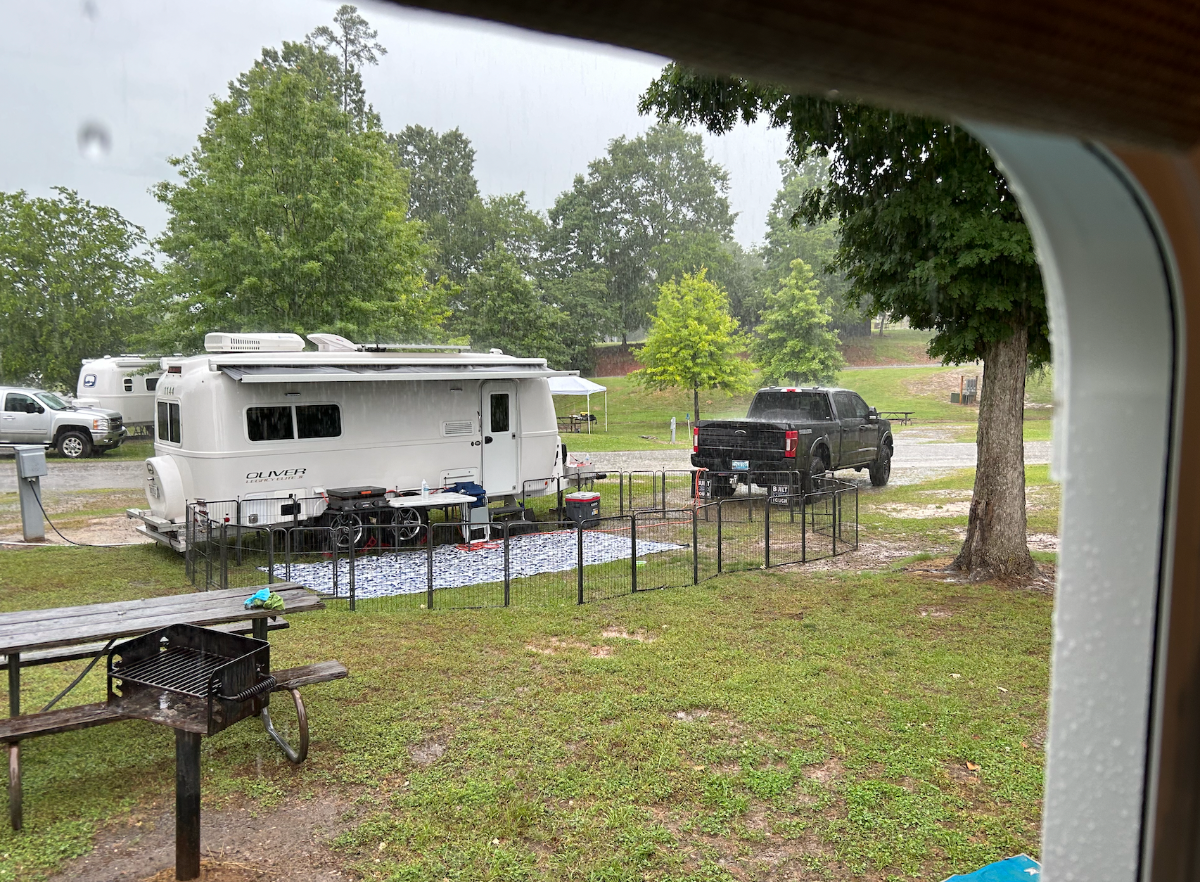
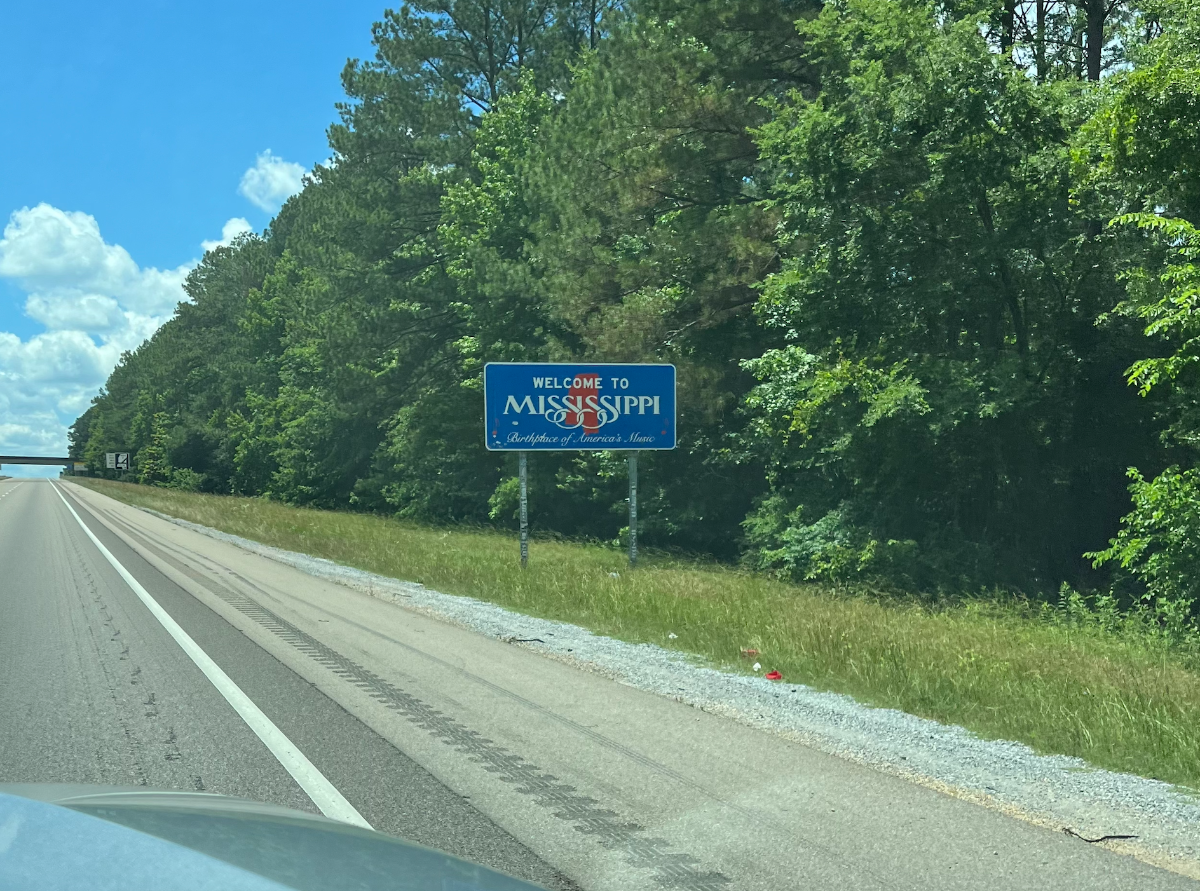
We decided to RO2N in Laurel, MS... Very "green" here compared to what we're used to in the SW! Headed to Dallas in the morning... Safe travels, All!
-
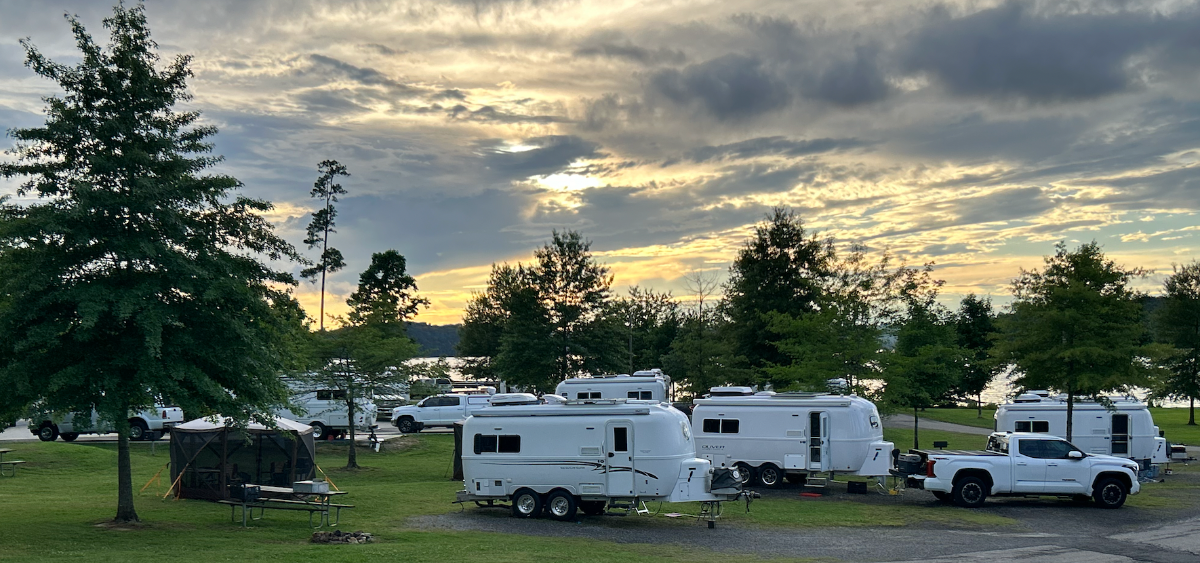
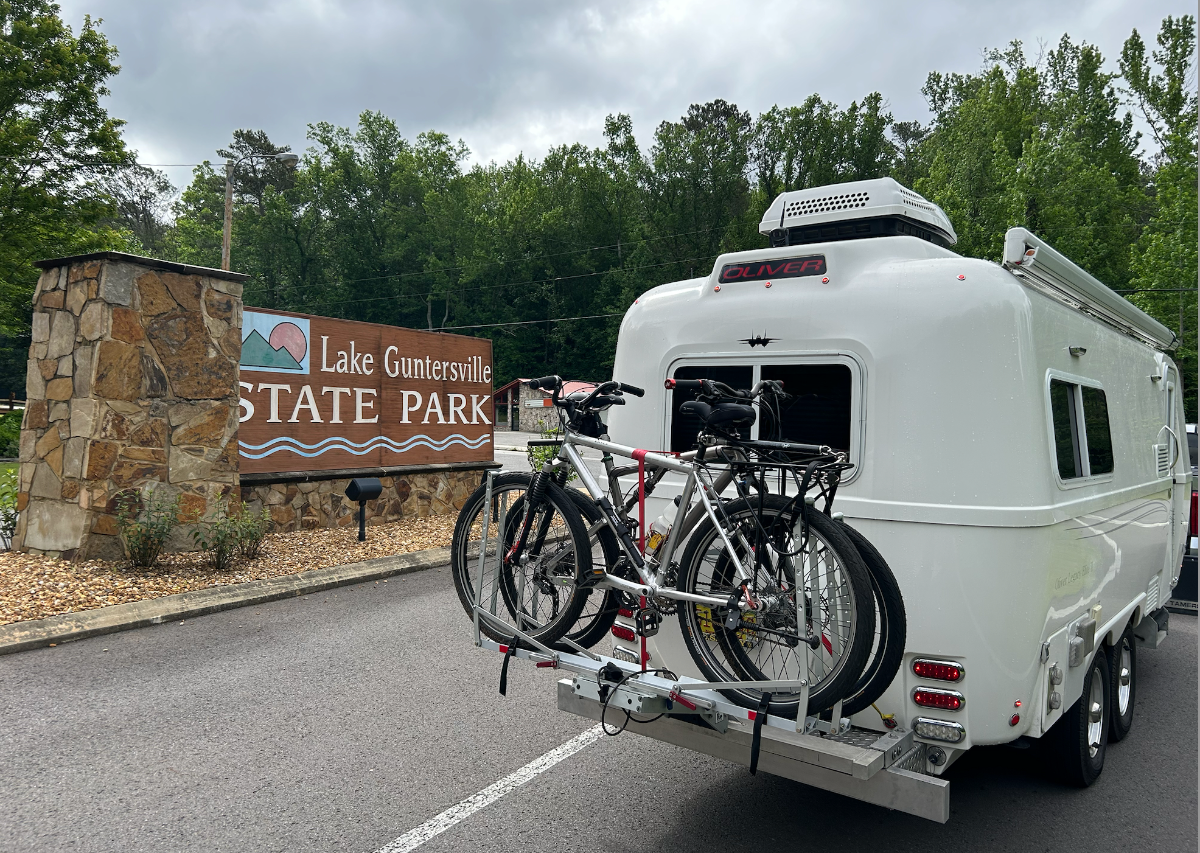
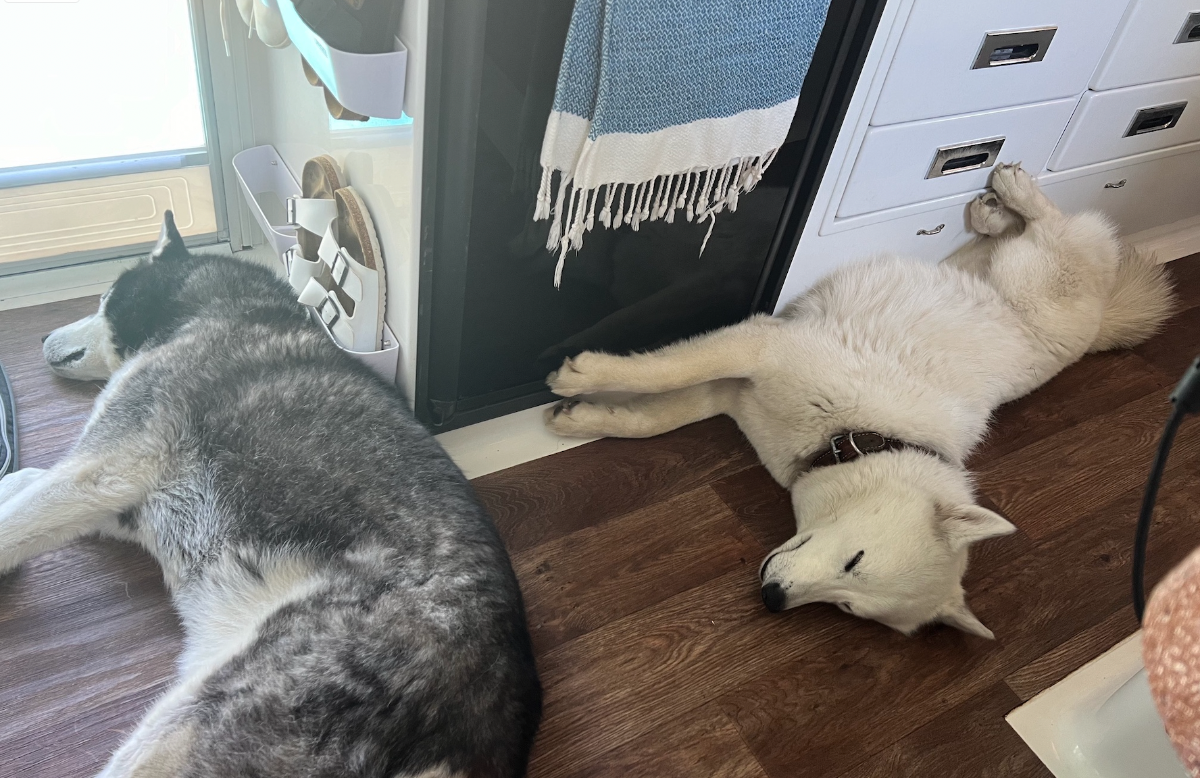
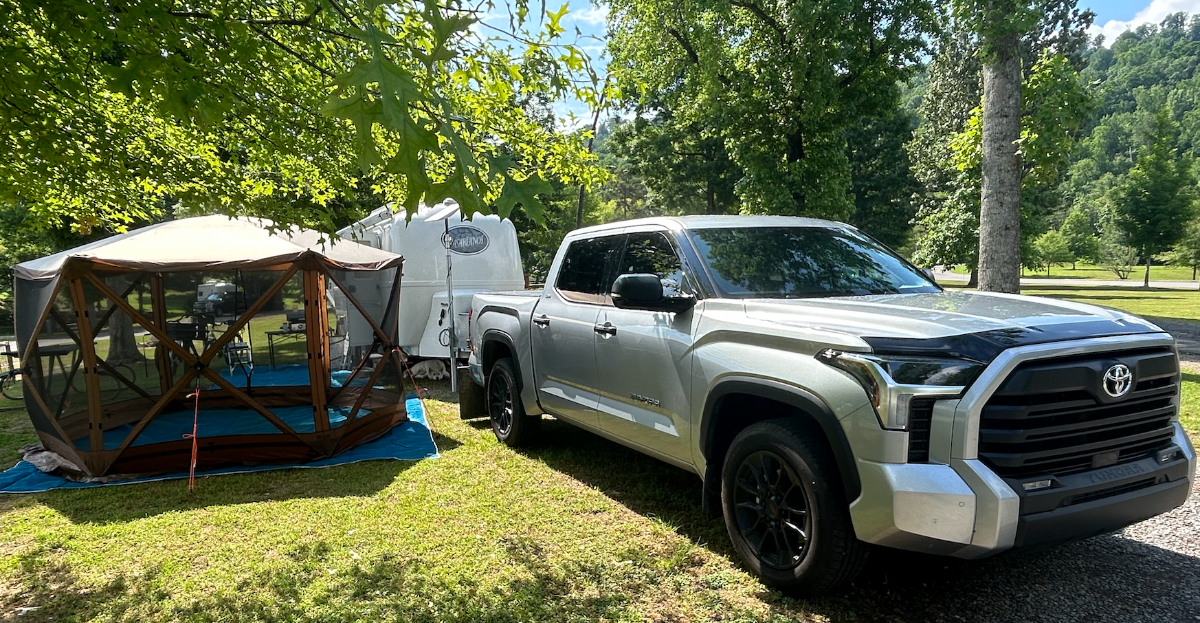
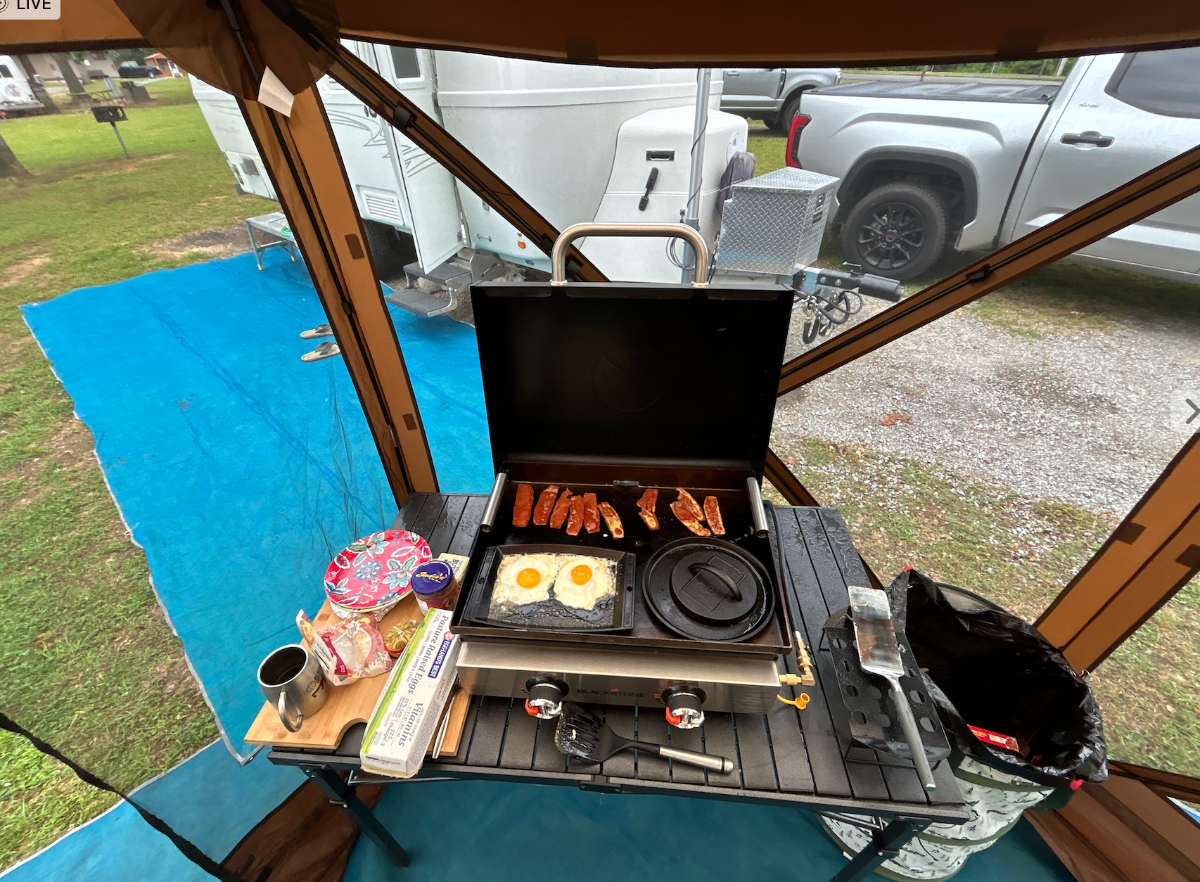
Good call, @jd1923 ! Here's some random OTT Rally snaps from my iPhone: Little white eggs - everywhere! Entrance/exit sign for the LGSP... Welcome to our world, these are two really tired rally go-ers! So "tough" being in the pack... Site A-06, Casablanca LGSP Lodge swimming pool - very convenient We kept Steve Morris' roster (as seen on the folding table) close-hauled to keep up with the face/name recognition drill - it was an awesome tool for us... Typical chow being prepped for an early morning meal... Getting ready to pack up for the run down to Laurel, Miss. on Sunday... What a great rally it was - especially meeting all the cool Oliver owners from places way far away! We look forward to seeing others' photos of the rally, too! Cheers!
-
@johnwen HA, my bad, brother! Mea Culpa!
-
0915 Departure from LGSP, enroute to Laurel, Miss.:
-
'Ol Oscar wasn't amused by this sign - check it out... Knuckleheads, they are!
-
@johnwen - Right on, brother! "Blackbeard's Delight", this morning! Hey, @mossemi - try out the BR sample yet? Y'all travel safe - see ya down the road... Best, A & D
-
...this thread's all about the "WAP2", War Against the Poop Pyramid! Almost boils down to: Less is More.