
jd1923
-
Posts
3,844 -
Joined
-
Last visited
-
Days Won
313
Everything posted by jd1923
-
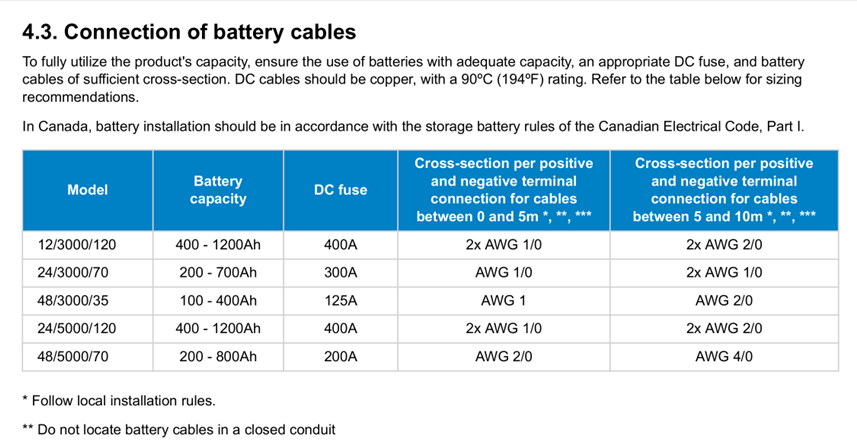
The picture below is from the Victron Multiplus manual. The first row is for 12V systems that need heavier AWG wiring than higher voltage systems. I and other Oliver owners have the Victron 12/3000/120, which translates to 12V / 3000VA inverter output / and 120A max charge rate) inverter installed. The inverter powering a microwave using 130A, a Dometic Penguin A/C or an 1800W blow-dryer (both about 150 DC Amps) takes more battery power than anything else. The 2KW inverter requires a 250A fuse and the 4/0 AWG wiring is overkill, very safe will never overheat. It can run the microwave, borderline on the blow-dryer which is generally only run for a few minutes. Borderline/not recommended to run an A/C unit as inefficient as the Dometic model, but fine for new inverter or variable speed A/C models. Victron suggests a minimum of 400 Ah in battery capacity (many have upgraded to 600 Ah and we recently added another Epoch 300 for total 900 Ah). Not sure why they call for 2x AWG 1/0 wires (maybe smaller wires are more easily routed in boats?), but cross-sectional surface area of 2x AWG 1/0 wires is just under, basically equal to one 4/0 AWG wire. The combined length of B+ and B- wiring must be less than 5m = 16.4 FT or larger cables are needed. In our hull the two cables add up to less than 12 FT. I replaced the 250A fuse with a 400A ANL fuse as spec'd in this chart and the OEM wiring OTT installed is just fine! 😎 I made the error of having our hot water heater turned on by electric, not realizing this I turned on the Dometic, no shore power, all on the Victron MP2 inverter. It ran for 10 minutes before I realized what I had done. The Victron output was over 3400W the entire time. It's rated at 3000VA but produced 400 more (there is some technical difference between VA and W which I do not yet understand). I believe they spec the 400A fuse so it can go over spec for short periods of time. The Victron MP2 is a beast!

-
While editing my above post, I thought again about this statement that I just wrote. Until I was educated by Alcan staff, I didn’t realize wet bolts should be torqued when doing maintenance. I’ve not noticed this in a service manual. I always thought a wet-bolt with a Nylok nut only had to be there, not overly tight nor loose. I remember having a suspension lock up in a flat bed car hauler. The mechanic at a trailer shop, merely loosened the bolts on the center link and the suspension dropped into place! I never torqued the wet bolts on the original suspension, though it was REALLY loose when I removed it. Thinking now that @Patriot has the right idea on this one. Crawl under your trailer once a year, lube the Zerks and check the torque on the wet-bolts and U-bolts. I also like removing the tires every so often, removing all gravel while inspecting, looking for punctures, clean the inner rubber. With the old-style bearings, pack them. Spin the drums and set the self-adjusters that do not always adjust adequately so the shoes are just rubbing. Im taking the wheels off anyway!
-
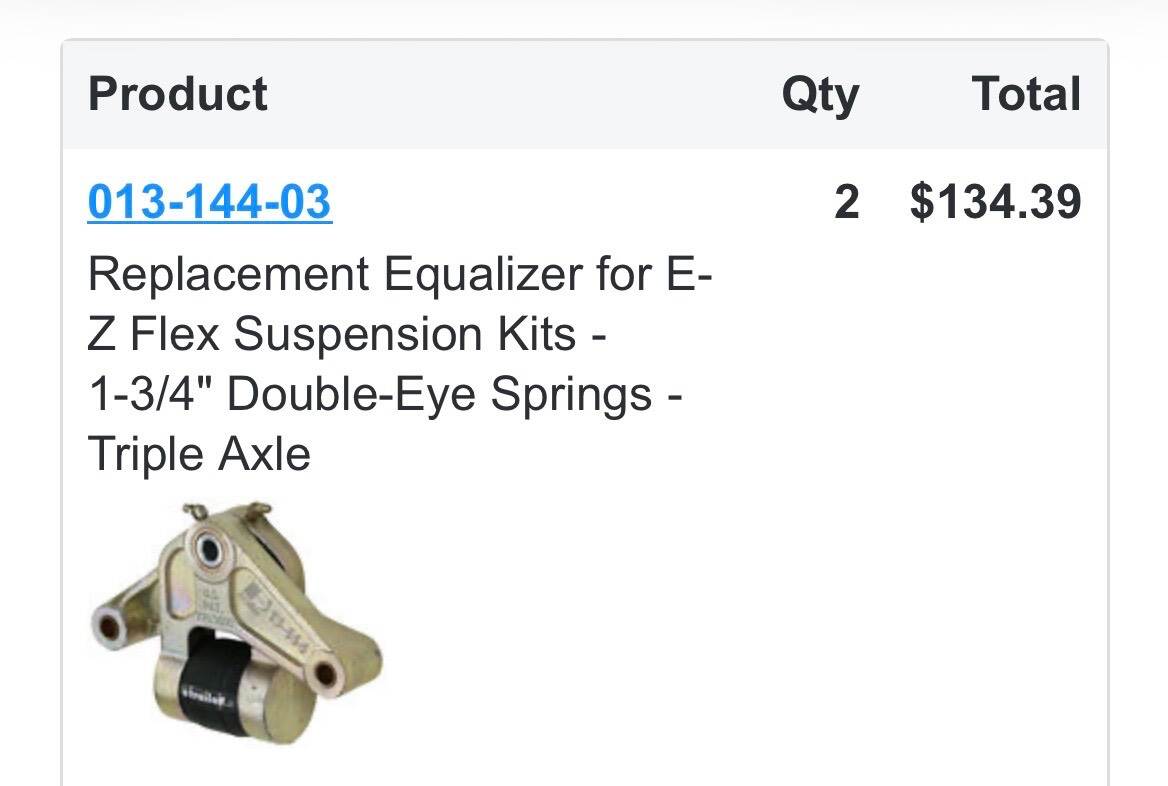
When I added the 45-degree Zerks, I tightened them down one-finger tight. Several of them at their set point were not at the optimal direction to clear the tires. When I lube, I loosen those Zerks a half turn to get a better angle, pump the grease to fill, then lightly tighten them back into place. Also, regardless of whether your Zerks are mounted inside or out, some may not want to take grease. Using the stabilizer jacks to lift the tire, take weight off, may help. If not, you may have to loosen the wet bolt, apply grease, then retorque the wet bolts when finished. Time to retorque all suspension bolts anyway. In my experience, this happens to 1-2 bolts each time. Check with Alcan ahead of time. They may not stock these parts, and you can always bring parts with you. BTW, given the age of your hull, if you’re replacing axles and springs, you’ll want to replace the EZ Flex center links too. Many have brought these parts with them too. Alcan will be happy to install them. Since you’re replacing the main components, replacing ALL parts at the same time makes best sense (see pic, I purchased 2 of these from eTrailer. The following thread is where I documented my DIY axle/spring installation:
-
The Oliver battery bay is designed to hold the weight of 4 LA or AGM batteries. Given you still have 4 AGMs proves this point, as it’s been holding for 10 years. I see real issues with the picture you shared, that you truly should investigate. Two bolts are certainly required to hold two support beams together. One bolt allows for the angle to bow, two will not. It’s that simple. Looking at your picture, the lower beam doesn’t look square to the floor! Is it still connected to the frame? No added gizmo will correct for a failed foundation. I’d be pulling up the insulation around the base to verify if the support base is still welded or bolted to the frame. Then do the work that David showed above. We’re traveling again in 4 weeks and the support lift/2nd bolt addition is top of my list. We will NOT travel again until this issue is corrected! But we all do what we want in this life…
-

Removing shelf under bathroom sink for plumbing access.
jd1923 replied to Mroth's topic in Ollie Modifications
I would be fine with a better installation, ease of use and longevity of the cable over a larger storage space. I believe this is a good example of OTT improving their design through the years! In our Oliver, Chris uses this space for storage, a small pressure cooker, yes TP and paper towels, extra coffee and a whole lot of dog food and treats! -
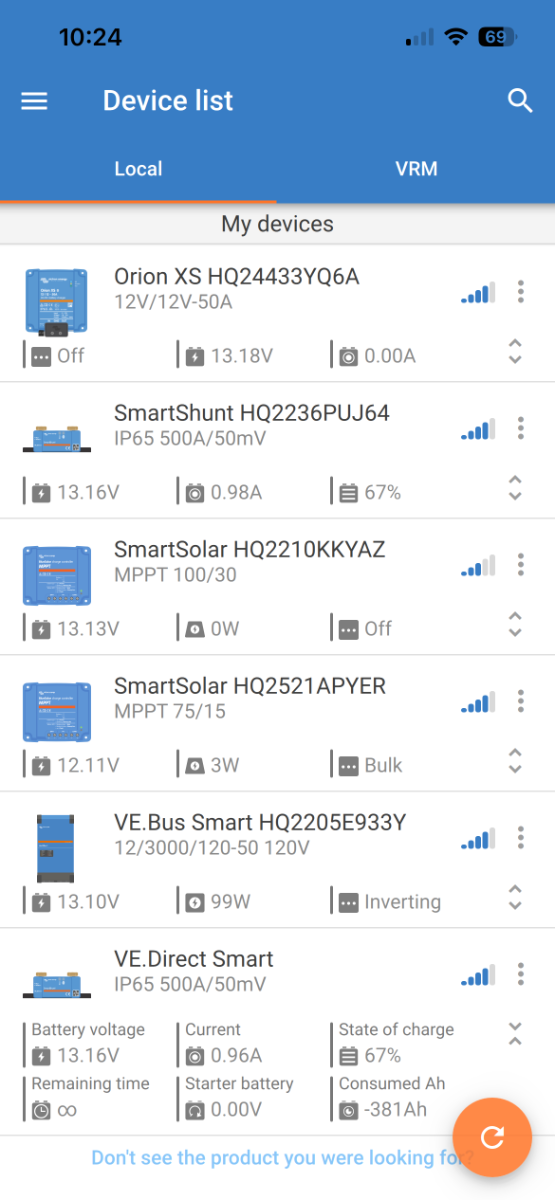
When I first read your post, my first comment was 🤣!!! Just search for keyword 'Victron' to find MANY upgrade threads! Here is my DIY thread, new Epoch batteries with Victron MP2 and components. We now have 7 Victron components (see app screenshot below), from the Smartshunt to Solar Chargers, to DC-2-DC chargers, etc! Adding the Victron Orion 50A DC-2-DC charger => Only a couple of Oliver Owners had upgraded to the Victron Multiplus II inverter/charger and Epoch batteries before I did ours, summer of 2024. And many have done so since. In this post Patriot shows an excellent professional installation! You have dozens of upgrade threads here you can study to make yours what you want!
-
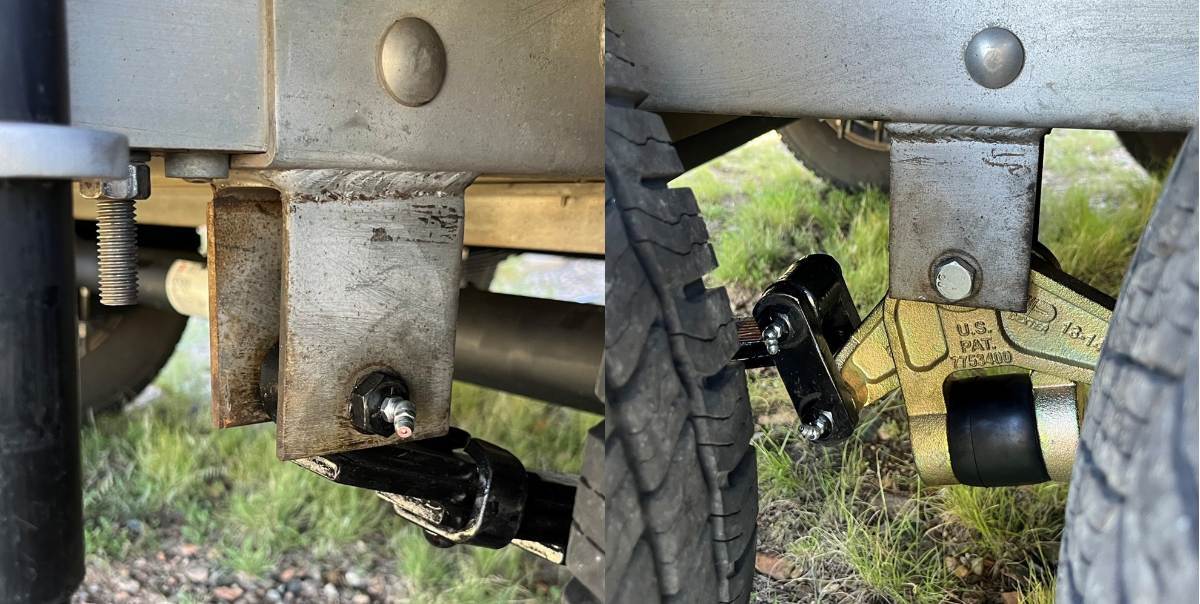
David, @Patriot should chime in. He prefers mounting the wet bolts, Zerk fittings to the inside. You get full clearance but the down side is you have to crawl under the trailer to lube the suspension. I prefer mounting the wet bolts in the standard direction, facing out, but then I replace the straight fitting with a 45-degree Zerk fitting to get the required clearance. I usually have some reason to remove the wheels every year or two and always lube the suspension at that time anyway. Your old suspension likely has 6mm x 1 threads on the Zerks. I'm pretty sure the Alcan wet bolts use 1/4" x 28 fittings. You can verify this with Alcan. https://www.amazon.com/dp/B0DQBPTK3Y/?th=1 Get one of these too, and many of us use a battery-powered grease gun. I have the Dewalt model with the LockNLube coupler attached and just the other day, I was able to lube the suspension on my truck in minutes! https://www.amazon.com/dp/B00H7LPKKU/?th=1
-
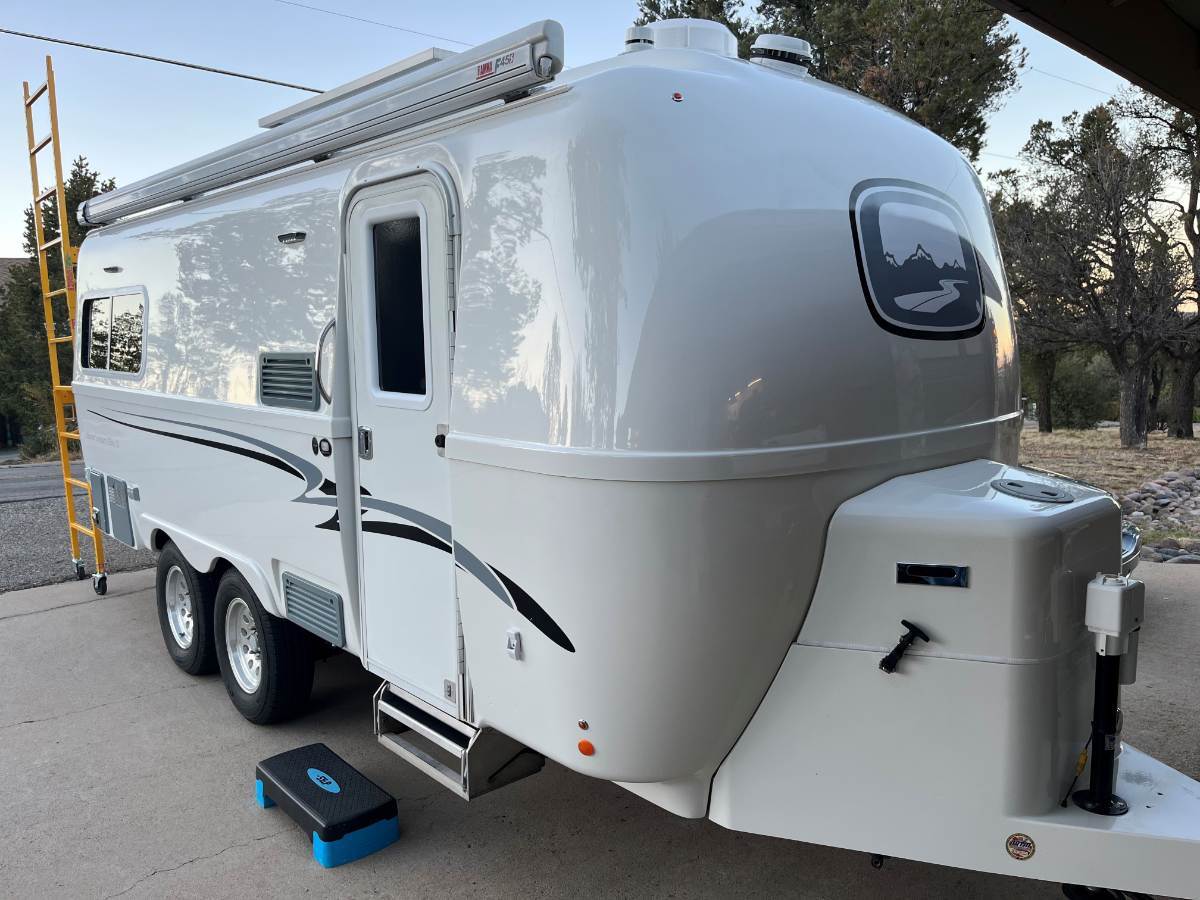
Yes, the monsoon season, late July through September has chance of flash floods, but it would also be > 110F! Will soon be in the dry season, Q2 starting with April winds! It’s so BRIGHT up here, my eyes hurt after 3 days! Even with back to the sun, the Oliver looks like a high-powered light bulb! Maybe should have parked with curbside to the north. Chance of rain this week is 0-0-0-0-0-0-0!!!
-
Removing shelf under bathroom sink for plumbing access.
jd1923 replied to Mroth's topic in Ollie Modifications
ABS (black) pipe is for waste lines, much less expensive pipe. PVC is used for fresh water and sometimes exposed sink drains, etc. You can use PVC in place of ABS like in your Oliver plumbing, but ABS is only used for gray and black waste plumbing, not rated for fresh water. -
I suggest Nylok nuts and washers, no loctite needed. First do the lift as @David and Gail has showed above. Drill a second hole, top of slot, hand tight both bolts. Also, the angle of your two support beams seems greater than in other pics. The base looks off angle (notice angle of base not square with floor in your first picture). Check below where it should be welded to the frame.
-
Similar outcome shown by the “Grand Adventurer” RV guy, the YouTube video I posted above. You have 1 of 3 bad and he had 2 of 6 bad. Both of you noticed your SOC was not what it used to be! Good test Ken! I still have a drawer full of incandescent GE Reveal bulbs at home, for the health of our eyes and heart!
-
Battery tenders on 4 LA batteries down to 9V will take several days to charge as you are witnessing. interesting how most Olivers are different. Your hull #99 and our #113 both have Blue Sky SCs, but my breaker and shunt were wired on the right side. Never seen a 120VAC panel where breaker #1 isn’t the 30A main and ours has only 6 breakers. They wired the microwave with the 110V outlets on the same breaker. Yours is written “Charger” they wrote “Converter” on ours! Since I replaced the converter with a Victron inverter/charger, I now use the 6th breaker for what was the microwave circuit, now an air-fryer/oven. I still have the original converter installed as a backup just in case, with the hot/black wire disconnected. Every Oliver is unique, yet many similarities. I use many 2017 electrical and plumbing schematics that were not available for 2016 and they’re often close enough to figure things out! I’d say new batteries are in your future and there are many posts on bettering the electrical wiring and other systems.
-
Removing shelf under bathroom sink for plumbing access.
jd1923 replied to Mroth's topic in Ollie Modifications
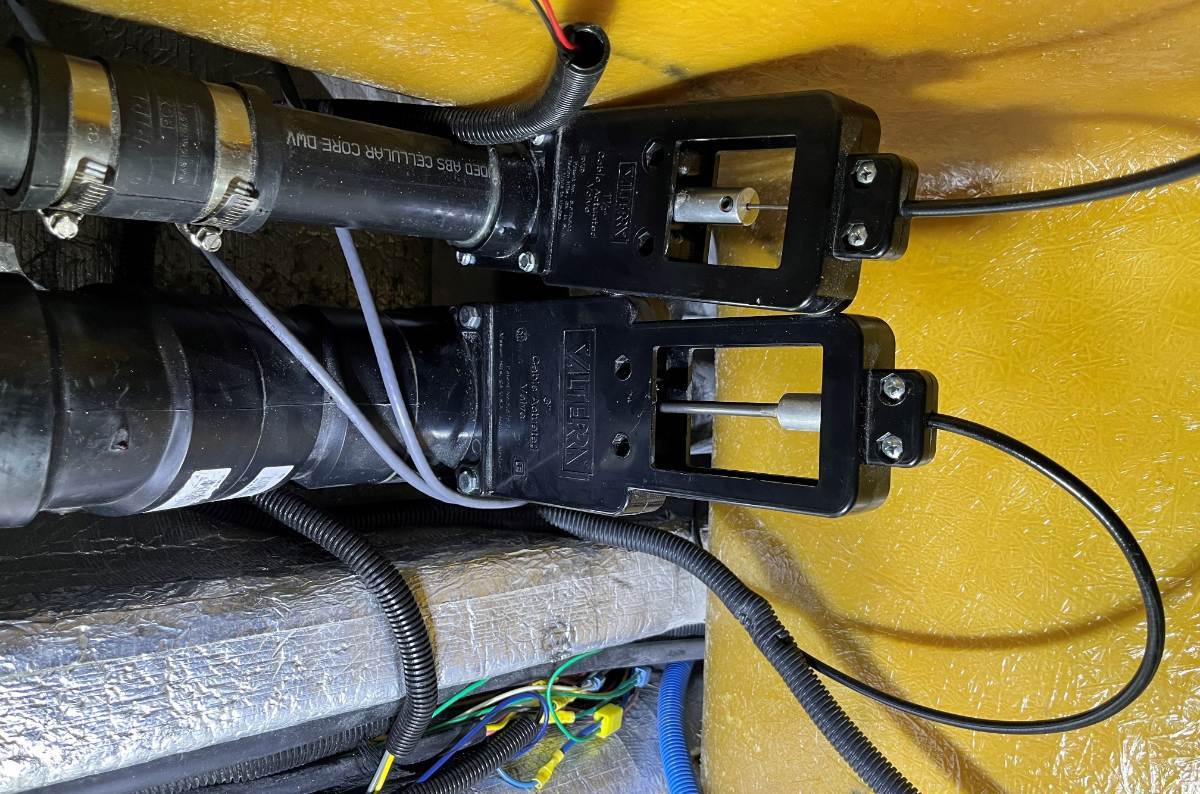
Yep, ours are ABS. And don’t the new Olivers have electric waste valves and something different for the pull handle for the bathroom gray? I replaced that one with electric but an electric valve would not fit on the black tank waste valve where they plumbed ours without replacing all the ABS. -
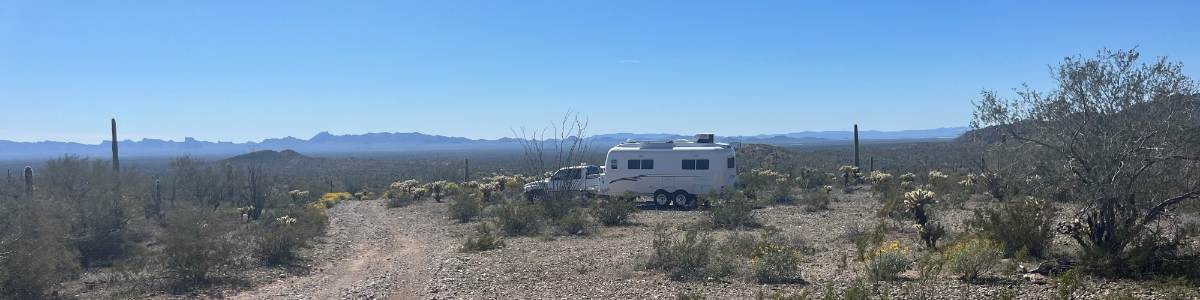
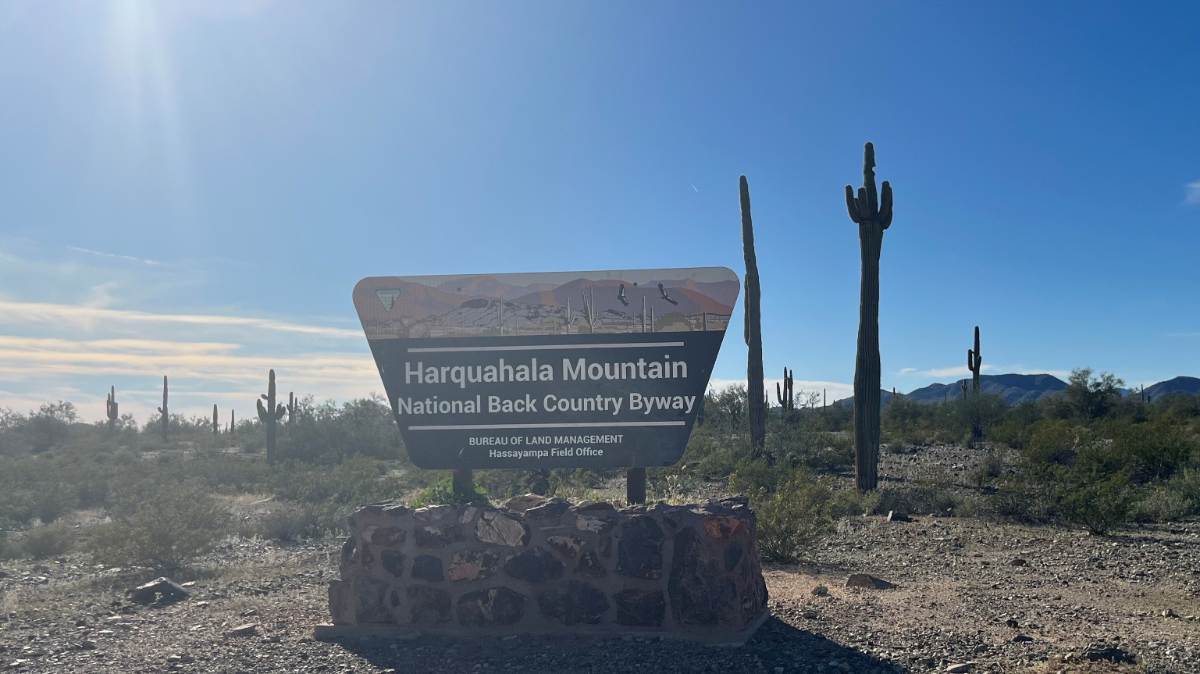
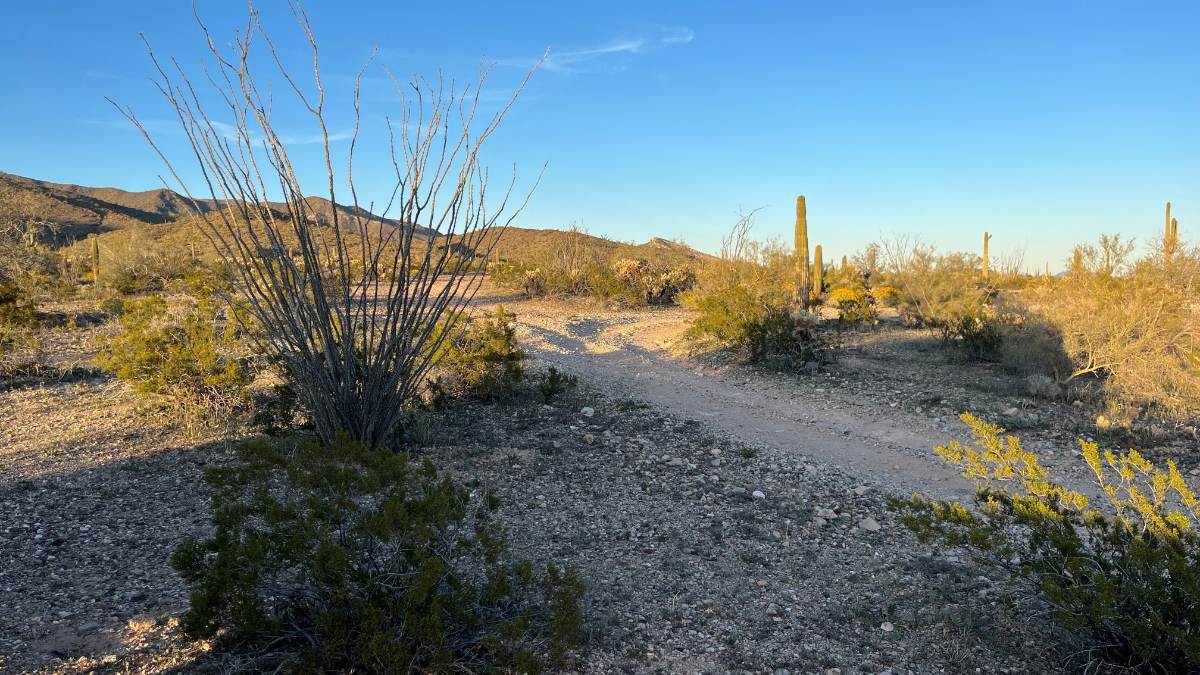
Here's a couple more of the campsite and I have supplied GPS coordinates. We are a couple miles past the staging area. There are campsites at the staging area, one large flat one with picnic table and fire ring. Many RVs were also camping south of the entrance down Eagle Eye Rd. To get here, you'd have to tow down and up 4 narrow washes. Some may not want to pull their Olivers through these washes! I descend slowly, then when my truck is at the bottom I let off the brakes, the weight of the Oliver then pushes the truck through and then quickly hit the pedal to pull up, some were very steep! 😎 There were two other nice campsites on the way to ours and only one past this location. Yesterday we drove up some, to the turn-off to the Monterey Mine. The maps on On-X Offroad are good. With 2WD and not wanting to air down, this was enough. It gets very steep and sketchy the rest of the way to the top. Some of you, airing down with a capable 4x4 would have no problem getting to the top. I understand from the top you can see ALL of SW AZ, from Phoenix, all the way to California, south to Mexico and north to the heights of the Prescott NF! Harquahala Mountain at 5600 FT is the tallest peak in all of SW Arizona. I wish we could travel with the Oliver and somehow bring our 2018 Textron Havoc SxS with us! She would fly to the top with ease!!! 🤣
-
Removing shelf under bathroom sink for plumbing access.
jd1923 replied to Mroth's topic in Ollie Modifications
It's interesting how OTT installed your black tank waste valve, laying on an angle in the center of the area under the front dinette seat! Mine was installed straight up vertically in the corner. There are pluses and minuses of both. Further up and on an angle, the pull on the 144” cable would be smoother but it takes away from the storage space. I had to replace our cable since it got kinked from the hard angle (see pic below), and even with a brand new cable it's still not easy to pull. We have a lot of storage though, where a large basket fits nicely down there! Every Oliver is truly unique.
-
Chris, I truly commend you for your recent upgrades and attention to detail… Promise me one thing, when you retire, don’t get lazy! 🤣
-
Getting there! When you're home, I would turn OFF the onboard converter (there should be a breaker for it in the AC panel) and try another charger. Perhaps some of the comments re your converter could be true. I use this model at home and always travel with it. It has a repair mode too for what happened in your case getting too low on voltage. It can be switched between LA/AGM/LiFePO4 batteries. I purchased the 10A model is fine for battery maintenance/overnight charging. They also have higher amperage models (larger and more expensive). https://www.amazon.com/dp/B07W3QT226/?th=1
-
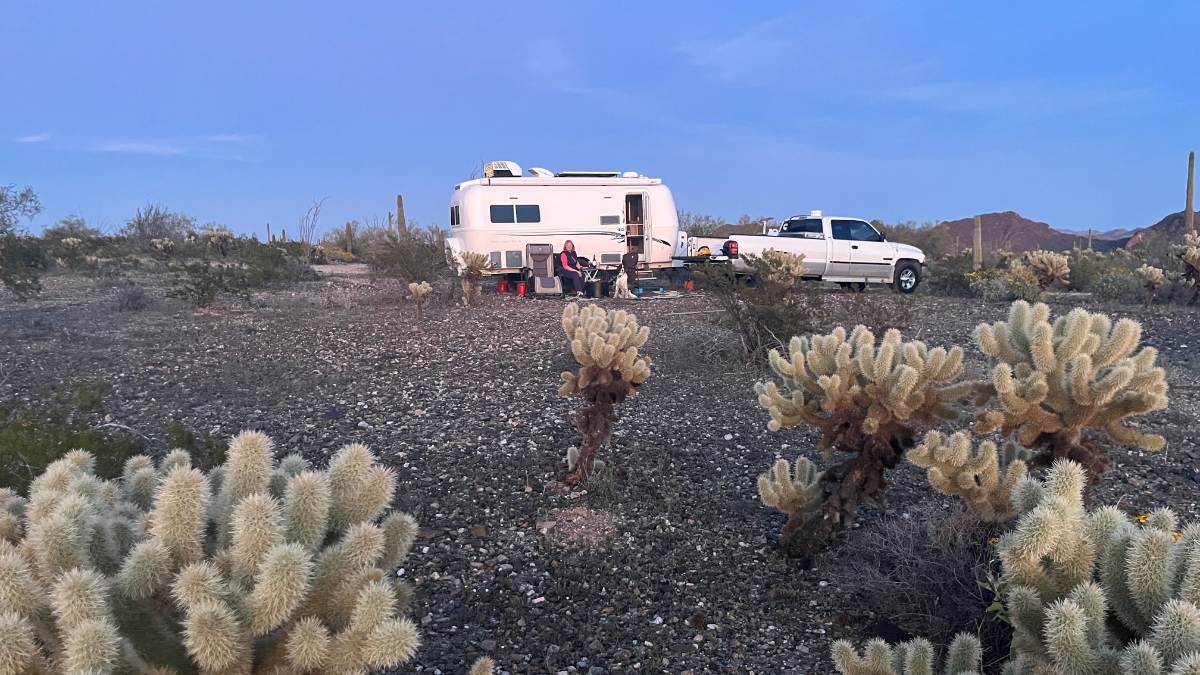
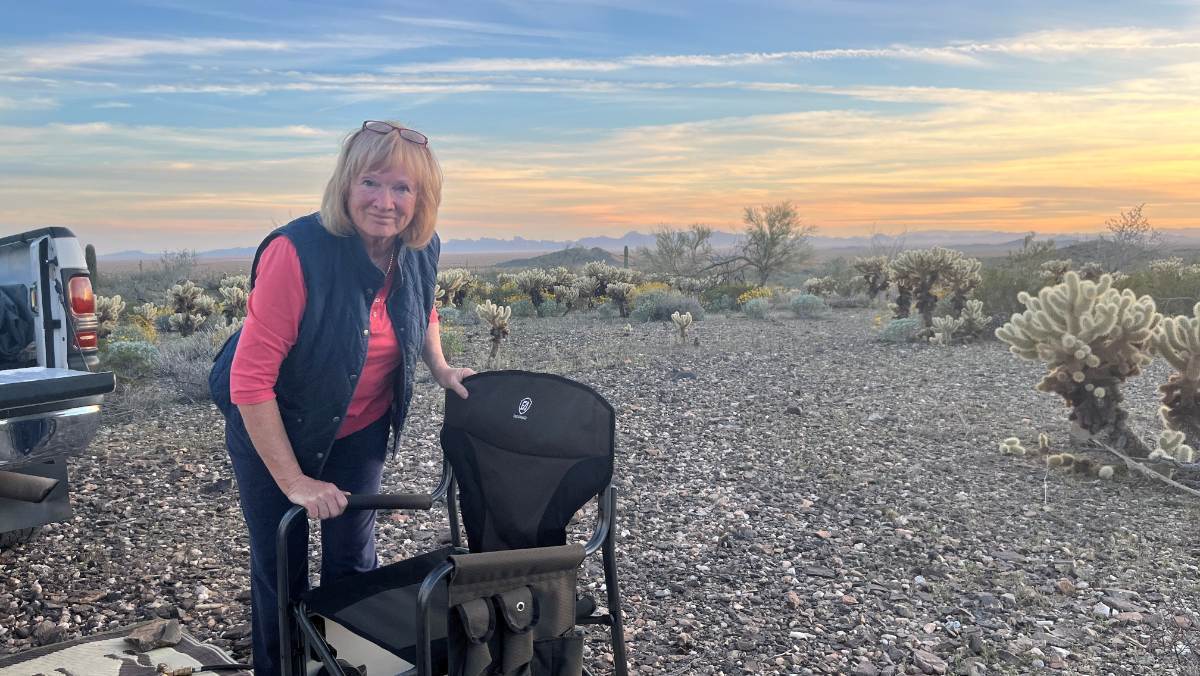
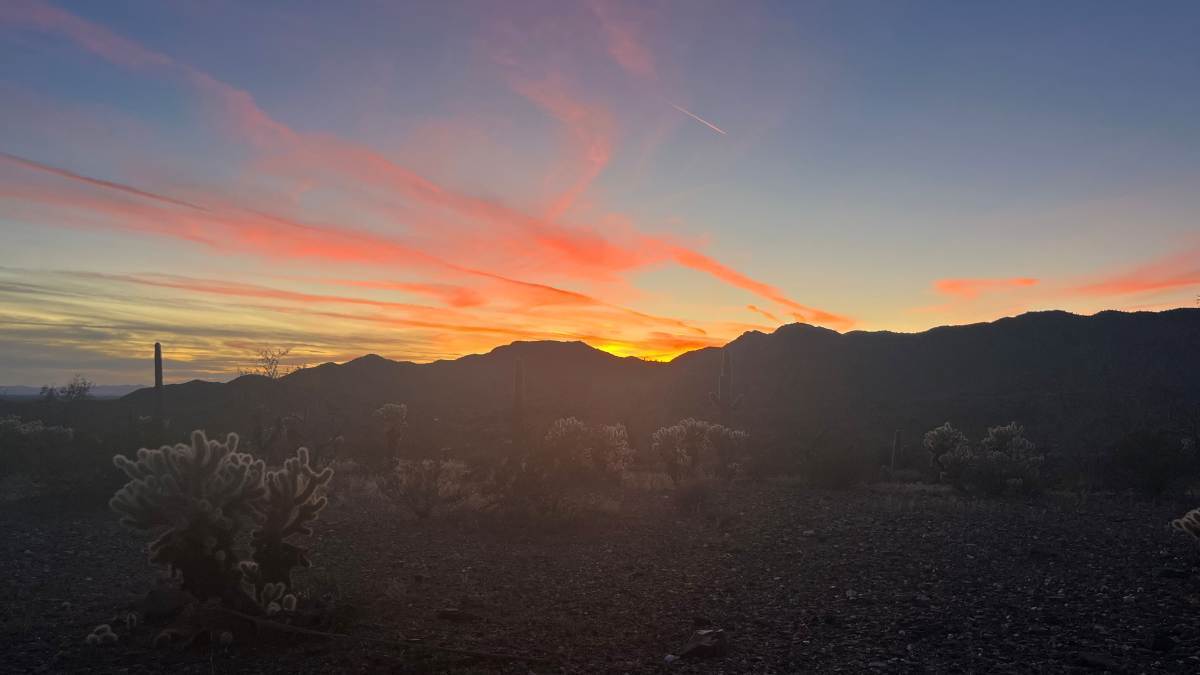
We'll have 4 peaceful overnights in this beautiful and mostly quiet BLM lands. Quiet except for occasional UTVs passing by to run the shelf road to the top of Harquahala Mountain! (3 groups so far on this Sunday.) We got 100 yards off the main road and all I hear are the insects of the Sonoran Desert (perhaps too dry here for many birds). Not one sound overnight! Up close and personal with the Cholla and Saguaro cactus! 75F this afternoon and should reach 85 in a couple days! Drinking coffee this morning, in shorts, shirt off, basking in the Arizona sun. From I-10, halfway between Phoenix and Quartzsite, take Salome Rd to Eagle Eye Rd north. Or take Eagle Eye Rd south off US Hwy 60 at Aguila AZ. The roads are all paved until you get to the staging area and the road to the top is of course dirt, where decades ago there was a Smithsonian observatory. Our tow vehicle is only 2WD and I'm not much for hairy shelf roads anyway! I'd like to drive up close enough to hike the rest of the climb. We'll check it out soon! We each have a good book to read and getting some sun and warmth (got cold and snowing in Prescott) and much needed rest, is all we need to finish up this trip! 😎
-
Lead acid batteries should charge up to 12.6V. Yours being down to 9V and on charger overnight only getting to 12.2V, means it’s time to replace them. I see your hull #99, wow! This must be the second or maybe 3rd set of LA batteries. No time like the present to upgrade to LiFePO4 batteries! 😎
-
I'm sure when Dave logs in, he will have some good advice here! I'm thinking the caulk on our older hulls is silicone. I've removed a lot of it except over the wheel wells. Whenever we tow on dirt roads you can see dirt collect where there is and was silicone. I also do not think silicone caulk will accept paint.
-
David, I believe Bill's note was addressed to my comment (not yours) which made me think. So I removed a sentence I had written that was in poor taste. Your post will help me in my repair and others who may have this issue. You demonstrated excellent work which others can follow. Wow, 110 days in your first year, 90% Boondocking! Those are good numbers! We have 150 overnights in two years 60% Boondocking. Our percentage will go up now that we can run our A/C off the inverter! The only reason to plug in was to run the A/C when we ran into hot weather more often than we liked!
-
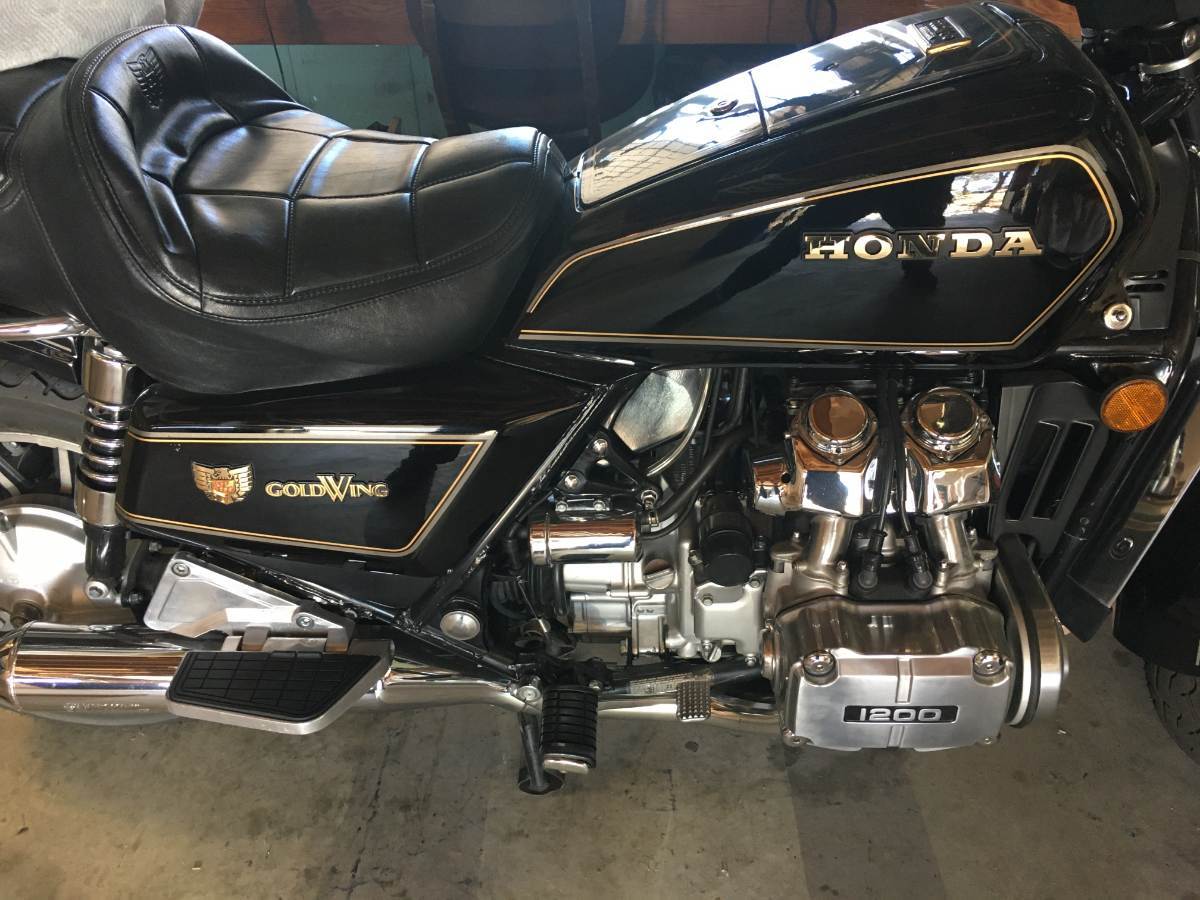
The center of gravity of the standard models (75-84) is VERY LOW and nothing else rides as they do. The have a faux tank and the actual fuel tank is between and under your knees. The boxer-style engine also keeps weight low. This "skillful rider" as you wrote had a great machine at his hands. Summer of 1986, when I purchased mine, my cousin and I drove to NYC for the anniversary celebration for the Statue of Liberty and to visit family. Taxi cabs were on strike, so the streets in Manhattan were empty, an odd site. I rode a 5-borough cruise myself one day. Driving through Brooklyn on a 4-lane 45 MPH road, a women in a Camaro pulled out from a stop sign instantly and she then stopped directly in my path. I stomped on the rear brakes followed by the front HARD and the bike started into a skid! I stopped sideways right at her drivers door, on bike still standing, yelled profanities into her open window, then goosed the throttle and pulled around her in an instant, my heart beating fast! 😎 The years before I rode a Yamaha XS-850 Special. It was a taller bike with it's 3-cylinder engine straight up, fuel tank up above. I realized that if I had not traded up and was still riding the Special, I would have crashed directly into the driver's door of her Camaro. They did handle extremely well. But years later as they added fairings and bags and 100s of LBS they weren't the same. Same thing happened re Harley full dressers.
-
Thank you, Bill! 1984 was a landmark year for the Goldwing mark! It was the first year of the 1200, and the last year of what was called in that year alone “the Standard!” All since have been full-dressers, OEM fairings, saddlebags, etc. Goldwings from the GL1000 first year in 1975 to the GL1100 in 1983 were naked bikes and if you wanted to dress out your ride you would add Vetter accessories. I had purchased one new back in the day, and after 20 years, it needed work, sold it when we left VA to move west to AZ! Found this pristine bike with only 6K miles on eBay in 2008! There is not another example like it! 😎l
-
David, excellent work and thank you for proving my hypothesis re the bottle jack and that some lift will be required to set the battery box straight. I’ll be working mine soon even though the battery door on ours has been straight for 10 years. I believe the angle re the two beams is due to the curve of the hull, all pics show the same. I’ll bet, you did not expect this on your brand new Oliver! Yours should still be under warranty for anything that may come up.
-
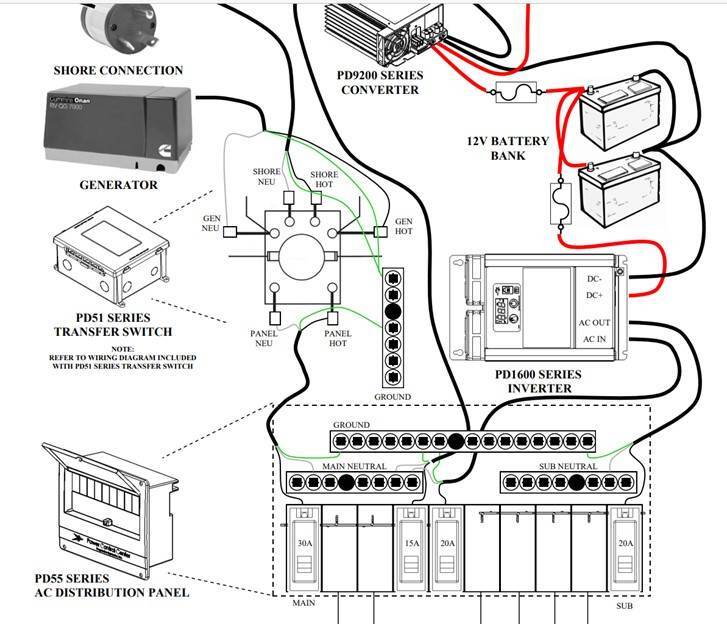
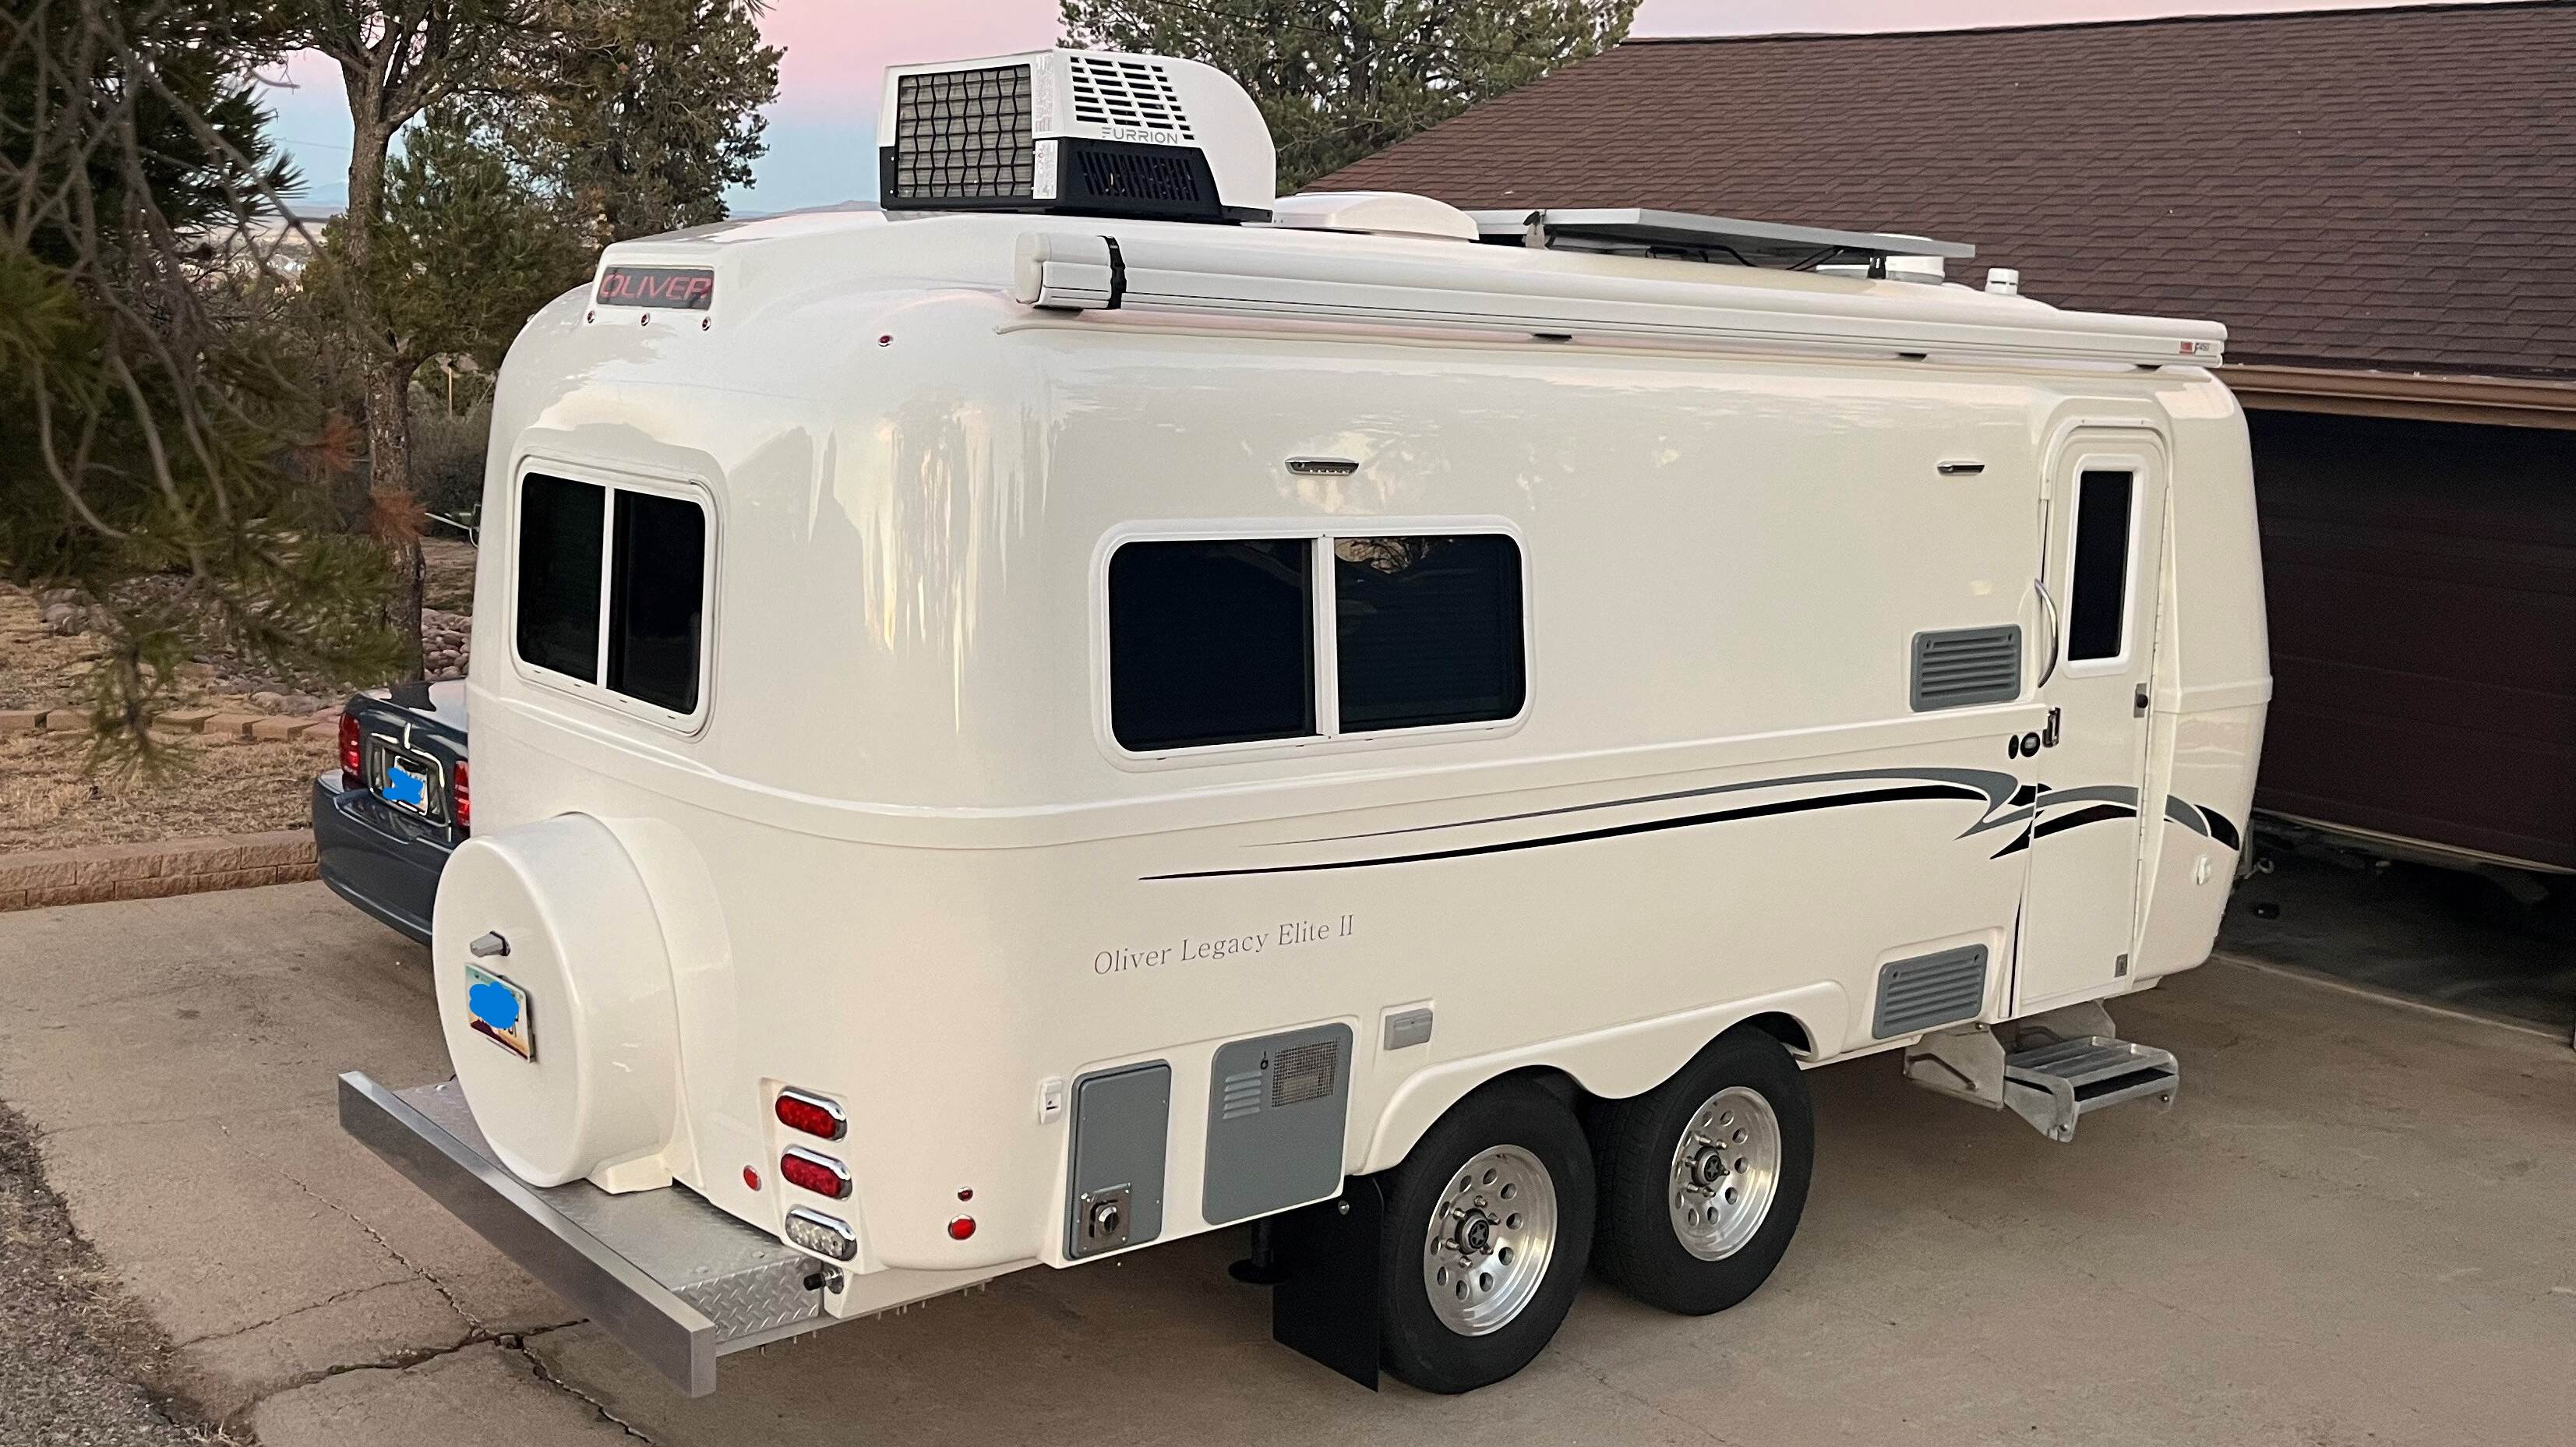
These are very good reasons. We're all different and we all have choices. I am the DIY guy in anything automotive, electrical and mechanical systems. For example, I only pay for an alignment after I've replaced every suspension part myself. I learned solar/inverter system installations on a Bigfoot Class that had none to start. Installed rooftop panels using only VHB tape, drilling only two 1/4" holes for the wires, a dab of Dicor on each. Installed a PD 1800 KW inverter/charger and customized the AC power panel to be a split bus panel (sawed the bus in two, one for A/C and one for inverted circuits)! The graphic below from PD gave me the insight I needed to do so. "Should we ever sell? No way, never! 🤣 I still have my 1984 Goldwing Standard restored to factory condition. Two Lexus, a 1992 SC400 and '08 GX470 both restored. Call our son Adam lucky, as none of these, especially our Oliver, will ever be sold. They will one day be his, always kept in the family. When you put 100s or in this case 1000s of hours in our now amazing hull #113, she's here to stay, and should in its present condition outlive me! That hull named XPLOR has had only the best of love and care! Likely the best looking, best outfitted hull out there! My bet is... David will never sell! 😎