jd1923
-
Posts
3,384 -
Joined
-
Last visited
-
Days Won
256
Everything posted by jd1923
-
 Yes, I buy at our local Ford dealership. A few years ago, they changed their rules where they would not fill LP tanks on RVs or trailers directly. The answer I got was it was causing accidents in RVs backing out of the small lot and the fact that large rigs were blocking deliveries to their parts department and traffic to their showroom. So at home I back up our truck on an angle to get as close as possible, stand up on the tailgate so I can lift the tank(s) straight up. Easier to do so for those of us without truck caps. I tie the tanks in the rear of the bed. Aluminum tanks will not reduce weight significantly, expect they’re some lighter when empty and they’re very expensive. If you’re not able to lift your tanks, you could replace them with 20# tanks. Or you could add a hoist: https://a.co/d/8f4i9gl I’ve got this item on my long list. I also have a very heavy fire ring in the front Oliver basket. Much heavier due to the steel surround I built and for the solid lava rocks. It would be great to hoist this item to my tailgate where I could get a good grab on it! @Ronbrink has a crane hoist mounted to the front of his Oliver to unload his van (see his Van post in Towing). I’m not sure if his is positioned to also lift the LP tanks. I would mount mine rear of my open truck bed, close enough to reach the LP tanks and being truck mounted I could use it to load the truck when not towing too.
-
Winterization Issue (As Storm Approaches)
jd1923 replied to Cort's topic in Mechanical & Technical Tips
For those of us without Truma products, can you post a picture of the valve post without the handle. Is this a hardware store item, or something Truma proprietary? Is the post a 1/4" square or is it D-shaped, or...? You would also need the set screw to keep it mounted, but not necessary to turn the valve. Maybe forget the screw and when you get a new handle, and are done using it, keep it in the kitchen junk drawer or somewhere not to lose another! Keep your furnace running! -
Agreed! Atmos was first, advertised as "German Engineered." The German company made the mistake of so many global manufacturing companies. They decided to maximize profits (short-term) by manufacturing in China, where the CCP has no qualms re patent infringement! (This happened to EVERYTHING Motorola manufactured in China during the 90s, and a significant factor to the demise of Motorola, one of the great 20th-century American companies in communications electronics.) GREE is a Chinese appliance co: https://global.gree.com/ They built the original Atmos and go figure once they had they had the manufacturing technology in-house they "re-branded" the appliance in their Tosot name. They built both products, so likely they are equal in design and manufacturing, or did they cut corners which can be true with knockoffs? @mountainoliver Ken and I both observed Ron's Atmos at the 2024 Texas Rally. The Atmos A/C in Ron's hull was SUPER quiet and efficient, dropping 10 points in both temp and humidity in just 40 minutes, midday Texas weather on the lakes at 85F and humid, while you could hardly notice it's running! Ken, recently had SDG install the Tosot (would like to get Kevin's (of SDG) gossip on Atmos vs. Tosot!). Ken created a post on his Tosot and I believe he now knows his Tosot is equivalent to Ron's Atmos. If we were ones to visit FHU campsites often, I would purchased the GREE product today hands-down. Since we more often dry-camp and rarely summer camp, I'm still waiting, running the awful Dometic P2 when forced to by unexpected heat in our travels! More often our A/C is running during August while parked outside at home, thermostat set to 85F so that the AZ sun doesn't cook the hull interior! I can hear the friggin' thing running 100 ft away! But the only good feature of the P2 is it turns off completely in AUTO mode. Ours will run in the heat of the afternoon and turn itself OFF from sun down 'til about noon the next day on a hot summer day. It's truly too bad all these new RV A/C products are designed to run the fan continuously! More often off-grid? It appears an Inverter A/C will run on near half the power, Ah consumption. Inverter A/C products for the 14x14" RV rooftop installation are new technology and limited in product offerings. Dometic has one, but not in the US market. Houghton likely the same. Current offerings are the Turbro Greenland and Pioneer (again the same thing rebranded) and we have a few threads on these products.
-
Residual gas in the trailer LP plumbing would NOT be enough to start a flame on the stovetop at all, or if it did so it would burn out in seconds. I believe one/or both of your tank valves is/are either open or bad. If you can truly run the cooktop for any length of time, the tank valve is OPEN. We always run gas through the cooktop for a few seconds (lit or not) before turning the fridge to LP, turning on the HWH, or furnace, to bleed the lines with pure gas up to that point. However, for gas to flow from an LP tank, both the internal valve has to be open and the LP line with the correct connector needs to be attached. Both the valve open AND the line connected is necessary for LP gas to be released from the tank (redundancy for safety). Either it's something as simple as your tanks valve(s) are NOT closed (righty-tighty), or you valve is bad, failed in an open position and it's not apparent until the line is connected that the valve is actually open. Hope this helps! This Q&A on this website explains: https://www.propane101.com/valveopennopropane.htm
-
You’re welcome! Why many of us are here. You know with your hull #124, you’re in a good group of fine ol’ 2016 hulls, soon reaching our 10-year anniversaries! Our #113 was being built this time of year in 2015 (can tell from the dates I’ve seen on parts in the basement). It was Bill, @topgun2 hull #117, who wrote me 2+ years ago, just after our purchase, that our hulls are “cousins!” And there’s @Mike and Carol with #135, and I’m sure I’m missing others. Literally TONS of experience in this group! These older hulls have nicely matured, and are reliable in their lifelong experiences! 😎 Good to hear from you cousin! Good to know you’re fixing up the old girl!
-
Camp without Wi-Fi in the year 2025? “Don’t leave home without it!” 🤣
-
Yep, agreed! OTT did not install one on our older hull, so after asking Forum members, as to "Why?" I installed the same PI EMS shortly after purchasing our Oliver. We had the same EMS model in a Class C, and the 50A version in a Class A we had in the past. They are standard and code compliant. As far as electrical installations, it's relatively simple and I also agree with CRM, that pedestal protection has the issue he cited and others.
-
Simple answer is to get under your trailer and take a picture of your axle label. If it states D35 then 3500 lbs or D52 for 5200. If no label, look at the back of the braking plates for the drums/wheels. If you see the heads of a 4-bolt pattern, you have 3500 lb axles and if it's a 5-bolt pattern then 5200 lb axles. I purchased and self-installed Alcan HD springs (including their HD shackles and wet-bolts), Dexter D52 axles and new Dexter EZ Flex equalizers. Given your considering this important investment you may want to read through my thread, even if you plan to have the installation done by Alcan or others. Also read through the first few pages of this long thread (but after a few pages it gets repetitive)! 🤣
-
Unfortunately, Oliver #113 is in Gallup NM! I say this… only because we had 2 weeks to camp in SW Colorado, but hurricane weather (really?) has brought serious RAINS to the area, now cutting our time away in half! Never happened to us before, as rain is a luxury down here in the SW. Next 5-day outlook for Durango is rain, rain and more rain. Locals were in line at the County maintenance facility filling sandbags! If we had more time, we’d wait it out, but we don’t. We had earmarked a half dozen Forest Service entrance roads, just east of Mancos CO, just beautiful! But given this rain, threat of flash floods and MUD which doesn’t play well with our trailers. Towed Durango to Gallup today, where after an hour on the road the rain stopped. Just started raining good down here by 6PM. So where’s Ollie? Camped at Walmart-Gallup. What a busy place! But we found a nice edge back edge of the lot! 😂 The recent rains created a pond for our visit and what a view considering! We feel blessed! Can better a campsite be found at a Walmart? Back home tomorrow, 3 hours west on I-40 and at Ash Fork AZ, another hour south on AZ HWY 89! If it’s still raining, it will be dry at home and in my garage. We already scheduled pickleball with friends for Sunday and Tuesday! 😎
-
Want to try out, test those new springs? Just tow your Oliver through New Mexico! As soon as you cross the state line you see the difference in poor road maintenance! We hit DOZENs of heaves on the state highways, heading south to Gallup. Twice it was so bad, I could hear my front tires chirp as they got air while I’m on the brakes! And I was being careful, driving 10 under the limit! Everything in the Oliver was just fine! The Oliver on Alcan Springs traversed the heaves better than my HD truck! Maybe upgrading to Alcan Springs is like trading in your 1/2-ton for a 3/4-ton truck! 🤣
-
What is the purpose of the two drains on bottom of LE2?
jd1923 replied to Dirt Duff's topic in Welcome to the Oliver Forums
True, but understand that valve only opens/closes the bathroom sink drain plumbing to the gray tank. The only way opening that valve would release water is if when trailer is parked nose down, allowing gray water to float upstream. If that’s truly happening the leak is certainly in the front sink drain plumbing. A simple test for that is to have the valve closed, run the sink faucet until there’s some water on the shower floor. Then turn off the water pump (or disconnect City Water). If the leak keeps dripping after the water supply is depressurized AND the water on the shower floor recedes, then you have a drain plumbing leak. Hopefully (and likely) the leak is under the bathroom vanity, as the other drain plumbing is not so easy to access. You'll likely have to remove the front panel of the bathroom vanity. If it’s screwed on, that means prior owner was in there. Ours was only mounted with a sealant and after doing some heater duct repair (check yours while in there!) I remounted ours with 4 screws and a rubber seal (I truly dislike sealants)! When testing for water leaks, it’s imperative to the Oliver plumbing and tanks design, to make certain your Oliver is perfectly level! Make certain of this first! 🤣 -
If you still have the OEM Dometic Penguin II air conditioner, you can go to SDG Elkhart and have your A/C nicely upgraded with a very, very quiet Tosot brand unit! 🤣 I have a high-end Viair system with all accessories! Just installed an exhaust brake on our TV which included an onboard air compressor, so our Viair is no longer needed. PM if interested!
-
Maybe you didn’t mean this exactly as written! Thank goodness $3500 invested into D52 axles, Alcan Springs and all new HD suspension parts plus my labor, that I did not come away with, “no difference noted in handling!” 🤣 Drove an hour today from Delores to Durango CO, on the beautiful mountain roads through Mancos CO, so nice! On purpose at highway speeds, I would quickly cock the steering, while looking in the sideview mirror. I could see the Oliver slightly tilt one direction and smoothly return. On the Dexter springs, the same action would cause a full foot of sway left to right, starting a pendulum effect! Now I can descend a mountain road and where it has a 45 MPH turn warning sign, I can drive the speed limit and the Oliver stays level to the truck. OEM suspension, I would take the turn at 35 or the Oliver would be leaning too far outwards! Glad to read some Alcan 4-leaf feedback! I’m sure they’re a reliable upgrade. Glad to read OTT is working with Alcan! 😎 And like you wrote, my friend, just one data point. I mean it too!
-
This has been discussed and posted many times (and 3rd time I posted this picture). Everybody should download a table like this for your tire make/model/load range (E) and size, however the numbers are basically the same across manufacturers, but vary greatly by tire Load Range (# tire ply) and SIZE. This table is for the tires we have on our Oliver, but should be good for any Load Range E size 225/75R16 tire. Running 4 tires at 60 PSI will safely support a trailer up to 9,740 lbs. Running as low as 40 PSI is enough for a 7K trailer (7,180 lbs). Before travel, I'll check pressure on all 4 trailer tires (the truck too of course). If the Oliver tires are all within 42-46 PSI, I'll level them off to the lowest common denominator (easier to let out air than to fill). Less than 42, more than 46, I'll make them all very close to 45 PSI, providing a 10% margin over the required PSI for the GTWR (more margin for reaction time to TPMS, not a good idea). The tandem-axle trailer design with the center equalizer of the EZ Flex system, allows the leaf springs, one axle at a time, to have a longer span length to absorb bumps, or shorter to absorb dips. Better to hit a speed bump, bridge seam, pothole with stiffer springs vs. higher PSI tires! The years that OTT recommended 80 PSI (65 or 55), I promise you "punished" the Oliver build much more than Alcan HD springs! 🤣
-
I just posted my feedback and going back on this 33-page thread, there are a dozen others. What we have not heard, unless I missed one, is any feedback from those who have purchased an Alcan 4-leaf set.
-
“Punishing” might be overstated, but somewhat over-sprung, I’d agree. We had other interior items go astray with the lame OEM under-sprung suspension. Much better now without the porpoising and waddling, the dozens of broken leaf springs reported by others fixed on roadside, one recent $1800 tow, etc. Personally, I’ll take better towing/handling on the road vs. worry about bounce in the trailer. But I’m A-typical in that my feeling is the Oliver is a trailer, a tool with a purpose, not a baby to care for in that way. By maintenance time next summer, I’ll report if there are any tru resulting issues. A slightly lighter gauge 5-leaf spring rated at 2200 vs. 2750 lbs would be great l, but not available! 4-leaf springs, not going there again, IMHO a failed design.
-
Use space heater when below freezing???
jd1923 replied to Dennis and Melissa's topic in General Discussion
Lot of us in that club, I’m a regular member! 🤣 Like if our furnace went out, I’d have no backup. When we upgrade the A/C, then we’ll have a heat pump for backup. I dislike carrying stuff not used. It’s been lows high 30s here in SW CO, running the furnace overnight, thermostat at 65F, it runs every so often in the AM hours. We live by our Ruuvi sensors. One is positioned right on the incoming water lines, lower back wall of the basement, likely the coldest spot between the hulls and the first area water would freeze. Living SW we winter camp often, and I only blowout the water lines when needed, several days below freezing. We don’t winterize or do storage, but keep an eye on freezing temps. -
Installing Pioneer Inverter AC
jd1923 replied to Treasure Coast Vault's topic in Ollie Modifications
Just got another Turbro email re the Greenland Inverter A/C! List - $1499, then was 15% off $1,275. Then 20% for $1,200. Now use code FALL400, net cost $1,100! Maybe end-of-season pricing or will it be $999 for Black Friday! I’m getting close… 🤣 -
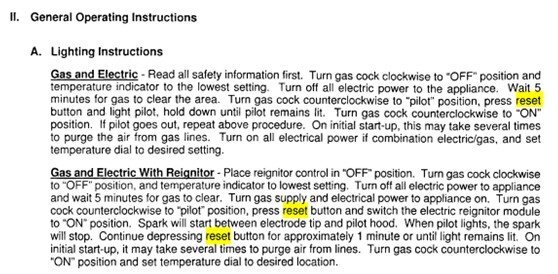
Sorry for your troubles, but you have provided a lot of good info here! The DC 15A fuse provides power to the LP side of the Suburban HWH, the Direct Spark Ignition, etc. If it is consistently blowing the fuse, you have a dead short in the path between the switch and the HWH. You could pull the switch from under the pantry to see if anything is wrong (use a thin putty knife around the edges), but more likely on your 10-year-old LE1 is the 12V+ line is corroded on the HWH side since it is out towards the elements. I'm not sure of the wiring, but check the wire shown bottom left in your picture, where it connects the the ignitor above. Also, walk through troubleshooting in your suburban manual. I've attached below a PDF of the 2016 OTT Owner's Manual. First, search (Ctrl-F) for keyword 'Suburban.' When I got to the Suburban section of the manual, I clicked on the first page of the section and then searched for the word 'reset' to learn what the reset buttons are for. It appears the reset is used for re-lighting the HWH (see pic below), it resets to go through the self-ignite steps again to restart. I'm not 100% on this, haven't needed to use it. The ON/OFF rocker switch, also bottom-left, is for 120VAC operation only. We leave ours ON always and when we want to run on shore power, and sometimes inverted power, we turn the 120VAC functionality ON/OFF by closing or tripping the HWH breaker in the 120V breaker panel. Much easier to flip and breaker inside, than to open the exterior door to the HWH. Chris has this all down now for our Oliver. When dry-camping, she asks me to turn on the gas, so she can start the HWH on LP and switch the fridge to LP. She also knows when on shore power to run both appliances on 120VAC. Last thought... Your HWH has a dead short on the DC to LP side. You should still be able to run hot water on 120VAC, either on shore power and if you have a decent LiFePO4 upgrade it can be run on inverter (we do this often when SOC >90%). Just turn that "ON/OFF rocker switch" to ON. 2016-OTT-Owners-Manual.pdf
-
Alcan nut sizes for tightening updated
jd1923 replied to Galway Girl's topic in Mechanical & Technical Tips
Craig, besides the 7/8” deep socket Ken mentioned, a 13/16” socket might be needed to hold the front side of the shackle wet-bolts if they were to slip. A deep-well socket may be needed here too to fit over the Zerks. The other day, the bolt holding the equalizer to the center hanger was spinning on mine. Using 13/16” socket and short extension, the breaker bar hanging between the tires, I was then able to tighten/torque while the tire held the bar in front! 😎 (thought at first, I would need to ask Chris to hold the front side). Nice for Ken, 7/8” works for all! I need 15/16” for Dodge wheels and 3/4” for Oliver wheels. I bring all sizes from 1/2” to 15/16” in deep-well 1/2” drive impact sockets and the same sizes in short sockets 3/8” drive. Also have 1/2” to 3/8” and 3/8” to 1/2” drive adapters to use any socket in any ratchet, ratchets in all sizes, and a 1/2” breaker bar that fits into a 2 ft cheater bar! I want to be able to make repairs like replace a water pump/serpentine belt on the road, change Nev-R Lube bearings (see thread on that with tools listed), most auto repairs. That should do it! 🤣 -
Starlink Mini Installation- 2022 LEII- Alternate Approach
jd1923 replied to dhaig's topic in Ollie Modifications
Not permanent, but should have a clear view most of the time, and you can move a truck, not the campsite picnic table! In our reality last 10 campground sites, only one, yes just one, had the picnic table positioned with clear view of the northern sky. Do a day trip, your Starlink and truck mount is ready and with you! 😎 Like Mike, I used the front basket previously which which had a clear view less than half the time. No 360 view in this location. Then when breaking camp in the morning, I wanted to load that basket before wanting to be offline, more hassle. On the Oliver you need a tall cumbersome mast. On my truck, each piece is just 18” long and Mini attached to the upper post takes just one hand and one minute to mount, align direction with one hand too, just twist the upper pole. No problem with high winds either. It’s cool! 😎 Give it some thought! -
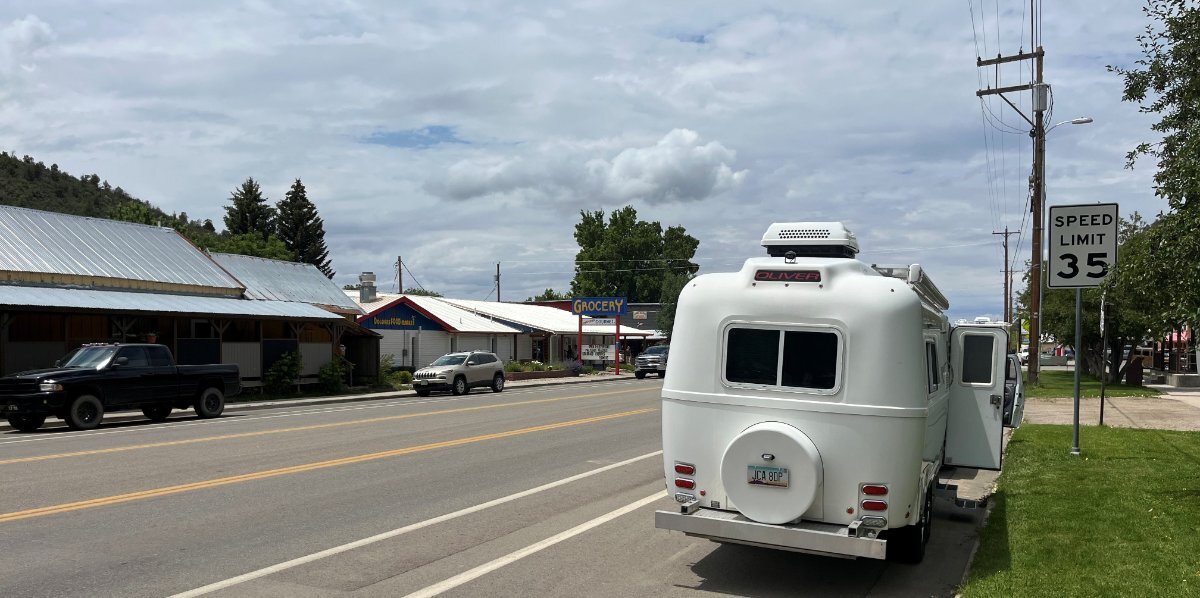
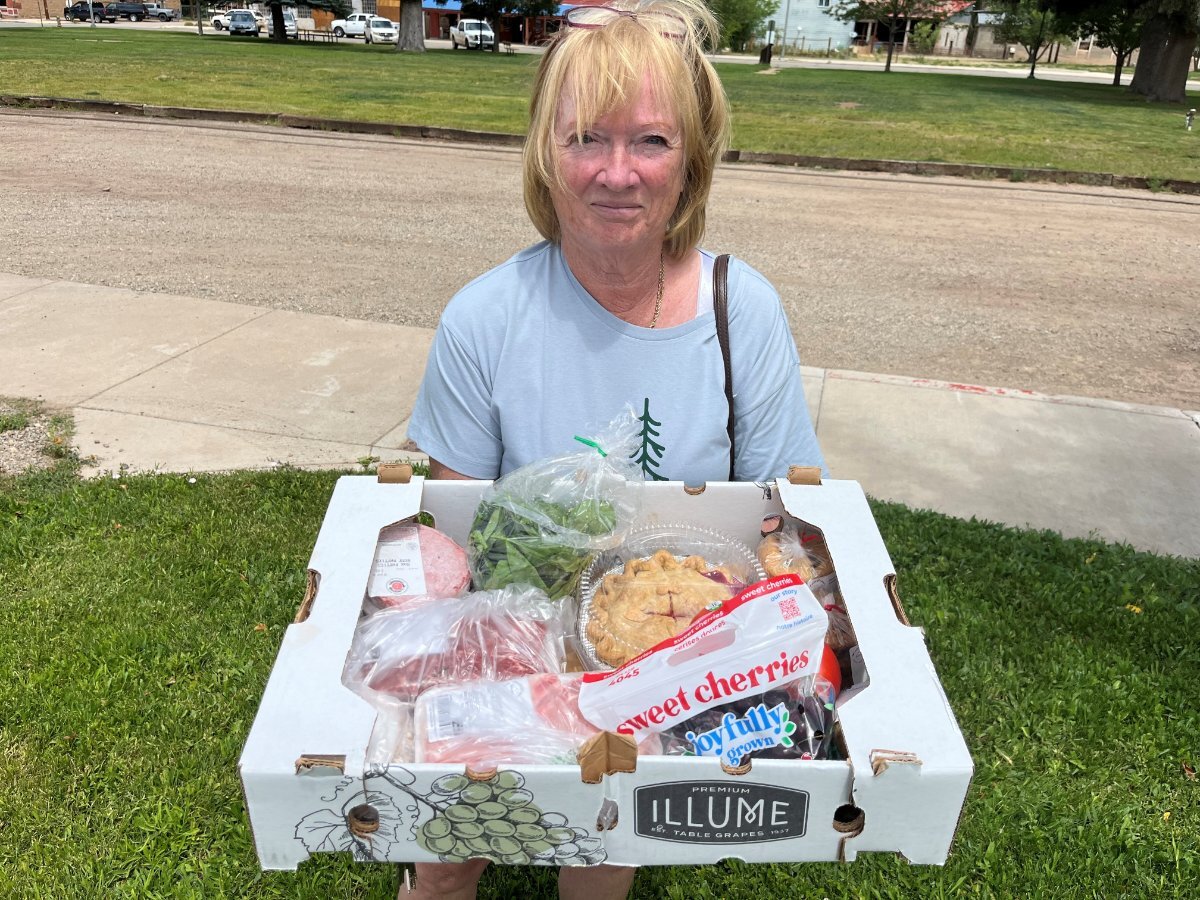
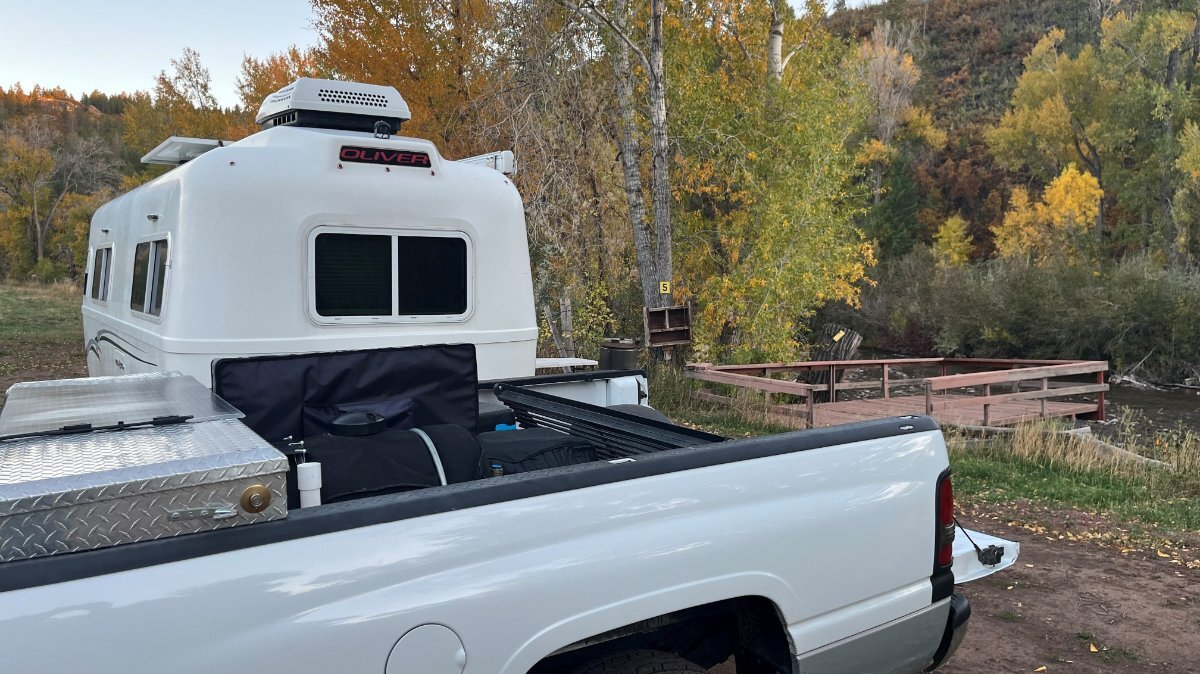
We're in site 5 which sits by itself for $35/night. Sites 3-4 were also nice and 1-2 are down in a bottom, all for $30. I imagine they're less busy since they are dry sites (good water offered at the farm), they're not keeping up the property so well and the river decks are not level and a bit creaky. Most RVers want hook-ups , but we wanted to be close to town and be alone. The RV park next door with hookups cost double and ALL the National campgrounds are closed now (we drove to McPhee Campground today). Not sure, are they closed after October 1st, or due to the Government shut-down? The Recreation.gov website is presently nonfunctional! Regardless of where you stay, come with empty fridge and shop at the Delores Market! Onsite butcher, great produce variety, local fresh baked goods and the best Cherry pie anywhere. They were out of pies when we stopped in late Sunday (got a small pumpkin bread instead, yum). We got an apple pie today with brown sugar crisp top! Yep, we've been there twice in just 24 hours! Pics from when we were here late june...
-
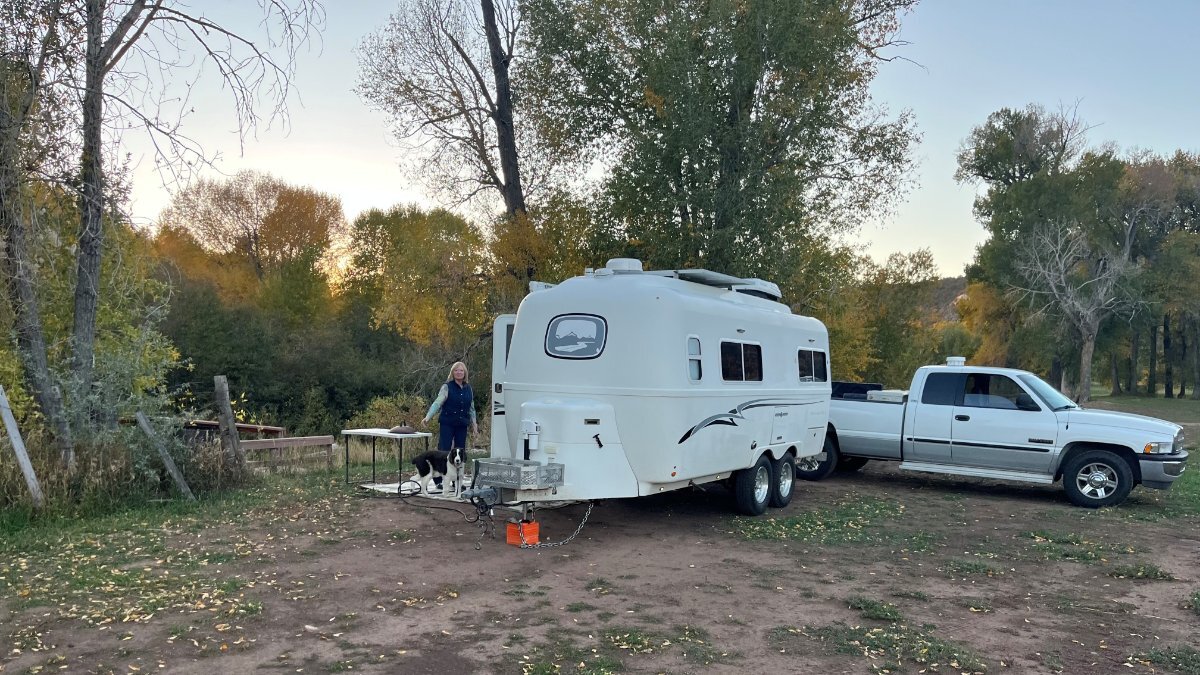
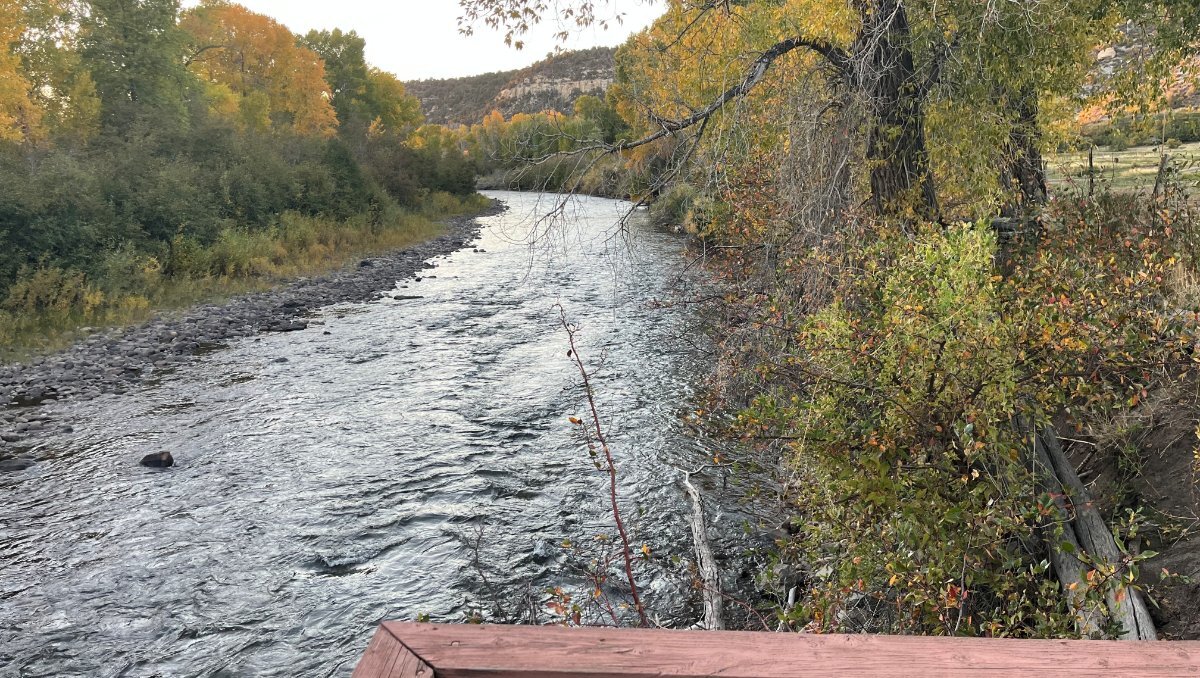
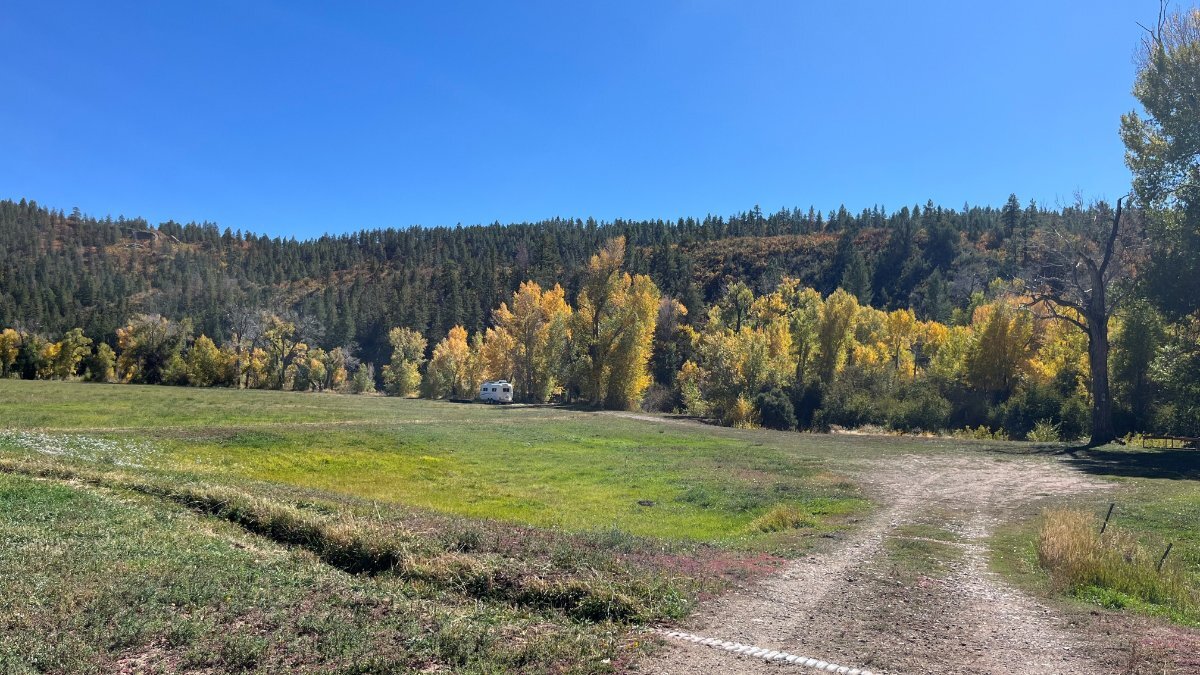
Where's Ollie? At Along the River a farm in Delores, CO! They were closed for the season but Jeanna (owner, tiny woman age 88, husband 96, farming all her life and today rides an ATV like a young girl), she said it's been a slow season, so she re-opened for our 3-night stay. We have the place to ourselves and the river sounds just wonderful! Delores Along the River.MOV
-
Starlink Mini Installation- 2022 LEII- Alternate Approach
jd1923 replied to dhaig's topic in Ollie Modifications
We've seen some fancy mounts and long masts, and they must be tall when mounted to the tall Oliver I wanted a simple 80% mounting solution. I say 80% because most of the time my truck is parked with view of the northern sky. 20% of the time, dish with battery pack will be moved to an open area where I simply place the dish on an upside-down milk crate. $10 in PVC parts from the HW store and a couple of large (2 1/2") hose clamps and I love this setup. I built this the day before we left and tried it out our first night in Colorado. I wanted a spot in the truck bed, out of the way and using the 1 1/2" PVC coupler, it is short when traveling and tall enough when in use. You merely pivot the upper PVC for any angle, 360-degrees. I tied a small metal platform (will mounted it better later) on the water tank for a battery stand. I have power and Ethernet already wired to the router behind the truck backseat and I will later reposition those cables so that they're run under the truck tool box and up the PVC post. It will be great to have the Starlink integrated to our Pepwave router soon. If you have a truck cap, you can do this too. Just mount the short PVC length to the side of the cap and paint it to match! For ours the color white is perfect as-is. All I did was to use acetone to remove the colored markings on the PVC to make it all white.
-
I don't have the miles yet, but agree with everything said here and Lance's post @Mountainman198, who was first and started this thread. However, the ride experienced could be different towing with a 1/2-ton truck like the F150 and I do believe the 5200 lb axles make a significant difference, providing a more solid suspension platform. We had our first road-test yesterday. At home, I ran two 30-mile test drives and before leaving home, I torqued the U-bolts 4 times! We drove from home to Tuba City (180 miles) and I retorqued all U-bolts and wet-bolts. The U-bolts all took a 1/4-turn min to a full turn or so. The wet-bolts needed a bit more tightening since I had not re-torqued since installation. 380 miles yesterday to Delores CO and our rig TOWED LIKE A DREAM! It was like were were on rails! Also, I had just added an aftermarket exhaust brake, so I was in tow-heaven for sure! 😎 During one test drive, a full gallon water bottle and our kitchen garbage can that were under the dinette made it to the entrance door (carpet was removed for cleaning). Yesterday when we arrived, oddities noted were that a plastic dish tub in the kitchen sink ended up on the floor, and ALL of our clothes in the closet came off the closet rod (I'm going to run a bungee across the rod to keep the hangers in place). We had NO cabinets or drawers open (no added drawer straps either) and nothing else was out of order. Not bad at all. I'm glad to hear that it should smooth out some after some miles. I would not trade back to the sloppy OEM axle and springs for anything, with the the trailer porpoising to and froe and waddling left-n-right like a fat duck. She sits solid now, and with new suspension, tires and fresh alignment on the truck, as I said, we were riding on rails! 😂