jd1923
-
Posts
3,293 -
Joined
-
Last visited
-
Days Won
247
Everything posted by jd1923
-
Me too on our new unit. Just hold the regulator up with on hand as you spin the wing-nut with the other! All’s good! 😎
-
Given your driving South, I wouldn't worry (then I'm not the worrying type)! 😎 Say it's in the single digits when leaving the North... Not foolish to fill the fridge, except for things like dairy or lettuce, for example, that would be wrecked when frozen. Leave the fridge OFF when it's below freezing, as it will not function and cooling is unnecessary (it's already cold)! Later when you get south and start to camp, you'll have the LP and furnace ON. When the Oliver is warm enough to live in, it's warm enough to operate your refrigerator.
-
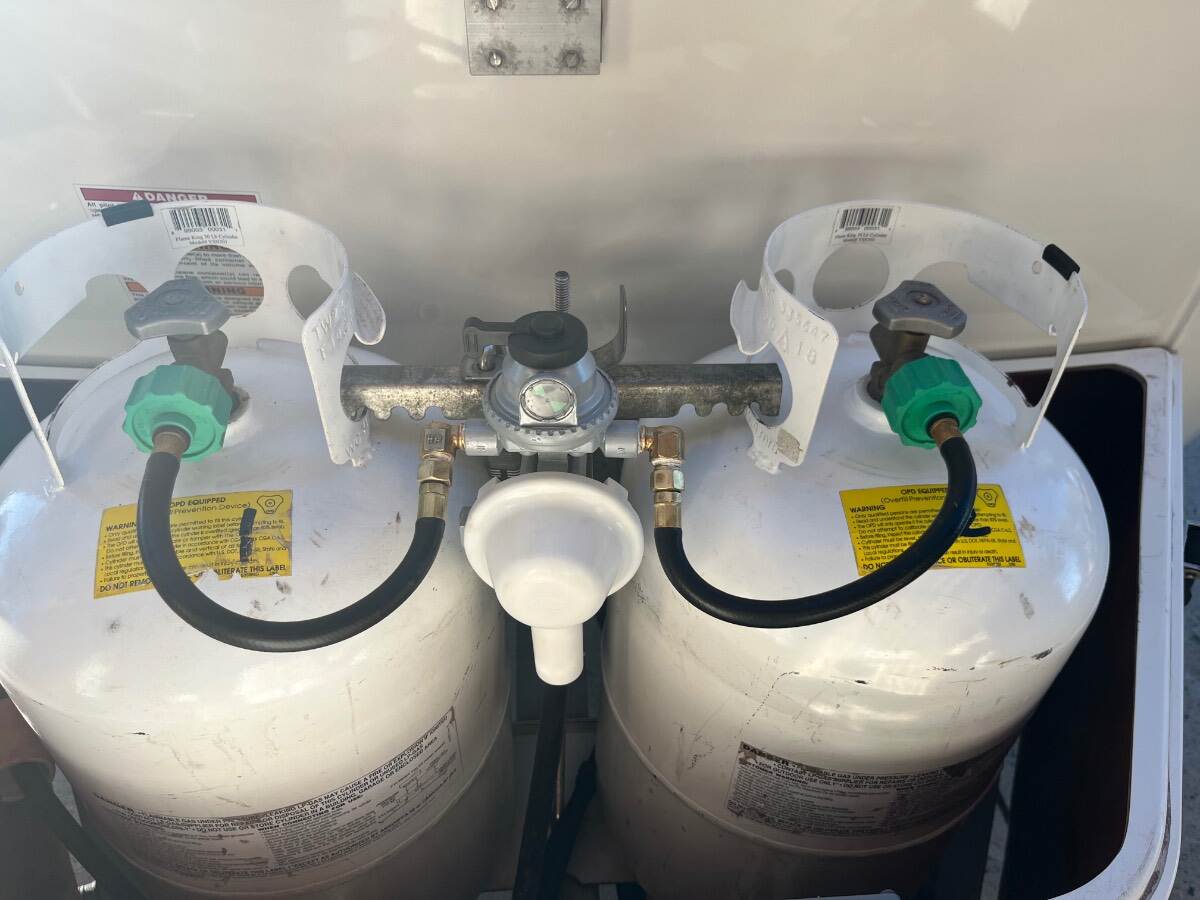
I believe it’s designed to sit above. Works for me. It drops down when detached/filling tanks and lift up and it sits nice and close when mounted and locked. I renewed the regulator and lines a couple months ago. 😎 I used your idea of using street elbows so 12” lines would fit nicely! Also, the new regulator came with a mounting bracket exactly like Ron’s (single mount). I reused the original bracket that mounts to the threaded post above and below for better support (can’t be seen in photo).

-
I brought ours to a flat parking lot in our area and adjusted the 3 leveler jacks carefully. I used a quality 2 ft and a short level. Measured floors and counters inside after measuring the seam where the hulls come together outside, all around the perimeter, the window frames, and under the frame in a few locations. It should add up after taking many measurements that you're as close as possible and then viola click "calibrate!" Take your time here, knowing you'll never need to level manually again, thank Goodness! 😎 That bubble-level top of jack is just a cute decoration. When parking, it's so great to know the most level position while still in the truck. When camping we get level left-to-right and keep the nose up to 1" to have more of the fresh water tank available and keep our heads up just a little when laying in bed.
-
@Rolind too bad the mobile tech didn’t think to do this, or we gave better advice sooner. You should do this before towing another distance. You need a clamp-on multimeter that reads DC Amps. Clamp either single wire behind each braking plate. Each should read between 2-4 Amps when brakes are engaged (or pull safety brake pin for testing). Also the 4 readings should be close in range.
-
Yes, and I edited/added to my post. Brake wire amperage to each wheel should be tested.
-
I’m thinking a short gives you no brakes, though I’m not certain. What could possibly supply full amperage from the Blue wire to one wheel only? Or are the brakes fine on that wheel and shorted/dead in the other three. That would cause a lockup! Suggestion: test brake amperage at all 4 wheels independently.
-
Get out of the dark ages guys (more info in my post above). Bubble levelers, ha! 🤣 Then I used the wrong product term 'Rapid' as we also use the 4" levelers. I use two Andersen 8" round blocks under the rear stabilizers and a stack of 1" blocks for the main hitch jack, sometimes very few and other times many are needed. And no need for a tire change jack on an Oliver!
-
Tire pressure is independent. Something jammed your wheel temporarily, reasons unknown or TBD. Keep an eye out…
-
 Not quite as cool as our updated version! 😎
-
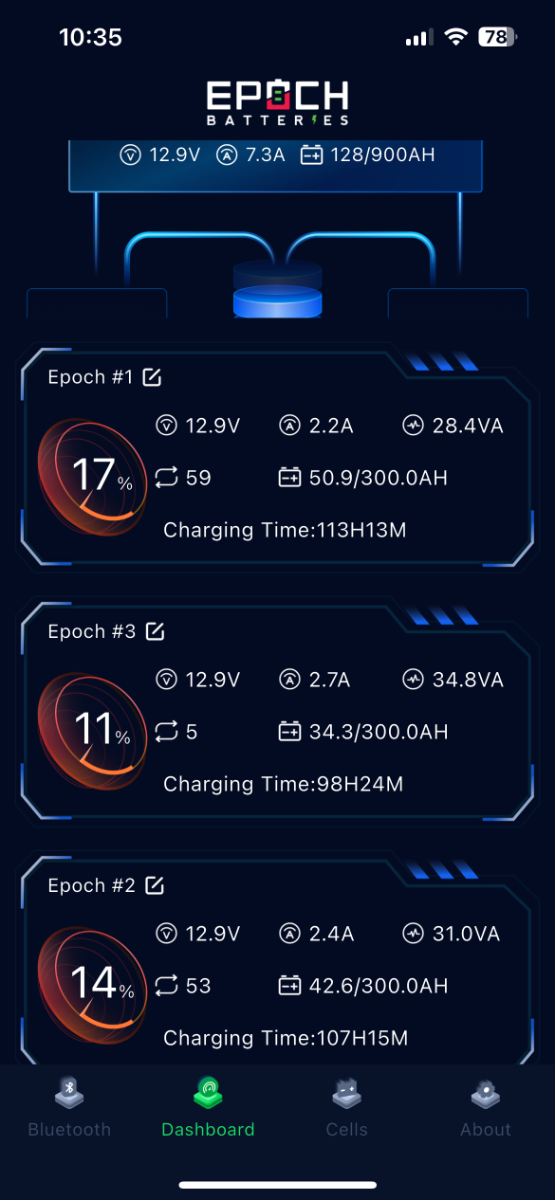
We turned the fridge on DC one full week ago, the old absorption fridge running on DC 24x7 since. Courtesy Lights on 24x7 too. Coffee water heated daily with 1100W electric kettle. TV and soundbar on morning and night. Cooked on the induction plate, fired the Emeril Air Fryer and ran the new Chill Cube A/C three times just to play with it! It’s been winter hazy, smoke at the Q with fires in the distance and all the dirt RV’rs stir up, not much solar, say +6A on average. We just got back home. If we were camping longer, I could have setup the Renogy 400W suitcase. Still running the fridge since by Monday we’re “on the Road Again!” Might be time to plug in! Though we still have 128 Ah available! 🤣 Looking at the app, it’s so cool LiFePO4 batteries can be down to 14% SOC and still have 12.9V potential! I can tell the fridge isn’t cooling at this moment, since we are charging net +7.3A. My new 3rd battery is again lower than the others, but not the major delta as before. It’s nice not being in a hurry to switch to LP or plug in! 😎
-
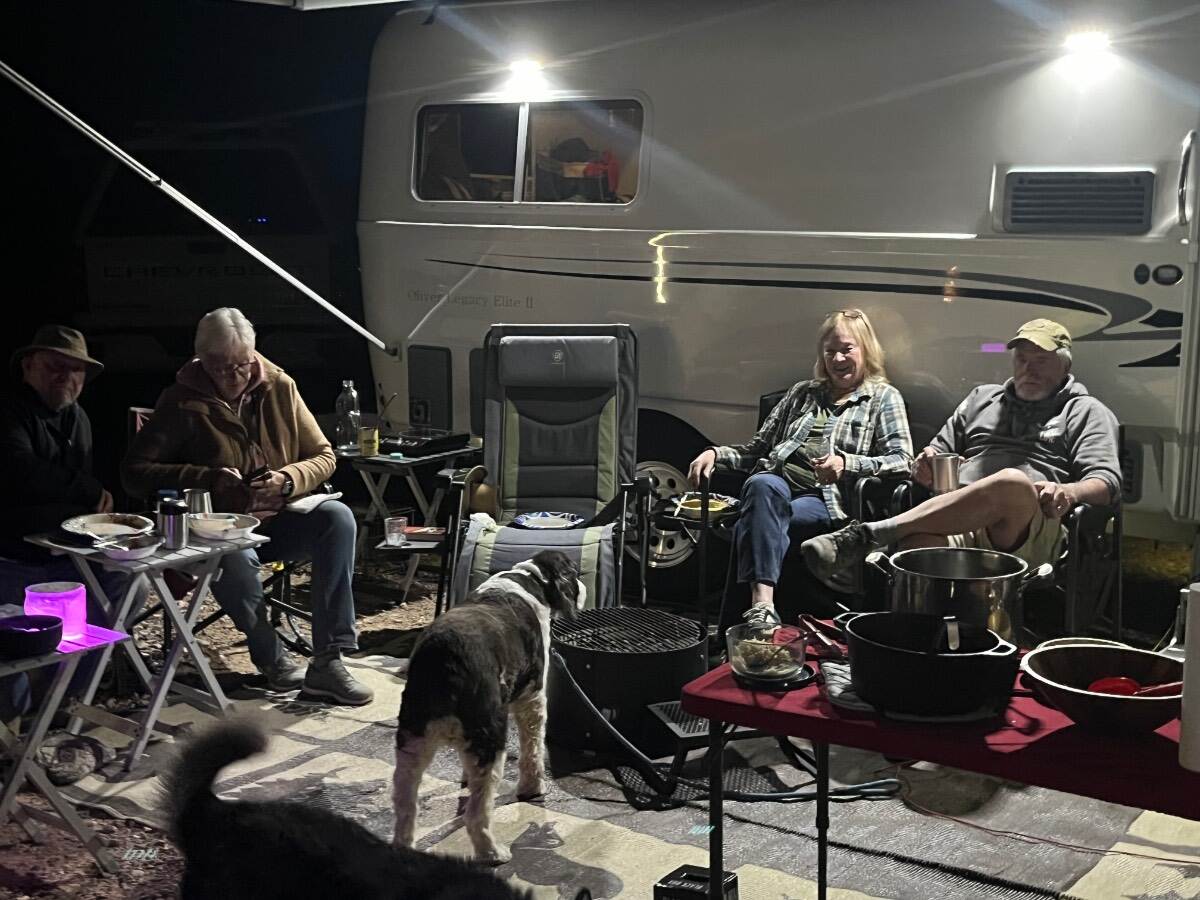
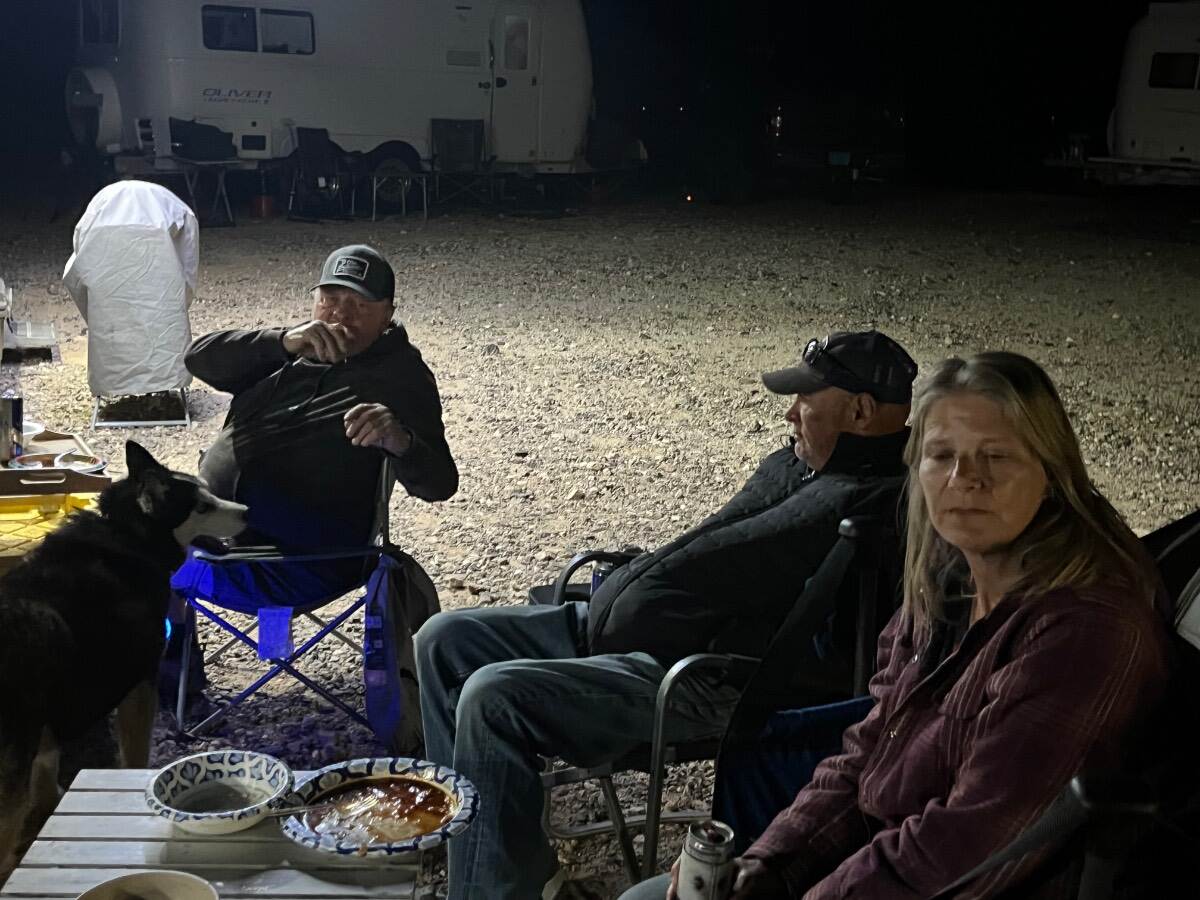
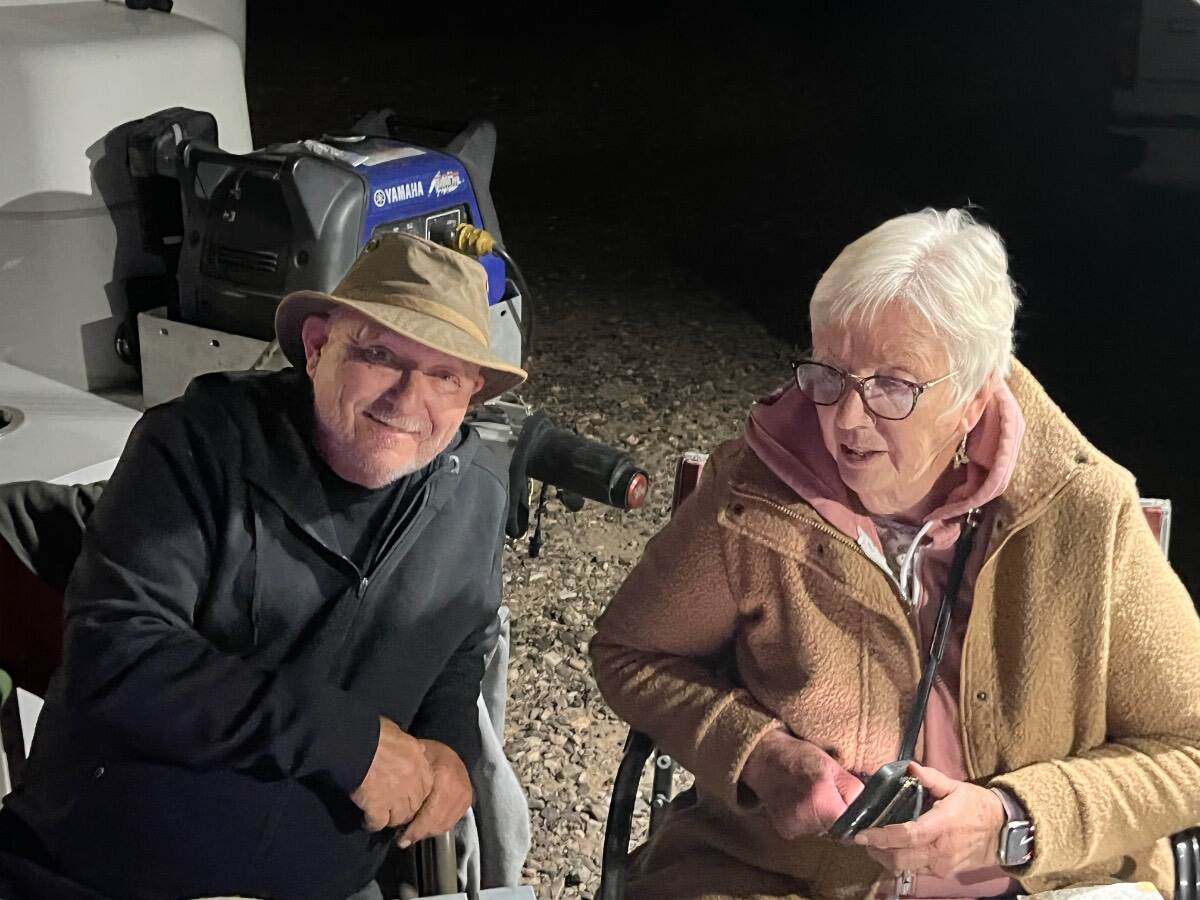
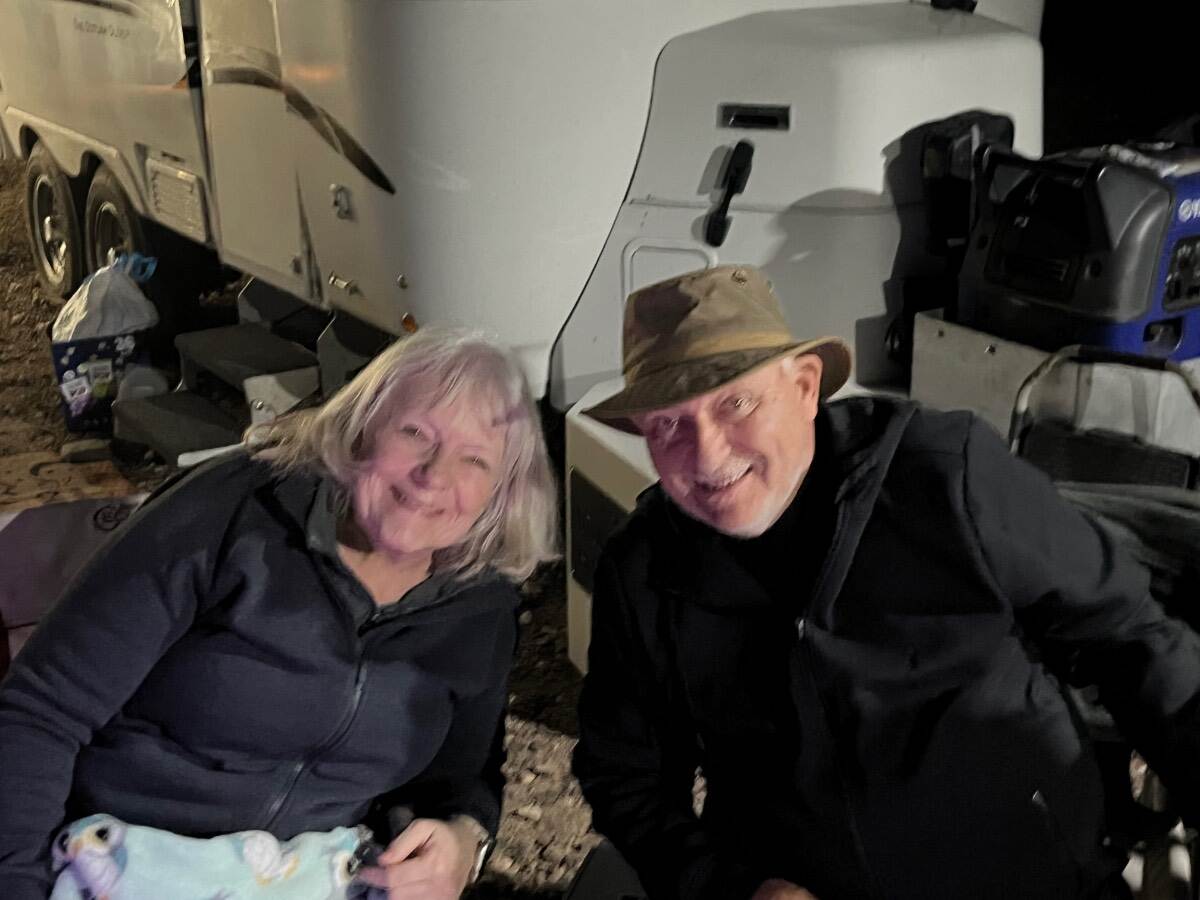
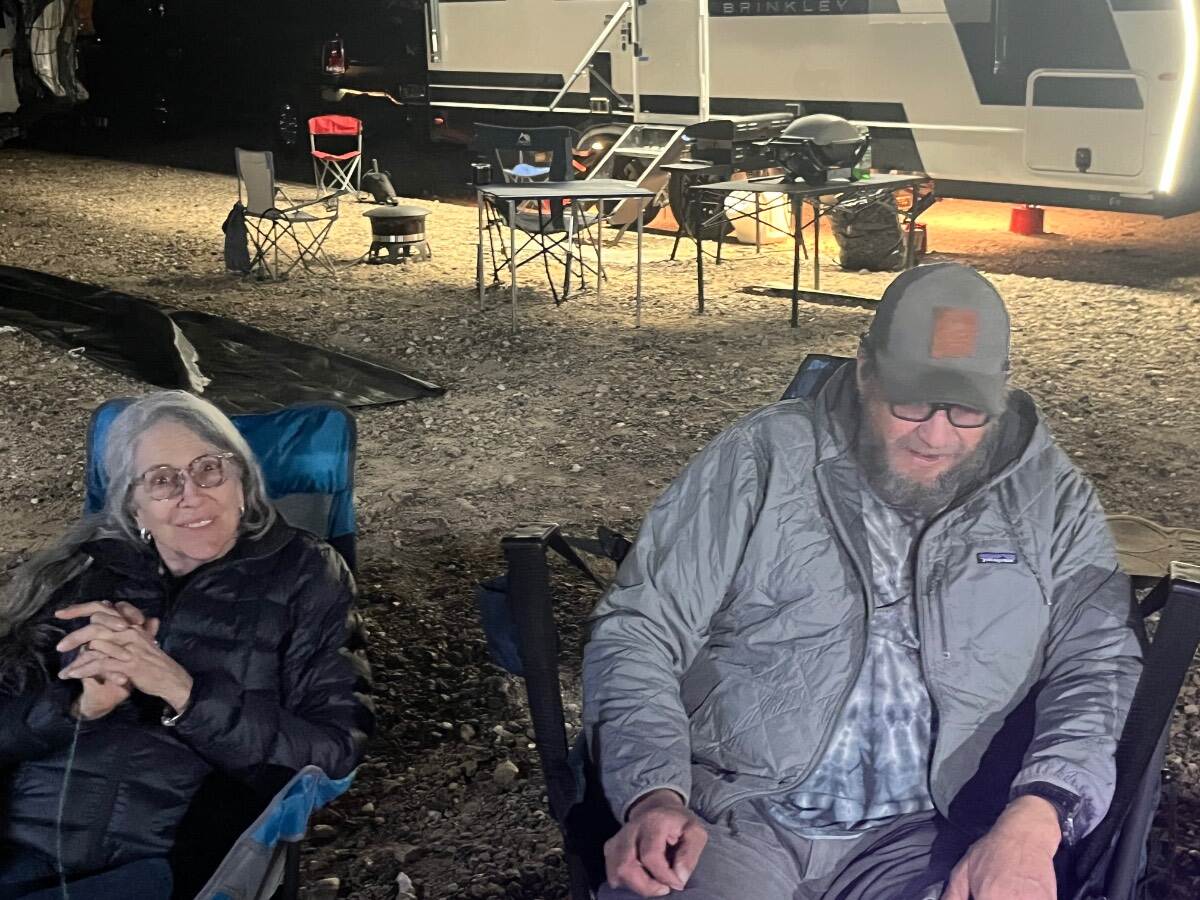
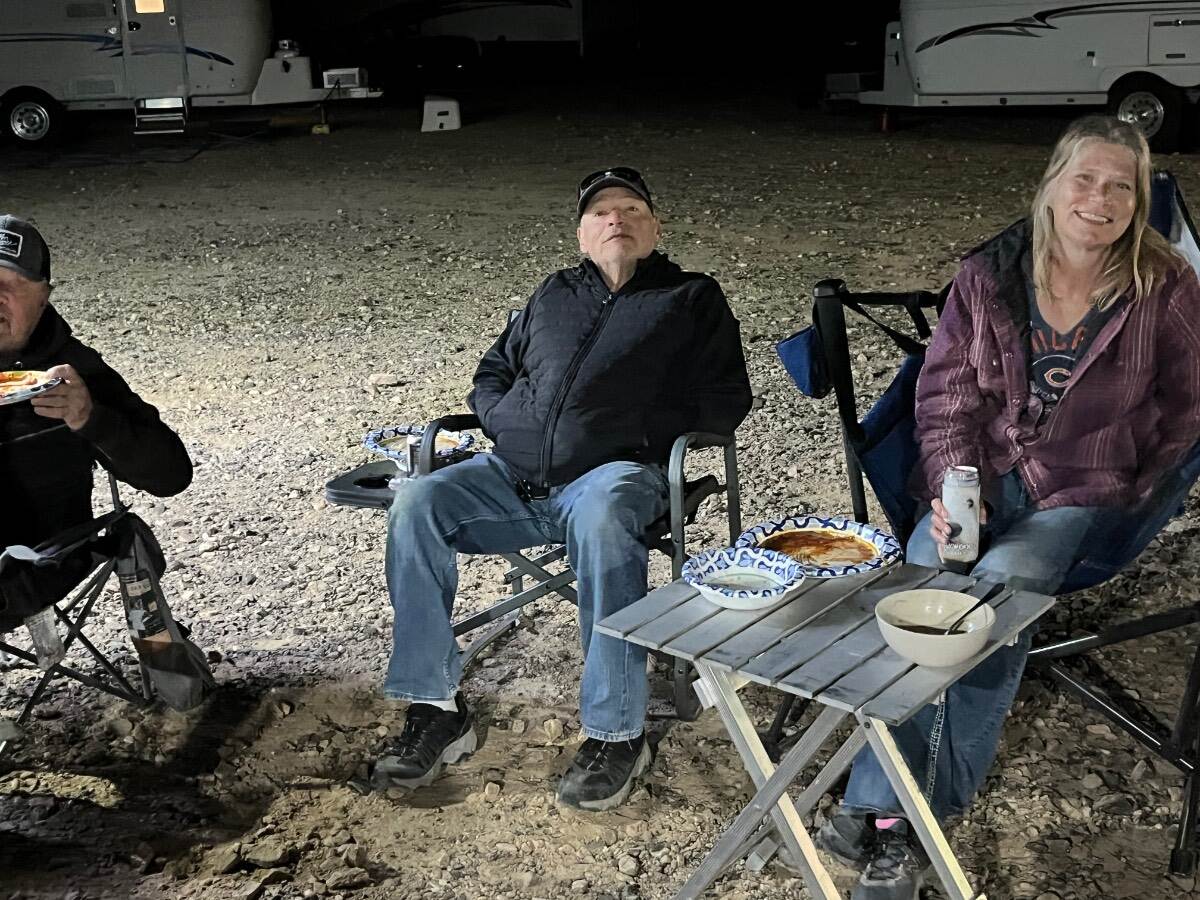
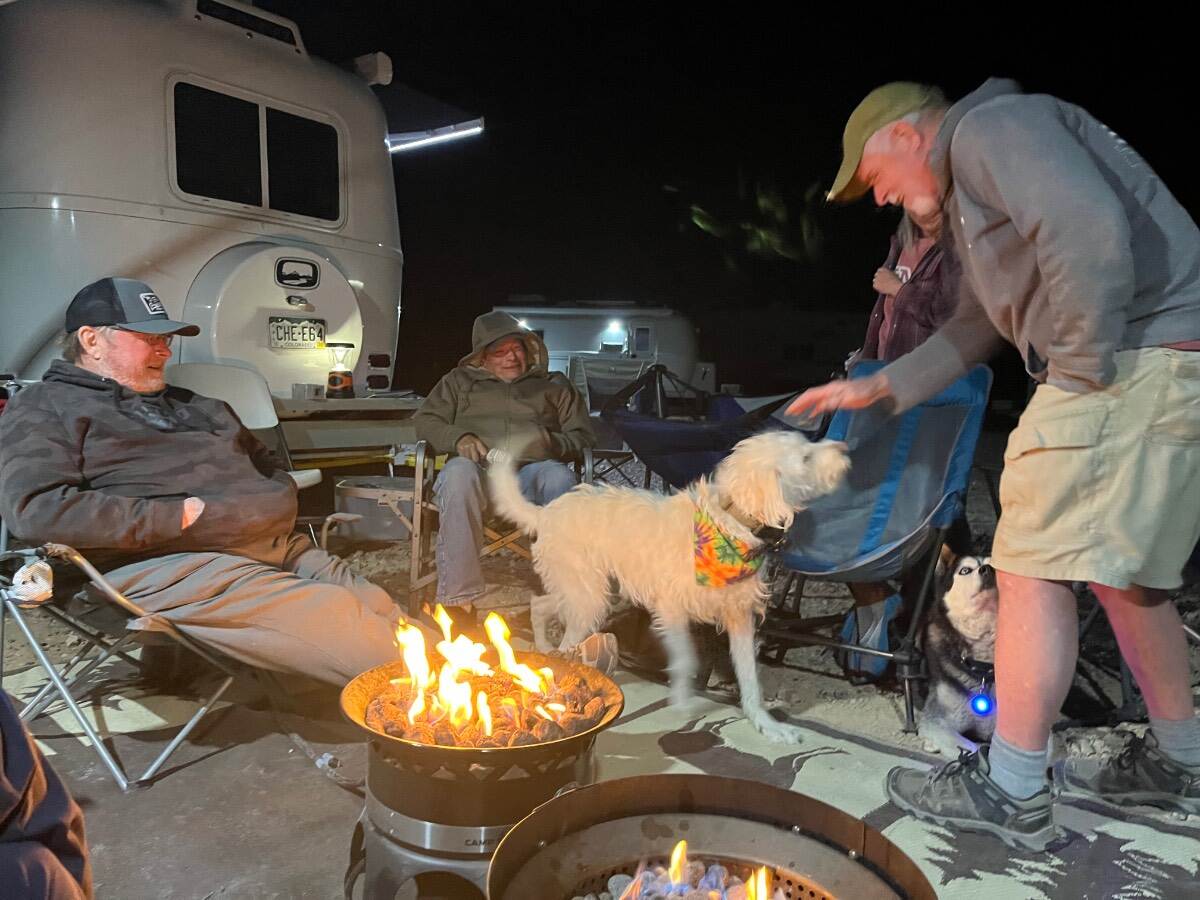
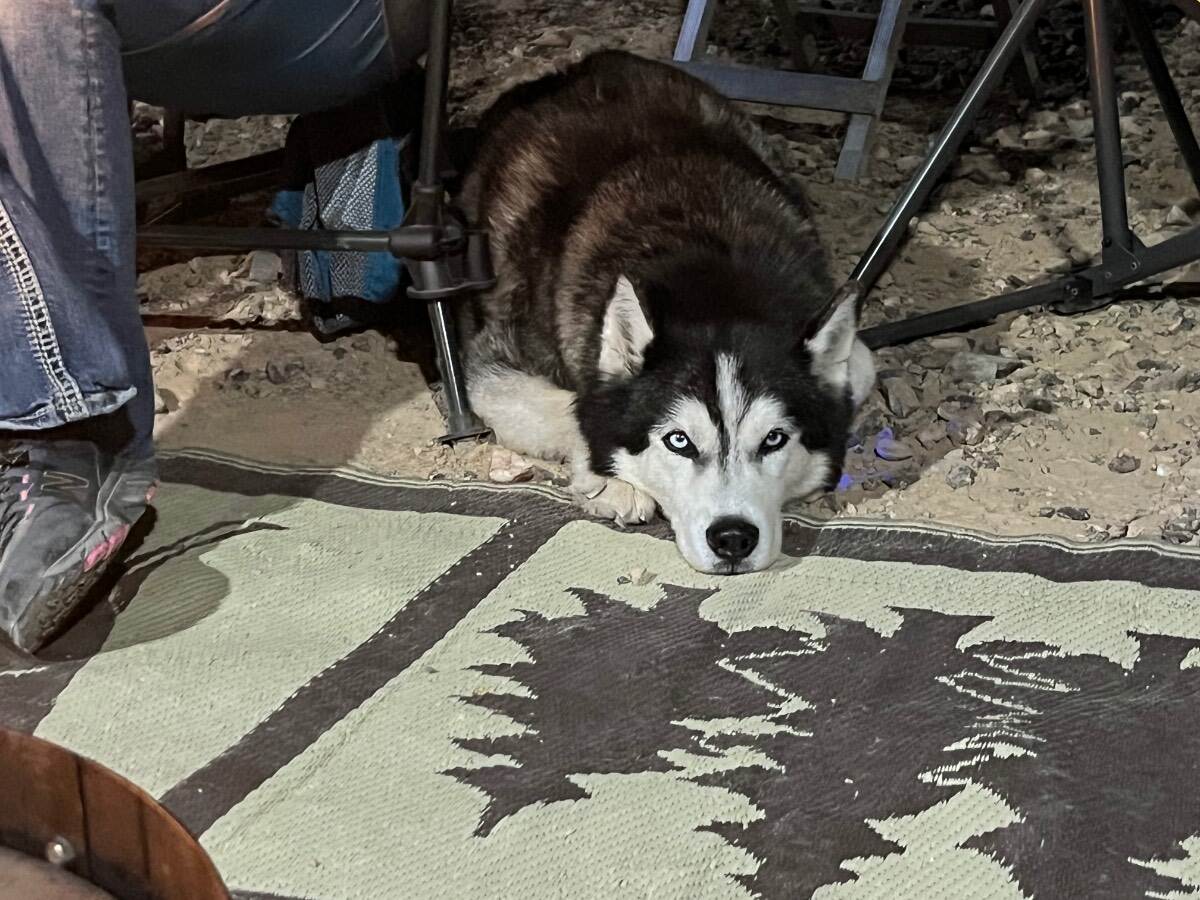
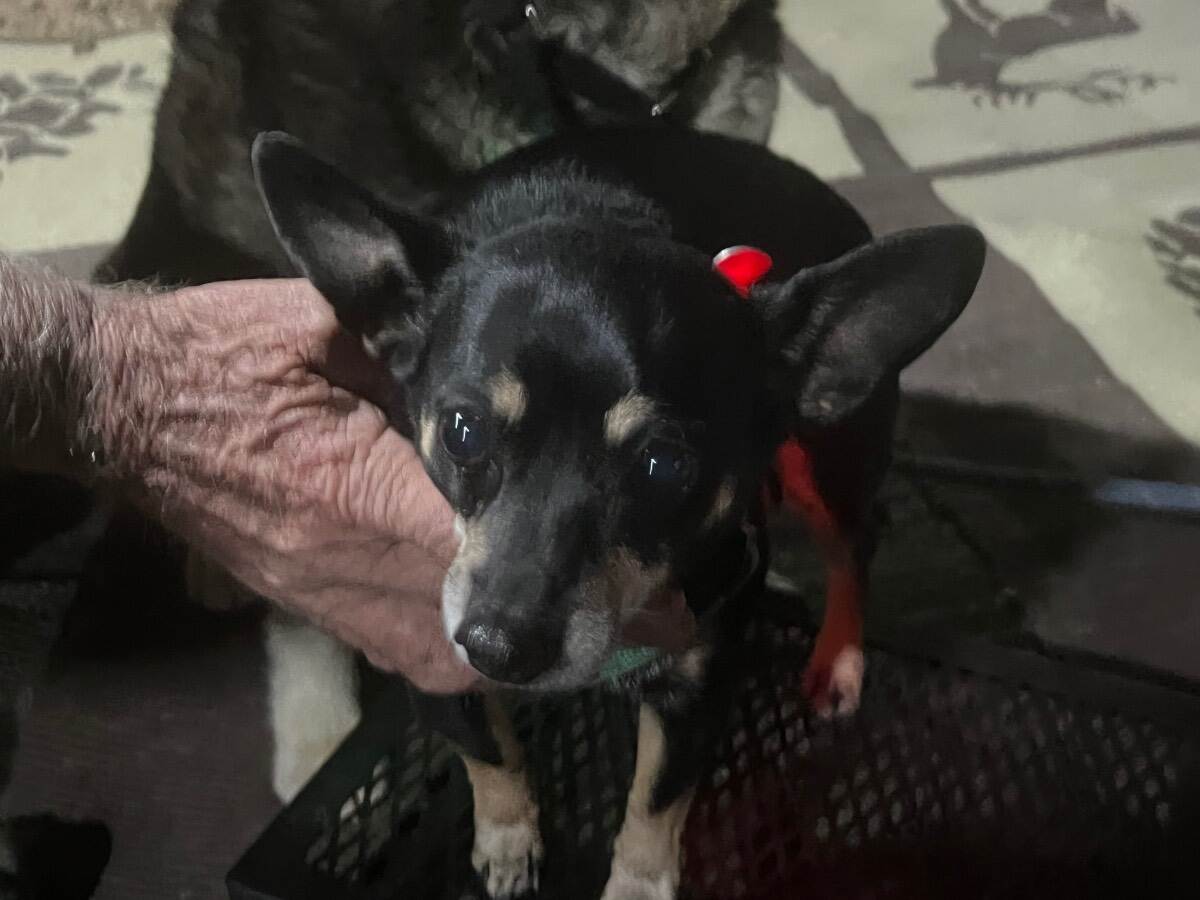
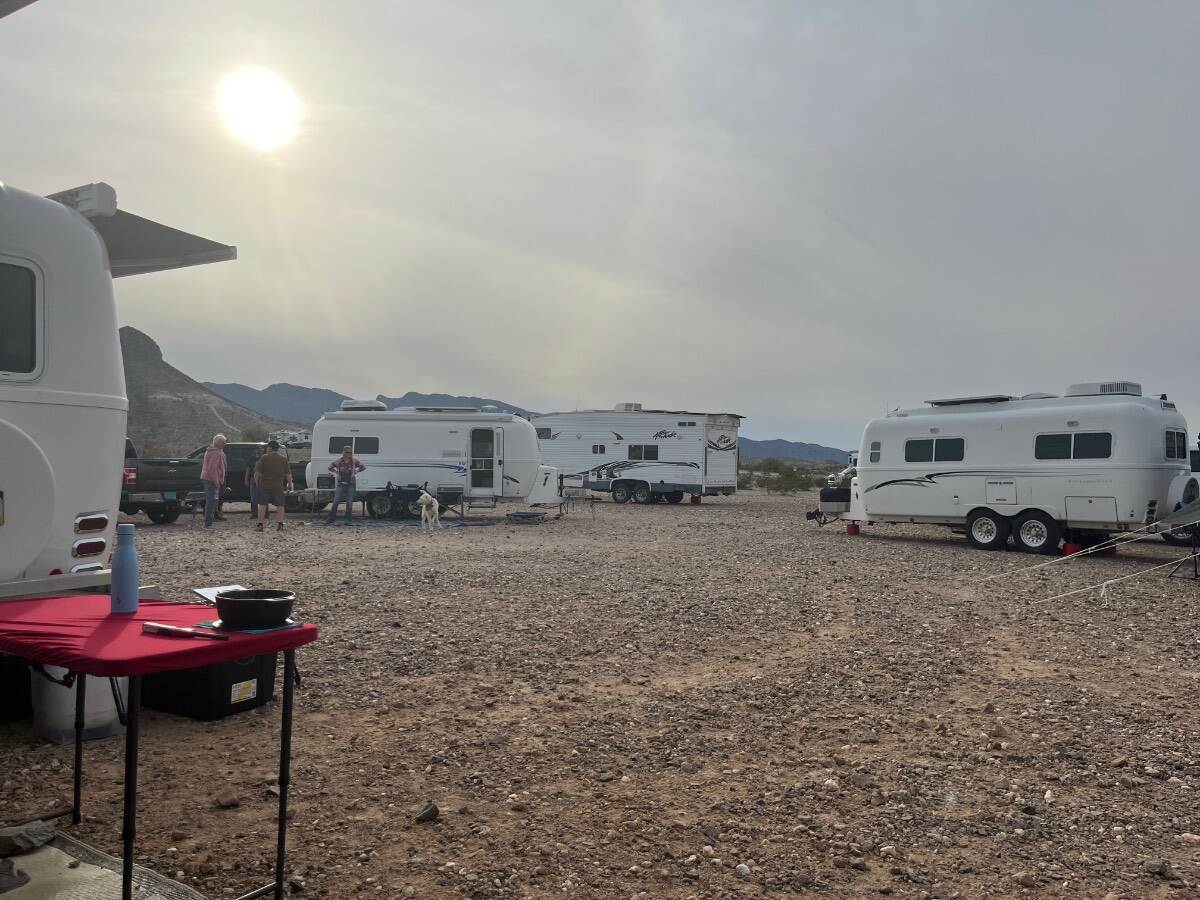
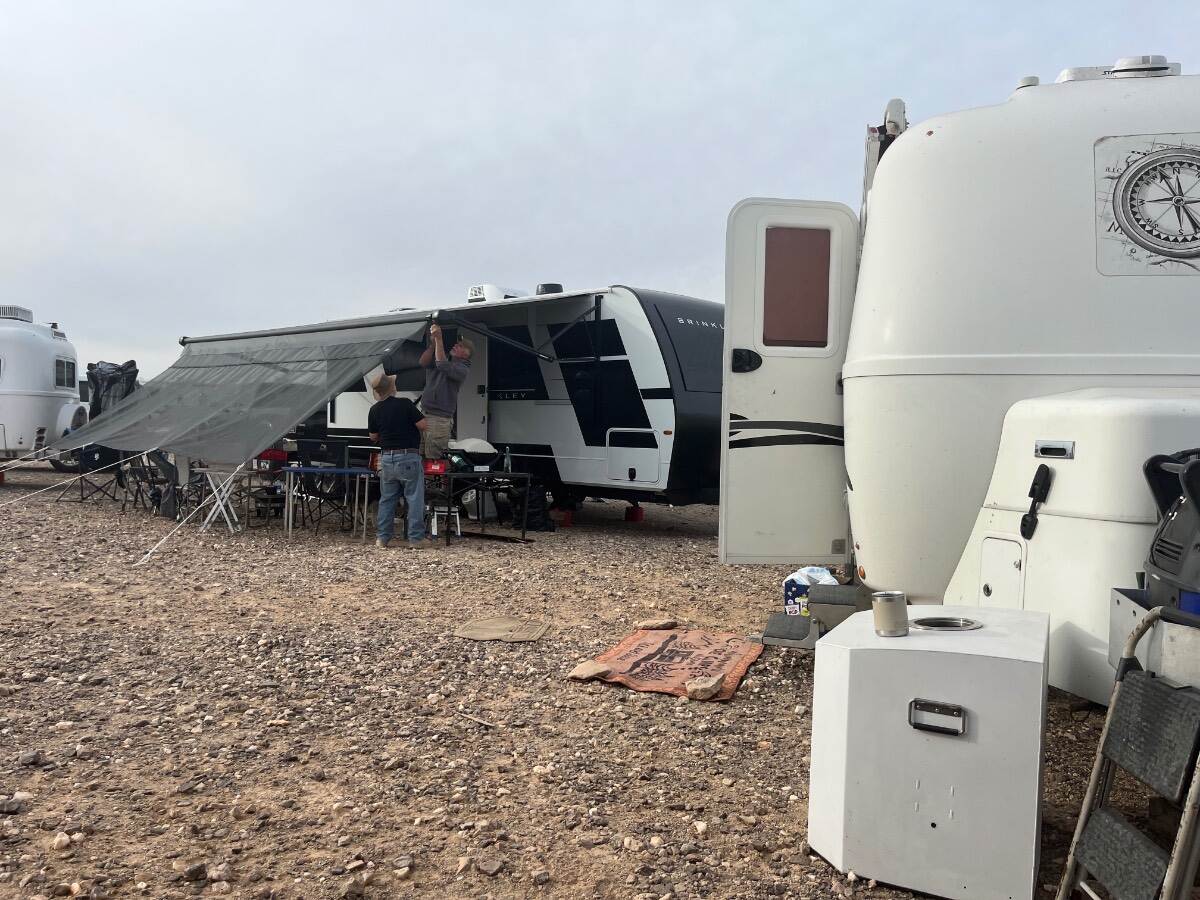
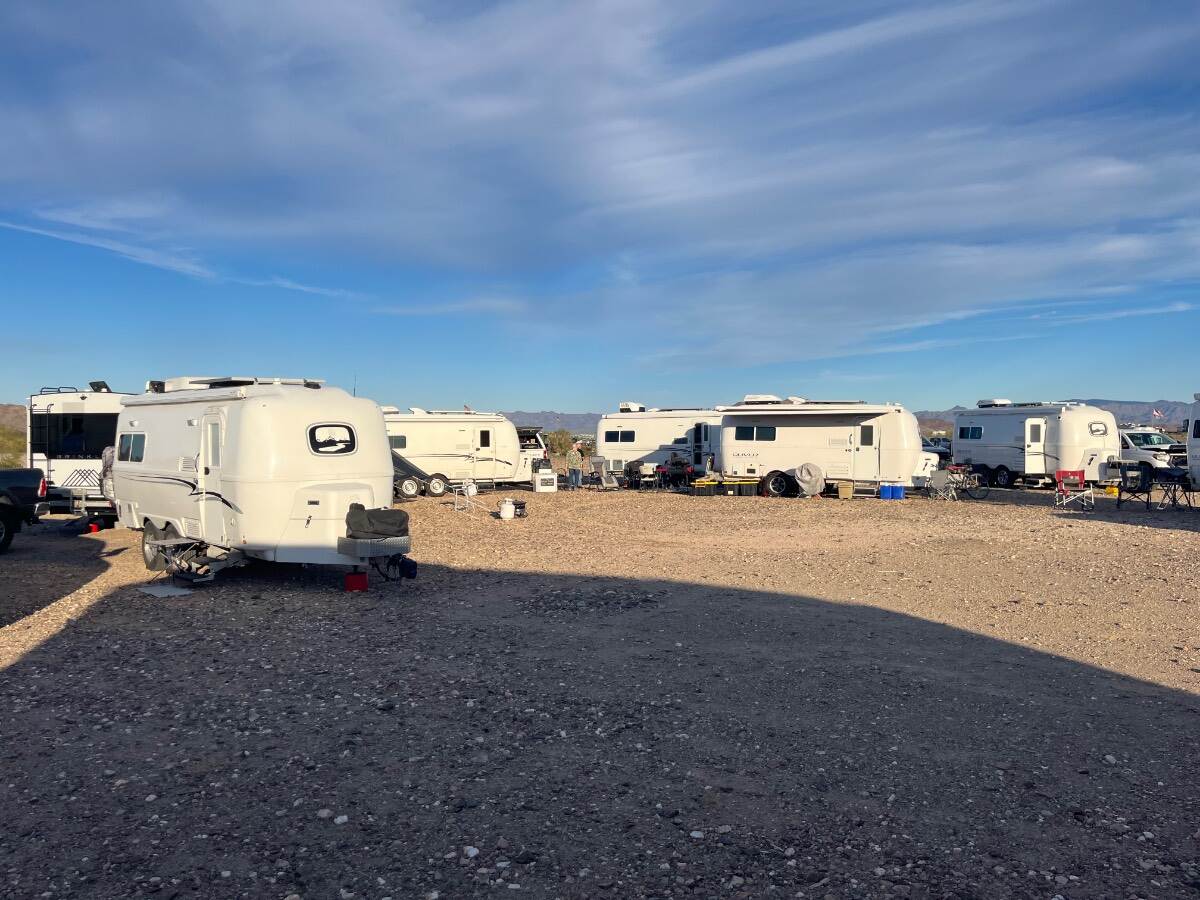
It was a great week at the Q. Thought I'd share some pictures! 😂 First couple of nights everyone was over by that odd looking trailer with all the lights (actually VERY comfortable inside), where Art @MAX Burner generally has his famous Blackstone cooking away! Wednesday night was dinner at our camp where Chris cooked an Italian feast. Pasta and meat sauce, salad and cheesy garlic bread were a big hit! 😎 In attendance were Steve & Tali, Art, Lance and Gary, Rhonda and Ruth (towing some nice older hulls). Don't forget the pups; Rocky, Oscar, Hessie and our Charley. We all made new friends when just a few hours prior Steve & Nancy arrived from northern Indiana towing Hull # 166! Barely a mention of their furnace not working and @ScubaRx was off to their rescue, removing the sail switch on their Atwood furnace which needed cleaning and alignment, soon it fired right up! Later their younger dog Buddy made a stir with the old dogs! And we kept some up past their bedtimes! 🤣
-
Zoom in on second pic, you may recognize some friends!
-
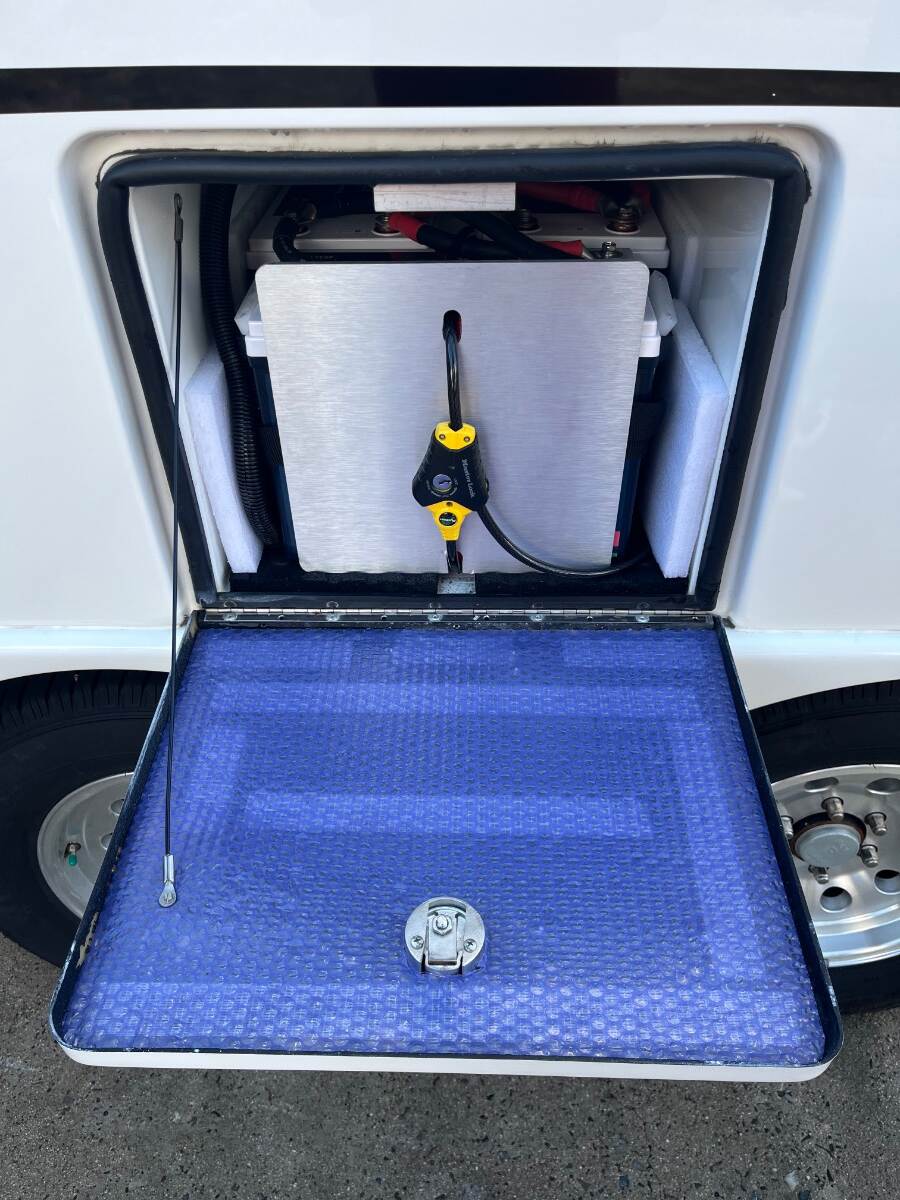
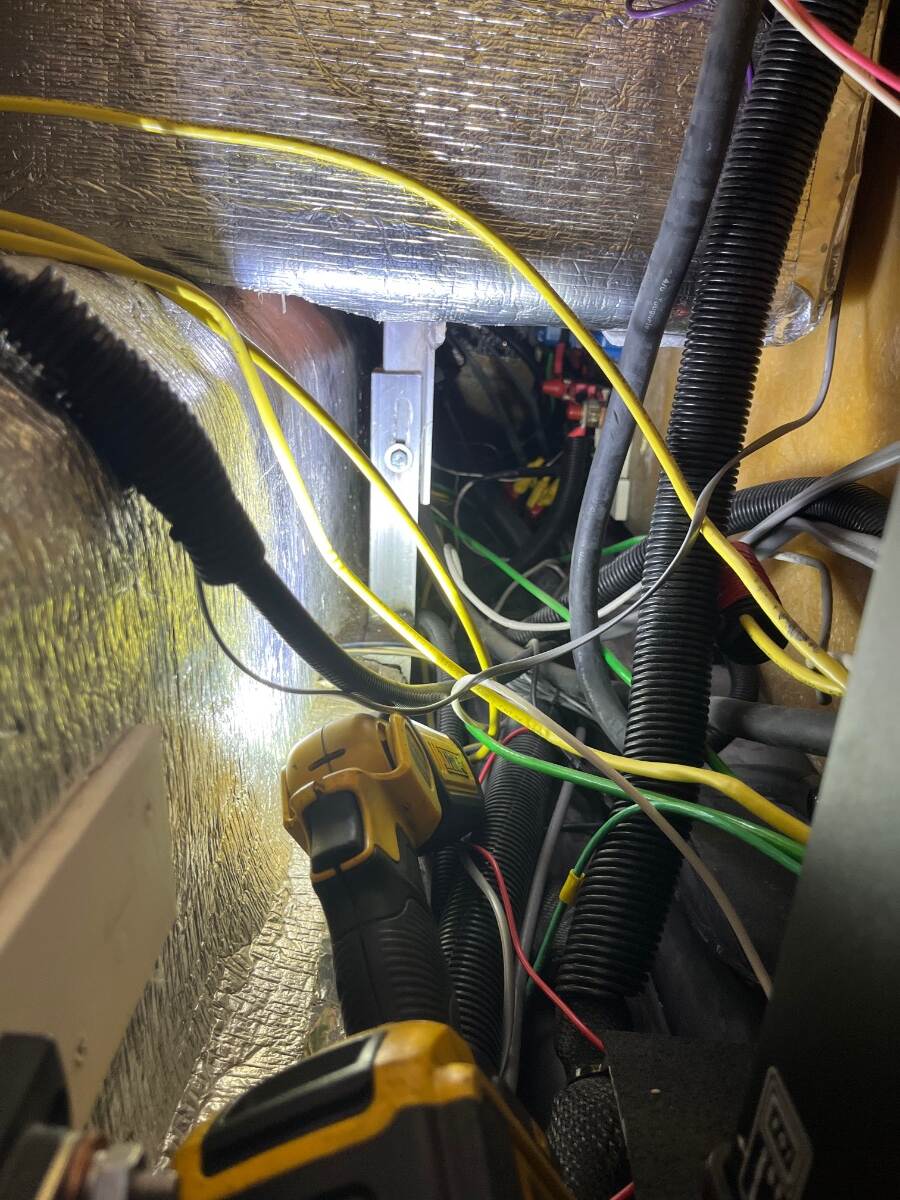
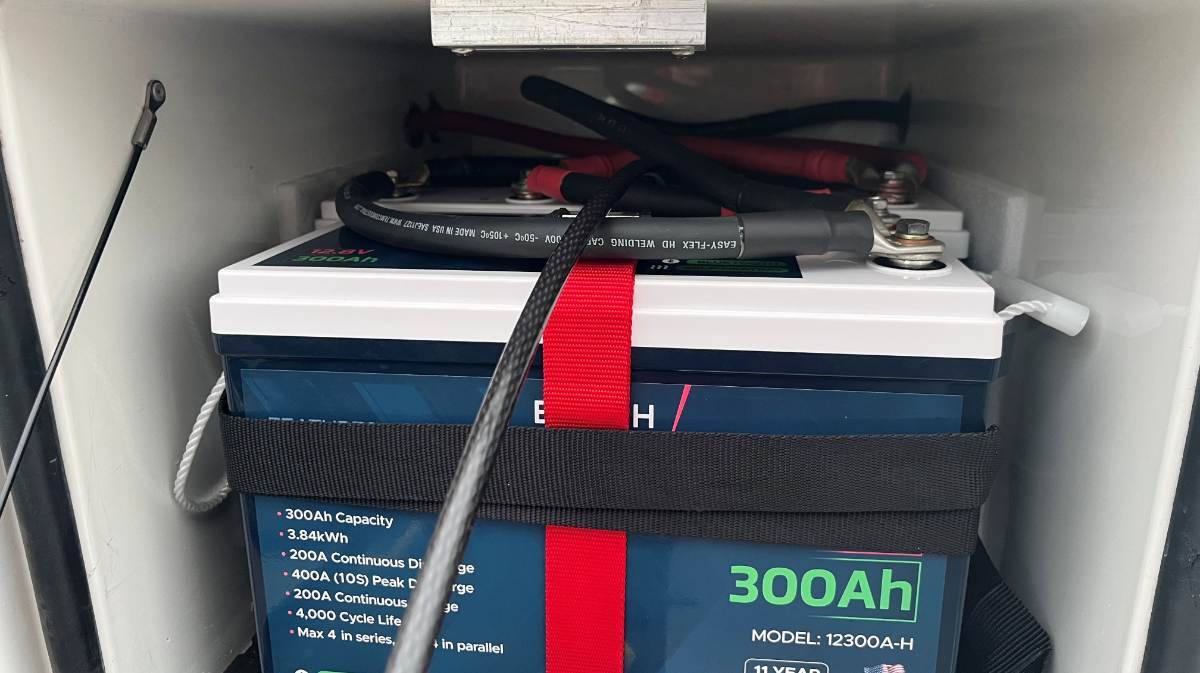
Sorry this happened to you Mike! Maybe you could source a local tech if you don’t want to get into this yourself. At least you’re home for a while. Wish I had looked further into this last month when I added a 3rd battery! I can be so dumb, took this pic at that time. The bolt and nut where fine but question is, did the mount sag, should the bolt be tightened higher up in the slot? The main bolt, coming down from the bay was tight which I removed and replaced with a 1/2” eye bolt to hold battery straps and cable lock. It felt firm as I yanked on the battery straps several times. All our rivets look good after we towed 3 hours down the mountain yesterday with the new setup, battery straps were still tight. Two years ago we had 4 LA batteries filling the 30 LB tray. We must be 100 LBS lighter now, no tray and 3 li batteries! Heading back home for the weekend and I’ll have to pull the streetside bed and see if that mount should be raised. Bummer is to do it right I should remove the batteries AGAIN, to get the weight off the shelf to be able to see any movement. I’ll add a second bolt too, seen in other installations. There should always be two bolts and OTT should learn to have a QC specialist check WIP after EVERY installation on the factory floor! 😎
-
75F and hotter in the afternoon AZ sunny skies. Best to you, John.
-
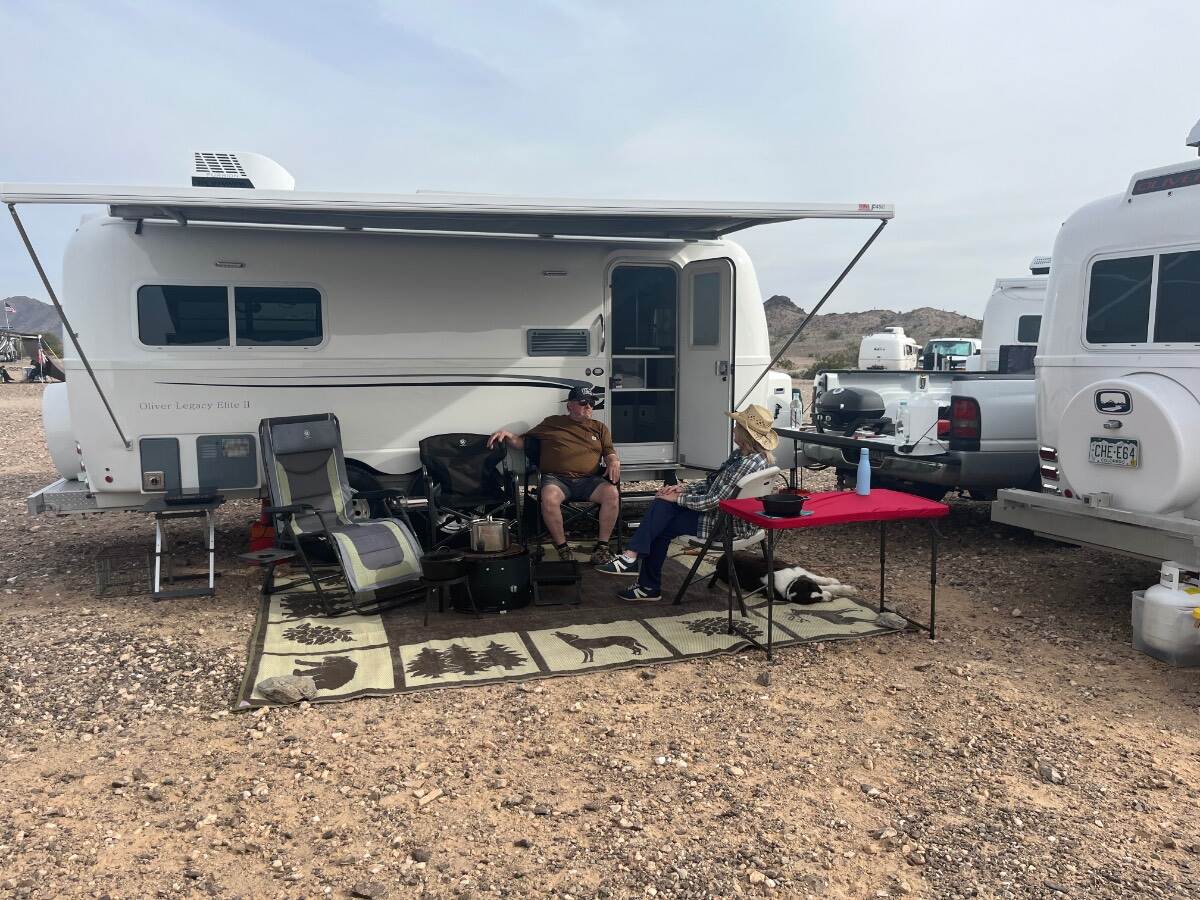
At the Q! 😎
-
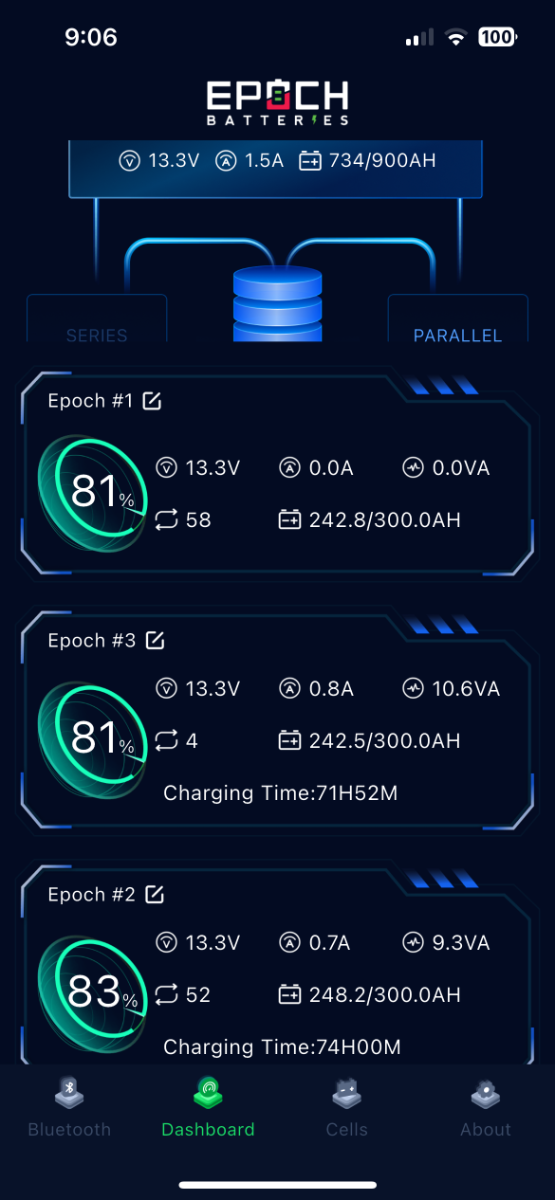
That would be a pain, to go from 600 Ah to 300 (only using one) for 6 months (took me 18 months to get to 50 cycle). We'll have to let Geoff at Epoch know the middle battery trick! This morning all three batteries are 81-81-83, now very level after 23 hours, averaging 82% SOC. The fridge was on DC the whole time, some lights, the inverter, etc. The app shows 734 Ah available, net -166A were consumed. When the fridge was cooling down it was pulling 17A but on a day and night basis average hourly use was -7.0 Ah. When this app screenshot was taken total amps to the batteries shows +1.5A. Positive amps from the rooftop solar, sunny morning but tight solar angle 9AM in the winter, and minus a small load (fridge cold and presently cycled off). Most would plug in before boondocking a few nights, but while our solar will net-zero our fridge on DC while towing, the Orion XS 50A DC-DC Charger should supply +40 Ah and have us up to 95% SOC after the 3-hour drive, Prescott to Quartzsite! 😎
-
"Alcan" Springs, somehow when reading this earlier today, I kind-a though this might come up... And, I remembered that Craig @Galway Girl wrote about this same issue and making the repair. From his post above, "My repair has held since 2022" (TG) which is two years prior to when our friend Lance installed Alcan Springs on his Oliver, the first. Keep an eye on your battery door and I will do the same. The question is, what causes the failure? Is the battery base secure?
-
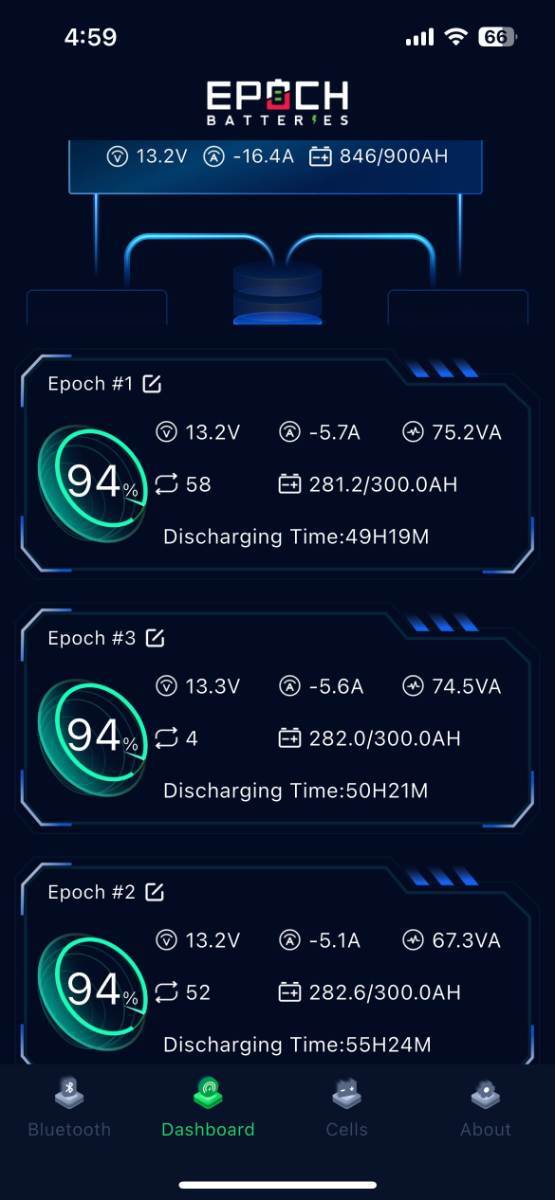
Upon inspection, the wiring was correct. I decided to work on this today. I didn't want to travel and camp in this odd state. It took me 30 min (given it's locked down, all the straps, etc.) with only a 13mm ratcheting swivel wrench. OMG, it could have taken a good extra hour at the Q with all the helpers and advisors! 🤣 (remember the car club days, parking lot discussion to the wee hours...) @mountainoliver had texted me an idea yesterday, to swap the batteries, making the new battery the middle one in the wiring scheme, not directly connected to the main B+ or B- cables. As previously wired, I had the new battery positioned last, attached to the main ground. Ken was right, the capable engineer that he is! 😂 At least it's been working as it should today. Lesson Learned is when adding a new 3rd battery, wire it in the middle position. Who knew? We never read this in all the online advice we get. I disconnected shore power this morning, before doing the work. It's been off all day with on average -17 Ah use (our fridge on DC is -12A compressor on, plus other stuff). After 7 hours, we should be down to 87%, but at 5PM tonight ALL 3 batteries are at 94%, meaning the rooftop solar added 9 Ah on average today (which is all rooftop solar does on average, and it was another sunny day in AZ to boot)! The numbers add up. LOVE it! 😎 My upgrade may now be working as designed. I'll report after a day or two at the Q!
-
Reviewing this picture taken during installation, I'm pretty sure the new one is the outer one. Hard to see all the wiring though. But it really shouldn't matter! Two shorty 4/0 cables have negligible resistance. I'll soon see if I wired it incorrectly.
-
Bill, we were writing at the same time! Your "last in line" comment may be correct, TBD soon. I'm not wanting to add buses but will check the wiring (to be as pictured above) and wire the new baby in the middle, so not to be first or last in line. Thanks
-
Thanks, Bill. I went and checked the individual cell batteries last night after reading your post. All 12 cells (4 cells x 3 batteries) were 3.2V (12.8 / 4). As far as the three being 12.8, as long as they are connected the voltage is across the set. You have to separate batteries to read individual voltages. Not sure why the BMS would report even voltage across all cells while showing one battery at 20% SOC and the others at 60%+. The new battery got down to 15% by 10PM last night, with our fridge still getting down to temp. I plugged into shore power and we have all three batteries back to 100% SOC this morning. Our Oliver friend Ken contacted me and asked if I had the wiring straight. I sure believe so but I'll check. He also suggested wiring the new battery in the middle (see pic, not directly connected to B+ or B- cables). Sounds like a good idea. Heading to Q tomorrow, so when we get there I'll pull the batteries out with all the Oliver experts and observers in tow at Dome Rock! 🤣 The new battery should be low again and I'll read with a multimeter when the cables are disconnected.
-
Local web page to search Oliver forums via Google
jd1923 replied to Wayfinder's topic in General Discussion
Lol, this should be easy for our friend @Chris Scarff! He could add a field in the app to enter a website URL. Anyway, Chris and I, others have done this for years... Enter: "site:www.domain_name.com followed by search words" and you're good to go! -
For sure! Just know your actual trailer weight first, add 10%, and check your manufacturer's tire pressure/load table! 😎