All Activity
- Past hour
-

Walking the Plank with the “Little Giant”
Patriot replied to Patriot's topic in Mechanical & Technical Tips
It really gets the job done! ✅ -
Hello and Welcome from Hull 1182!! Safe Travels!! Scott
-

Disconnecting Tow Vehicle charging circuit to the Ollie?
jd1923 replied to routlaw's topic in Mechanical & Technical Tips
Perhaps easier than disconnecting at the harness would be to disconnect it from your positive bus, likely under the streetside bed. It will be the black wire in the photo where you see the screw unscrewed and disconnected left side of the photo. Tape it up and tie it up somewhere off the floor. I used heat shrink to cover it and wire-tied it to a cable. I would first test for power at the trailer harness (black to white wire or ground) and after disconnecting check again to see that you got the correct wire and that there is no longer power at the harness. - Today
-
I bent the charging wire on the trailer plug back when we installed the Battle Born lithiums. There are a bunch of diagrams available, just google 7 pin trailer wiring and you’ll get a lot of hits. The cover comes off the plug pretty easily, bend the wire back and put it back on. Here’s one from e-trailer. Some diagrams number each wire.
-

Walking the Plank with the “Little Giant”
jd1923 replied to Patriot's topic in Mechanical & Technical Tips
Must be a beast running on 56V producing 765 CFM! My DeWalt runs on 20V producing 430 CFM. Works well enough though and I stick to one brand, one battery type for the half dozen power tools we bring; Dewalt flashlights, vacuum, impact and sawzall, that all share batteries. Have the battery charger mounted in the Oliver Attic! Just purchased two 10Ah batteries and one alone runs our Starlink dish for over 8 hours! -

Oliver Outfitters Guide 2025 Updates
Galway Girl replied to Galway Girl's topic in Ollie Modifications
Updated New link: Oliver Outfitters Guide -
With new truck and new Lithium battery trying to figure out a way of disconnecting the charging circuit from the TV. I don't have an electrical schematic for our #70 Ollie and since Ford has been no help in determining what if any fuses are associated with this task figured I might as well tackle this from the receiving end of things. The question then, how does one determine what wire (color) and where to make this disconnect within the trailer? Presumably the wire in question would be terminated in the breaker panel box but nothing is labeled accordingly on my unit. Or does the TV charge wire go straight to the solar charge controller? I wouldn't think so but does't hurt to ask. Thanks
-
Any of you owners of pre-shutdown Ollies with the retractable power cords have to replace the retract button? Mine just got stuck in the on position and I had to cut the power wire to it to shut it off. Looking for one with a rubber weather proof cover if possible to keep the water out, which is what I'm sure caused this one to fail.
-
Ken Root started following Our 2025 Elite 1: Hull 1589
-
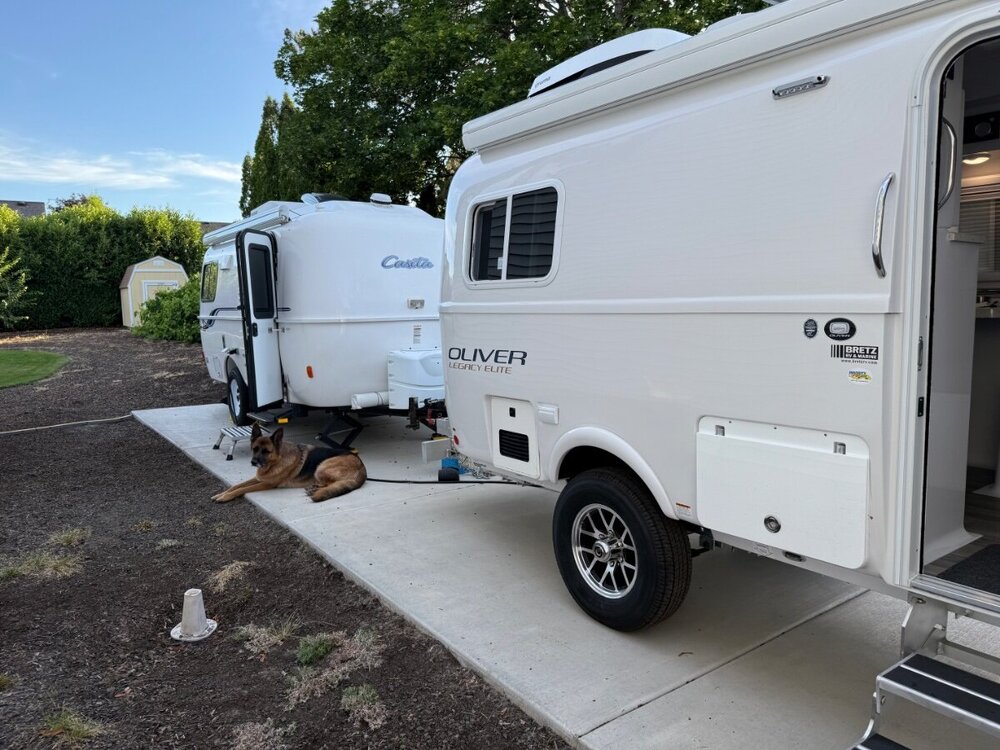
Pickup day at Bretz RV in Liberty Lake Washington June 30. The old and new eggs. The floor plans are identical but the Oli is like a fairy godmother tapped the Casita with a magic wand.
- 1 reply
-
- 6
-

-
Coddiwomple started following Inverter RV Air Conditioner
-

Walking the Plank with the “Little Giant”
Patriot replied to Patriot's topic in Mechanical & Technical Tips
This is it -https://www.lowes.com/pd/EGO-POWER-56-volt-765-CFM-200-MPH-Battery-Handheld-Leaf-Blower-5-Ah-Battery-and-Charger-Included/5005381953 this is a powerful blower especially on turbo. 👍🏻 With this optional attachment - https://www.amazon.com/Drying-Nozzle-Leaf-Blower the silicone protective guard works great. It’s much lighter and quieter than my gas powered blower. It works fantastic drying the Oliver or our vehicles after washing. No drying towels needed. -
bcaseley joined the community
-

Which jack do you carry on your trips ?
ScubaRx replied to Tideline77's topic in Mechanical & Technical Tips
You'll likely not be able to get it fixed in the shop. As soon as the middle shackle flips up, the other end will flip down. You can go back and forth like this for hours if you're enjoying the frustration. Just leave it alone until you're ready to travel in November. I won't hurt it to sit that way. Pull it over a 6 inch curb, listen for the bang and move on. -
Susan S joined the community
-

Walking the Plank with the “Little Giant”
jd1923 replied to Patriot's topic in Mechanical & Technical Tips
Looks like a battery-operated Leaf Blower. I have a Dewalt model along with us on every trip! Blow the dirt of the vehicles after washboard roads, get the dirt, the pine needles and dog hair off the camping mat... Gotta have one! 🤣 -

Walking the Plank with the “Little Giant”
FloraFauna replied to Patriot's topic in Mechanical & Technical Tips
What is the tool you are using in the last picture? - Yesterday
-
My stove one is acting exactly like your sink one. My sink one was acting up, but it seems to be fine now. I don't use the other touch lights very much. Thanks for the link. Those seem to be the very thing I was looking for.
-
See my longer post - you WON’T need a new hole for the switch! BTW - I don’t really like the light switch in the bathroom. I find it pops loose out of the hole easily.
-
I replaced all of my lights this year. Got them on amazon, they are 5 inch with a switch along the bezel they are dimmable also.. not to tech savey no pics look them up.. they dont sit flush , but it’s pretty close. Ok for for my taste…. I had two touch lights replaced under warrenty.. didnt last to long.. Im very happy with the lights i installed.. Good luck.. OTT finally got rid of those lights .. went with the ones with a switch..
-
Galileo started following Touch Lights
-
We had an issue with the touch light over the sink. It started acting intermittent last season, and then pretty much stopped working. Then for some reason, it “sorta” worked, sometimes coming on when touched, other times not. Oddly, when it was “off”, it stayed on dimly all the time. It got to the point I’d have to shut off the lighting master. I just didn’t want a light kinda working, and perhaps doing something bad - like starting a fire. I ordered these lights from Amazon - thinking they were touch lights just as were already installed. https://a.co/d/cg5xSAf When I finally got around to doing the replacement a couple of weeks ago, I found they are NOT touch lights, having a physical switch in the same location in the center of the light as the factory installed lights do. They look pretty much the same, and the mounting holes are close enough that no new holes need to be drilled. You’ll need to drill out the three pop rivets holding the old light in place, and get a light duty pop rivet gun and the smallest rivers (1/16” I think) to install the new light. You’ll also have to pull out the rubbed rubber mat and thin plastic floor plate in the cabinet to access the wires. I used crimp-on butt splices to make the new connection. Though I intended to replace the defective light with another touch light, I think I’m happier with a real switch as it more likely cuts the power off completely when off - where a touch light has to always be energized to sense your touch. PS - I probably could have used the included sheet metal screws - or a bit longer ones - instead of pop rivets, as I don’t really like them that much.
-
pradack joined the community
-
That's a feature, not a bug. Built in sauna/clothes dryer.
-
Am I the only one having problems with the touch lights?
-
Ken Root joined the community
-
Patriot started following John and Debbie
-
-
We are happy to hear that you were all OK. We were staying a bit away from there in Bandera, in a park bordering the Medina River which also rose quite a bit, but to nowhere near a level that would have threatened us despite the campers in the lower section of the park being relocated to the upper section. It was and remains a very tragic event.
-
That’s been one of my only complaints on our trailer. Why would they use black material top and bottom!? It’s like an oven underneath! Even having a reflective top would be a huge benefit.
-
These 90+ degree days are brutally hot beneath the black fabric on the Girard awning. Googling/chatgpt reveals some options for different fabric colors. Has anyone tried a lighter color?? The main concern for me is the invitation to mildew/mold issues. I have no problems now...I think the temps on the black fabric has some effect. Any help is much appreciated. I plan to call Carefree of Colorado tomorrow and see what they have to say. Thanks, John


.thumb.jpg.e34bf01ef7f7d5e99ad31856d45afbeb.jpg)


