Leaderboard


Popular Content
Showing content with the highest reputation on 07/03/2017 in all areas
-
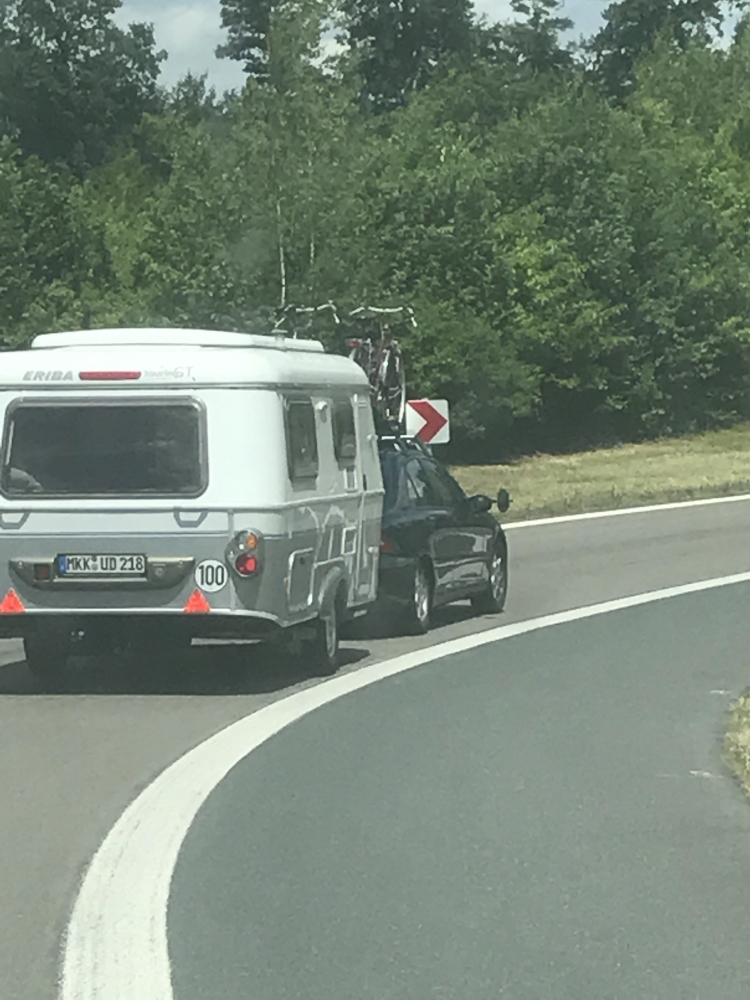
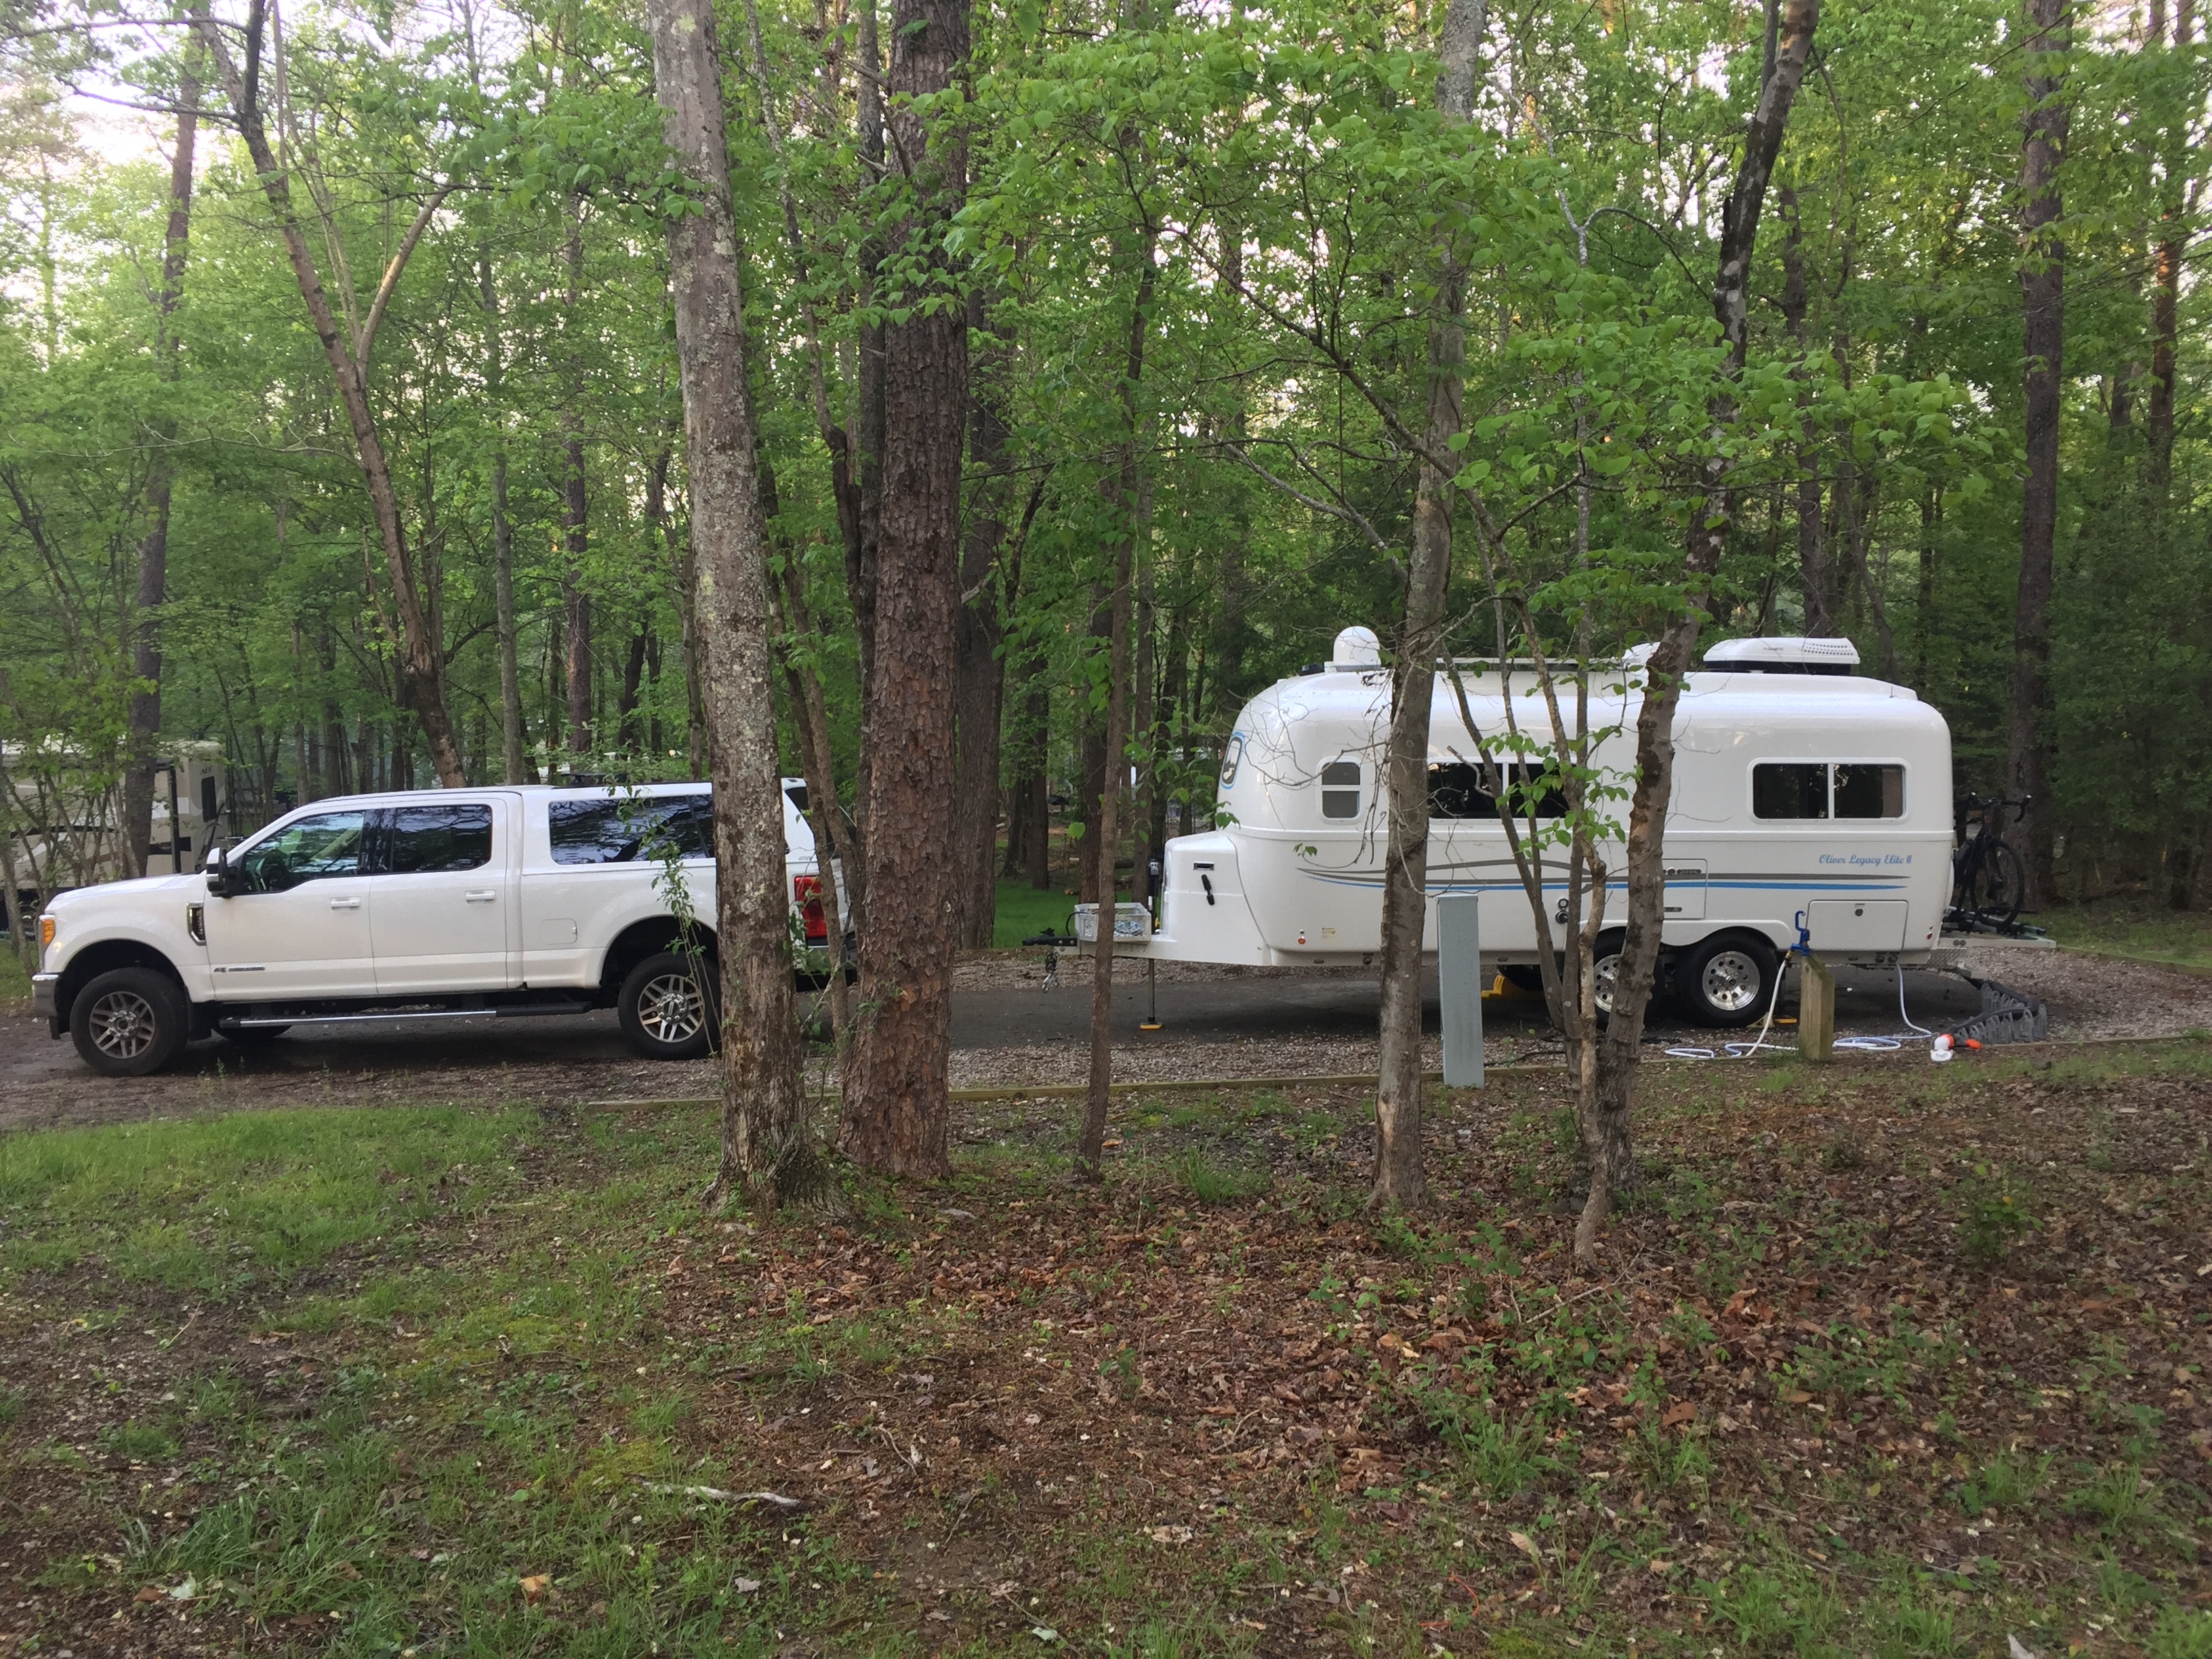
I learned to be careful with the stalking. Funny story. We were in Germany last week and we were in areas with tons of caravans. I saw an Eriba that was beautiful. Noticed they pulled into a rest stop off the Autobahn and followed. Mmmm I just I should have thought about what a crazy red head speaking excited english and going towards the camper and gesturing would look like to an elderly couple who didn't speak English. Lol I felt bad. They didn't have en visit the restroom. They hightailed it out of there. ???? The Eriba had an interesting cog type wheel that was right behind the back wheel. I wanted to know what it was for. Lol. Alas, I didn't get to look inside either. They were literally the only people we encountered that didn't know English. Lol
 2 points
 -
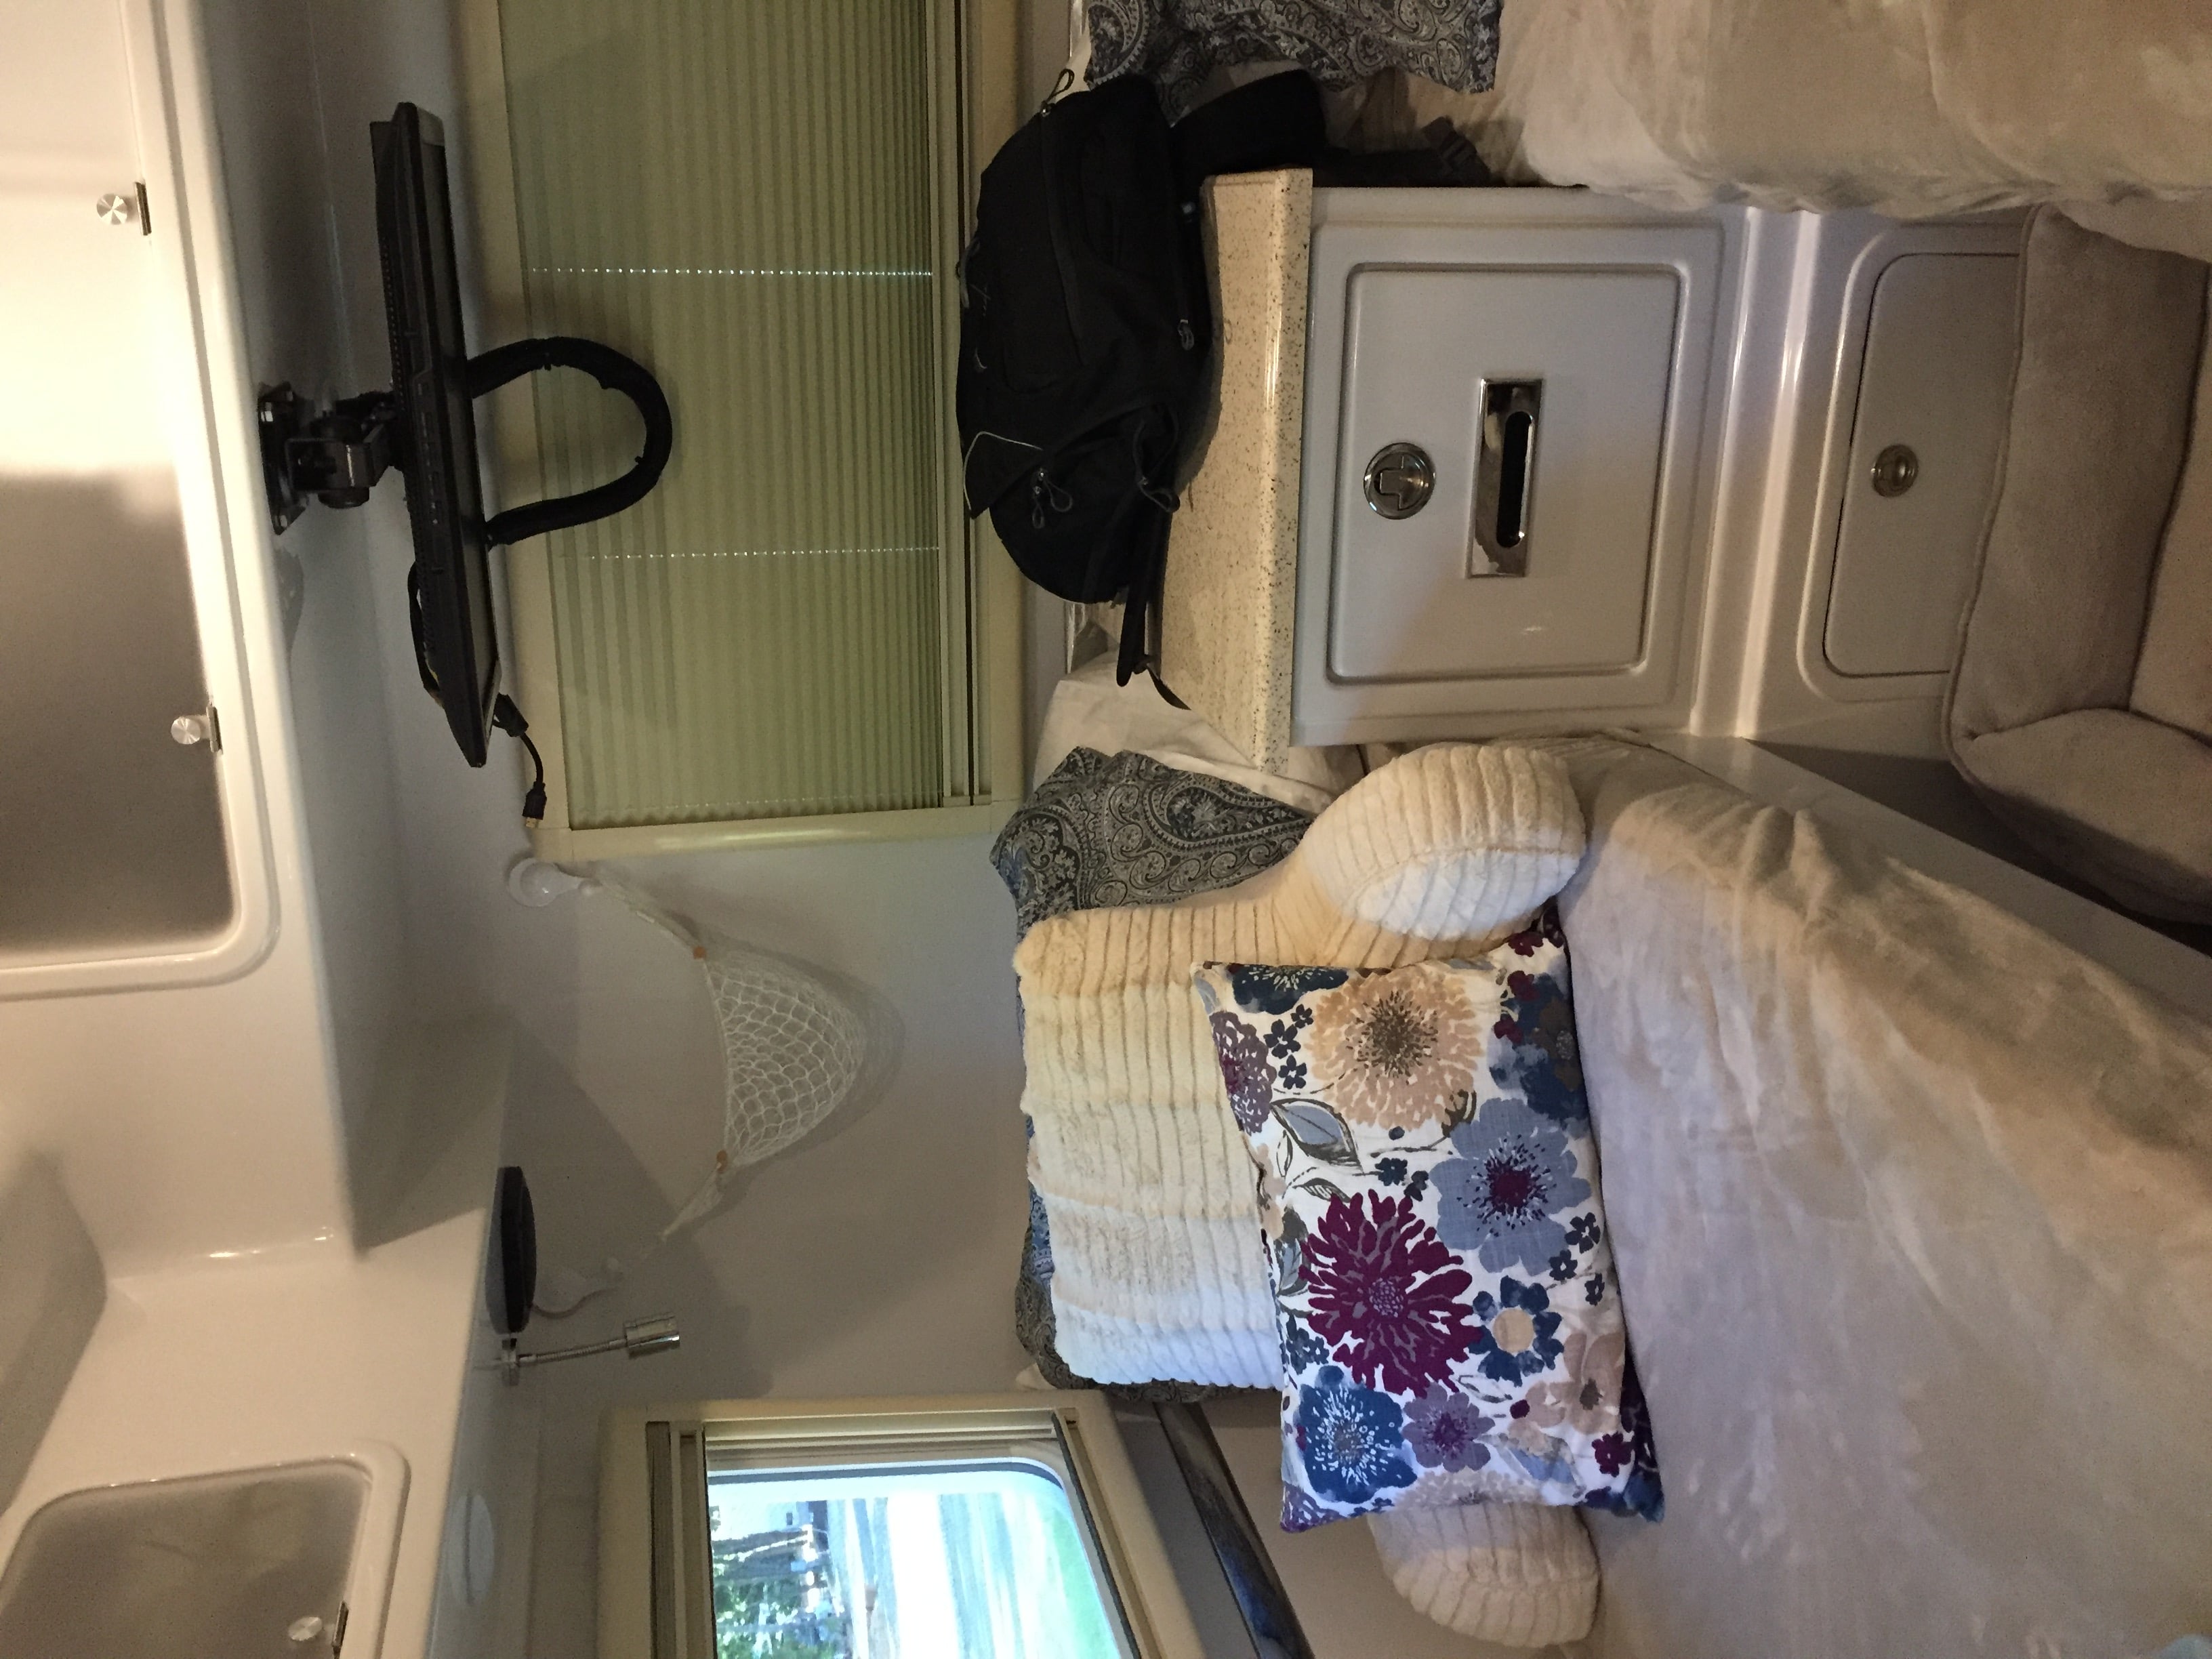
During our service visit we asked for a latch to be installed on the nightstand drawer like the one on the pantry. It seems very secure and looks nice. I don't think it will come open anymore duting travel.
2 points
-
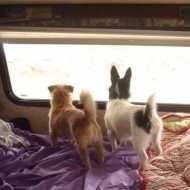
I've never had my nightstand drawer open (during travel), but, I like the idea. Also, I like the hanging "basket" on the wall at the rear, but, hope that its not someones undies. Bill2 points
-
For the most part, I think we take pride in being stalked. It happens a lot, people following us into rest areas. Last trip, I experienced meeting a couple who had actually followed us into a campground and spent the night there, hoping to get a peek at the Ollie. They were driving a huge ($400,000) bus and were interested in us!2 points
-
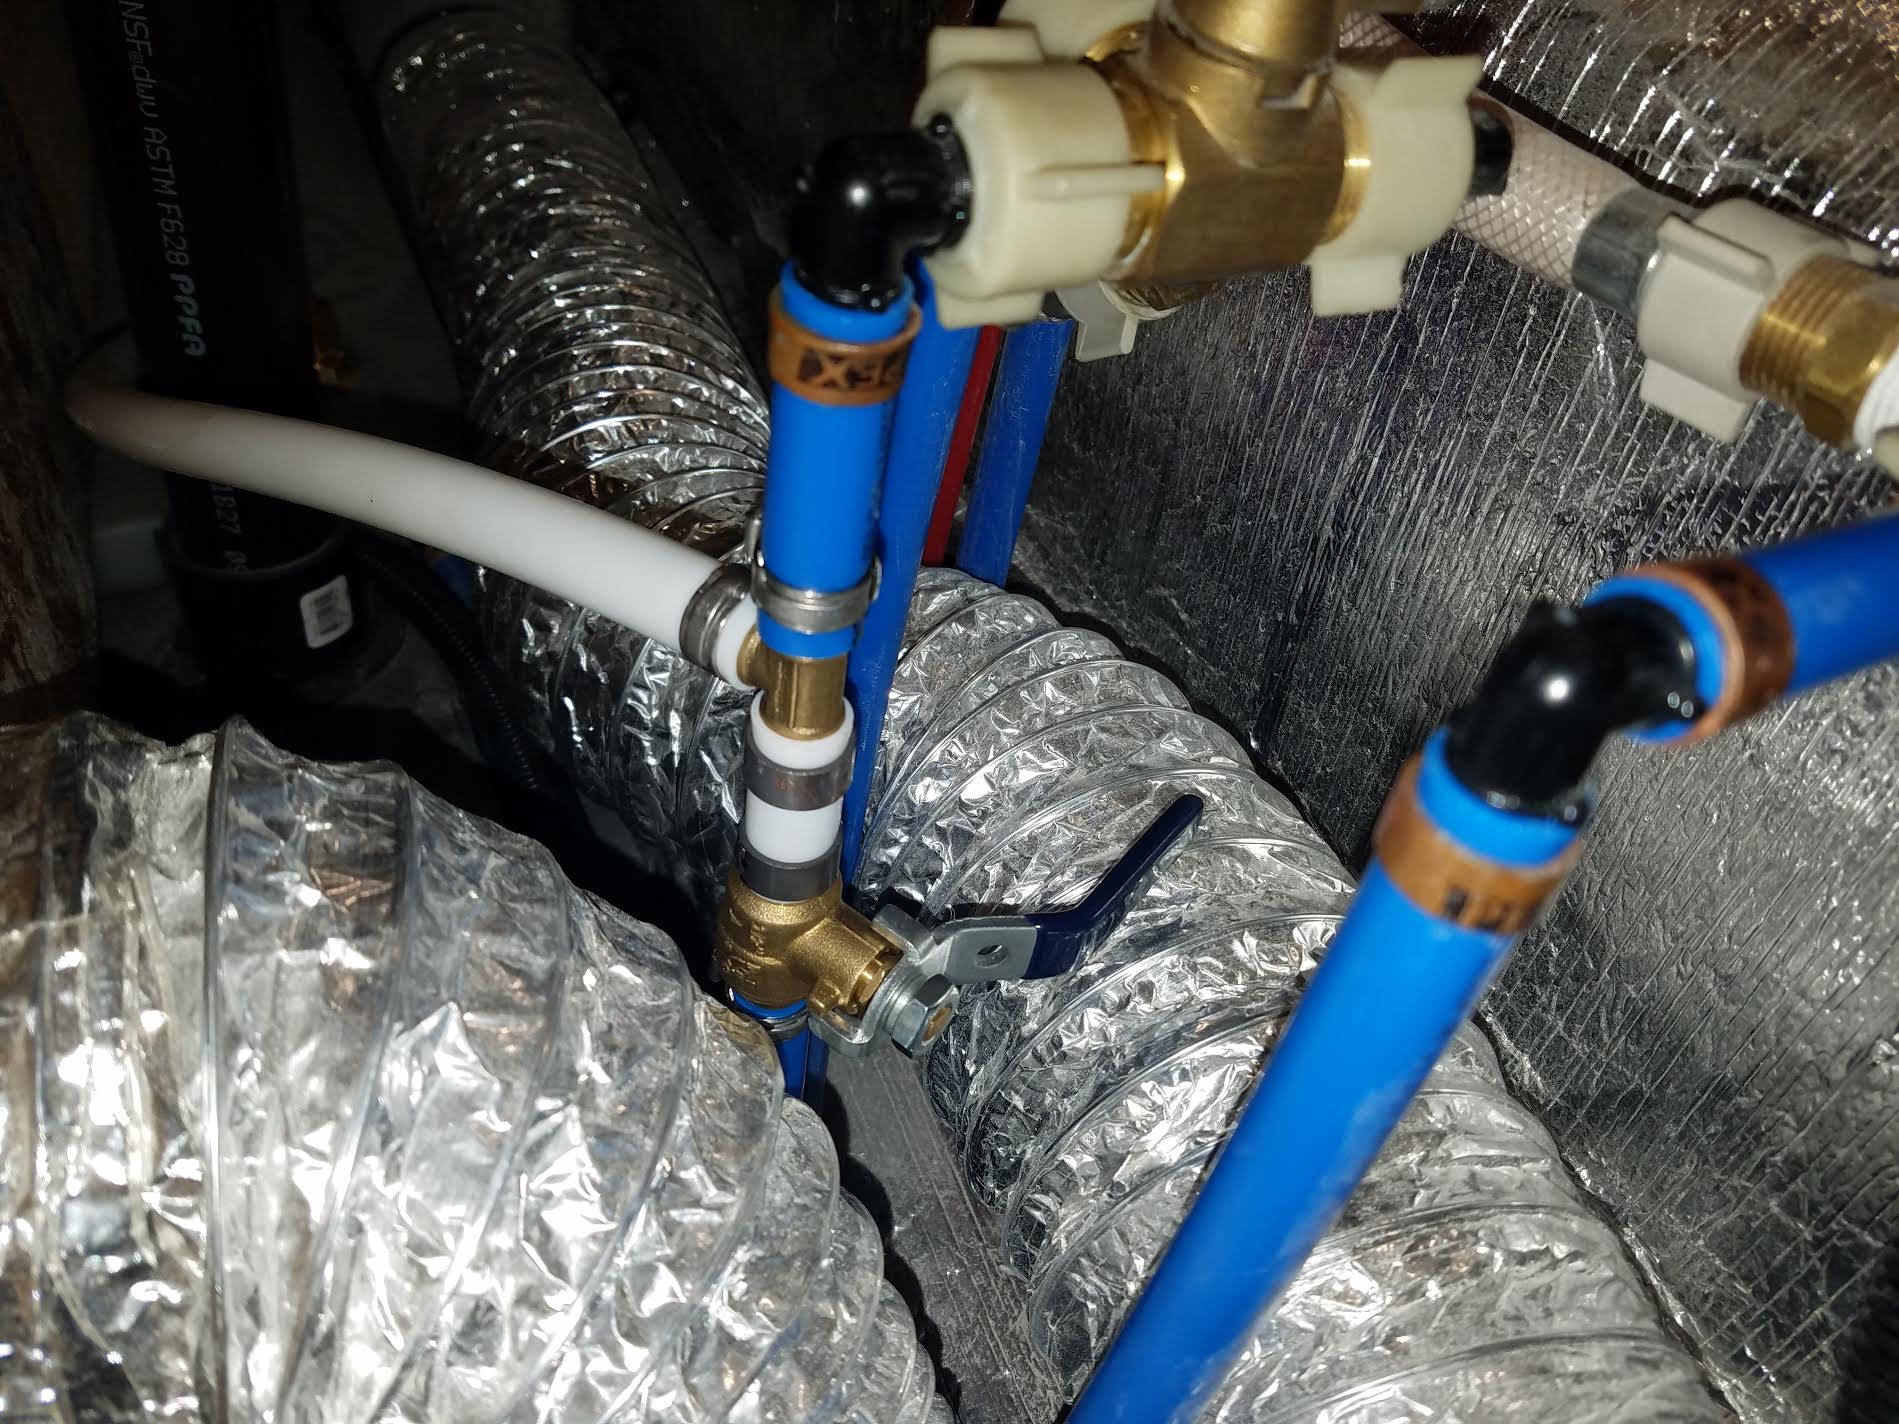
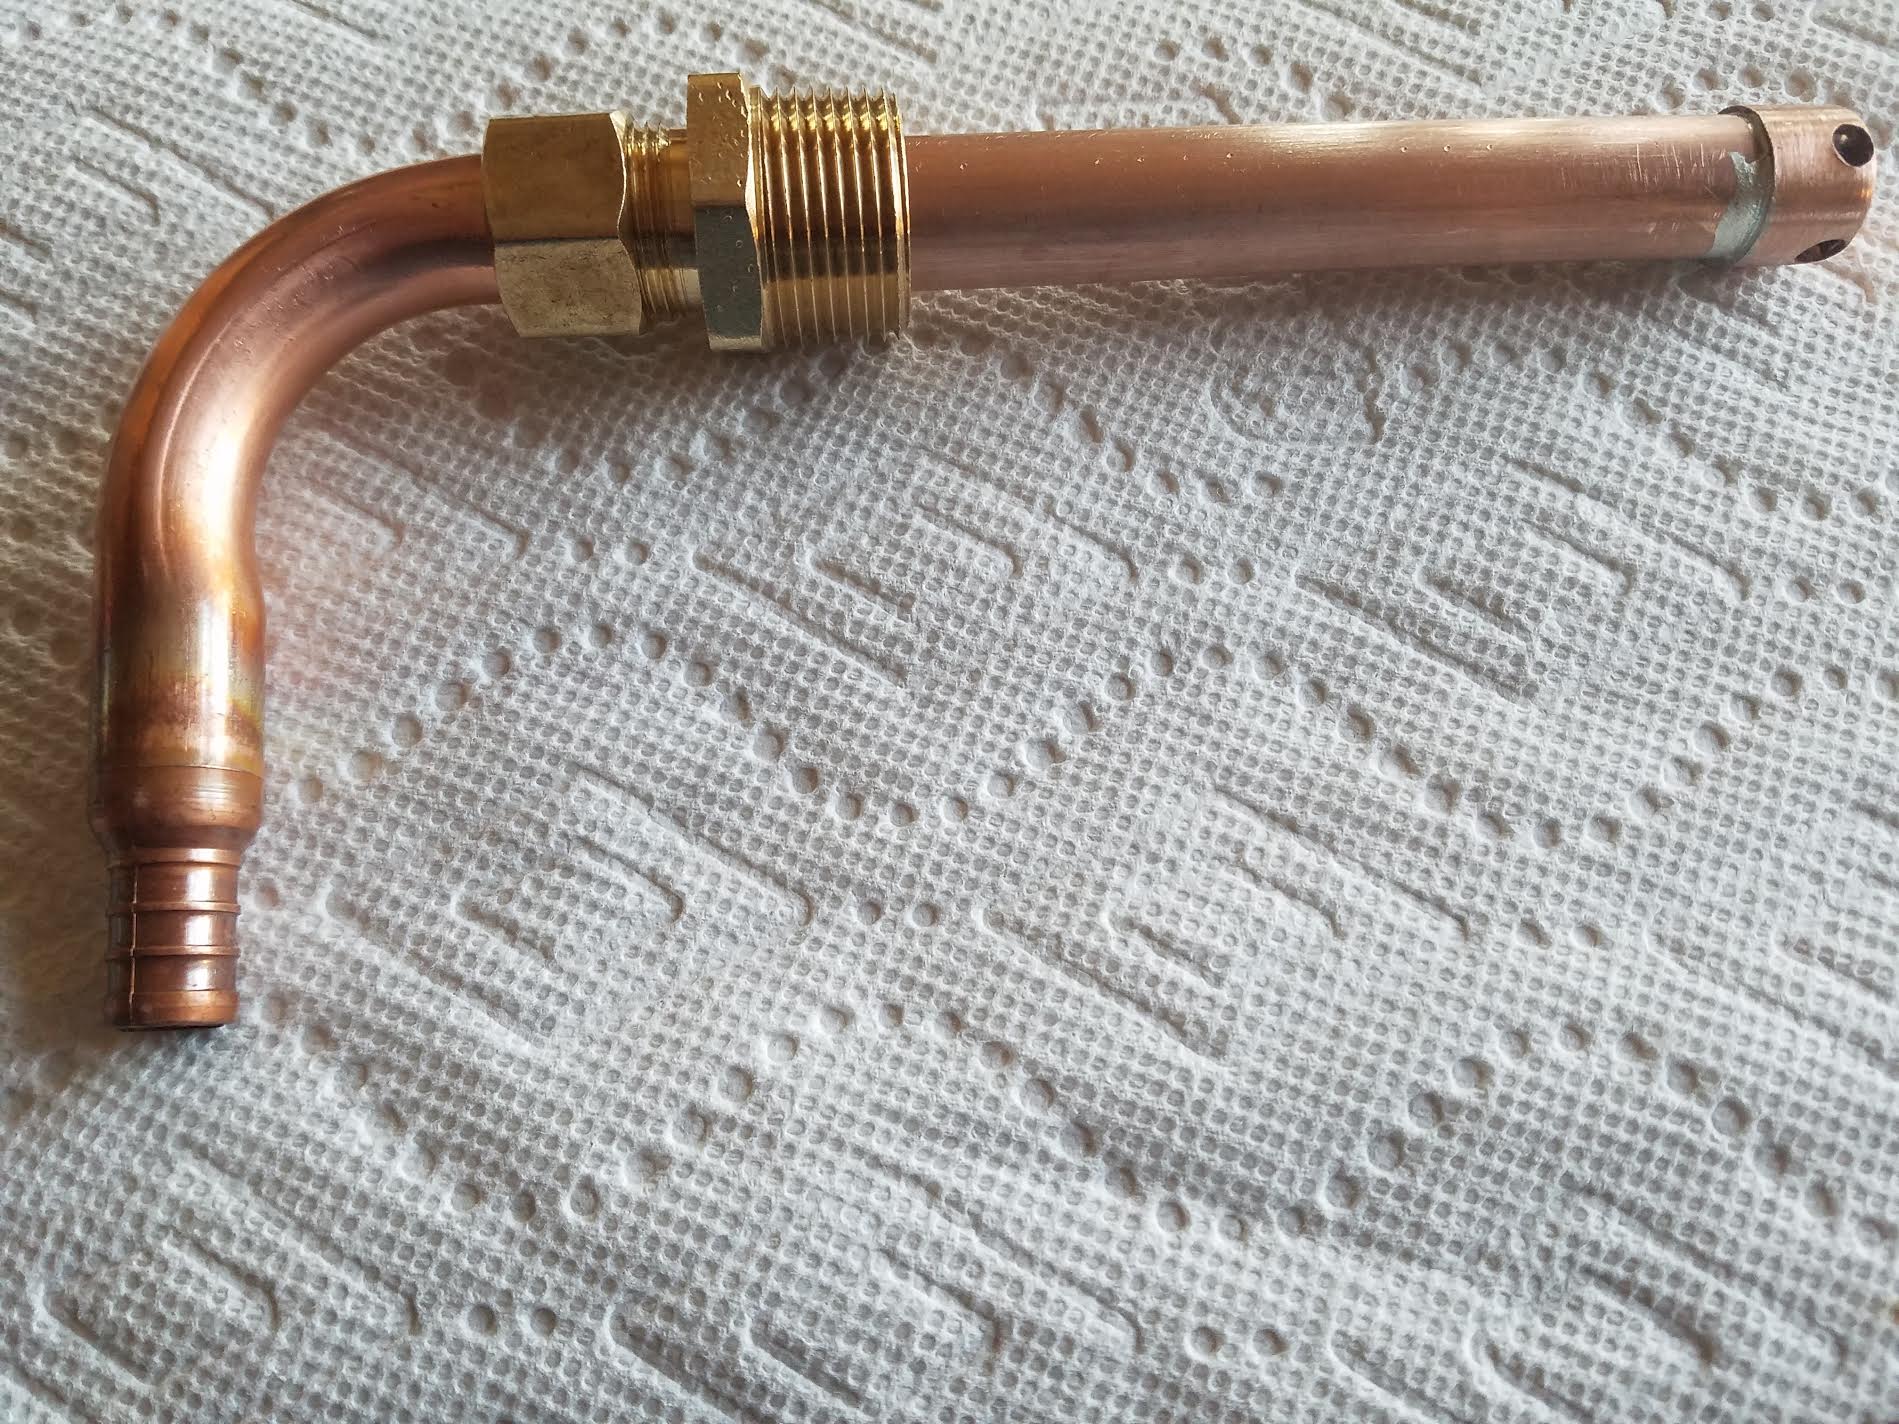
With all the talk lately about not being able to access all of the fresh water in the tank, I decided to make a new suction line and improve the situation. The stock line on mine will only draw water down to about 1 1/2" deep before it begins to suck air. In a 35 gallon tank that is only about 4" deep, this means about 1/3 of the water is not available, or about 11 or more gallons left in the tank. The stock pickup is on the side of the tank and cannot get all the water. So I made a top fitting that goes down and picks up the water at or below 1/4" from the bottom. When I started the installation I leveled the trailer and ran the water until it began to suck air. Mine did that at a reading of 25% on the gauge. If the front of the trailer is raised some, which I did not do, the reading would still be the same when the pump sucked air because the gauge reads right next to the pickup. You could get more water out of the tank with a raised tongue, but the gauge reading would be the same when it sucked air. After I installed the new dip tube, I continued to draw water and it began to suck some air at 6%. So, mine went from 25% (approx. 8 gallons left) down to 6% (approx 2 gallons left) when it began to get some air. Others have reported as much as 38% remaining which would be over 12 gallons. At a 6% reading I began getting aerated water, but a steady flow. Finally, the gauge went to 0% left. At that point is was about 1/2 water and 1/2 air at the faucet, but still flowing, or spitting. But even with a zero on the gauge it continued to pump out another gallon or so before I shut it off. All of this with cold only, not water drawn from the water heater. So, the volume from 6% to 0% was totally useable, probably not for a shower, but certainly for drinking. This is a prototype that works well, but it might still improve a bit with the next one. The pickup touches the bottom of the tank, but draws radially from below 1/4". It adjusts to any small differences in various tanks. It can be pulled out and cleaned easily if debris ever clogs it. All plumbing connections, where the new line ties in, are easily accessible and the existing tank fittings are not touched. The stock tank drain is retained. The area of the tank where the new fitting is installed is easily reached and the tools to do it all fit in the available space. After clearing all of this with Oliver to make sure there is no conflict with forum rules or warrantee issues with them, I can send anyone that wants to do this, a kit with the following: the pre-made dip tube fitting, a Polyethylene tank fitting, the special spin weld fitting driver, a 1 1/2" hole saw (if needed), the pinch ring tool and a PEX cutter. I'll also provide step by step directions for anyone who is interested. You'll have to have a powerful router with a 1/2" collet and a drill to drive the hole saw. Or, I can help you with a set of directions here on-line and you can assemble the parts yourself. The parts required are: (1) dip tube assembly, (1) 3/4" spin weld fitting, (6) 1/2" PEX pinch rings, 24" 1/2" PEX, (1) 1/2" PEX ball valve, (1) 1/2" PEX tee, a small container of Rectorseal 5. The only real tricky part is the spin weld. Besides the special procedure for spin welding itself, you have to make a new hole in the tank and vacuum out the chips. Here are some pictures:
1 point
-
Hi Carbon, Yeah, keeping their website current is an area of improvement for Oliver, in my opinion. In addition to graphic colors, they don't have all the fabric or flooring choices. In fact, the I found out because when I did the factory tour, they had a board with all the colors. So if you have a particular color you want, I'd ask! It isn't considered an upgrade so there wasn't an additional fee. I'm guessing that either the colors on the website are the most popular or at some point in the past those were the only choices. No worries on novice questions! I've asked many on this forum and everyone is so helpful. This group helped me with my cabinetry colors...and now with my rig's name. :-)1 point
-
I printed out Bill's chart and taped it inside the pantry door. I've used it quite a bit. Mike1 point
-
That's a great idea and it looks nice too. I also like the access door below. We had our drawer open a couple of times early on, but not recently. Mike1 point
-
Might have been us. We went through there about that time. We tow with a white ford f250 with a white camper topper and our Ollie's graphics are blue and gray...
1 point
-
I love the name "Quill"!! And I do so agree, claim it now. Or..."The Violet Quill". Violet--purple--is the color of royalty. A royal quill.1 point
-
One of my several mother's day presents was this ultimately portable, tiny burner for the Coleman type isobutane canister from etekcity. I've used it roughly 40 times now to make coffee, soup, or dinner, and it's pretty awesome for the size and price. Extremely light and compact, but flame is very adjustable. I had some doubts about the piezo, since it sits in the flame and gets very hot, but it's still working, too. Paired with gsi dualist 1.8 liter pan, works great for me. A basically two for one on Amazon now, $15 for two. May not be a forever item, but mostly stainless.
1 point
-
Good Luck you two :) Have a safe and enjoyable trip!1 point
-
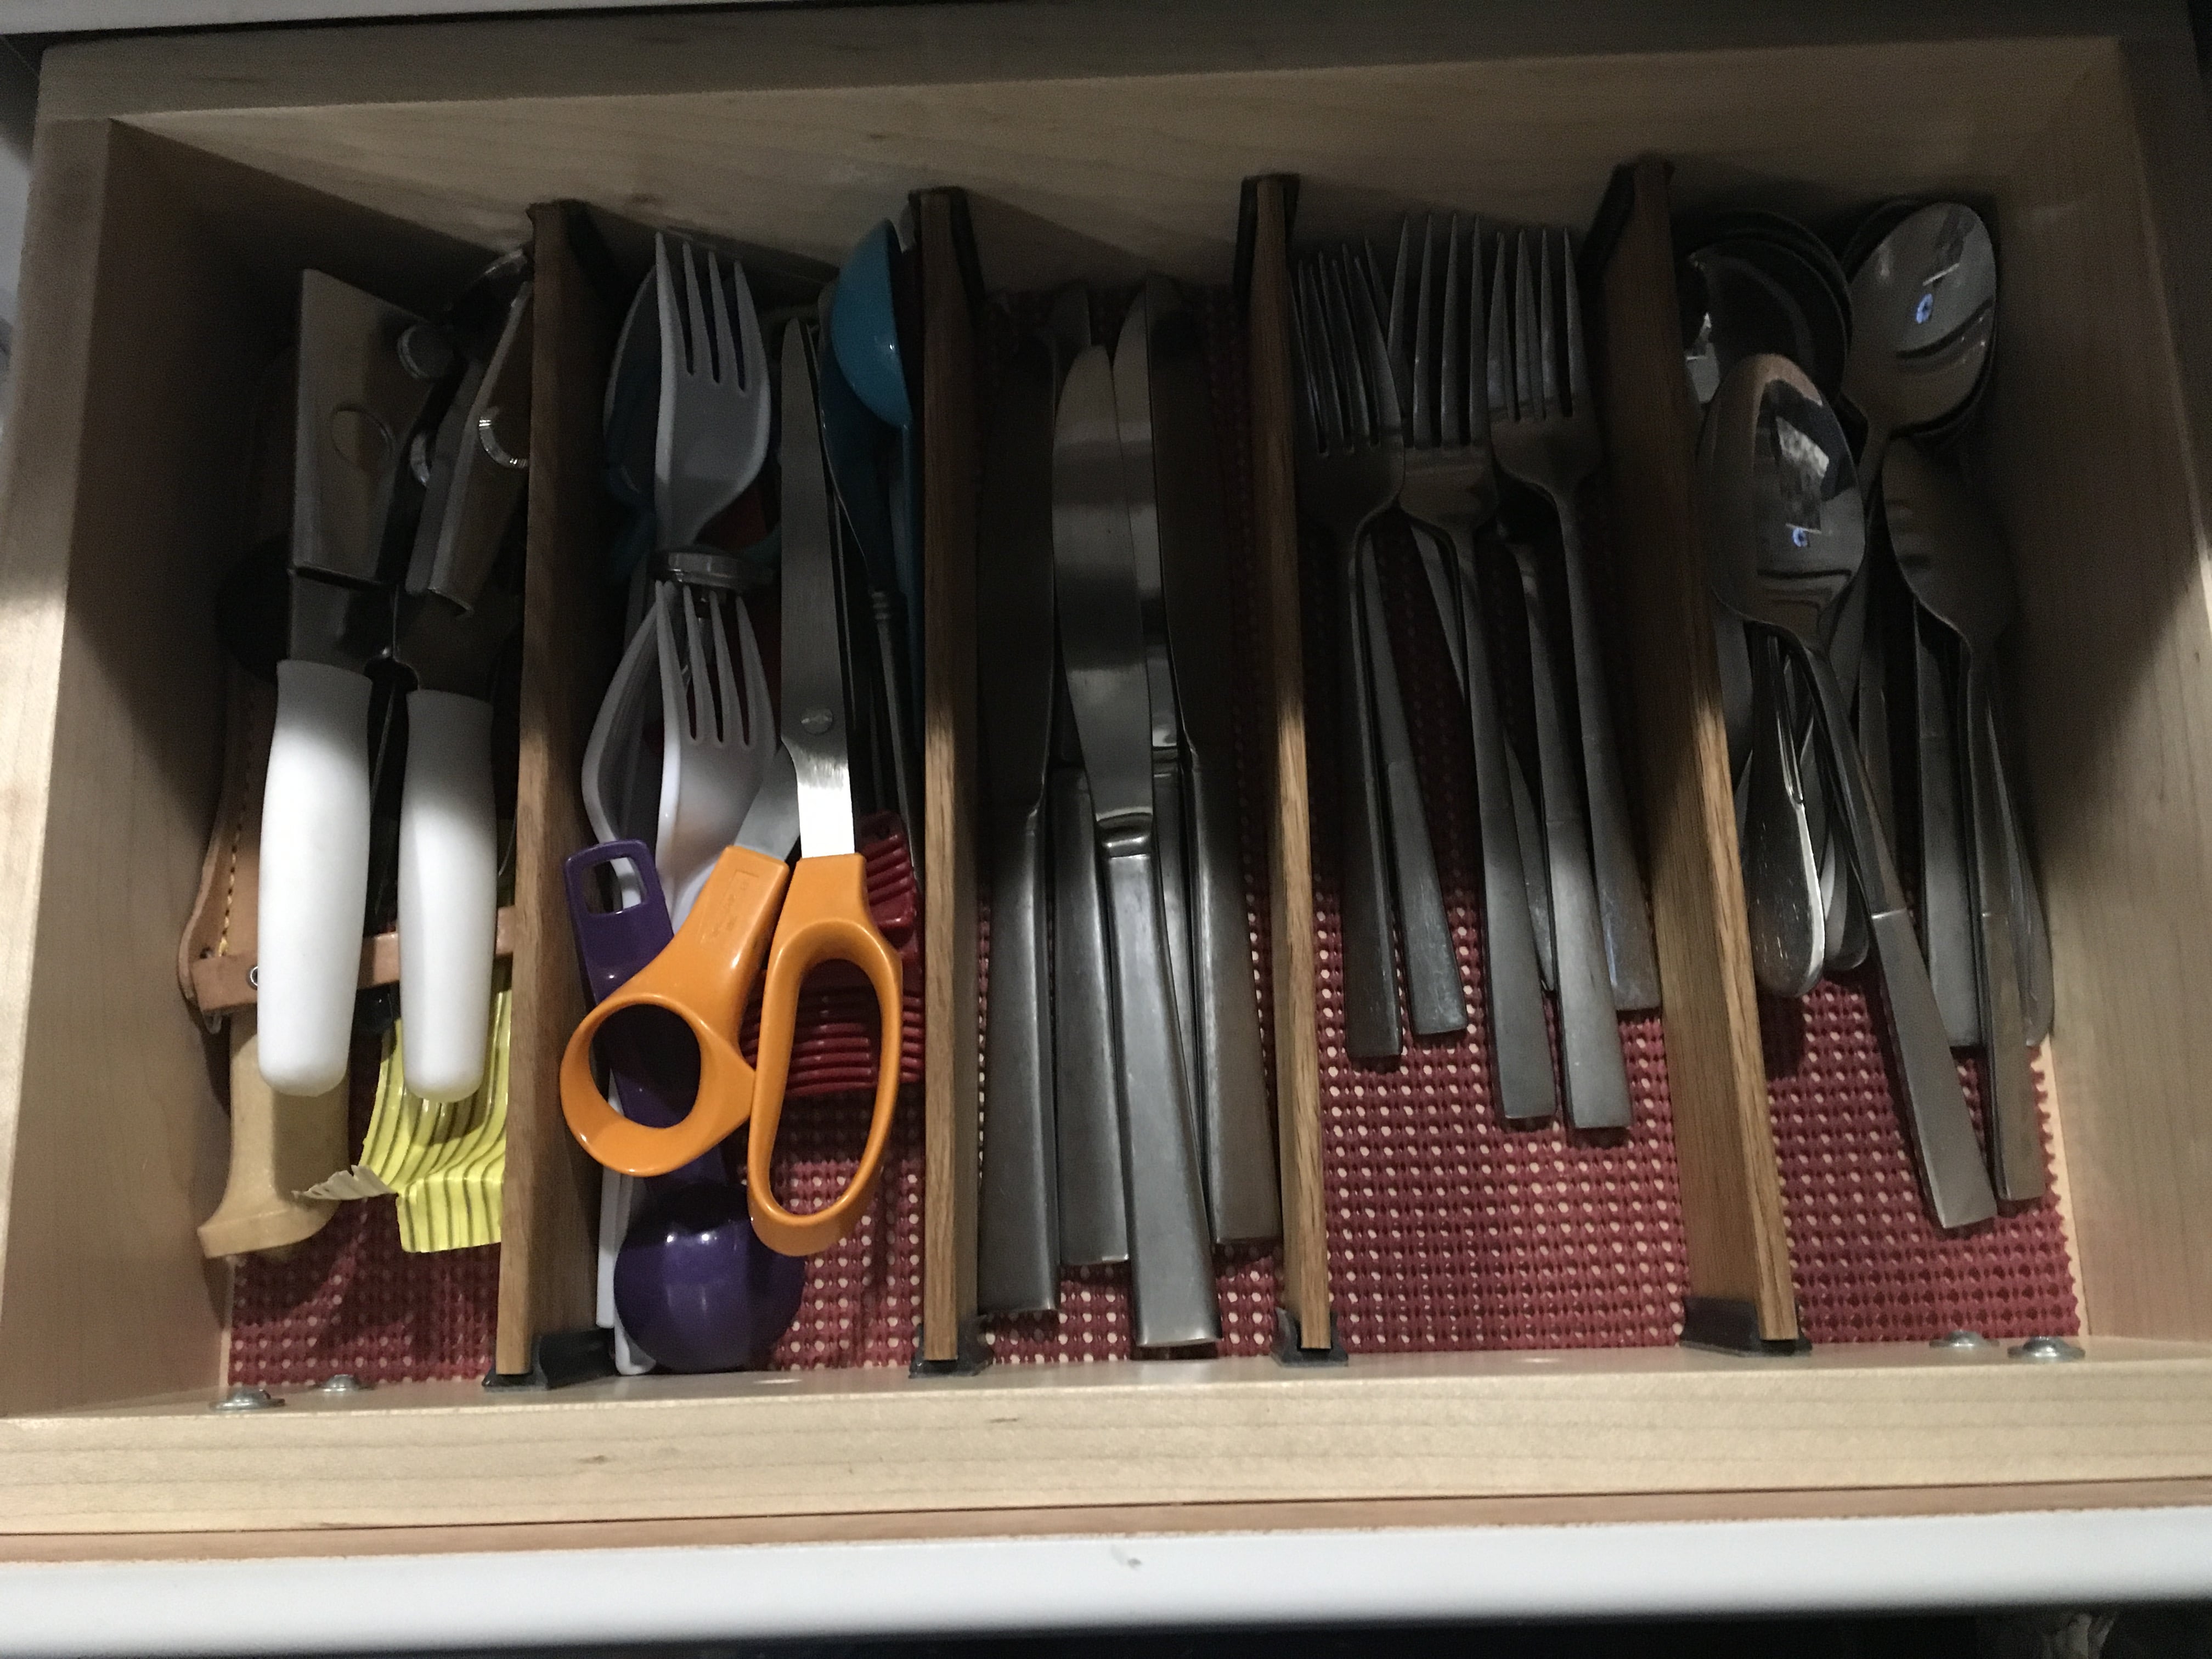
The Ed half of our team found these stick on brackets and used 1/4 inch wood for the dividers. Customizable and pretty easy. The can be purshased here http://www.leevalley.com/us/hardware/page.aspx?p=74182&cat=3,43722,43743
1 point
-
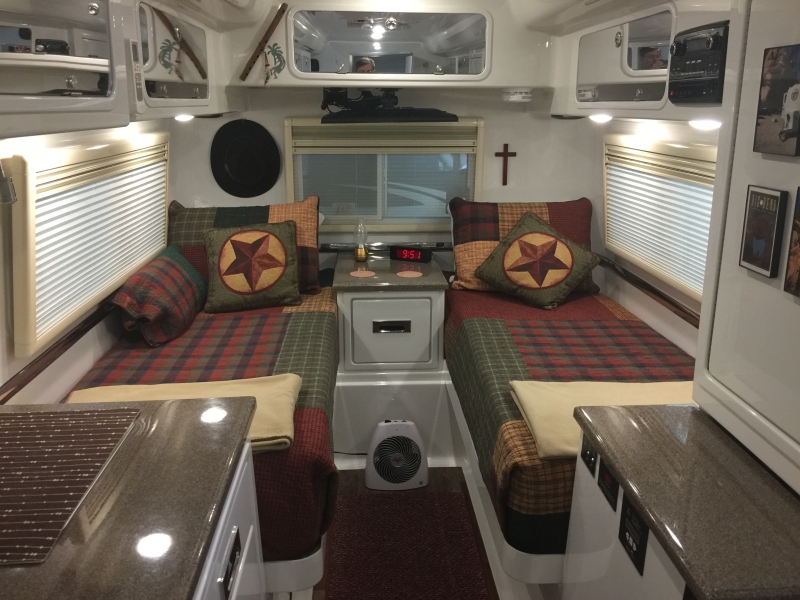
We use standard twin sheets. The bottom fitted sheet is a little too big and we use those elastic straps that connect to the sheets under the mattress which provides a nice tight fit. For the top sheet, it's no big deal - just a little more to tuck in. We have standard twin blankets that also tuck in nicely. For the top quilt, Carol did cut off some material and hemmed the edge. We also have a queen bed at home and find the narrow twin beds fine while on the road and camping. We got the 6" optional mattress and have a 2" foam topper on that. We've had some of our best sleep on our Oliver twins. Mike
1 point
-
Jason told me two days ago that they are developing a retrofit kit that can be done there in Howenwald, or sent to a shop or skilled owner for installation. They have to finalize the design, make sure it meets the various codes and certification, and test fit it them into a couple of trailers on the production line, before making them available. They want to make sure they do not introduce any new issues while fixing this old one... A wise move IMHO. I can wait until they have a factory fix available, since my trailer is only a month old. But John "Raspy's" fix looks solid, well put together and easy to do for somebody out of warranty. Thanks for making the parts available. Can you comment on the spin welding, and how hard it is to get good results if you have never done it before? I have seen videos of the technique. Thanks, John Davies Spokane WA1 point


-
Recent Achievements
-


")


")


")
