Leaderboard


Popular Content
Showing content with the highest reputation on 06/06/2018 in all areas
-
The Dexter EZ Flex system adds another layer of protection to your camper. The EZ Flex equalizer comes with a rubber dampener to lower the impact from cracks, potholes and other imperfections in the roads from causing unwanted stress on the camper shell. This system also replaces the standard bolt & plastic bushings inside each leaf spring eye with wet bolts and bronze bushings allowing you to keep them greased for longevity and less noise from heat and resistance. For this system to operate properly it is recommended that the bushings are greased every 3 months or 3,000 miles with a good high quality Hi-Temp grease. We use Citgo Mystik Hi-Temp at the factory but there are several other approved greases from Dexter. *2018 Elite I models utilize bronze bushings and wet bolts but does not have the equalizer as it is used on the dual axle only. The Dexter Axles used on the Oliver Elite and Elite II models are the 5,000 lb and 3500 lb axles. The Elite models have a single 5,000 lb axle with 12” brakes while the Elite II models have dual 3500 lb. axles with 10” braking. These axles and brakes do have a break-in period as they are Nev-R-Adjust braking and adjust automatically as you brake while pulling forward or backwards. The break-in period may vary slightly but usually adjusts to 100% somewhere between *50 brake applications from the brake controller only or over a period of about 500-700 miles with normal vehicle braking. *Please make sure that you do not overheat your brakes by trying to achieve the break-in too quickly. If you do choose to utilize the brake controller over 50 braking applications it should be done over a 75 mile trip at low speeds allowing the brakes to cool in between and not putting too much stress at high speeds on the trailer brakes to stop the tow vehicle. Both the 3500lb. and 5,000lb axles have serviceable bearings that require maintenance every 12 months or 12,000 miles. The same grease that is used for the EZ Flex will work with the bearings. Both the inner and outer bearings should be cleaned thoroughly and inspected for any imperfections or improper wear. This is also a great time to inspect your trailer brake components as well. These maintenances can be performed by most RV service centers or if you prefer, you can perform your own maintenance. For more information on how to repack your wheel bearings see the Dexter Bearing Maintenance Video.2 points
-
A lot of forums like to post music video threads and I am one of those people that has music going all the time. Here's what I am listening to: What are you listening to? Post your youtube video link below.1 point
-
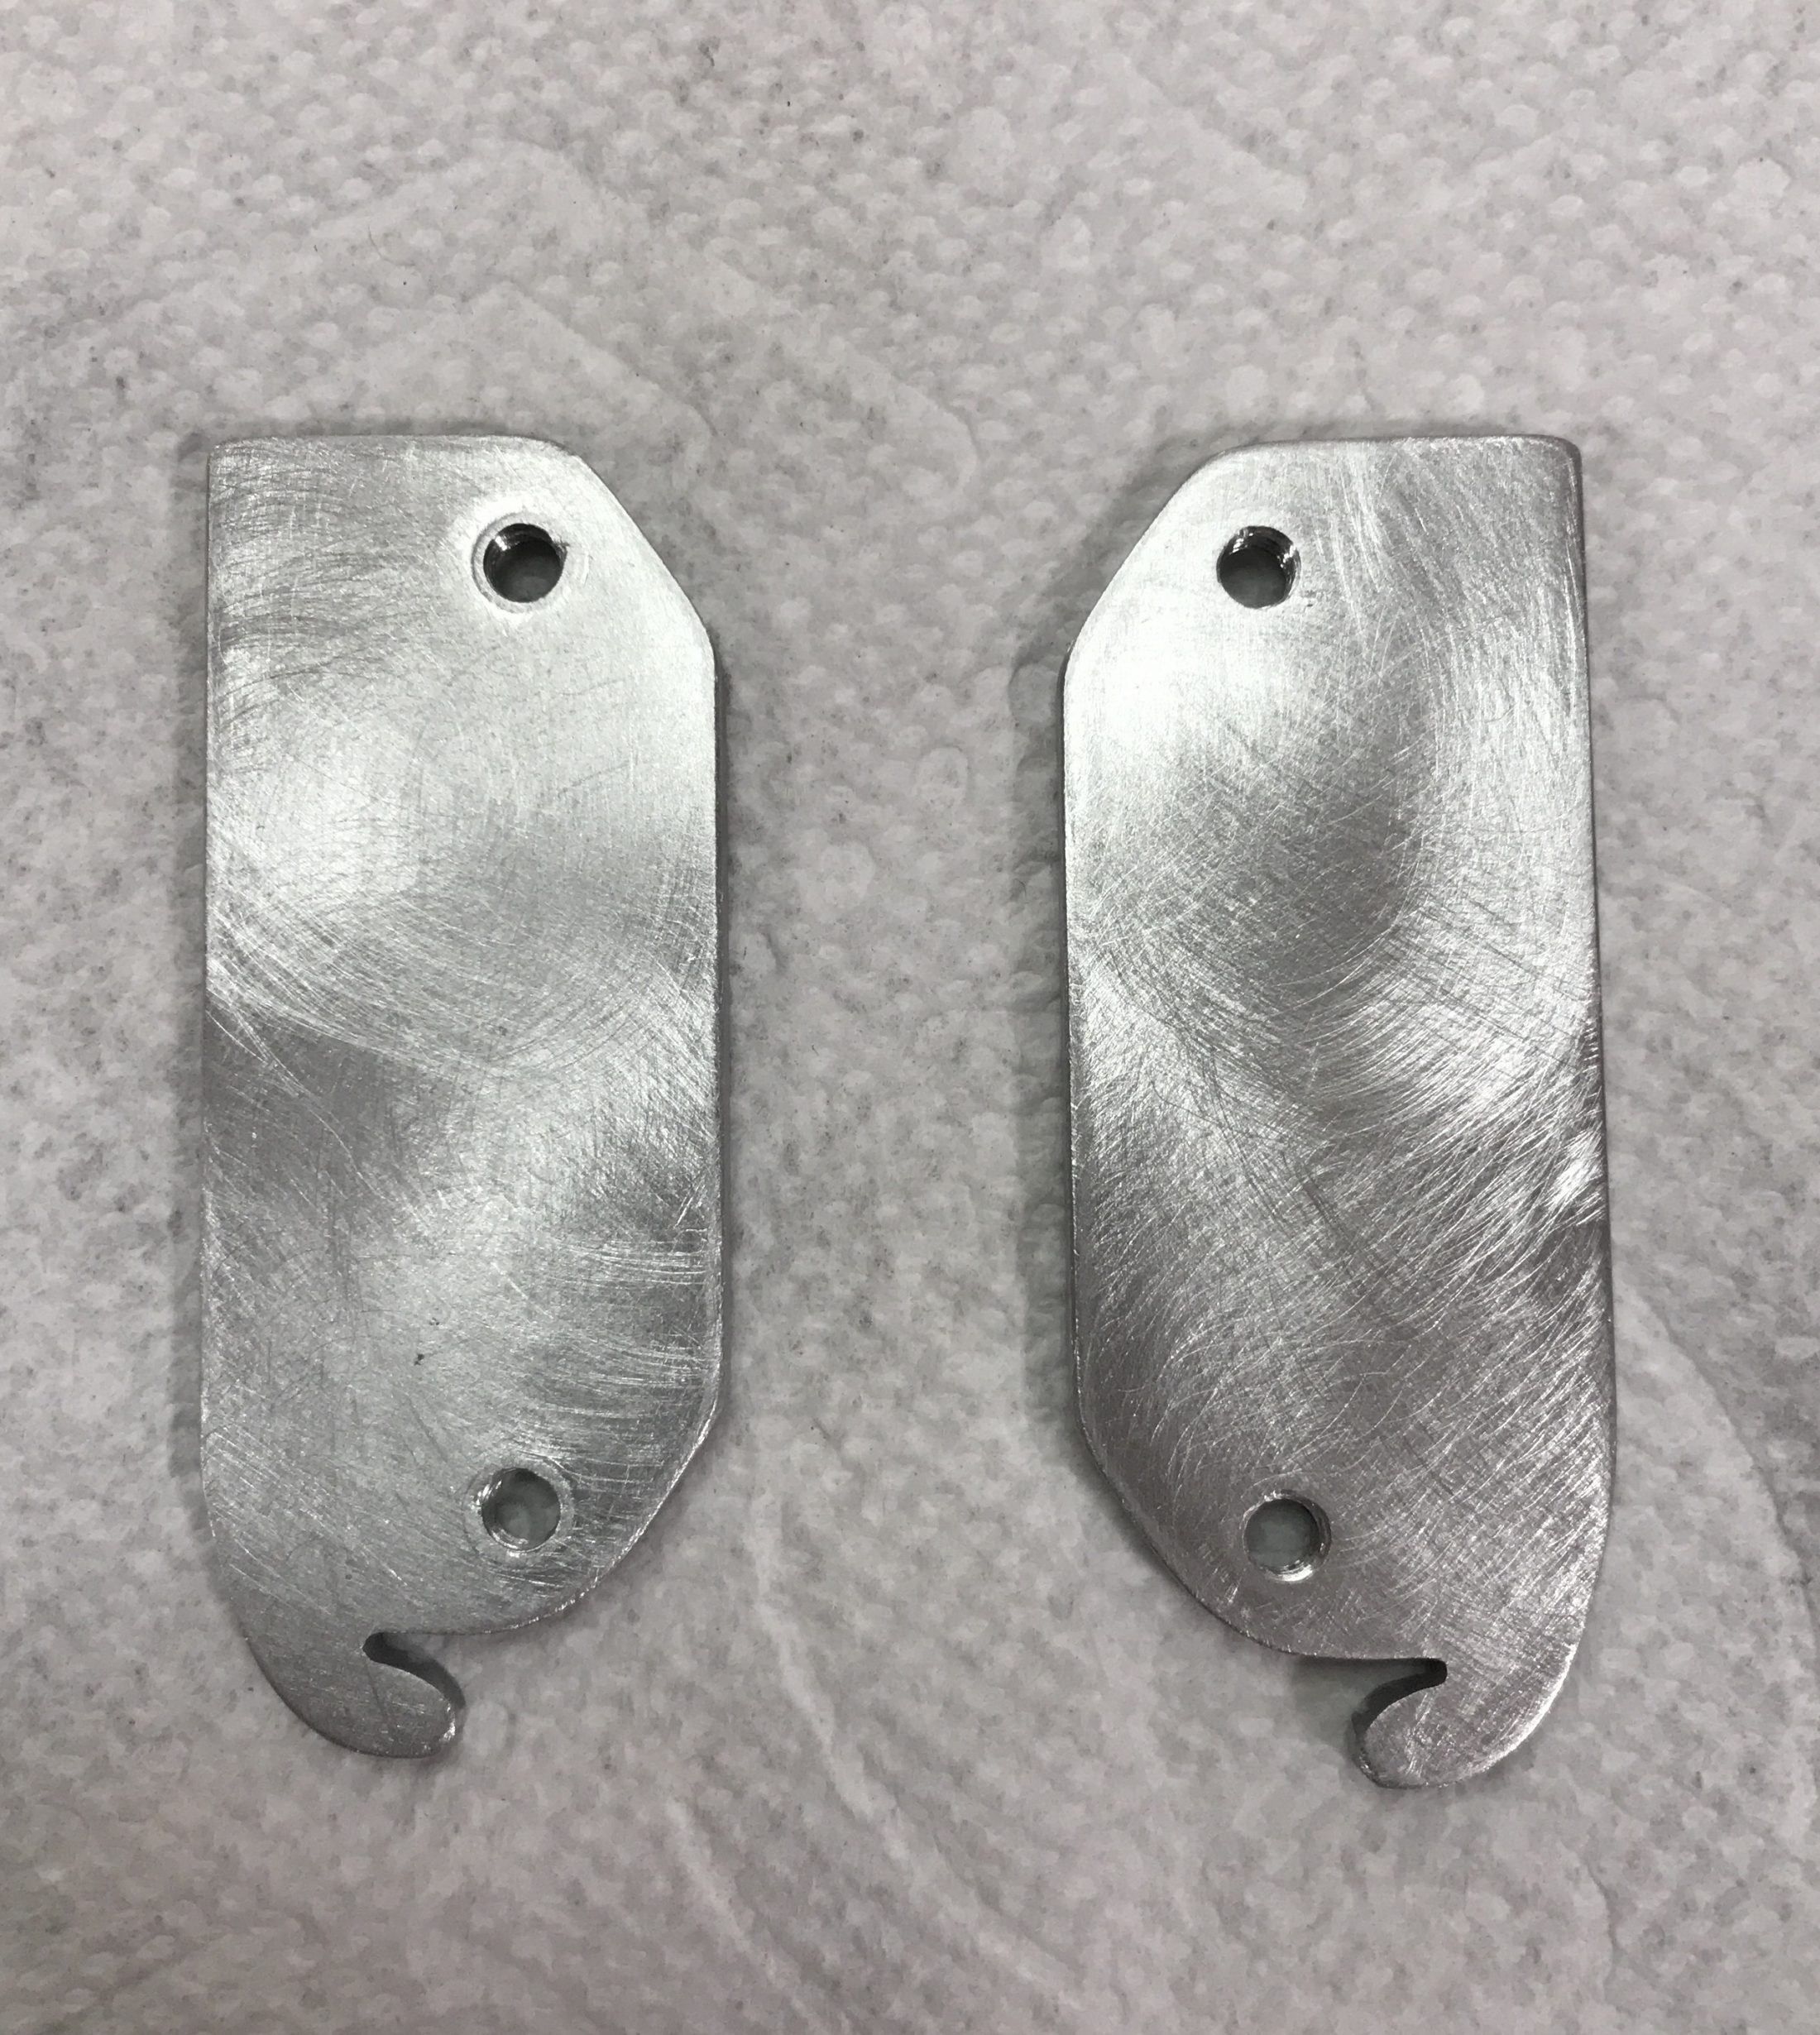
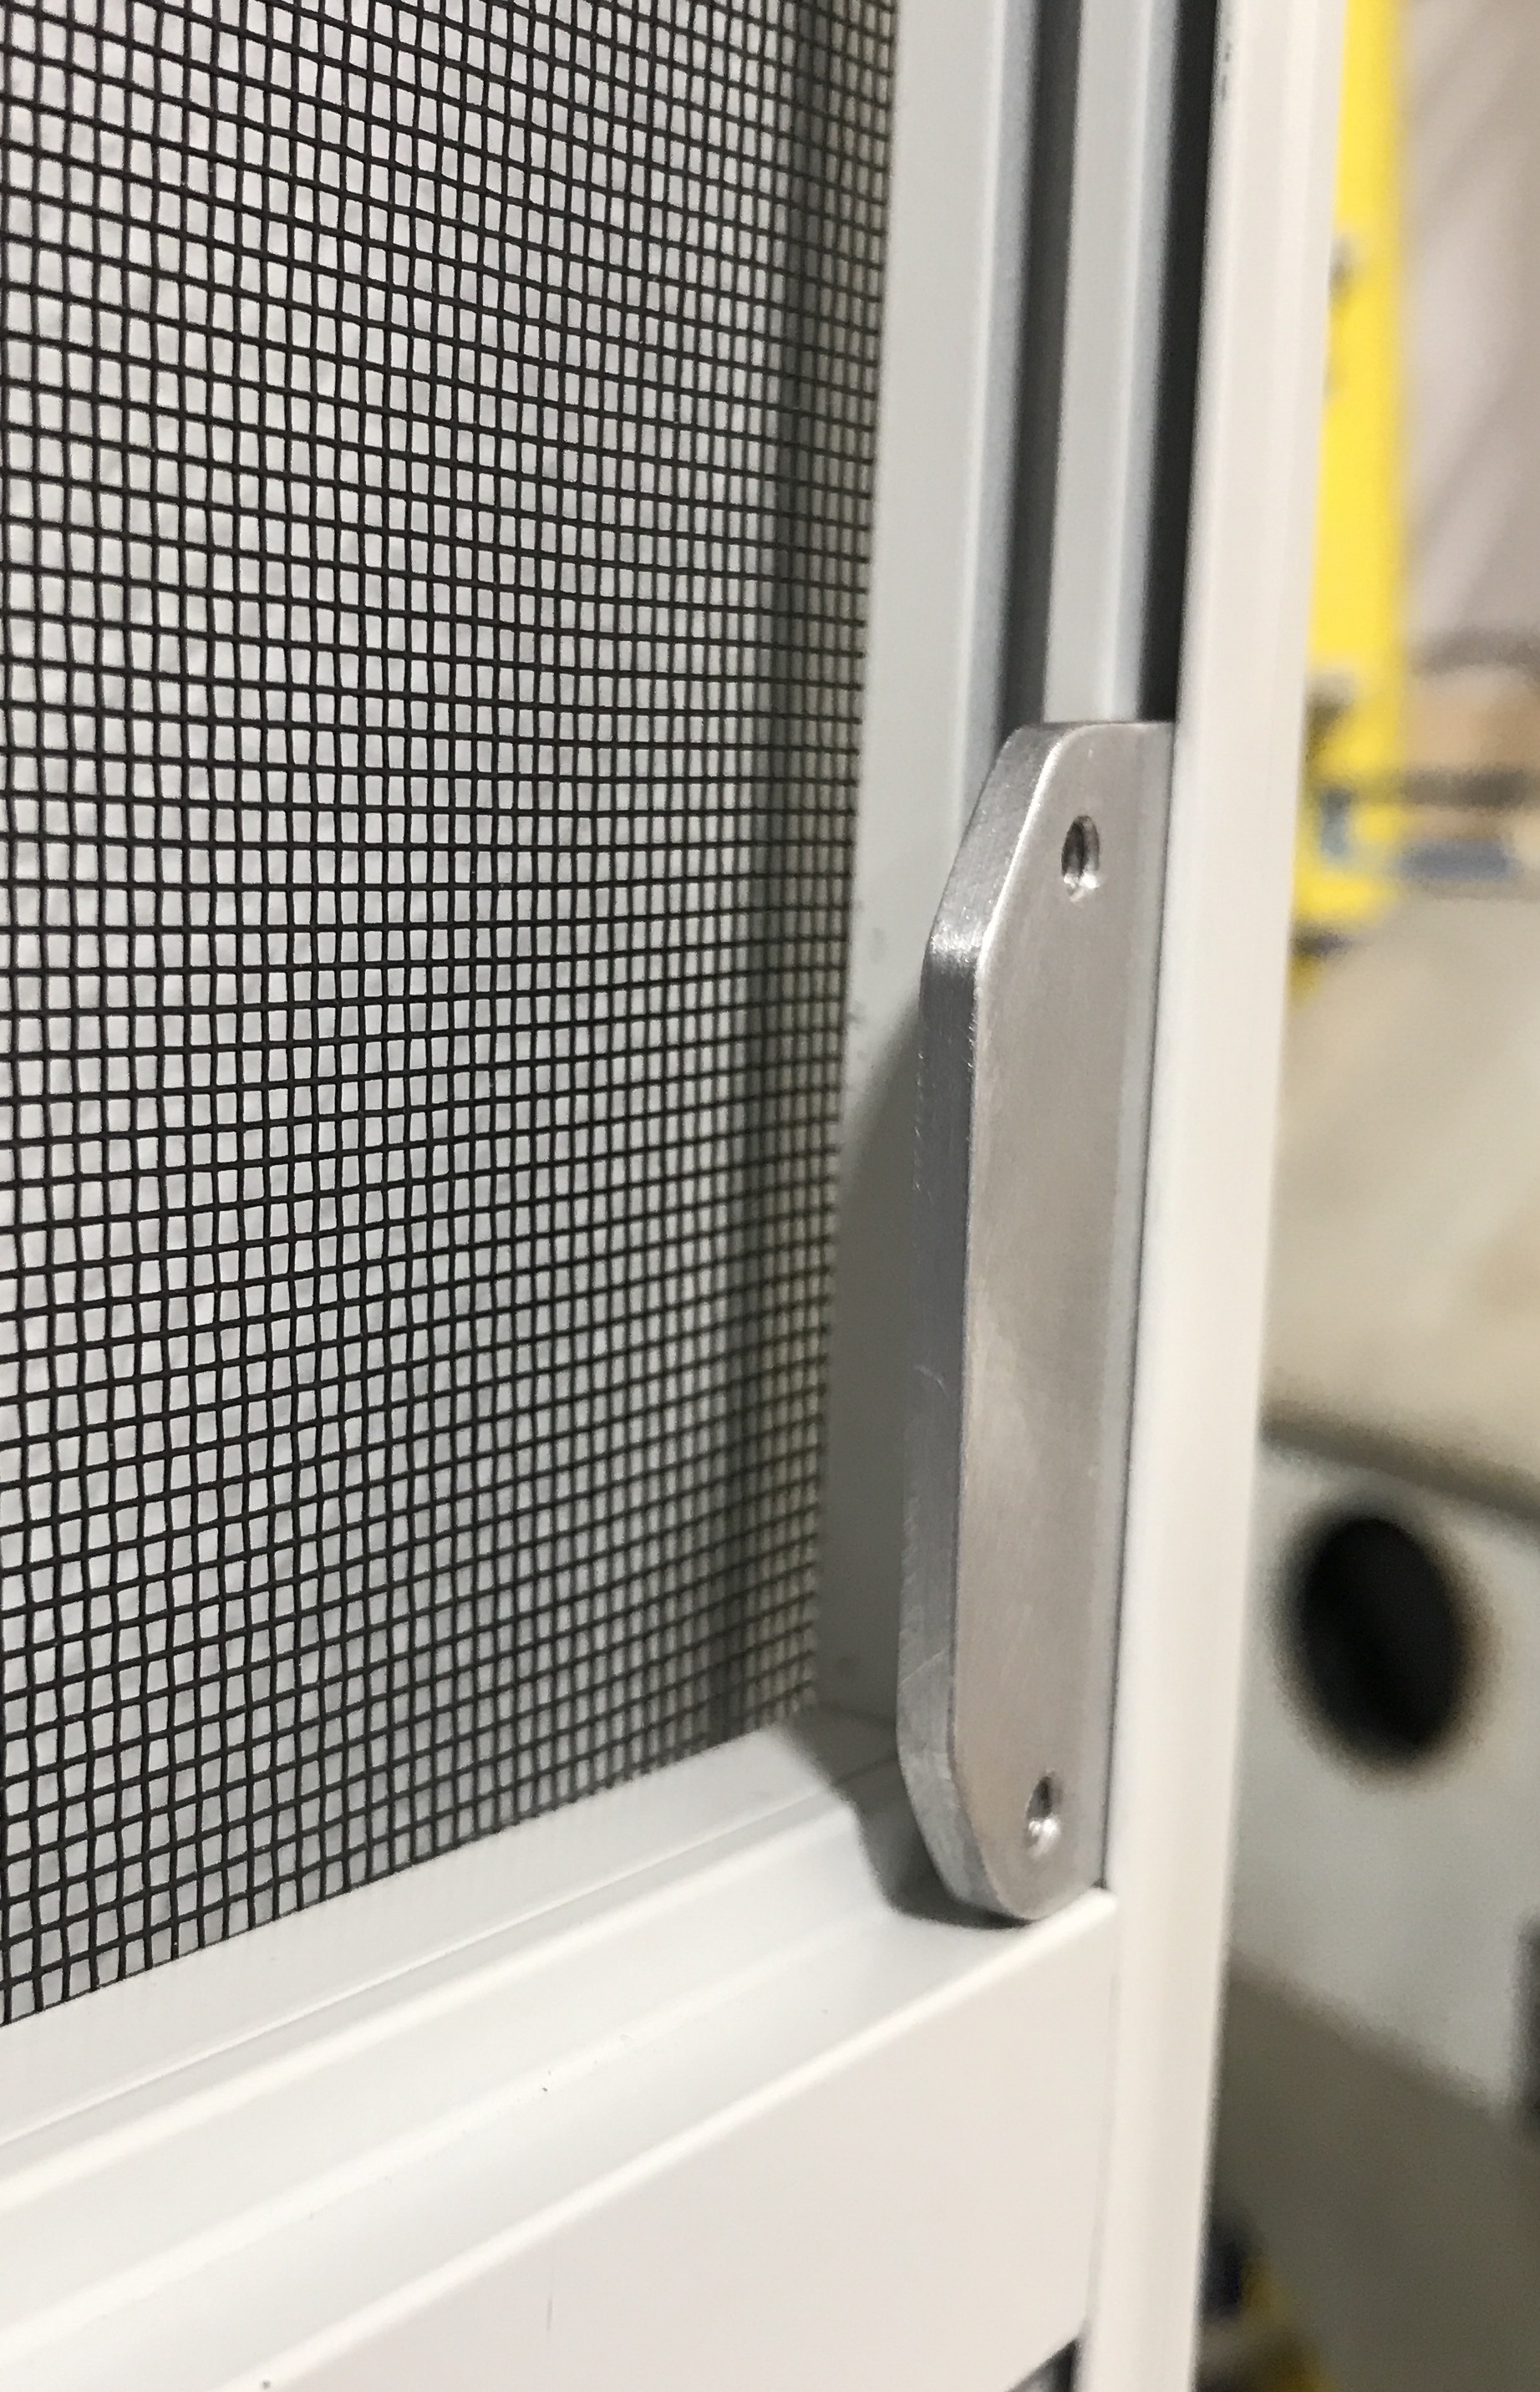
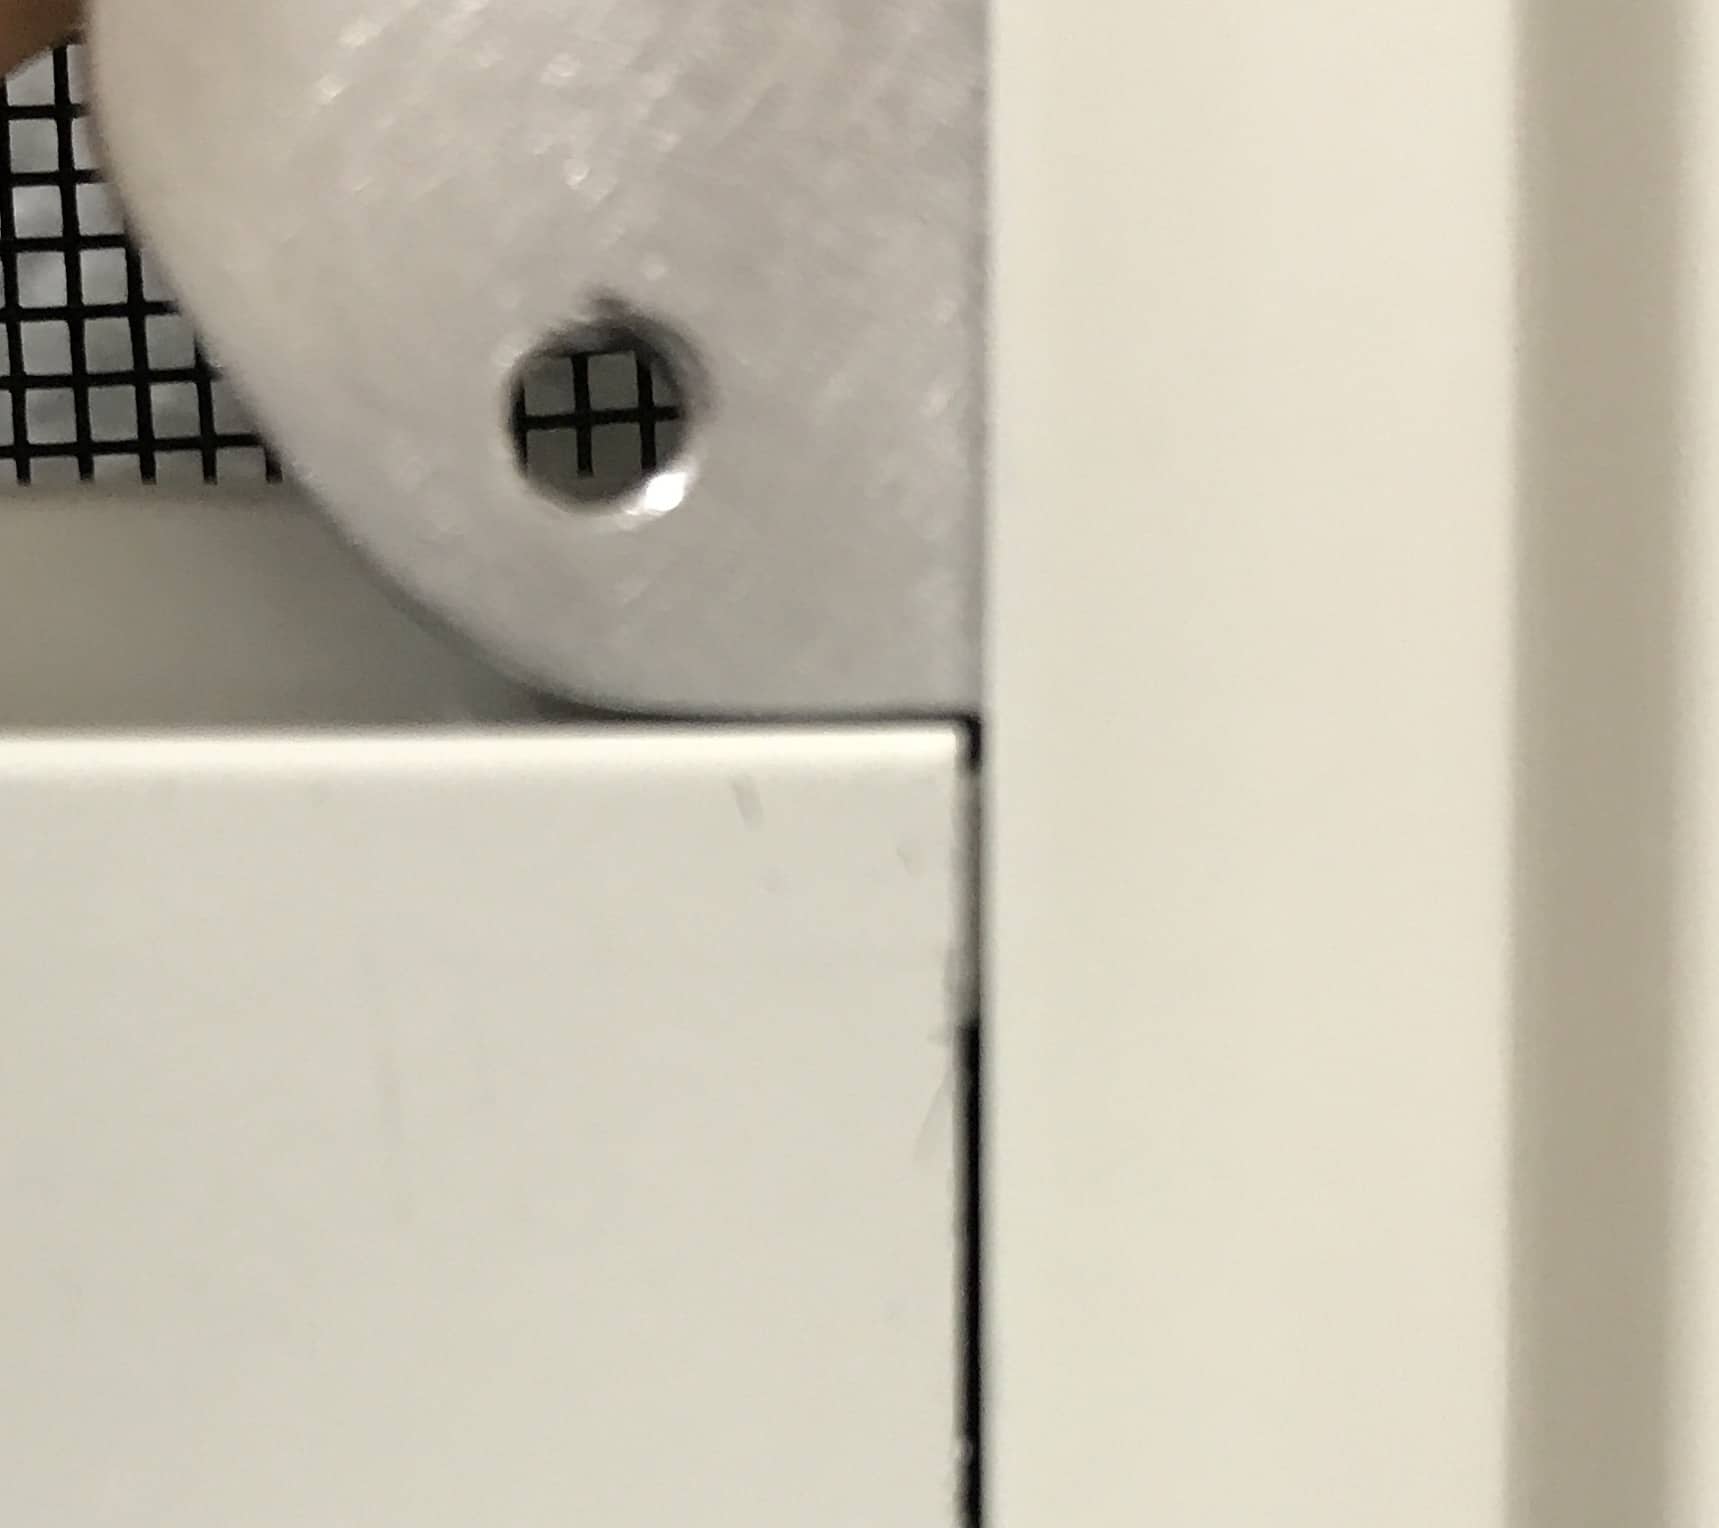
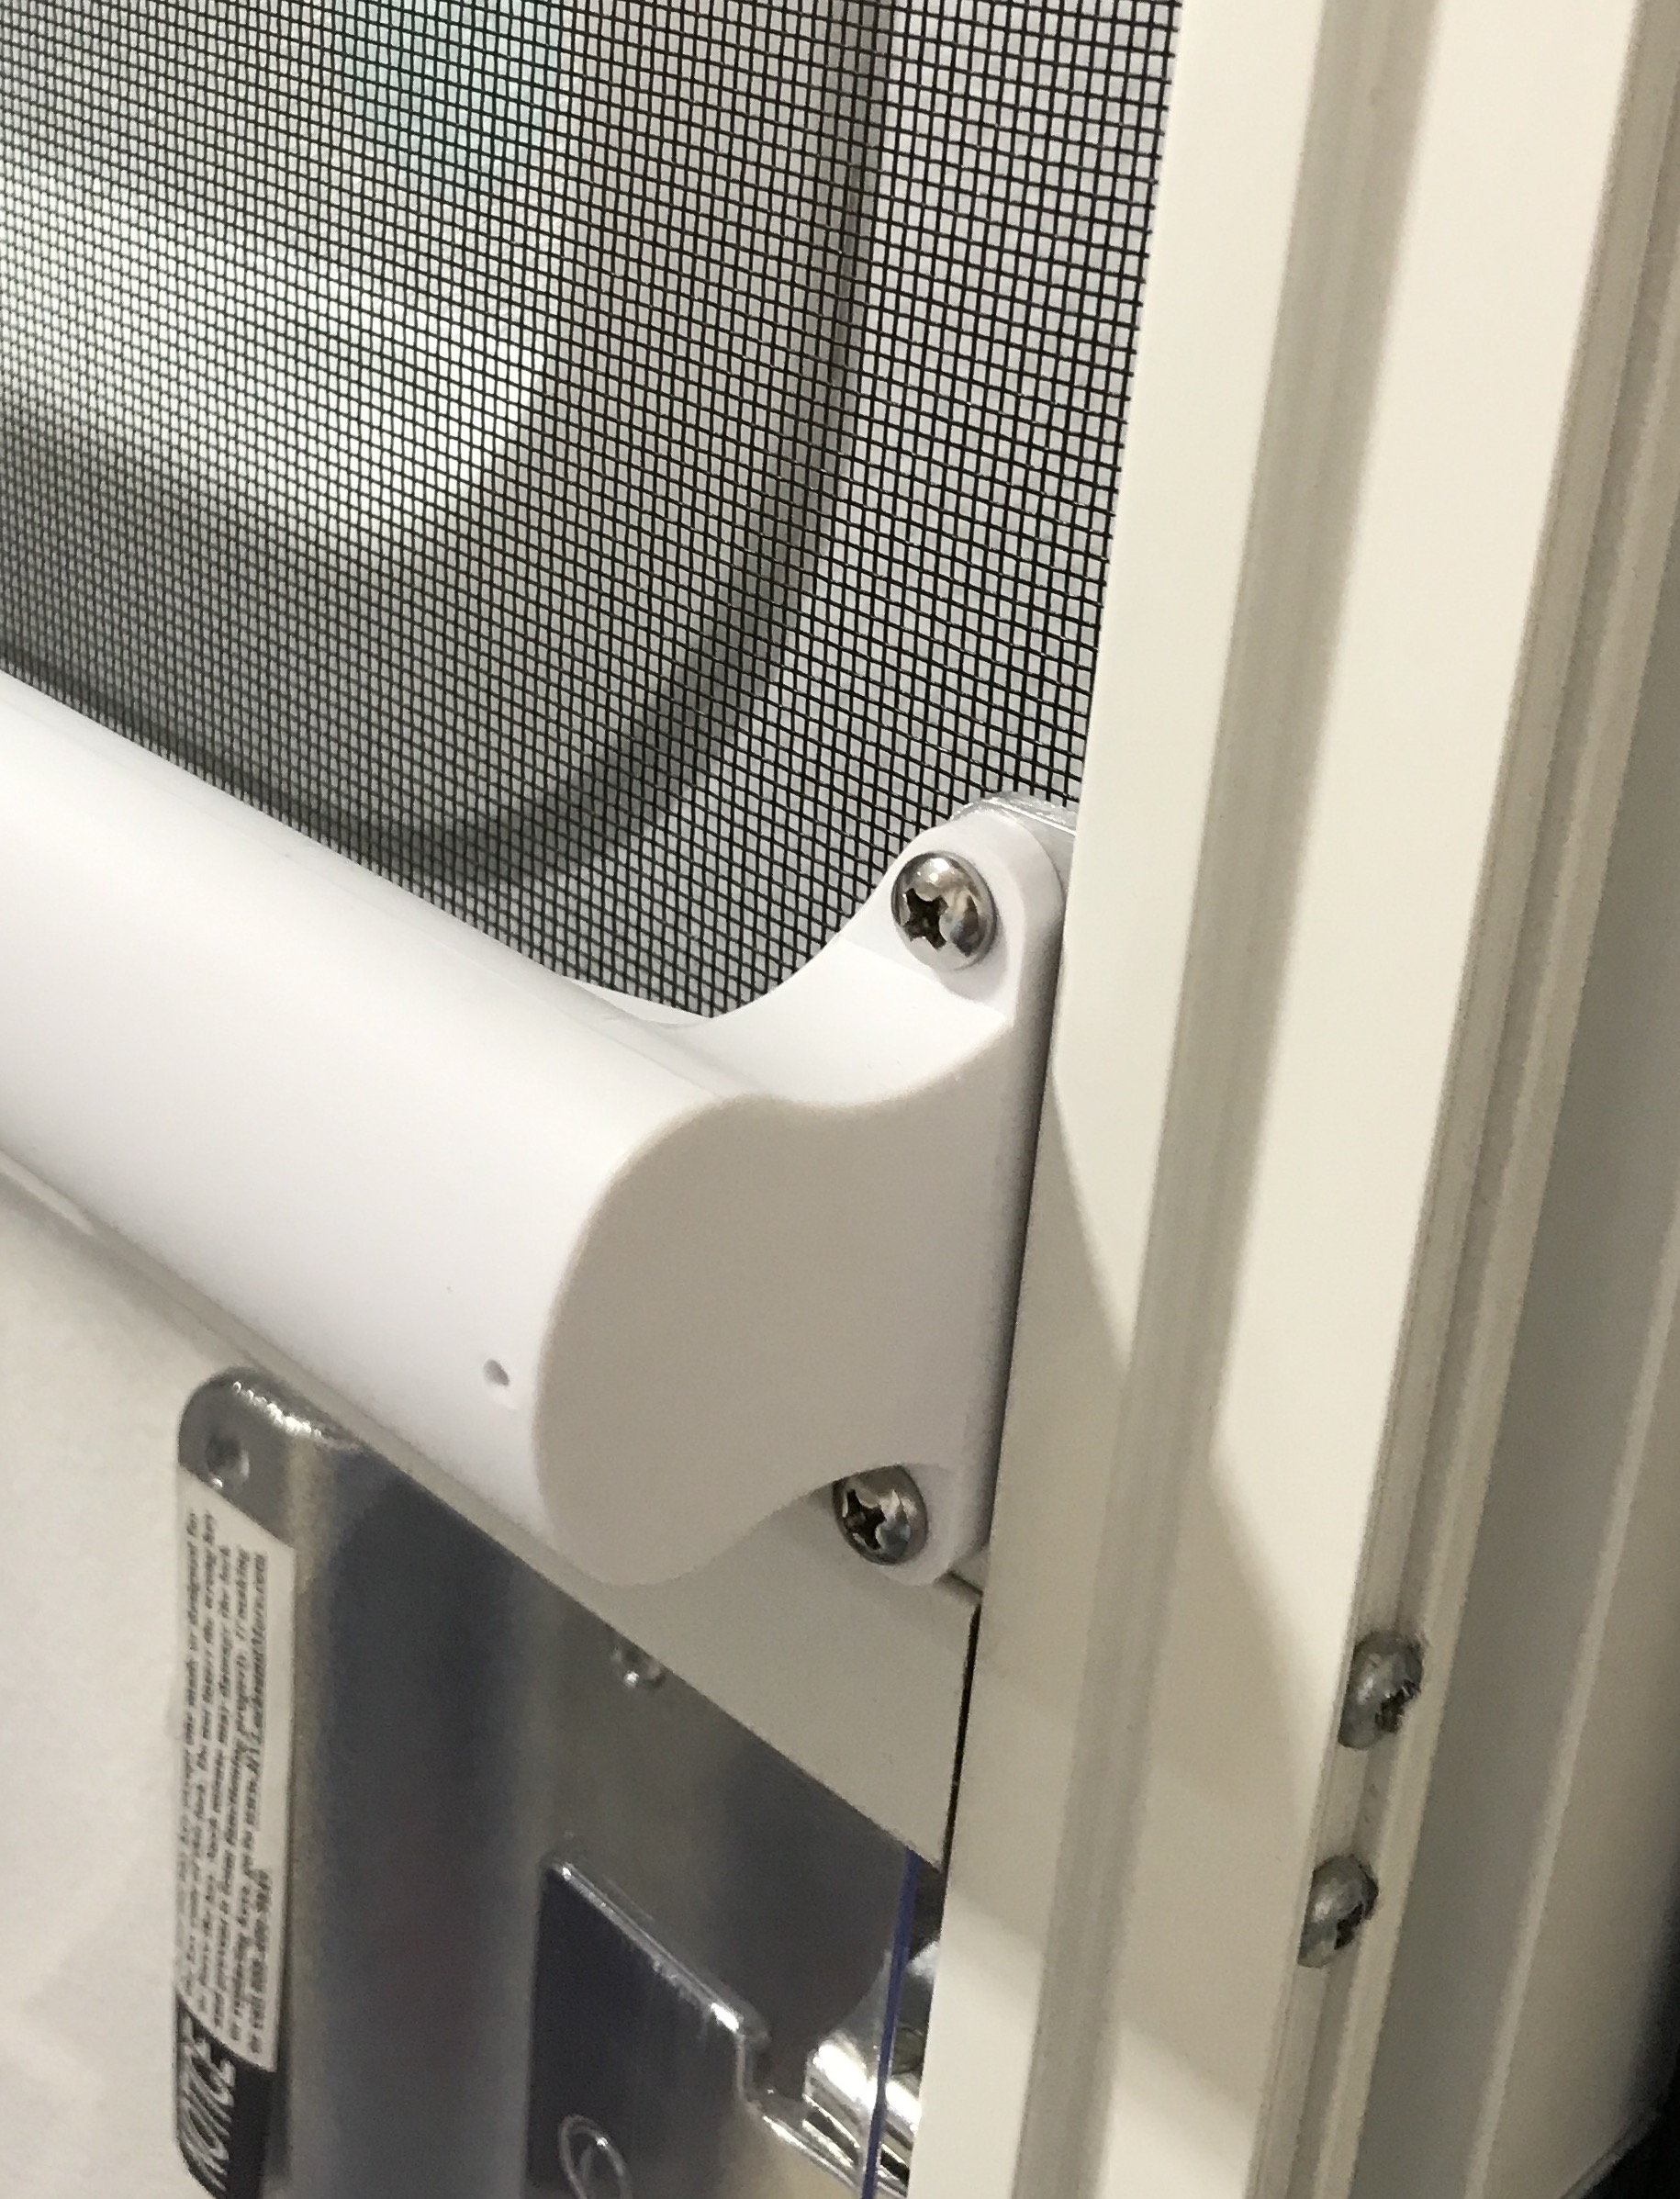
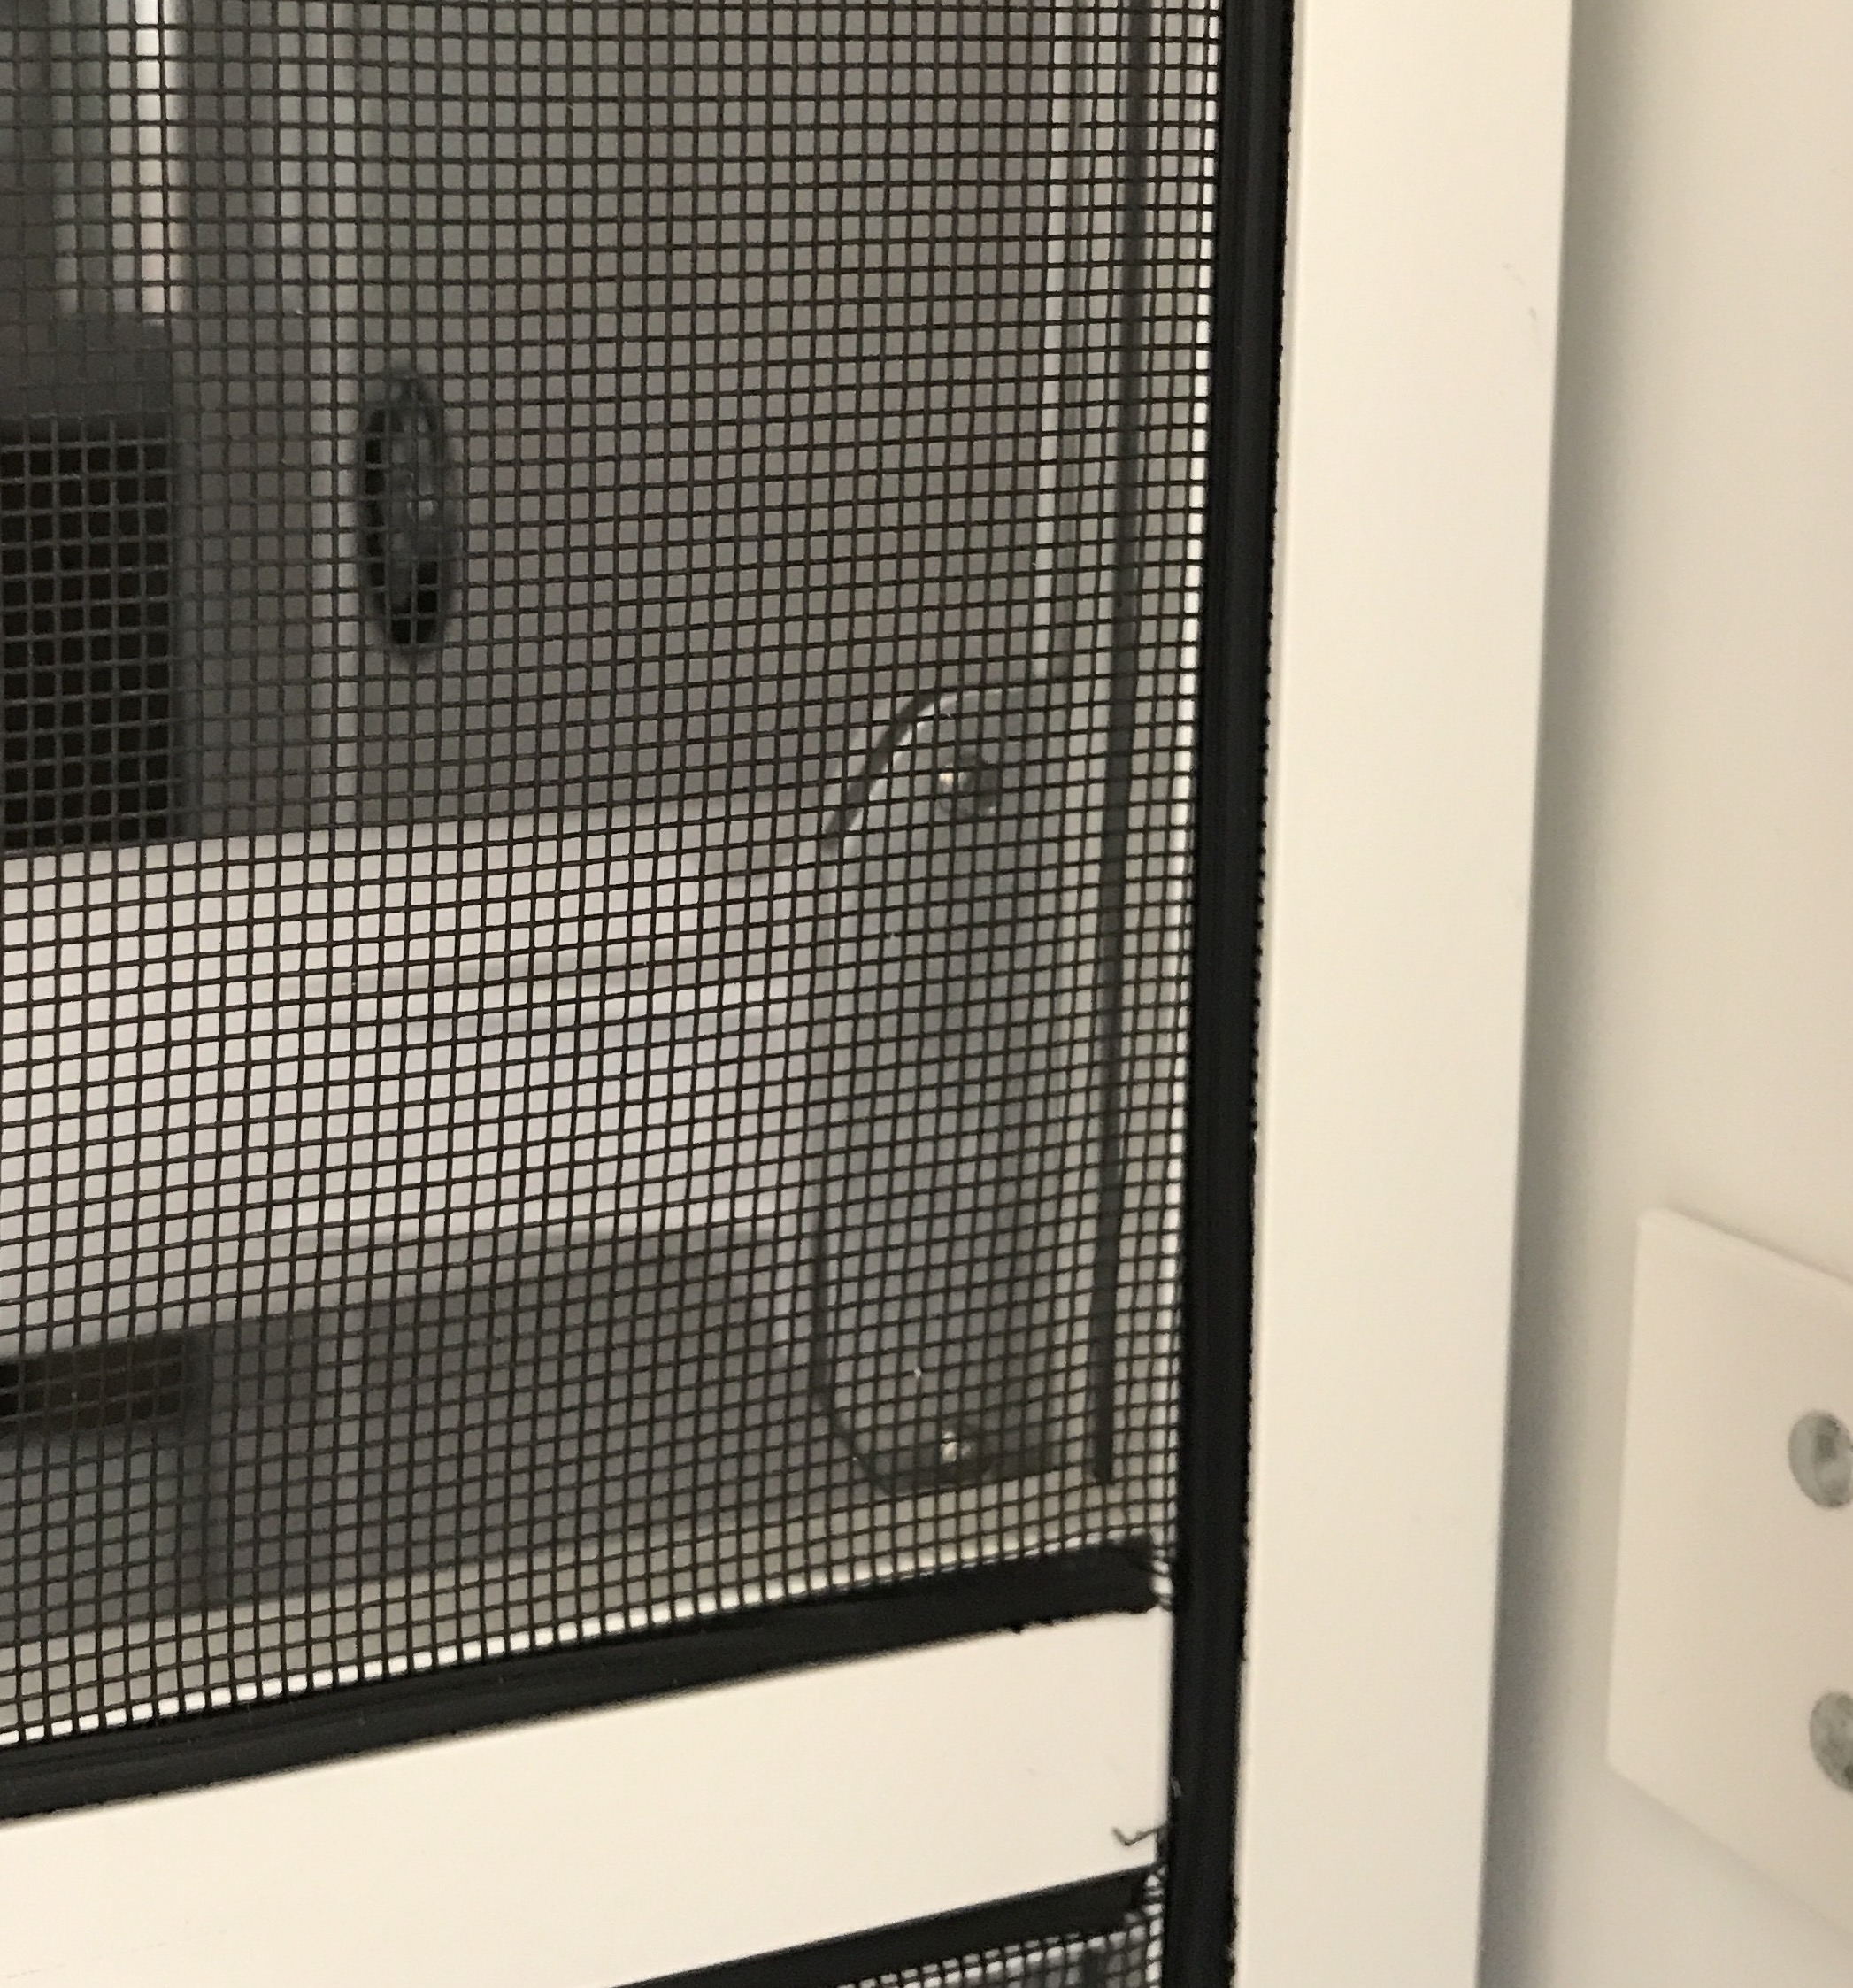
It didn't take us long to see the benefit of having a screen door handle but I couldn't bring myself to drill holes in my screen door so I made these plates to install the handle without drilling. I used 1/8 inch X 1 inch aluminum and drilled and tapped for #8-32 X 3/8 SS screws. The plates "rotate" into place with the hook at the bottom fitting into the cross bar of the door to keep the assembly from sliding up in the door channel. I shortened the handle tube to 19-13/16 inches, slid the end caps on and attached the assembly to the adapter plates. [attachment file=127613] I know, a lot of trouble to go to when I could have just drilled the holes and been done with it but I think it makes for a cleaner installation.
 1 point
 -
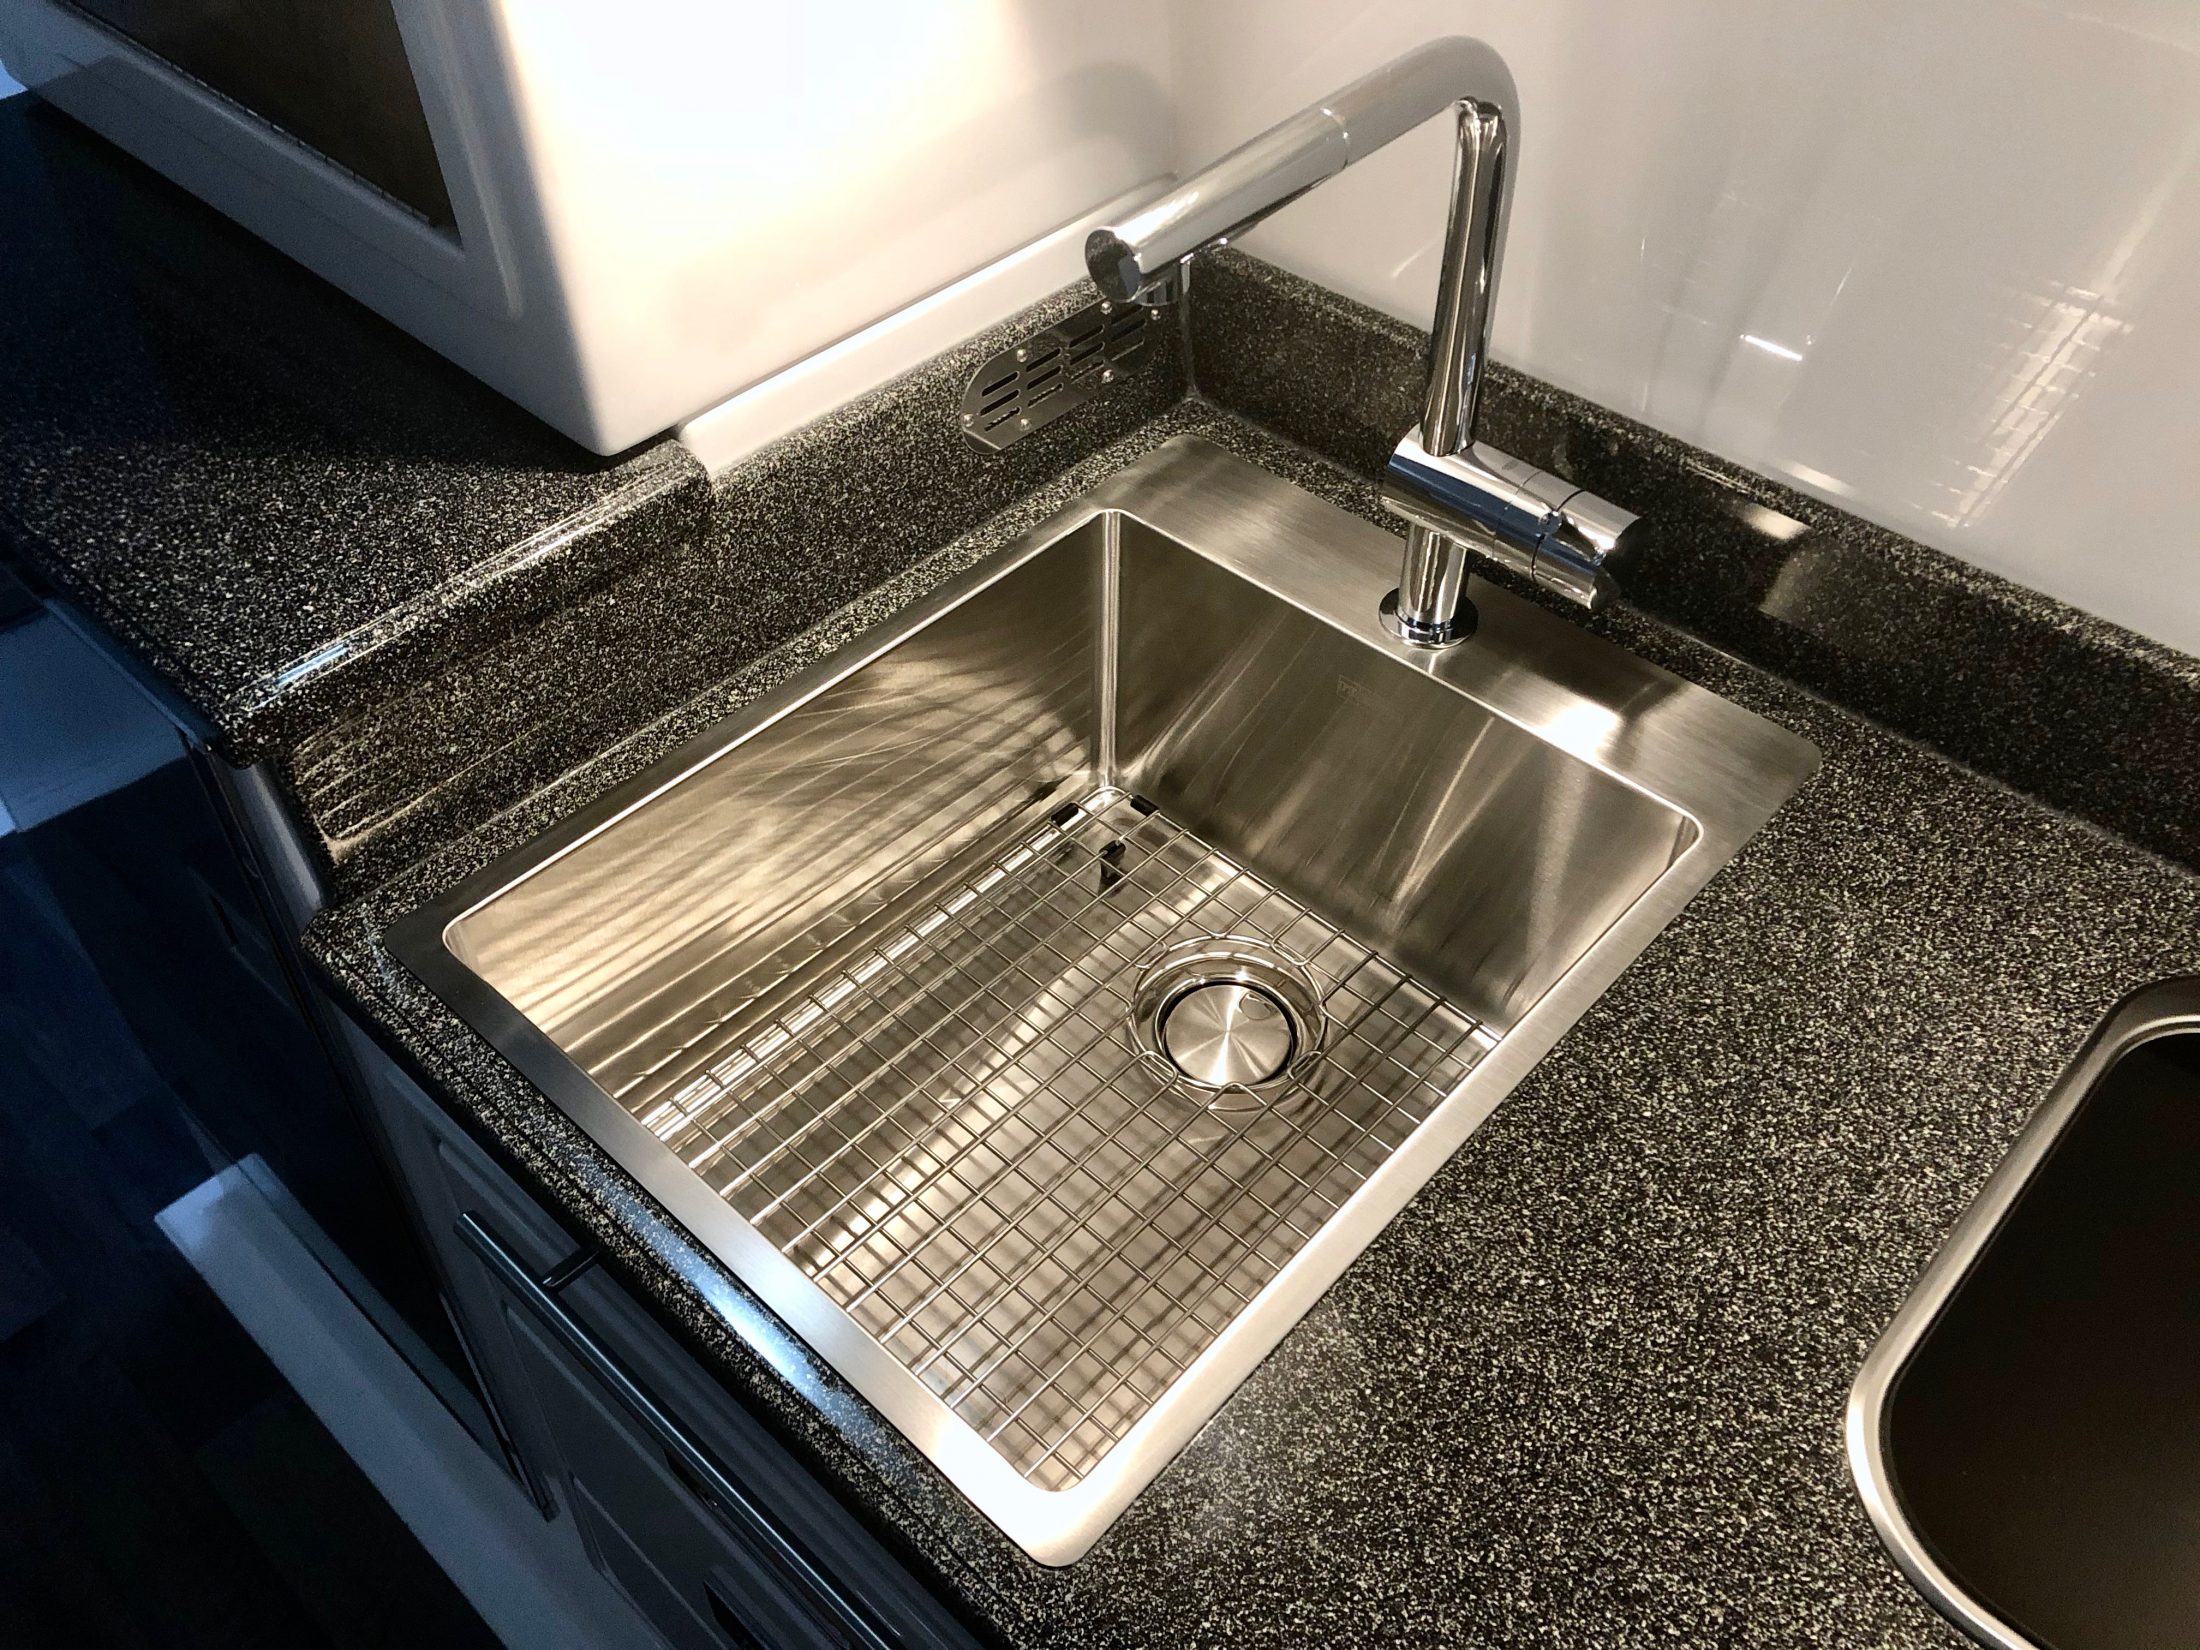
This, I like - I never cared much for Oliver's sink and faucet choices and I'd actually planned to supply them a sink and faucet to get installed on the line. Unfortunately the one I wanted wouldn't work and I was having trouble getting the proper dimensions from Oliver, so I just let it go and figured I'd replace it later. Well, that was a good idea until I realized that the cutout Oliver made for the sink was way too big for any of the bar sized sinks that I could find. And all of the full sized kitchen sinks were too big to fit. But finally I stumbled across this oversized bar sink from Franke. It's the 17" Franke Vector. Overall, it's the same width as the existing sink, but the lip is narrower, so the bowl itself is a bit wider. Mainly the sink is much longer and deeper. In overall volume, it's over twice as large as the original sink, but takes up no more counter space. Can't beat that. And because it's farther forward and 3" deeper, it doesn't splash all over the place like the original. In fact, I can even turn the faucet up all the way without it splashing over the front of the sink, which is novel. I like the Franke sinks in that they have the straight sides and look of a modern zero radius sink, but they do add a slight radius to the corners so that you can actually keep them clean. Installation wasn't too hard. I'd rate it 7/10. The difficulty was that I had to modify the base cabinet for it to fit. There's a wood brace running across the top front that is screwed to the fiberglass beneath the drawer trim, which had to be cut out, and also a portion of the left side of the cabinet. That sounds like a lot of structural support to remove, but the cabinets are mainly tied in at the bottom and I ran it past Jason beforehand to make sure I wasn't looking at it wrong. I have to say that the cabinets are stoutly built, and I'm not at all worried about it. The second problem I ran into was that my countertop wasn't perfectly flat. It bowed down in the middle slightly which wasn't apparent until I installed the sink. But I was able to temporarily shim the counter against the top of the cabinet while the silicone seal dried and then I glued PVC blocks around the perimeter of the sink to both hold it in place and to level the counter. The Franke sinks have an odd installation clip that wasn't designed with hollow core fiberglass in mind, so the blocks were necessary anyway. It's not going anywhere now. Of course I lost use of the flip out drawer but I hated that thing anyway. I glued a few ½" blocks to the front of the sink and then fixed the drawer front to the blocks with heavy duty velcro, just in case I ever need to remove it for some reason. The sink depth worked out perfectly with the existing cutout on the back of the middle drawer to clear the drain. I thought I was going to have to get a Hepvo trap to make it all clear but Oliver actually places the trap behind the cabinet, so no problem. I did have to get the narrowest profile elbow I could find to attach to the drain basket, so I had to go with cheap plastic rather than PVC, but such is life. At the end of the day, however, I decided to use a different drain basket that was a bit deeper, so I had to make the drawer cutout about a half inch deeper after all. The faucet is a Grohe that I found on sale at Home Depot for about half price, so that was a nice find. It has a really nice feel to it and unlike the sink, was a cinch to install. Grohe has a trick installation method that allows you to work from above so that one person can do it without crawling under the counter a hundred times. Oliver's hot and cold lines are convenient to get to and there's an access panel in the back of the cabinet that can be removed if you need more room to work. The only issue I ran into was that the counterweight for the sprayer was getting caught up on everything that's packed in the back of the cabinet. To fix it, I made a tube from some flexible plastic sheeting that I had lying around and just slid that over the sprayer hose. Now the hose slides easily inside the tube and as a benefit, the weight won't bang around inside the cabinet while traveling. So that's about it. I've learned that I don't have the patience or foresight to take progress pictures Like John does, so my description will have to do. But I'm happy to answer any questions.
1 point
-
Vote for Oliver Travel Trailers http://olivertraveltrailers.com/blog/2018-trailer-life-readers-choice-awards/ Who will win? You decide! You can vote in as many categories as you like, but you can only vote once. Voting begins June 4, 2018, and ends September 4, 2018. Oliver is found under the "Travel Trailers" section of the survey - 5th section down from the top. Thank you all for your consideration!1 point
-
I was trying to figure out a way to reduce grey water production and have a larger shower and came up with this mod. It doesn’t take long to set up and it affords us some privacy. The first pic is the gear bundled for storage and travel. The second pic shows the frame installed. The third pic has the shower curtain installed and ready for use. And before everyone has a laugh ? at my expense, these pictures are on the curb side for demonstration purposes only. There is too much vegetation on the street side for pictures.
1 point
-
Nothing like, late at night, in the Ollie with the mirrored cabinet doors, turning off all the lights, with the exception of the inside courtesy and cabinet cabinet lights, with Miles and Coltrane . . .1 point
-
Bob, If the stickers John refers to are not on the axles, the following Dexter link will tell you where to locate the serial number. With the SN call Dexter and they will email you a build/spec sheet with part numbers: http://www.dexteraxle.com/docs/default-source/default-document-library/light-duty-axle-identificationba11829d2ba463c18d7aff64007a4014.pdf?sfvrsn=01 point
-
Spike - sorry for the problem. Jason has been working on this for most of the day but, unfortunately, I've not been near my computer for most of the day. I'm now able to send a PM without the sort of thing that you're experiencing. Can you give it another try to see what happens? Thanks! Bill1 point
-
And now you are wondering how I posted those pictures upside down! Me too?♂️ Maybe a moderator can fix um?1 point
-
Well, “Mouse” does get very dusty there, without a doubt! - however, a completely unsealed white cover won’t keep out much dust. If you never drive off pavement at all, then yours may look much better, but I guarantee that eventually there wll be some chafing and gelcoat damage. It is unavoidable due the design which clamps a flexible sidewall against a fixed cosmetic surface. I check the pressure bimonthly, and use the spare in the tire rotation, so I see underneath more than an owner who might never remove it. ? I do think it is worth checking your pressure, cleaning the area, and taking a look, even if you run a TPMS sensor. If you see white staining on your good sidewall, you have a problem. If your tire pressure gets very low, the damage will likely be greater since the sidewall will move much more. Keep the clamp cranked down as hard as possible by hand! It’s an absolutely beautiful piece of craftsmanship but I think the design of the mount could be greatly improved. I would be a happier if the tire could be carried good side out, clamped hard by lug nuts to a flat plate.... at the very least it would make routine access to the valve stem simple, because the factory way is frankly stupid in this regard. Future project, but way down on my Honey Do list! John Davies Spokane WA1 point
-
I did try the above suggestion, and it did work for a couple days and then back to the steady stream of water. Long story short I got a replacement cartridge and wrote about it on my travel blog. https://cloudssoswiftrv.tumblr.com/post/174398003394/dura-rv-faucetshower1 point


-
Recent Achievements
-
")


")


")

