Leaderboard


Popular Content
Showing content with the highest reputation on 06/07/2018 in all areas
-
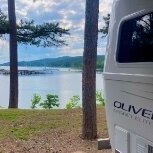
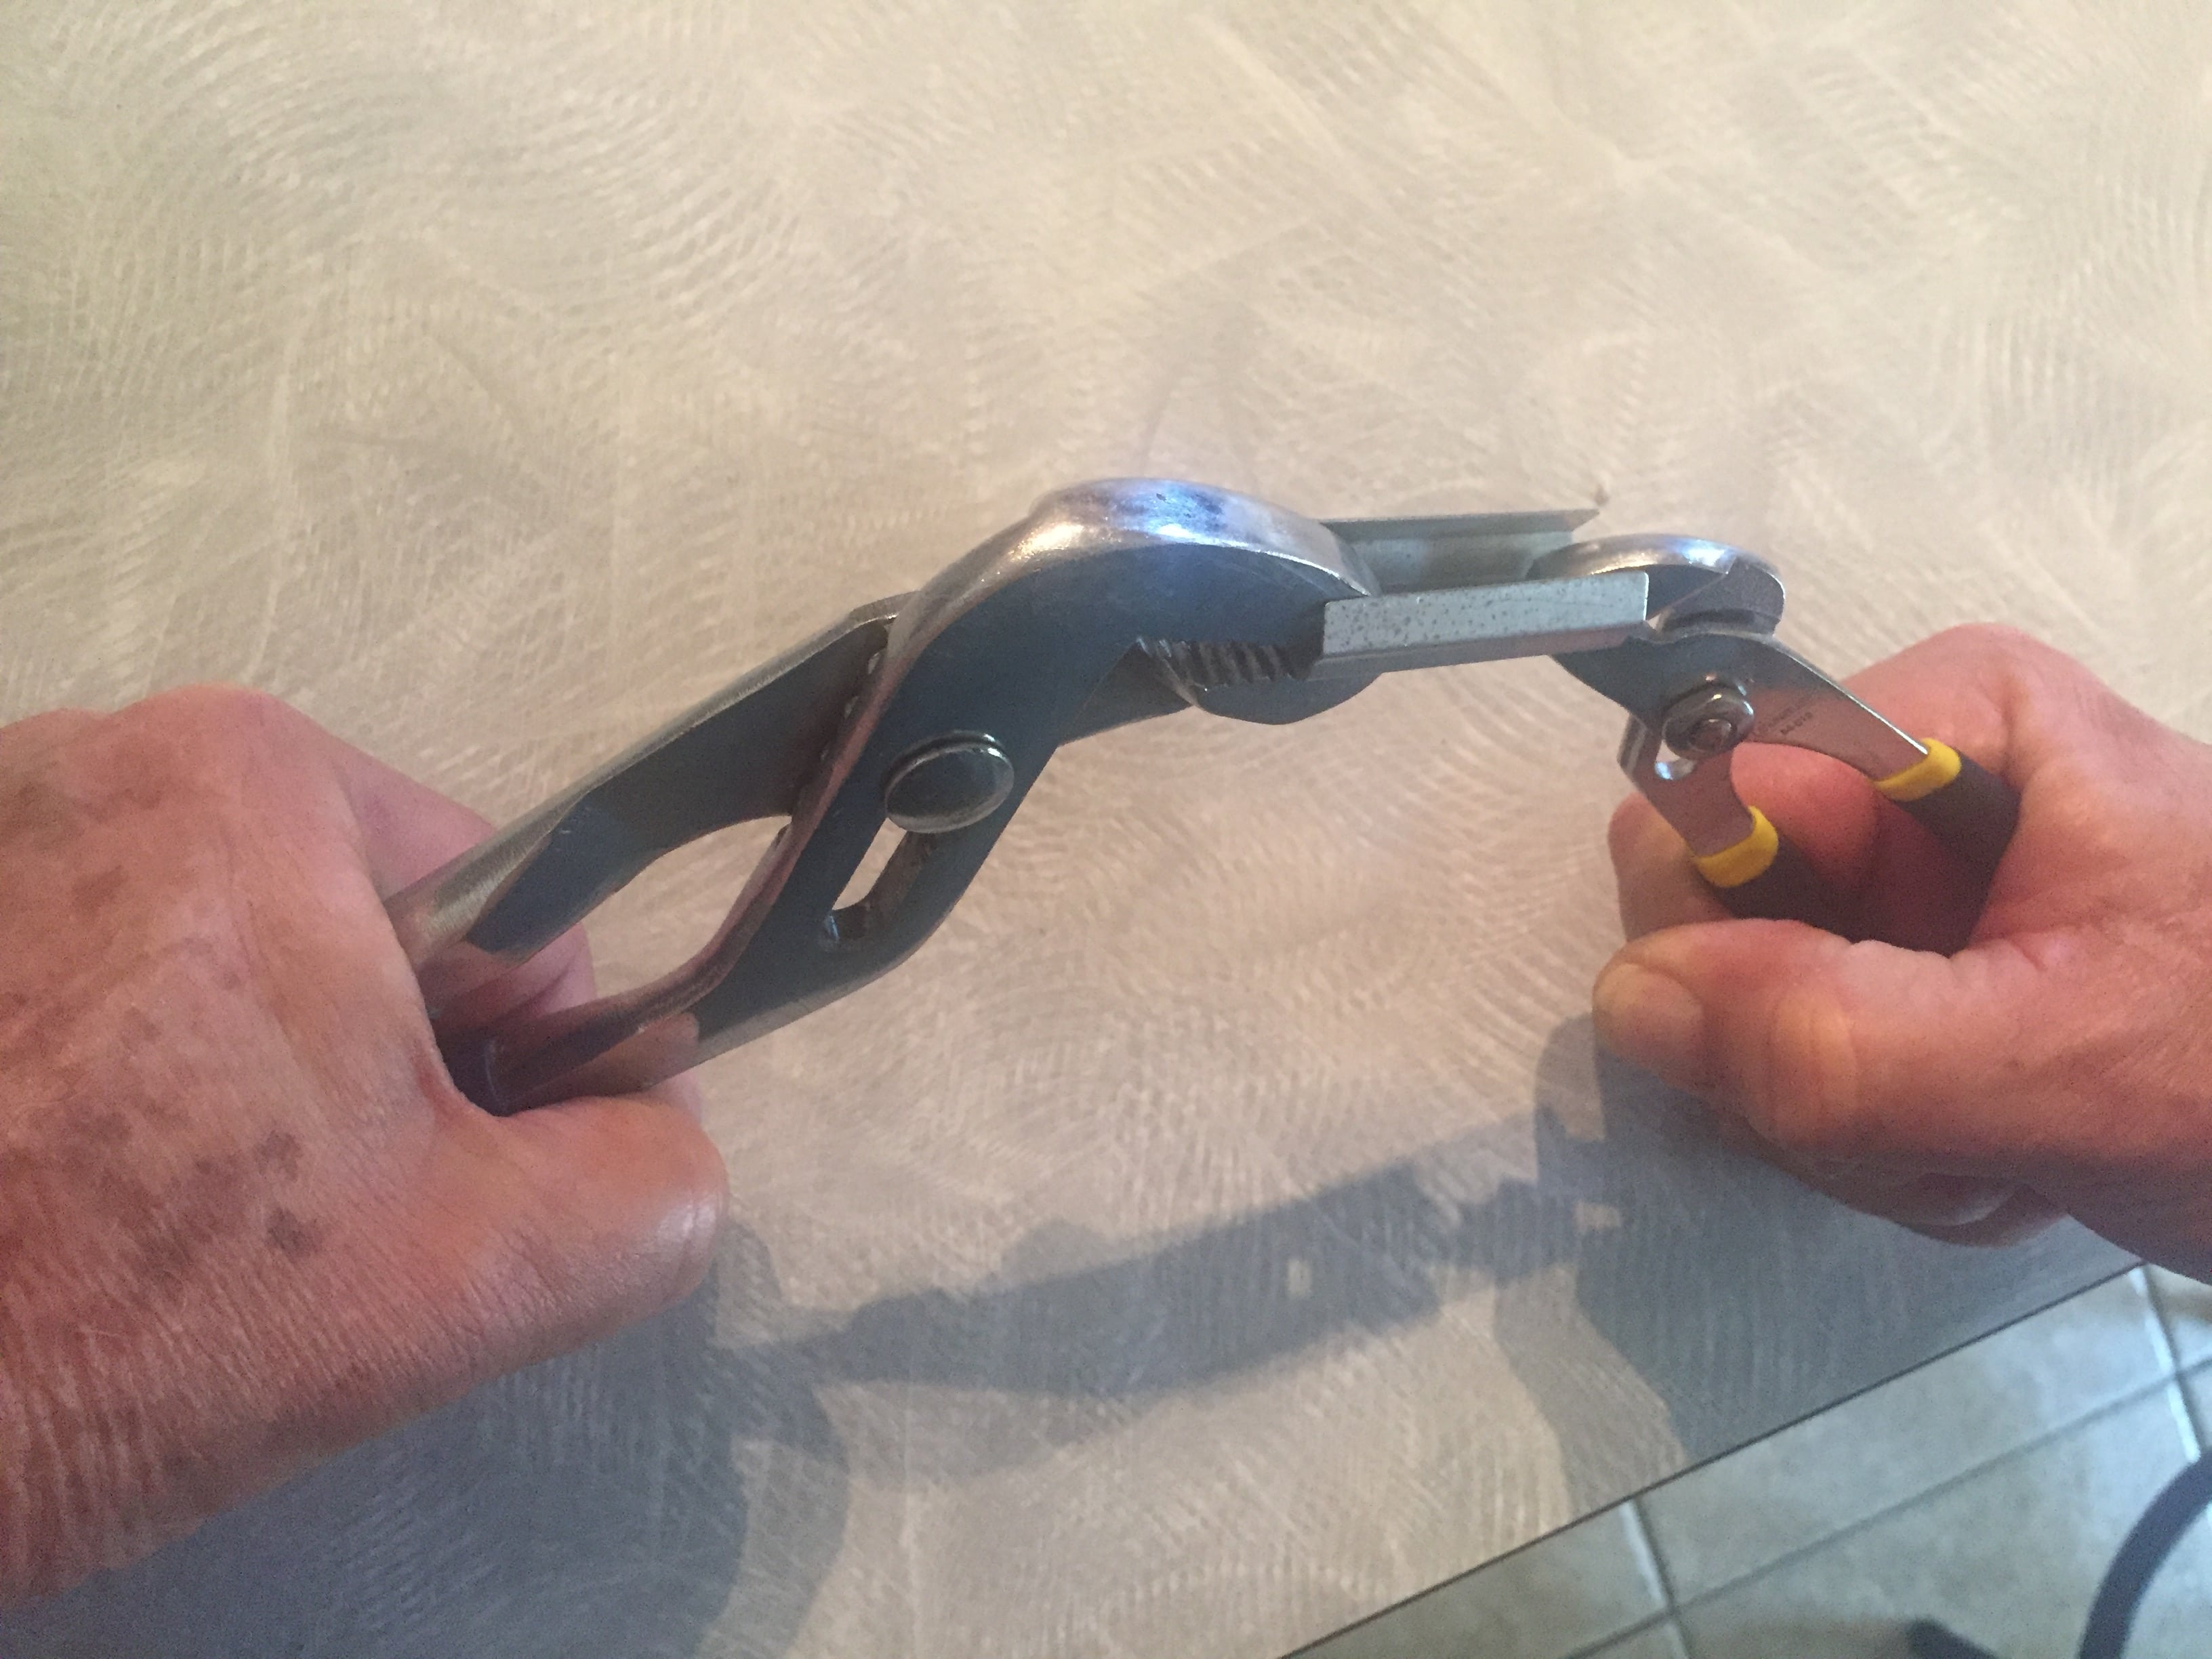
The issues: 1. We wanted to flip the shade frames to allow more privacy when needed. With the “night” shades on the bottom--instead of the top--one can raise them up so that one can still view the outside world without having to consider that someone outside, would get a nice view of one’s midsection as one walks about the cabin. 2. We wanted to increase the “grip” of the shades so that they would better stay in place. Sometimes our blinds would slide down after being pulled in place. Since we figured that the “night” blinds are heavier than the “day” blinds, we thought this extra grip was even more important if we were going to reverse them. 3. We wanted to better secure the shade frames to the interior wall. Our frames have frequently come loose from the clips that are meant to hold them in place, actually falling off a couple of times. We tackled the second issue first. Someone on this forum or one of the Oliver Facebook pages suggested retying the strings to the springs on the top and bottom of the frames to increase the tension. (If you pull the frames off of the clips holding them to the wall, you will see those springs and the strings.) This proved very frustrating. (I think you will agree if you attempt this task; you might also appreciate the nimbleness of the worker who accomplished the initial tie job.) I thought there must be another way to increase the tension. There seemed to be enough space on the corner of the frame to insert an object that would stretch the strings around the corner and thus increase the tension. I came up with placing those do-hickies that are used to secure screws in drywall on all four corners of the frame. This seemed to increase the tension just about the right amount. (One nice thing about those do-hickies is that they have little grooves into which the strings can sit.) Next, we tackled the third issue. After looking at the clips and how they fit into the groove in the frame, it seemed to me that spreading them out wider might make them hold better. So I unscrewed them from the wall and went at them with a couple of vise grips, pulling the sides of the clips out just a little bit. (The clips are surprisingly strong.) With a little effort, I was able to smack the frame back into place with the palm of my hand, upside down from the way they were originally placed at the Oliver factory. (One should be careful to make sure that the lips of the clips are centered in the groove before applying much pressure so as not to damage the plastic of the frames.) I hope the photos I upload here help portray the process. I have just completed this project on the window over the dinette. The frame is flipped, it seems more securely attached to the wall, and the “grip” of the “day” and “night” shades is stronger. I plan to do the other four frames soon. I apologize for my Cro-Magnon approach to the project. Unlike some folks on this forum, who are retired engineers, mechanics, and the like, I am a relatively unhandy retired academic and musician. But I thought that I would post this in case another Ollie owner wanted to tackle a similar project, perhaps having dealt with similar issues.
 7 points
 -
Exciting news…I’ve been designing a new monthly rally e-newsletter called The Roost. The introductory issue is scheduled to be sent out next week and will feature fiberglass trailer rallies in July. I’d love to get submissions on event-related content such as a focus on an awesome rally coordinator or a few photos and description of an upcoming rally. It doesn’t have to be lengthy; 200 words is plenty. If you’re interested in receiving the newsletter and haven’t signed up yet at RV Compass, you can do so at: http://www.rvcompass.com/attend.html2 points
-
I was trying to figure out a way to reduce grey water production and have a larger shower and came up with this mod. It doesn’t take long to set up and it affords us some privacy. The first pic is the gear bundled for storage and travel. The second pic shows the frame installed. The third pic has the shower curtain installed and ready for use. And before everyone has a laugh ? at my expense, these pictures are on the curb side for demonstration purposes only. There is too much vegetation on the street side for pictures.
2 points
-
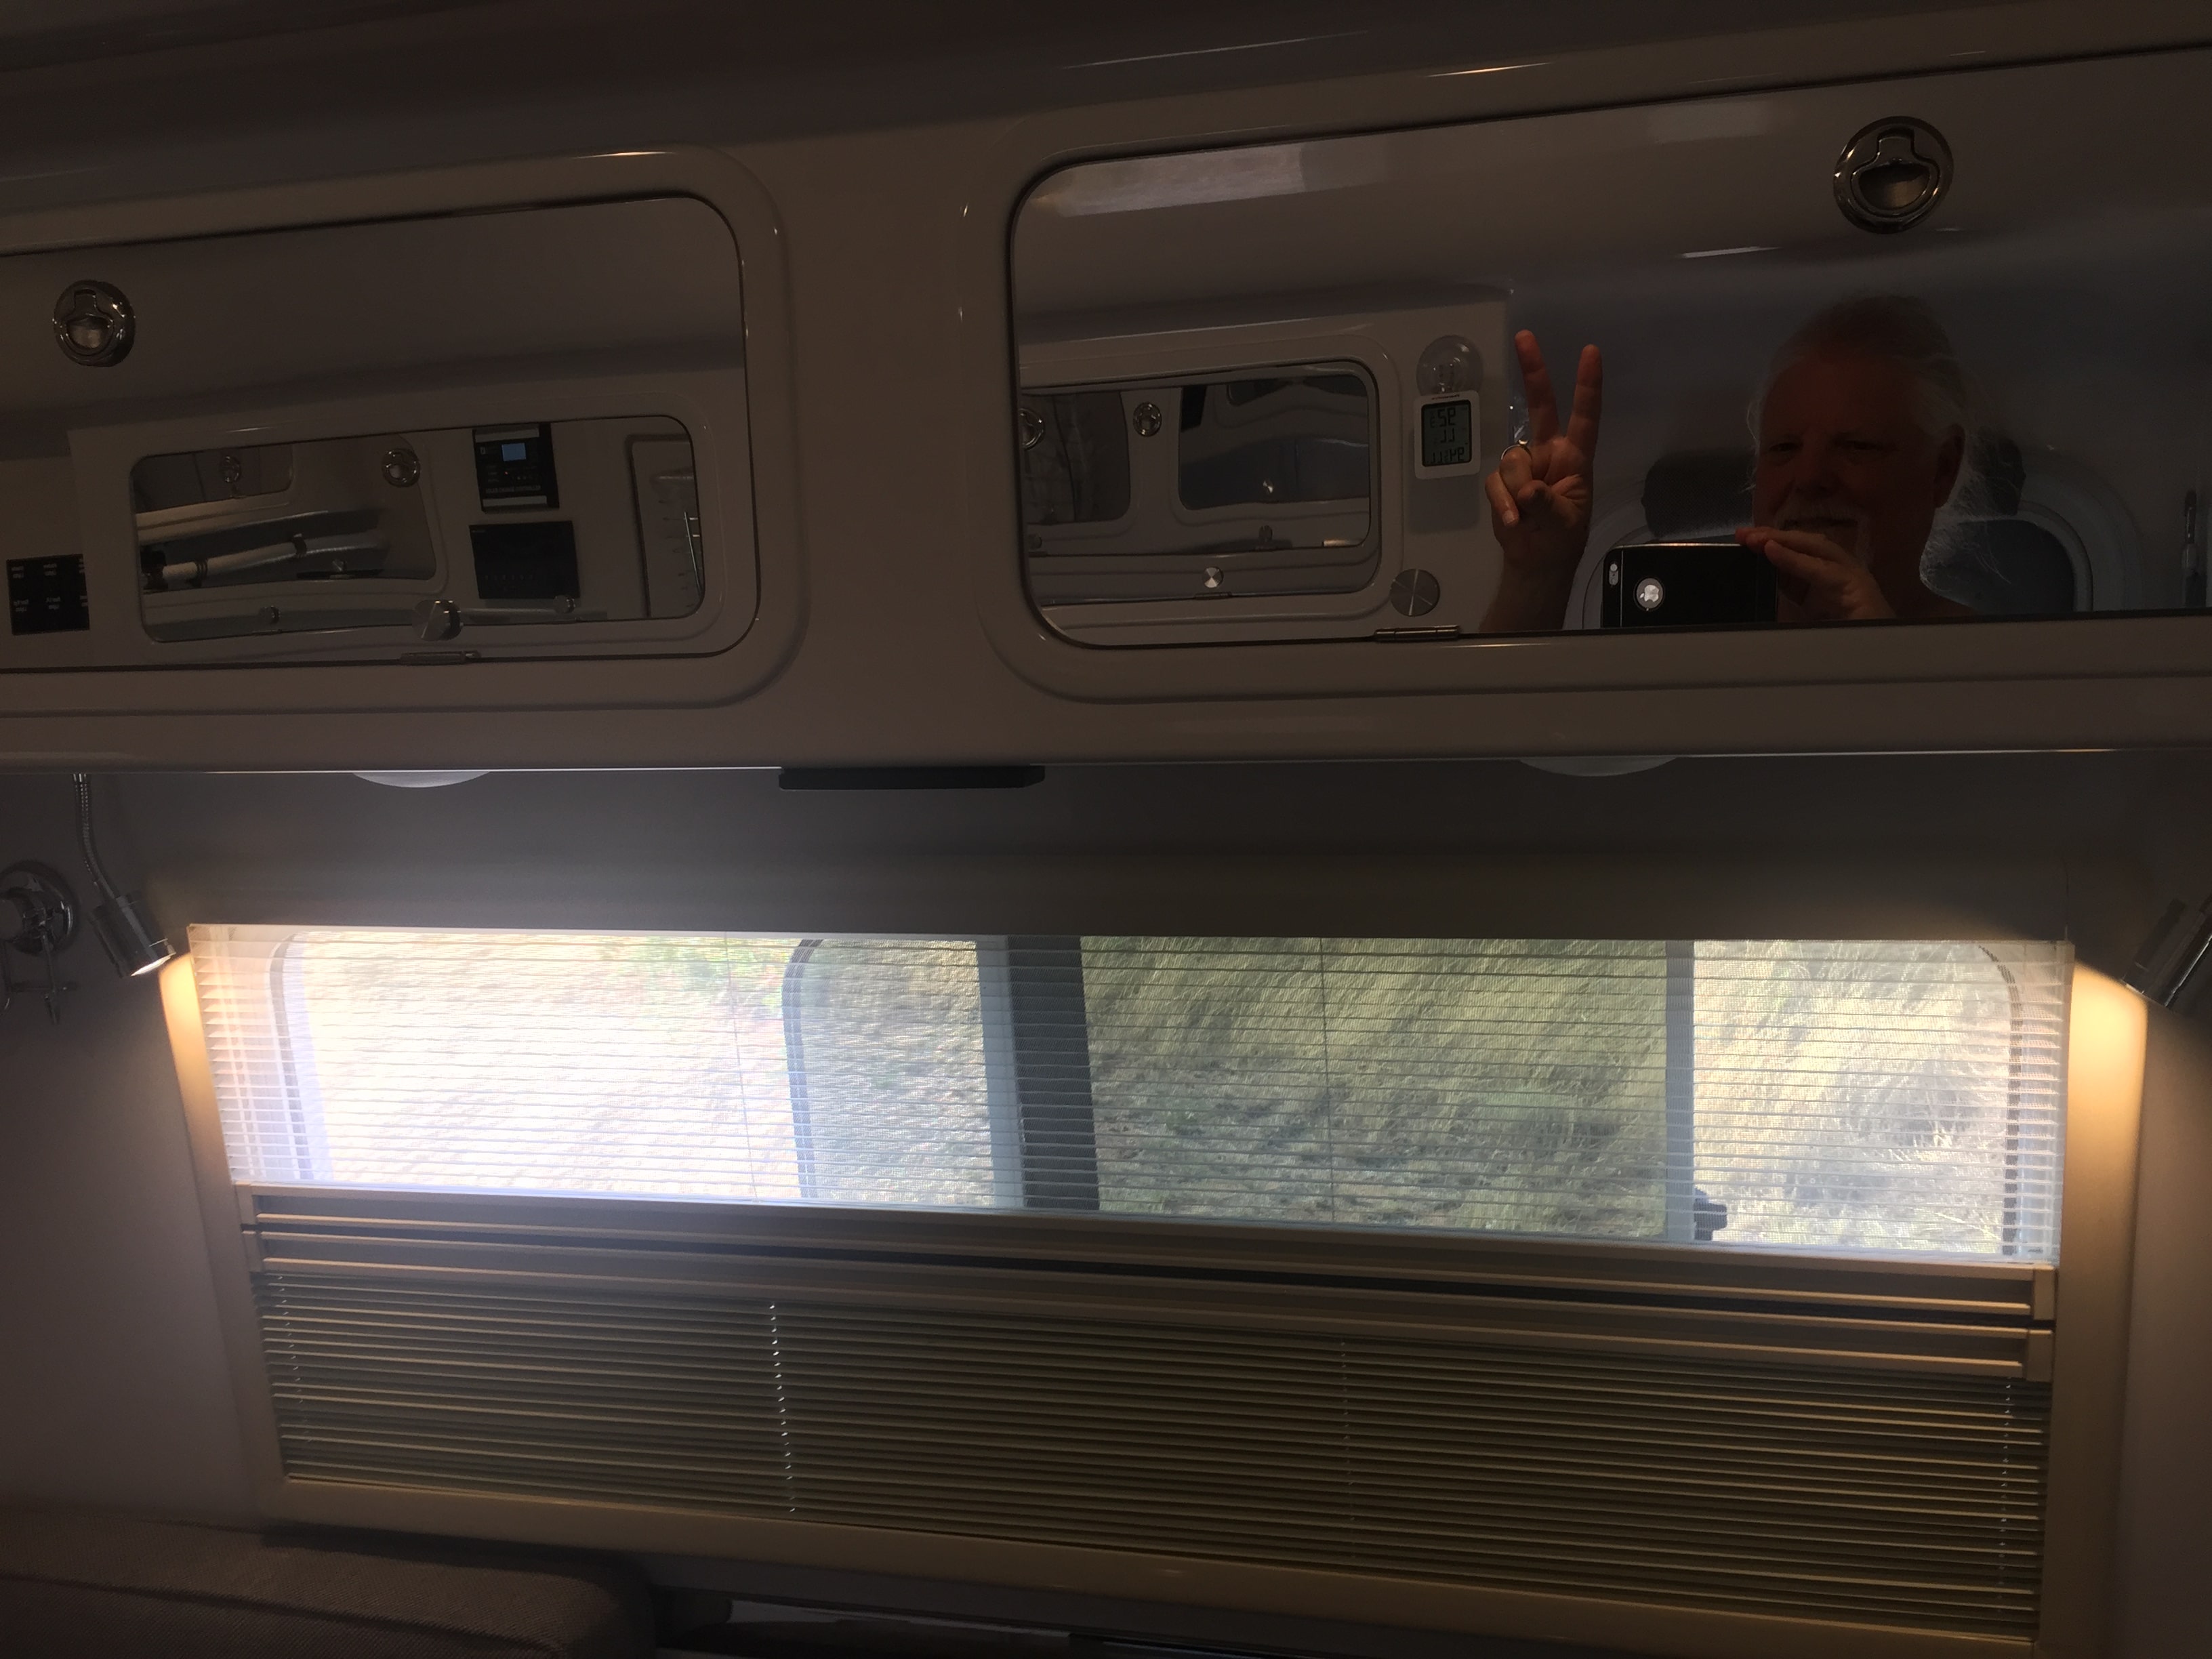
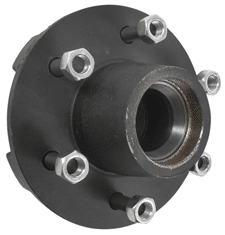
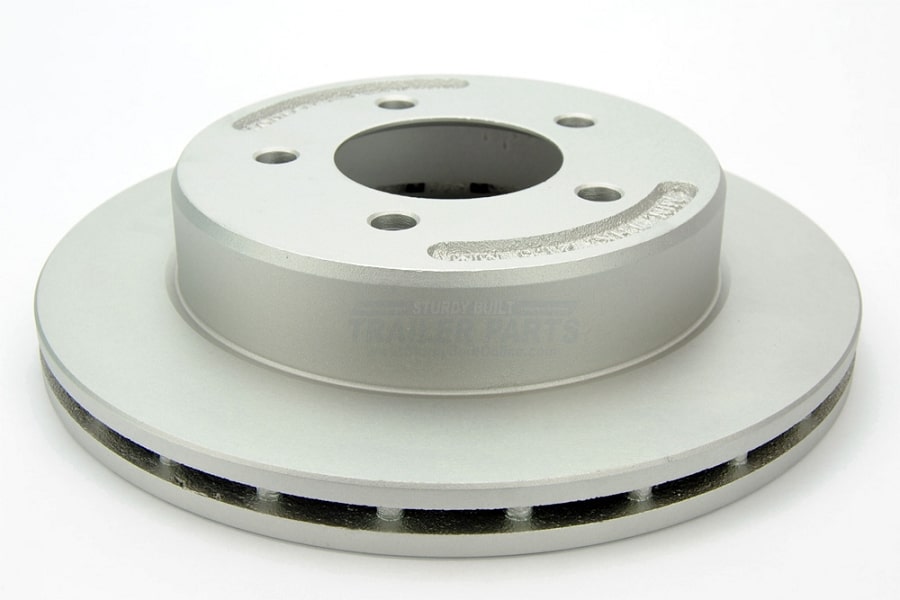
Had a thought.... it is so simple, it scares me because it probably won’t work. Install these 3500 idler hubs onto the OEM axles. https://www.etrailer.com/Trailer-Hubs-and-Drums/Dexter-Axle/84655UC1.html Buy this kit. .... https://www.kodiaktrailer.com/product/2rcm-10-dac/ Have a machine shop redrill the hole pattern to 6 on 5.5”, and rebalance the rotors if needed. This shop near me (Portland OR) charges $45 for two rotors. ....https://dutchmanaxles.com/services.html ... but I bet any good local shop could do it. Install the parts and have a lightweight 3500 disc setup that retains the OEM wheels. Any reason this will not work? Will the 10 inch rotors physically fit over those idler hub flanges? It might be necessary to reduce the outside flange diameter, I don’t know.... I emailed Kodiak (and also Etrailer.com) asking if this was even possible, and if they could offer custom drilled rotors for us unfortunate Oliver owners to get us out of this dilemma. It would be a cost effective, very painless solution, one that the Ollie factory might want to get involved with, to be able to offer a good disc option. Five idler hubs would cost $288, which is way less than an axle swap, and a much better solution. I still like the idea of idler hubs since they are so darned easy to change in the event of a bearing failure, IF you carry a spare one. As inexpensive as they are, it makes sense. EDIT: if you wanted to save $100 you could buy five of these No Name hubs.... https://www.etrailer.com/Trailer-Hubs-and-Drums/etrailer/AKIHUB-655-35-K.html Looking at the Kodiak scematic, it looks as if there is plenty of hub flange clearance. .... https://www.kodiaktrailer.com/pdf/RCM-10-SECTION.pdf Comments? John Davies Spokane WA
2 points
-
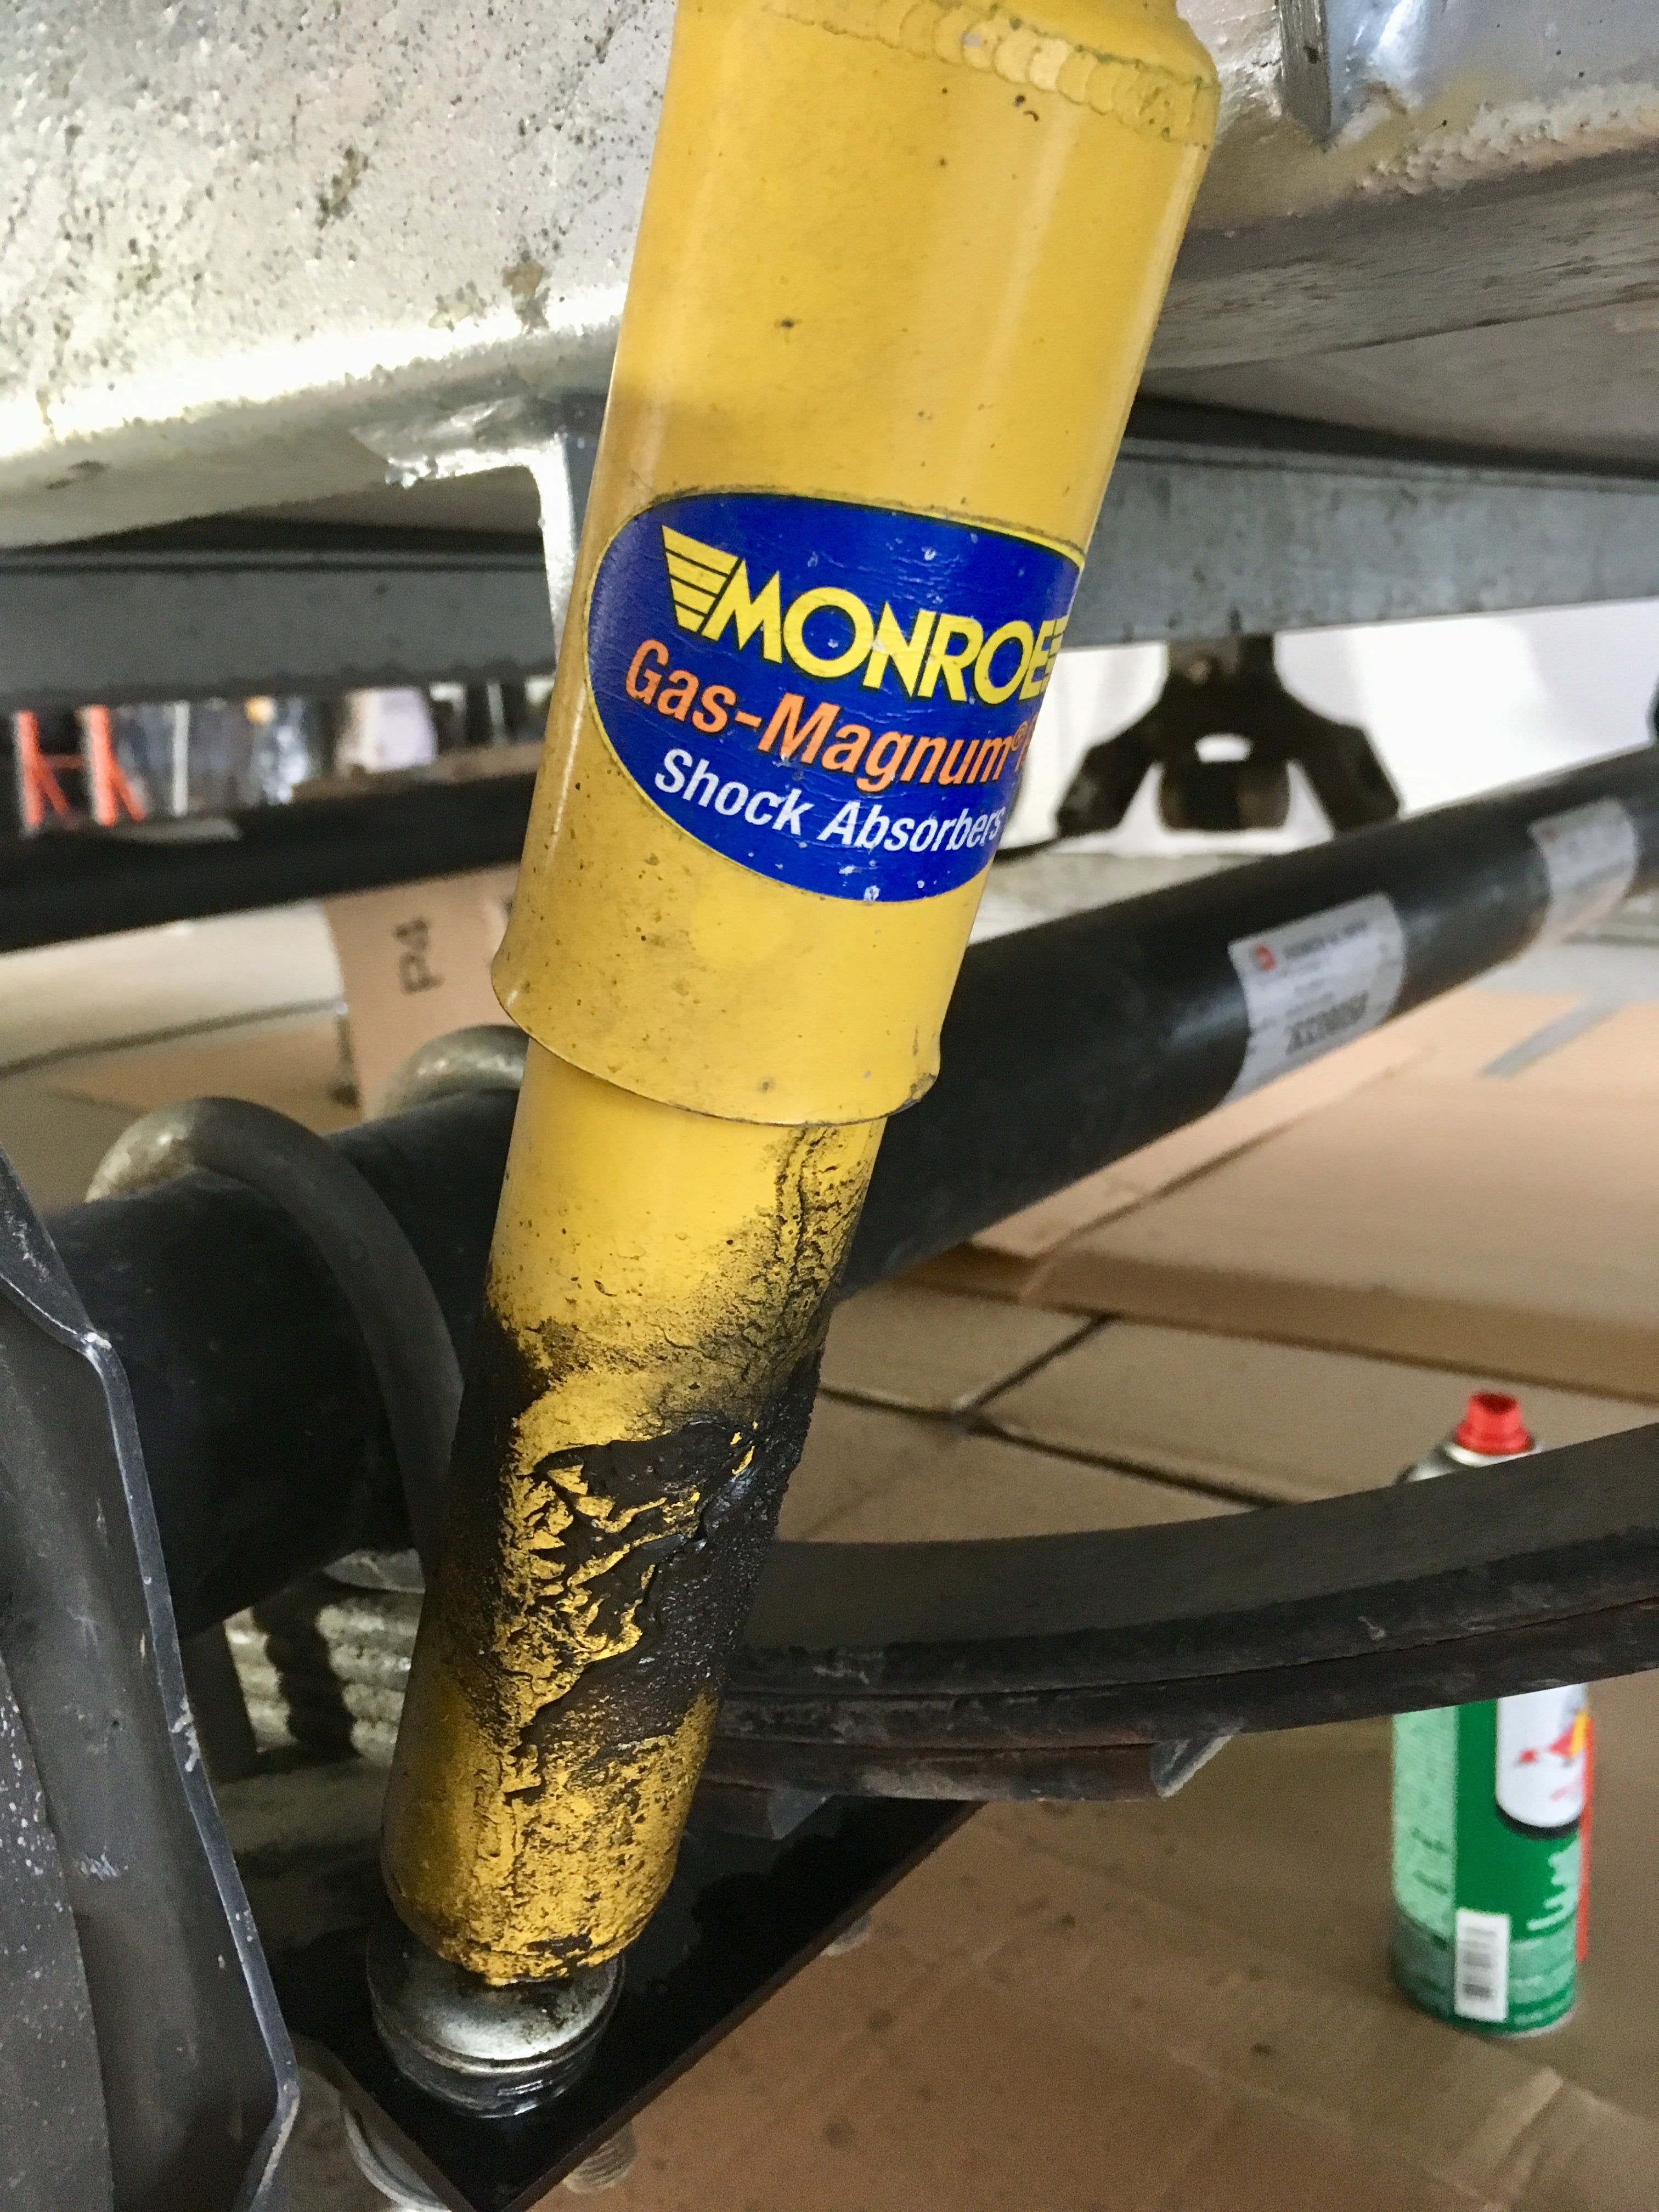
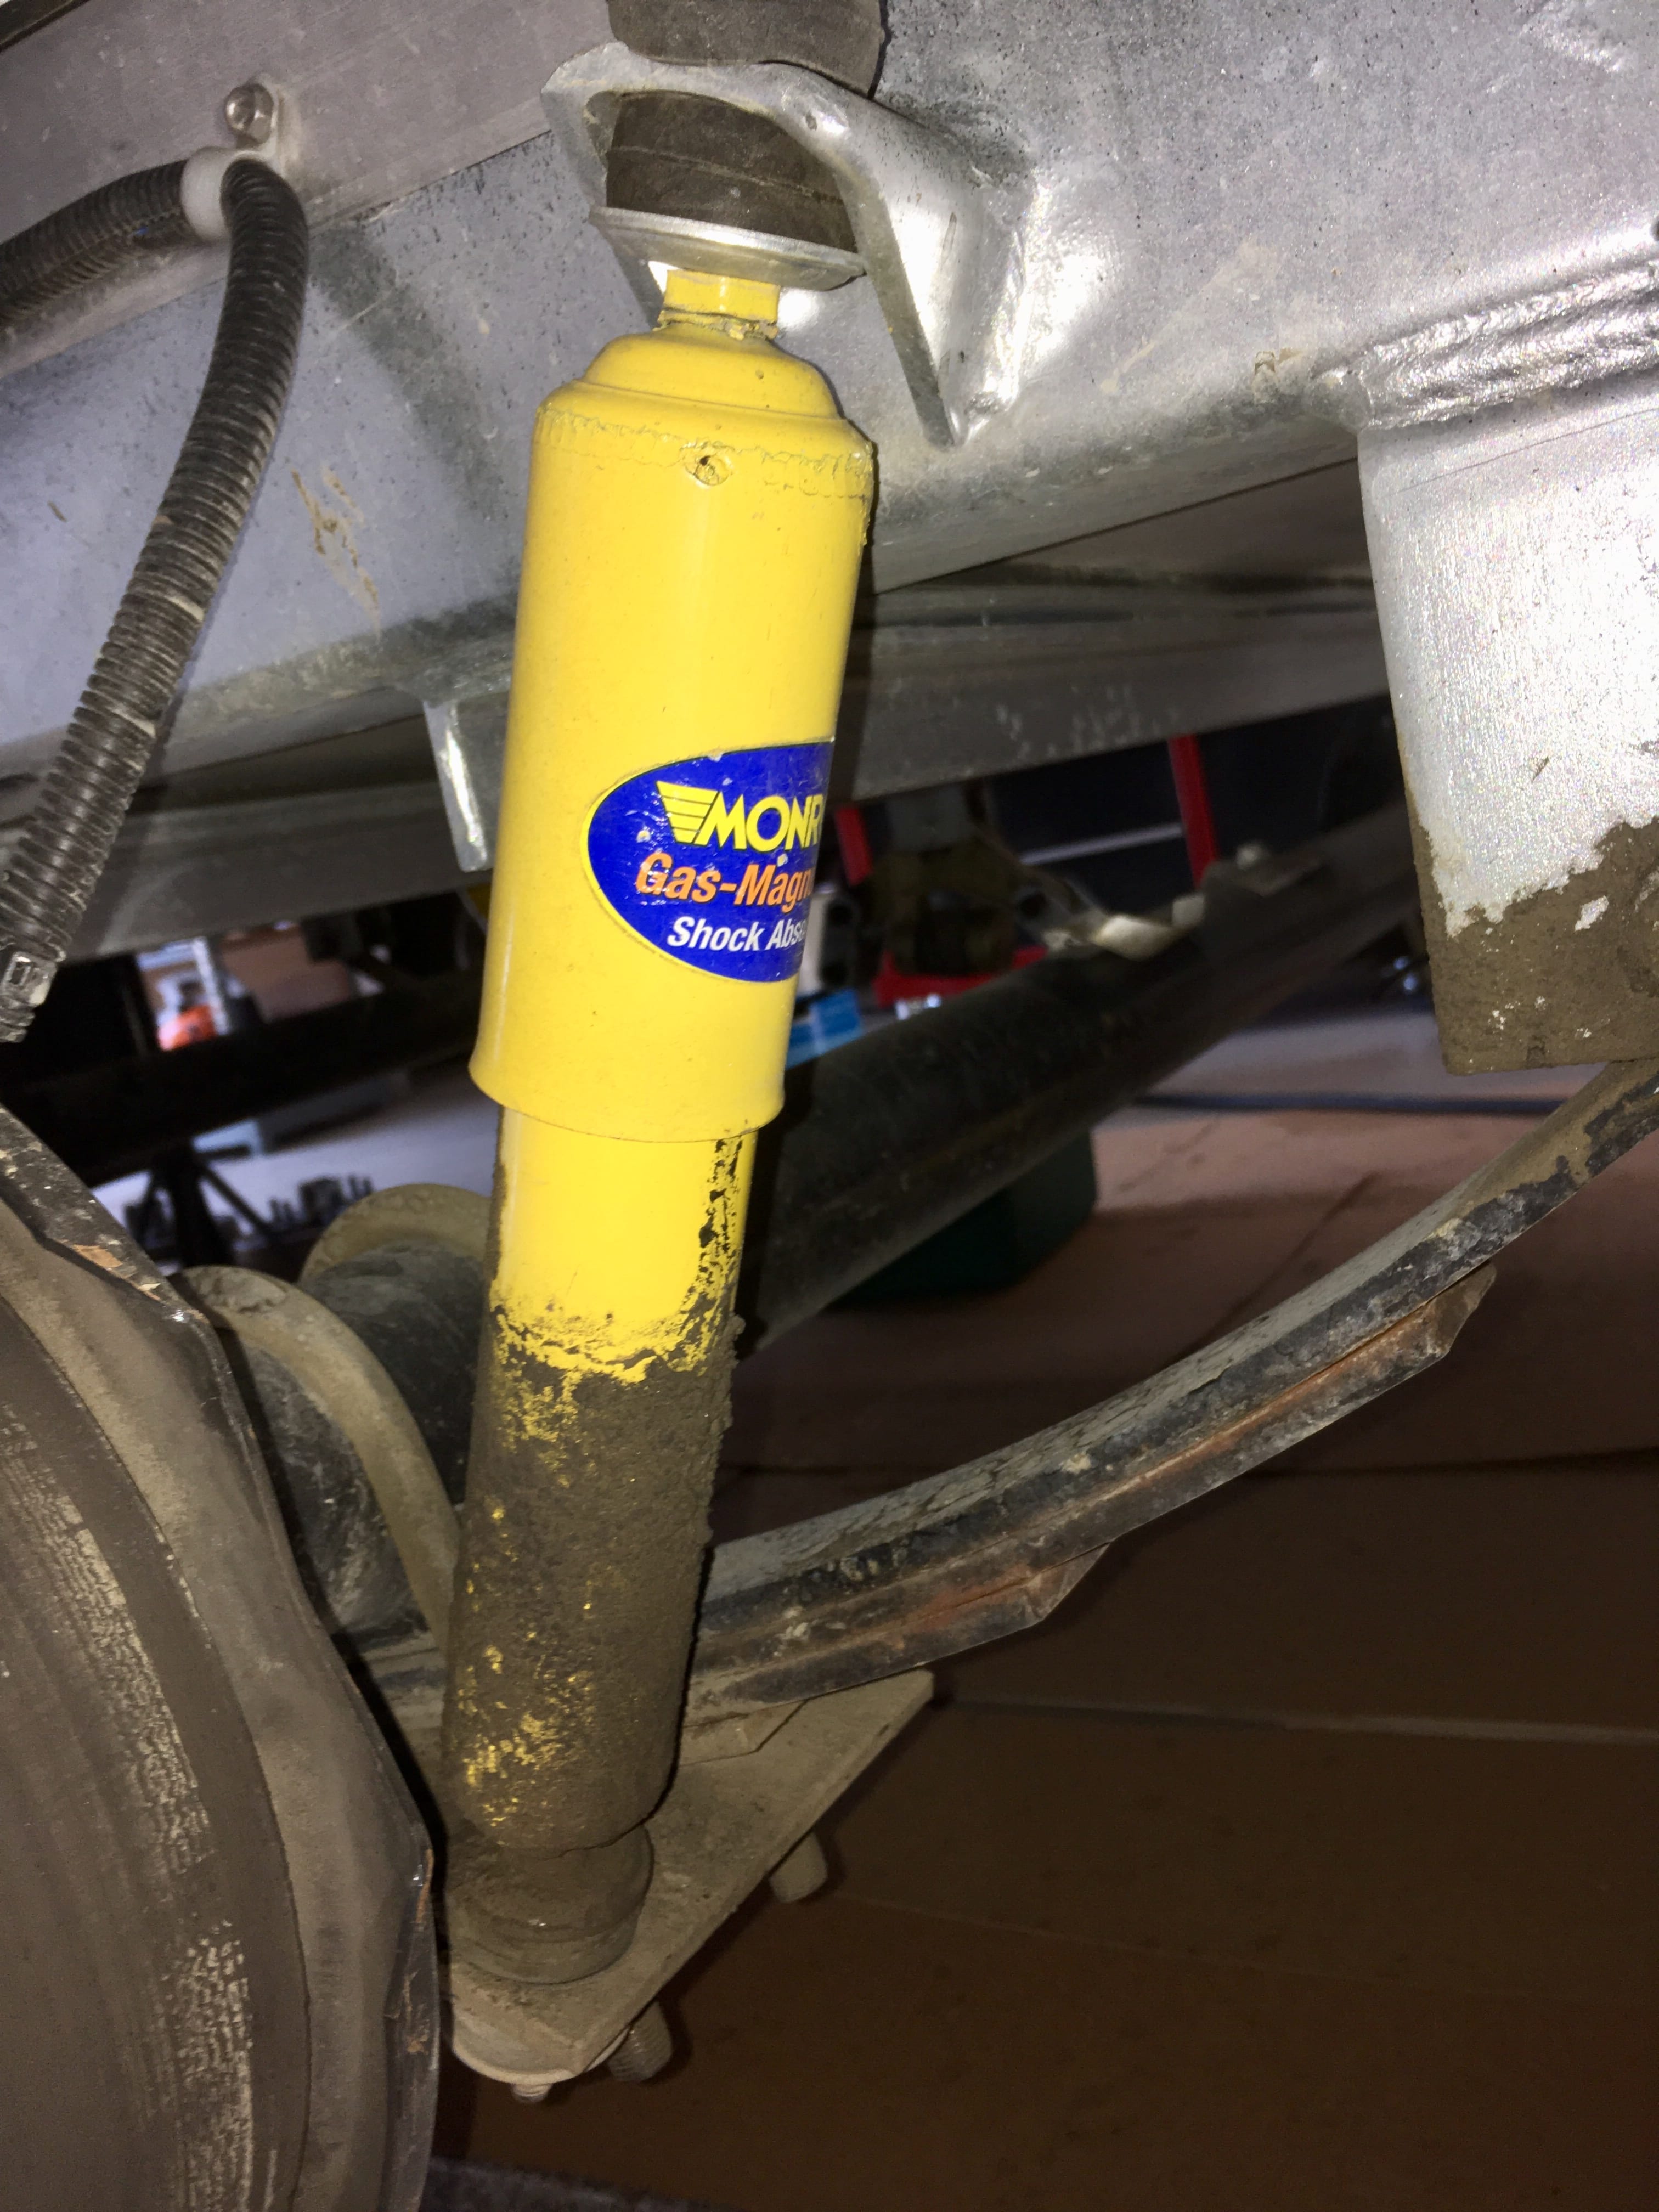
My shocks are just over a year old, 6000 miles and two are blown. ;( I think this is the correct part. ... http://www.monroe.com/en-US/e-catalog/555001/# Can anyone confirm? The regular automotive Gas Magnum shocks have a lifetime warranty, any idea about these RV units? I have not yet called the Ollie factory. https://images-na.ssl-images-amazon.com/images/I/71ITrU+GhyS.pdf Is there a better shock available? These not impressive, nor are they especially cheap ($38 at Amazon), Thanks. John Davies Spokane WA
1 point
-
Here is what I just sent.... Hi Anita, Are there Oliver branded products that we can purchase? I am especially interested in a high quality full zip fleece vest, long sleeved sun shirt, or uninsulated windbreaker with small Oliver name and mountain logo on the front. It needs to be a mature and classy color and design. Columbia would be a fine choice: https://www.columbia.com/mens-flashback-windbreaker-jacket-1589321.html?cgid=men-jacketsVests-windbreakers&dwvar_1589321_variationColor=963#srule=MostPopular&start=0 These are great, I have one with an Earth Roamer logo that is my favorite. I would love to have a similar Oliver one: https://www.columbia.com/mens-silver-ridge-long-sleeve-shirt-AM7453.html?cgid=men-shirts-longsleeve&dwvar_AM7453_variationColor=413#start=3 I know there would be much interest in mugs, clothing, etc, what’s up? Father’s Day is soon and I need to find a trailer specific gift to suggest to my kids. I hope you are busy and well. Who else wants Ollie Gear (cool name for a store) and what would you like to buy? Post links please. John Davies Spokane WA1 point
-
Greetings Campers, I would like to extend a hearty “THANK YOU“ to Foy Sperring the food master, Matt Duncan, the PR & Advertising master at Oliver, to all our volunteers and especially, Scott Oliver, President, Oliver Travel Trailers who without his sponsorship of the 2018 Oliver Travel Trailer Owner’s Rally, it would not have been possible. Success begets success. Everyone wants to know when the 2019 Oliver Travel Trailer Owners Rally will occur. Although we have reached agreement with Lake Guntersville State Park on the date, we are finalizing agreement on registration details for next year’s rally. For the 2018 rally, we encountered significant problems and confusion when registering for both Oliver Travel Trailers and Lake Guntersville State Park. For 2019, we want to have a single point of registration, for collection of attendee fees and campground reservations. Until we have the process worked out, we cannot release the exact date. For planning purposes, the rally will occur in May 2019 at Lake Guntersville State Park, Guntersville, Alabama. We will announce the final dates as soon as we have the registration process and a budget completed. The last night of the rally, I made an appeal for assistance in planning and organizing the 2019 rally. This appeal still stands. I can be reached at coy.gayle8115@yahoo.com Please contact me if you would like to be a part of the planning, organizing and executing the 2019 Oliver Travel Trailer Owner’s Rally. Our priority for assistance now is for someone who can assist in accounting. As we plan for next year’s rally, we will incur expenses that will need to be paid. We will need to develop a budget for the rally. Please contact me directly if interested. Most, if not all work can be done via Internet and telephone. We will need to develop a budget before we set the fee structure and this has to be done before we release the date of the rally. I want the income and expense of the rally to be done with transparency and integrity so I need assistance with the budget and accounting of funds. To move the rally from a good rally (2018) to a great rally (2019), I would like to have committees of volunteers. Below is the ideal structure for planning, organizing and executing the next rally. Please give consideration to being a part of the 2019 rally and contact me soonest if interested. Coy Gayle Chairman, 2017, 2018, 2019 Oliver Travel Trailer Owners Rally _____________________________________________________________ 2019 Oliver Travel Trailer Owners Rally Committees and Responsibilities Communications Registration process Attendee Information Rally notices and e-mails, Creation, distribution and updating of presentation documents, forms and publications Develop a logo for the “ Oliver Travel Trailer Owner’s Rally” Support Oliver Webmaster by delivering completed documents that are accurate, on time and meet the needs of 2019 rally attendees Secure a vendor for Oliver Travel Trailer Owner’s Rally merchandise Food & Meals Coordinate rally breakfasts, cookout and opening & closing dinners Plan and budget expenses for food and materials needed Work with Lake Guntersville Park staff and food vendors Communicate with attendees and set expectations Entertainment and Activities Coordination of local entertainers, activities within the park and Marshall County Convention and Visitors Bureau Provide a timely budget to the Finance Committee Oversee and monitor all entertainment events Finance Develop budget for 2019 Rally Accounting and monitoring of income and expenses, fees from attendees and fees from vendors on a regular basis Accountability and transparency of all financial transactions Pay incurred and approved expenses Programs Educational programs from vendors – “How To” Sharing and socializing between trailer owners Educational programs- by owners, for owners Scheduling and supporting each program Vendors Develop program(s) that will attract vendors that will fund activities, meals, door prizes and other financial support for the 2019 rally Engage vendors early in 2018 to secure support from vendors in 2019 Develop “Bronze, Silver and Gold sponsorship” for vendors that will highlight what vendors will receive for sponsorship. Support vendors during the rally SKILLSET Ability to develop a rally that will exceed expectations of Oliver owners; • Ability to work as a committee member and coordinate with other committees; • Computer skills in Microsoft Office, Access to all social media formats, exceptional Internet skills and ability to diplomatically and tactfully works with others. • Internet, social media and people skills that support clear, accurate and concise offerings of the 2019 Oliver Travel Trailer Owners Rally1 point
-
Vote for Oliver Travel Trailers http://olivertraveltrailers.com/blog/2018-trailer-life-readers-choice-awards/ Who will win? You decide! You can vote in as many categories as you like, but you can only vote once. Voting begins June 4, 2018, and ends September 4, 2018. Oliver is found under the "Travel Trailers" section of the survey - 5th section down from the top. Thank you all for your consideration!1 point
-
You can go to page 2 of this thread to see Oliver's attempt and associated discussion: http://olivertraveltrailers.com/topic/spring-over-axle-lift/page/2/1 point
-
Hi y'all, This has been discussed and there's going to be a store but we do not have a set date and time when this will become available.1 point
-
I usually just spritz water using the shower function, washing dust, lady hair and debris from around the toilet and out onto the pan, then I lift it off with a paper towel and rinse the really small stuff down the drain. Wipe dry with a small microfiber towel. So far that is working fine. The more I use the Nature’s head the more I like it, and I am so glad to have the extra fresh water and not have to stop at dump stations, other than for an occasional quick gray water dump when I cannot drain that tank on site. John Davies Spokane WA1 point
-
Thread bumped at Spike’s request. John Davies Spokane WA1 point
-
Last year when I had to replace the complete battery rack due to rail failures on both sides; I installed an aluminum 90 degree angle bracket mounted with 1/4 inch SS machine screw. Without removing this device the rack can not be moved out; but it only takes a few minutes to remove for battery maintenance. [attachment file=Battery Rack - security mod 1.jpg]
1 point
-
The Dexter EZ Flex system adds another layer of protection to your camper. The EZ Flex equalizer comes with a rubber dampener to lower the impact from cracks, potholes and other imperfections in the roads from causing unwanted stress on the camper shell. This system also replaces the standard bolt & plastic bushings inside each leaf spring eye with wet bolts and bronze bushings allowing you to keep them greased for longevity and less noise from heat and resistance. For this system to operate properly it is recommended that the bushings are greased every 3 months or 3,000 miles with a good high quality Hi-Temp grease. We use Citgo Mystik Hi-Temp at the factory but there are several other approved greases from Dexter. *2018 Elite I models utilize bronze bushings and wet bolts but does not have the equalizer as it is used on the dual axle only. The Dexter Axles used on the Oliver Elite and Elite II models are the 5,000 lb and 3500 lb axles. The Elite models have a single 5,000 lb axle with 12” brakes while the Elite II models have dual 3500 lb. axles with 10” braking. These axles and brakes do have a break-in period as they are Nev-R-Adjust braking and adjust automatically as you brake while pulling forward or backwards. The break-in period may vary slightly but usually adjusts to 100% somewhere between *50 brake applications from the brake controller only or over a period of about 500-700 miles with normal vehicle braking. *Please make sure that you do not overheat your brakes by trying to achieve the break-in too quickly. If you do choose to utilize the brake controller over 50 braking applications it should be done over a 75 mile trip at low speeds allowing the brakes to cool in between and not putting too much stress at high speeds on the trailer brakes to stop the tow vehicle. Both the 3500lb. and 5,000lb axles have serviceable bearings that require maintenance every 12 months or 12,000 miles. The same grease that is used for the EZ Flex will work with the bearings. Both the inner and outer bearings should be cleaned thoroughly and inspected for any imperfections or improper wear. This is also a great time to inspect your trailer brake components as well. These maintenances can be performed by most RV service centers or if you prefer, you can perform your own maintenance. For more information on how to repack your wheel bearings see the Dexter Bearing Maintenance Video.1 point
-
What a novel way to set things up. For warm weather use it's ideal. We essentially do the same thing to conserve gray tank capacity except that we take the showers inside and just let the gray water drain out as we go. Looks great.1 point
-
I've done some tight maneuvering, but I wouldn't expect enough to do that amount of damage - but this is our first trailer so what do I know. Yes, those are the factory Michelins. They came from Oliver with their standard pressure of WayTooMuch psi. Over 70, lol. Our first trip we did with that, then I lowered it down to 50 just to save the trailer from being rattled apart. This last trip was at 45 per Michelin's recommendations and the tires looked good and stayed cool. With the damage limited to the center treads I was thinking maybe the damage might have started with them being over inflated that first trip. More likely though it has to do with those smaller blocks being more flexible and susceptible to damage.1 point
-
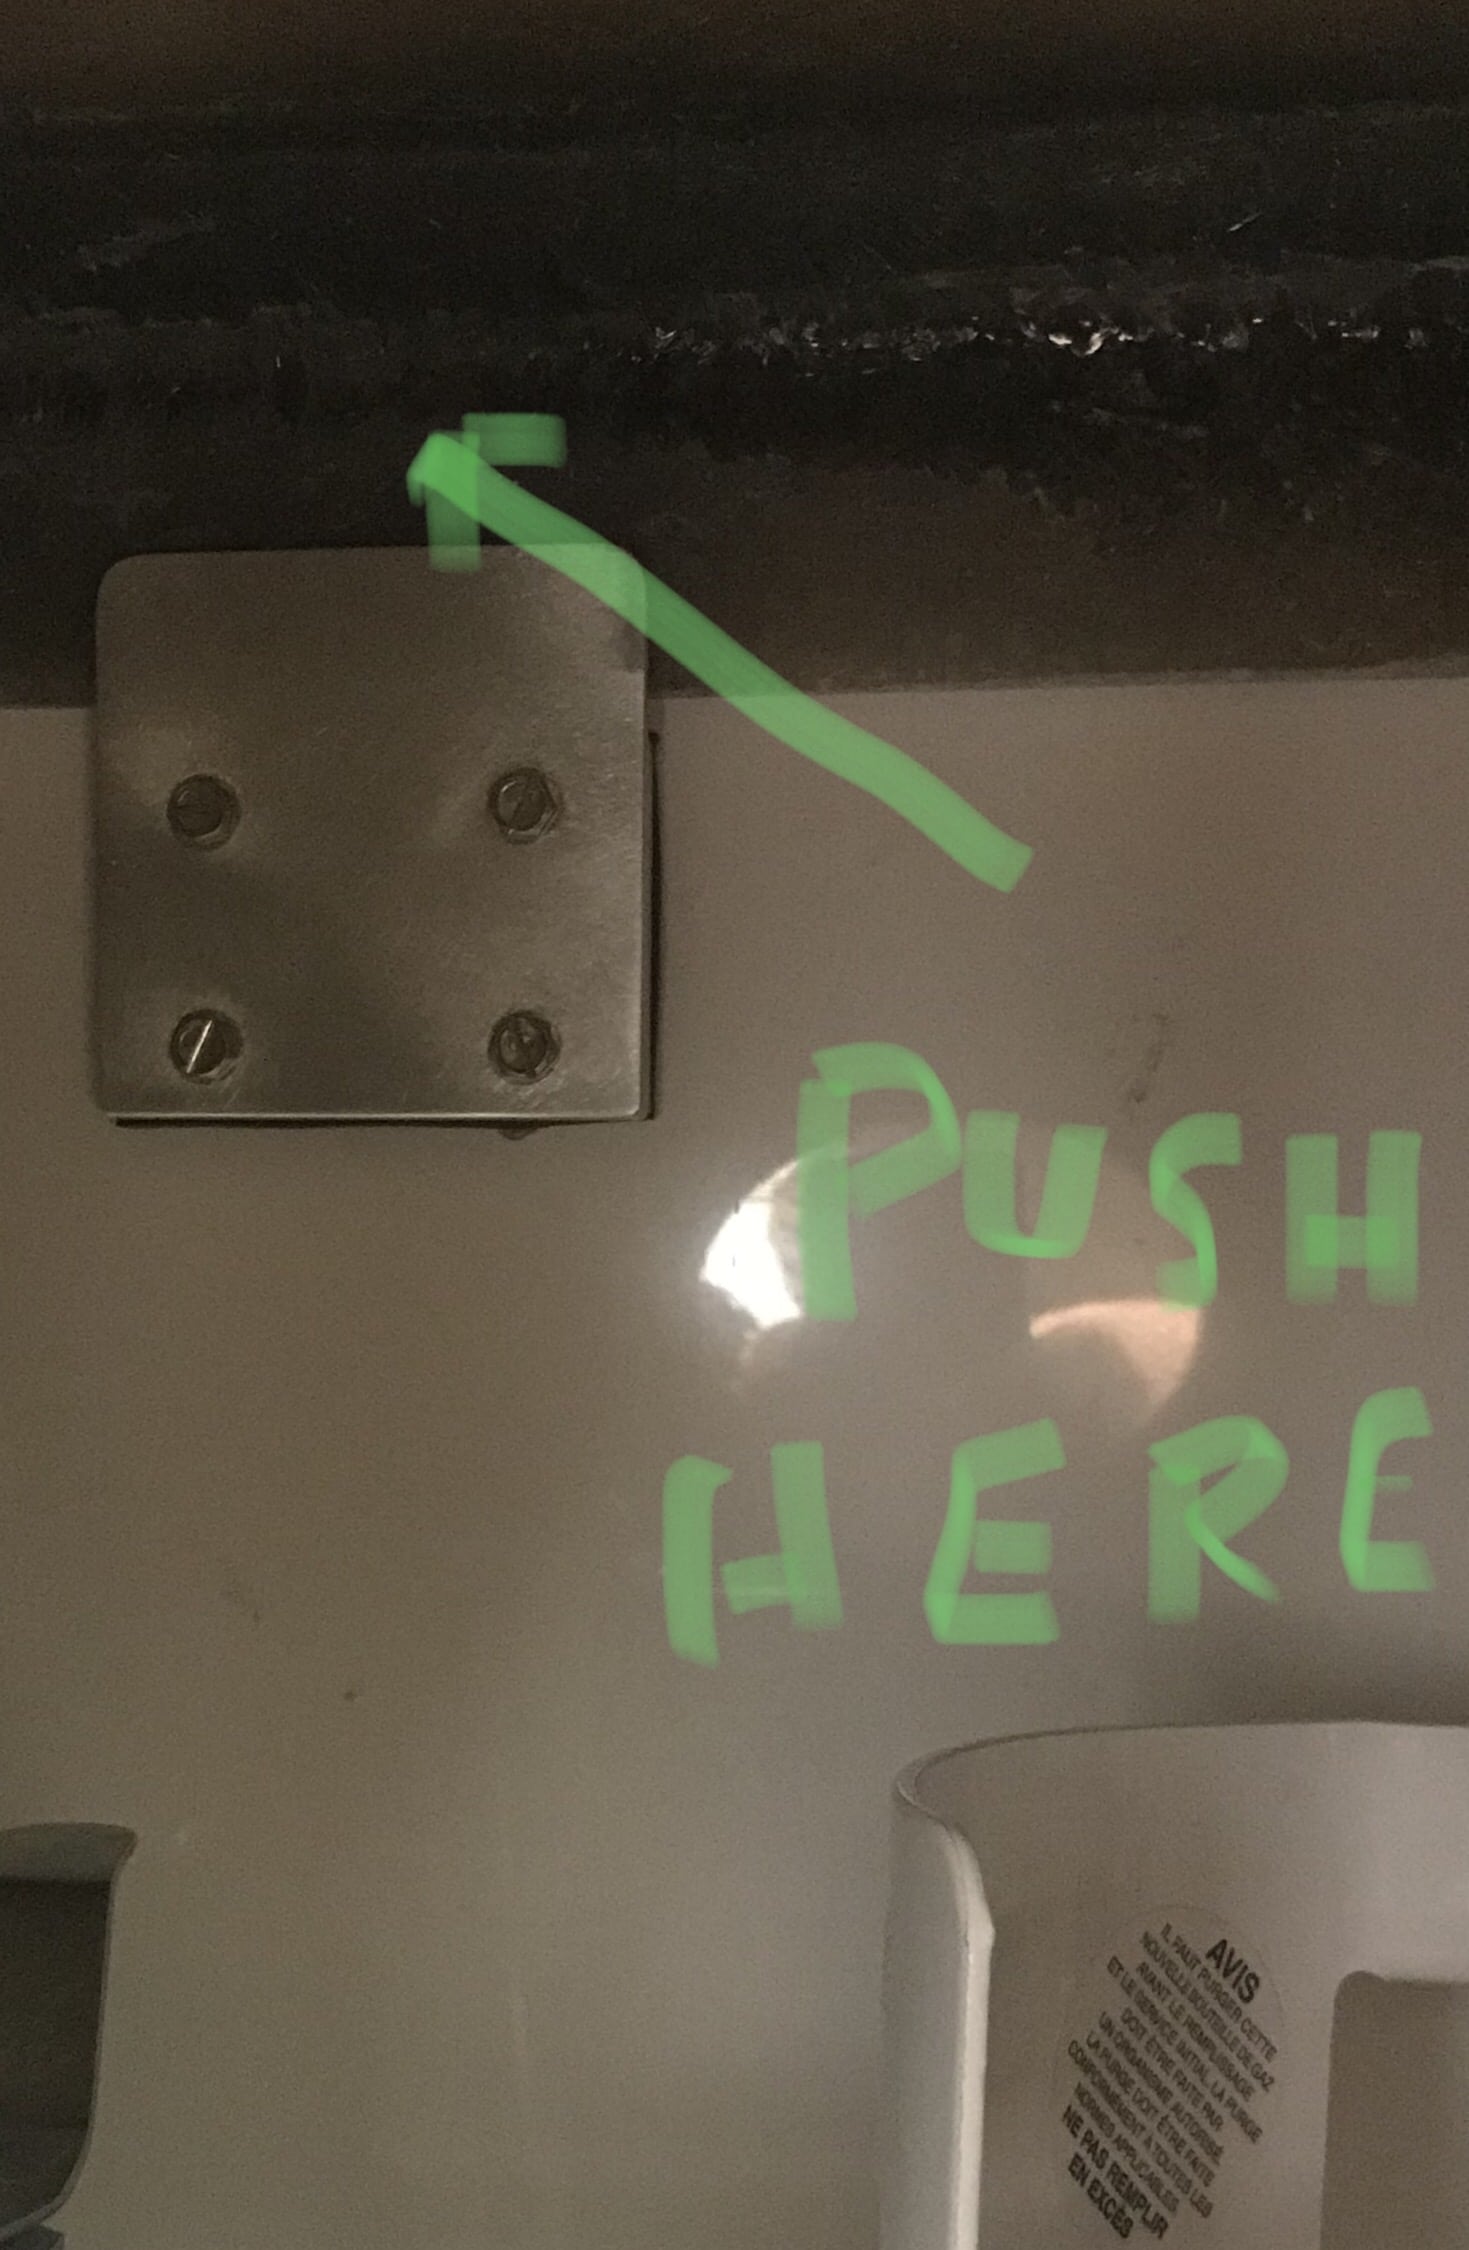
Ok, my wife said it was too pretty outside for me to be inside and that I should go outside and play. Well I went outside and went in the shop to get the mower out. Only the Oliver propane cover was in the way of getting the mower out. I hate putting the propane cover back on because it doesn’t want to fit right over the aluminum plate on the front of the hull. Only this time the port was open on the front of the cover so I reached in and pushed on the part of the cover right above where the aluminum plate is and the darn cover fell right into place without having to fiddle with it. Why haven’t one of you old timers passed this trick on???
1 point
-
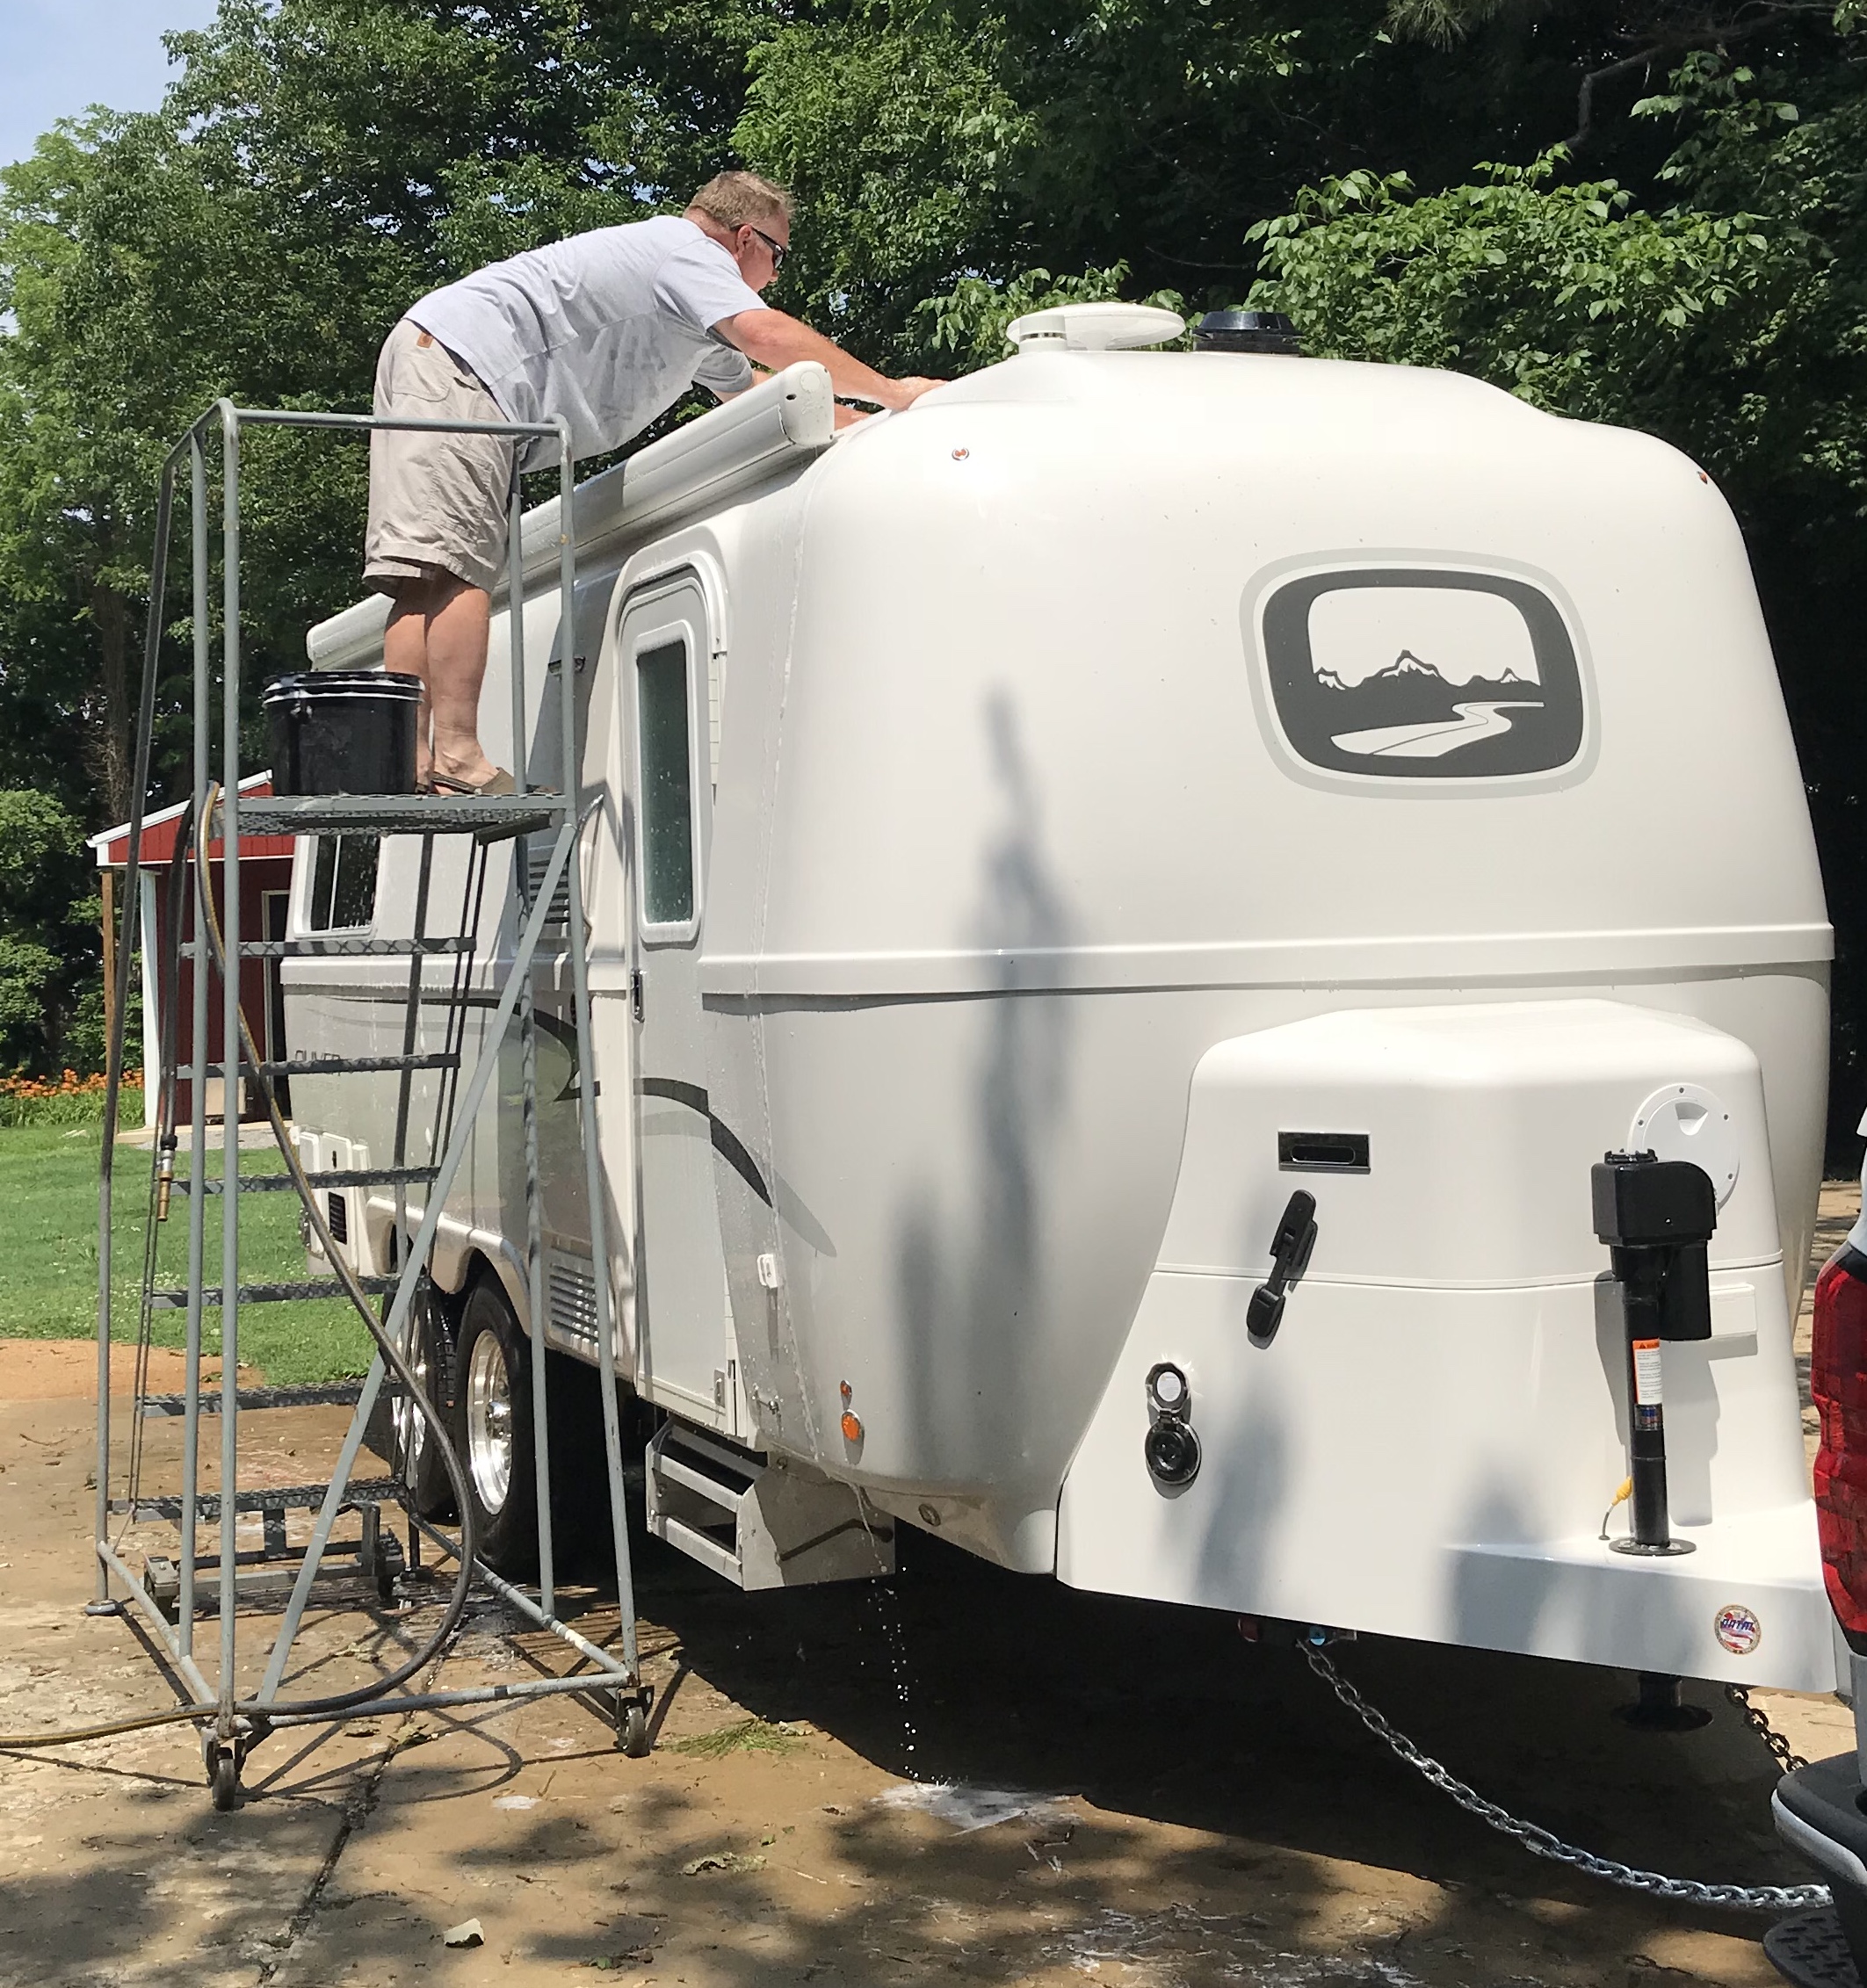
A buddy of mine came across a gaggle of rolling ladders that had been scrapped by a “warehouse store”. They had been cut in such a way as to render them unusable but all the pieces were there and with a little welding and straightening I wound up with a good rolling ladder that makes it easy to access the top of my wife’s trailer without having to climb on top. That fellow on the rolling ladder is just some over fed fellow that my wife got to wash her camper.
1 point
-
Just to update, we just finished our first 4000 mile trip out west and I think that we're O.K. with the trailer's clearance as it is. I did bonk the steps once, and wish that Oliver would still do the single step as an option (willing to trade with anyone who wants a double step). I'm also concerned about the way Oliver mounted the disc brake actuator hanging under the frame, but that deserves it's own lengthy post. But apart from those two items, I think - think - that the clearance is good enough for anyplace that we're otherwise willing to take the trailer. I'm still concerned, however about the limited suspension travel, and think that we'll have to find a solution for that.1 point
-
If the spring over modification isn't practical, it might be better to re-design the subframe and add a section of 4" steel box tubing between the subframe angle iron and the spring hangars. This would have the existing steel angle, then the 4" box section below that. Then the spring hangars would mount to the box. It would need some additional cross bracing. This would keep the shocks and hardware all the same and raise the trailer 4 inches. It would be a bolt on option that Oliver could offer with no changes to anything else. Simply check the "high model" or the "low model" box on the order form. The method I'm suggesting would also be an easy fabrication as the existing subframe is steel and just bolts on. That frame could be unbolted and rolled out from under the trailer where it would be modified and rolled back into place to be re-installed. I don't think this modification is really needed in any but the most extreme conditions. Olivers already have excellent ground clearance and will easily go into some pretty rough spots. Since it could easily be altered later, it would be better to try the existing setup before deciding in advance that it's not good enough. How much stability and overhead clearance are you willing to lose to get more ground clearance? I've had mine in spots that were just about all that my Ram could pull it through with big holes and rocks on steep rocky trails. Clearance was not a problem as much as traction as we crawled along in four low. Even though these are not off-road trailers, they are far better than many because they don't have hanging down plumbing or tanks. I feel that individuals should do this on their own and not expect Oliver to do it. Lifted, the trailers will not be as stable and you can't expect Oliver to be responsible for that. These are not designed to be off road trailers. If you need something you can drag over boulders and up cliffs with a winch and a Jeep, this isn't the trailer to consider. They are heavy, they don't have huge tires and they only have leaf spring suspension. The bodies are not set up to accommodate bigger tires either.1 point


-
Recent Achievements
-


")


")