Leaderboard


Popular Content
Showing content with the highest reputation on 05/04/2020 in all areas
-
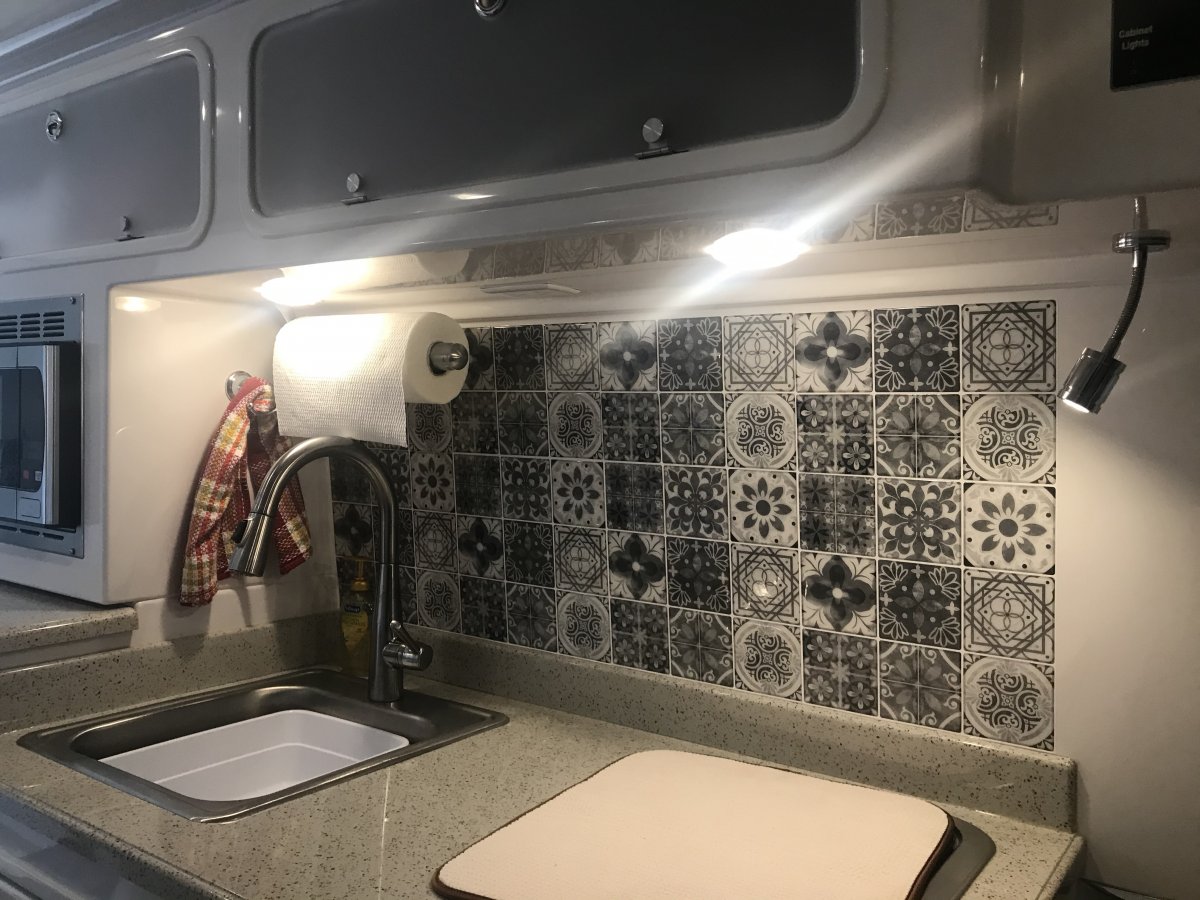
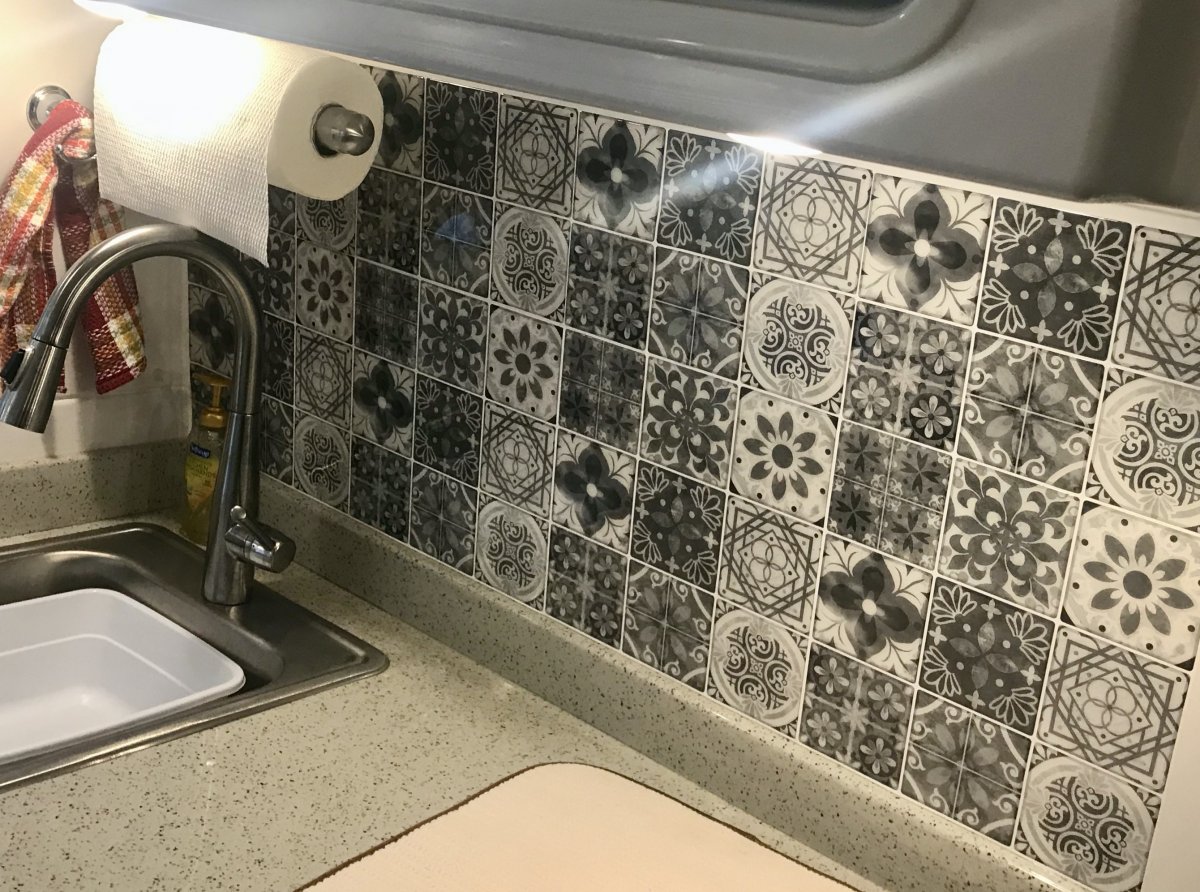
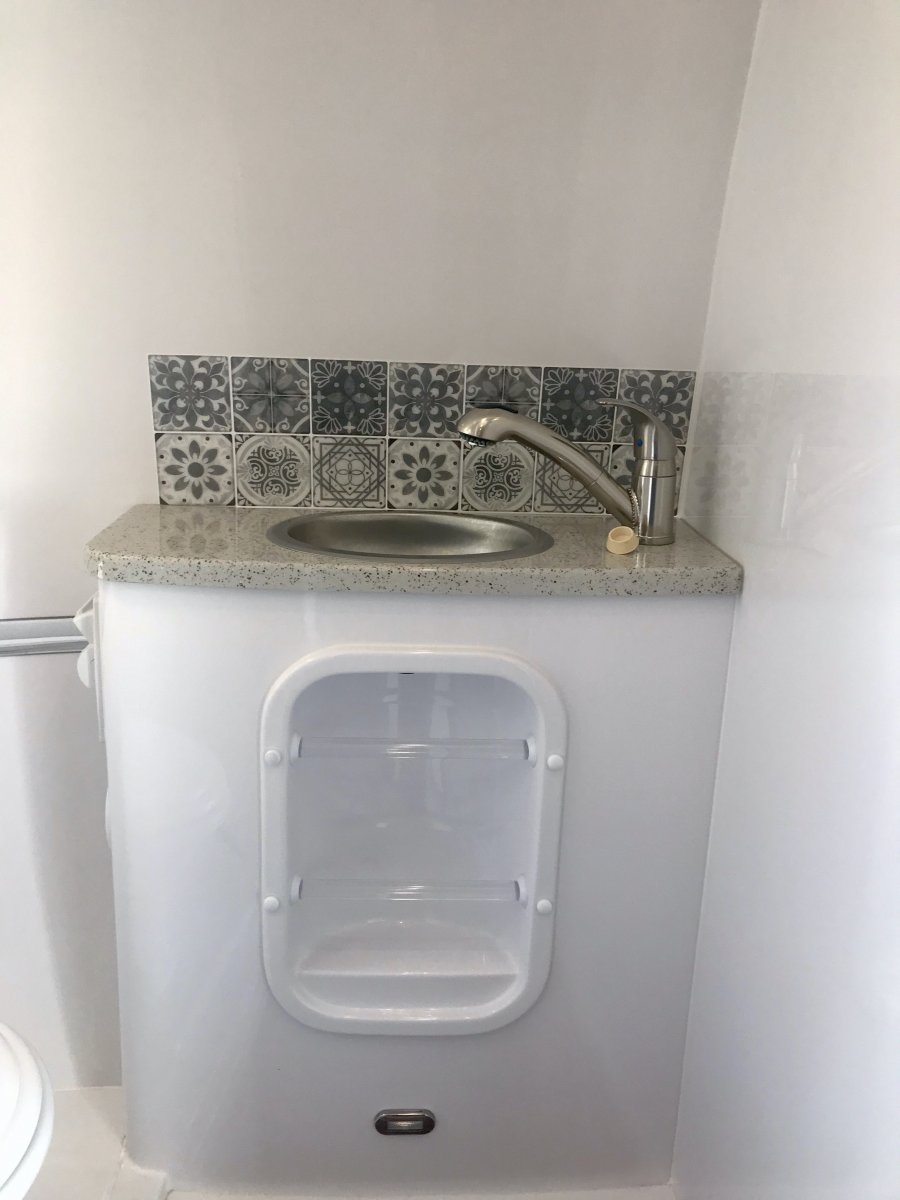
Hi all -- hope you are all safe and as gainfully employed as you want to be. I'd been toying with adding some stick-on tiles as a backsplash to both kitchen and bathroom areas. Finally saw a couple of different applications in an Oliver and decided I'd give it a go. Ordered these: https://smile.amazon.com/LONGKING-Backsplash-Stickers-Talavera-Mexican/dp/B07DR8F44K/ref=sr_1_1?dchild=1&keywords=Peel+and+Stick+Backsplash+Tile+Stickers%2C+Gray+Talavera+Mexican+Tiles&qid=1588613058&s=home-garden&sr=1-1 --- then $30 and since I can't be out camping, decided to at least work in the Oliver. One package of 10 tiles was more than enough, even with one square (3x3 tiles; about 1 square foot) bunged up and pulled off. The tiles are pretty sticky, but can come off if needed but I suspect will stay stuck pretty well.
 3 points
 -
We placed an order for complete bedding for our 2020 Oliver (in production) and during our research discovered that AB lifestyles manufactures a complete waterproof mattress sleeve/cover for the twin mattress set. So we ordered a set. It’s not listed on their website yet so you need to call and inquire if interested. USA made 🇺🇸 by our neighboring state In Iva, South Carolina. We have purchased from AB before and they really do make nice high quality linens. Hope this helps anyone interested. http://ablifestyles.net/?fbclid=IwAR2wQ0n-M5IW3H2kbBB1fEbyrOf5Xb1NxCeBkmKtl5lO3V0pPkurne5P2mo Happy Camping! -Patriot2 points
-
Ollie404 - If you intend to do the replacement of the valves yourself then it really wouldn't be any more difficult to move those valves. Both jobs require that you cut out the damaged valves. To move the valves all you have to do is add in a pex connector/union to the existing piece(s) of pex, run additional pex to where you wish the valve to be located and then insert the new valve. When you cut the old valve out it is more than likely that you will need to add in a short piece of new pex anyway unless there is enough slack in the existing line(s) so that you can simply put in the new valve. The most difficult part of this whole process is "clamping" these new pieces of pex pipe and fittings into place. Basically there are two methods of doing this. You can replicate the method that was used at the factory - pex bands - that are tightened with a special tool that can be a bit expensive or you can use "shark bite" style fittings that are simply Pushed onto the pex and/or fittings. These shark bites are expensive relative to the pex bands and there are reported cases of failure (read that leaks) if not installed properly or (possibly) due to vibration. For a one shot deal it is probably less expensive to go the shark bite route versus buying the special tool. On the other hand - if you can borrow that special tool then it will probably give you a more robust final job. Good luck! Bill p.s. there are a number of YouTube vids on both methods mentioned. If you do not feel comfortable then virtually any plumber can do the job.2 points
-
So I got under the floor and was at least able to take a look at the city intake. Yep. Quite the leak. I imagine the fresh intake is the same. IMG_0518.MOV2 points
-
Yes, indeed, it is fun. I had the bed of the pickup packed and behind the seats loaded up too. Your first night will be busy with unloading, making beds, filling drawers, etc. Fun times.2 points
-
Patriot LoL are you picking up your Ollie with a moving truck? All the stuff you brought you’ll need one. Honestly I probably brought just as much. The fun of it all.2 points
-
The storms that hit Middle TN last night meant our power was out and we had to get back home to mind the generators and cancel our camping plans, but we picked up our beautiful trailer today and got it back home to Nashville TN. Everything is top notch so far and we couldn't be happier. Also today having some A/C is a blessing. Bonus driveway storm damage we had to clear just to get the trailer parked at home.1 point
-
Those are handsome--a good choice. Thanks for sharing and I hope you're camping again soon!1 point
-
Nice job well done1 point
-
If you plan to learn, you might as well get the correct tools. I strongly recommend the stainless pex clamps instead of the copper rings. They are WAY easier to install, they are very simple to remove with the twist of a flat screwdriver (you have to chisel or saw a copper ring off - that will make you swear) and you can buy the crimp tool and a good assortment of rings and a few plastic elbows and splices at Home Depot for under $75. Another advantage is that these parts are perfect for use around the home and for underground irrigation connections. The ratcheting tool is easy to use and won’t release until there is the correct tension. I find it impossible to crimp a big 1” ring by hand (I am a little feeble) but it is simple enough to slide a steel tube over each handle for extra leverage. The smaller rings are no worries. https://www.sharkbite.com/products/pex-clamp-tool (HD has this for $53.) https://www.sharkbite.com/products/stainless-steel-clamp-ring (Most Ollie lines are 1/2” with a very few 3/4” ones.) You will also need a pex tube cutter, so that the end is square and not crushed. HD sells 5 and 10 foot lengths of tubing for dirt cheap, or you can have an Ace Hardware employee cut whatever length you need off the big rolls. Pex is good stuff, I used to really like copper but this has so many advantages. Finally.... if you decide to move the check valves, make sure the lines that go from them to the fill ports will gravity drain - no weird humps or loops that could trap water, it should all dribble out the fitting. I think this might be a reason why Oliver installs them so close to the outside.... Please, post some pictures of the repair, I have never even looked under that floor area. John Davies Spokane WA1 point
-
I like your mod well done. I’m not trying to be critical of your mod just a word from experience i made something similar on a class c it worked great but later learned that the weight of the bike and the constant bouncing in the rear i had stress cracks in the weld area. If I didn’t notice it, it might have come apart i put more bracing at the receiver to the main frame and never had a problem. Just a thought. Nice work1 point
-
Ablifestyles is a great company if you need it they will make it. Great staff1 point
-
My trailer came with the black weatherstripping. It does not bleed. I do pull it out when I wash to clean the window tracks. I drop them in the bucket to clean then use some 303. No issues, unlike the gasket around the porch lights! BTW, after asking Jason about replacement gaskets and porch light covers I bought some new ones and a sheet of rubber. The new lights are about the same shape but with an aluminum cover, not plastic. They were half the price of what Oliver uses. I’ll do a post once I have them installed with pictures. Mike1 point
-
Here’s a link to another thread about the check valve issue. I really do think that Oliver either had a bad batch of valves or an overzealous installer at one point. Assuming that the OP’s hull number is 404, that’s right in the middle of the hull numbers mentioned in the other thread. I think if it were me, I’d give Oliver service a call, mention these threads, and if the trailer isn’t still under warranty, ask if they might extend it for this issue.1 point


-
Recent Achievements
-


")


")


