Ronbrink
-
Posts
1,166 -
Joined
-
Last visited
-
Days Won
36
Everything posted by Ronbrink
-
Typically the DC-DC is installed in the trailer as close to the battery bank as possible.
-

Installing Pioneer Inverter AC
Ronbrink replied to Treasure Coast Vault's topic in Ollie Modifications
Having the fan turn off as the compressor cycles off definitely prevents the dreaded humidity spike that many experience! -
Installing Pioneer Inverter AC
Ronbrink replied to Treasure Coast Vault's topic in Ollie Modifications
I suspect the “numbers” will increase somewhat as the compressor will work harder to reach and maintain temp in ambient conditions. However, likely less than what is typically seen with conventional units. -
Installing Pioneer Inverter AC
Ronbrink replied to Treasure Coast Vault's topic in Ollie Modifications
It will be interesting to see compiled data once your unit is tested ‘outside’ of the Vault’s climate-controlled setting, while camping in actual heat and humidity. -
A good way to check if the GFCI on the inverter is working is to see if the microwave has power, since it plugs directly into the GFCI outlet on the inverter. If the microwave has power then your inverter is working. If not, the GFCI has tripped and needs to be reset. For reasons unknown my GFCI has tripped, wherein the microwave and outlet receptacles have no power. There have been times when it took a few presses of the reset button on the GFCI to get it to work again. Once power is confirmed at the microwave, all is good. This may not be your remedy, but a good place to start.
-
NO BRAKES ; 2019 Oliver Elite II-Hull #448
Ronbrink replied to BoondockingAirstream's topic in Mechanical & Technical Tips
I tend to agree, and venture to say likely a bad ‘blue’ wire connection either at the male 7-pin connector or downstream on the Oliver. The OP has no issue with other trailers being pulled by his F350 and thus, don’t think the vintage of the TV or inherent factory installed equipment issues are of concern. -
I wasn’t aware, good question!
-
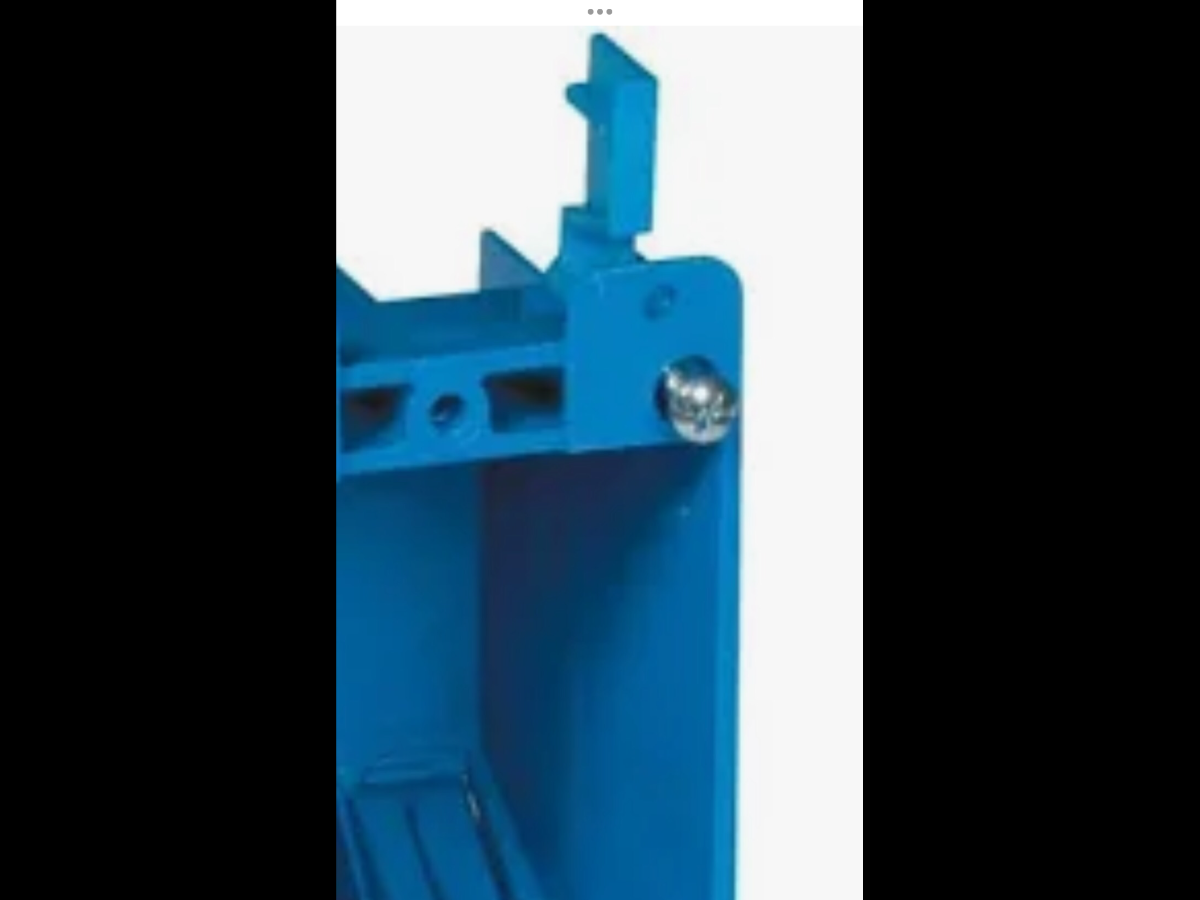
There is a simpler fix. One could just back out the mounting screw and thread on the ‘wing’ taken off a new box and thus, no rewiring of the fixture! As you duly noted, these plastic boxes are cheap; they are also easy to install, but care should be taken to not over tighten the mounting screws which can result in the breakage observed.
-
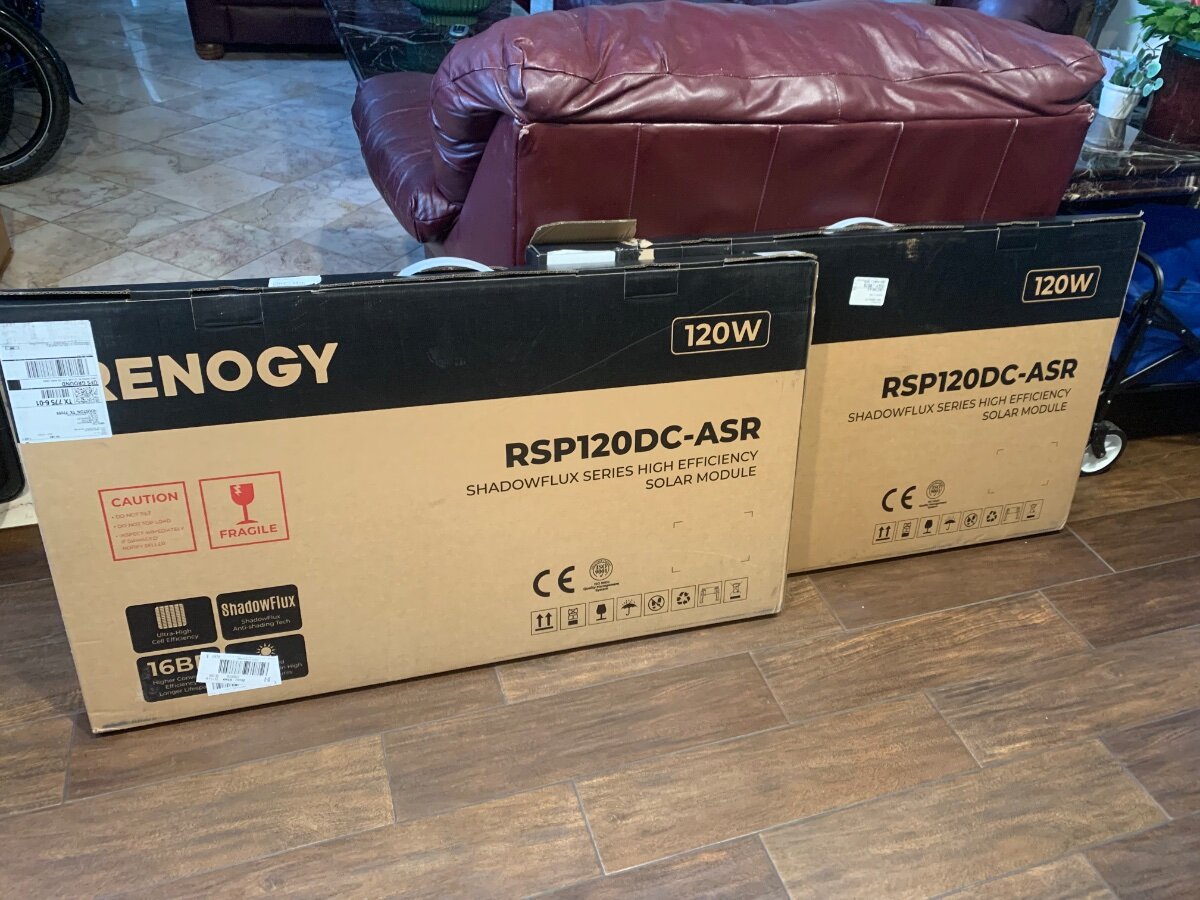
Another pending upgrade to the Savana, installation of this 240W solar panel array. My former TV had a 200W setup, which was sufficient to keep my 100AH LFP portable power station charged while running the Dometic 75 DZ cooler; I have since added an ECOFLOW DELTA 2 to my portable arsenal. These Renogy ShadowFlux panels claim to have improved efficiency in partial shade.

-
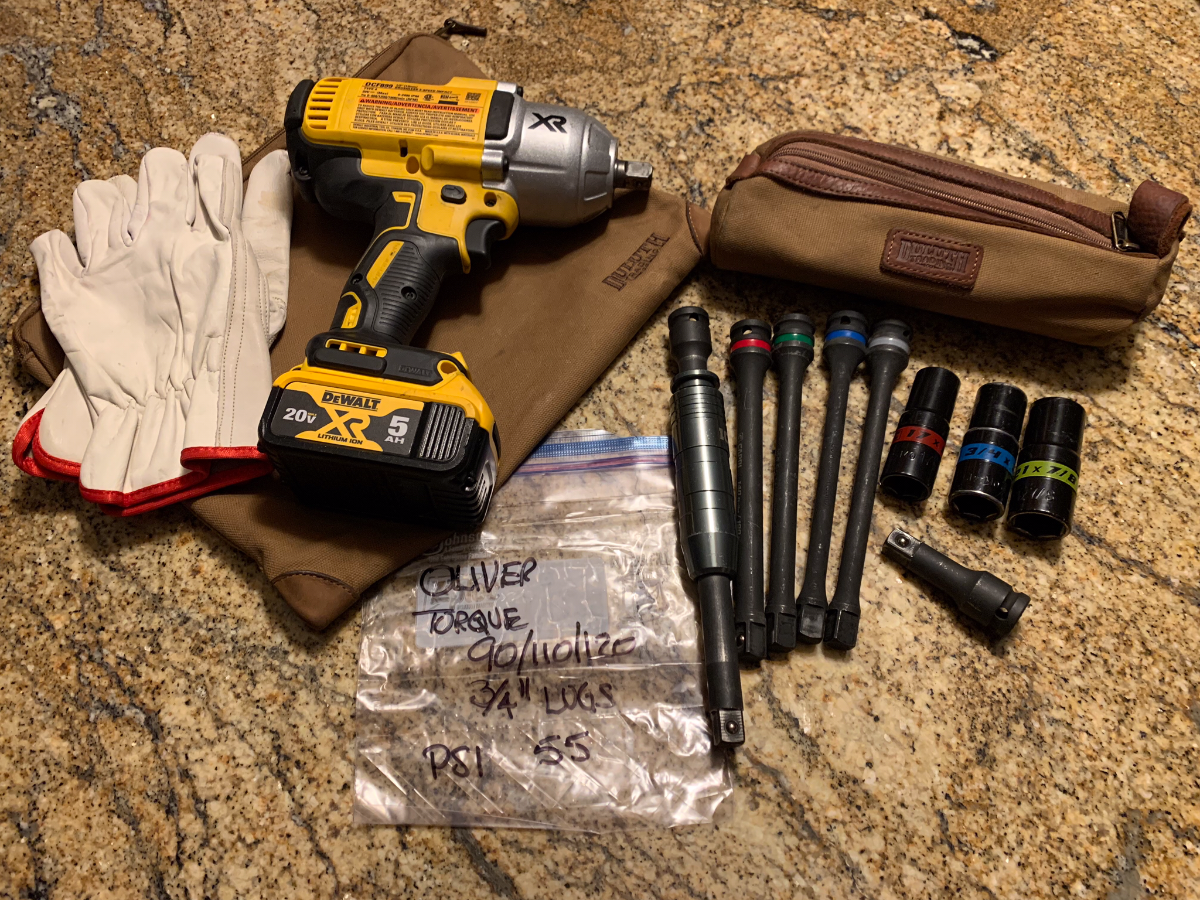
I also have the 1/2” model, plenty of torque for both the Oliver and TV needs. And yes, used on many occasions roadside and for general maintenance. I also carry respective torque limiting extension bars and impact flip sockets, as well as a regular torque wrench and speed collar impact extension. Smaller bag with accessories and DeWalt stowed in the larger Duluth bag. A battery charger is carried separately in like manner. Note the quick reference ZipLok bag with specs for the Oliver.
-
There should be a wing on that mounting screw, looks like it broke off.
-
Driving with AC on for a short period
Ronbrink replied to Wayne and Karen's topic in General Discussion
All, as a quick reference enter Cielo in the forum Search for more info on installation and use of this thermostat and phone app. It should be comparable with any IR controlled a/c, but waiting for confirmation on use with other unit brands. -
Driving with AC on for a short period
Ronbrink replied to Wayne and Karen's topic in General Discussion
Yes, that is my practice! I find a minimum of 30 minutes enough to feel the comfort upon arrival; whether at a campsite or just for a rest or lunch stop. This is assuming one’s rig is setup to run the a/c on inverter/house battery bank. Also, upon pulling out of a campsite the a/c is ran in like manner until the dump task is done, and a shower at the park’s bath house to freshen up and change clothes, oftentimes followed by lunch. Then the a/c will be turned off when finally leaving and the DC-DC will begin to recharge the battery bank when underway. -
I used my Fein oscillating multi-tool to easily make cut outs for additional receptacle outlets.
-
Wet-bath Sink Faucet Modification - September 2024
Ronbrink replied to NomadLife's topic in Ollie Modifications
Unfortunately no. The adapter I used was part of an old Kohler shower handle, and did not have a part number or any other identifying mark. It is my understanding however, that High Sierra now markets an adapter that is Oliver specific. -
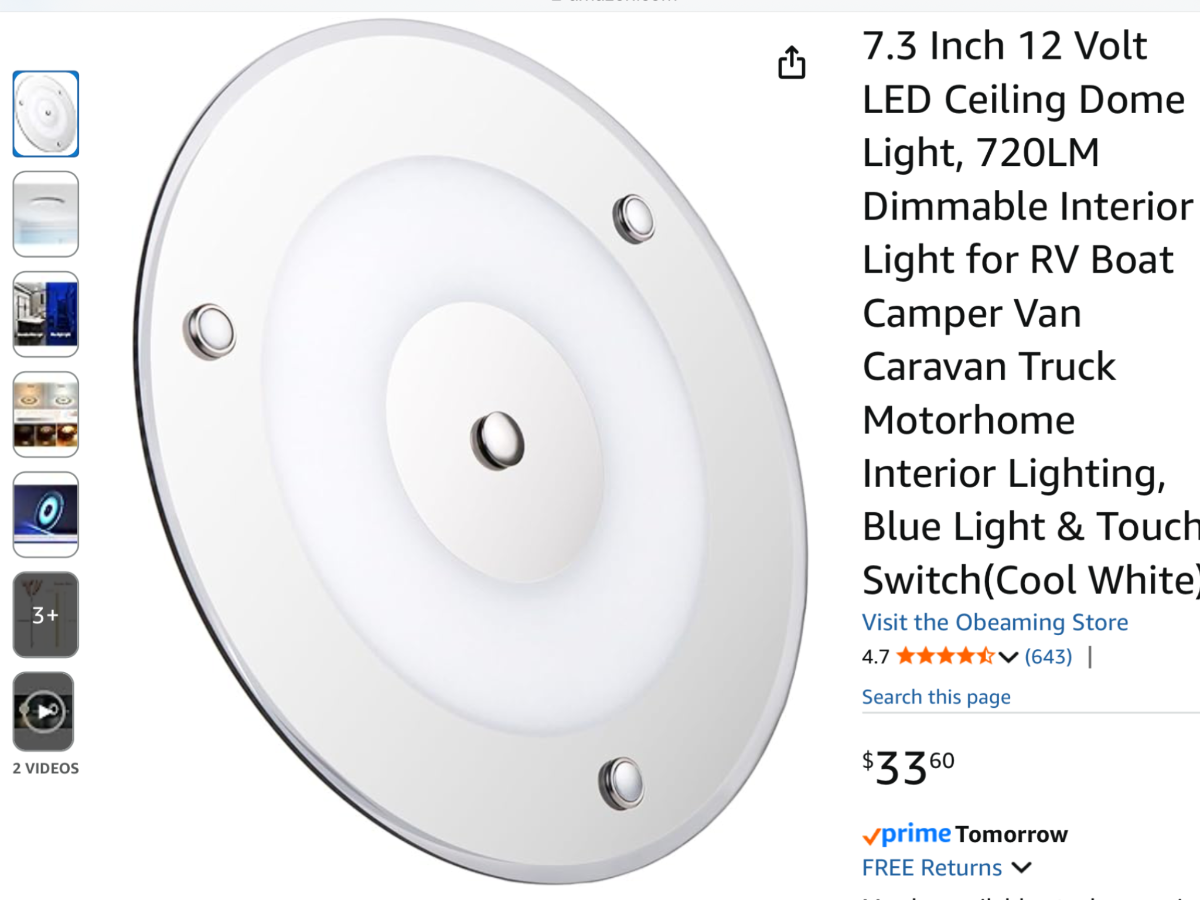
Amazon purchases:
-
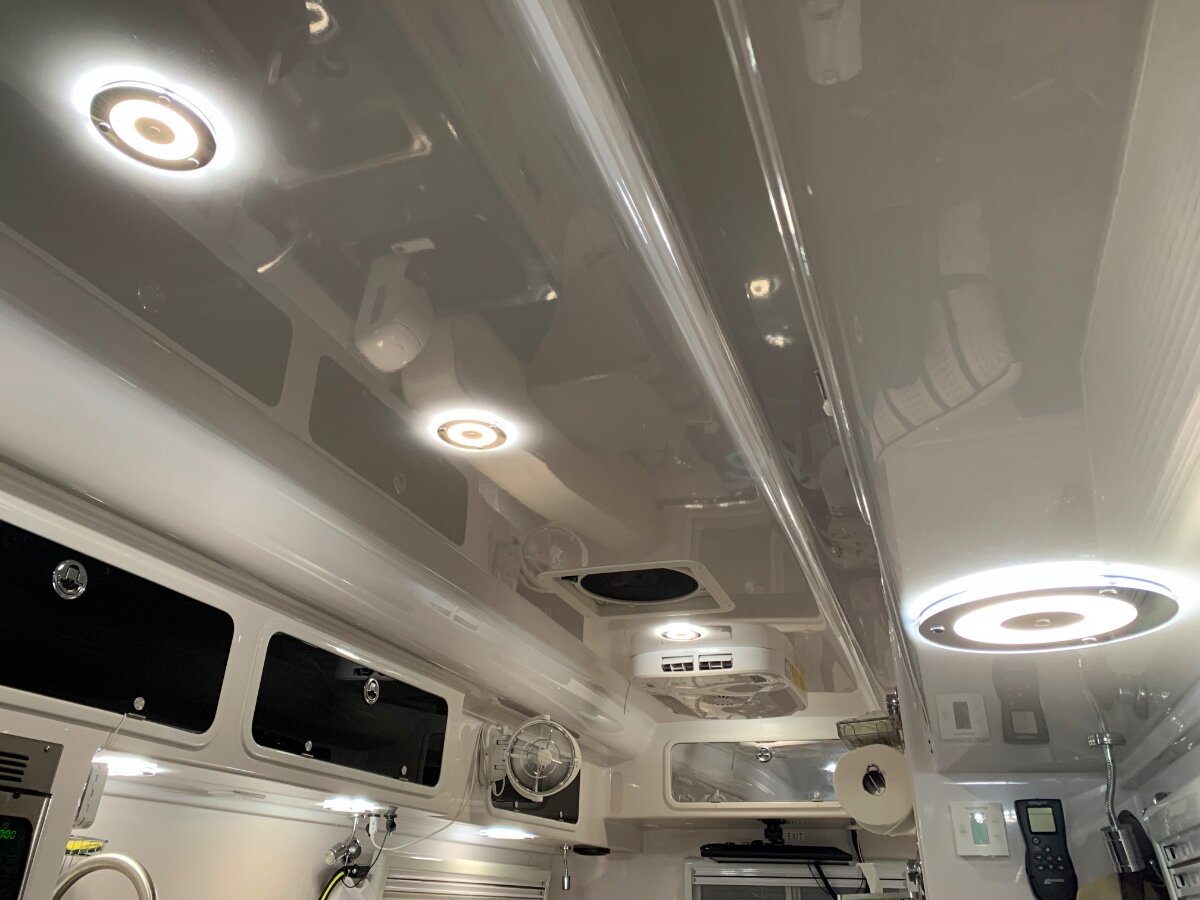
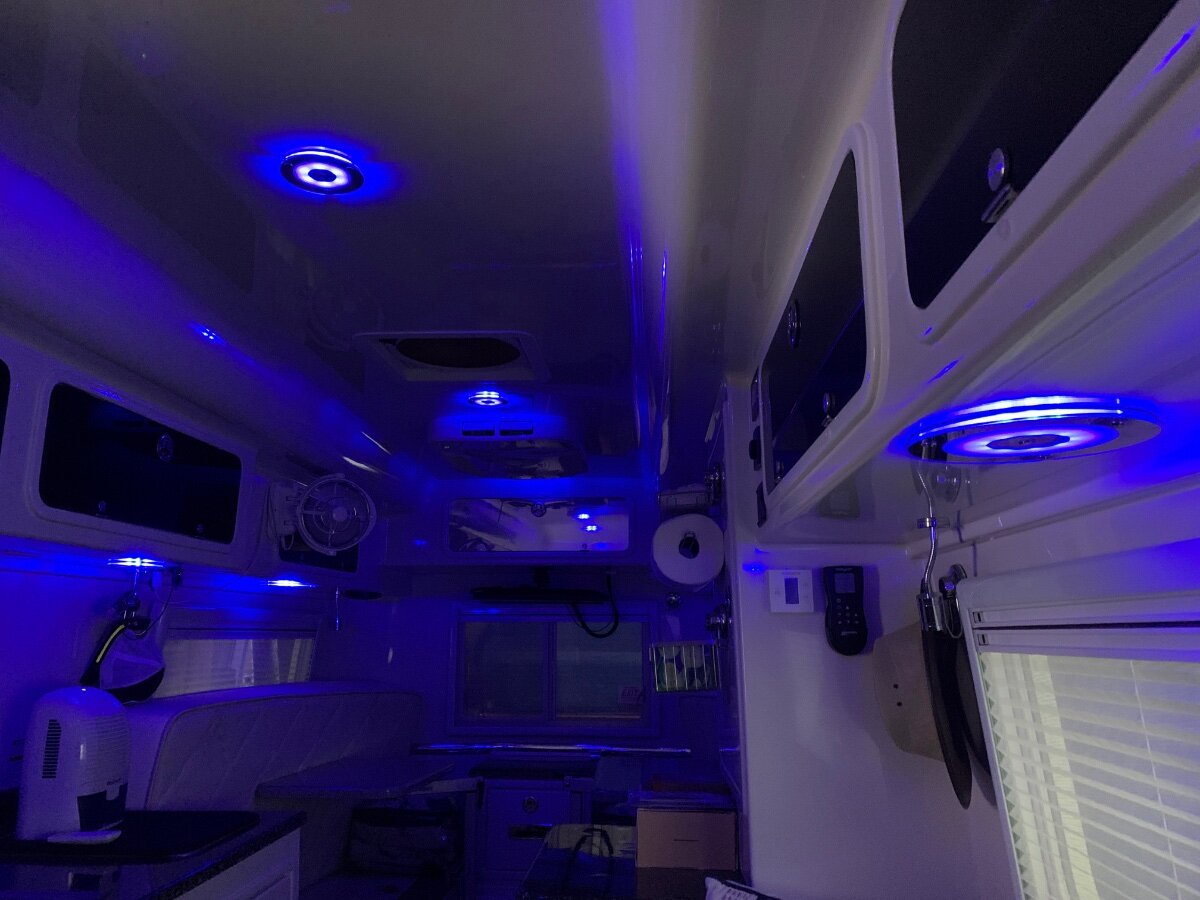
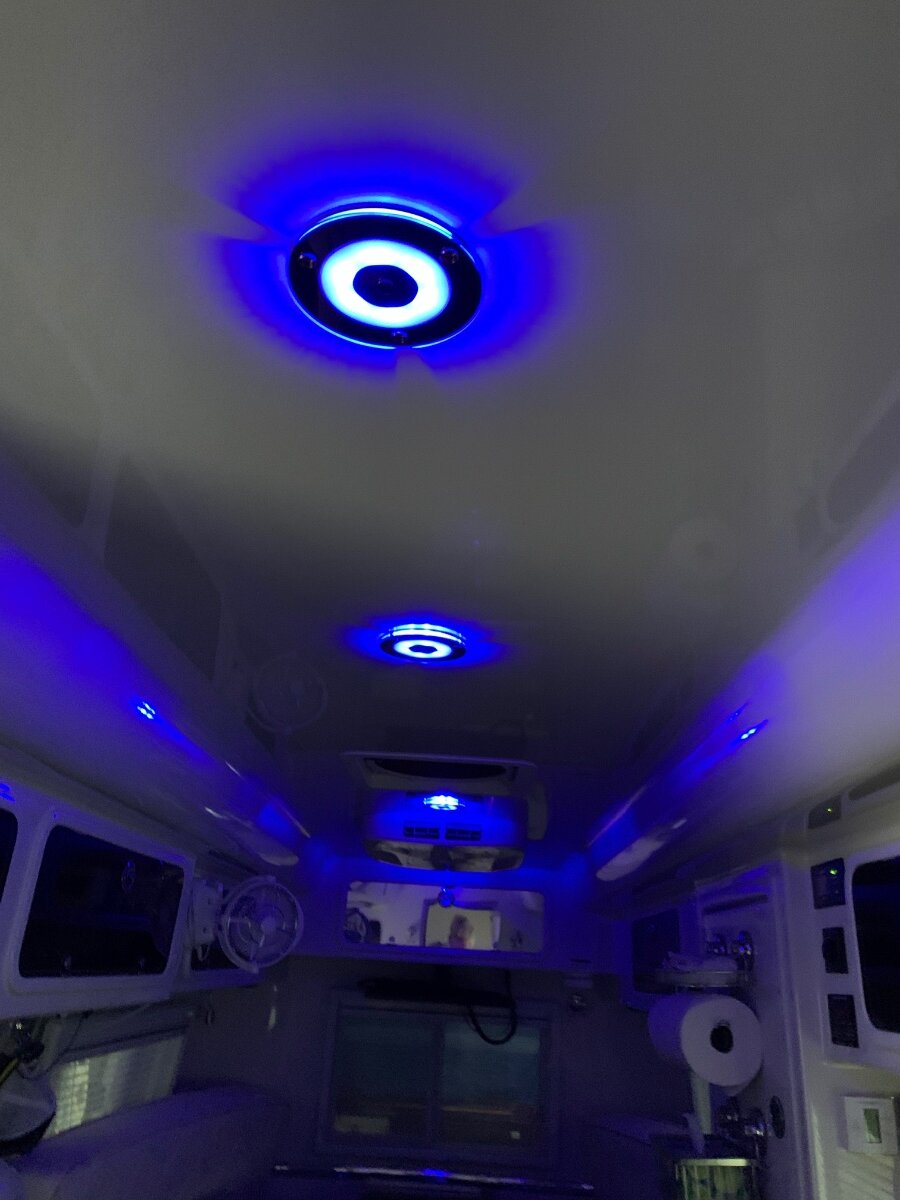
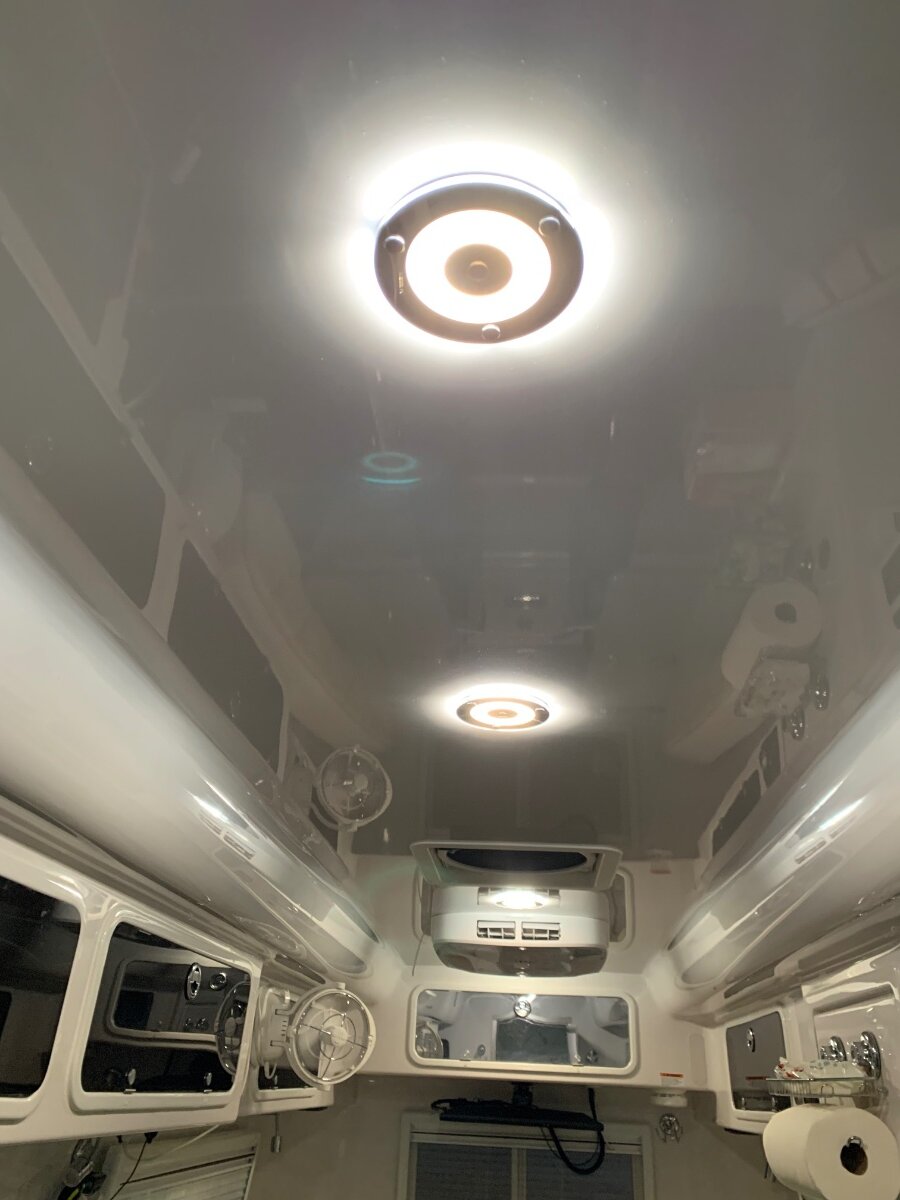
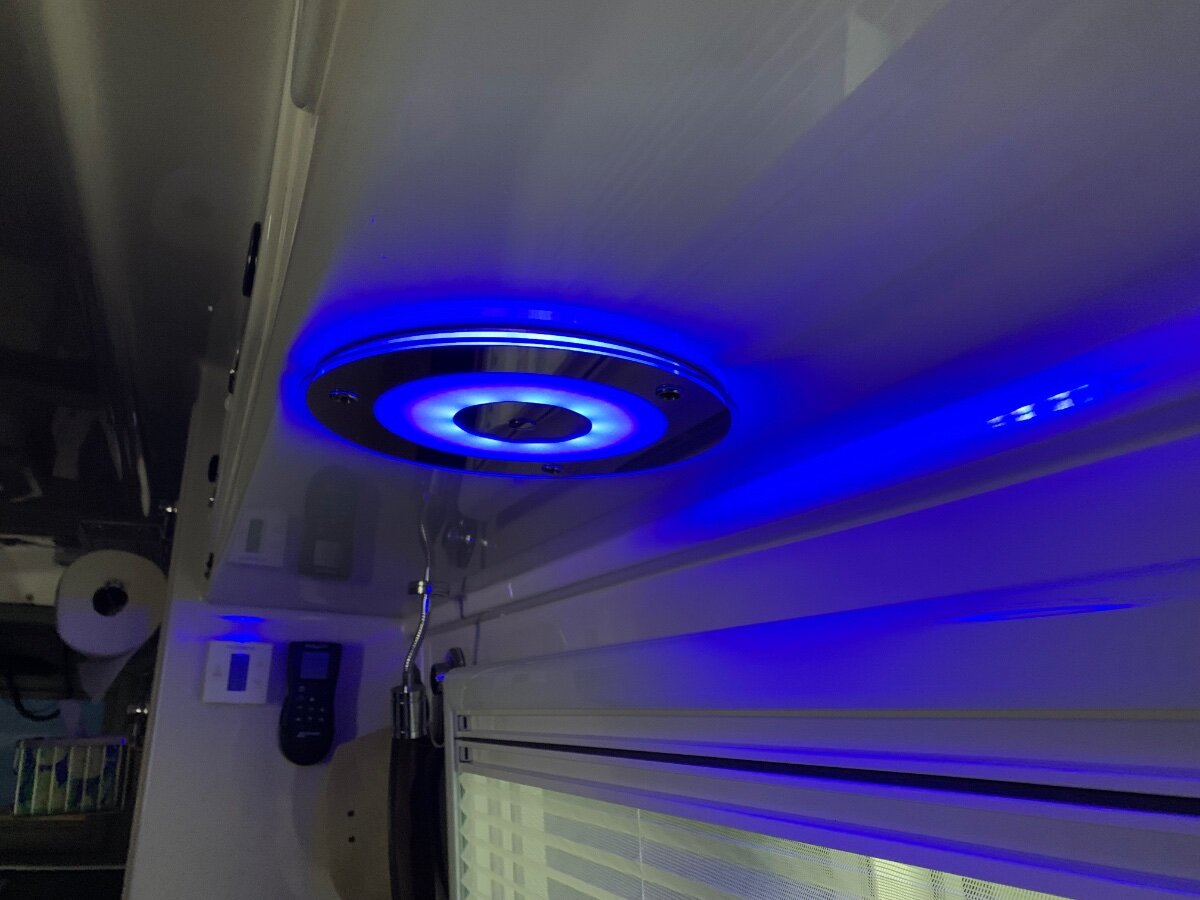
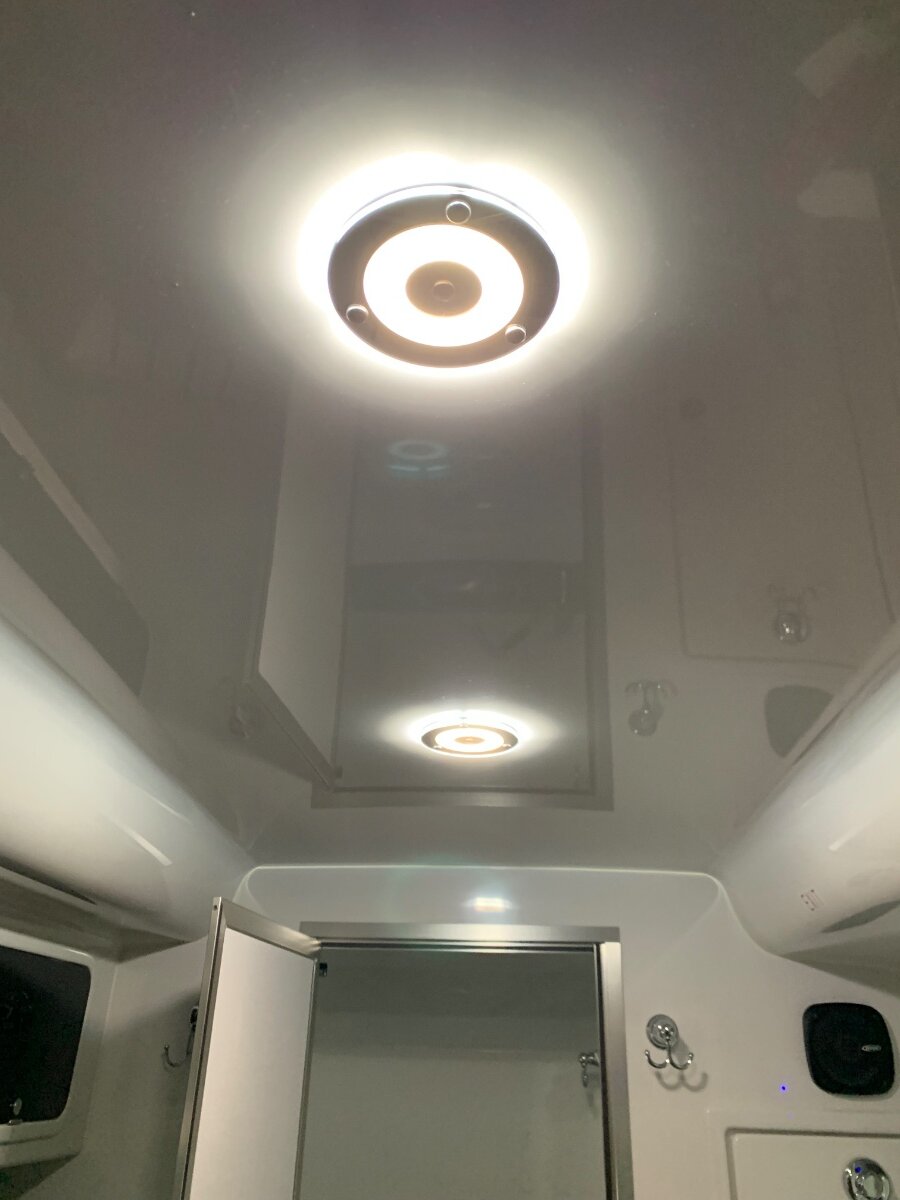
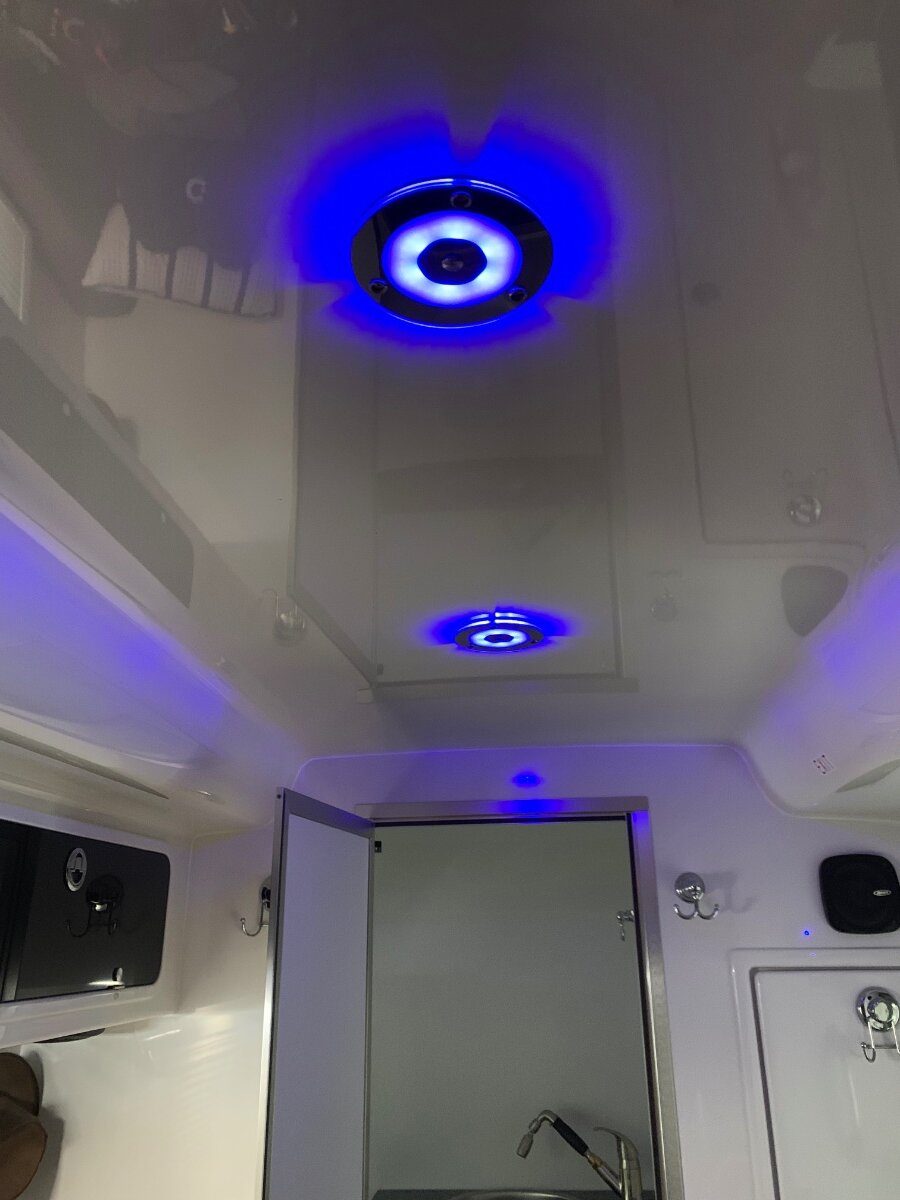
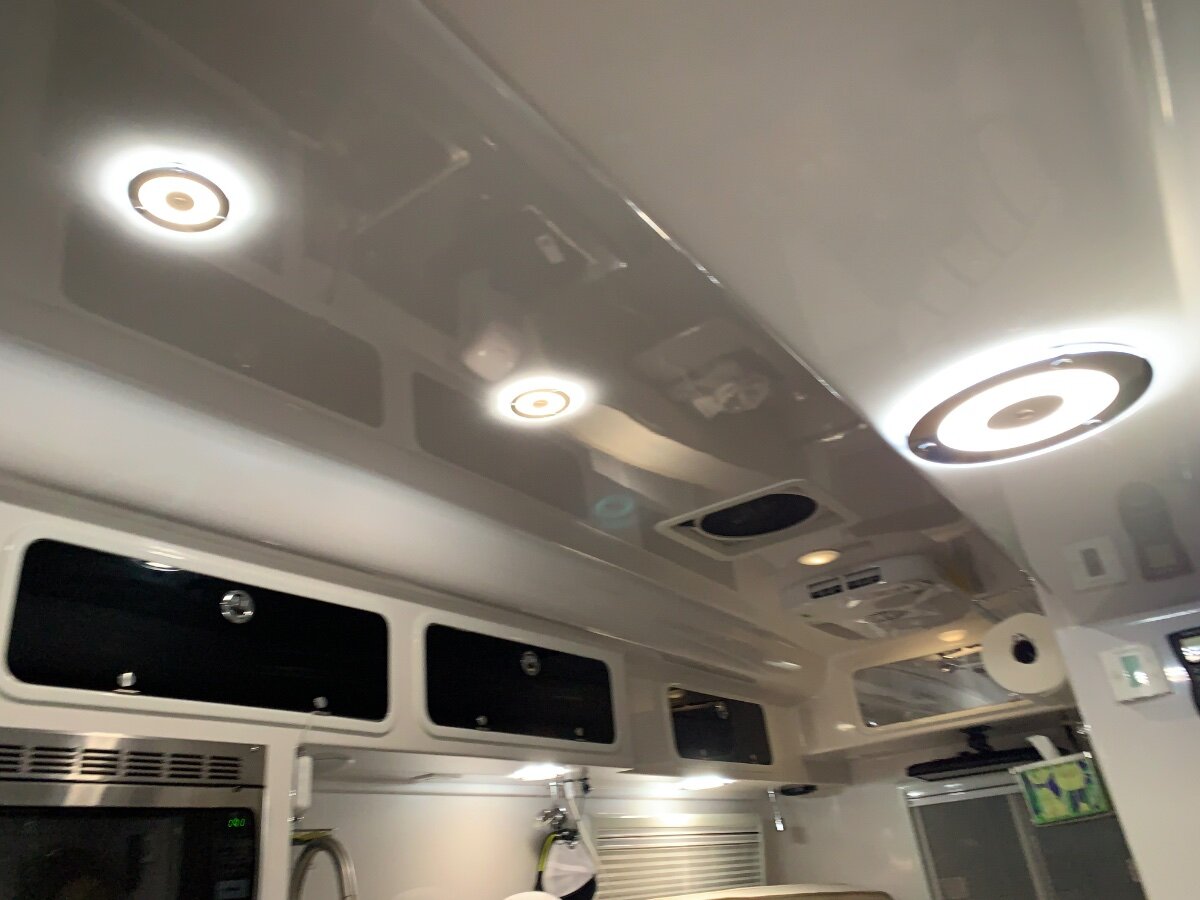
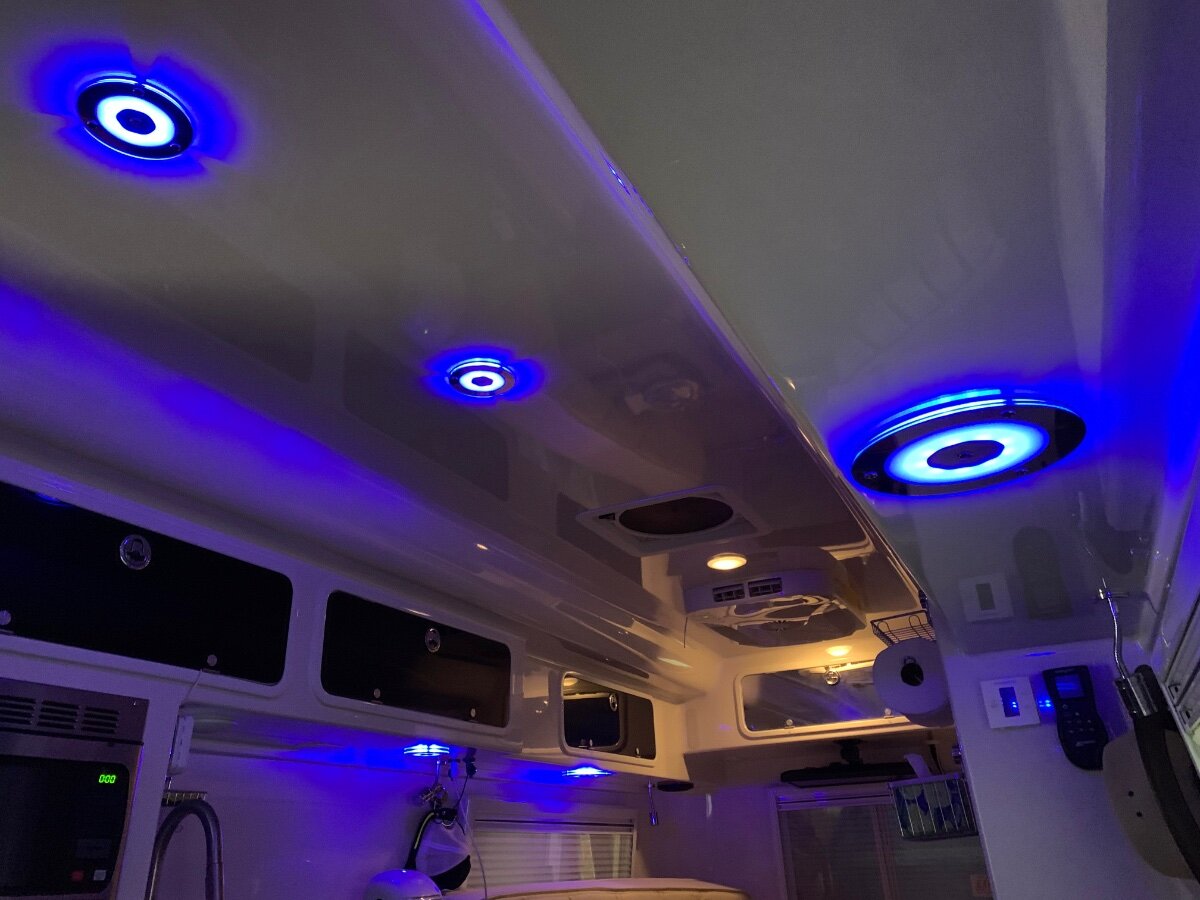
Install of the nine replacement lights in the main cabin DONE. The ‘cool white’ (blueish tint) vs the stock ‘warm white’ (yellowish tint) color temperature is so much brighter! Pics at full lumen and blue lighting:
-
Your “hybrid” approach is interesting to say the least! I initially installed a Renogy 20A DC-DC, which specified a minimum 4 AWG cable size. That said, seems you have a grasp on your limitations with expectations met.
-
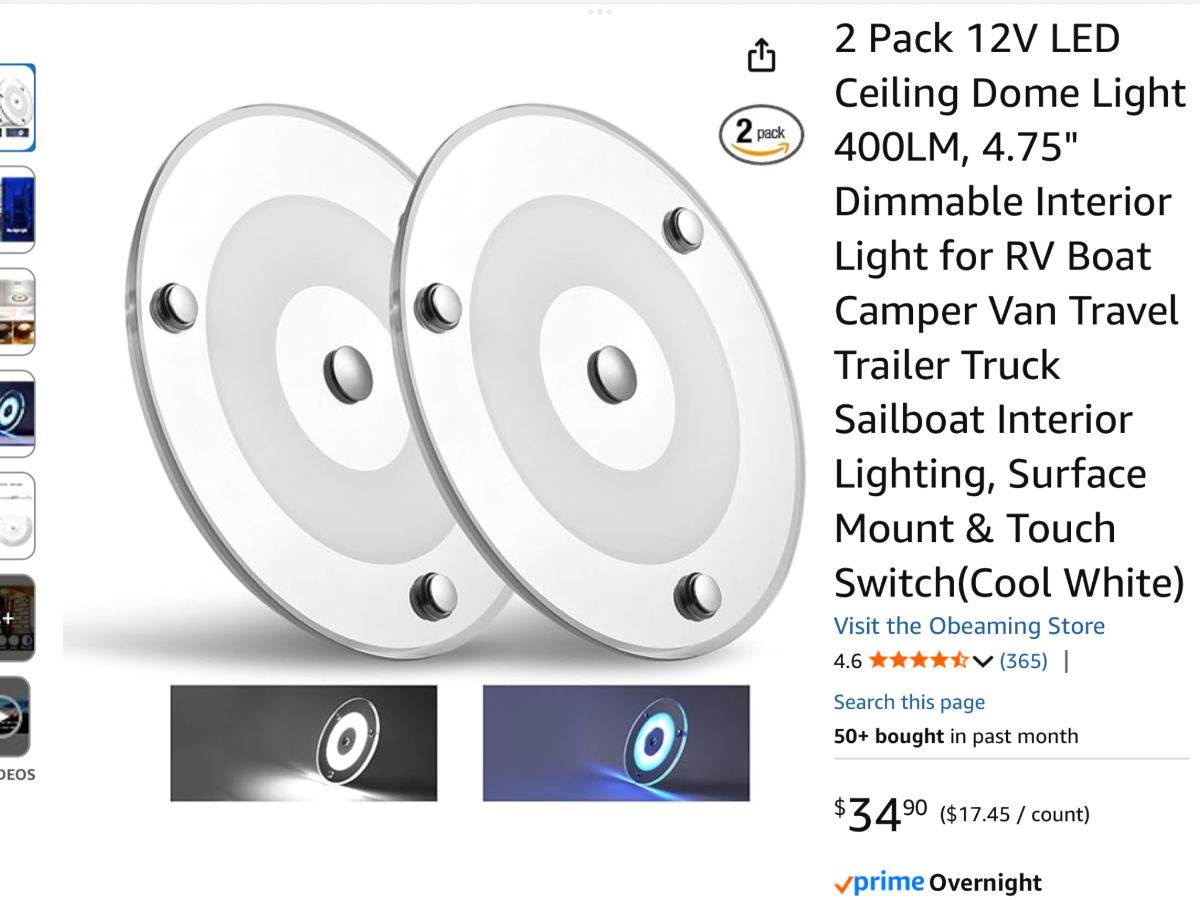
So the wifey thought the light installed over the dinette was too dim, even though its brightest setting was 400 lumens. To maintain harmony, it was upgraded to the larger in this line of fixtures, 720 lumens. I hate it when she’s right! I can easily dim this light to my liking when dining and have an abundance of light when need be. I have since installed the larger size over each twin bed and two of the smaller in the ceiling; of which two of the four stock lights started failing over a year ago. Today I plan to replace the remaining ceiling and sink fixtures using the smaller to complete this project. Let there be light! As before, the Ceiling switch controls the four lights in unison to their last settings; and the Master switch does the same for all of the lights. I remain undecided if the wet bath under cabinet light will be upgraded in like manner.
-
You would be better off buying two 25’ hoses, most CG spigots are near the campsite. You can then connect the two if a longer length is needed. When storing my “drinking” hoses, I connect to ends to ensure cleanliness next use.
-
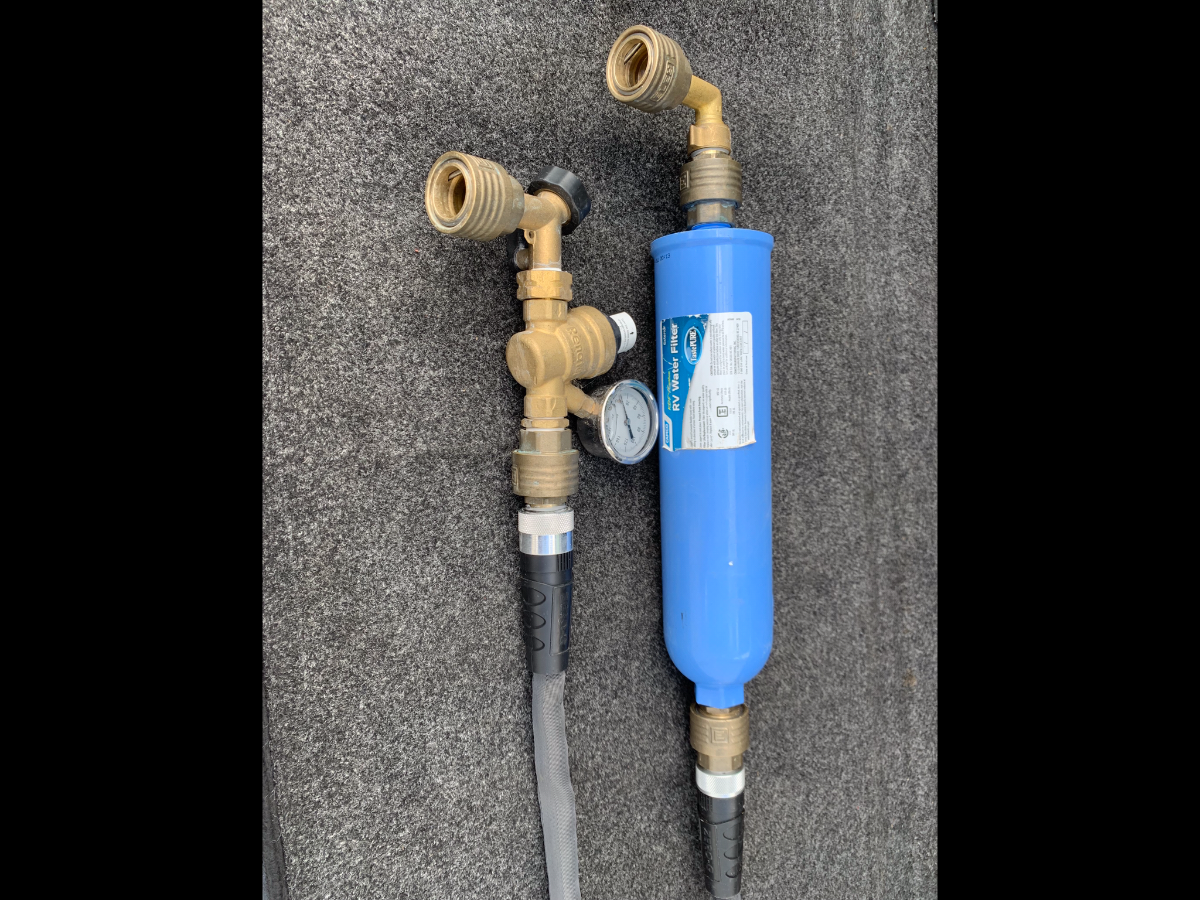
Since the 1/2” hose is only used for washing/cleaning, it is fitted with an adjustable spray nozzle which provides adequate stream volume for its purpose. To ensure max pressure, I have a ‘Y’ fitting at the spigot, thereby enabling full CG water pressure for this setup and use of a typical water pressure regulator valve for the Oliver’s water supply. You are correct however, in recommending the larger diameter hoses where max volume is of more benefit to the need. That said, it is important to use larger diameter fittings to prevent flow restrictions; ELEY commercial duty hose QC sets are 3/4” full-flow and designed for standard 3/4” GHT hoses, faucets and watering tools. Here’s a pic of my spigot and Oliver connections.
-
The diameter of the hoses are different; gray is 5/8”, blue 1/2”. I have two dedicated gray hoses, one for freshwater hookups, the other for black tank rinse; and a blue hose for general washing and cleaning. The black tank rinse hose lives in the rear bumper compartment with the other dump equipment, the other two in the basement.
-
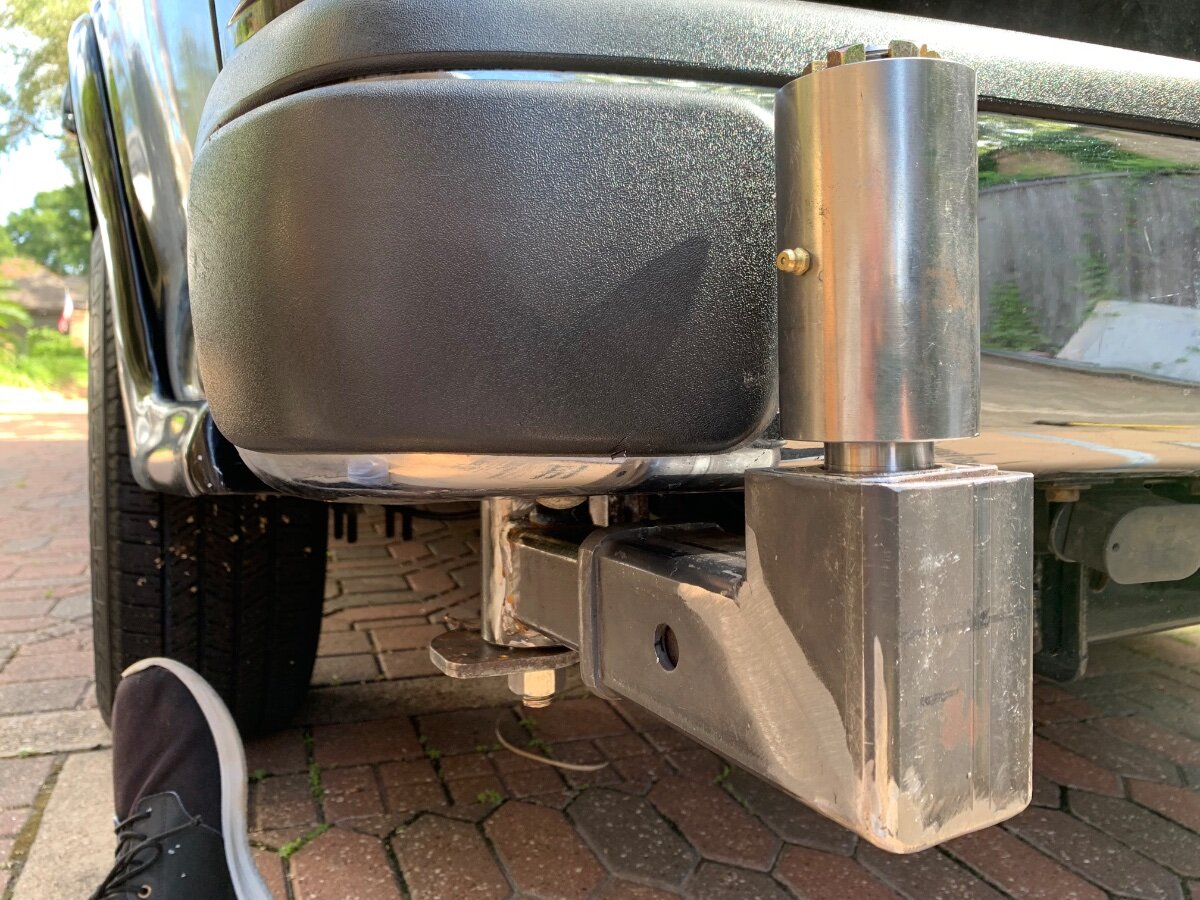
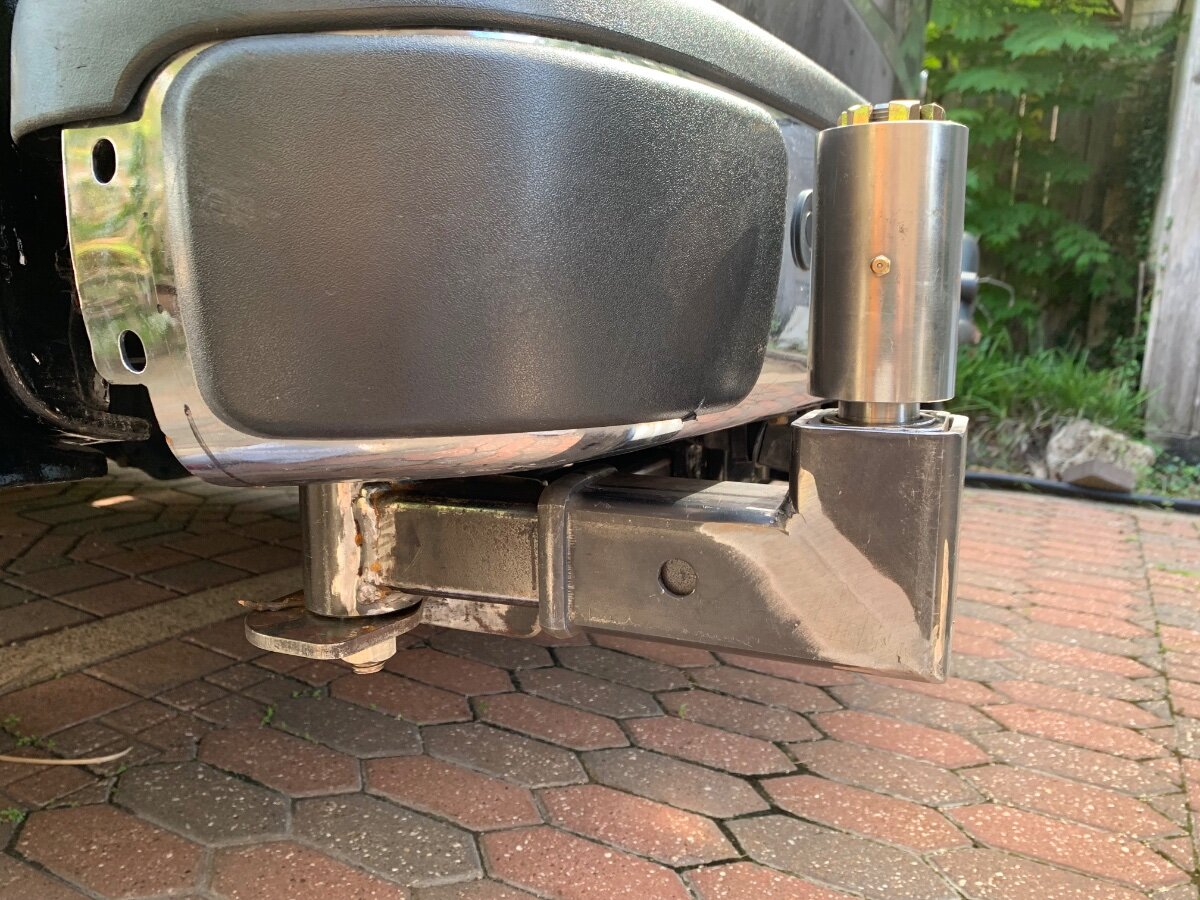
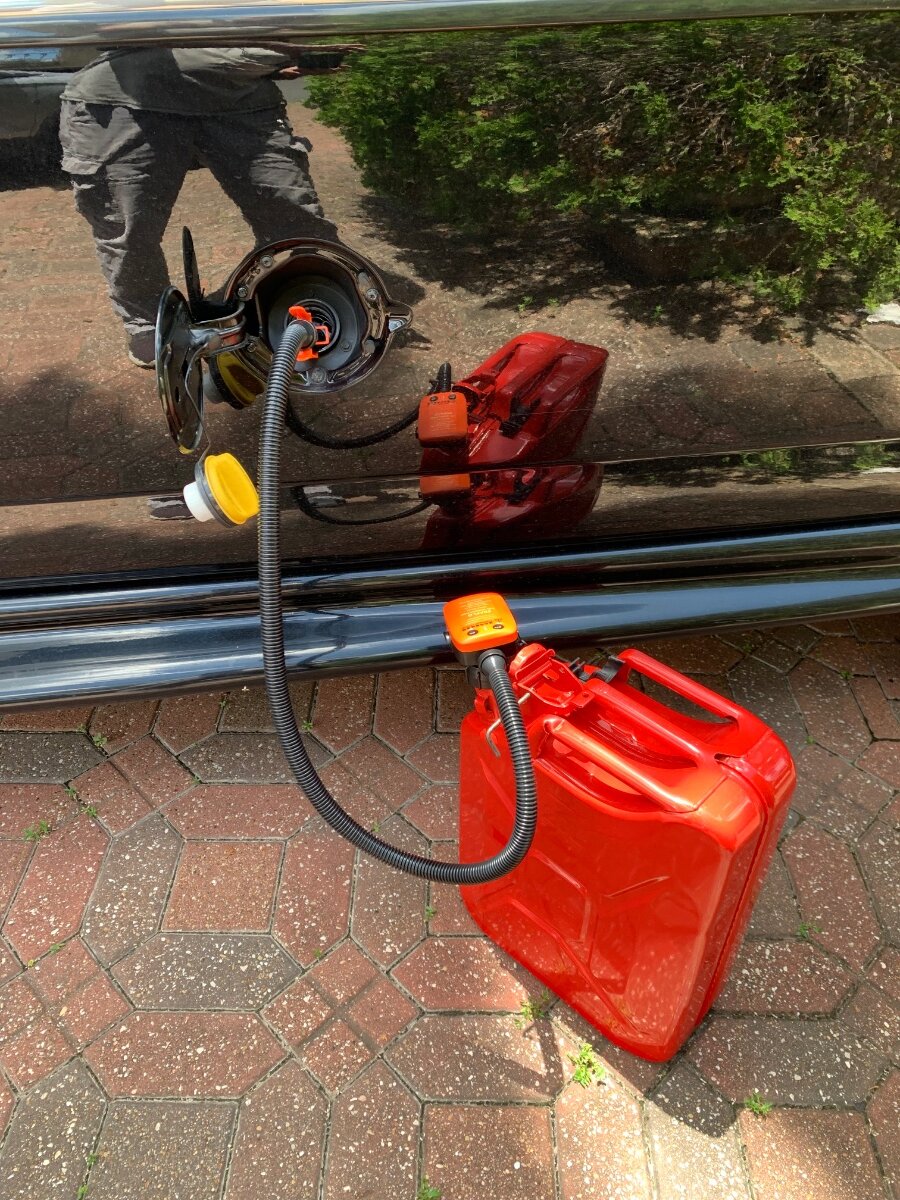
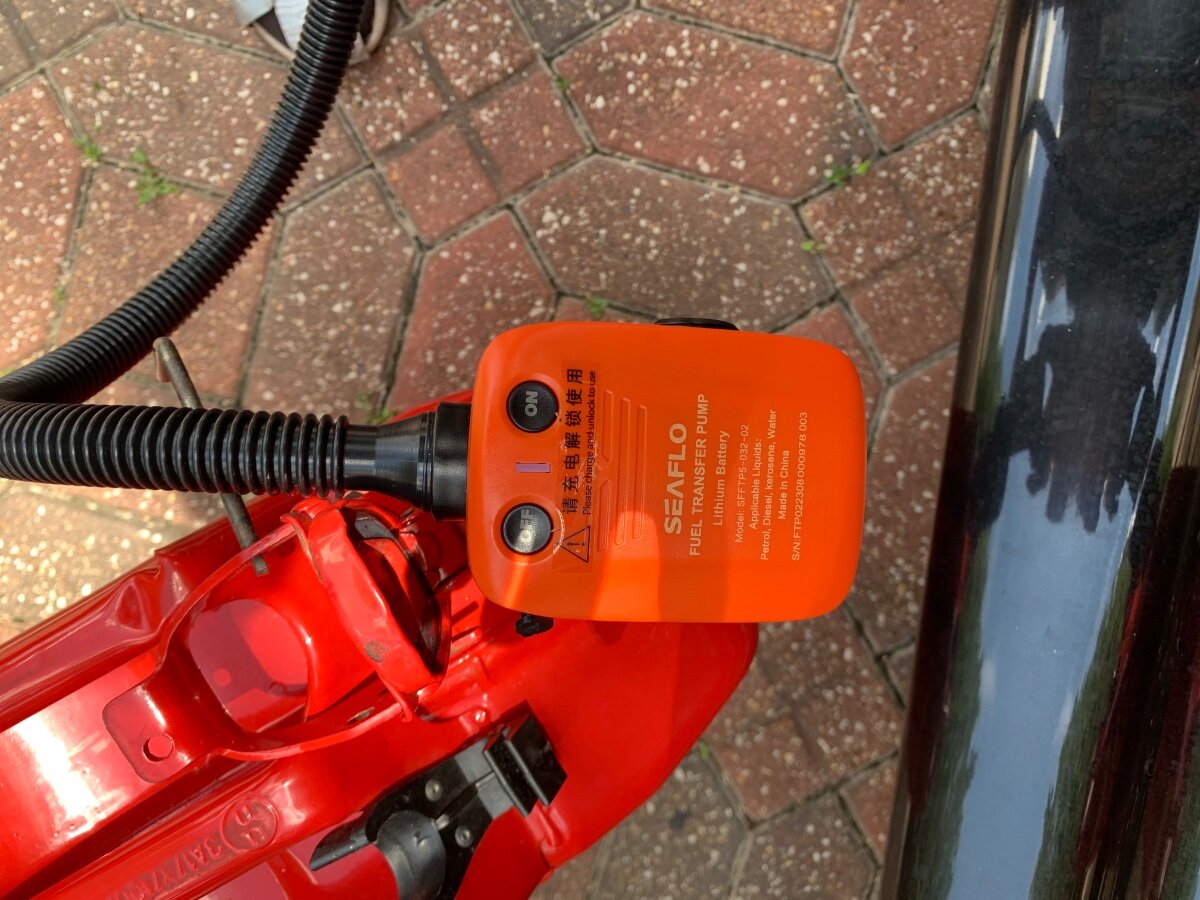
Mock up of secondary pivot components using a modified receiver hitch and spindle bearing hinge. A swing out carrier arm will be welded to these sleeves and span the width of each rear door. Drivers side shown where the jerry can carrier rack will be mounted. As a side note, electric fuel transport pump; stowed in a small Pelican case. I should be able to swing the mounted jerry cans completely out and refuel without removing them from the carrier rack. However, the fill hose would need to be extended a couple feet.
-
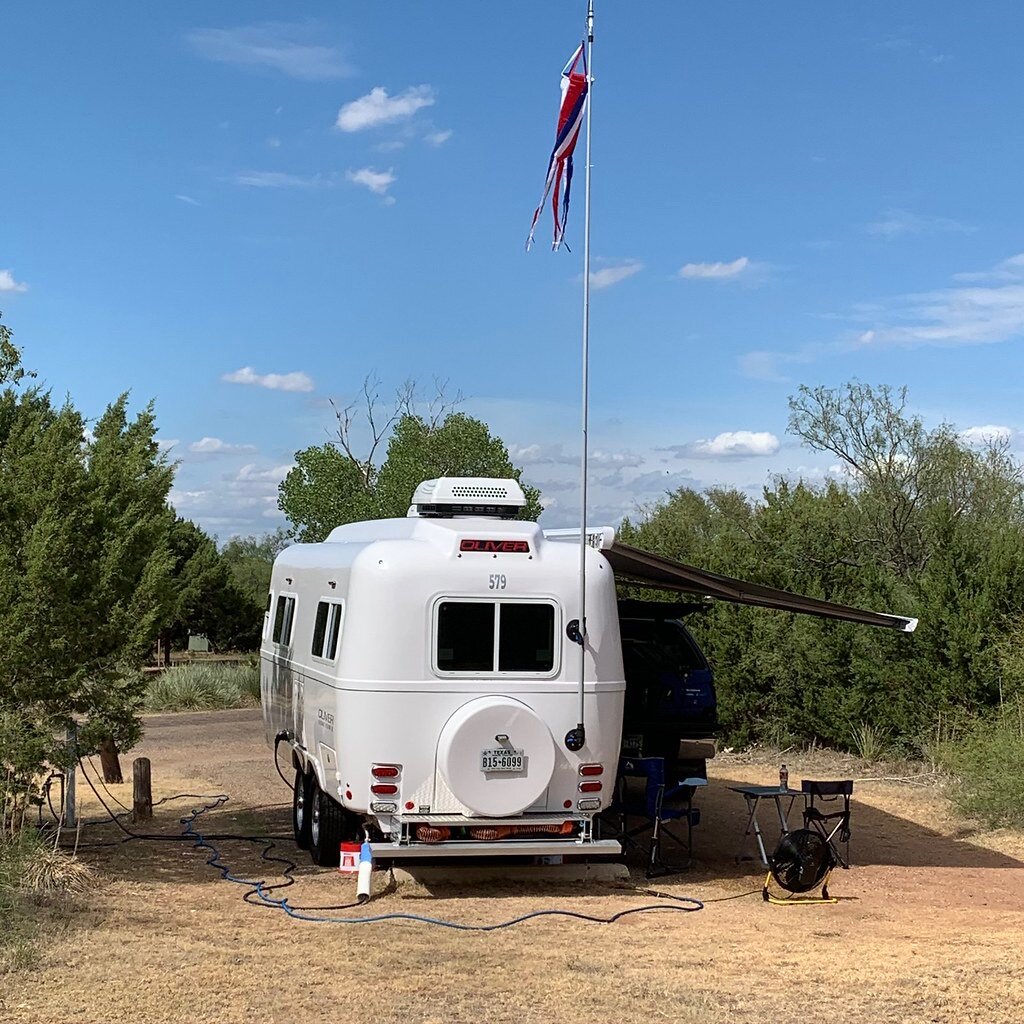
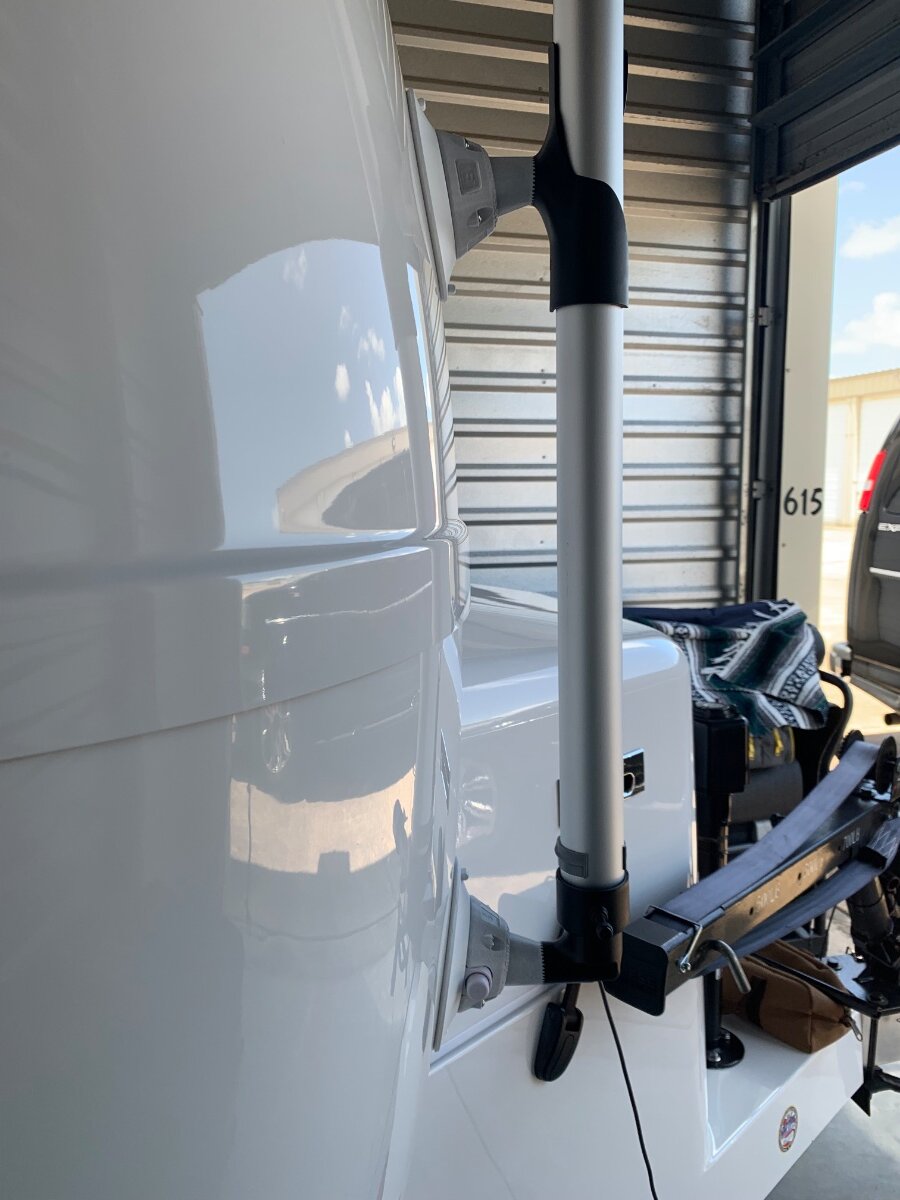
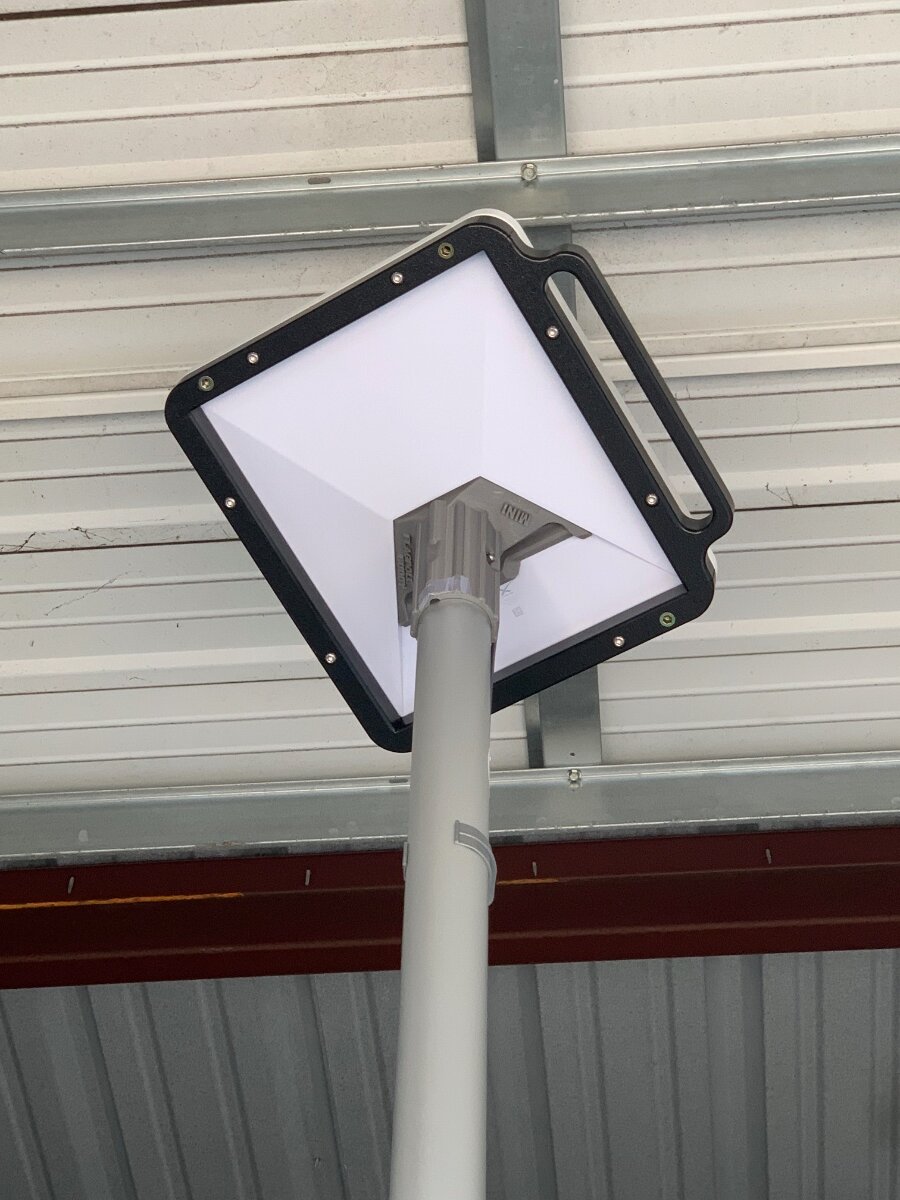
No experience with this SL pole setup, but years of using the same suction cup mounts on an actual 16’ fiberglass flagpole from the same company; a WeBoost antenna was also mounted at its top. I never had a suction cup loose grip. Yes, they do require a daily check and a couple strokes of the integral pump to maintain adequate suction; a visual indicator on the pump is used to ensure optimum suction. If there is too much obstruction at the Oliver, I like that the SLM can be mounted on the van with magnets while parked in close enough proximity to the campsite for Wi-Fi reception in the trailer. That said, I have parked at the COW Barn several times in like manner and been able to operate the Atmos via the Cielo and steam movies.
-
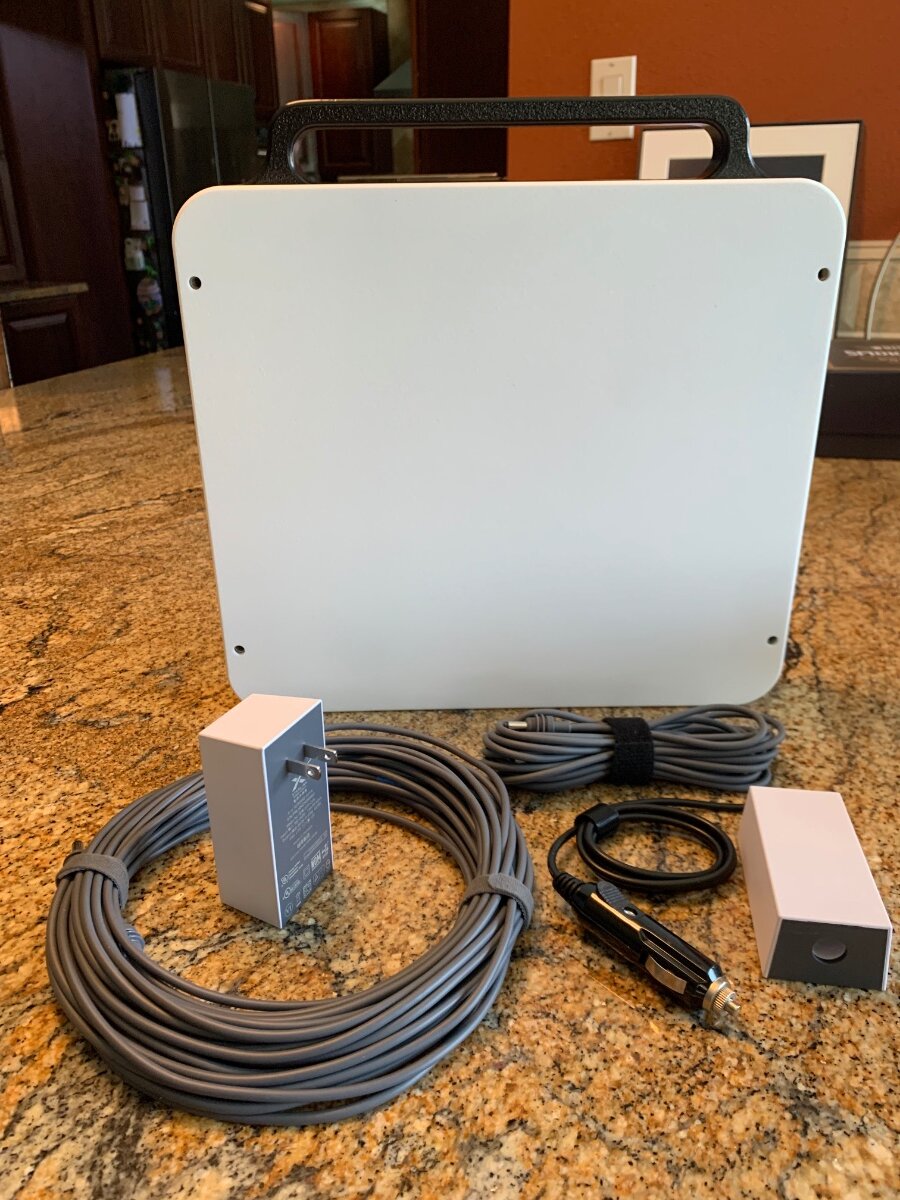
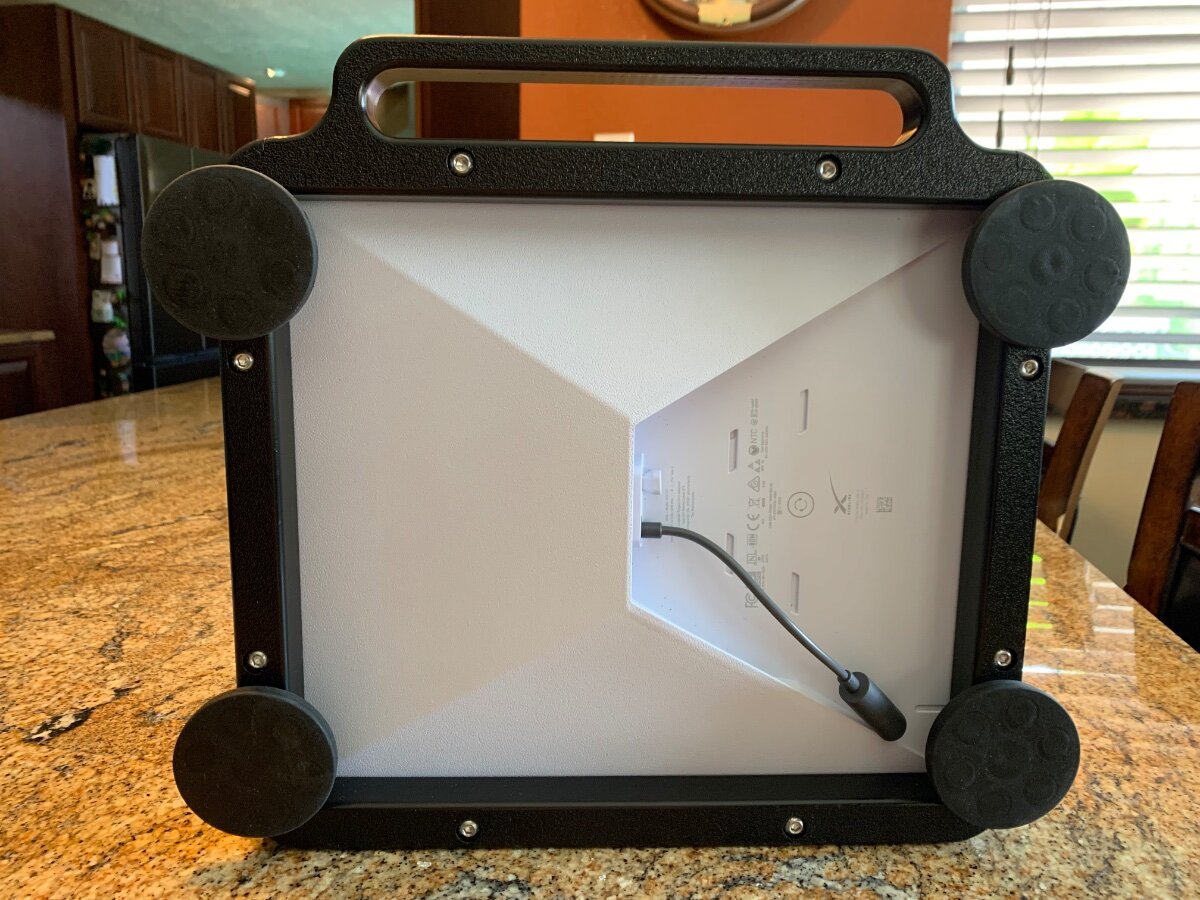
I purchased my SLM in May and since encased it in a Veritas Vans mount with an optional handle and magnets for securement on top of the Savana van when underway. I also bought a 12’ (three 4’ sections) pole with suction cup mounts from FlagPole Buddy for alternative use on the Oliver. Although these angled suction cup mounts are primarily marketed for Airstreams, they similarly fit the Oliver. Pole (two 4’ sections) shown mocked up in COW Barn.