Overland
-
Posts
3,835 -
Joined
-
Last visited
-
Days Won
212
Everything posted by Overland
-

Boondocking... Maps are your Travel Agent
Overland replied to BoondockingAirstream's topic in Ollie Boondocking
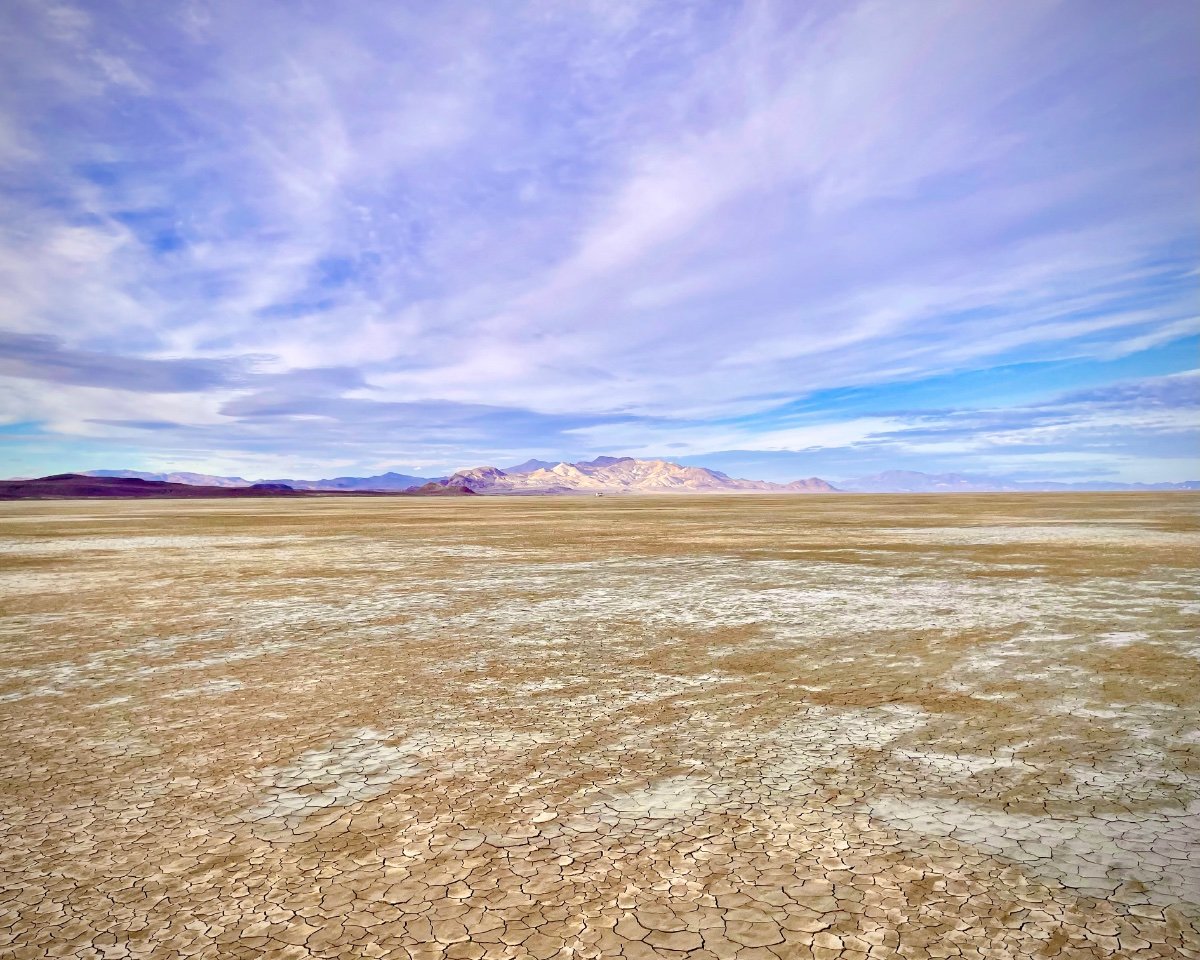
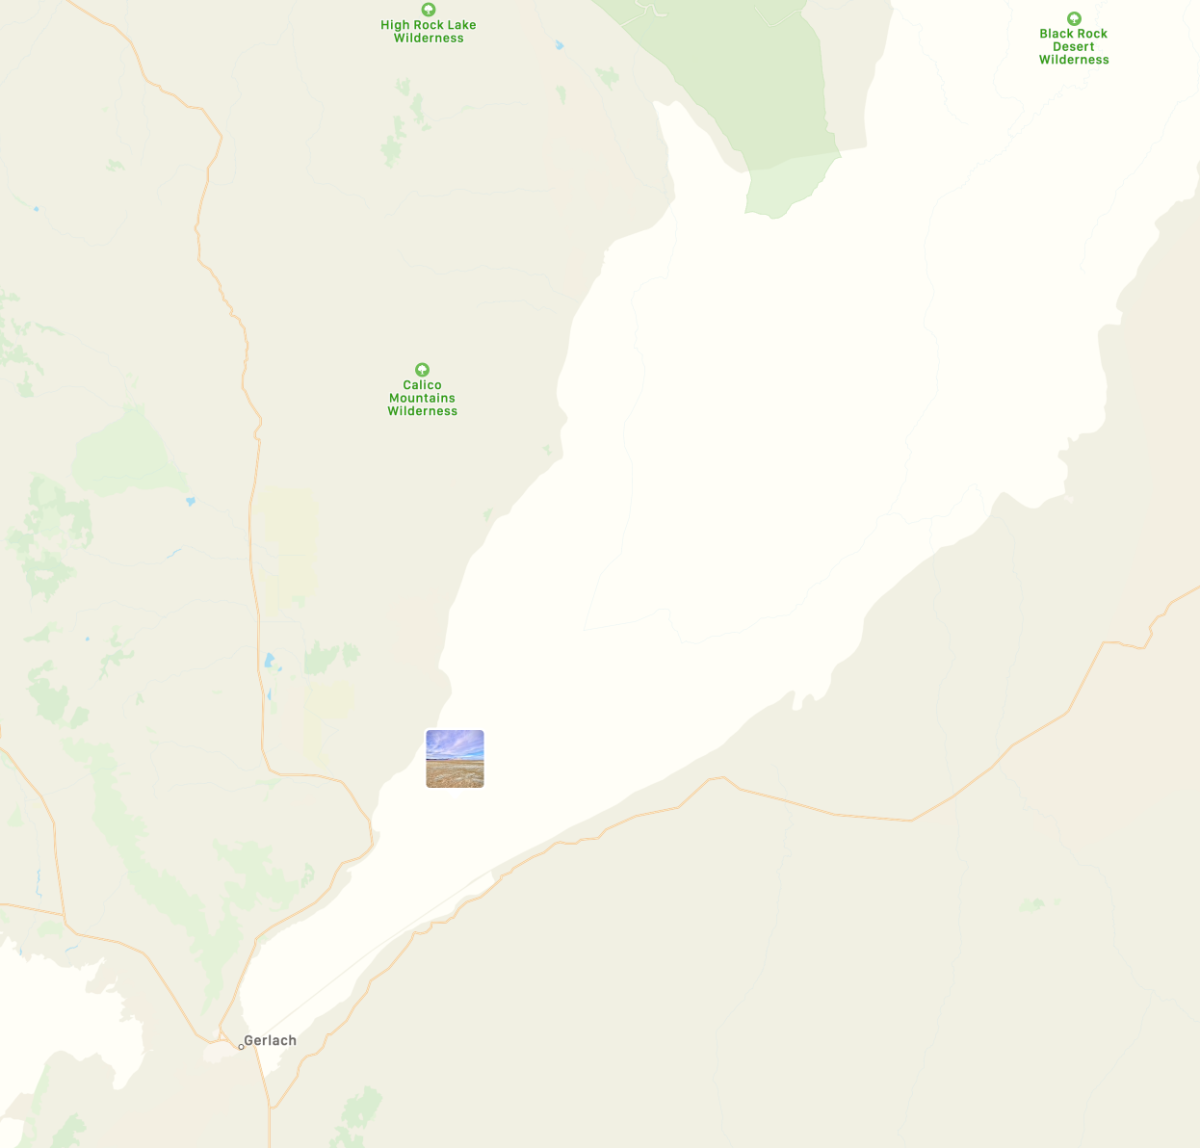
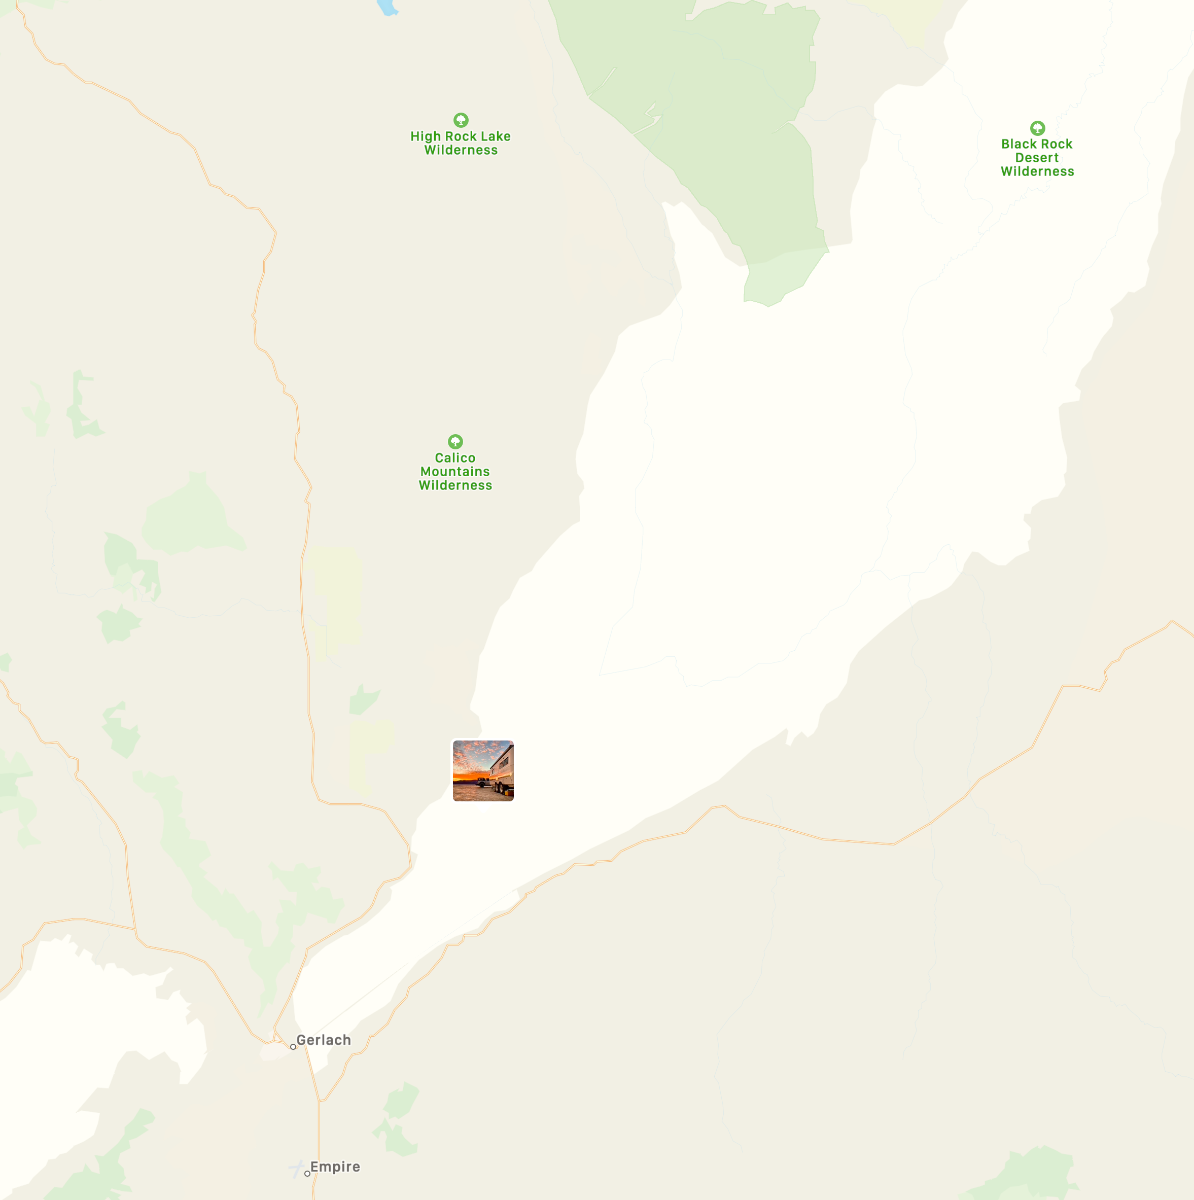
I like physical maps, too. But then sometimes... I believe there's a point of reference in the lower right hand corner. But don't be fooled, that bit of river is really just a muddyish area, when it's raining. That's where we were a few weeks ago - beautiful sunsets: But don't travel too far from your trailer with just a paper map, assuming you want to find it again. Here's some perspective , with Snowy in the center: Here's how close those two photos were taken, relative to the entire lake bed: Not too far apart, and not even in the fat spot of the playa - suffice to say that you can easily lose any useful point of reference over the horizon. So sure, if you're a true expert and carrying a sextant, maybe you can get your way back, but good luck and have fun. On the other hand, with GPS, you can actually explore, with only slight concern over having a meal and warm bed at the end of the day. Just watch your fuel and keep a sharp eye out for muddy spots. Also, have a backup GPS, and an InReach, etc, etc. Every tool has its use and use every tool you have. Reminds me of one of my all time favorite maps:
-
Just open your awning about a foot and it will shield the curbside window. That's SOP for us when we set up camp. Works great, and at 12" the awning isn't extended far enough to catch any wind, so you can leave camp or sleep without worrying about it. One of the main reasons for opting for the second awning IMO is to be able to do the same on the street side.
-
Well I hate to see it being flipped instead of going straight to a lucky owner, but even with the markup it's still a good deal.
-
A teaser for a new modification in the works
Overland replied to Minnesota Oli's topic in General Discussion
It's a good strategy, and you wouldn't have to remove the awning. Just add your support to the bracket like Oliver did with my rear ones. I'd originally asked them to do all the panels in a single raft like above, but Oliver was concerned about the height and how to attach the rear. I think they were limited in thinking that they had to start at the usual height. If they'd done them all off the awning mounts, but an inch and a half higher than they made the rear ones, then everything could have floated just a hair above the roof and would have looked pretty slick imo. Of course you'd want to hinge everything, for maintenance alone if not for solar gain. I can clean under the rear panels, but it's a pain. You'd want to hinge it in two or three sections though to make it manageable. I'd love to see someone do an install of just the narrow panels, like this - three per side -
-
A teaser for a new modification in the works
Overland replied to Minnesota Oli's topic in General Discussion
Looking good. Curious to see what your rear attachment is going to be. -
Make Window Blinds Slide More Easily
Overland replied to Fritz's topic in Mechanical & Technical Tips
I'd say remove the blinds, make sure that the strings aren't bound up in any way, and if not, try rubbing some wax into them. There's also a tension spring that you could try stretching, or retie the string with a little more slack. Be careful you don't overdo it though, since the lower blind depends on that friction to stay up. In fact, the complaint has typically been that there isn't enough friction to hold the lower blind all the way up. -
Looks like your Ollie is a 2016, in which case your hull number will be the last three digits of your vin. That applies to most(?) owners, but I think in 2020, perhaps 2019, the hull and vin numbers stopped corresponding. Here are instructions on adding maps: https://olivertraveltrailers.com/forums/topic/2567-how-to-add-forums-signature-maps/
- 1 reply
-
- 1
-

-
I just may have to give in this winter and bling out Snowball with some of Foy’s goodies. It all looks so nice.
-
I can’t say 100%, but I think it’s a standard handheld shower hose like this.
-
Better mounting materials for water pump etc?
Overland replied to nrvale0's topic in Mechanical & Technical Tips
Thats true - I added ½" pvc, and there's just enough clearance to the hatch cover that it won't vibrate against it. Maybe ½" or ¾" clear, I'd guess. -
Better mounting materials for water pump etc?
Overland replied to nrvale0's topic in Mechanical & Technical Tips
You can get it on amazon - https://www.amazon.com/starboard-marine-board/s?k=starboard+marine+board -
Better mounting materials for water pump etc?
Overland replied to nrvale0's topic in Mechanical & Technical Tips
You could use starboard, which is an upgrade from the PVC boards that they use. A little bit denser, I believe. Or wood, just screw/glue it to the existing board. The epoxy Oliver uses to attach those boards is <STRONG>, so long as they used enough of it and didn't just drizzle it on (it's expensive, I hear, so used sparingly). But you could probably use it to attach a block to the front of the trailer and tow with it (not recommended). I don't know about attaching electrical stuff to aluminum plates. Most of those components will have chassis grounds, which means that when you screw them to the plate, the plate will have a path to ground as well, and if a positive wire comes loose, there's a good chance it's going to land on that plate. Sparks, melted aluminum and all that. If you do it, I'd use some good strain relief on all the wiring (which you should do anyway - I see so many people dismiss that step). -
16"
-
We always have the Rand McNally in the truck, but the Benchmark state atlases are our favorite resource for trip planning. For topo, I think iPhone/iPad apps are your best bet, so long as you download the maps ahead of time. Gaia and Garmin are probably the first choices, but I've just downloaded Topo Maps+ to try and it seems decent. Avenza is another - not my favorite, but I've had to use that on occasion for downloading government maps.
-
Post a pic when you get it. I’d love to see Foy’s version.
-
It looks like they no longer make the XLT in anything smaller than a 31" tire, which I guess is why I can only find the LT in 225/75/16. Still a good tire, though.
-
Pretty sure that they're stainless panhead screws. I keep a bunch of different sizes around to use on the trailer. In fact, I'll replace any screw I see of Olivers that isn't.
-
Same here. So long as you know the limits, and still see a benefit for how you travel, then by all means go for it. One of my upcoming upgrades will certainly be a Victron Orion and who knows, maybe some batteries to go with. But probably making my own if I do.
-
True, but what trailer manufacturer does? Remember that B2B chargers are what's required, and while Sterling has been around the marine world for a while I think, they weren't well known in the trailer or overland community until the past few years. So the trailer world has traditionally just ignored the fact that the vehicles could't charge the batteries; just up to now the battery banks were too small for anyone to care (also, people assumed that the charge that they got from their solar while on the road was coming from their truck). Truth is, I think adding a B2B charger to either lithium package is more likely to add another layer of disappointment. Beneficial, yes; but still inadequate. I don't think that Oliver's sin is so much the lack of B2B charging, but that they aren't communicating the limited ability of either that or their solar to charge a super large battery bank. In their defense, most owners find the subject to be pretty opaque. But FYI to all potential buyers, there's a very limited use case for a large battery bank without also investing in large panels and perhaps also a B2B system; i.e., it makes sense only if you're planning to use power at a faster rate than you can recover. There is, and I can't stress this enough, no way to recharge them for continuous use, at least not one that makes sense with this trailer - Oliver's solar package will provide about 70Ah on average, and B2B charging maybe 100 for an 8 hour drive. Even on a long, sunny drive, you would only plan for 170 Ah even with B2B. Not 350, and certainly not 570, which is what would be required to recharge an exhausted pro or platinum LFP package. So, at the end of the day, either your consumption is within those charging limits (in which case, you didn't need the batteries); or you carry a generator to recharge them (in which case, you didn't need the batteries); or you use electricity with wild abandon for six days and then go plug in or run that generator for 6 hours (at least you had 6 days of quiet). I'm not saying no one should buy them; but wow, everyone should give it some deep thought before doing so. There's advantages, just few and far between.
-
It's supposed to be one way, as an inlet. But like Bill suggested, the seal can go bad or be bad for the factory. It's easy to unscrew and inspect, if a little hard to get to, if you think yours doesn't seal well.
-
City water pressure gauge settings
Overland replied to Trainman's topic in Mechanical & Technical Tips
I used to keep my pressure at 60+, which I think is fine - you could probably even bump it higher without worrying. The plumbing should be fine up to 90psi or higher. But my advice is to keep it as low as possible while still getting a decent shower, just for lower water usage while boondocking rather than anything else. After doing some water saving mods with different faucet aerators and shower head, I lowered mine down to 40, since below that point is where the pressure at the shower began to fall noticeably. I set my regulator for city water at 45. I did have it at 40, same as the pump, but I do get a little nicer shower with 45psi - above that I don't seem to get any additional pressure at all from the sink or shower. I never tested different pressures with the original plumbing, so I can't say what yours would be like, but I'd say just experiment and see. If interested: https://olivertraveltrailers.com/forums/topic/3294-water-saving-mods-and-adjustments/ -
I keep my inverter in that space, which on its own probably isn't helpful info, but to do so I attached some 1x2 PVC strips crosswise (scraping the insulation away where needed and attaching them to the fiberglass with epoxy), then screwed a removable mounting board onto those strips. The strips provide clearance for the wiring loom(s) that goes over the 'hump' (I'd advise grouping the mess of wires together and wrapping them while you're at it), and with multiple strips you should also get the mounting board over the plumbing (mine was stolen by gypsies so I didn't have to worry about it). That will give you a nice, flat surface for storage, with the plumbing valve being the only thing remaining that could be damaged, but it's pretty tough. Here's what mine looks like, but obviously you could make the board as large as you want -
-
Ford unveils new F150 Lightning all electric pickup
Overland replied to John E Davies's topic in Towing an Oliver
Ford will be making its own cells in TN as well as I think two plants in KY. GM I know also has plans to make cells here in the US. And Tesla makes cells at their NV Gigafactory and is building another in CA as well as one in Europe. -
We’ve never carried it since it’s been a while since we’ve eaten rice based dishes. Our is large, but I think that you can find smaller versions that would make enough for two and which might fit in the overhead cabinets. I don’t think that it cut down on cooking time - I seem to remember that we just used the typical ⅓ ⅔ rice to liquid proportions and cooked it for the same 20 minutes that we do for baked rice. The end result was more like rice than a stew, but a bit stickier which it think came more from the fats from the sausage and chicken thighs that we always used rather than the method. Though it did create a nice layer of crispy rice at the bottom, similar to Caribbean concon, if you’re familiar with that. Unfortunately, we never came up with another use for the cataplana, since the traditional dishes are mostly seafood based, which my wife is allergic to. But I’m thinking that a black bean and rice dish would be really good in it. And of course now I’m wondering where I could pack ours in the trailer. I bet I could use the cataplana over a campfire with some care.