-
Posts
7,602 -
Joined
-
Last visited
-
Days Won
458
Everything posted by topgun2
-
Obviously there's been some elf magic happening here - it wasn't me though. Ho! Ho! Ho! 🎅
-
I don't believe that it was vibration that caused Oliver to take this stance. It has more to do with the exhaust from the generator being drawn into the cabin of the Oliver via the bath window and/or the bath fan or the vent. Bill
-
A nicely worded request to Matt Duncan should produce results. Bill
-
There is actually a white LEII out there with red spots called Lady Bug.
-
Dave - No antlers on THAT reindeer! Nice looking pup though. Happy Hanukah, Merry Christmas and a happy and safe New Year. Bill
-
Welcome - you are now part of that Family. Bill
-

Harvest Hosts locations cited for operating illegal campgrounds
topgun2 replied to SNY SD UP's topic in General Discussion
I live in a "planned community" that, similar to most of these "associations", has a long list of rules and regulations. Most of these rules and regulations I agree with, but, there are a number of them that I think are silly, too restrictive, poorly worded, and/or just plain wrong. Never-the-less, I do my best to know what the rules are and abide by them all. It is incumbent upon me to know the rules and make sure that I stay inside them - just the same as it is with any rule or law in my area. Even though I may or may not agree with the laws governing "camping" at these Harvest Host sites it apparently is a fact that these laws are being broken. So, the alternative is to either abide by the law or get active in getting the law changed. Claiming a lack of knowledge of the law is not a valid excuse - but - it certainly is worth a try at least the first time you are caught 😇. Bill -
#3 - yes #2 - yes #1 - "necessary" - no Bill
-
Are you sure about this? My 2016 - hull # 117 - does slide open like the other windows. But, it also via the two red levers at either end can be opened as an emergency exit. If your rear window does not function like the rest in the trailer then why did they put a screen in it in the first place? Bill
-
The attic and the storage compartment above the rear window are one in the same thing. Not being familiar with your Ollie - mine is a bunch older - are you sure that you're not confusing the little switch on the cable antenna booster box? The cable not connected to anything is most likely the other end of the satellite cable and is used to connect to a satellite decoder box. Bill
-

1 year service ; Coupler bent??!!!
topgun2 replied to Karin's topic in Welcome To The Oliver Travel Trailer Forums
Left click on your avatar left click on "account Settings" find "Signature" on left side of screen left click on "Signature" Enter the info and left click on save Bill -

Mattress Alternative - Request for Measurements
topgun2 replied to Steve Morris's topic in General Discussion
Have a good time at the Mothership! Take plenty of pics and say "Hi" to everyone for me. Bill p.s. it looks like your weather should be very nice in Hohenwald too. -

Oliver demos in Tampa area, week of RV Supershow
topgun2 replied to SeaDawg's topic in Events & Rallies
I'd be willing to bet that Matt Duncan will be there. Even if you already have your Ollie, you might want to stop by and introduce yourself to Matt - he is a great guy at Oliver to know. However, DO NOT agree to play golf with him unless you are very good at that game.😄 Bill -
As I understand it, the basic answer to your question is - YES. You may want to PM Mike & Carol and/or ScubaRx for more details. Wish I was going too! Bill
-
Your best bet would be to call Oliver Sales (1-888-526-3978). They will have the latest info for you and you will not be hassled by them. Bill
-

Mattress Alternative - Request for Measurements
topgun2 replied to Steve Morris's topic in General Discussion
Wish I could help but my Ollie is not stored at my home. However, if you think it would do any good - I do have my curbside mattress here at home and can give you measurements of it. Bill -
Perhaps its in the eye of the beholder - but (pun intended) - the new owner has done a very nice job of putting Humpty Dumpty back together again.
-
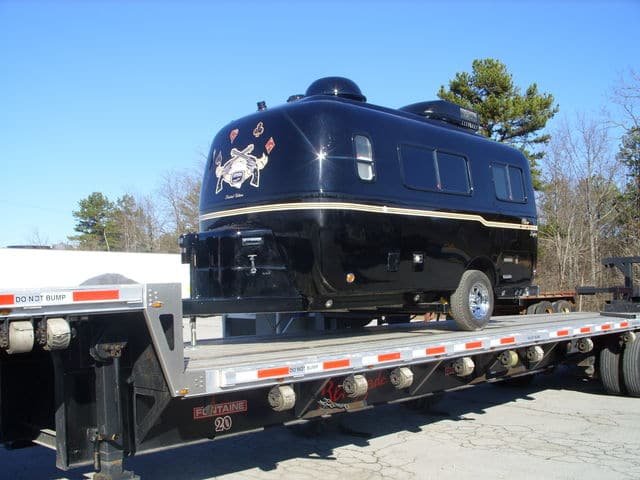
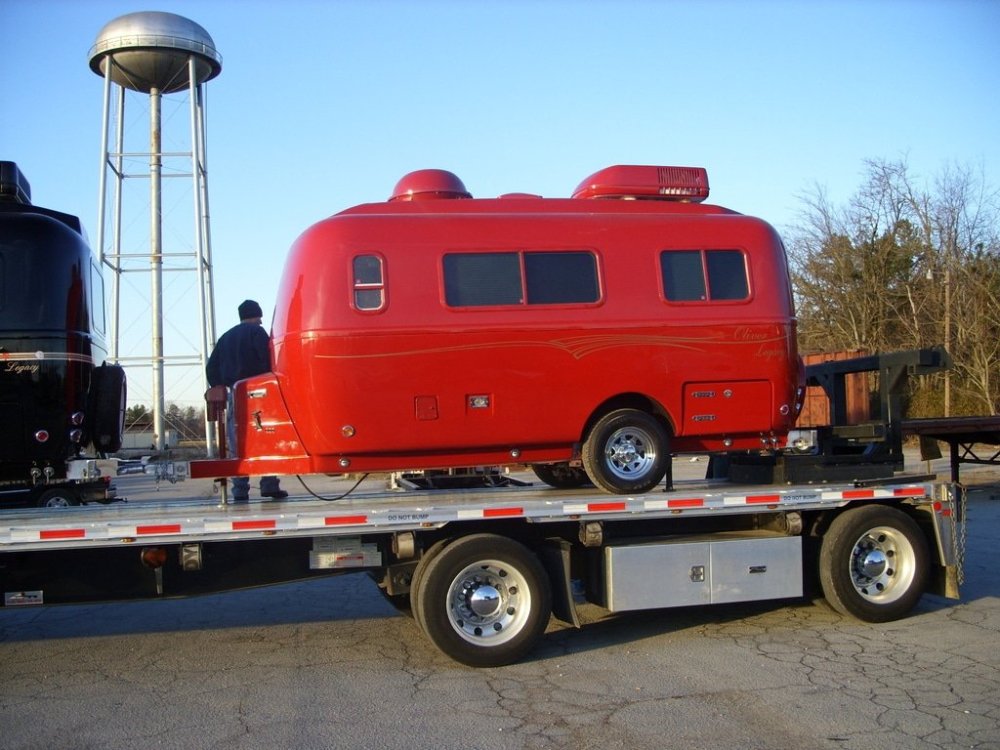
Nope - its just the lighting - all black, all red. I don't know all the details on the restoration of the red one - but - I do know that there was sun induced fading on a fair amount of the Oliver - not the fiberglass though. Things like the air conditioner, roof fan, etc. were sun faded but now look great. You can see them all in the photos above - with the exception of the white ones! Bill
-
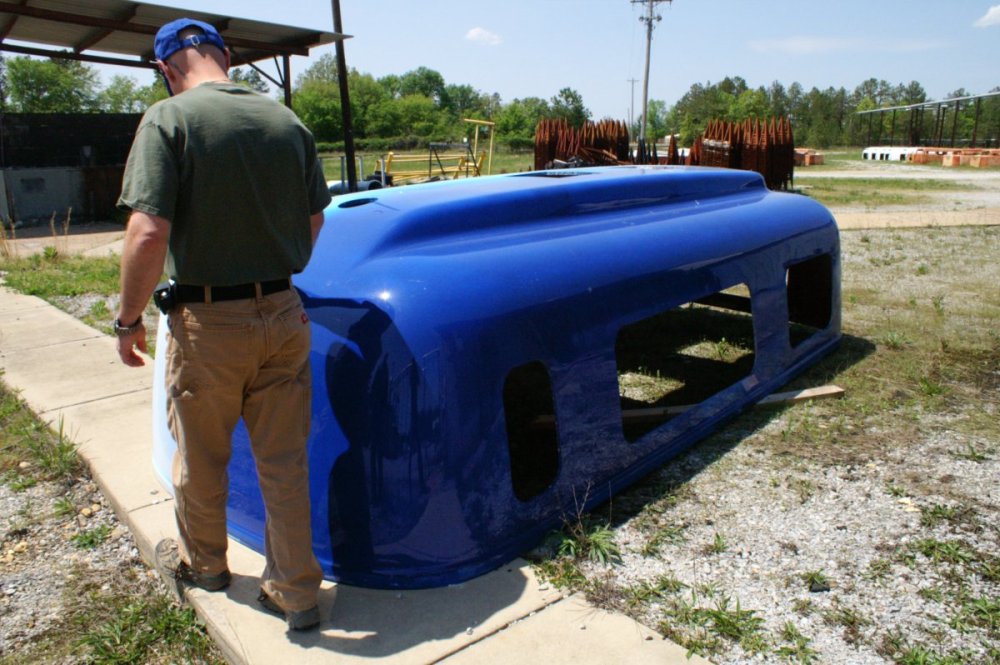
Last I heard - the black one was down in the Lone Star State but I believe that it was sold. Don't know the hull number - maybe #35? There was at least a partial blue one. The picture of the red one below was taken shortly after it was produced. It has since been restored by its current owner. The "problem" with producing these colored Ollies had to do with the time that it took to get every last speck of color back out of the area and machines used to produce them. It was VERY time consuming. Bill
-

Rubber window molding outside is getting discolored
topgun2 replied to Jheim's topic in Mechanical & Technical Tips
Not to hijack the thread - but - just how is that beautiful red Ollie doing these days? How about a picture or two for those that have never seen it? Bill -
Sure am glad that I live in a place were it is not necessary to have that much of a "pitch" on the roof of darn near anything. However, I sure would like to have one of those winter homes for my Ollie! Bill
-
Nicely done and good for Tochta. Perhaps this proves that there are companies other than Oliver that do business the way it should be done. Bill


