John E Davies
-
Posts
5,759 -
Joined
-
Last visited
-
Days Won
243
Everything posted by John E Davies
-

Carry a small motorcycle on the back of the trailer?
John E Davies replied to John E Davies's topic in General Discussion
Nope, I built a rack to support the factory cargo tray, which I removed from the tongue. I did not remove the spare tire, though the fiberglass cover has been off since new.... I carry 100 pounds of fluids and chocks there. Having towed about 1500 miles with a 500 pound tongue weight, I cannot imagine how unsafe it would be with a much lighter number. You would need to have a big load on the tongue, and then you get into the pendulum effect that could unexpectedly induce catastrophic sway. Please forget completely about putting 400 pounds back there. It is not a wise move. John Davies Spokane WA -
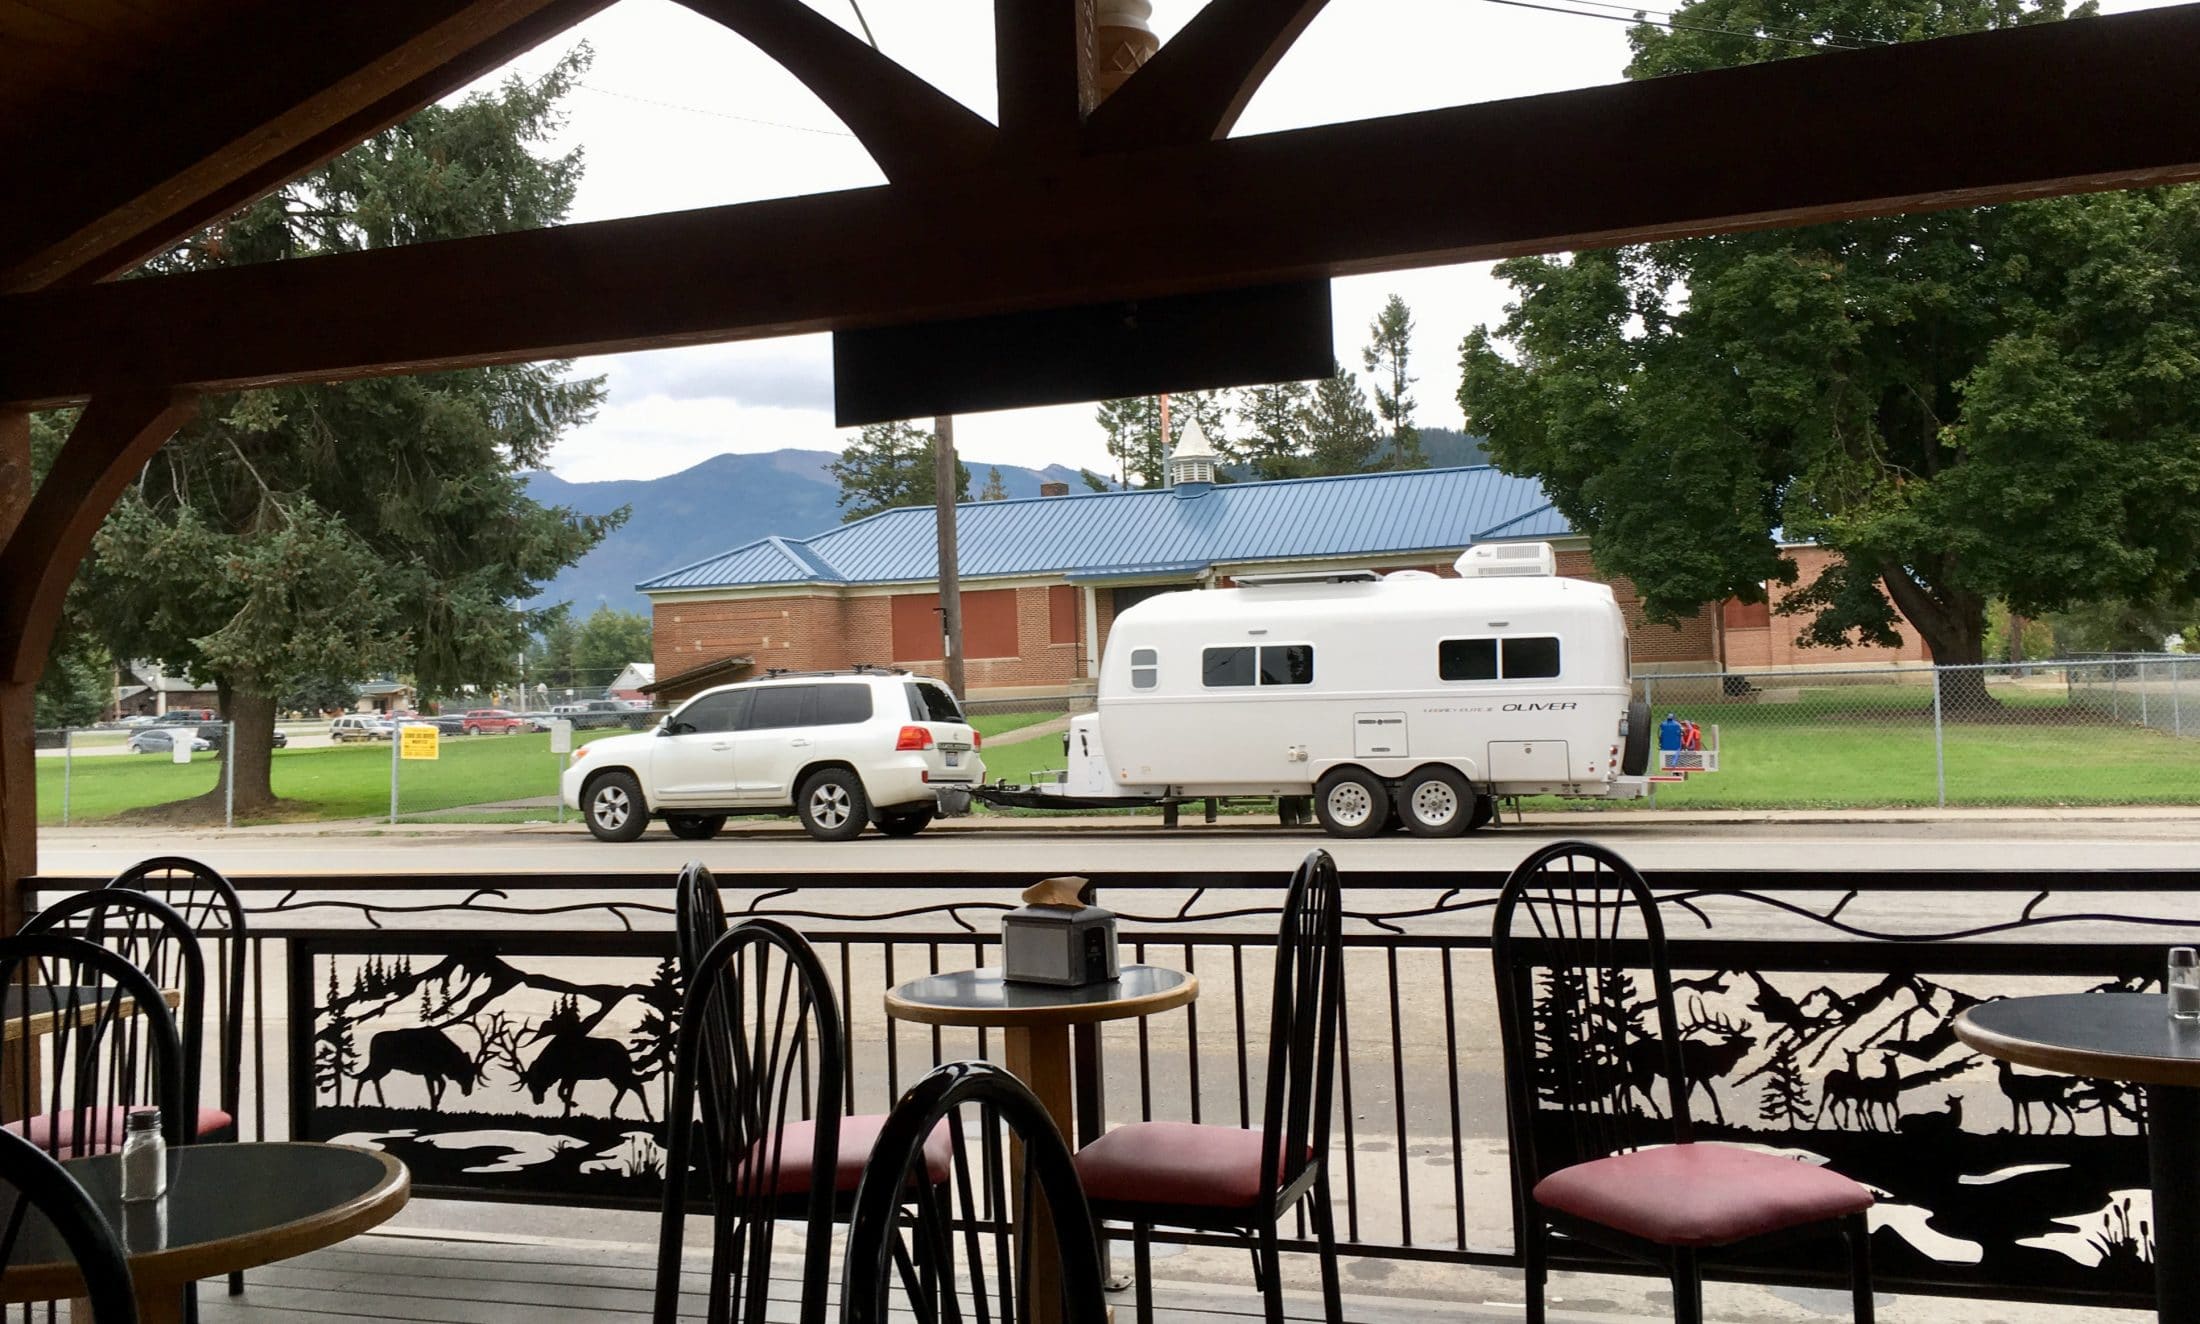
Parked outside the Clark Fork Pantry, a stunning bakery and cafe in the teeny town of Clark Fork Idaho, way up in the Panhandle, next to the gorgeous Clark Fork River. Truck and trailer are filthy, but we have been asked twice on this thousand mile trip if the trailer is new..... I don't quite know what to make of that. John Davies Spokane WA

-
You can clean and dry the inside of the connector and the wire attach points with alcohol and a soft brush (or use spray contact cleaner). Then seal up the cables where they enter the back of the cover with silicone sealer. If you keep the plug dangling down when not in use, it will stay relatively dry inside. John Davies Spokane WA
- 24 replies
-
- 3
-

-

-
- 7 pin
- tail lights
- (and 2 more)
-
Thanks for the comments, we are in Helena and have decided to bail on theMissouri Breaks this trip, due to the heavy rains. I do not want gumbo, no thanks. It is supposed to clear Wednesday evening so we are going to shoot up Thursday morning to Glacier and hopefully see some really big mountains. The only other time we have driven Going to the Sun Road, FORTY years ago, they were completely socked in with dense clouds.... Last night we stayed ay Georgetown Lake between Philipsburg and Anaconda. This is Piney Campground, NFS and $7.50 with the Geezer Pass. It is a huge campground but there were only three other trailers there. Plus black and cinnamon bears. It was 34 degrees by morning. What a beautiful spot, but it is very hard to take good pics when the clouds are thick. John Davies Spokane WA
-
Coy, it all sounds great and I wish your company the best of luck. I hope you include a manual failsafe stow mechanism, in case the electronics or a motor fails, so the owner can park the panel drive unit back in the stowed position for travel. John Davies Spokane WA
-
1 - It will beat you up and wreck your kidneys on washboard. 2 - It will not fit on many secondary forest roads. 3 - It will not fit on all jeep trails (Moab). 4 - Driver visibility is very poor. 5 - Approach and departure angles suck. 6 - The odds of getting hopelessly stuck are much higher - the weight is double. 7 - Suspension design is inadequate - horrible articulation. If a diesel, there may be almost no front suspension travel. 8 - If a diesel, there is way too much weight on the front end, which ruins handling and destroys the ball joints. There are probably half a dozen more reasons. I sold my Ram 3500 and use a Land Cruiser 200. It can tow OK and is simply stellar for exploring the back country and for driving forest and ranch roads. A Power Wagon will work, except for the sheer size.... it is too monstrous for narrower tracks. John Davies Spokane WA
-
From an engineering standpoint, adding tight fitting heavy steel beams inside the aluminum frame rails is a very poor approach.... the huge difference in coefficients of expansion alone make this a non-starter. Plus the dissimilar metal corrosion hazard. I would be really interested to see pics of the failed rack and the cargo it was carrying. When you design stuff that will inevitably be involved in a collision, a rear-ender for example, you need to build in failure points, just like the car manufacturers do with front and rear crumple zones. You need to figure out the most likely direction of impact, and where the individual parts will give way, and where the major mass of the unit will end up. GM can afford to smash cars to see what happens, a home fabricator can only do research and use a SWAG - Scientific Wild Assed Guess. When I built my rear rack I did so with the hope that, when hit, it and the cargo would fold upwards and forwards, into the (uncovered) rear spare tire. Which wouldn’t stop the hull from getting damaged, but it might provide a cushion of sorts for a minor crash. I intentionally mounted the rack fairly high, so it would be lifted upward (in addition to not affecting departure angle). And I epoxied additional heavy aluminum reinforcing plates inside the frame where the support arms attach, so the arms would tear out, and - fingers crossed! - not wreck the main frame beams. Finally I used a lot of much smaller fasteners on the basket so they would rip out of the crossbeam. So I would really like to see pictures of failed Oliver racks. Do you suppose there is any chance they would send me some? It could be very educational. I really really don’t want to crash test mine.... John Davies Spokane WA
-
Heat strip won't run on generator
John E Davies replied to ShallowGal's topic in Mechanical & Technical Tips
I don't know the exact specs for your heat strip, but I bet it is 15 amps or more. HOWEVER, there is not a large initial overload like with your air conditioner motor, it will stay right at that amount all the time. What generator do you have? Your battery converter (charger) can draw a fair amount of AC current if your batteries are low. Try turning off the circuit breaker and see if the heat strip will stay on. Make sure your other major appliances are truly off - the electric heating elements in the water heater and the fridge especially. The heat strip is really intended for use with a good shore power connection. A small electric box heater with a low setting of around 500 watts would be handy to have, and it will run off a generator with no problems. Do you have the onboard surge suppressor? If so, look at the remote display and see what amp draw it shows when you switch on the heat strip. The display is buried in a really handy place (in the left rear electronics compartment).... https://olivertraveltrailers.com/topic/how-to-relocate-the-surge-suppressor-remote-display/ John Davies Spokane WA -
Water Heater will not work on LP, but works on Electric
John E Davies replied to Trainman's topic in General Discussion
I think it is probably a bad board.... welcome to the newly founded Suburban Bad Board Club. https://olivertraveltrailers.com/topic/suburban-hot-water-heater-failed-a-dealer-repair-story-and-lesson/ John Davies Spokane WA -
It helps for the passenger to visually scope out the approach and departure “lanes” for obstacles like a disabled car or a blocking fuel truck or police car (!!!). Old urban stations are by far the worst offenders, with tight spacing and often a serious lack of concern for oversized vehicles. Long ago I got blocked by a beater pickup truck that broke down and was completely in the way. I had to back out onto a busy road, not fun at all. This was before cell phones, but a pair of walkie talkies saved the day. My wife walked out into the road and stopped traffic so I could get out. I highly recommend a pair of them for those times your cell doesn’t work. Do not hesitate to skip a station if it just feels wrong. You also have to worry about too-tight parking lots, again they are usually in urban areas. Sometimes it is physically impossible to make the turns. ALWAY check them out ahead of time, either on foot or by using Google Earth if you have a strong signal and a good data plan. Every now and then even a big Walmart parking lot will have challenging turns with clueless shoppers not helping at all. If you don’t swear now, you will quickly learn how to. Good luck and have fun. John Davies Spokane WA
-
Off Road Jack and Multi-Axis Hitch on an Ollie
John E Davies replied to Overland's topic in Ollie Modifications
I am not sure if this is still possible, but it used to be when you ordered a trailer you could delete the swooshes, but they don’t refund any money. I do think having the trailer name on the side looks good and it stops constant questions about “what kind of Casita is that?” John Davies Spokane WA -
Off Road Jack and Multi-Axis Hitch on an Ollie
John E Davies replied to Overland's topic in Ollie Modifications
I am not so sure about departure angle issues with the Elite, but my rack in no way affects it on my Elite II. I have to worry about the extra length when backing, but the rear view camera takes care of that. https://olivertraveltrailers.com/topic/how-to-move-the-factory-cargo-tray-to-a-rear-rack/ I too think putting cargo on the roof is a poor idea in general, regardless of how well it is built. Tongue is best, if your TV can deal with the weight, rear is next, in moderation, followed a distant last by stuff ten feet off the ground. Remember that these are narrow trailers, so they would be more susceptible to problems when adding a bunch of mass up high. The factory experimented with spring over axle raised suspension on this trailer and did not like the results. John Davies Spokane WA
-
Thanks for the comments. I knew little about the APR, but now I know more and it left a bad taste in my mouth. I prefer to not support them in any way. We are more interested in open camping under big skies. NFS campgrounds are fine tho, I appreciate your advice. I am prepared for bears, mentally and have the right tools. My wife, not so much, but hard sided camping has made her at least accepting of them.... she would sleep better if we had a 50,000 volt wire mesh all around us. How is it that in 40 years you haven’t made it to that part of the state? John Davies Spokane WA
-
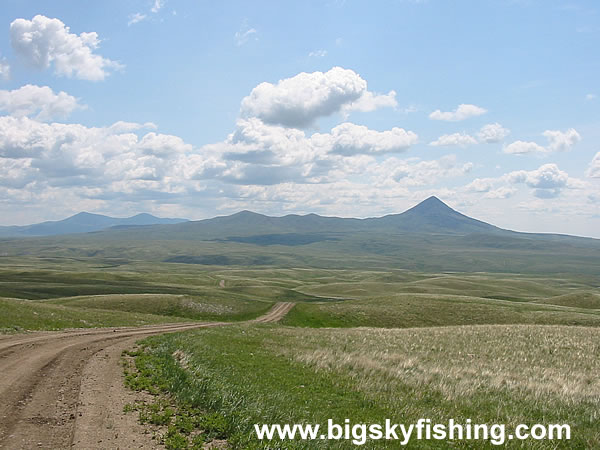
We are headed out in a week and hope to get some input from anybody who know this area. The plan is to zoom out from Spokane on the Interstate, and then poke around there and work our way back slowly to Helena, Browning, Glacier and Kalispel via secondary roads and highways. Then home by US2. We have about two weeks. We want to visit the Charles M Russell WLA, Fort Peck Lake, look at migratory birds and elk, and just enjoy the remote solitude and dark skies. We are not interested in touristy stuff, except for Helena and ghost towns. And no RV parks, except perhaps for quiet small town or county ones (not located next to race tracks or active railroads...) If it is dry we might drive this 4wd route WITHOUT the Ollie.... https://www.bigskyfishing.com/scenic-drives/missouri-breaks.php Or this easier one up near Canada. It is OK for trailers but the land is mostly private ranches so I don’t think we could camp along it. .... https://www.bigskyfishing.com/scenic-drives/sweetgrass-hills.php For either of those trips we would need a good base camp to leave the trailer. Can anyone recommend especially good free or low cost boondocking sites in this area and also around Helena and the east side of Glacier? We stayed at a horrible run down Helena RV park once in mid-summer - yikes. I know the western part of the state pretty well but not the other half. Thanks for any input. John Davies Spokane WA
-
Landrover, stay safe. I hope it isn’t too bad. Is your Ollie out in the open? Do you use a tank inside your tubs? If not, do you seal the drains somehow so the water cannot seep out? https://www.amazon.com/WaterBOB-Emergency-Container-Drinking-Hurricane/dp/B001AXLUX2 Thanks, John Davies Spokane WA
-
Now is probably a good time to buy. This is not the current model which I don’t know the differences. https://www.amazon.com/Renogy-Monocrystalline-Portable-Foldable-Kickstand/dp/B00LXG4AXS?psc=1&SubscriptionId=AKIAJ7T5BOVUVRD2EFYQ&tag=camelproducts-20&linkCode=xm2&camp=2025&creative=165953&creativeASIN=B00LXG4AXS John Davies Spokane WA
-
Bill, do you have any kind of cable lock on the panel? It would be so easy for any passerby to unplug it, fold it and stroll away..... Thanks, John Davies Spokane WA
-
Off Road Jack and Multi-Axis Hitch on an Ollie
John E Davies replied to Overland's topic in Ollie Modifications
Hey Raspy, have you studied the rock rails closely to see how they are mounted to the frame underneath? And do you know what the tubing material and thickness is? This is a little unnerving - a spot-welded piece of 1/4" (?) angle with no gussetting.: I hope that they are more than a visual "nerf bar" styling feature. From the outside they sure look great IMHO, especially if they also work well to fend the trailer off a tree trunk or an out of control ATV.... but rock sliders need to be rock solid to work. https://www.roundforge.com/articles/rock-sliders-and-rocker-guards/ Thanks. John Davies Spokane WA
-
Bump for an old thread. I fixed a missing image. John Davies Spokane WA
-
https://www.harborfreight.com/automotive/jacks-jack-stands/bottle-jacks/8-ton-hydraulic-bottle-jack-96648.html Don’t stake your life on it, use this under the closest frame and run your stabilizers down as a backup. I do it the other way around..... just an hour ago I lifted all four tires off the ground for a pre trip bearing check. It took all of two minutes. The onboard jacks are perfectly fine when used prudently on level pavement. John Davies Spokane WA
-
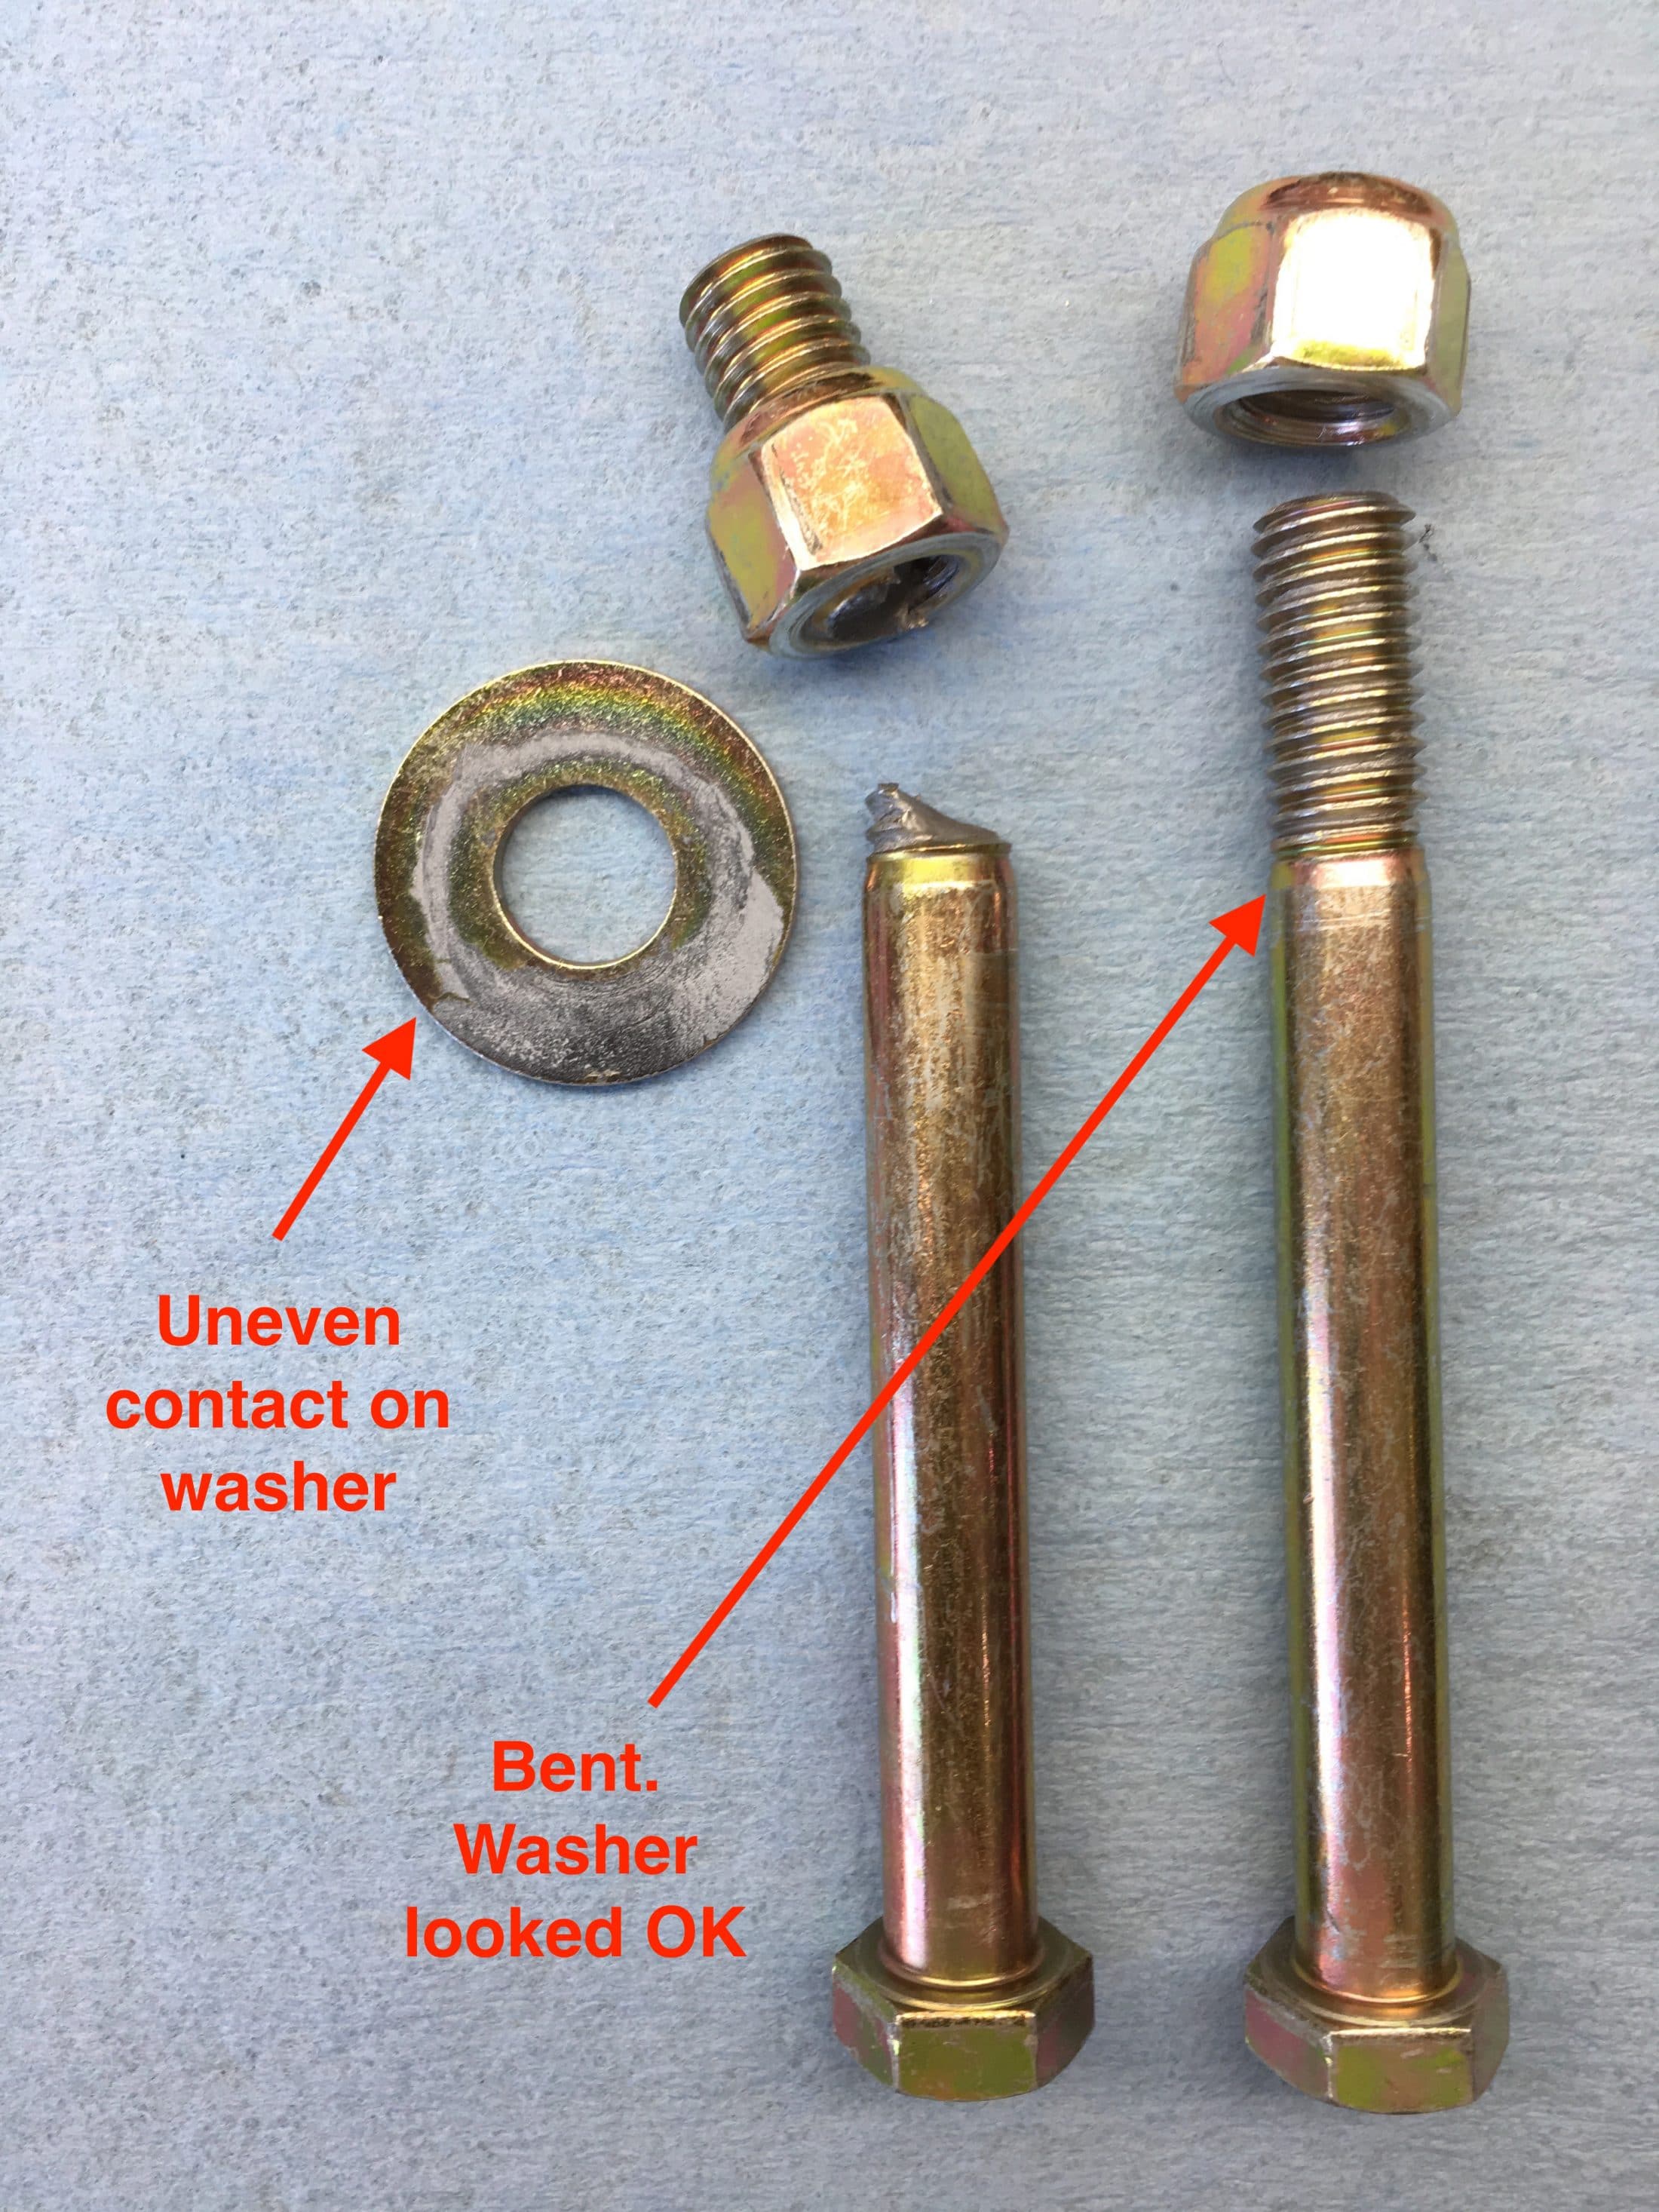
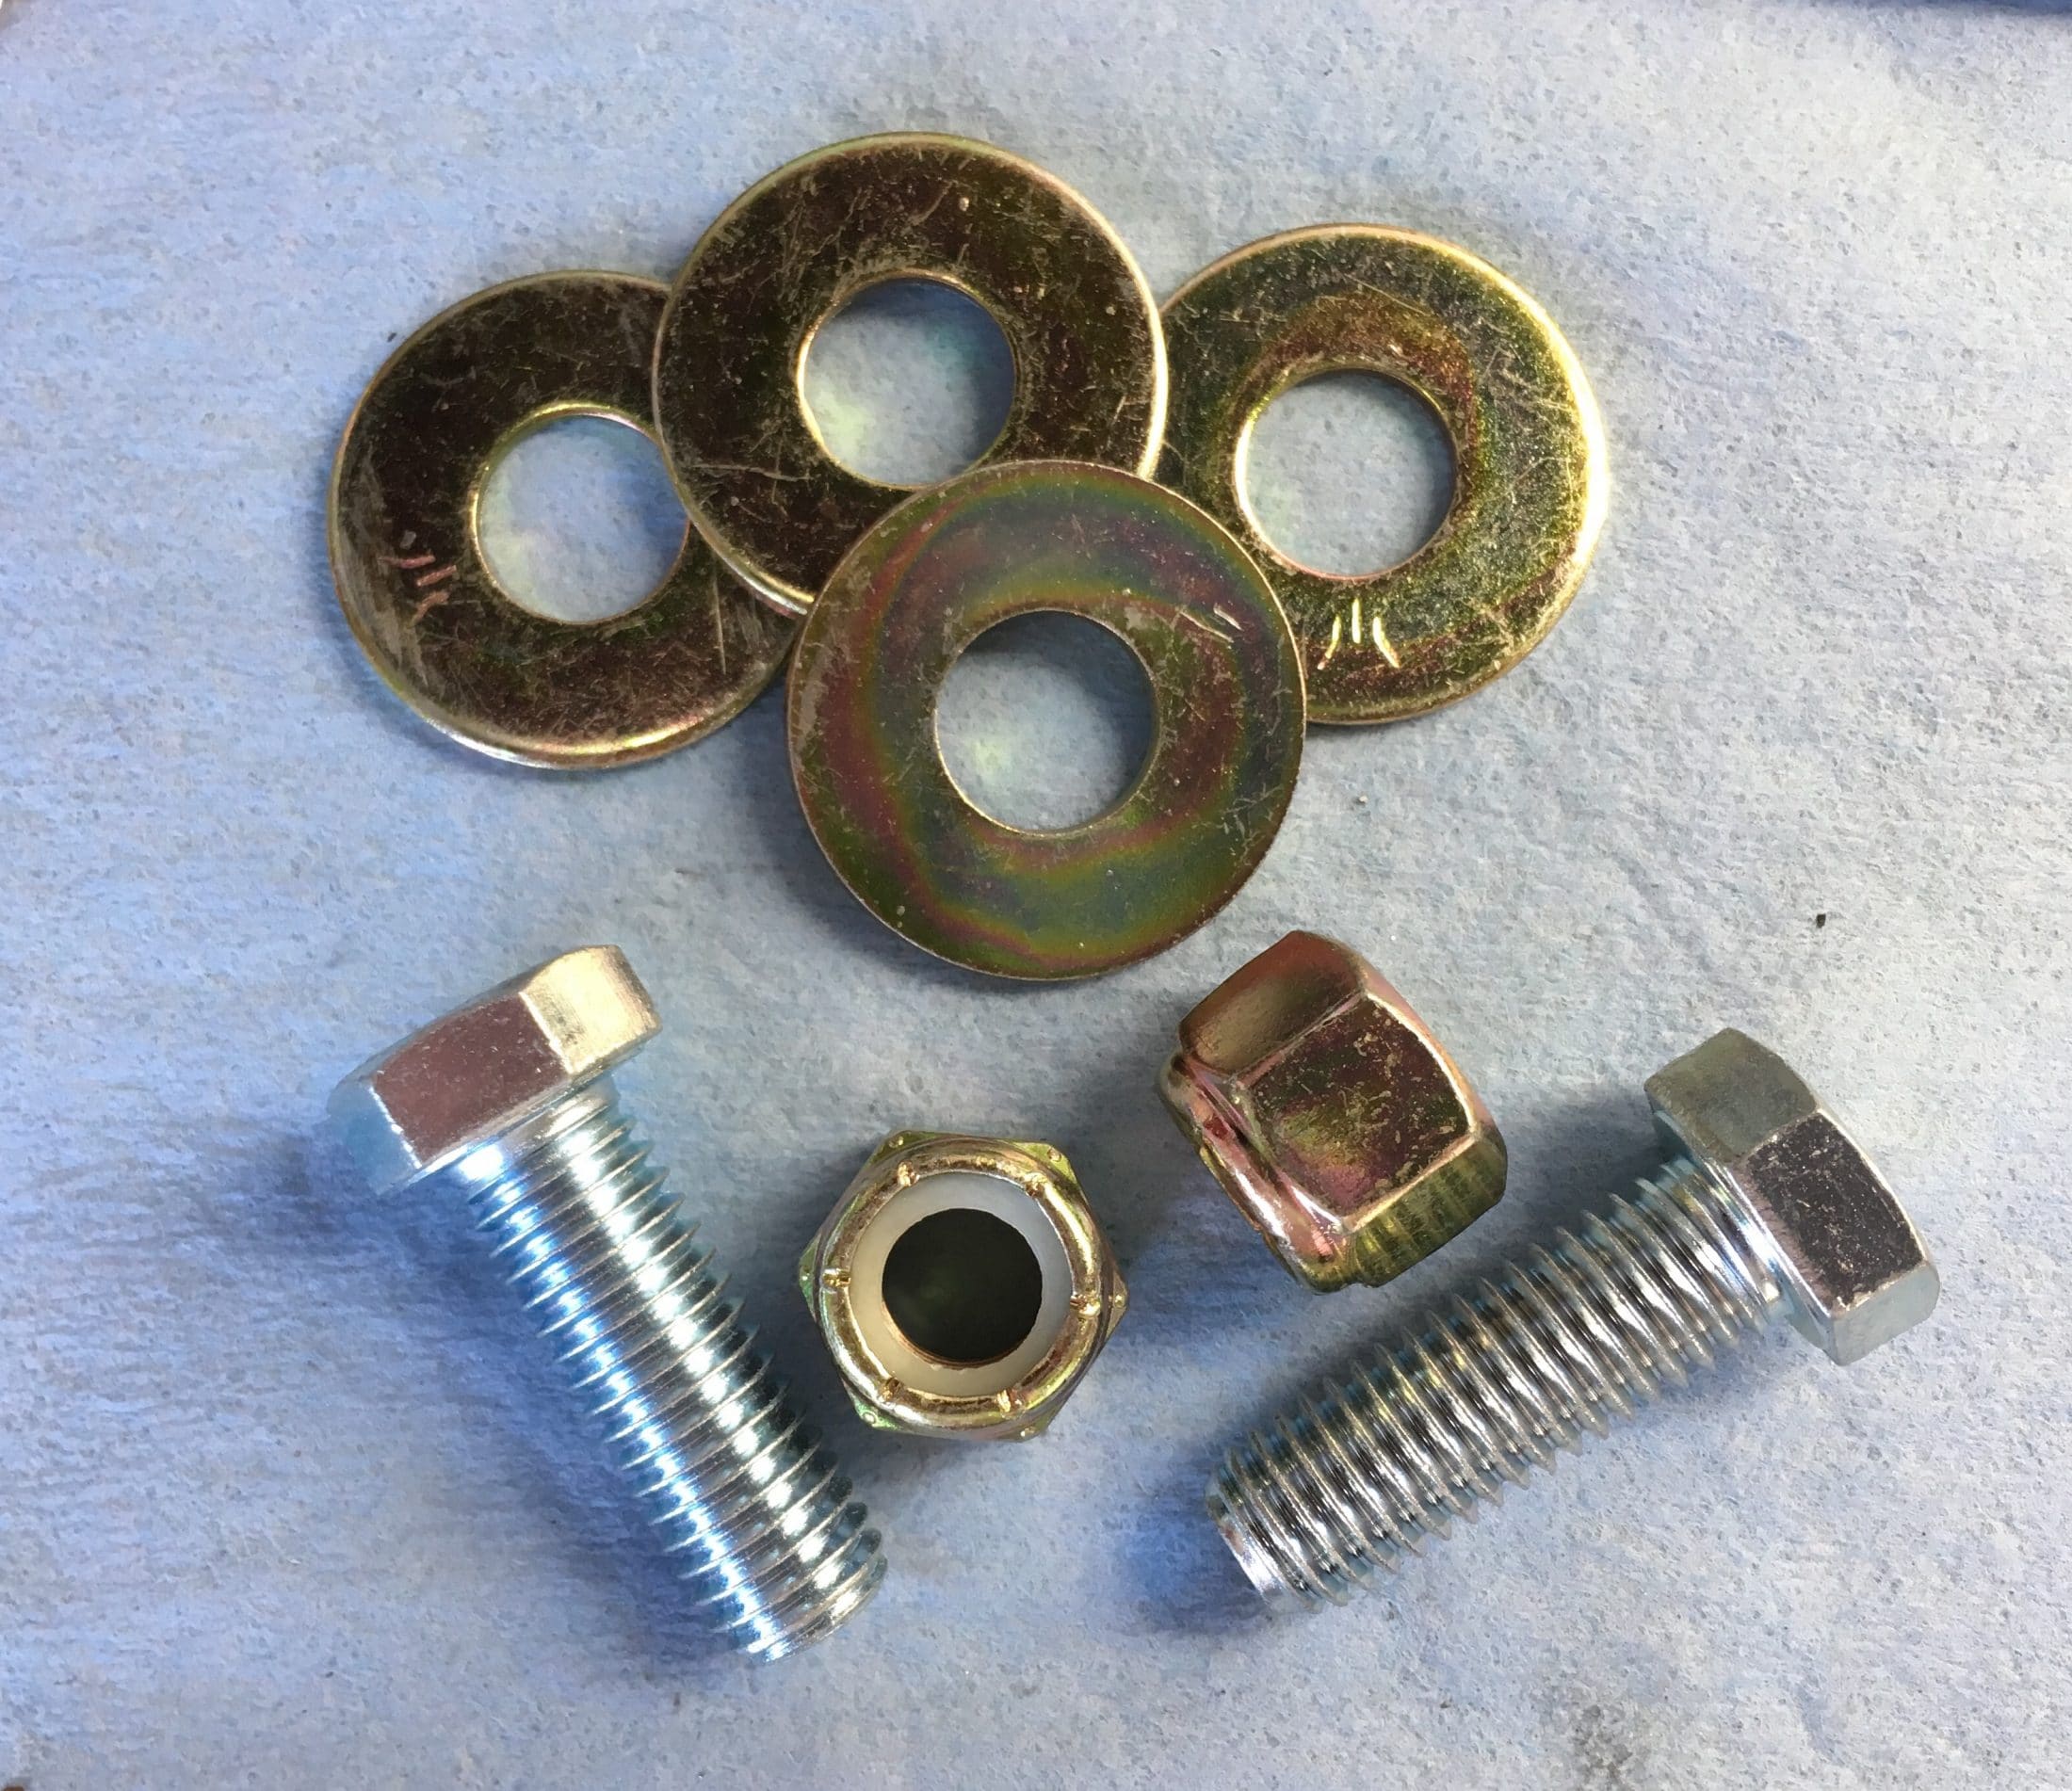
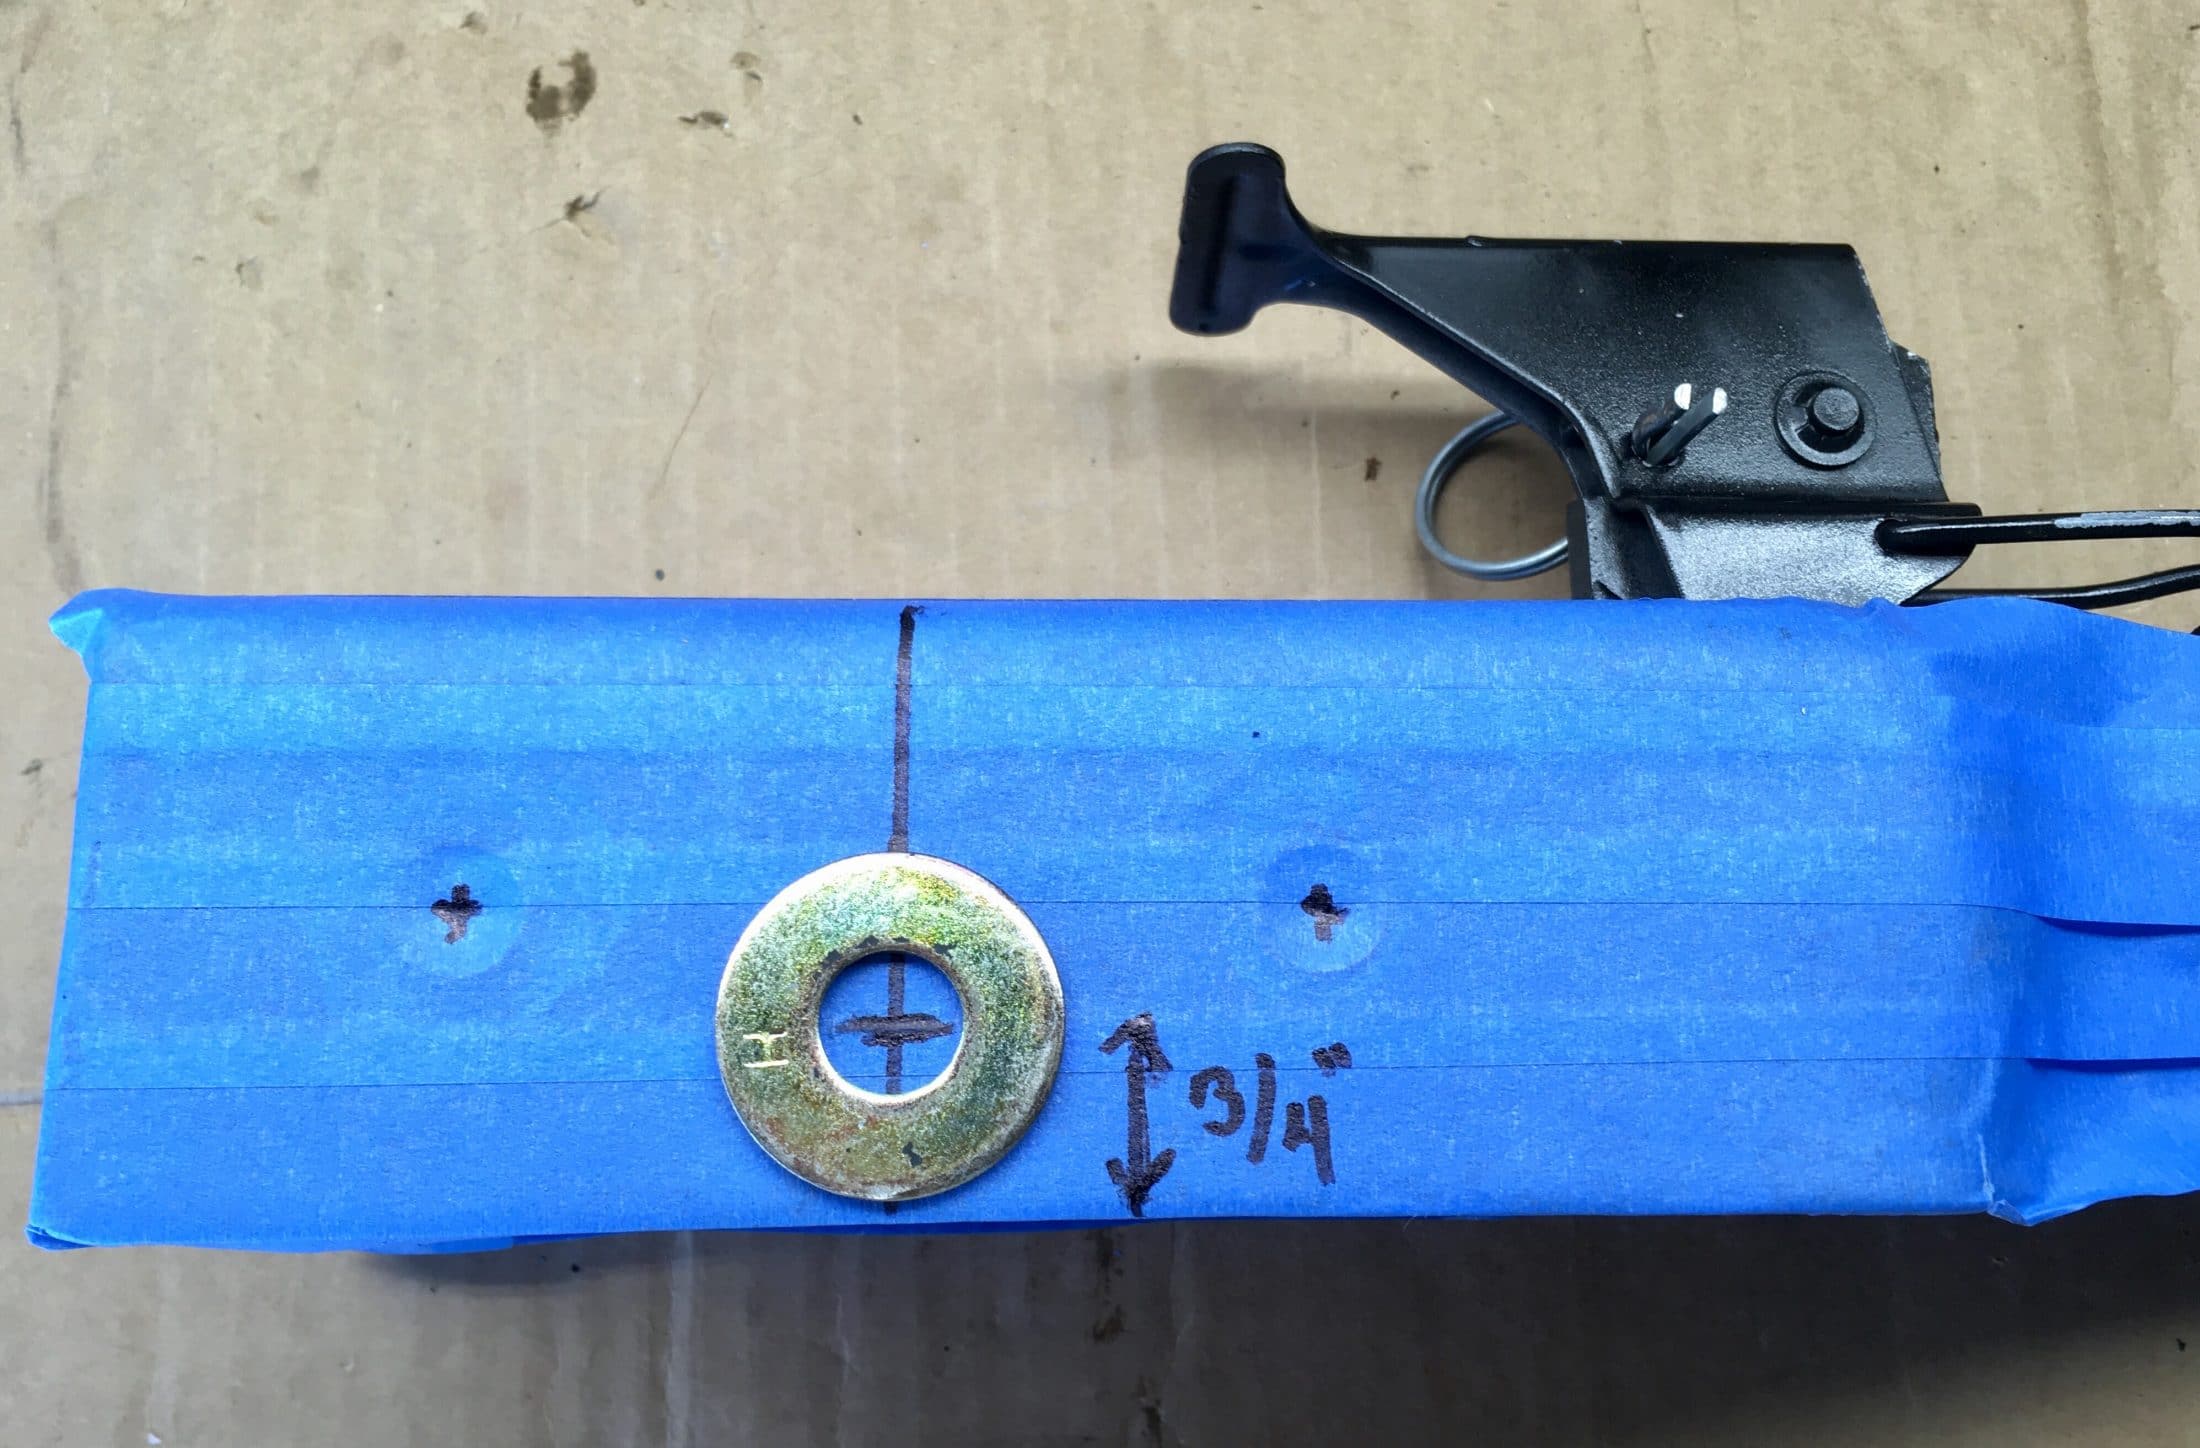
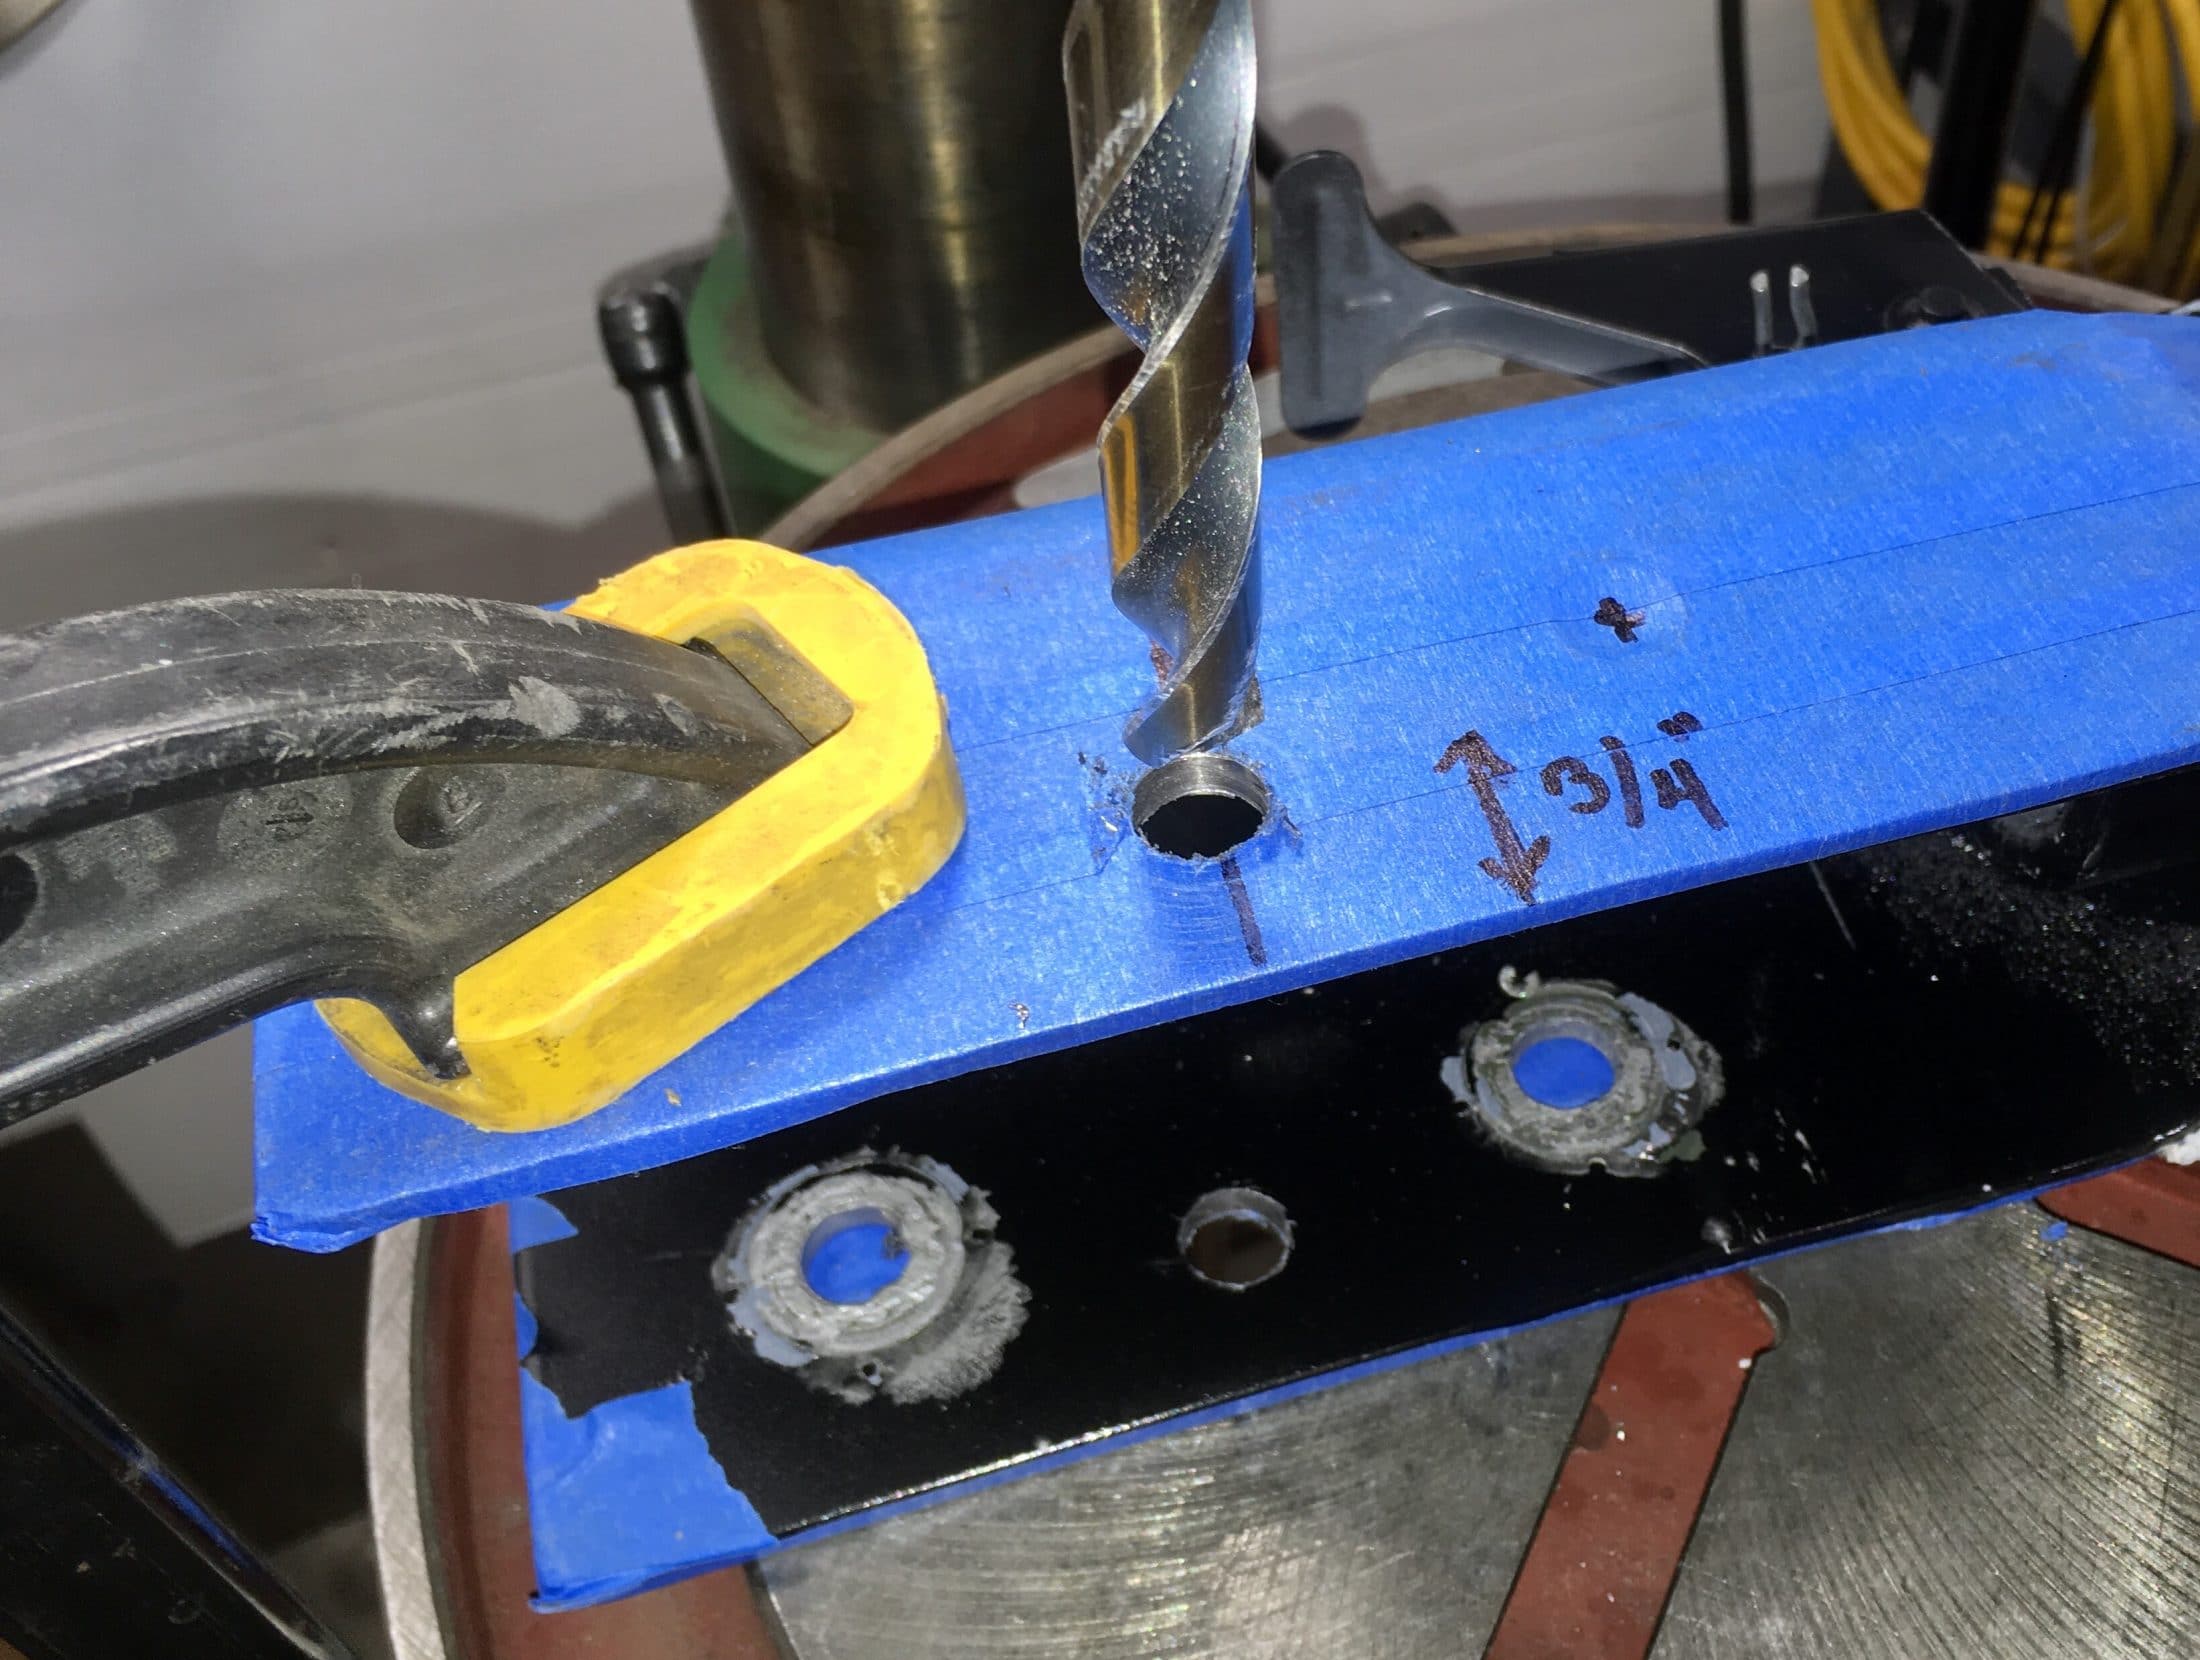
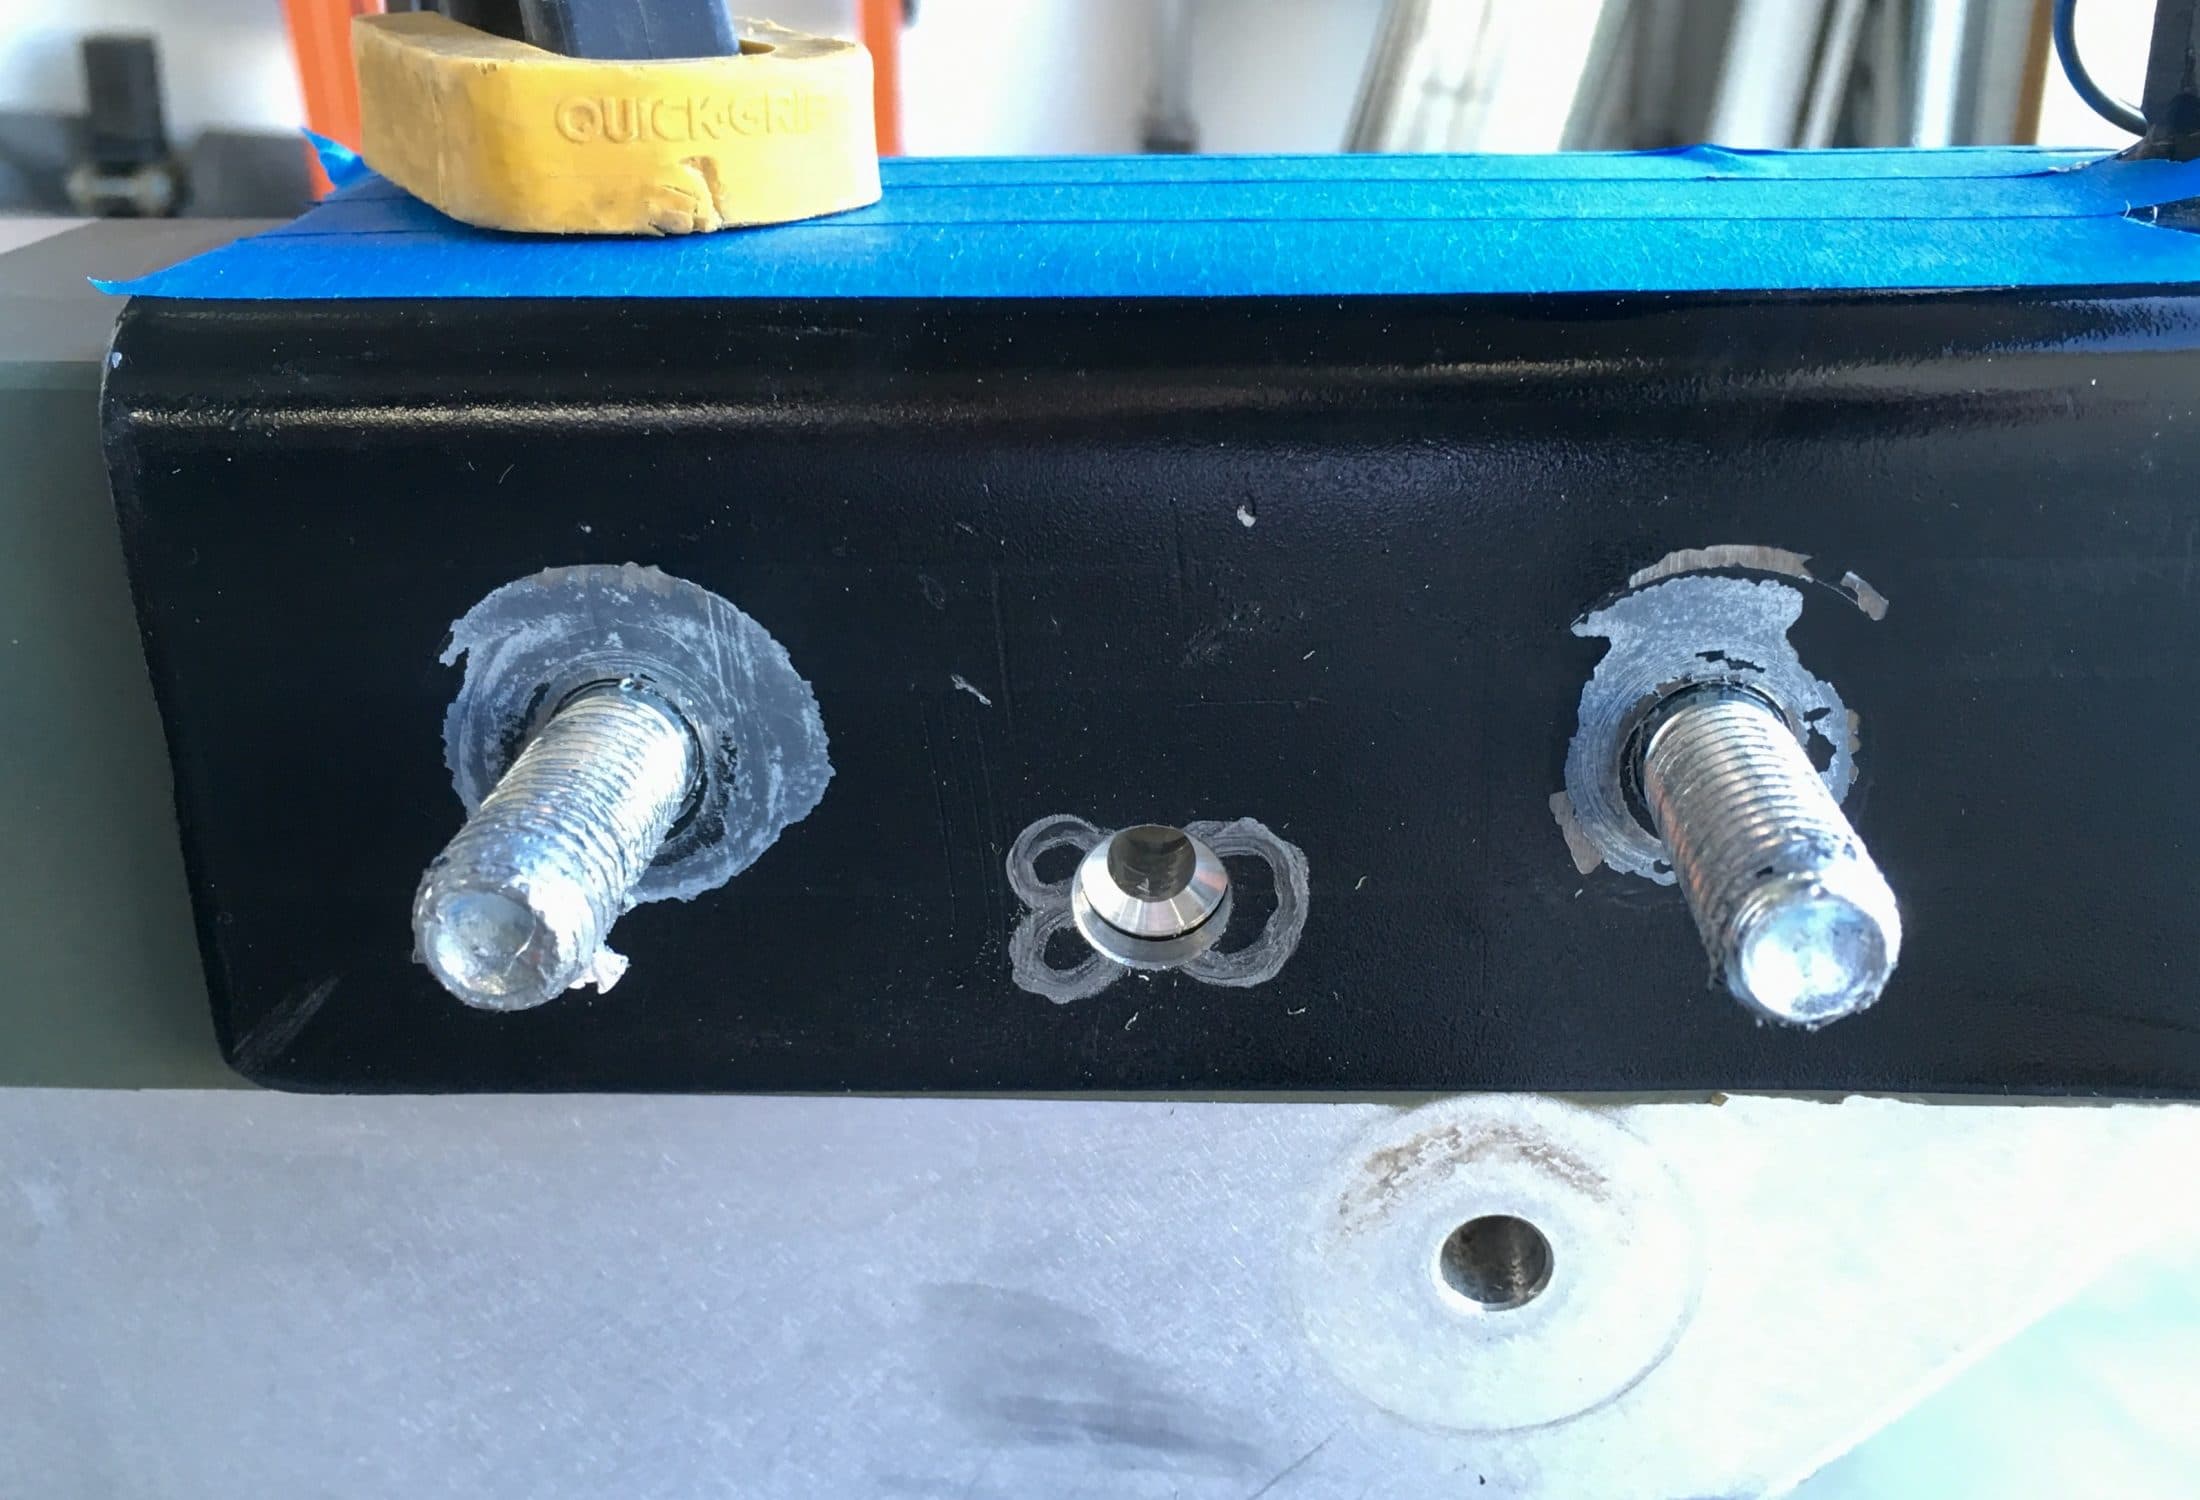
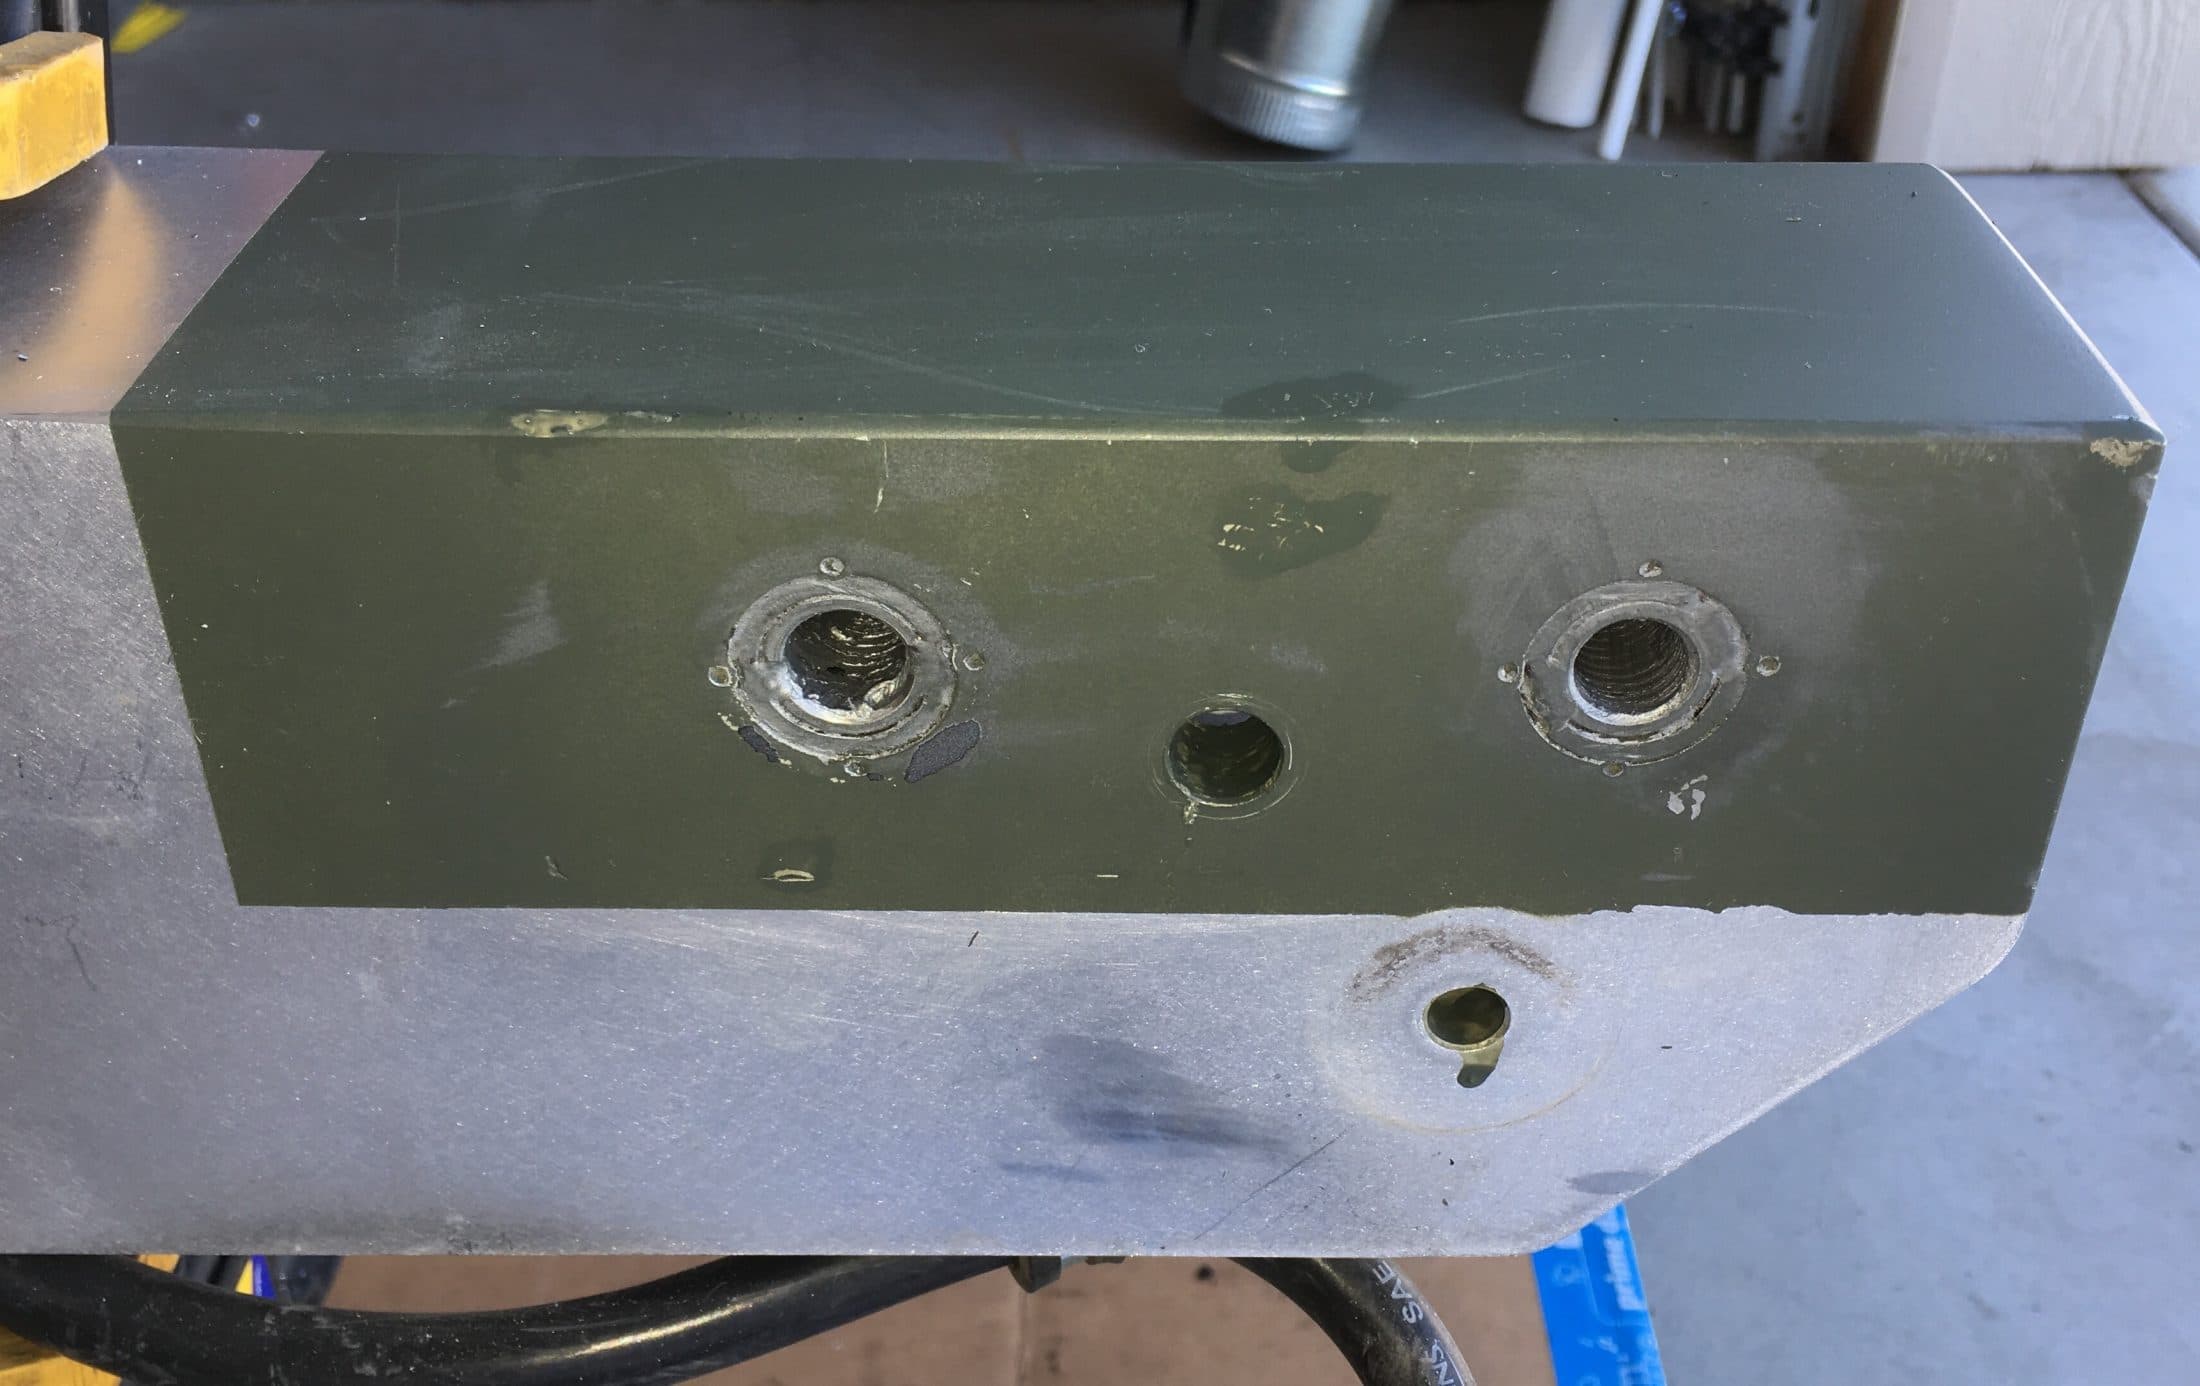
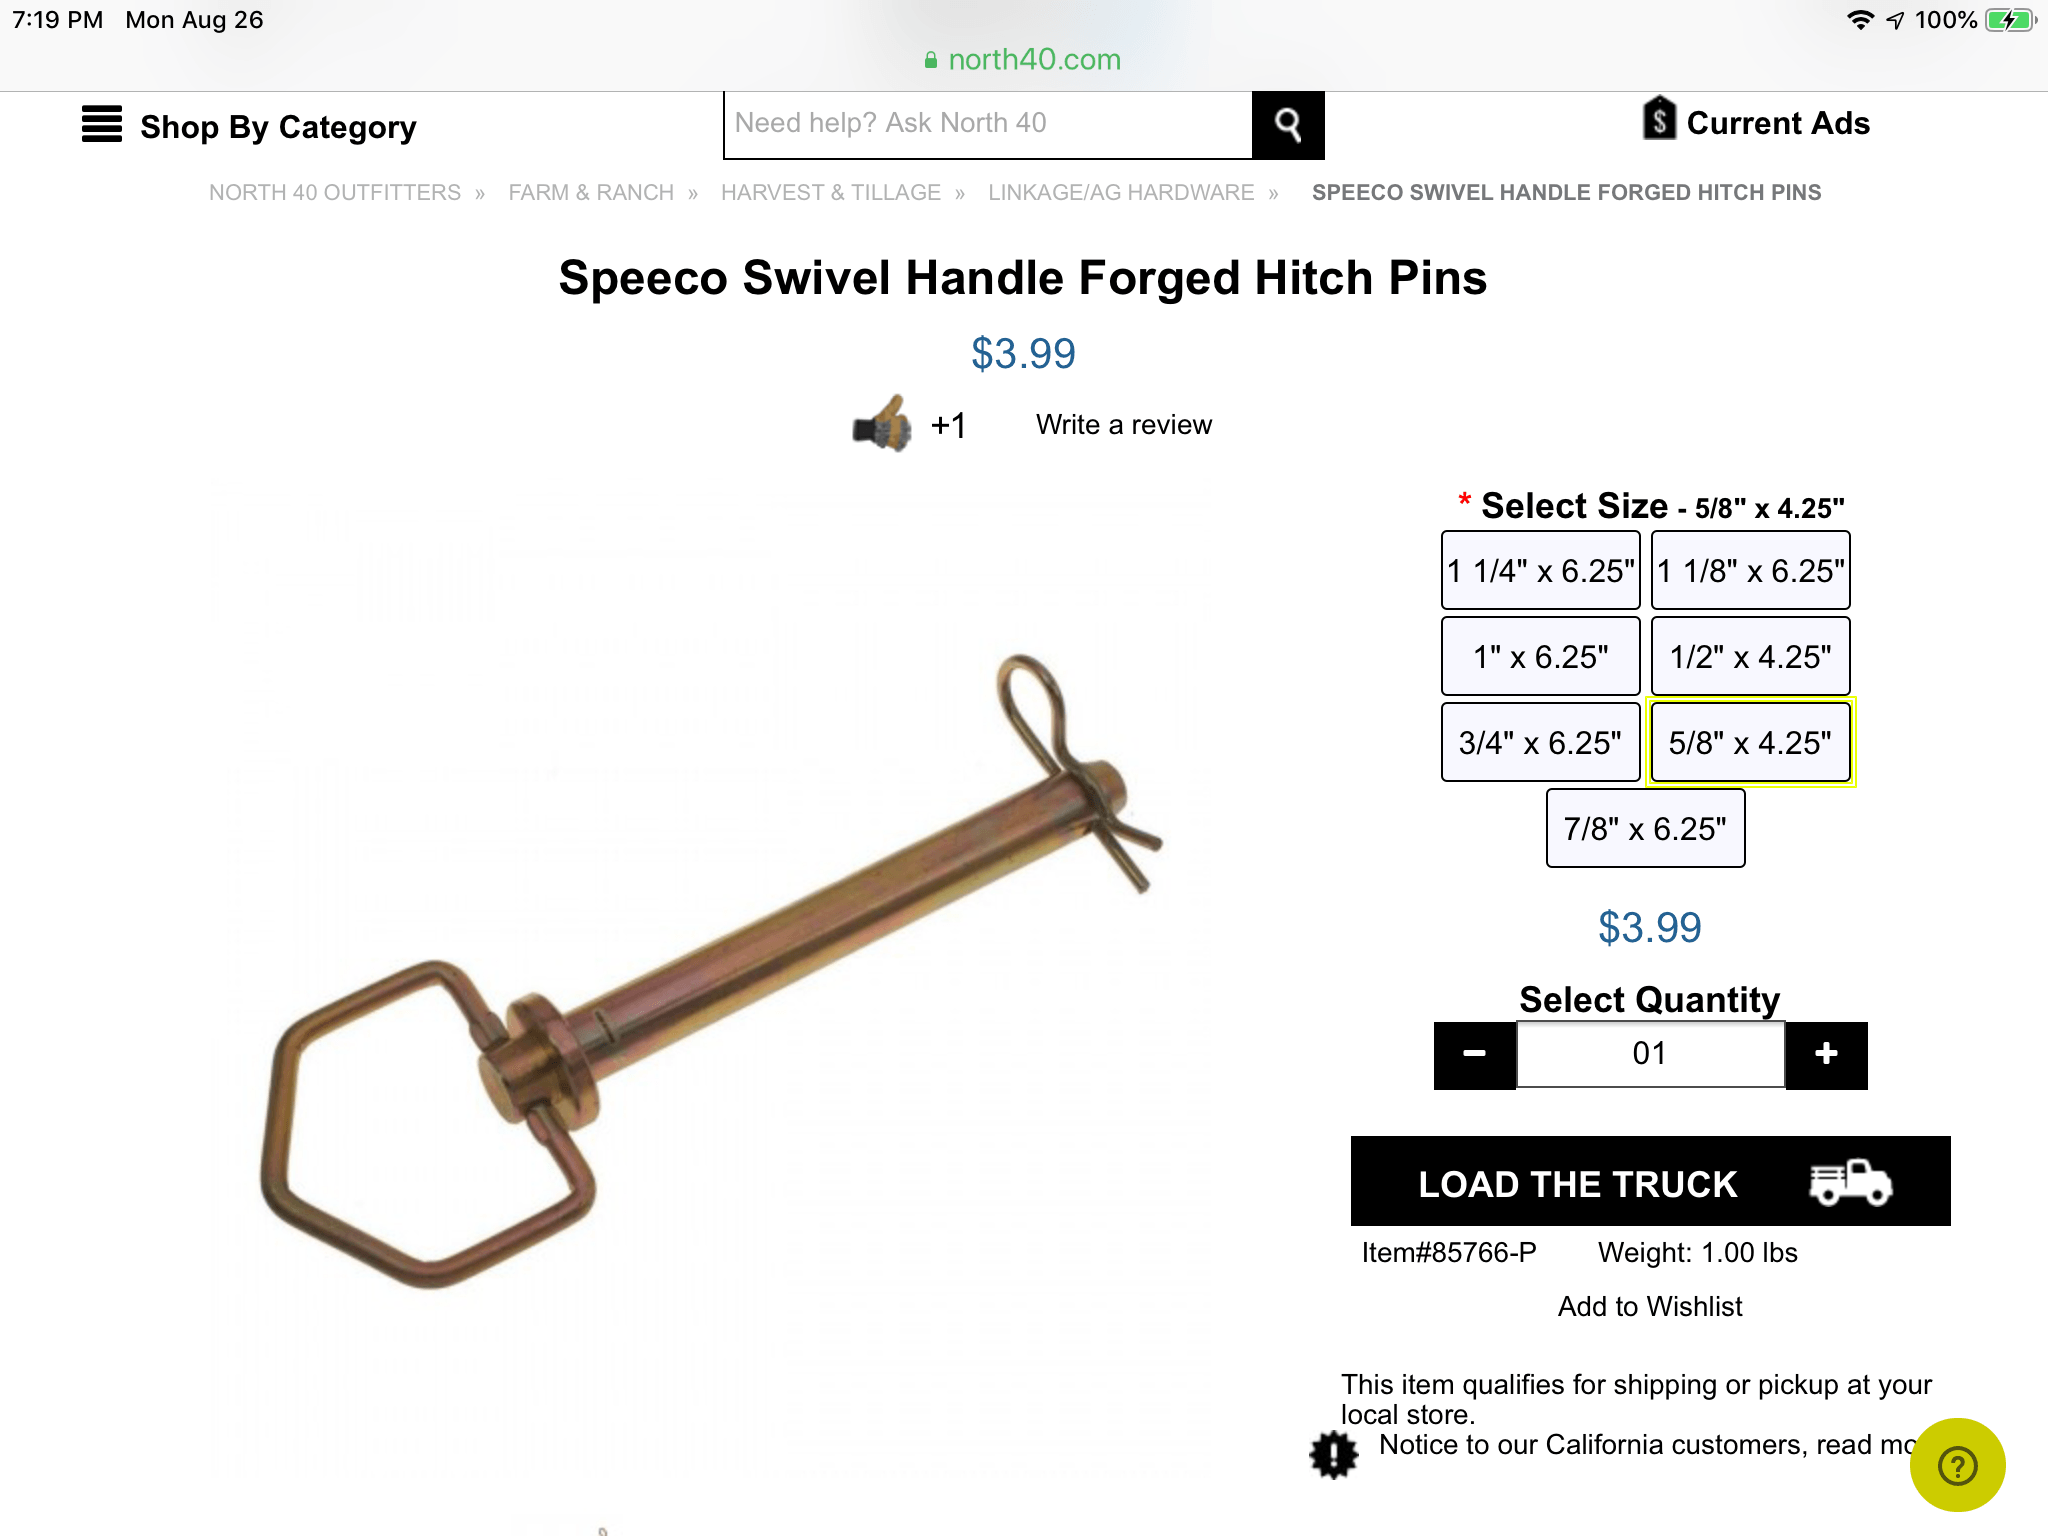
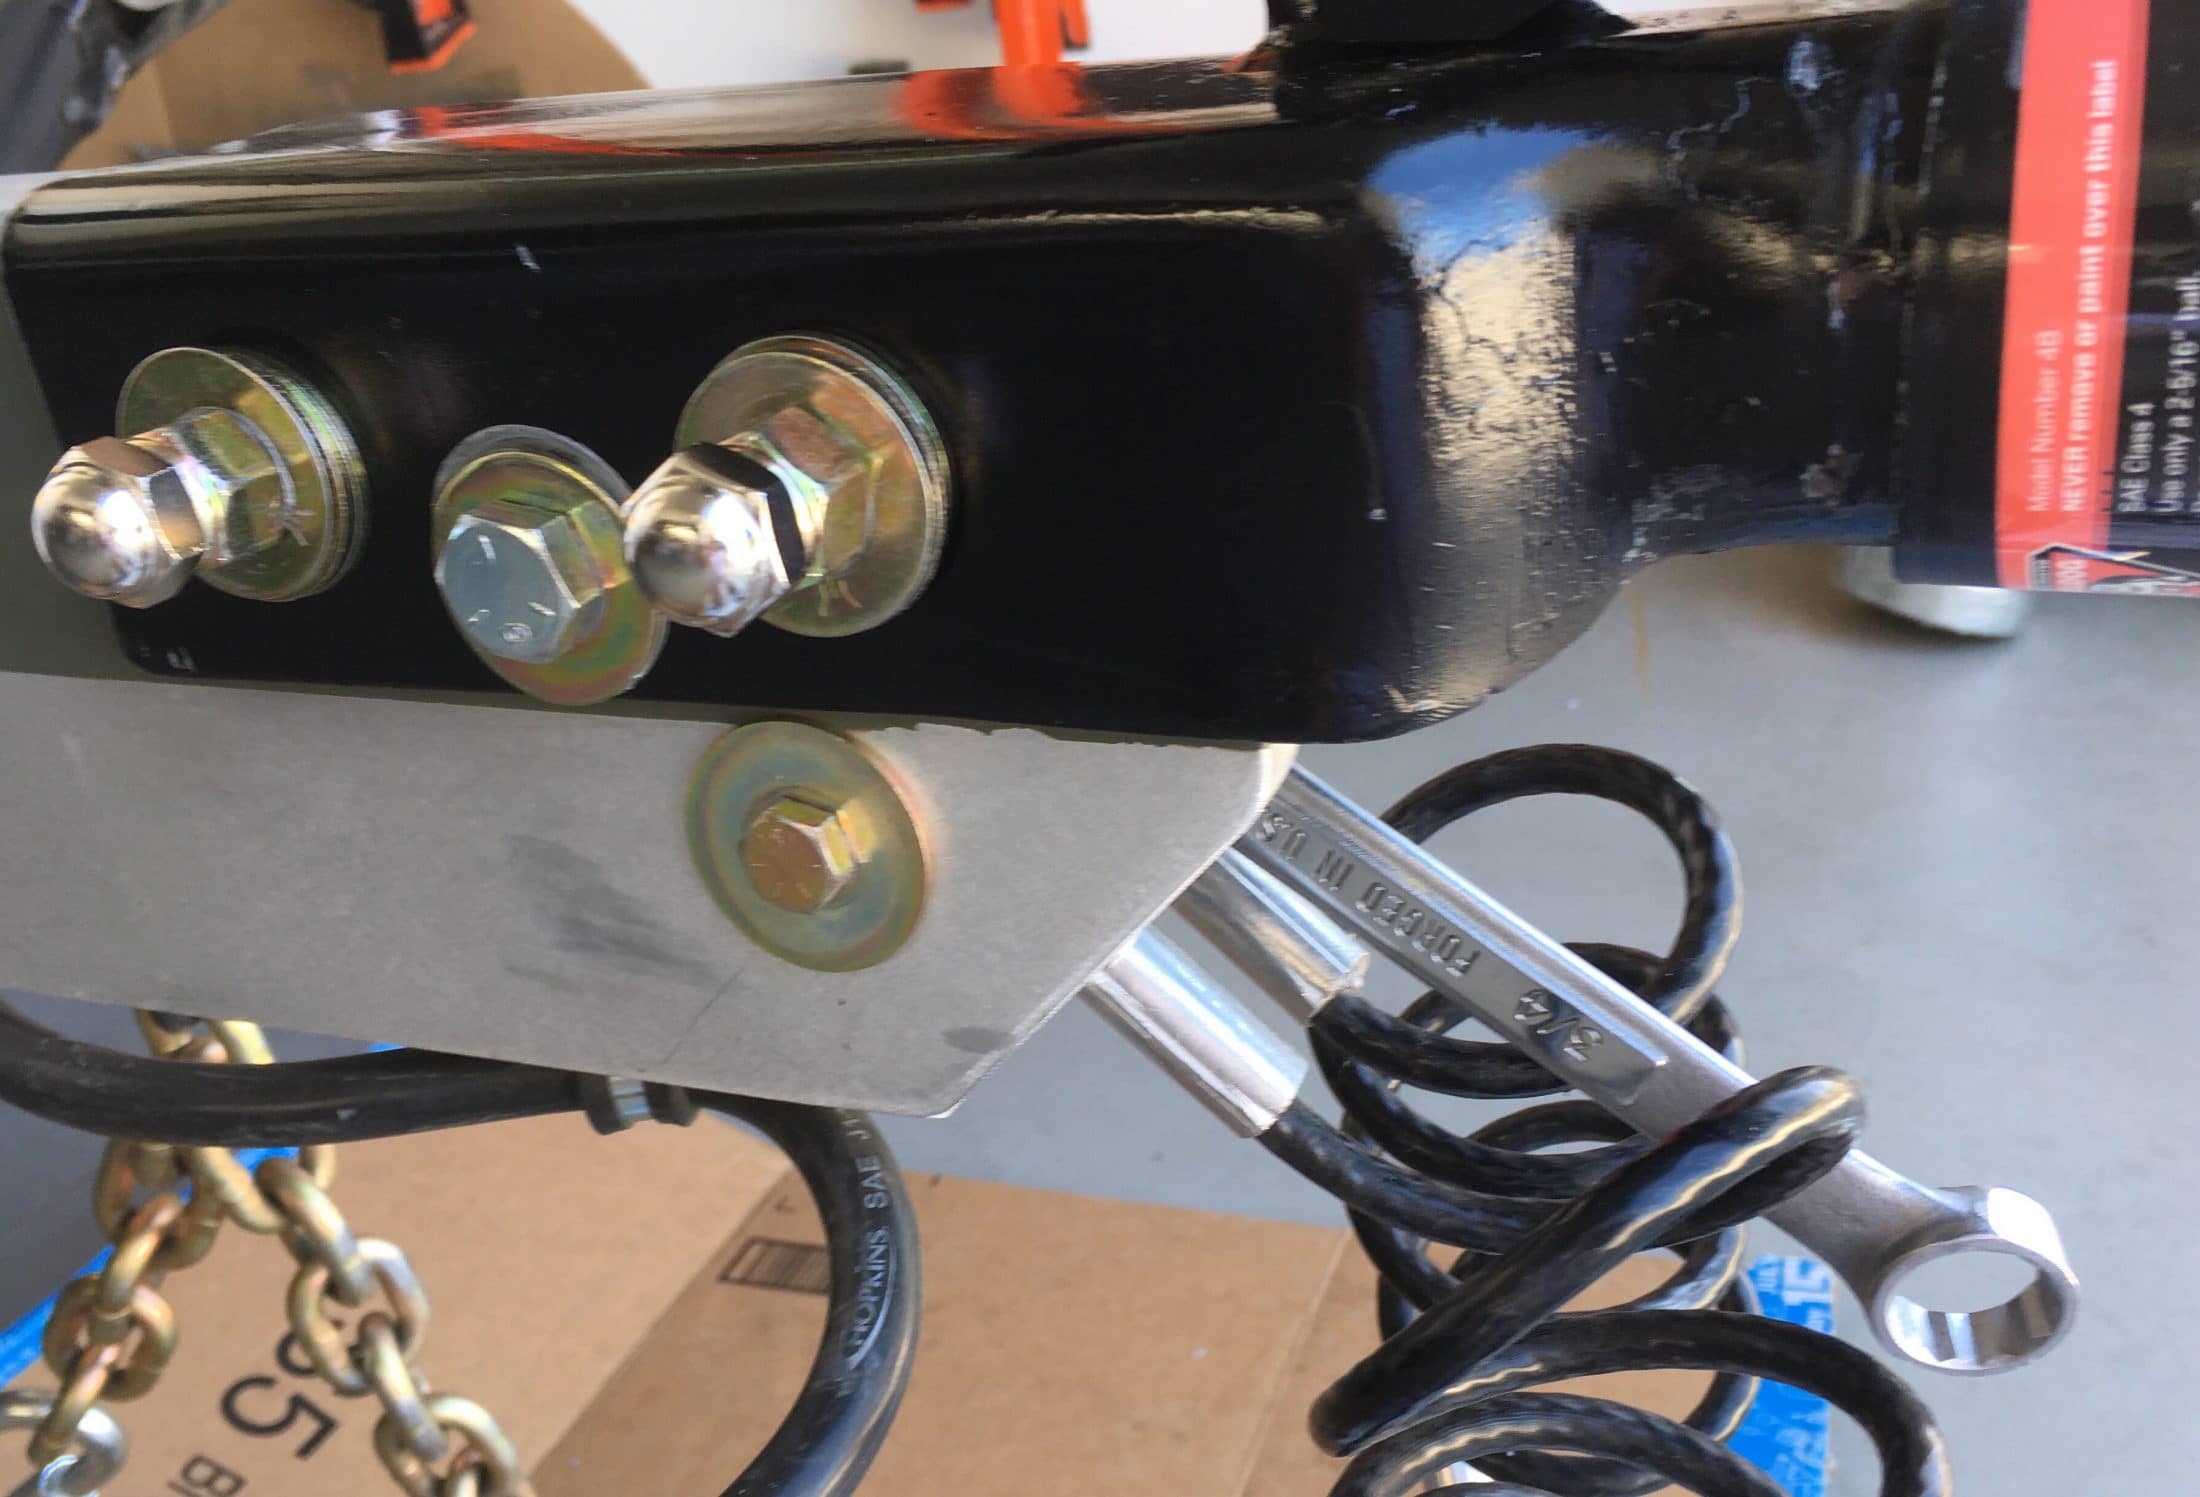
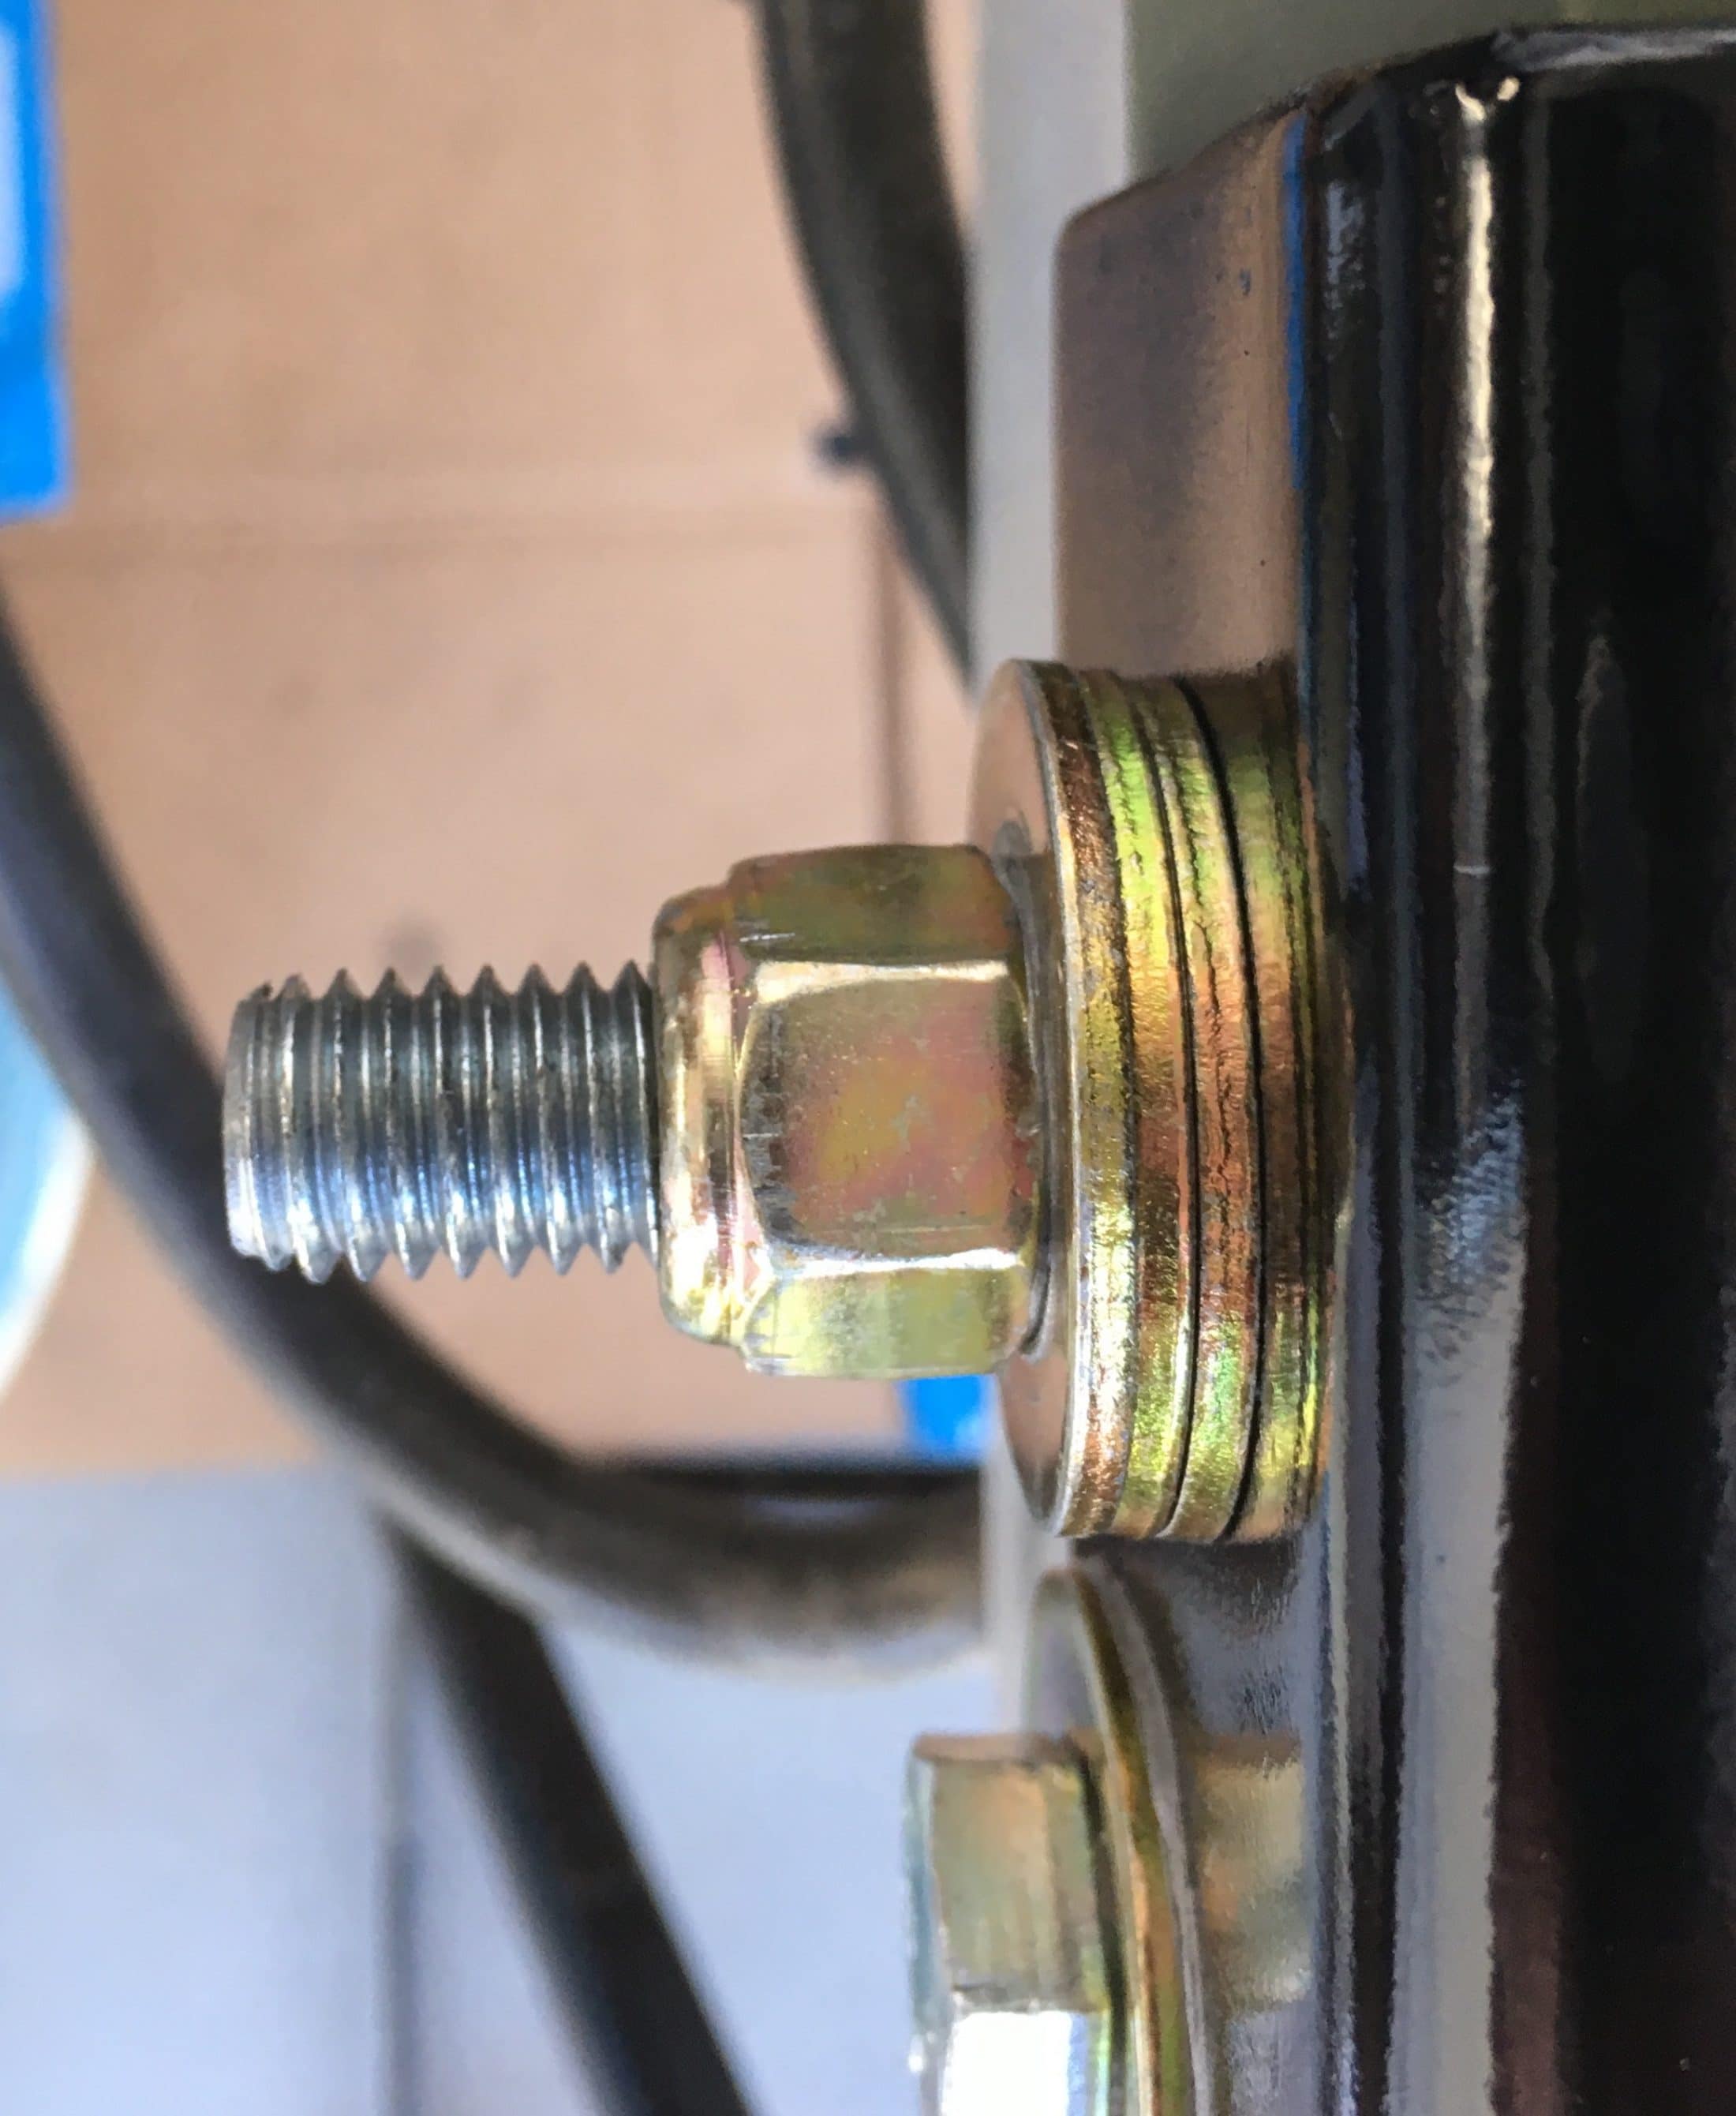
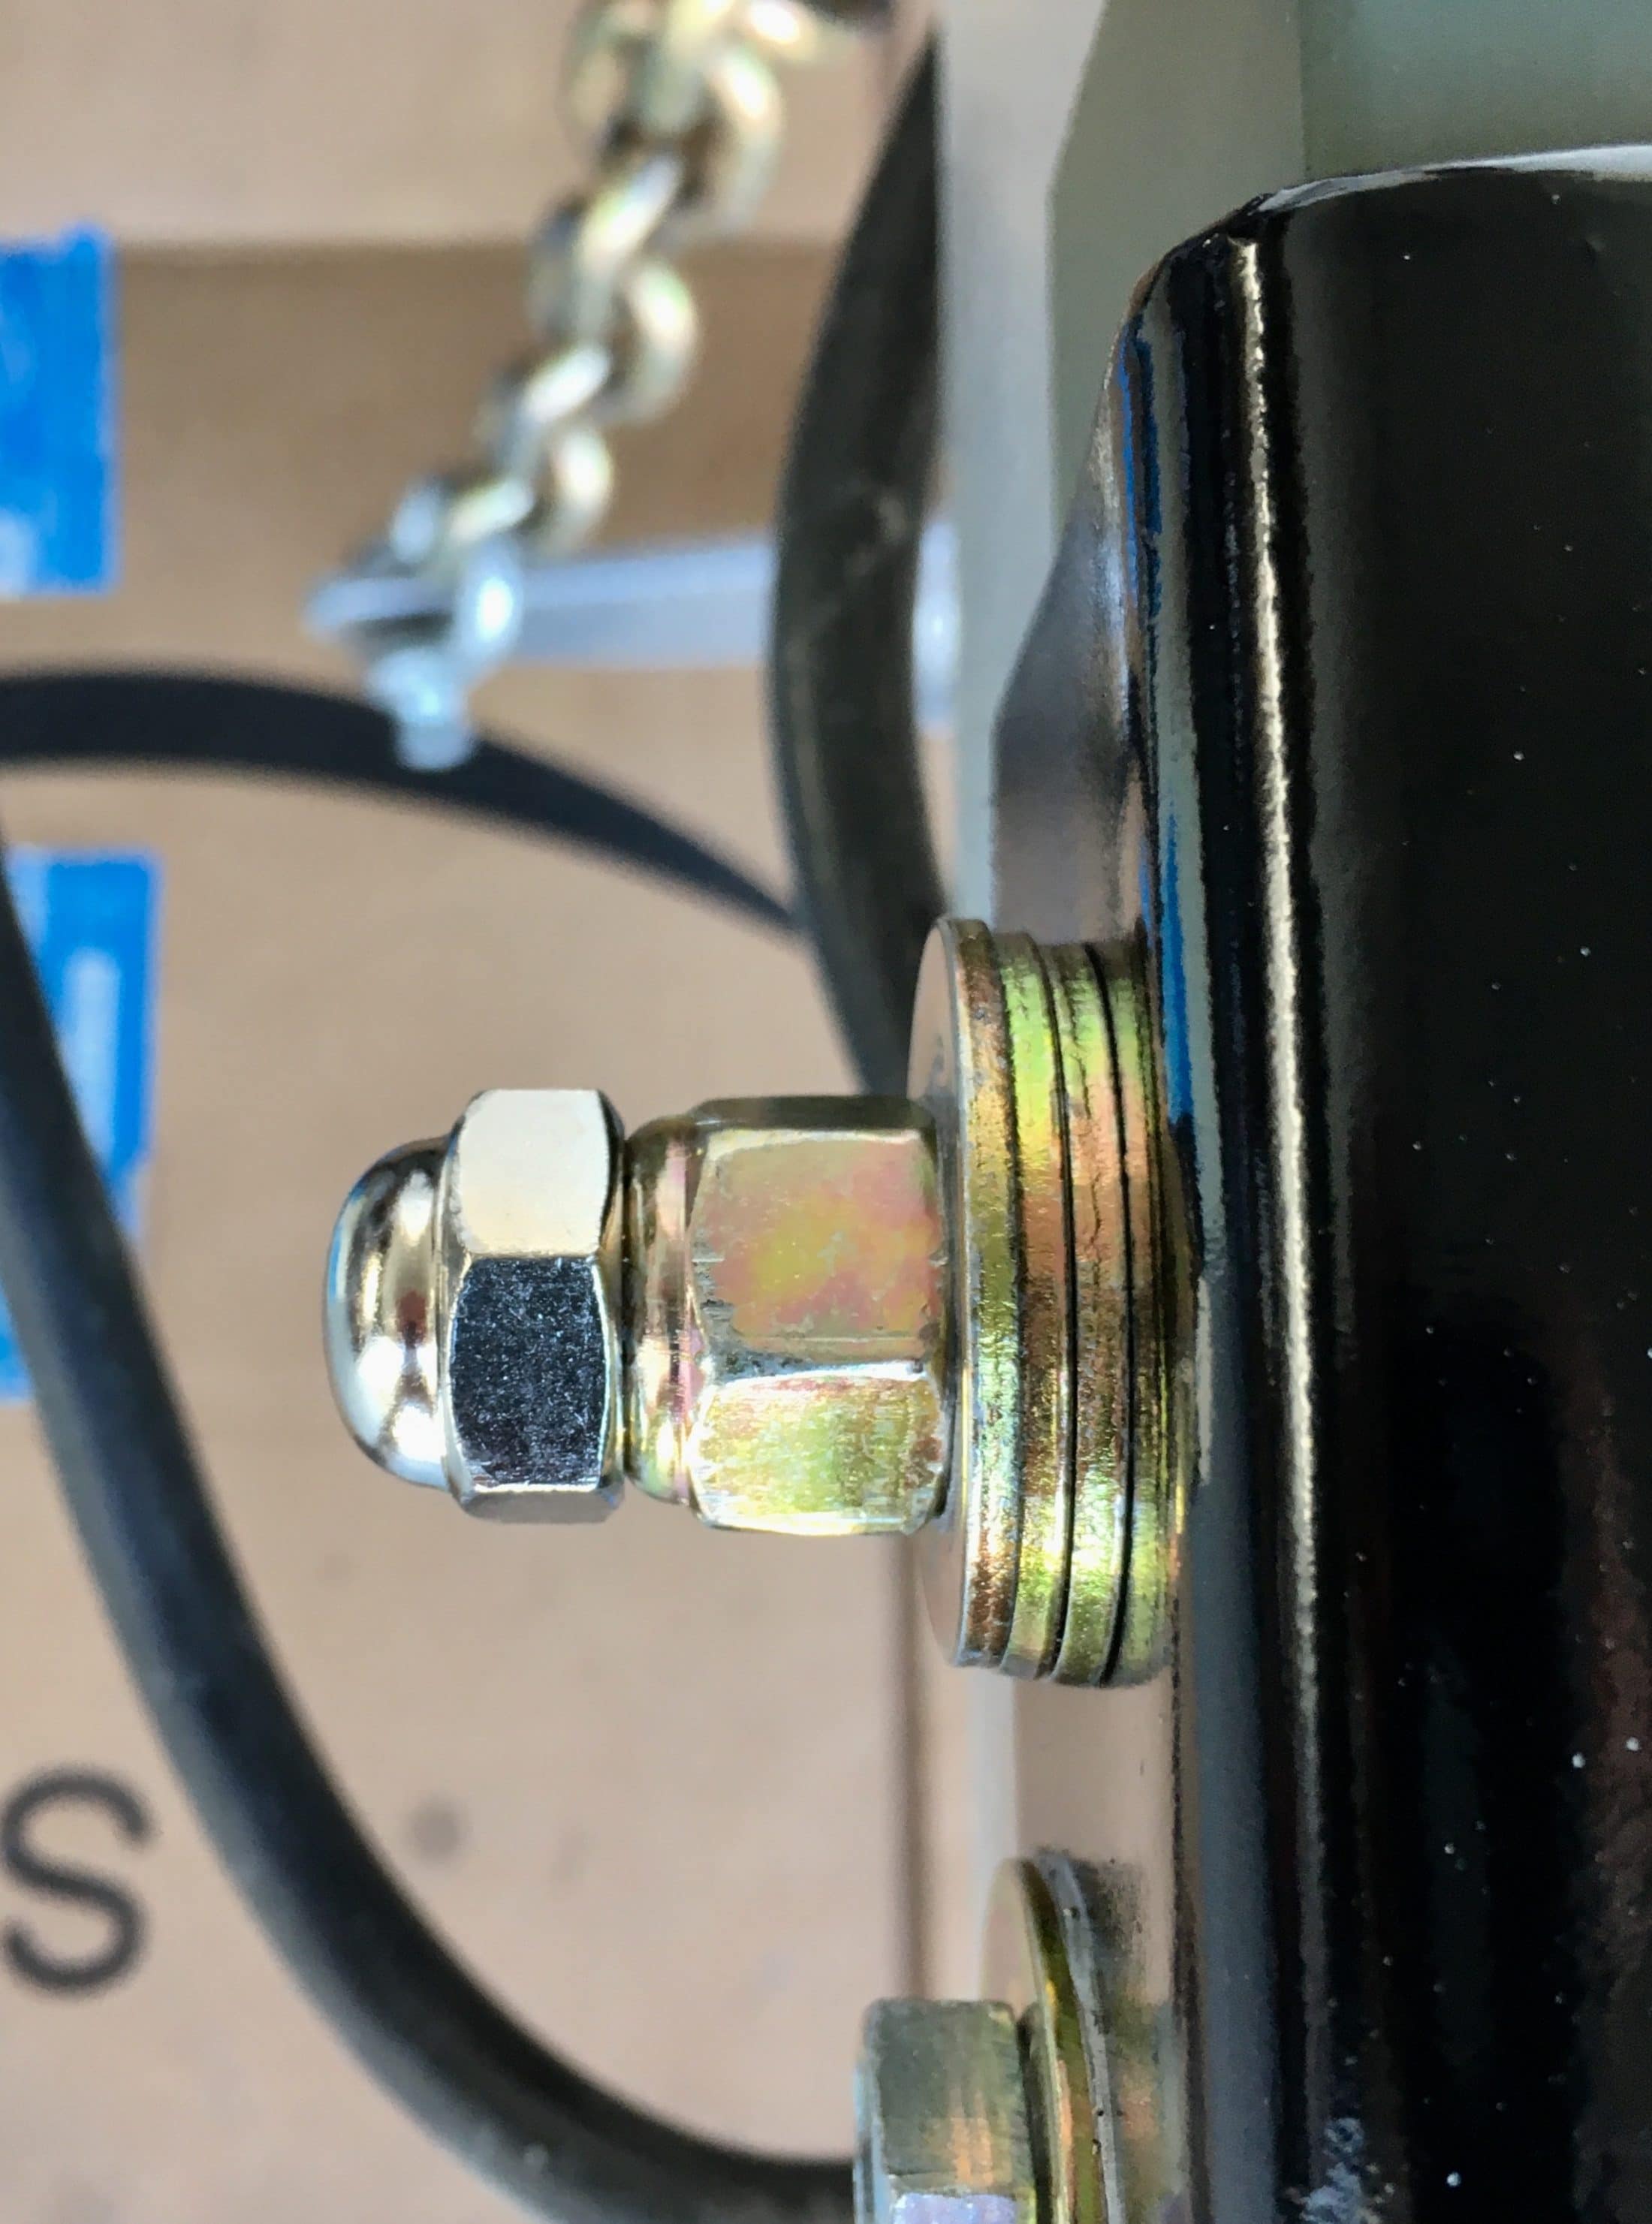
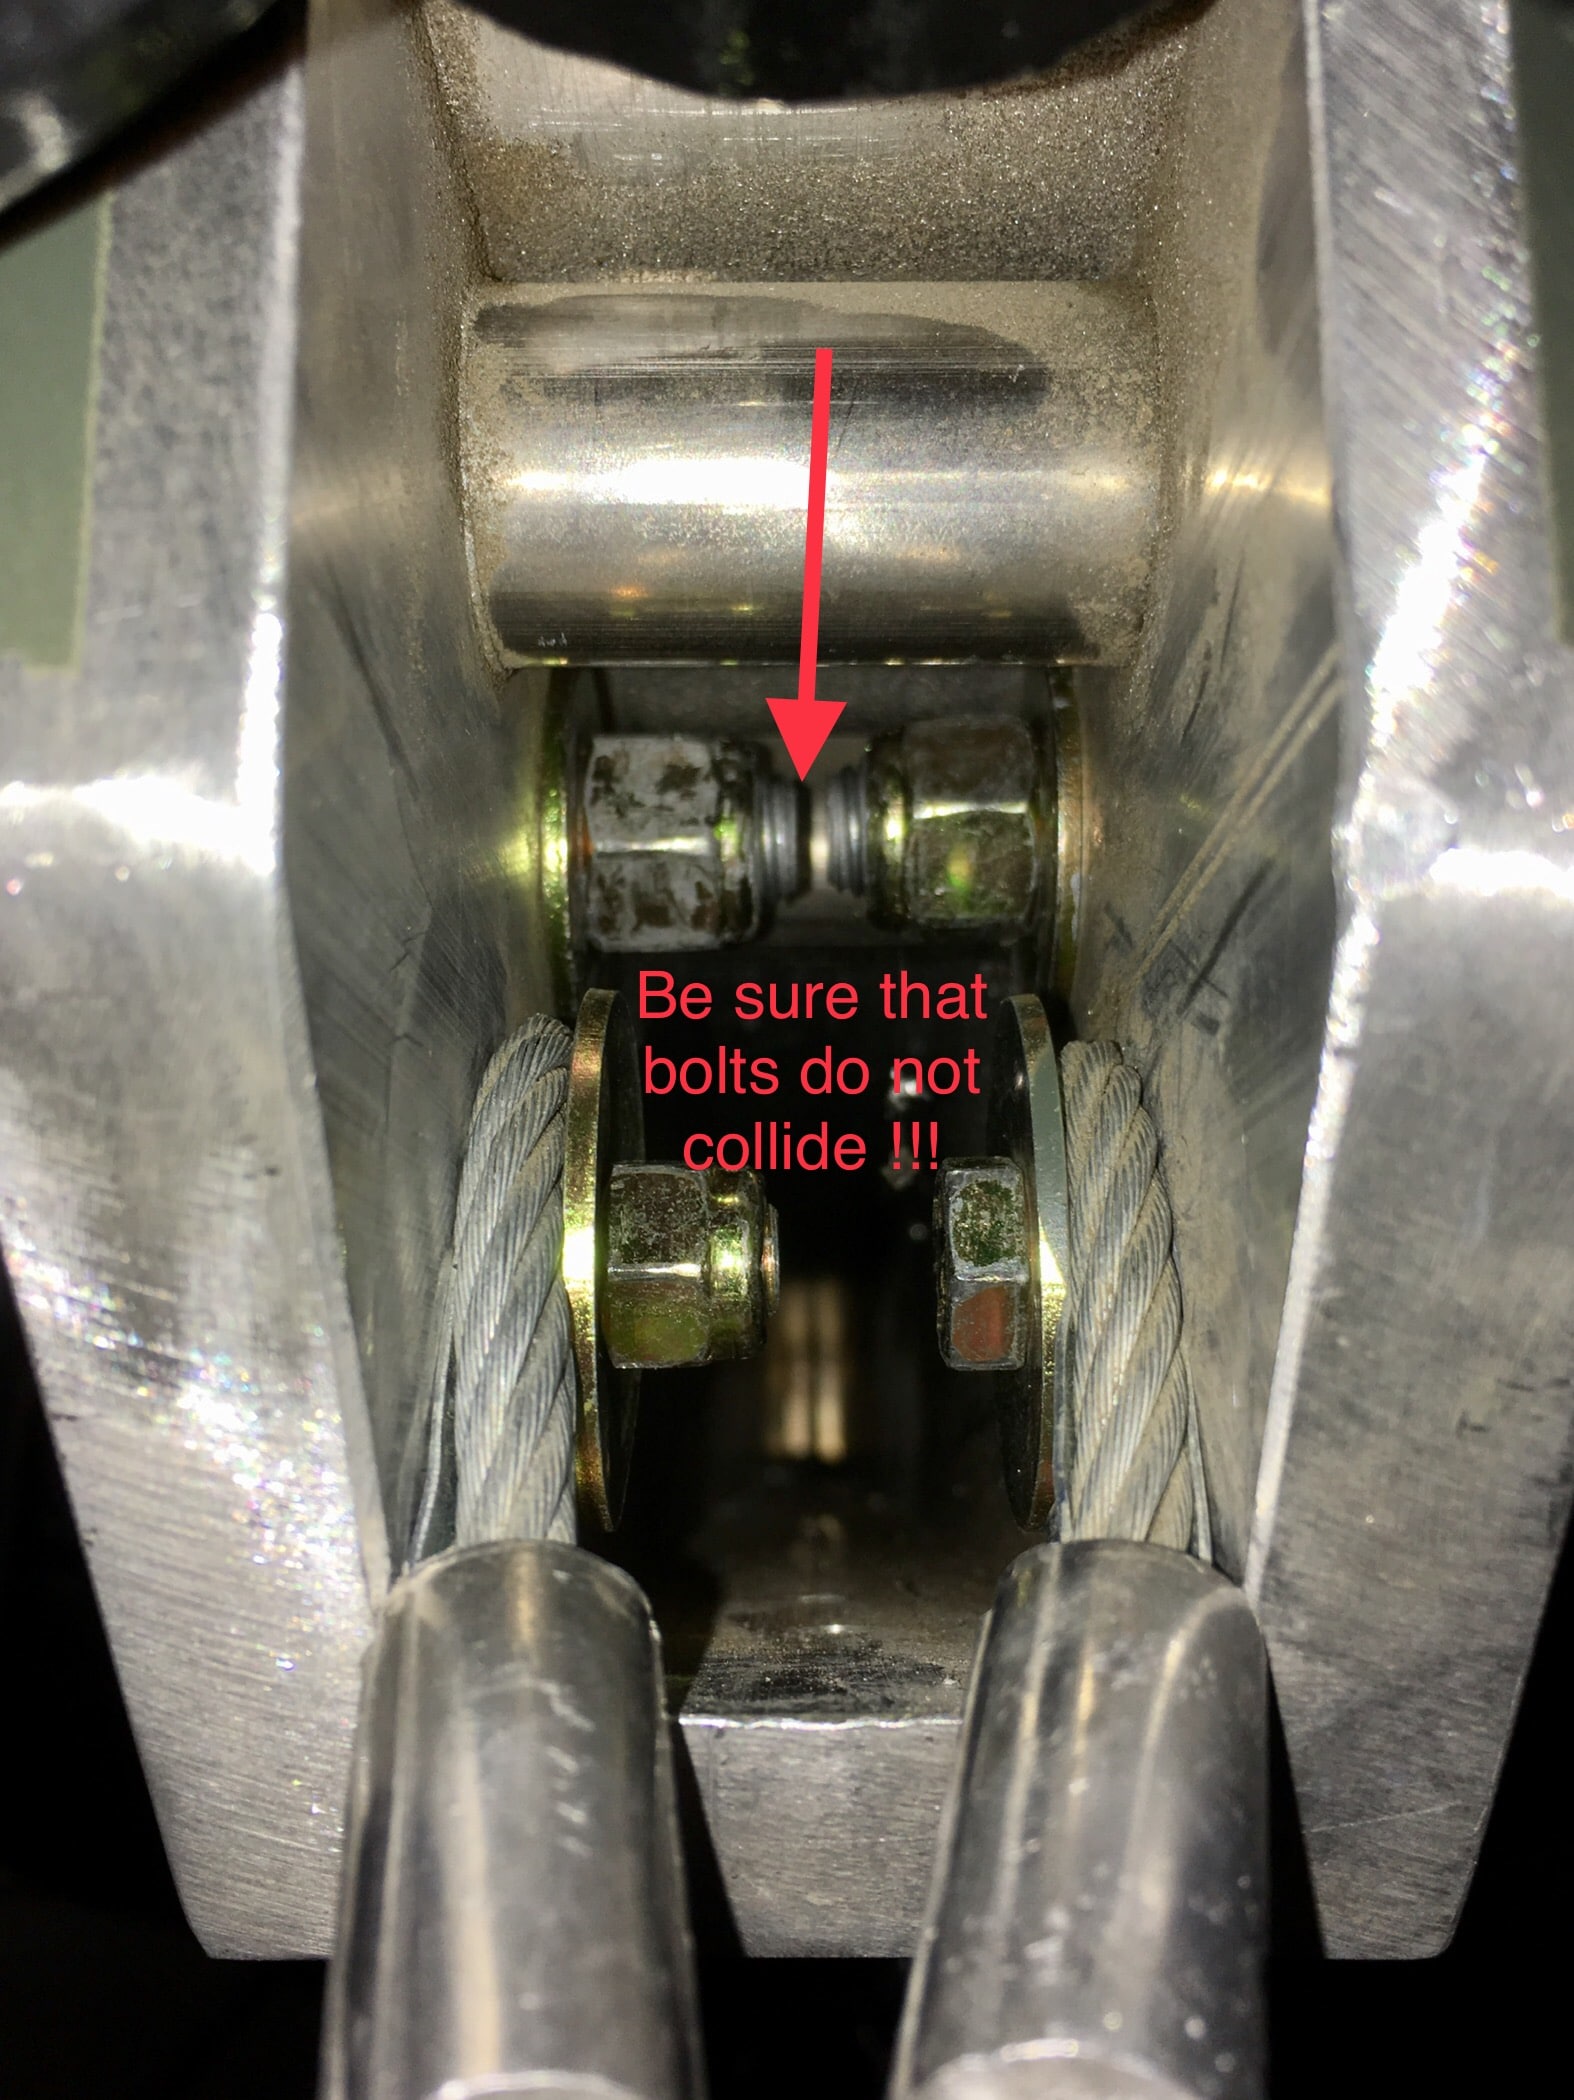
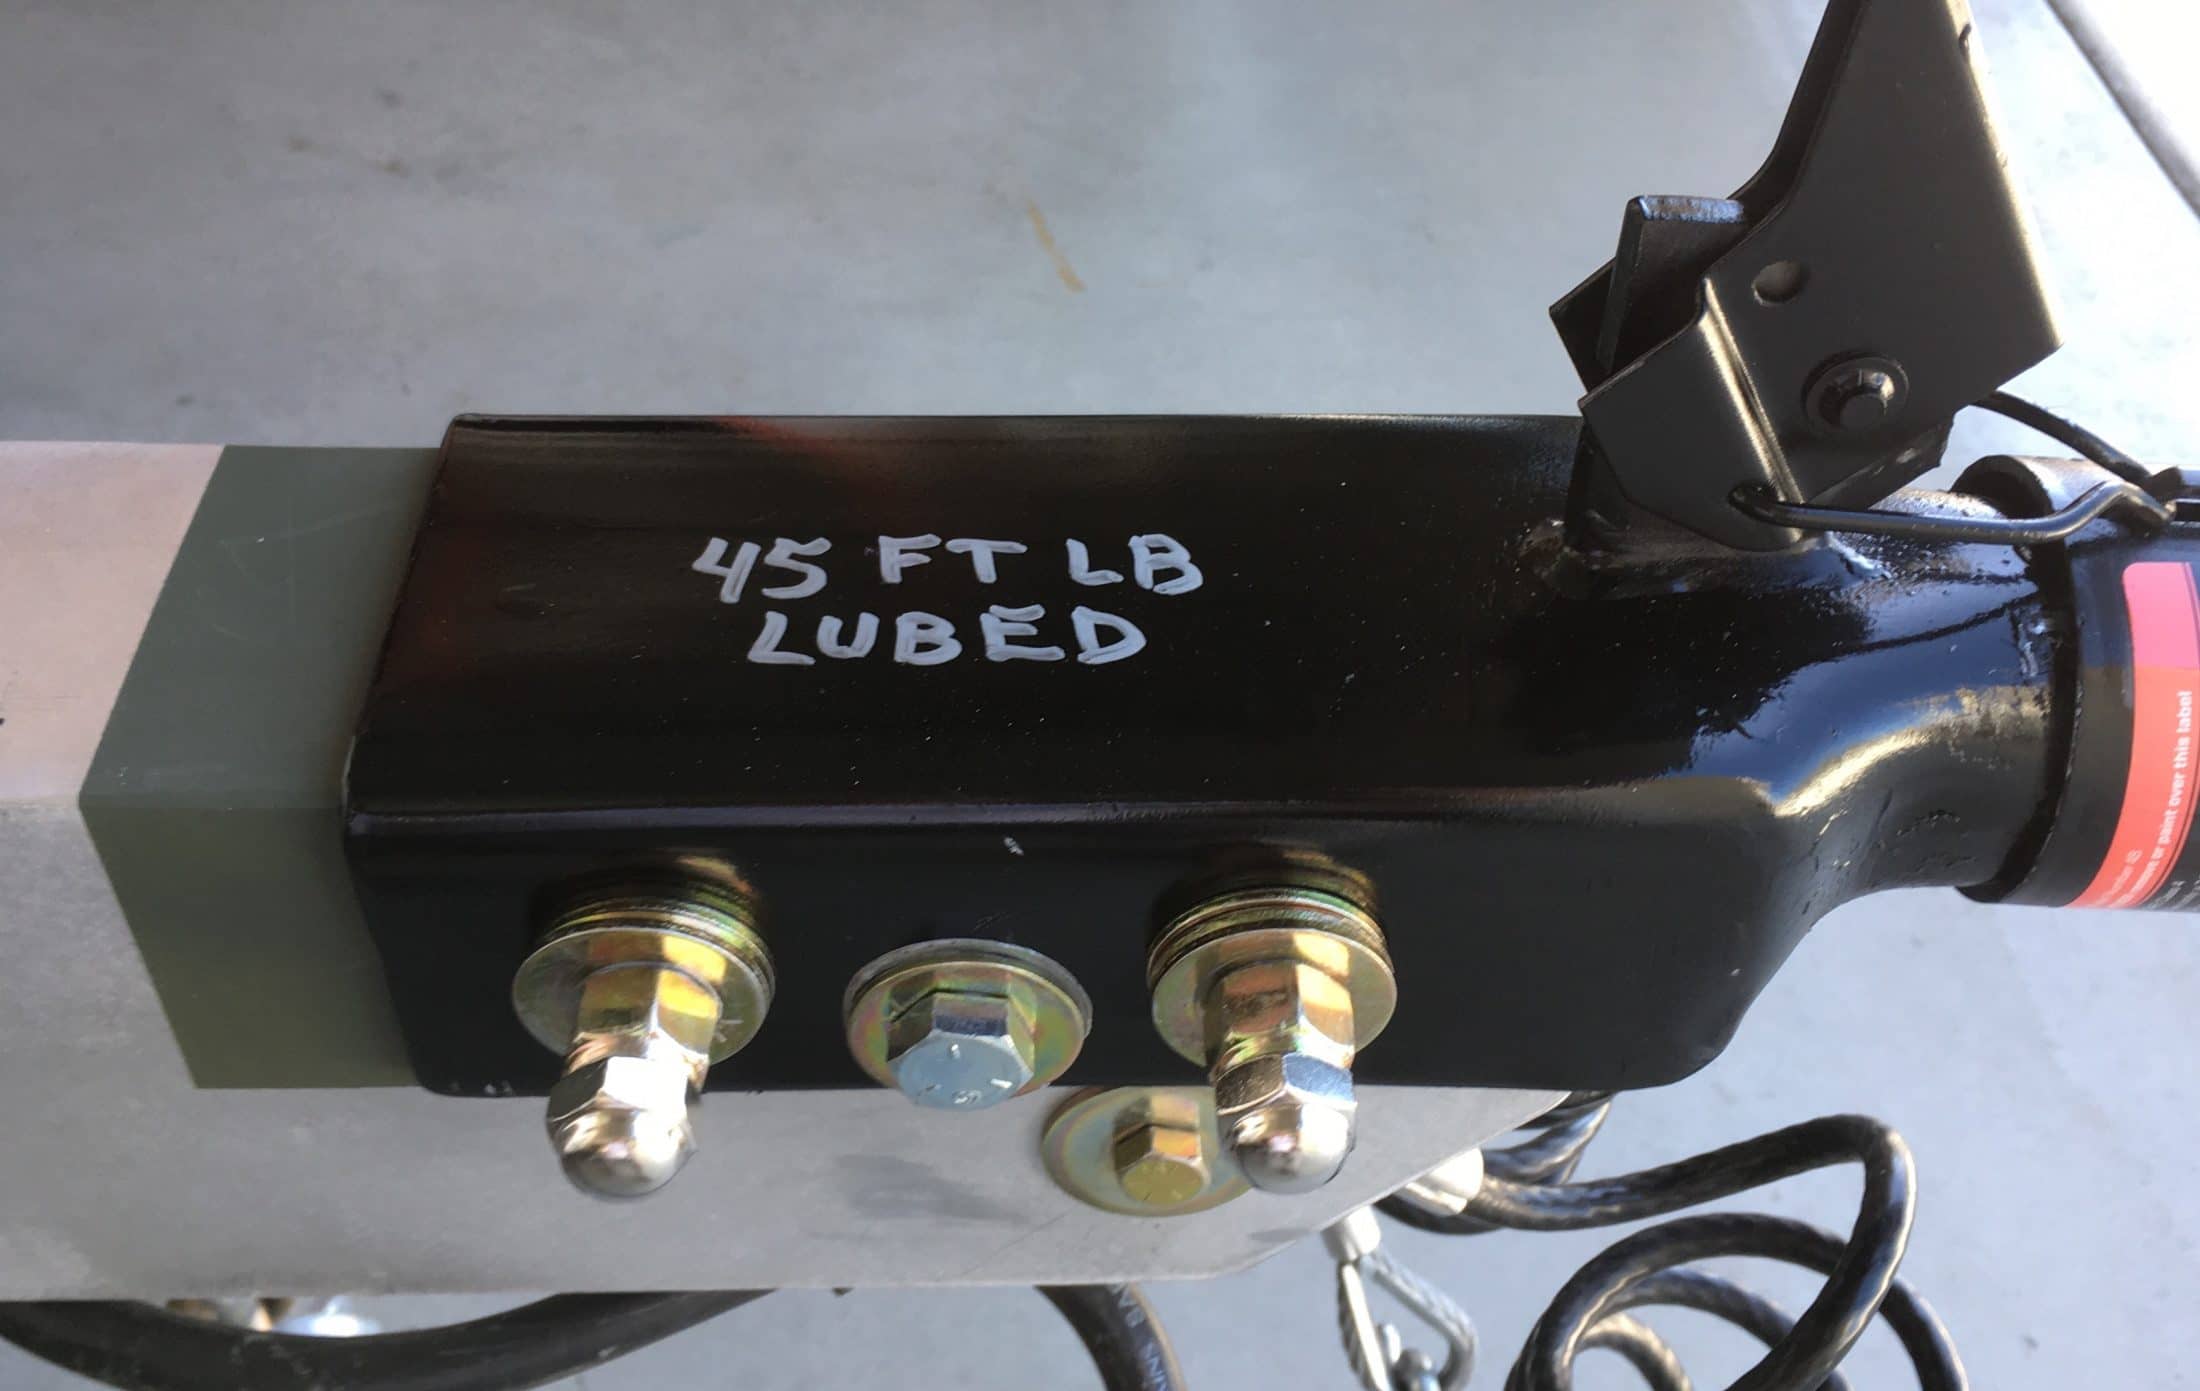
Here is a related thread, I thought this one should be spun off since folks might want to just add the parts to their existing coupler. .... https://olivertraveltrailers.com/topic/how-to-upgrade-the-bulldog-coupler-and-andersen-hitch-to-2-5-16/ And here is a thread about the hardware failure that prompted me to do this mod. There is a very good discussion there. ... https://olivertraveltrailers.com/topic/bulldog-coupler-complete-bolt-failure/ Here are the bolts I removed: The fundamental problem is that the couplers are fairly crudely formed. The sides are wider than the tongue, so when you torque down the nuts, the sides squeeze together to pinch the frame. This clamping force is what keeps the coupler from moving up and down when towing. The sides are not perfectly parallel. You can see that the failed bolt's washer was not contacting evenly - this puts a bending load on the head and nut. The right bolt has a slight bend from this misalignment, but it neither broke nor stretched, as you would expect from over torquing. I think I just had a bad bolt that was too brittle. I am pretty sure I did not over torque it. Please NOTE that this bolt failed catastrophically with a BANG and it launched across the garage when I was retorquing it after the initial installation. It did not fail while driving down the highway. Though that is not impossible. I decided to replace the bolts with Grade 5 which are more tolerant of bending loads like this. Bulldog support said that there were no issues with using the Grade 5 bolts, and that is what is recommended in their installation instructions. He also said that Grade 8 is fine, if you use the appropriate torque. Grade 5 torque should be 55 ft lbs. Grade 8 should be 80 ft lbs (and this value is specified in the Oliver technical bulletin on Torques.) When installed with anti-seize, as I did , the torque should be reduced by 20%. I chose this location so that there would be no need for spacers inside, and adding two extra bolts instead of one long one would add even more strength and safety factor. I added two 1/2-13x 1 3/4" Grade 5 bolts. I used Grade 8 nuts and washers since they are harder and do not compress as much, and they look nicer too. Also, the supply house did not have any in Grade 5 ;) Remove the safety cables for better access. Unbolt the coupler. Tape it to prevent scratching. Lay out the new hole locations. Center them between the existing holes and up 3/4" from the bottom edge. This location allows you to reach the nuts with a 3/4" open end wrench, even when the safety cables are installed. Drill the new 1/2" holes. A drill press is very helpful but not mandatory. A bench and stout vice would work well too, or you could even do it sitting on the ground with the coupler installed. Insert two new long Grade 5 bolts and place a jack stand under the coupler end and retract the trailer jack. You want the coupler loaded upward in the direction it wants to move. Drill the new holes in the tongue, using pilot holes to start. The new holes in the coupler act as precision guides. Remove the coupler, clean it and the tongue to remove burrs and shavings. It is not prudent to leave steel savings jammed into aluminum, it will cause corrosion. Clean and paint the coupler. I like Dupli Color Brake Caliper Paint - it goes on beautifully and does not require a primer coat. Paint the tongue with a good metal primer. I use Dupli Color Etching Primer which is specifically recommended for aluminum. (I primed the tongue just a month ago, so I touched up the scrapes with a Q Tip.) Lay the coupler on the tongue. Reassemble the new long bolts with one washer under the head and two or more under the nut. This ensures that the nuts can't bottom out on the unthreaded shank and cause problems. Some early Olivers were delivered with too few washers. With the coupler loaded vertically as before, install the two new short bolts. Use one washer under the head and one under the nut. Double check that the bolts are not too long, they must not hit each other when tight: If you used anti seize compound, which I do recommend, torque to 45 ft lbs. Tighten the bolts alternately a little at a time, like doing wheel lug nuts. If you do this "dry" torque to 55 ft lbs. Cut off any excess threads, leaving 4 or 5 threads for the cap nuts, if you want to use them. Install the pretty stainless cap nuts to conceal the cut end, to hide the rust and protect your shins from cuts. Write down the torque on top of the coupler. Recheck the nuts for looseness after the next day of towing. As an alternative, you could install a hardened hitch pin completely through the coupler lower holes. This would act as a safety pin in case a bolt should fail on a trip. You could probably tow your trailer to a shop to get it fixed rather than having to call AAA for a wrecker. I suggest a 5/8" set of holes and a 5/8" pin since that would give additional strength and you could even install a locking hitch pin, as a visual theft deterrent. I asked Oliver Support if they would consider adding a third through hole with compression sleeve, like the other two. This would provide much more strength, but more importably it provides a safety factor if one should fail. It will be interesting to see what develops. This shows that you can get access even when the cables are not removed: John Davies Spokane WA
-
Thanks for the pictures. The fan does get gross..... FYI that frame is not a frame at all. The actual frame is screwed and sealed to the roof, outside. That piece you see inside is just a cosmetic trim ring. It slides over the frame to adjust for different roof to ceiling lengths. Go ahead and take it off if you like, the caulk should NOT be there. If rain water gets down inside the fan it will pool up inside the trim ring and then migrate into the space between the inner and outer hulls. Not good, but not super harmful. If there is no sealer there, any water in that area will drip out and onto the floor, or onto your head..... Hmmm, maybe it would be better if the water stays up there..... LOL John Davies Spokane WA
-
Bulldog coupler complete bolt failure !
John E Davies replied to John E Davies's topic in Mechanical & Technical Tips
I actually considered that a couple of years ago. The basic problem is that there is an air gap between the top of the frame and the bottom of the coupler. The coupler is crudely formed so it relies on the clamping force against the sides of the tongue. I felt that extra side force was better engineering than adding extra hardware at 90 degrees to it. The frame would likely distort unless you added an extra plate underneath or bedded the coupler in epoxy. There isn’t room for a plate due to the compression sleeves being in the way. Bedding it would be OK if you applied a release agent to the frame. But it might trap water, which would be very bad. John Davies Spokane WA -
Import water via boondocking port with water filter?
John E Davies replied to DavidS's topic in Ollie Boondocking
You need to use a remote pump at the source, and use the positive pressure to move it through your filter. A suction pump just won’t work, the filter provides too much restriction. It might work if your water was in an above ground tank and you could pre-fill the hose, to use the syphon effect. One of these connected to your potable water source would work great with an inline filter. .... https://www.amazon.com/HydraPump-Mini-DC-Portable-Connectors/dp/B01K10757O John Davies Spokane WA -
Bulldog coupler complete bolt failure !
John E Davies replied to John E Davies's topic in Mechanical & Technical Tips
Oliver uses these exact bolts at the factory, the hardware was not an upgrade. Some of their installations, like mine, did not have enough washers under the nuts. I only replaced like for like. But my relacememt nuts had enough washers. I did contact Bulldog, and they said that Grade 5 was plenty good, Grade 8 was also acceptable. I reworked mine with Grade 5 bolts (and Grade 8 washers and nuts) since I think one issue is that when the poorly formed sides of the coupler are squeezed together, they do not mate perfectly with the tongue, and the nut and bolt head experience a bending force. The one that did not snap showed NO signs of distress or stretched threads (which would have indicated over-torquing) but it did have a slight bend at the threads. I added two more short bolts with the nuts inside the tongue. I reduced the torque value by 20% due to the discussion here, but I do not think that was the problem in the first place. I can't recall the last time I busted a bolt or stud during installation.... I'll start a new thread about this mod when I get the time. I do think that additional hardware is a good safety factor, that might prevent a call to AAA if you have a failure on a trip. Thanks everyone, for your patience and participation. I have sent Oliver Service some pictures for their examination. Maybe they will consider adding a third sleeve and through bolt. And bigger would be better... John Davies Spokane WA