Leaderboard


Popular Content
Showing content with the highest reputation on 08/16/2018 in all areas
-
Original look New look Looking out (heavy duty pet screens)
 4 points
 -
I think this is the last trip I'll take to Montana and the Canadian Rockies in the late-summer or fall. Fortunately, fires and smoke didn't affect my backcountry dirt/gravel loaded bike tour in and near Glacier N.P. from August 5 to August 11. But on Saturday, August 11 three fires started in Glacier due to lightning strikes. We hiked on Saturday and Sunday, but by Monday, some campgrounds were being evacuated and part of the Going to the Sun Road was closed. I left Tuesday for the Canadian Rockies--I should have researched the fires in BC and Alberta. The air quality was horrible and the visibility was very limited. I spent one night and turned around to head back to the U.S. British Columbia has had 1500 fires this year and Alberta has had almost 1,000. I'm going to try camping at or above 10.000 feet in the Carbondale, Redstone, Marble and Aspen Colorado area. Air quality is better there. I talked to campers from Alberta and B.C. who said that traveling to the Canadian Rockies in June is best. By August, the forest is very dry and they have had lots of fires in 2017 and 2018.3 points
-
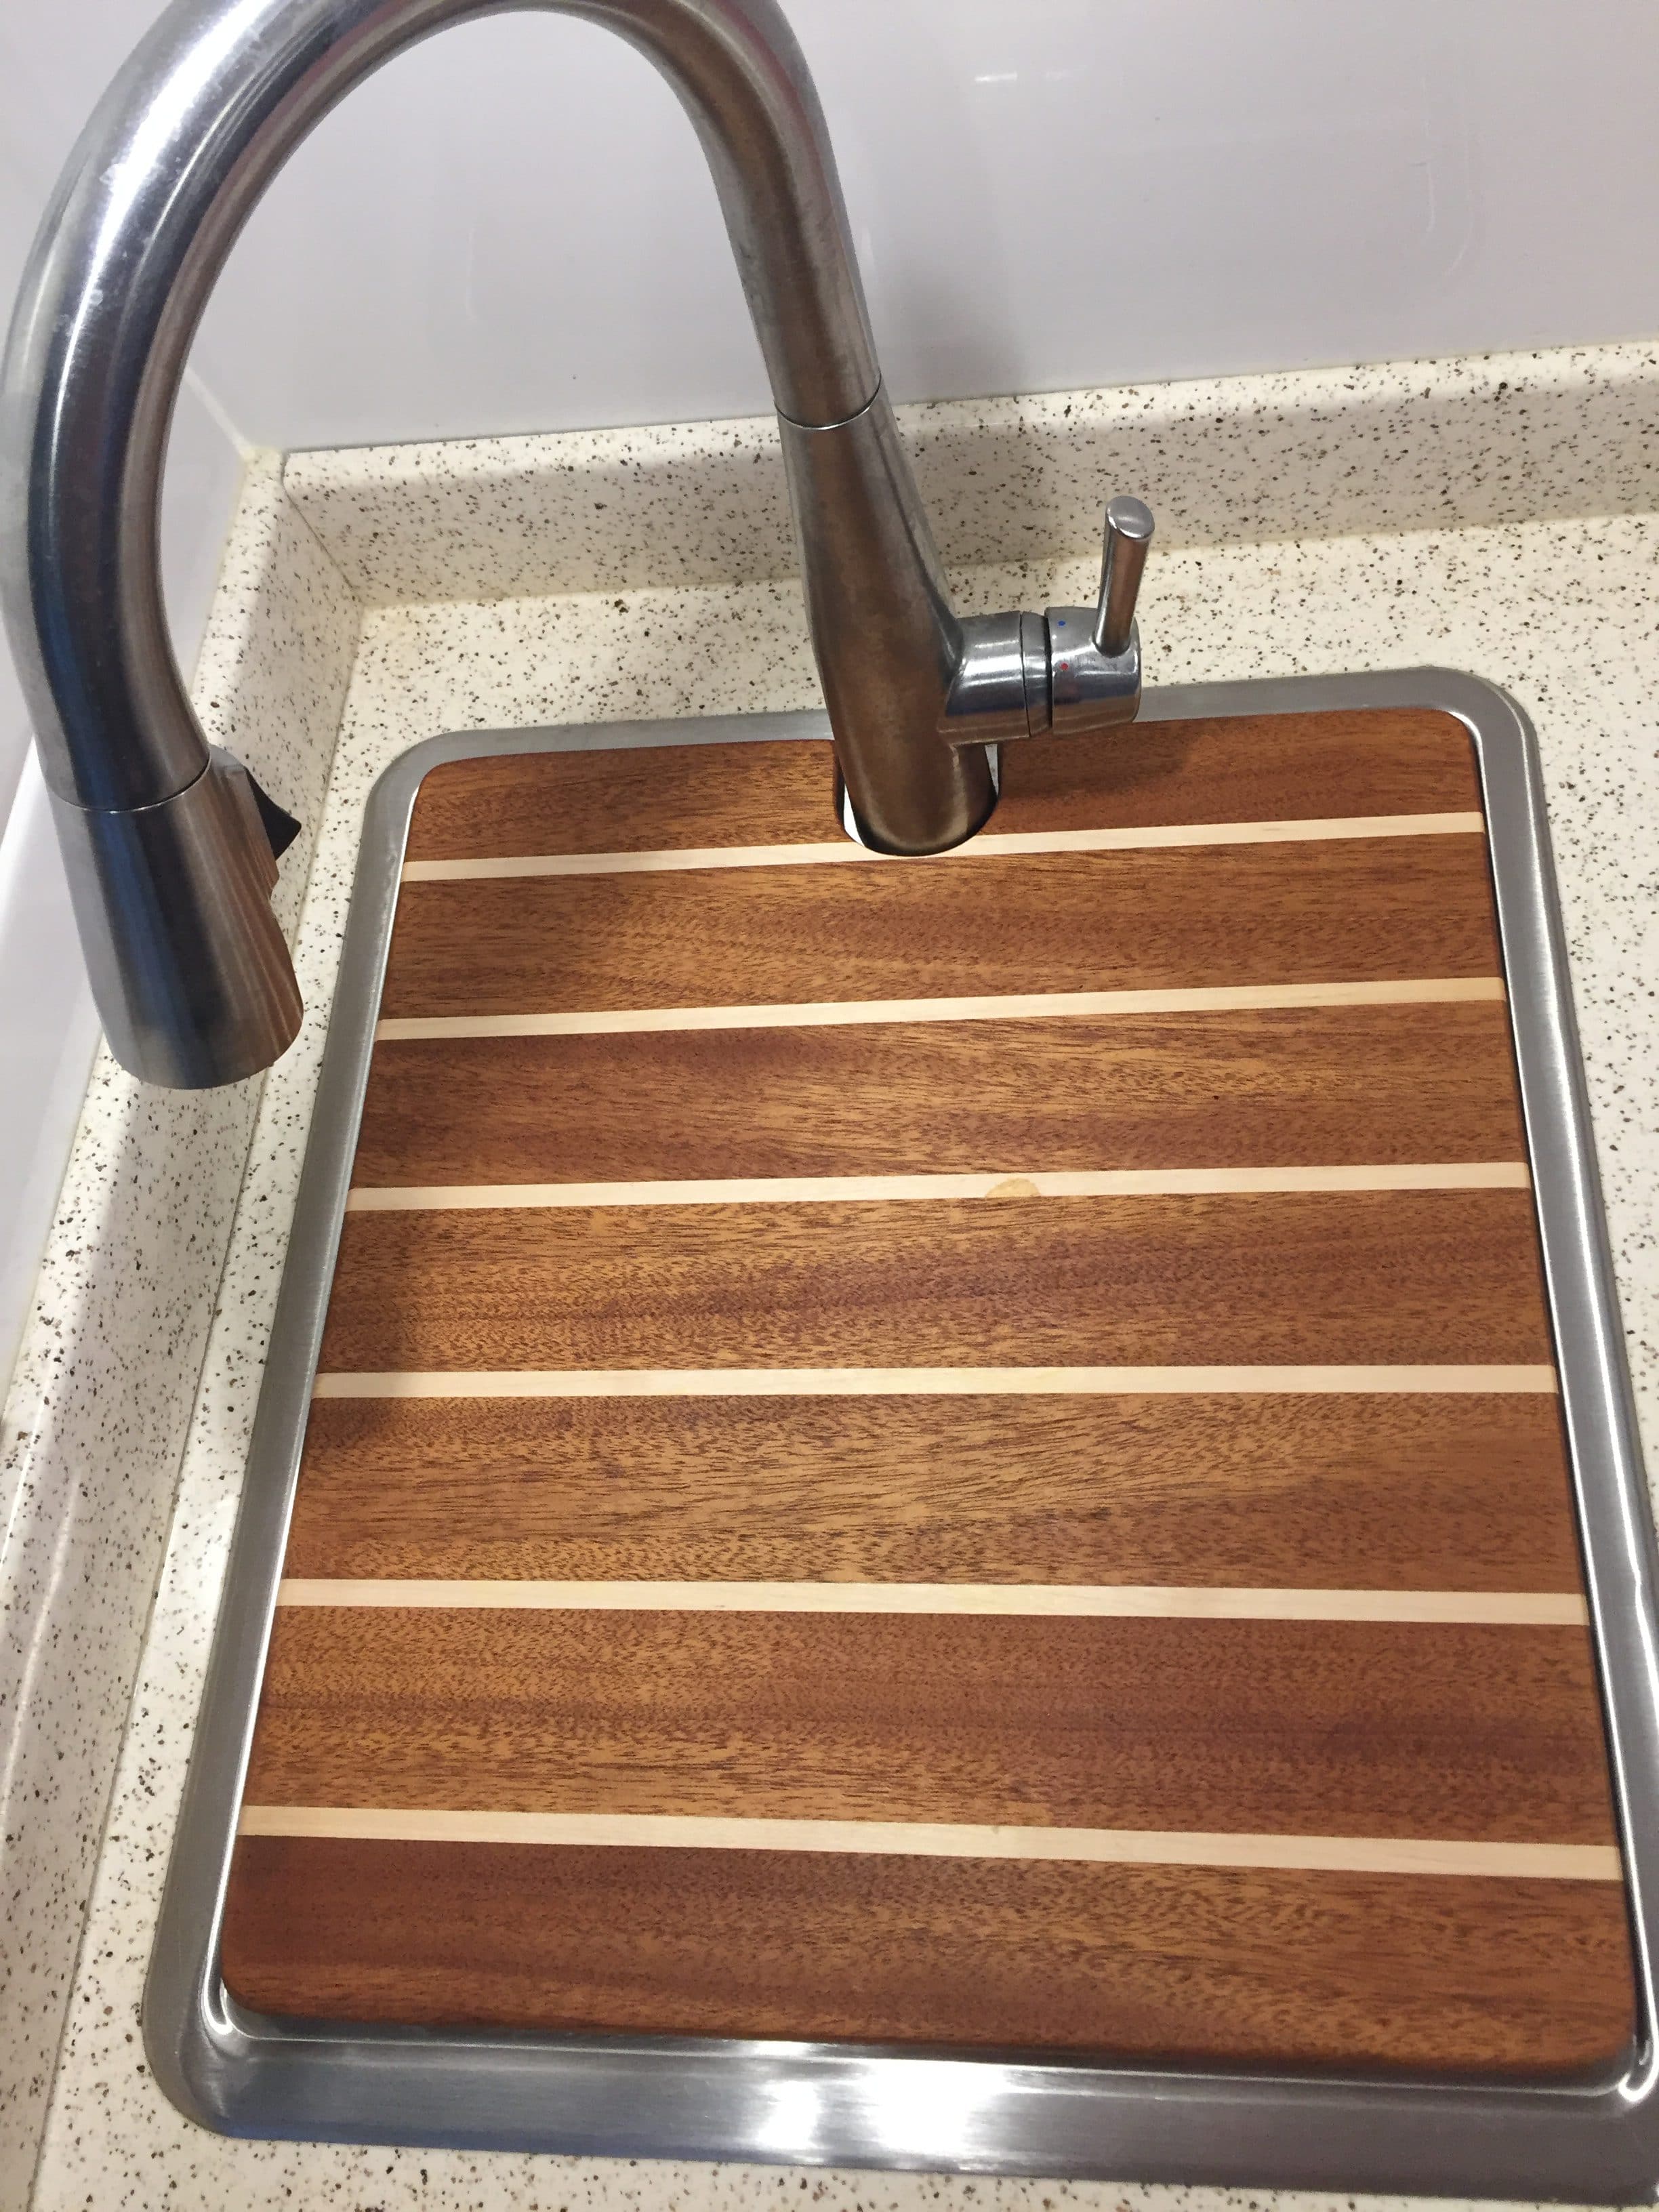
THIS PRODUCTION RUN IS NOW CLOSED. I have enough work for the next two week. Shower Mats are next, for those of you who have been asking. I will post it shortly. With summer coming to a close and a few weeks before we hit the road on our next camping adventure, I am going to take orders for cutting boards. Cutting boards are made to your specific sink size. They are Hondurans Mahogany and Rock Maple done in a ship decking pattern They are designed to stay in place when traveling and can be used on both sides. Cost $75 plus UPS charges to ship to your address. If you would like one please contact me at cell 516 635-5656 or email 48ocean@gmail.com Please note: These are wood and as such will need a little care from time to time. Cutting boards should be cleaned and dried after each use and a coat of plain mineral oil applied once a month to keep up their glow.
2 points
-
Don, Sorry to hear about the woes of your travel experience up this way. I feel your pain! FWIW, this is not a new situation with fires in just the last couple of years. I've lived in Montana for over 40 years and yes there were always threats of fires and a few cropped up from time to time, probably the most famous being the Yellowstone fires of 1988 but even that was unusual in those days. I used to live here for the summers, certainly not the winters, having frost bitten my feet a couple of times with long cross country ski trips. Anymore summers are a season of dread, I'm dead serious about this. Air quality here in SW Montana is awful now although our fire season started considerably later than all of our neighboring states, mostly due to the extreme winter we had with heavy snow. But we get smoke from fires in other states as far away as CA, NV, OR and or WA and others. What I am getting to is we have been experiencing wide spread western fire seasons such as this for what has to be a decade ± a year or so by now, and doubt there will be much of an end to it anytime soon if ever. I can understand those who want to come earlier (May & June), and you can certainly do that but understand there will still be lots of snow in the mountains meaning hiking becomes very difficult if not impossible unless you're an extremist. For active people you might end up with a windshield tour of the area rather than a true outdoor adventure unfortunately. Weather can also be highly unpredictable during these months too. Its not at all uncommon to experience 1-3 foot blizzards and snowstorms during April and May, (they are a given in Mar-Apr) here in Bozeman at just under a mile high. I have photographs to prove it too. But on a good year May and early June can be downright gorgeous with snow capped peaks and green grass and fields that defy the imagination. Just don't expect to bag too many peaks during this time. Lower elevation cycling is generally good however during this period, albeit a bit brisk and chilly at times. Come prepared. Feel free to contact me directly for any future trips, be glad to provide an on the ground report. Hope this helps, but probably not too encouraging.2 points
-
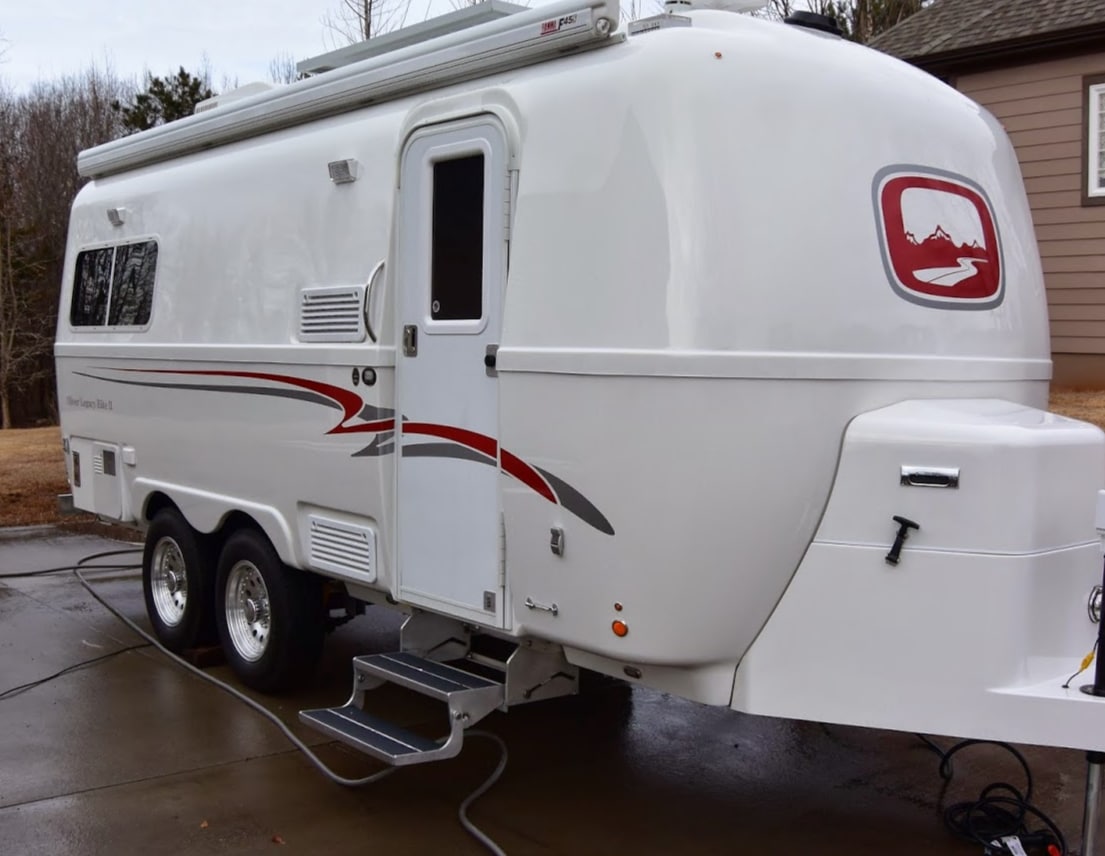
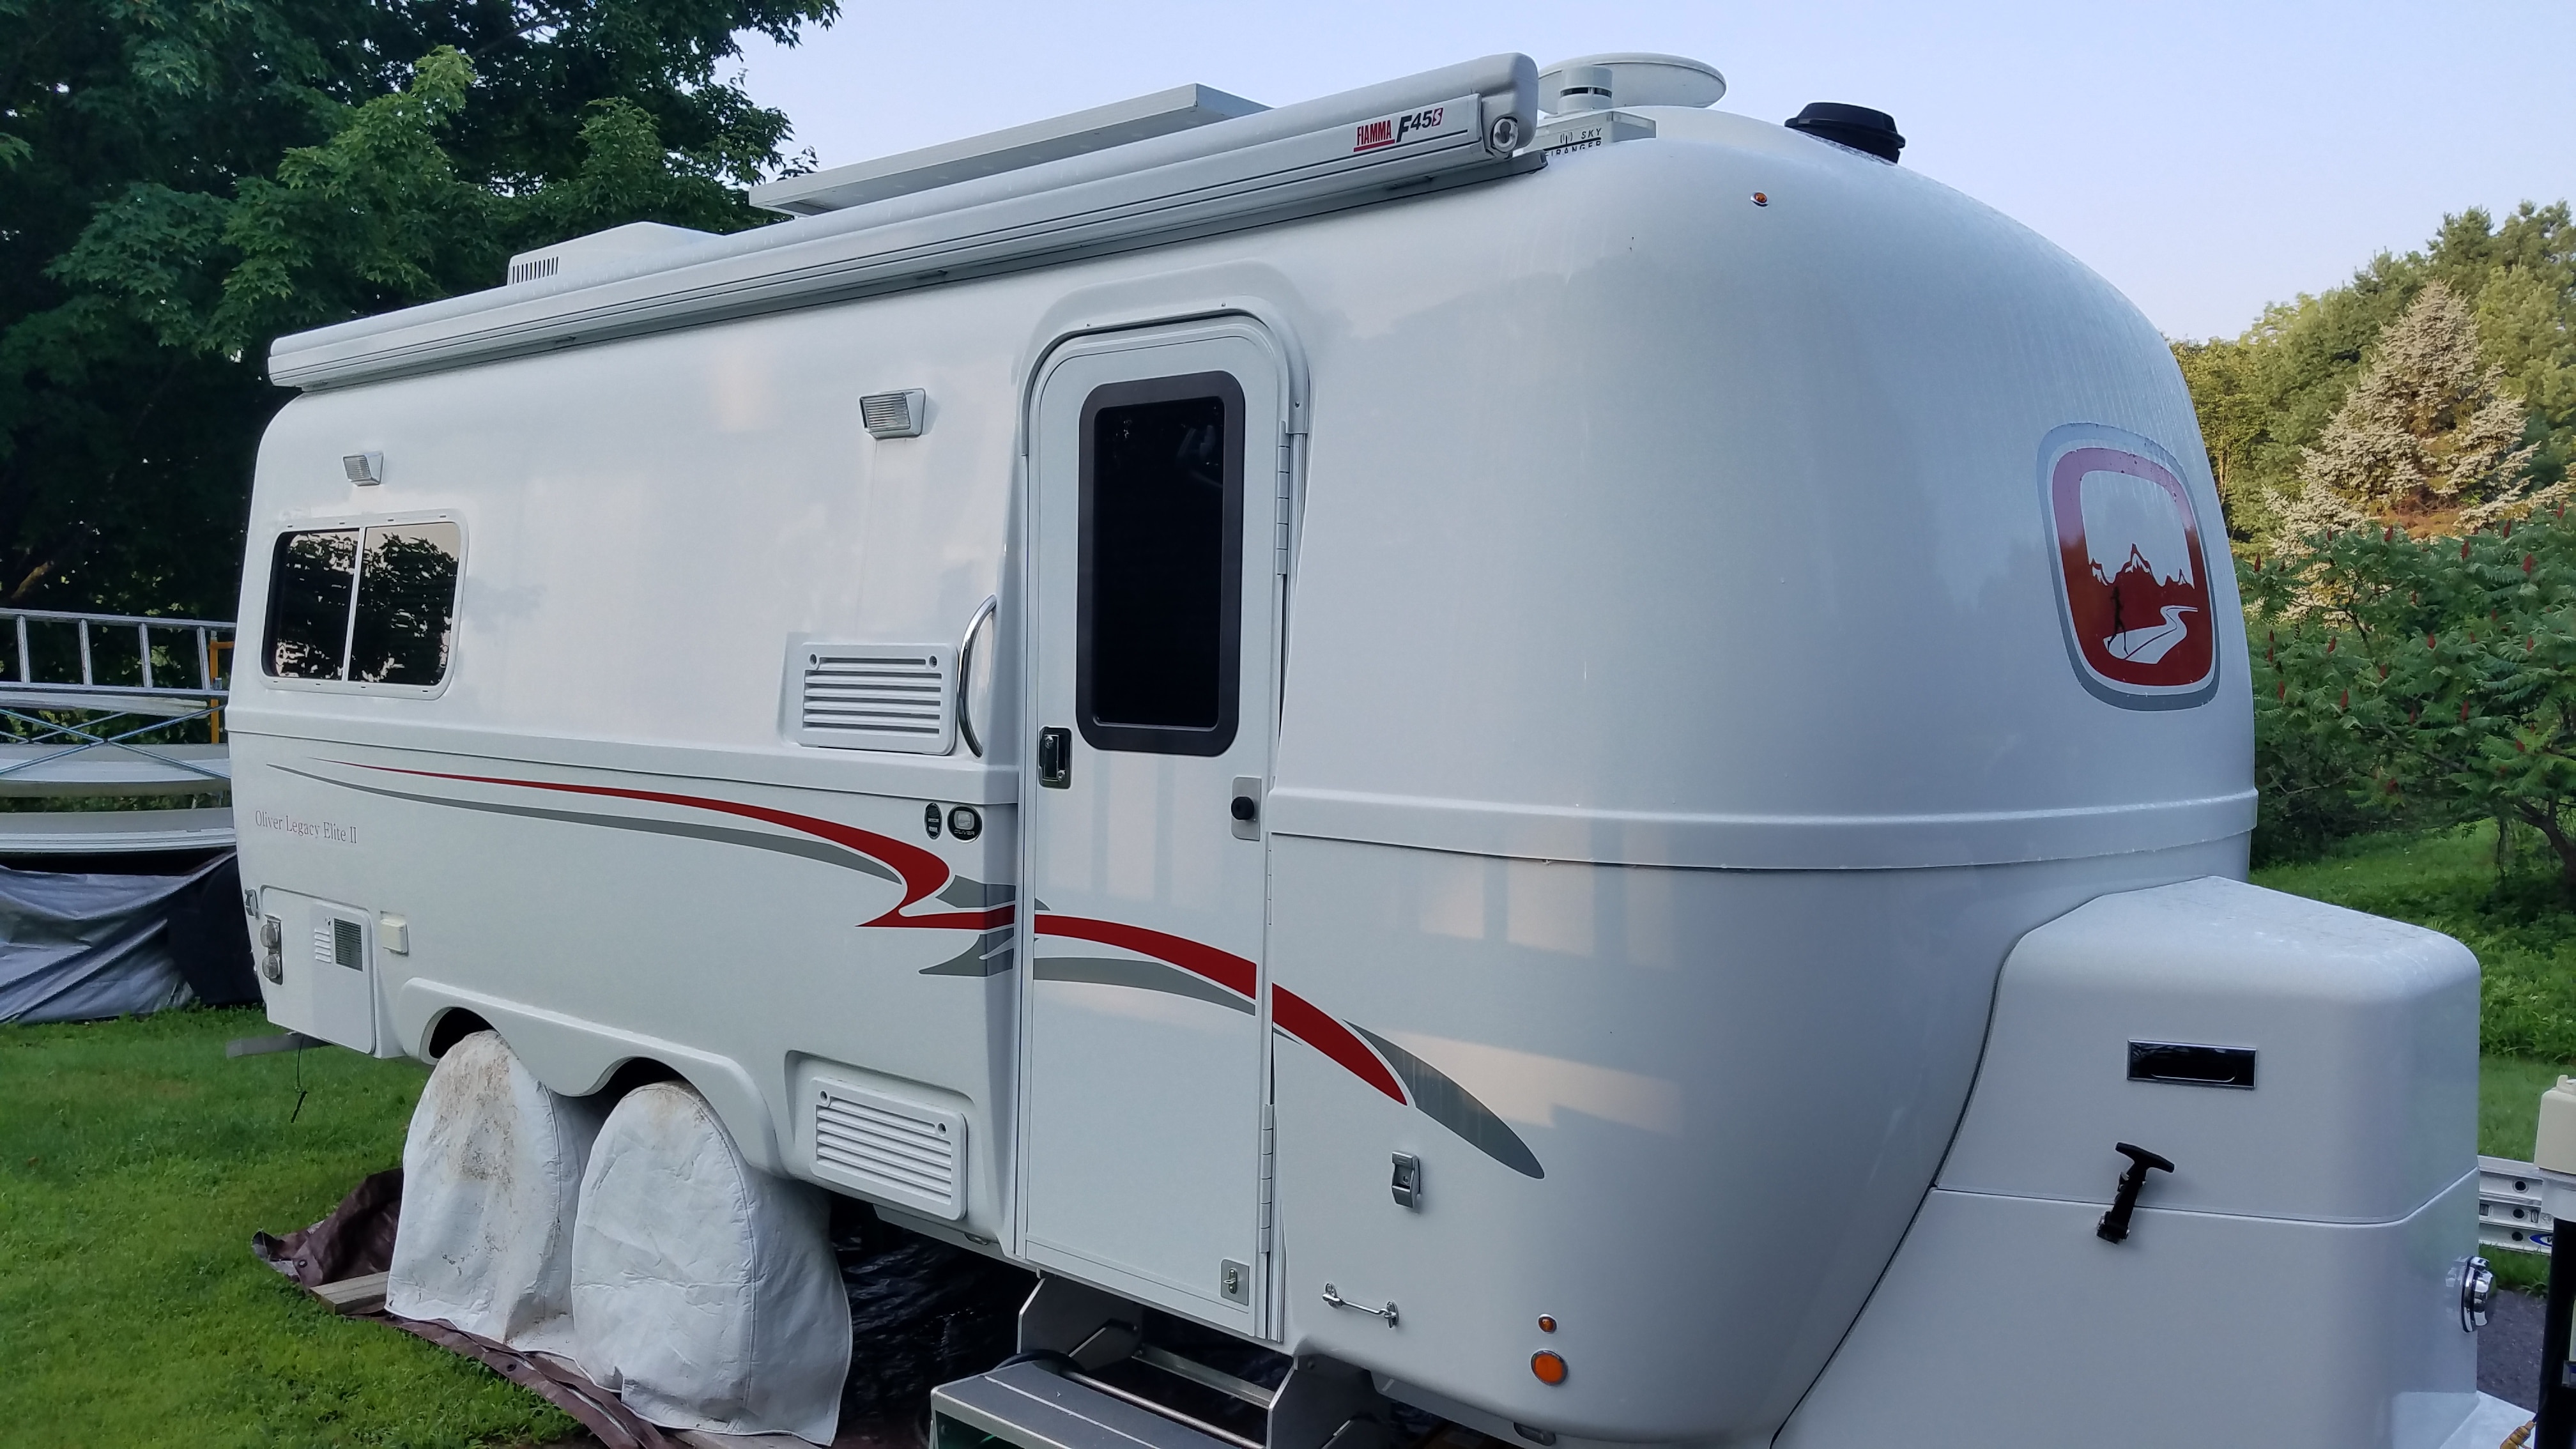
We're Tom amd Marie Martin and we're "soon to be" new Oliver owners of a Legacy Elite II (twin bed model). Our Hull No. will be #382 and we are excited to be joining the Oliver family. We have owned "several"different campers from a motor home to tag a-longs and fifth wheels since we began camping approximately 40 years ago. We visited the factory last October after hearing about the quality of Oliver Travel Trailers and .... long story short...we were amazed. Can't wait to meet fellow owners on the road and at the rallies. Tom and Marie Martin ( tomar)1 point
-
I sent you an email yesterday. I would love to purchase one. ThanksRB1 point
-
I’ll take one. Email sent. Bill1 point
-
Beautiful work.1 point
-
Many silicone adhesive sealants are for compression gasket applications. After I removed what I believed to be 3M 4000 two times on the rear exterior Oliver LED lens above the rear window, did not want to remove it again since it's very tough stuff. Both times water leaked down from the LED housing, between the inner and outer camper shells around the rear window dripping from the bottom of the rear window onto the curbside mattress. Ended up using a flexible Marine silicone sealant to mount/seal the lens. This silicone is a multi purpose marine sealant/adhesive for above and below water applications (compression gasket) and it also bonds to fiberglass, plastic, wood, glass, metal, and ceramic tiles. No leaks for over a year since using marine silicone to seal/secure the exterior LED lens.1 point
-
John Davies posted a detailed description of how to attach a bubble level to the front of the trailer, without needing to drill into the fiberglass. I followed his instructions, and I am happy with the result. I can see the level in my rear view mirror, and use that with curved levelers.1 point
-
Chris and Duke, Very happy you two can make it! No need to chip in on the fish, we got that. I am so looking forward to Not Yo Mama’s Banana Pudding! Happy trails,1 point
-
4000 is a great choice - it is very resistant to UV and will not yellow - but all of the high tech 3M sealants are a pain because they must be used within about a day or two. Once exposed to air the entire tube will “kick off” and you won’t be able to use it the next time. I really wish they would offer these products in a 2 ounce size for say $4. It is very expensive to use the bigger tubes for a small repair. ... https://www.3m.com/3M/en_US/company-us/all-3m-products/~/3M-Marine-Adhesive-Sealant-4000-UV/?N=5002385+3293242579&rt=rud Be aware that regular cheap silicone sealers are generally a poor choice, the ones that do not include the word “adhesive” in their name. The better grades of Marine ADHESIVE sealer work fine for small stuff. But none of the silicones stick very well to stainless steel. If you have a job that penetrates the roof, use 4000. 5200 is for super permanent jobs. Do not mess with 5200 if you ever plan to remove it wthout a lot of swearing! I think I told this story before, but I will repeat it. I bought a 27 ft SeaRay cruiser new in 1988. They built it with cheap clear silicone and within six months every joint on all the stressed parts on the deck (such as cleats and life rail stanchions) opened up and let water into the balsa core. We are talking about several dozen holes. The upper and lower surfaces delaminated, when the core swelled and became mushy. When you walked on it, water would squirt out of fittings. They had to ship it to Arizona where it had been built. I insisted that they use 5200 for the big hull to deck joint, and 4000 for all the small parts when they installed a completely new deck. That blew three months of a short Seattle boating season.... It taught me a big lesson about balsa core construction, stainless parts, silicone sealer and idiotically poor build quality in general. Maybe that is why I expect a little too much from Oliver in terms of quality control.... As far as prep work, NEVER use alcohol for cleaning parts that you will glue with 4000 or its brother products. It will prevent the sealer from bonding. Use MEK, lacquer thinner or a similar commercial solvent. It says this in the instructions on the tube. It pays to use a good product, even if it costs a lot more. Weigh the extra cost against getting a leak, having to deal with the mess and possible damage, and having to do the repair all over again ..... John Davies Spokane WA1 point
-
Going from memory, I think the power-in cables on mine (battery & solar) are red, and then it switches to black for distribution. The negatives are all yellow, except the solar which is black (probably because they couldn’t get yellow in the higher gauge). The 120v side is standard black hot, white neutral, green ground.1 point
-
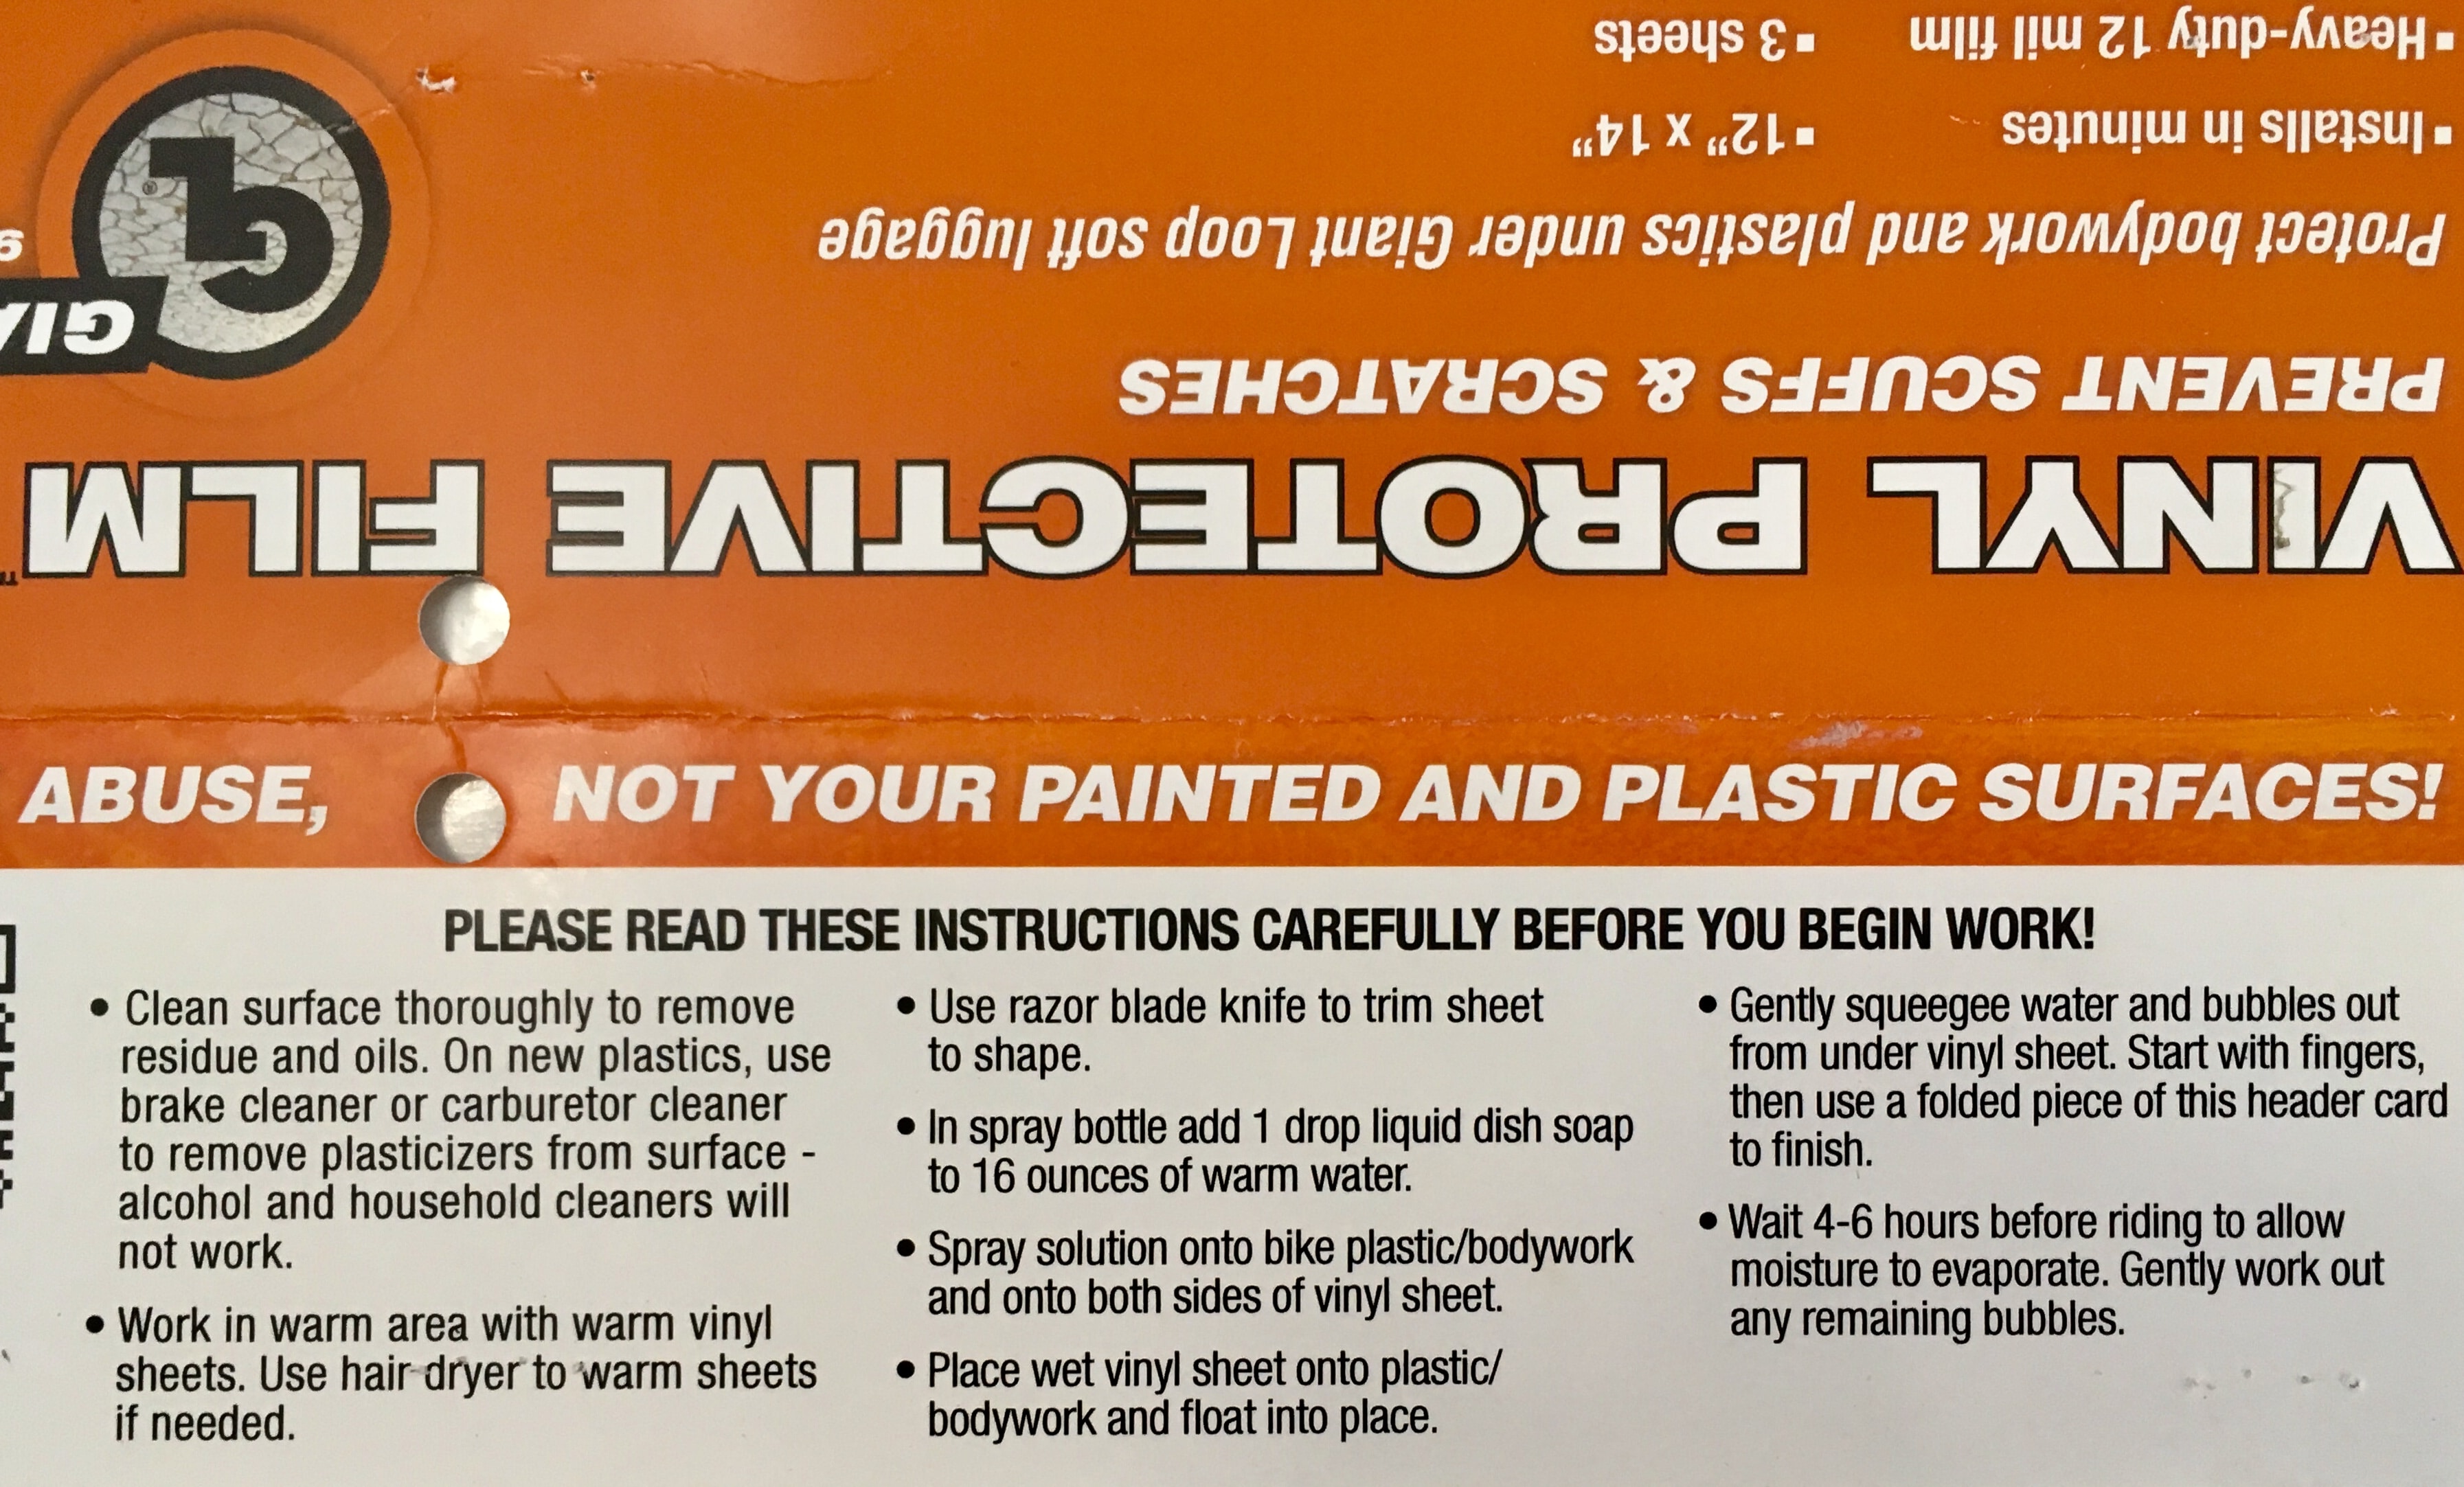
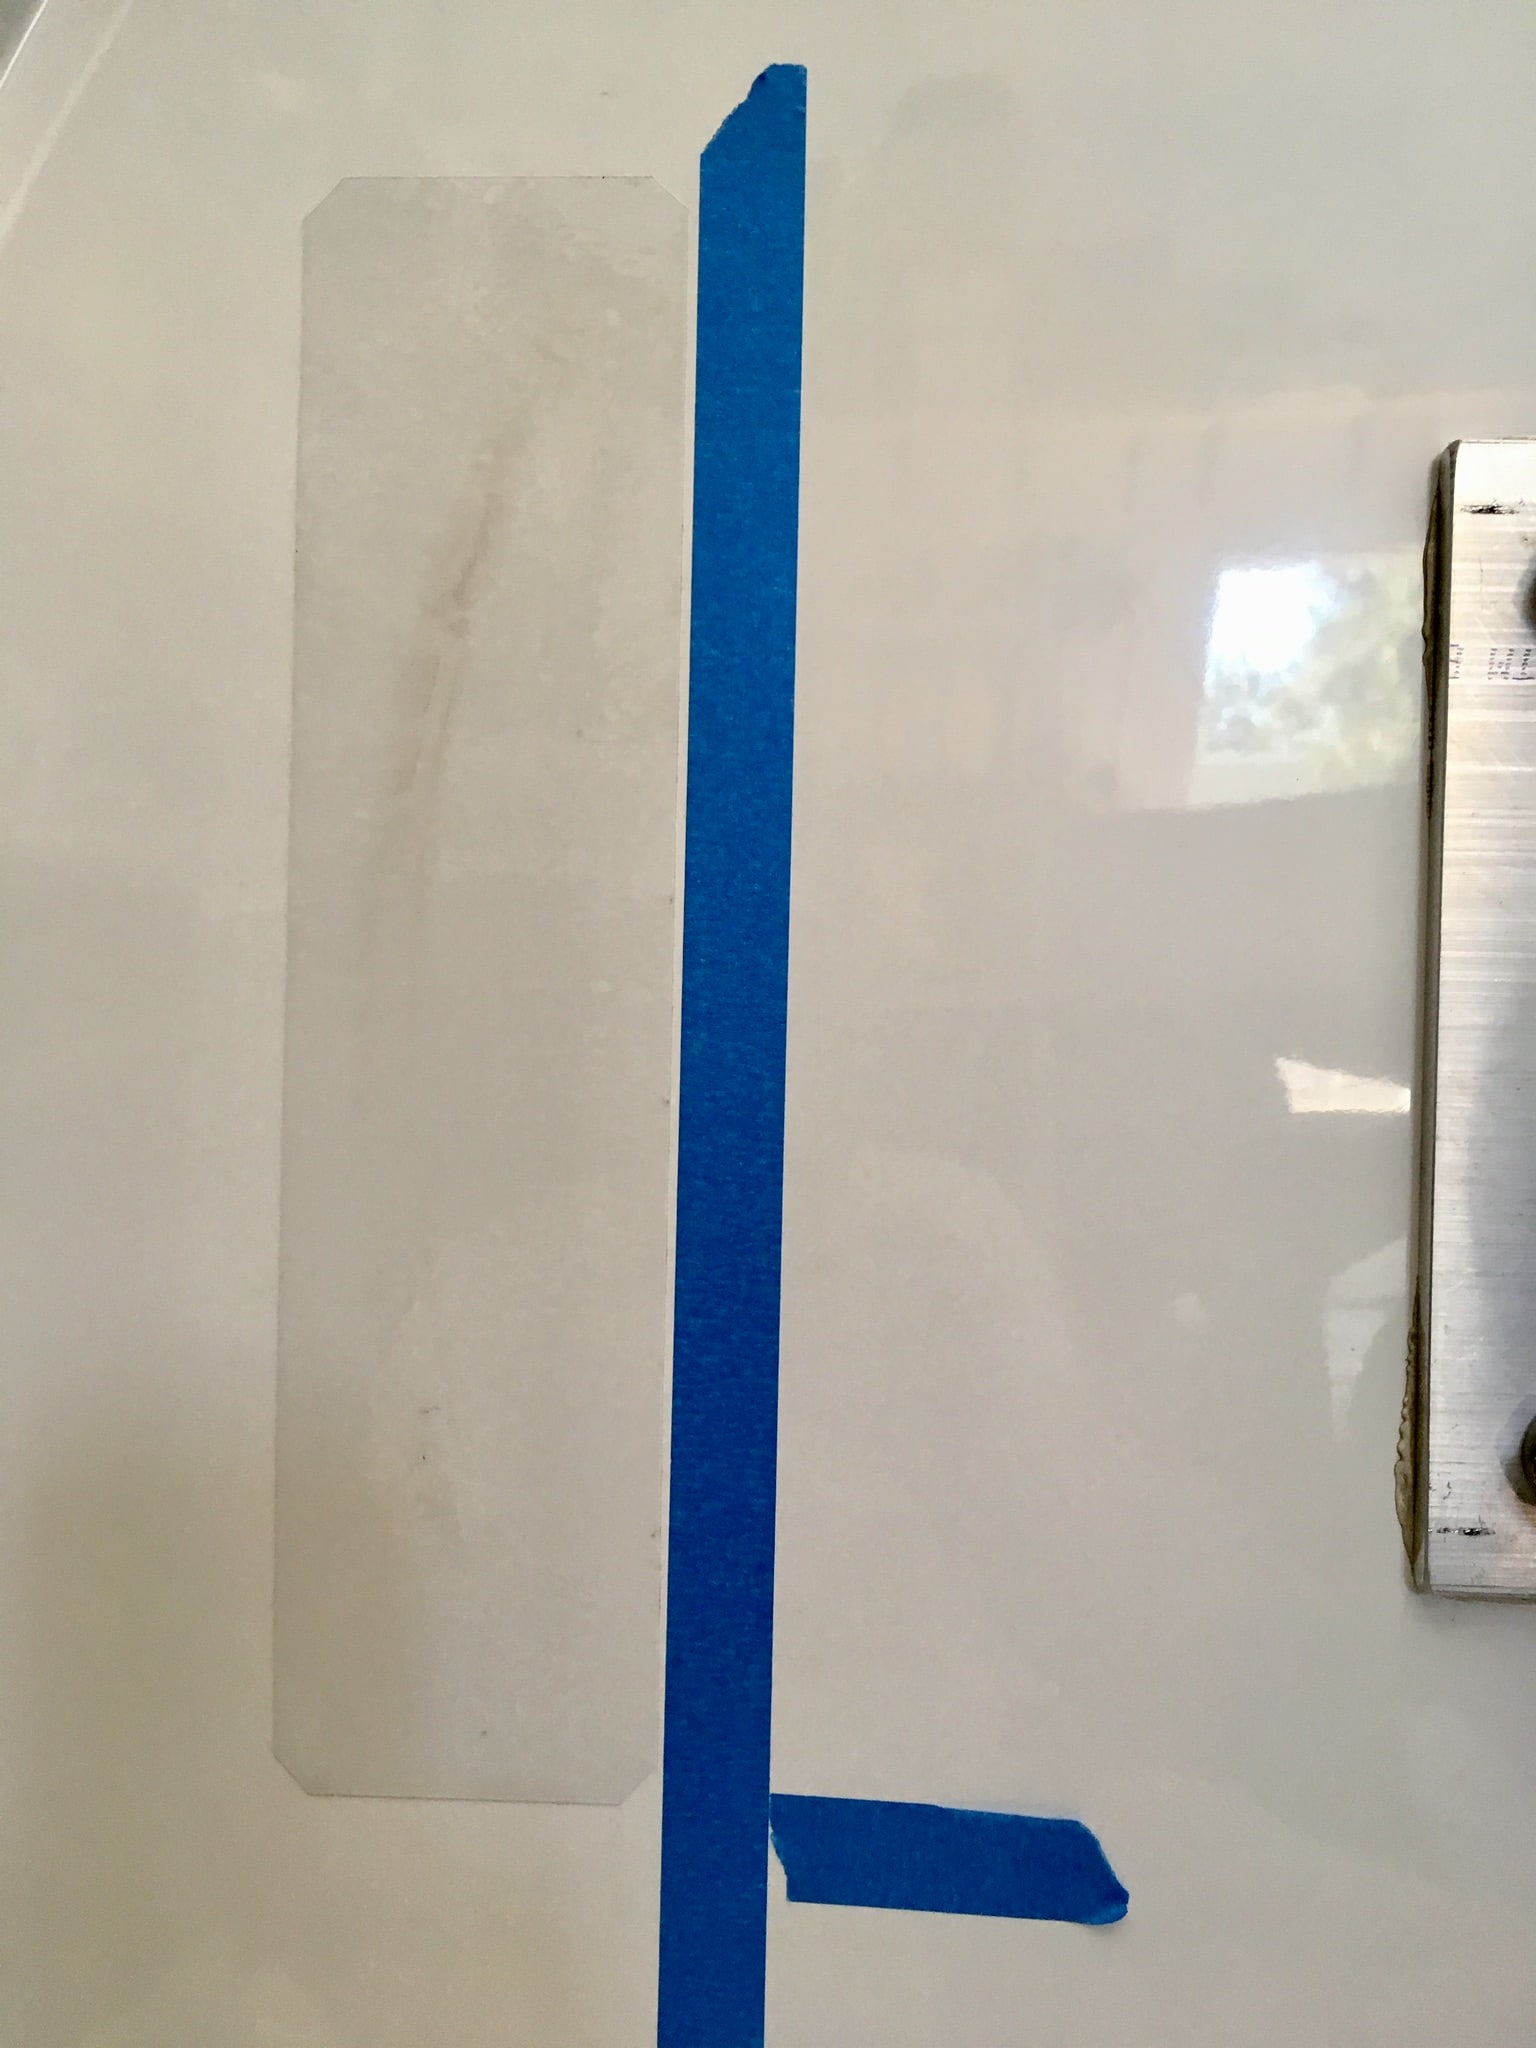
This is an easy mod, you just need some heavy urethane film, such as is used on headlights as stone guards. It needs to be thick, not the thin stuff used as a car bra. I used 12mil (0.012”). I noticed that the spare tire was chafing pretty badly in two places, so I decided to install a pair of pads. After cleaning with 3M Adhesive Cleaner, all that glop came off, but the gelcoat was pretty scuffed. I used some film I already had, cut a couple of 3”x12” strips, and installed them as per the instructions using soapy water. I laid out some pieces of tape at 5 inches from the tire mount to act as guide lines, and I used a 3 inch rubber roller to get the bubbles out rather than a squeegee or piece of plastic. [attachment file=136477] This area is invisible normally, but I feel better knowing it is protected,and it will stop gel coat from getting on the outer sidewall of the spare. While I was in there I applied RejeX, to get that mirror shine and repell dirt. ... https://www.amazon.com/Rejex-High-Gloss-Protective-Finish/dp/B00GM6NF0I Here is the source for the film I used. ... http://www.giantloopmoto.com/product/vinyl-protective-film/ John Davies Spokane WA
1 point
-
Update.... this has been working really well and I appreciate the ease of getting the trailer close to level just by driving back and forth a few feet. An extra body outside is useful for levelling front to back, but even if you are alone it is helpful to get the best location to park. If a site is fairly level, you often can get the trailer aligned in both directions without ever using the jacks. If the terrain is sloping, look for a site that slopes downward from the entry. Then you can use the rear jacks only to level and raise the back, leaving the hitch connected to the truck. This saves time and fussing twice since you can just drive off the next morning. .... Remembering that your rear jacks are deployed, of course! A short piece of red surveyors tape draped around the top of the front jack, or from the top of your steering wheel, will remind you, if you are the forgetful sort like me... driving away with any of the jacks down would be bad and very embarassing. John Davies Spokane WA1 point
-
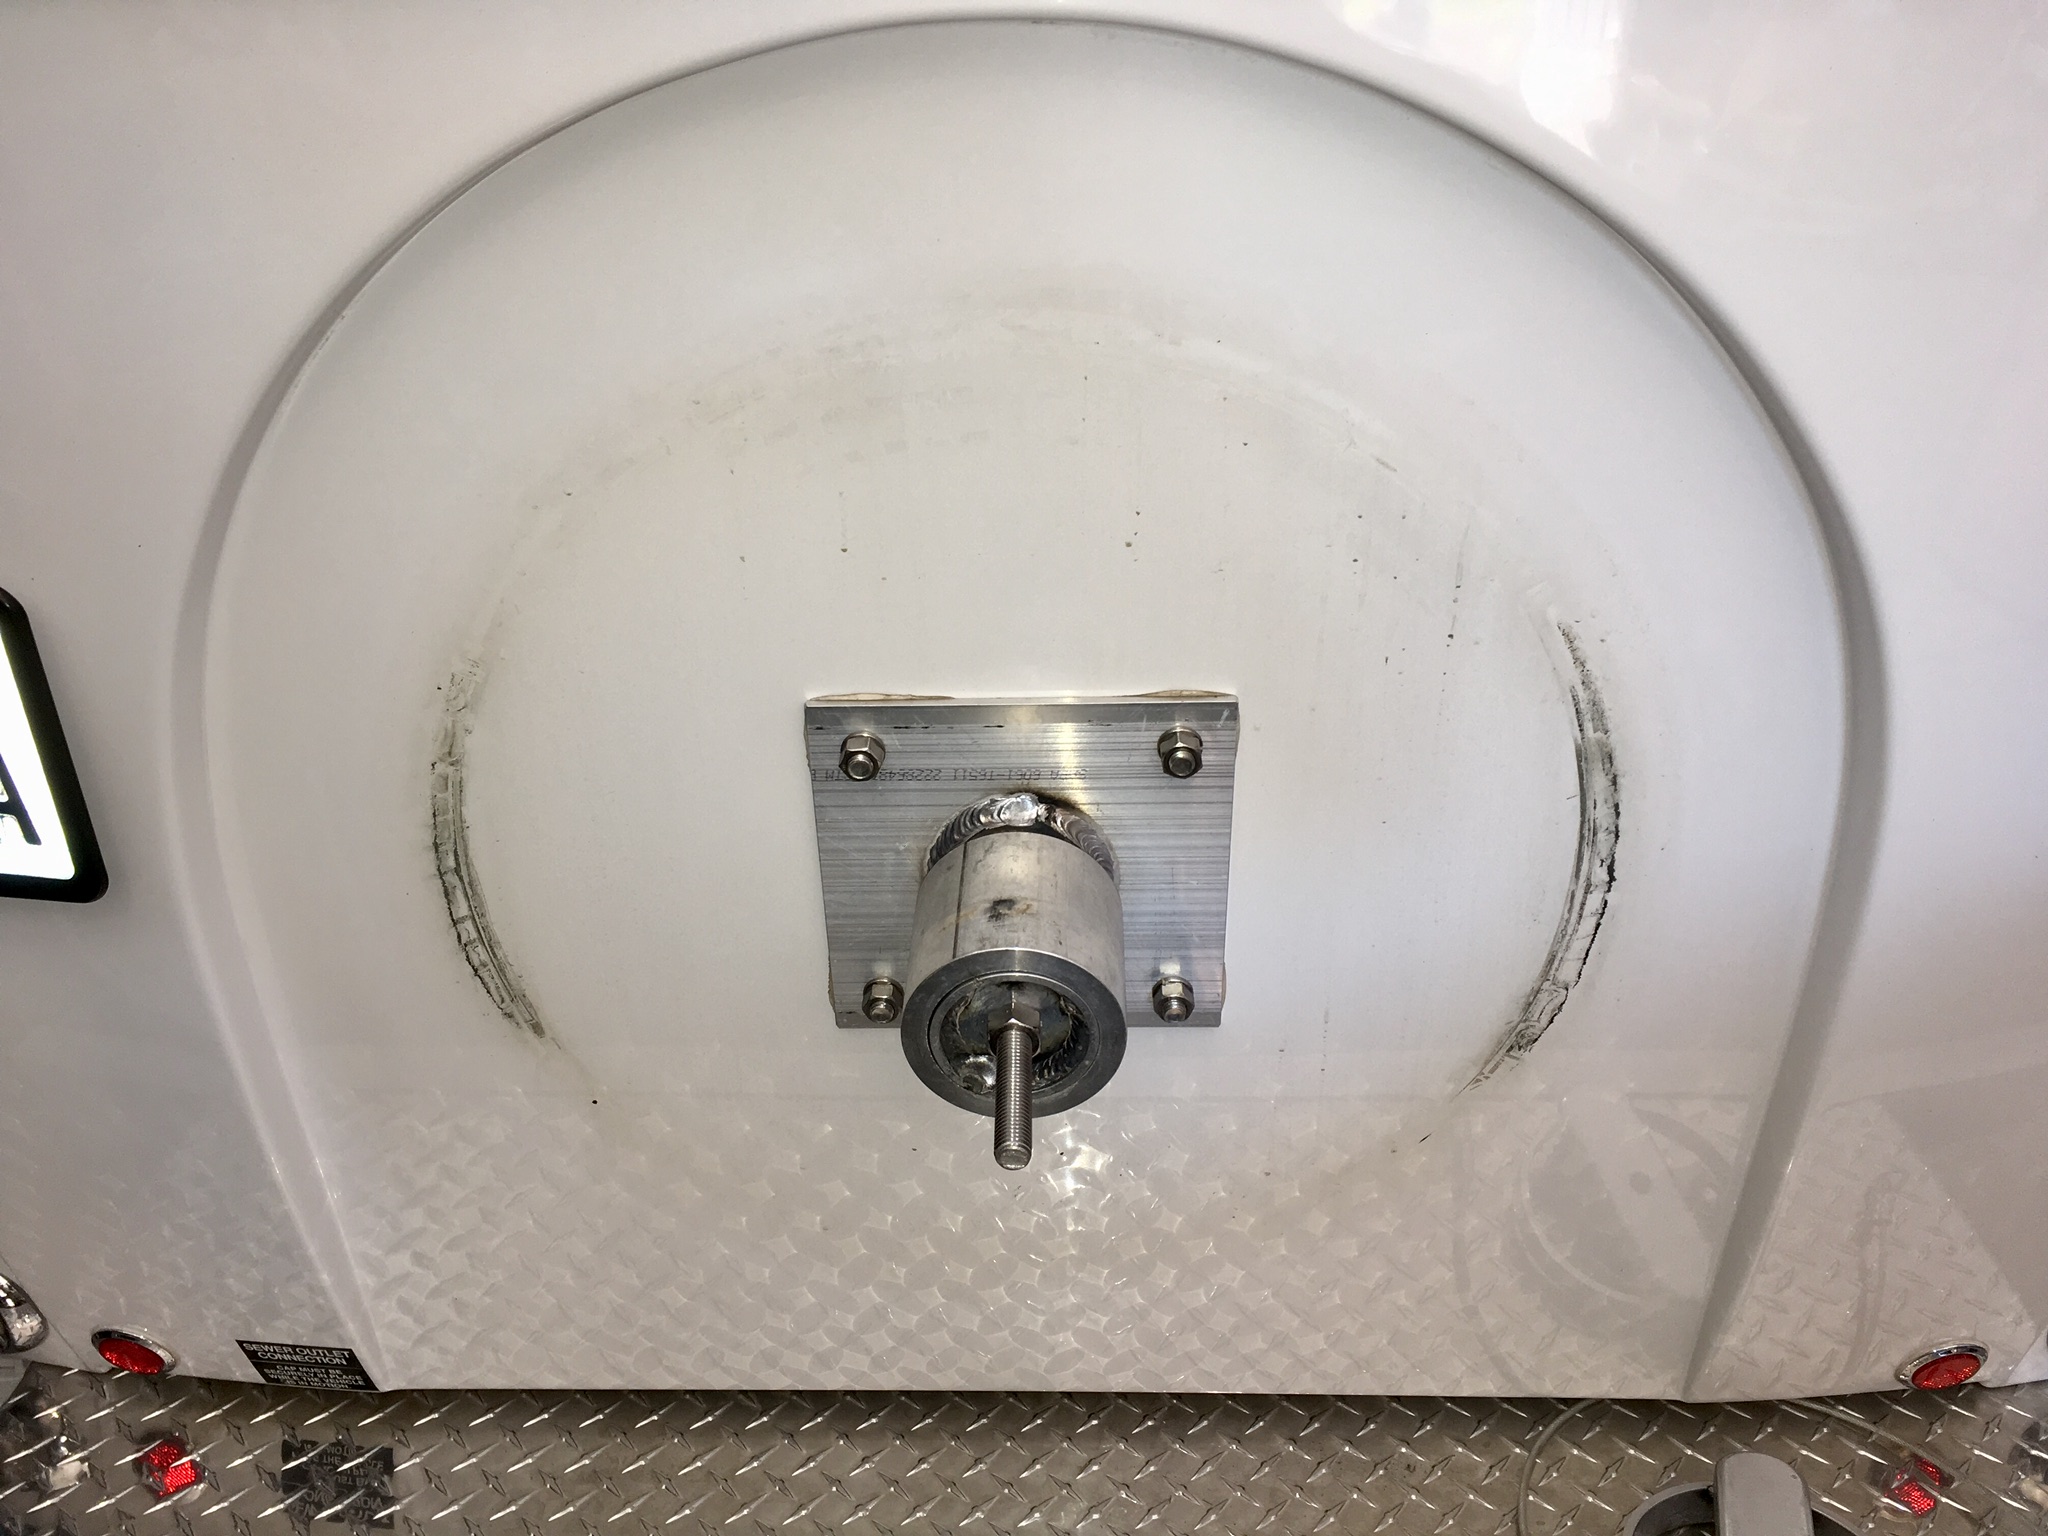
I recently greased my Dexters for the first time. (Thanks to rideandfly for help!) Here is a view of one of the hidden fittings. (The two fittings are symmetrical, one reached from the other side.) I did not jack up the trailer, just wore old jeans and sweatshirt, and climbed under on the cement floor and got very dirty. Before we picked up Ollie I bought a nice rechargeable flashlight that has been useful on many occasions. It has an adjustable stand, and it was very helpful when greasing.1 point
-
There are six fittings per side you can see easily including two fittings on the left & right sides of the tires not seen in this photo. There are also two additional fittings hiding above the EZ Flex assembly per side where I'm pointing, making eight fittings per side. Hope this helps,1 point
-
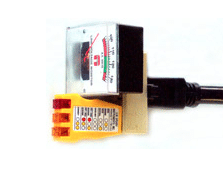
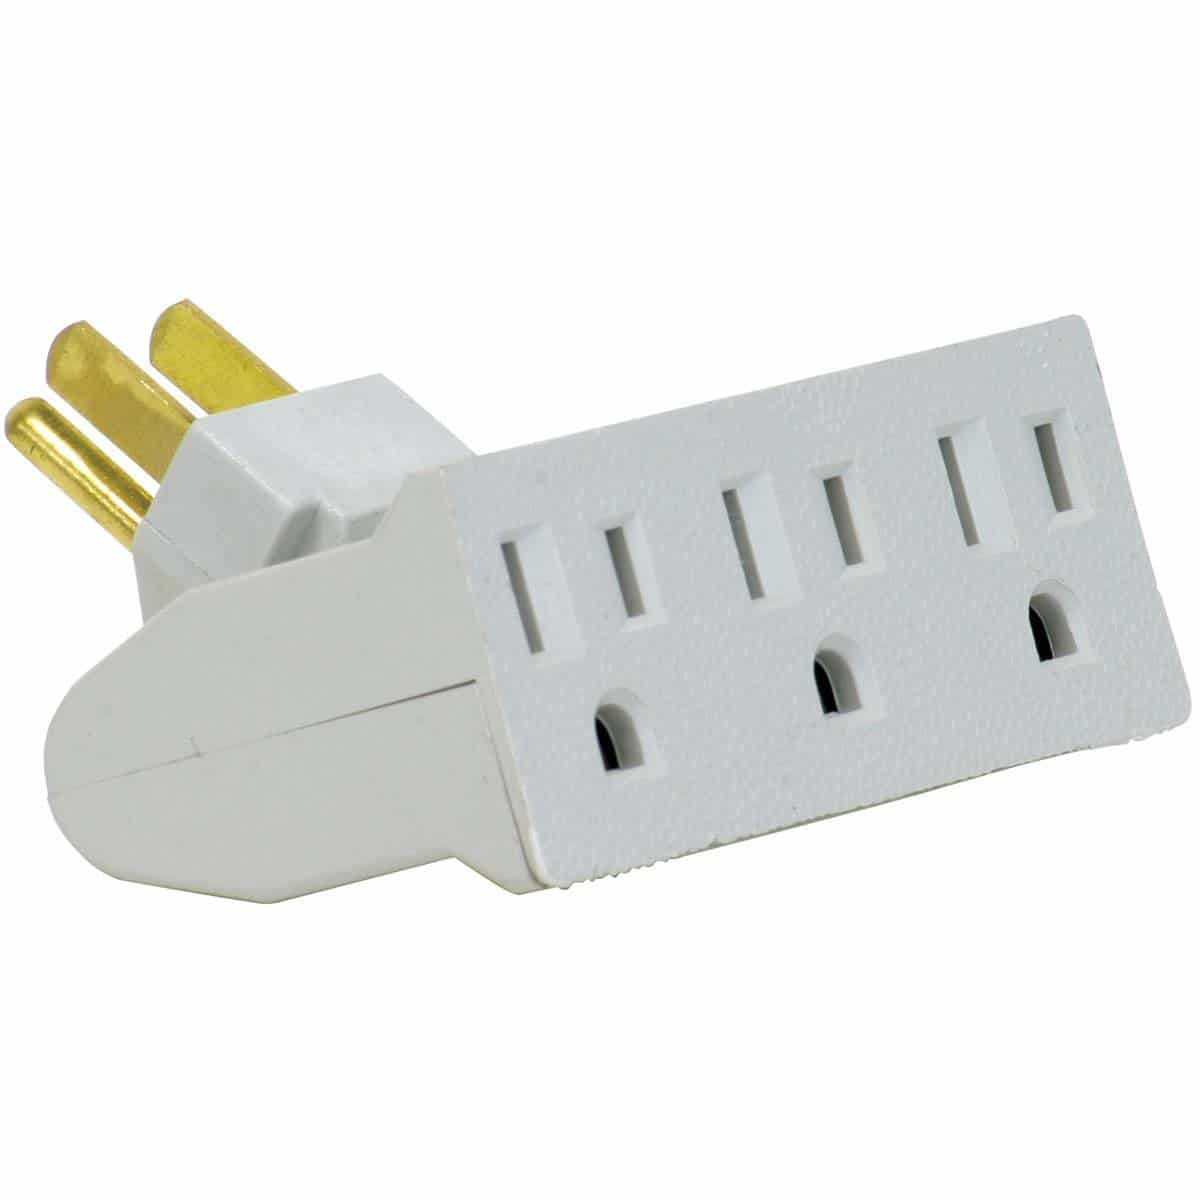
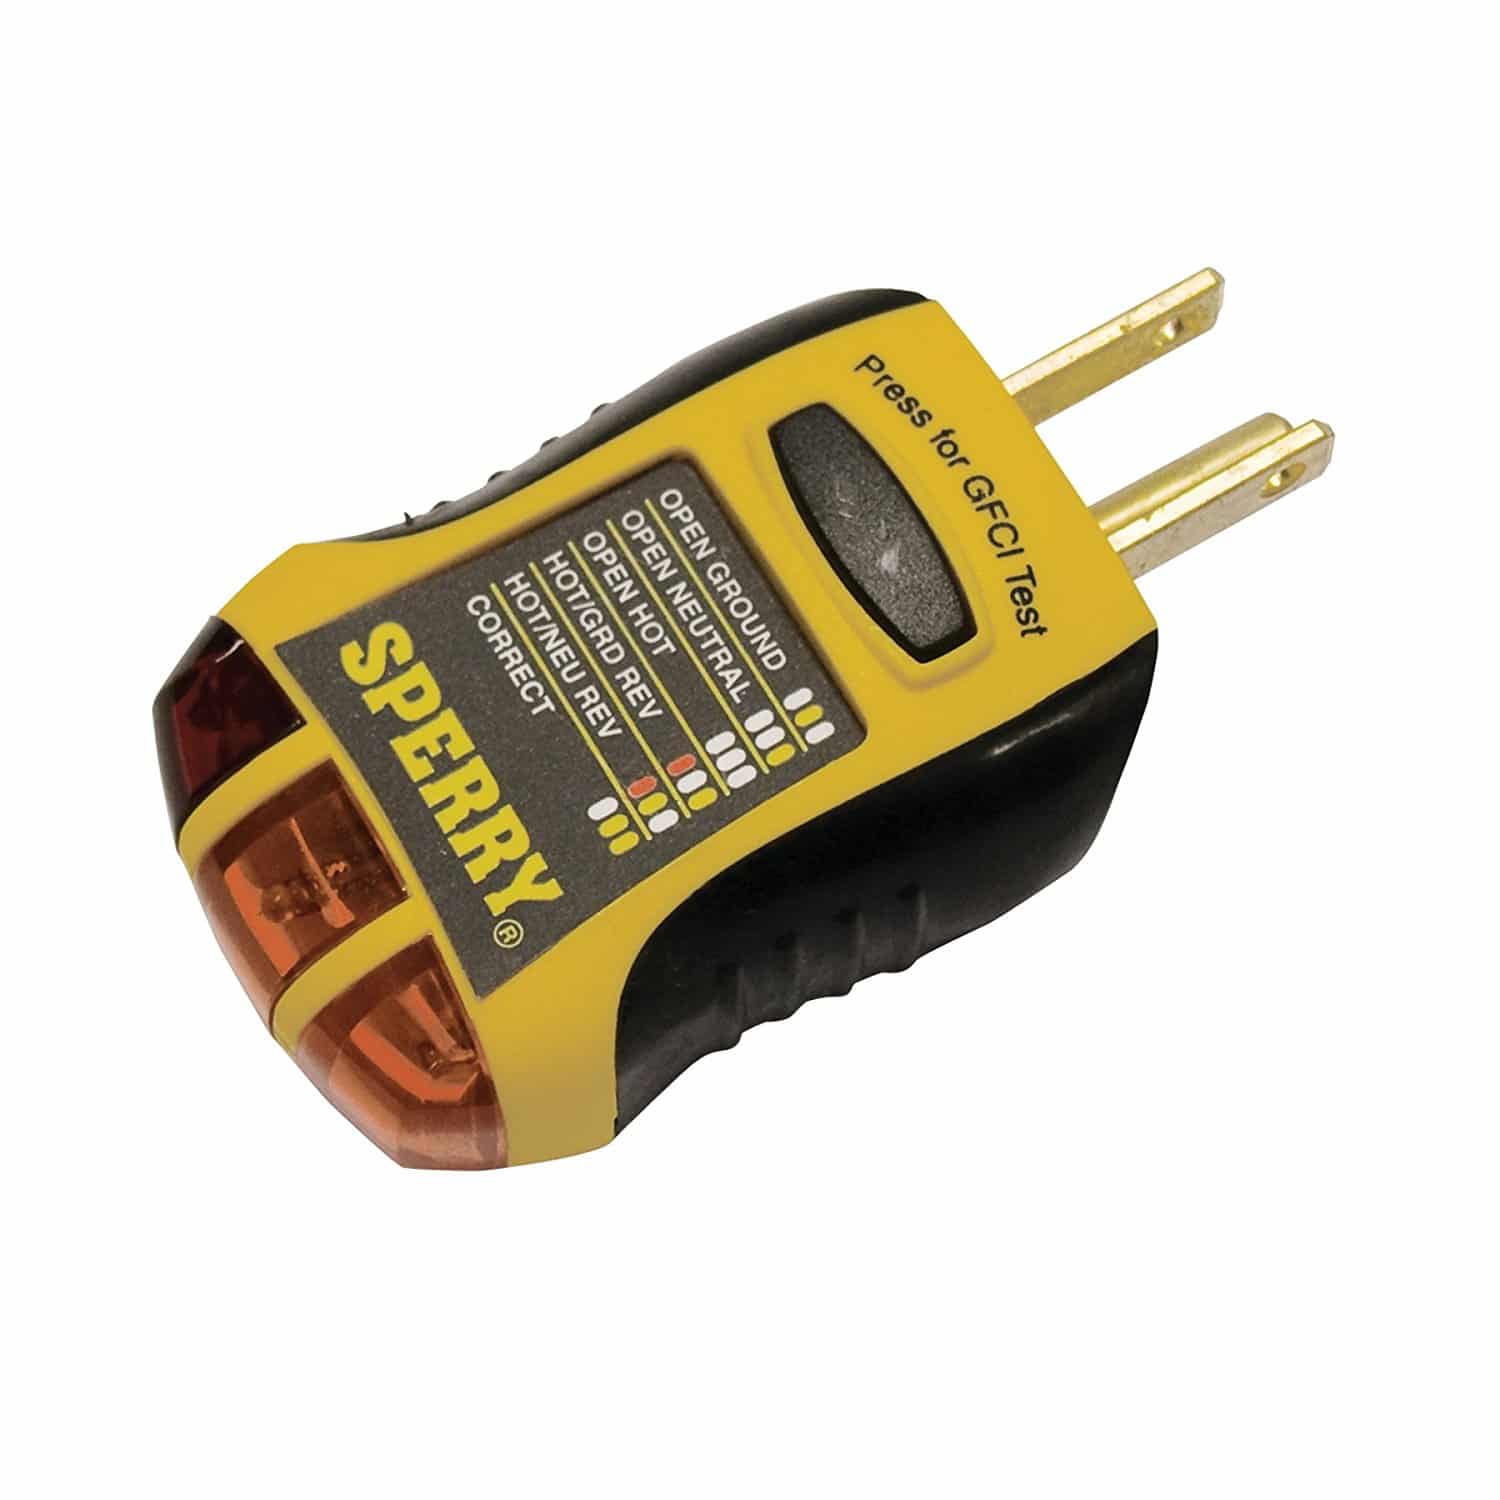
Before I hook up to shore power I test both the voltage and the circuit wiring. This website describes a simple device to do this http://www.myrv.us/electric/Pg/tester_30amp.htm I ordered all the parts for this device from Amazon for about $25. https://www.amazon.com/Camco-55233-Electrical-PowerGrip-Adapter/dp/B00192QB3I https://www.amazon.com/Globe-Electric-46505-Single-Tap-Grounded/dp/B007XQORTO https://www.amazon.com/Prime-Products-12-4055-Voltage-Meter/dp/B002P48KLK https://www.amazon.com/Sperry-Instruments-GFI6302-Outlet-Tester/dp/B000RUL2UU I keep the testing device in the box with by 30Amp connector cable, and use it each time. David
1 point
-
Randy - I really didn't round off the corners, other than sanding them a little bit more, than the rest of the block prior to the poly application. I have used them on end without difficulty. The handles make the blocks easier to deal with, easier to see when leaving a campsite so I don't leave them, keep my hands/gloves cleaner and drier and reduces the chance of splinters. John - These blocks are not used to raise the Titanic. Since I rarely camp during the winter, they are rarely used in sub-freezing temps. The application of the poly was intended to prevent water absorption and make them last a bit longer. The main purpose is for use as "stabilizers", fine tuning the level of the camper and as Steve says to save time, lessen the use of power to the jacks, and reduce the risk of a bent jack. If I need to "level" the Oliver to any great extent, I normally use either "legos" or ramps under the tires on the low side. No, I do not use these for winter storage - they are too pretty to be left out all winter ;) Camp12 - Welcome also! In addition to Steve's comments, I've found that these can be used when my campsite is not very level (think mainly boondocking here) and I need the extra height on the low side - I really don't like extending the jacks to the limit if I can help it mainly due to the torque that might be applied to them.1 point
-
Good morning Canoe12 and welcome to the Oliver Forums. The Oliver electric jacks do extend far enough to not use any blocks at all. It's just with the use of a tall block we have discovered several benefits: 1 - Time saved in running the jacks as you don't have to run them all the way down (and back up) 2 - Energy saved in not running the jacks so much (they are hogs) 3 - Less chance of accidentally driving off with them fully extended and bending the jack (you will simply drive off the block)1 point


-
Recent Achievements
-


")


")